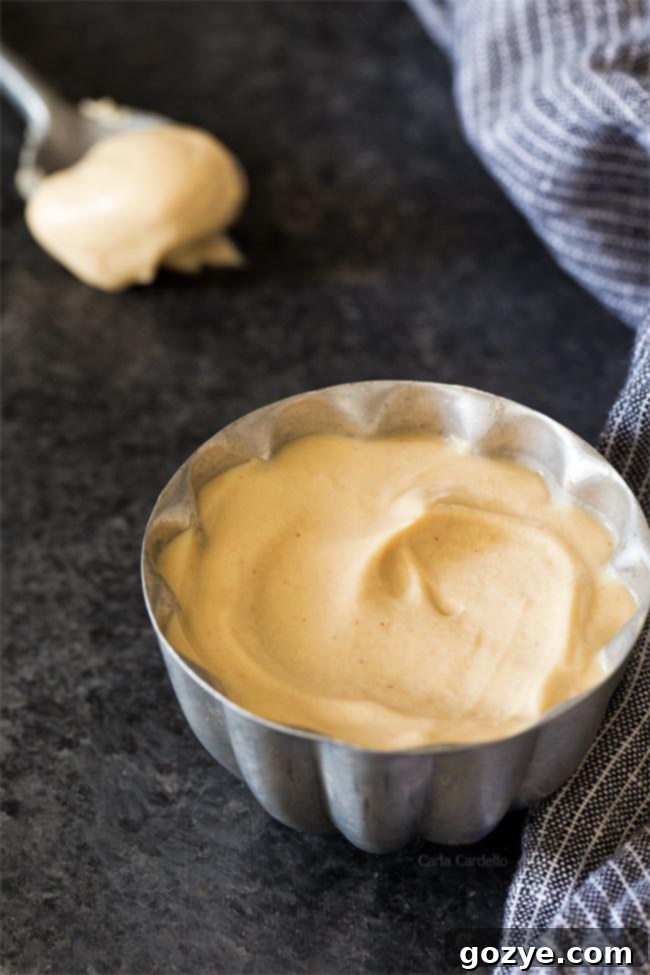
Easy Homemade Peanut Butter Whipped Cream: The Perfect Dessert Topping Recipe
Transform your ordinary desserts into extraordinary delights with this unbelievably simple, from-scratch Peanut Butter Whipped Cream! Requiring only 4 ingredients and a mere 5 minutes of whipping time, this recipe guarantees a luscious, airy topping with no wasteful leftovers, thanks to our perfect small-batch approach.
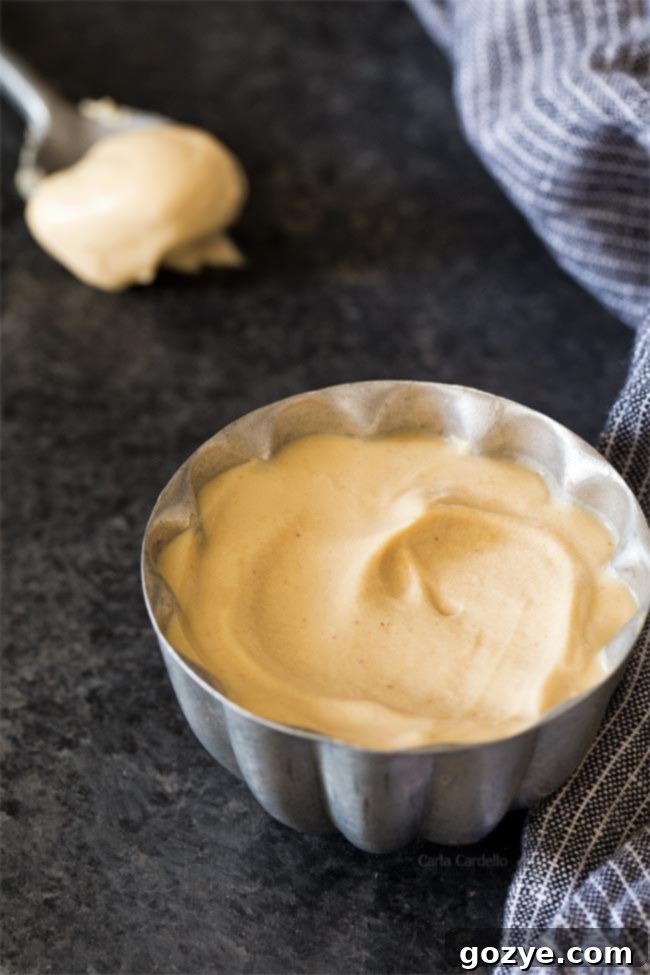
Today, I’m thrilled to share what has quickly become my all-time favorite whipped cream recipe: Peanut Butter Whipped Cream! If you’re a fan of the classic peanut butter and chocolate pairing, or simply crave that irresistible nutty flavor, prepare to fall in love with this fluffy, dreamy topping.
Over the years, I’ve shared numerous whipped cream variations, each designed to add that special touch to your favorite treats. You might remember my Homemade Whipped Cream, the decadent Chocolate Whipped Cream, the fruity Strawberry Whipped Cream, the cozy Maple Whipped Cream, the tangy Cream Cheese Whipped Cream, and the subtly sweet Honey Whipped Cream recipes. While each of these holds a special place in my heart, I’ve discovered a way to make whipped cream even more extraordinary.
The concept of peanut butter whipped cream isn’t entirely new to this blog. I’ve been delighting in its rich flavor, especially when paired with Peanut Butter Hot Chocolate, for years. It’s a testament to the undeniable truth that chocolate and peanut butter truly form one of the best culinary duos imaginable. However, what makes this specific recipe a game-changer is its perfect scaling for small batches, ensuring you get just the right amount every time.
Why This Small Batch Peanut Butter Whipped Cream is a Game Changer
After countless batches over the years, I perfected the art of creating a small quantity of this delectable whipped cream. This means you’ll have enough to generously top a modest stack of chocolate pancakes or a delightful serving of waffles for two, without the inevitable problem of leftovers.
Traditional whipped cream, especially homemade, typically only maintains its peak freshness for about 1-2 days in the refrigerator. This often leads to the regrettable task of discarding any unused portions. But seriously, who wants to throw out perfectly good peanut butter whipped cream? Not me, and certainly not you!
Furthermore, I’ve been crafting this homemade peanut butter whipped cream long before major companies started offering similar products. There’s an unparalleled satisfaction and superior taste that comes from making something fresh yourself. With just 4 common ingredients and a mere 5 minutes of active whipping, you’ll discover that you’ll never need to buy store-bought whipped peanut butter again. Homemade is simply better, fresher, and perfectly tailored to your needs.
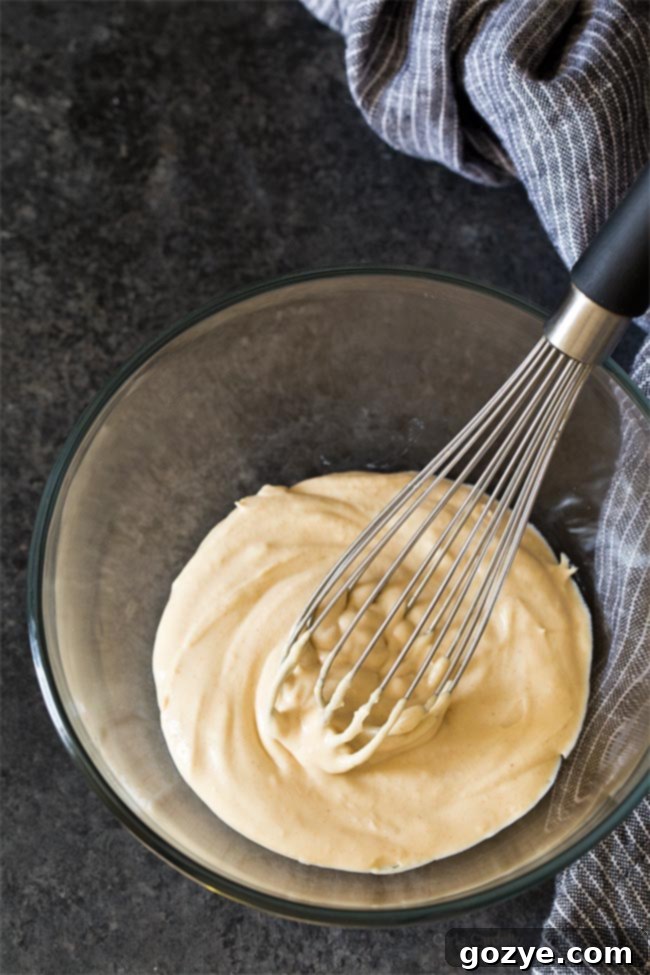
Essential Ingredients for Your Peanut Butter Whipped Cream
Creating this irresistible whipped peanut butter couldn’t be simpler. You’ll only need four readily available ingredients:
- Heavy Whipping Cream: This is the cornerstone of any great whipped cream. It’s crucial to select “heavy whipping cream” and not just “whipping cream.” We’ll delve into the difference below, but for optimal texture and stability, heavy cream is your best friend.
- Peanut Butter: For the smoothest, most consistent whipped cream, opt for smooth, processed peanut butter. Natural peanut butter tends to separate and can result in a grainy texture here, and crunchy peanut butter will, predictably, leave you with bits and lumps.
- Powdered Sugar: Also known as confectioners’ sugar, this ingredient serves a dual purpose. It not only sweetens the cream to perfection but also helps to stabilize and thicken the whipped cream, contributing to its luxurious texture.
- Vanilla Extract: A small amount of vanilla extract works wonders in enhancing and rounding out the rich peanut butter flavor. If you were to taste the mixture before and after adding vanilla, you’d immediately notice the incredible depth and warmth it adds to the overall profile. Don’t skip it!
Flavorful Tip: If you happen to have cookie butter on hand, feel free to substitute it for the peanut butter in this recipe. This delightful variation would be absolutely heavenly as a garnish for my s’mores hot chocolate!
Heavy Whipping Cream vs. Whipping Cream: What’s the Difference?
For the best possible results, I strongly recommend using heavy whipping cream over regular whipping cream (which lacks the “heavy” designation). While both types of cream can be whipped to produce a silky, fluffy topping, their fat content makes a significant difference in the final product’s stability and texture.
Heavy whipping cream boasts a higher milk fat content, typically around 36%. This higher fat percentage allows it to whip up more effectively, creating a sturdier, more stable whipped cream that holds its shape beautifully for longer periods.
In contrast, regular whipping cream contains approximately 30% milk fat. While it will still whip, it tends to be a bit lighter and more delicate, meaning it won’t hold its peaks or shape for as long. If you plan to serve your peanut butter whipped cream immediately, especially if it’s destined to melt wonderfully into a hot beverage like hot chocolate, either type of cream will work fine.
However, if you need your whipped cream to maintain its structure and last longer – for instance, as a crowning glory on a decadent chocolate cheesecake or as a delicate piping on a cake – then heavy whipping cream is undoubtedly the superior choice for its enhanced stability.
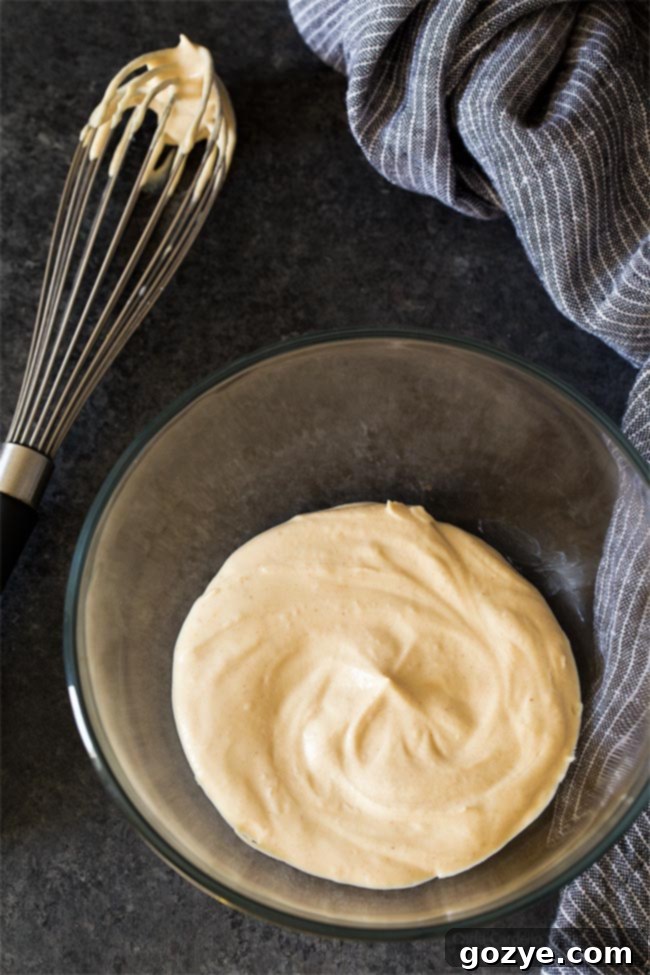
How To Make Homemade Peanut Butter Whipped Cream: A Step-by-Step Guide
You’ll be amazed at how incredibly easy it is to whip up this peanut butter infused delight. Once you try it, you’ll wonder why you hadn’t been making it all along! I always keep heavy cream in my fridge, making it far more convenient (and faster) to create my own fresh whipped cream than to make a last-minute trip to the grocery store.
- Start with Cold Ingredients and Equipment: The secret to successful whipped cream begins with cold ingredients. Ensure your heavy cream is chilled straight from the refrigerator. For even better results, you can chill your mixing bowl and whisk attachment in the freezer for 10-15 minutes before you begin. Cold tools help the cream whip up faster and achieve better volume.
- Combine and Begin Whipping: In your large mixing bowl (preferably a 5-quart stand mixer bowl with the whisk attachment for small batches), combine the cold heavy cream and smooth peanut butter. Start beating them together on medium-high speed. Initially, the mixture will be loose, but you’ll notice it gradually begin to thicken and emulsify, usually within about a minute.
- Add Sweetener and Flavor: Once the cream and peanut butter mixture has started to thicken slightly, it’s time to introduce the flavor enhancers. Gradually add the powdered sugar and vanilla extract to the bowl while the mixer is still running. This slow addition ensures even distribution and helps prevent lumps.
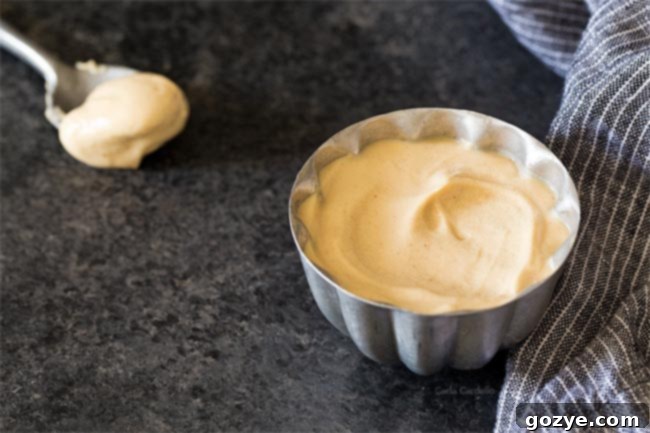
- Whip to Stiff Peaks: Continue beating the mixture on high speed. Keep a close eye on the consistency. You’re aiming for “stiff peaks.” This means that when you lift the beater straight up out of the cream, distinct peaks will form in the whipped cream and hold their shape without drooping or falling over. This stage typically takes anywhere from 3 to 5 minutes, depending on the power of your mixer (or the strength of your arm muscles if whisking by hand!).
- Identify Soft Peaks (and keep going!): If you lift the beater and the peaks slump or curl slightly at the tips, you’ve reached the “soft peak” stage. This is a good sign, but it means you still have a few more minutes of beating left to achieve stiff peaks.
- Avoid Over-Whipping: The moment you reach the stiff peak stage, stop beating immediately! If you continue to beat past this point, the whipped cream will become grainy and eventually separate, turning into butter. While butter is delicious, it’s not what we’re aiming for here!
- Troubleshooting Over-Whipped Cream: Should you accidentally over-whip your cream and notice it becoming grainy, don’t despair! You can often salvage it by adding another tablespoon or so of cold heavy cream and gently folding or whisking it in by hand until the texture smooths out again.
Mastering the Small Batch: No More Leftovers!
As I mentioned earlier, one of the biggest frustrations with homemade whipped cream is the inevitable excess that often goes to waste. That’s precisely why I’ve perfected and opted to share this small-batch approach to my peanut butter whipped cream recipe. So, how exactly do you whip a small amount of cream effectively?
Tips for Small Batch Whipping:
- Stand Mixer Method (for 1/4 cup): Even with just 1/4 cup of heavy whipping cream, you can successfully whip it in a standard 5-quart stand mixer bowl, provided you use the whisk attachment. This is my preferred method for convenience. However, if your stand mixer bowl is larger than 5 quarts, a small amount of cream might not reach the whisk effectively. In that scenario, switch to a hand mixer.
- Hand Mixer in a Smaller Bowl: If your stand mixer bowl is too large, or if you’re whipping an even smaller amount (say, 2 tablespoons), a handheld electric mixer paired with a smaller, deeper bowl is your best bet. The smaller bowl ensures the cream is contained and interacts properly with the beaters.
- Whisking by Hand: For those without an electric mixer, or for a truly artisanal experience, you can absolutely whip the cream by hand with a good old-fashioned whisk. While it demands a bit more arm strength and patience, the resulting whipped cream often tastes even better, imbued with that extra “love” and effort. Plus, it’s a great mini-workout!
- Perfect Portions: Using 1/4 cup of heavy cream typically yields about 2 servings of whipped cream, making it ideal for individual treats or small batch desserts. If you need even less, say a single serving (literally cutting the recipe in half to 2 tablespoons of cream), you will almost certainly need to use a hand mixer or whisk by hand, as a stand mixer bowl will be too vast for such a tiny quantity.
Can You Make Peanut Butter Whipped Cream Ahead of Time?
Yes, you can certainly prepare this peanut butter whipped cream in advance. It will keep well for approximately 1 to 2 days when stored properly in an airtight container in the refrigerator.
It’s important to note that homemade whipped cream, especially over time, will naturally deflate slightly as it sits. However, even if it loses some of its initial fluffiness, it will still be perfectly delicious and edible to spoon generously on top of your favorite desserts, like a warm Chocolate Peanut Butter Mug Cake.
If you prefer a fresher, more voluminous texture, you can re-whip deflated cream for a short period to incorporate more air back into it. Just be very cautious not to over-whip it during this process, as you risk turning it into butter.
Can You Freeze Whipped Cream? Extend its Shelf Life!
Another fantastic way to ensure none of your delicious peanut butter whipped cream goes to waste is by freezing it! Whipped cream freezes beautifully and can last for about 2 months or even longer in the freezer.
How to Freeze Whipped Cream:
- Portion it Out: Line a cookie sheet with parchment paper or a silicone baking mat.
- Shape: Spoon or pipe individual dollops or swirls of the whipped cream onto the prepared cookie sheet. You can use a piping bag for more decorative shapes or simply use a spoon for rustic dollops.
- Freeze Until Solid: Place the cookie sheet in the freezer and allow the whipped cream portions to freeze until they are completely firm, typically a few hours.
- Transfer and Store: Once solid, carefully transfer the frozen whipped cream portions to a freezer-safe, airtight bag or container.
Having frozen dollops of peanut butter whipped cream on hand means they’re always ready to elevate your Hot Chocolate For One, individual desserts, or spontaneous sweet cravings with minimal effort!
Delicious Dessert Ideas Using Peanut Butter Whipped Cream
Now that you’ve whipped up a batch of this heavenly peanut butter cream, the possibilities for serving it are endless! Here are some of my favorite desserts that pair perfectly with this rich, nutty topping:
- Small Chocolate Cake: A rich chocolate cake and creamy peanut butter topping are a match made in heaven.
- Peanut Butter Frozen Hot Chocolate: Elevate this icy treat with a swirl of peanut butter goodness.
- Cheesecake For Two: A dollop adds a delightful creamy, nutty contrast to any cheesecake.
- Air Fryer Cheesecake: Quick and easy, just like this whipped cream!
- Brownies For Two: Turn a simple brownie into a gourmet experience.
- Peanut Butter Ice Cream Cake: For this, you’ll want to multiply the recipe for a generous amount, but it will undoubtedly be worth every single bite!
- Peanut Butter Cheesecake: The ultimate peanut butter indulgence, topped with more peanut butter!
- Mini Lava Cakes: The warm, gooey center is perfectly complemented by cool, creamy peanut butter.
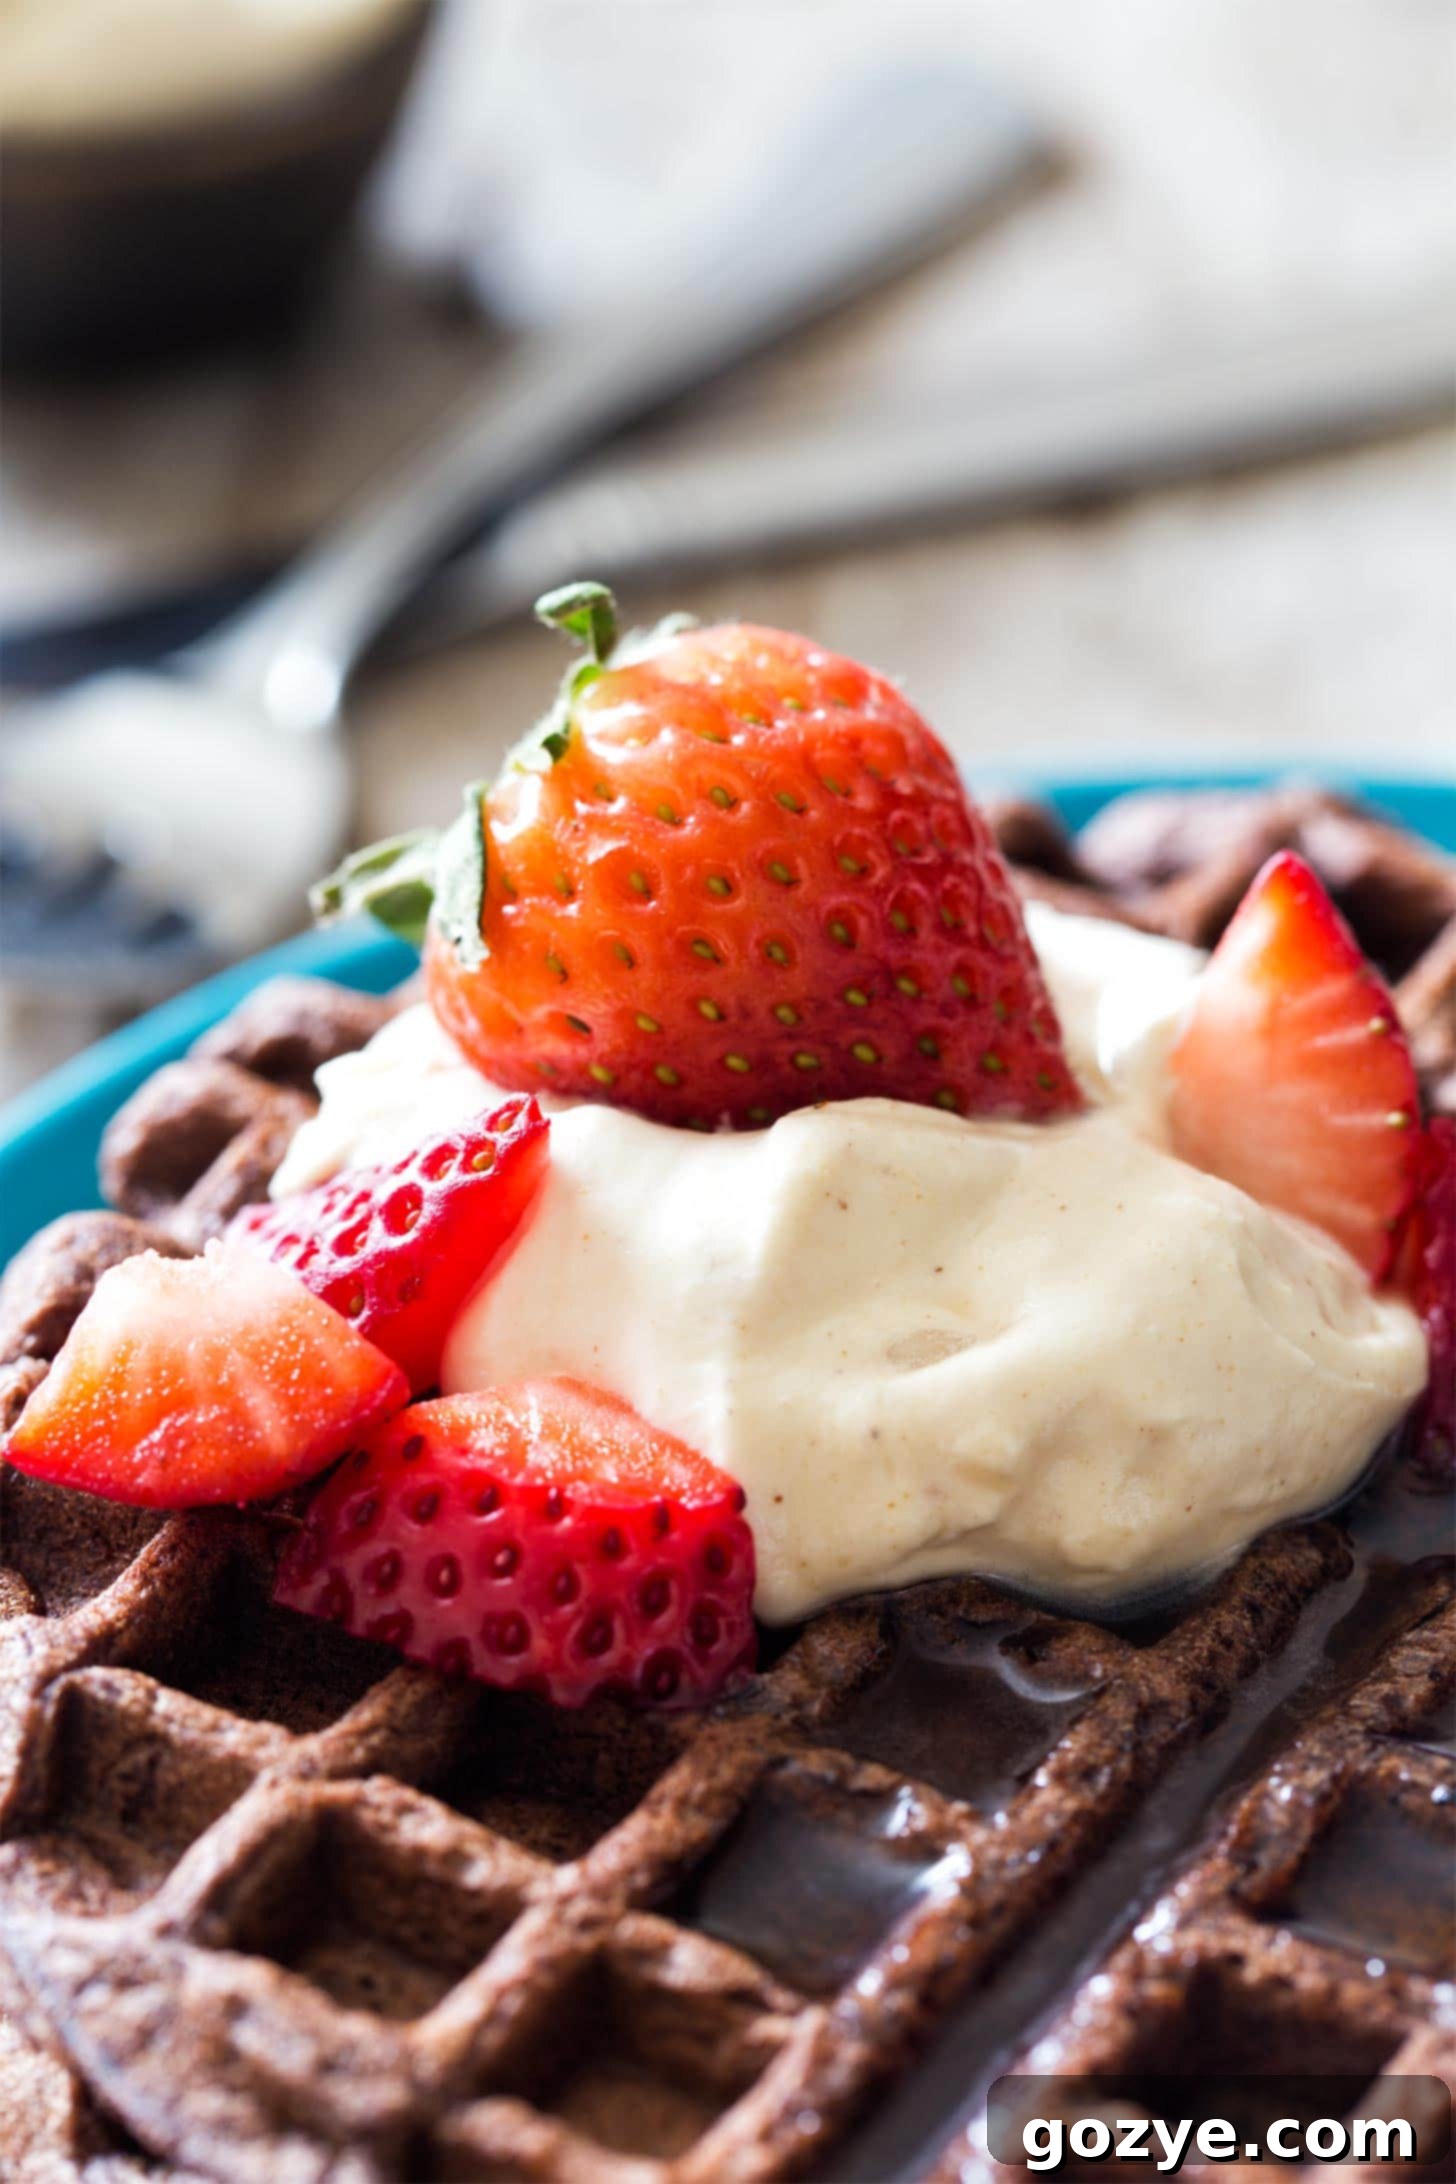
- Chocolate Waffles: Start your day with a decadent breakfast or brunch.
- Fresh Fruit: Berries, sliced bananas, or apples all benefit from a dollop of this creamy topping.
- Pie or Tarts: A delightful alternative to plain whipped cream for any chocolate or peanut butter pie.
- Coffee or Milkshakes: Swirl into your morning coffee or blend into a milkshake for an extra treat.
Peanut Butter Whipped Cream Recipe Card
2 servings
5 minutes
5 minutes
10 minutes
Make your dessert extra special with homemade Peanut Butter Whipped Cream! This easy recipe uses only 4 ingredients, whips up in 5 minutes, and is perfectly portioned to avoid leftovers.
Ingredients
- 1/4 cup heavy whipping cream, cold (ensure packaging specifies “heavy”)
- 1 tablespoon smooth, processed peanut butter (avoid crunchy or natural varieties for best texture)
- 1 tablespoon powdered sugar
- 1/2 teaspoon vanilla extract
Instructions
- In a large mixing bowl (use a 5-quart stand mixer with whisk attachment, or a smaller bowl with a hand mixer), combine the cold heavy cream and peanut butter. Beat on medium-high speed until the mixture begins to thicken, which should take approximately 1 minute.
Important Note for Small Batches: If using a stand mixer, ensure your bowl is no larger than 5 quarts for this small quantity to whip properly. For larger bowls or even smaller portions, a handheld mixer in a smaller bowl is recommended, or simply double the recipe.
- Once slightly thickened, gradually beat in the powdered sugar and vanilla extract. Continue beating on high speed until stiff peaks form. Stiff peaks are achieved when you lift the beater and the peaks in the cream stand firm and do not fall over. This typically takes an additional 3-4 minutes.
- Serve your freshly made Peanut Butter Whipped Cream immediately for the best texture and flavor. Any leftovers can be stored in an airtight container in the refrigerator for up to 2 days. Be aware that it may deflate slightly over time, but it will remain perfectly delicious.
Notes
- Freezing Tip: To extend the life of your whipped cream, you can freeze it for up to 2 months. Simply pipe or spoon portions onto a cookie sheet, freeze until firm, then transfer the frozen dollops to a freezer-safe bag.
- Explore More Whipped Cream Flavors: If you enjoyed this recipe, be sure to try my other homemade whipped cream creations, including Chocolate Whipped Cream, Strawberry Whipped Cream, traditional Homemade Whipped Cream, Maple Whipped Cream, Honey Whipped Cream, and Cream Cheese Whipped Cream.
- Serving Suggestions Recap: This versatile topping is fantastic with Peanut Butter Hot Chocolate, Thick Hot Chocolate, and Brownies For Two.
Recommended Products
As an Amazon Associate and member of other affiliate programs, I earn from qualifying purchases.
- Stand Mixer
- Hand Mixer
- Whisk
Did you make this recipe?
Let me know what you think! Rate the recipe above, leave a comment below, and/or share a photo on Instagram using #HITKrecipes
First published March 5, 2019
