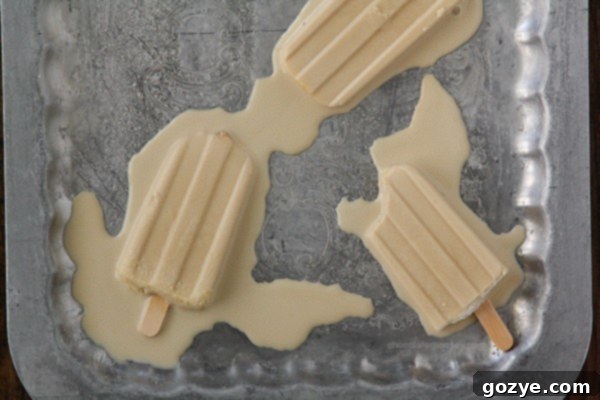
Homemade Root Beer Float Ice Cream Bars: Your Ultimate Summer Nostalgia Treat
There’s something inherently magical about a classic root beer float – the effervescent soda mingling with creamy vanilla ice cream, creating that iconic frothy top and an unforgettable flavor. Now, imagine taking that beloved summer classic and transforming it into a convenient, portable treat you can enjoy anywhere, anytime. That’s precisely what these Root Beer Float Ice Cream Bars offer: all the nostalgic delight of a root beer float, perfectly captured on a stick.
They’re not just a dessert; they’re a handheld journey back to simpler times, a burst of refreshing flavor that cuts through the summer heat, and a truly unique way to experience your favorite soda fountain treat. Forget the spoon and the melting mess in a glass; these bars are designed for deliciousness on the go, making them perfect for picnics, backyard BBQs, or simply a sweet escape on a warm afternoon.
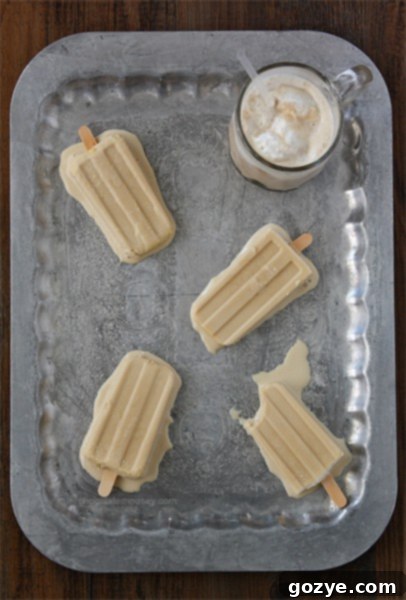
Why You’ll Love Making Your Own Root Beer Float Ice Cream Bars
While store-bought frozen treats have their place, crafting your own Root Beer Float Ice Cream Bars at home brings a level of satisfaction and flavor that’s hard to beat. When you make them yourself, you have complete control over the ingredients, ensuring a high-quality dessert free from artificial flavors or excessive preservatives. You can choose your favorite brand of root beer, adjust the sweetness to your liking, and even experiment with different vanilla extracts to fine-tune the flavor profile.
Beyond the quality, there’s an undeniable joy in the creation process. It’s a fun, engaging kitchen project that’s surprisingly simple, even for novice bakers. Plus, the end result is incredibly rewarding: a batch of perfectly balanced, creamy, and wonderfully refreshing ice cream bars that will impress family and friends. It’s an opportunity to create lasting summer memories, one delicious bar at a time.
The Journey to Crafting the Perfect Portable Float
The inspiration for these delightful bars struck me after a coworker introduced me to a store-bought version. I was immediately captivated by the ingenious concept: taking the distinct taste of root beer and creamy vanilla ice cream and making it completely portable. It felt like a culinary revelation, a way to enjoy that classic soda fountain experience without needing a glass or a spoon.
That initial encounter sparked a quest. I didn’t just want any popsicle mold; I envisioned bars with those distinctive stripe impressions, much like the classic fudgesicle molds. This specific design wasn’t just aesthetic; it promised a certain nostalgia and a familiar feel that I wanted to replicate. After some searching, a fellow blogger serendipitously shared a link to the exact molds I was looking for on Amazon. I immediately sent the link to my dad, dropping a not-so-subtle hint, and a few weeks later, to my delight, I received the molds as a thoughtful birthday gift.
With the perfect molds in hand, the next question was, “What to create first?” My initial thought was to make a traditional root beer ice cream, but the allure of filling those new molds with a delightful, frozen concoction was too strong to resist. The decision was made: ice cream bars it would be. The concept was a resounding success – the flavor was exactly what I dreamed of.
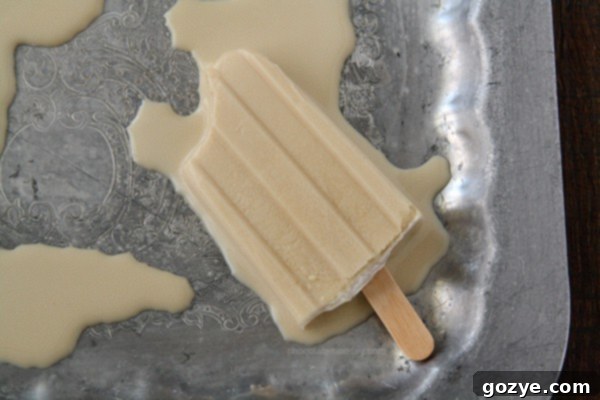
Mastering the Art of Unmolding (and What I Learned!)
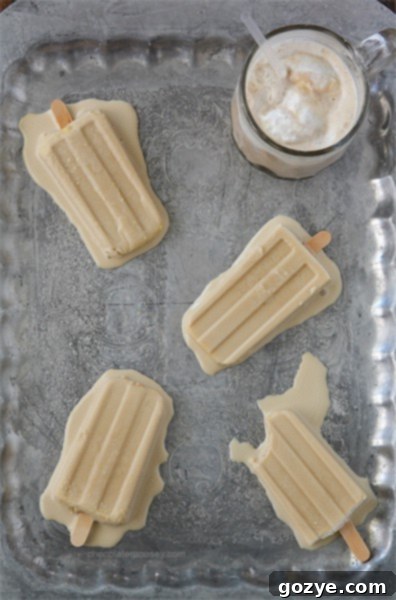
As with many homemade frozen treats, the journey to perfection often involves a few learning curves. My biggest challenge during the initial batch was the unmolding process. Despite my best efforts, I found myself struggling to release the bars cleanly from the molds, and in my impatience, I accidentally melted some of them in the process. This, regrettably, led to some rather “messy” photos, but it also taught me invaluable lessons.
I confess, I’ve never quite mastered the skill of unmolding things flawlessly, and patience isn’t always my strongest virtue in the kitchen! A crucial mistake I made was getting hot water into the actual ice cream bars during the unmolding attempt – a definite no-no that accelerates melting. If I hadn’t been in such a hurry to photograph them, I would have certainly popped them back into the freezer for a bit to firm up perfectly before serving.
The key to successful unmolding, as I’ve since learned, lies in a delicate balance. Briefly dipping the bottom of the mold in warm (not hot!) water for just a few seconds helps loosen the edges without melting the entire bar. A gentle twist and pull should then release your perfectly formed frozen treat. Always remember, a little patience goes a long way when dealing with frozen desserts!
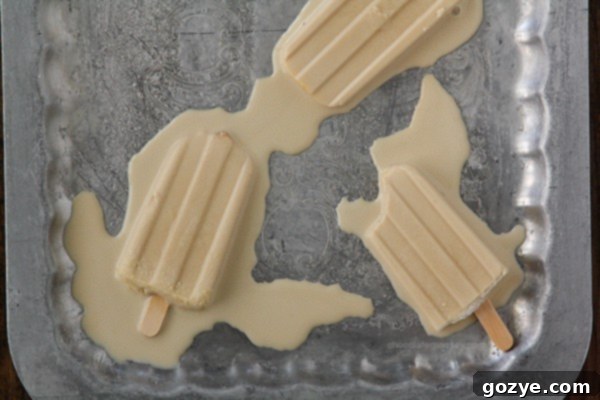
Crafting the Perfect Root Beer Float Flavor Profile
My initial concept for these bars involved making separate root beer ice cream and a vanilla swirl. However, after some contemplation, I realized the inherent brilliance of a simpler approach. Instead of attempting a complex swirl, I decided to infuse the rich root beer flavor directly into the vanilla ice cream base. This method not only streamlined the process but also ensured that every bite delivered that unmistakable root beer float experience.
The result is a wonderfully balanced bar where the creamy vanilla notes complement the distinctive, spiced sweetness of the root beer. It’s a harmonious blend that truly captures the essence of the classic beverage. Can you imagine the ultimate root beer indulgence? Serving these root beer float ice cream bars alongside a frosty glass of actual root beer? That, to me, sounds like an epic, double dose of refreshing nostalgia!
No Molds? No Problem! Creative Alternatives
Don’t have dedicated popsicle molds? Absolutely no need to worry! You can still enjoy these delicious root beer float treats with a few simple modifications. The beauty of this recipe is its versatility. For individual servings, disposable cups work wonderfully. Think small paper Dixie cups or even mini plastic water cups. Simply pour the mixture into these cups, insert popsicle sticks once the mixture is partially frozen (firm enough to hold the stick upright), and freeze until solid. This is a fantastic option for parties or for kids who might prefer a smaller portion.
Alternatively, you can skip the “bar” concept entirely and make this recipe as traditional scoopable ice cream. If you have an ice cream maker, follow the directions provided with your specific model for churning. The mixture will achieve a softer, more scoopable texture perfect for bowls. If you’re without an ice cream maker, you can still make it by hand by following a no-churn method (like the one adapted from David Lebovitz’s Perfect Scoop, linked below). This typically involves freezing the mixture in a shallow pan and stirring it every 30-60 minutes during the initial freezing stages to break up ice crystals and create a smoother consistency.
Tips for Success: Ensuring Perfect Root Beer Float Bars Every Time
To ensure your Root Beer Float Ice Cream Bars turn out perfectly, consider these helpful tips:
- Choose Your Root Beer Wisely: The flavor of your root beer will be prominent, so opt for a brand you truly enjoy. Different root beers have varying levels of spice, sweetness, and sarsaparilla notes.
- Chill Ingredients Thoroughly: For the best results, ensure your heavy cream and root beer are well-chilled before mixing them into the custard base. This helps the mixture freeze more efficiently and reduces the formation of ice crystals.
- Patience is Key for Freezing: Allow ample time for the bars to freeze completely – at least 4 hours, but ideally overnight. Rushing this step can lead to softer, less structured bars.
- Master the Unmolding Technique: As I learned, this is crucial! Briefly dip the mold (not the bar itself) into warm water for about 10-15 seconds. This will slightly loosen the edges, allowing the bar to slide out easily. Avoid hot water or prolonged dipping, which will melt your creation.
- Prevent Ice Crystals: If making scoopable ice cream without a machine, stirring every half hour for the first few hours of freezing helps break up ice crystals, resulting in a creamier texture. For bars, a higher fat content from cream and egg yolk naturally helps prevent excessive ice formation.
- Proper Storage: Once unmolded, wrap individual bars in plastic wrap or parchment paper and store them in an airtight container in the freezer. This prevents freezer burn and keeps them fresh for longer.
Variations and Customizations for Your Frozen Treats
While the classic Root Beer Float Ice Cream Bar is delightful on its own, don’t hesitate to get creative with variations:
- Other Soda Flavors: Experiment with orange soda for “Orange Creamsicle” bars (like the ones on my list!), cream soda for a sweeter, milder flavor, or even cola for a different twist.
- Add-Ins: Stir in mini chocolate chips, sprinkles, or even tiny marshmallows into the mixture before freezing for added texture and fun.
- Chocolate Dip: For an extra decadent treat, once the bars are frozen solid, dip them in melted chocolate (milk, dark, or white) and immediately return them to the freezer to set.
- Adult Version: For an adults-only treat, a small splash of a complementary liqueur (like a root beer schnapps or a vanilla-flavored liqueur) can be added to the mixture before freezing.
My next frozen adventure will likely involve homemade orange creamsicles. What delicious frozen treat will you try making first?
Root Beer Float Ice Cream Bars
4-5 servings
Root Beer Float Ice Cream Bars takes your favorite summer classic treat and puts it on a stick. It’s like eating a root beer float on the go!
Ingredients
- 1/4 cup whole milk
- 2 tablespoons sugar
- 1/2 cup heavy whipping cream
- Pinch of salt
- 1 egg yolk
- 1/4 teaspoon vanilla extract
- 1 cup root beer
Instructions
- In a medium saucepan, whisk together the milk, sugar, 1/4 cup heavy cream, and salt. Warm until it starts to boil.
- In a small bowl, lightly beat the egg yolk. Pour in some of the milk mixture then pour it all back into the saucepan. Bring to a boil and cook until the custard thickens and coats the back of a spoon.
- Remove from the heat and whisk in the vanilla, remaining 1/4 cup cream, and root beer. Pour into molds* and freeze for at least 4 hours or overnight.
Notes
*If you want to skip the molds, freeze according to your ice cream maker or freeze by hand.
Did you make this recipe?
Let me know what you think! Rate the recipe above, leave a comment below, and/or share a photo on Instagram using #HITKrecipes
Source: Vanilla ice cream base adapted from The Perfect Scoop
More Refreshing Frozen Treats You’ll Love
If you enjoyed making and savoring these Homemade Root Beer Float Ice Cream Bars, you’re in for a treat with these other delightful recipes. Whether you’re craving more root beer-inspired desserts or looking for other ways to beat the heat with frozen delights, these options are sure to satisfy:
From My Kitchen:
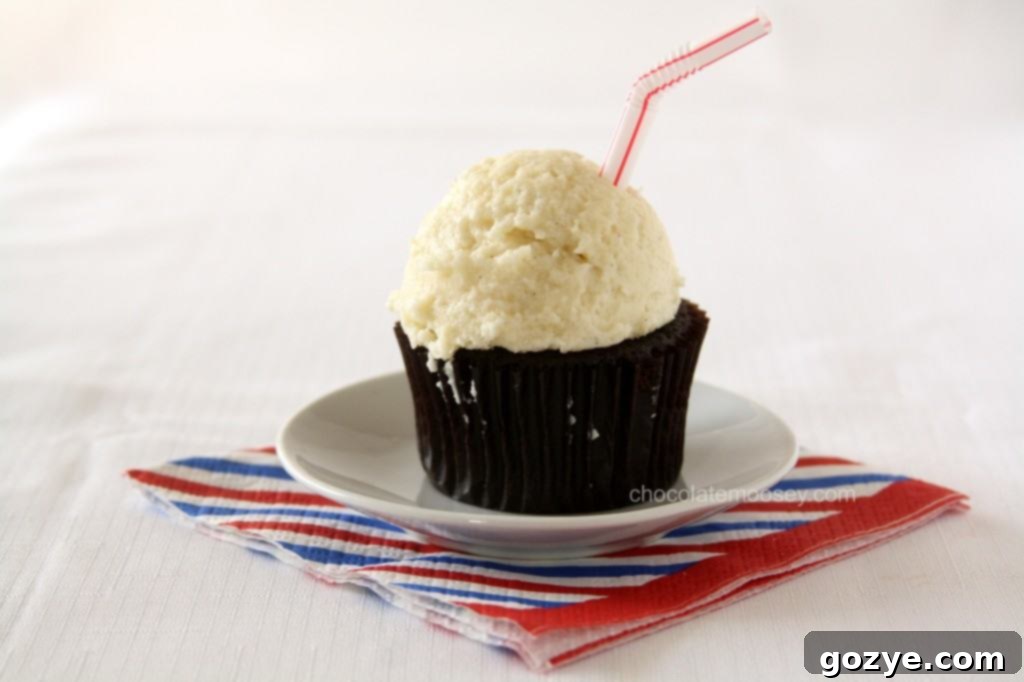
- Root Beer Float Cupcakes: All the flavors of your favorite float, but in a moist and fluffy cupcake form. Perfect for parties!
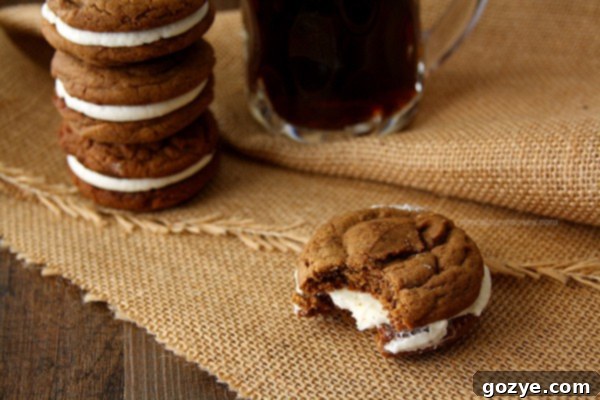
- Root Beer Float Sandwich Cookies: A creative twist, combining the root beer essence with creamy filling between two soft cookies.
- Fruit Popsicles: For those days you crave something lighter and bursting with fresh fruit flavors, these are a vibrant and healthy choice.
From Other Talented Bakers:
- Paletas (Mexican Popsicles) – 4 varieties from Pineapple and Coconut: Explore a world of refreshing and vibrant fruit-based popsicles with these authentic Mexican recipes.
- Frozen Root Beer Float Pie from Spend With Pennies: If you love the float flavor but prefer a creamy, sliceable dessert, this pie is an absolute must-try.
