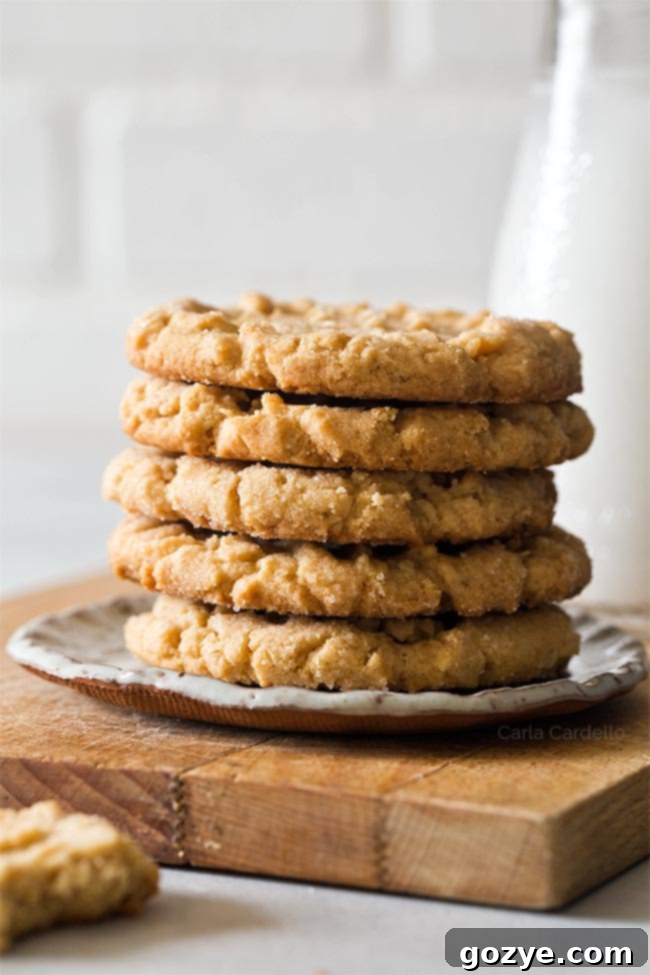
Classic Small Batch Peanut Butter Cookies: Soft, Chewy, and No Chill Required!
Indulge in the nostalgic comfort of classic peanut butter cookies, reimagined for modern cravings with this incredible small batch recipe. These cookies are wonderfully soft and perfectly chewy, boasting a melt-in-your-mouth texture that’s never dry or crumbly. The best part? There’s absolutely no chilling required, so you can go from craving to biting into a warm, homemade peanut butter cookie in under 30 minutes!
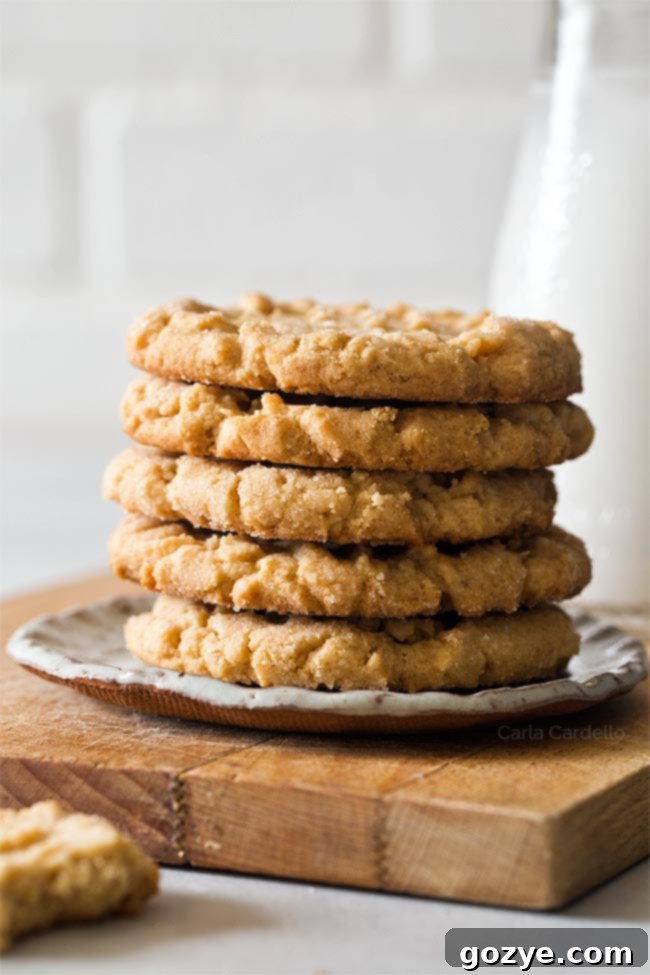
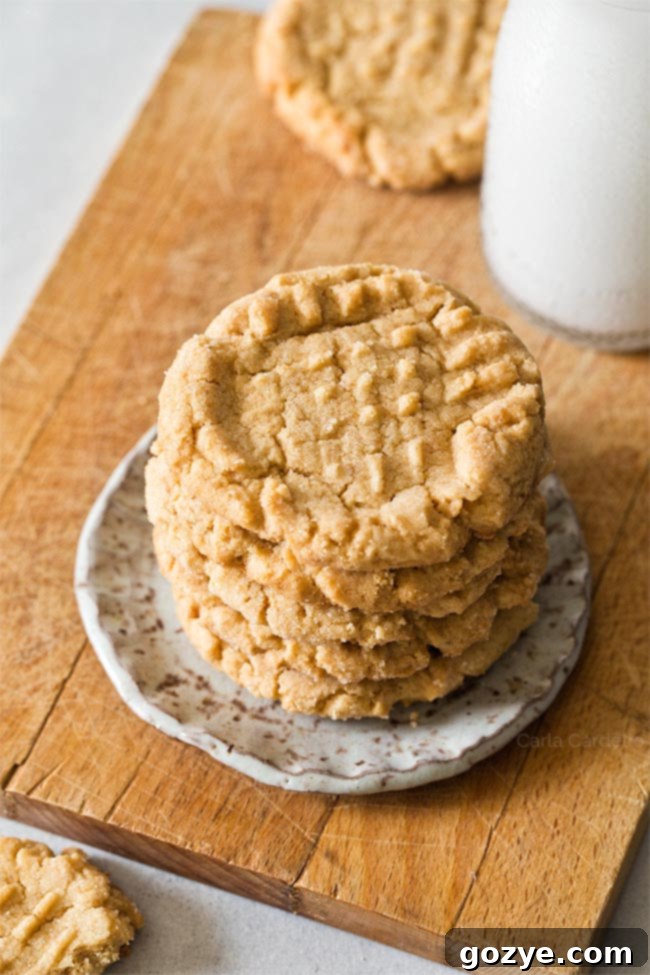
For many of us, classic peanut butter cookies are a foundational baking memory. I still fondly recall learning to make these delightful treats in middle school home economics class, carefully pressing the fork to create those iconic criss-cross hash marks. It’s a simple pleasure that transports you straight back to childhood.
Despite their charm, it had been a long time since I last baked them. Recently, I found myself wanting to revisit this beloved classic but in a more manageable portion. That’s when I decided it was time to perfect a Small Batch Peanut Butter Cookie recipe – just enough to satisfy a craving without overindulging. And I must say, with complete sincerity, this recipe has quickly become one of the best peanut butter cookies I’ve ever made!
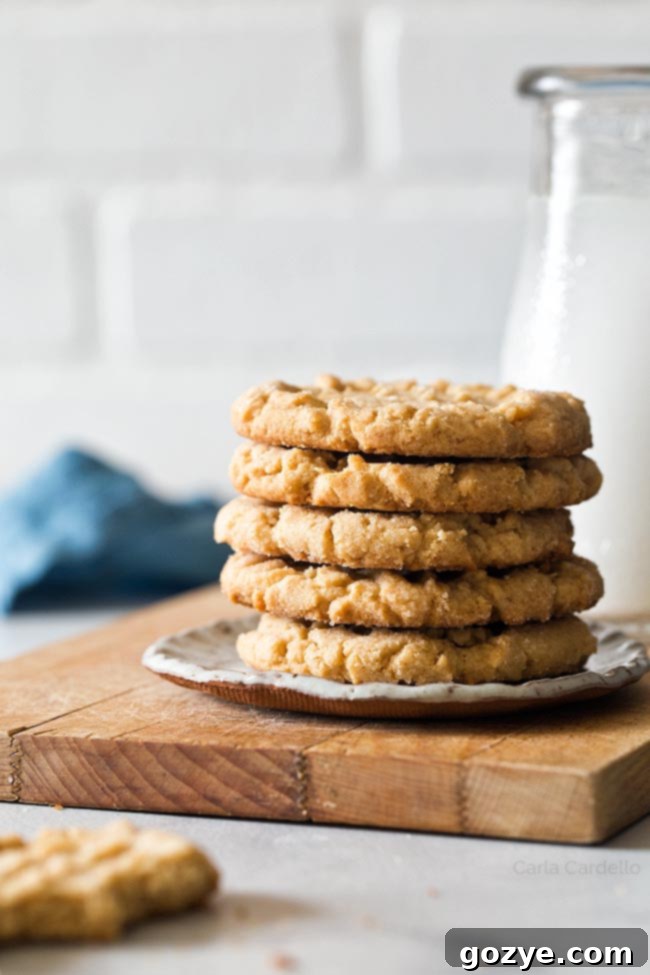
These cookies offer a truly exceptional texture. They feature wonderfully chewy edges that gradually yield to a soft, tender middle. Each bite melts in your mouth with a delightful, slightly sandy texture, reminiscent of a delicate pecan sandie, yet without any dryness. The rich, intense peanut butter flavor is so prominent that you’ll instinctively reach for a tall glass of milk to accompany them. A subtle, satisfying crunch comes from rolling the cookie dough in granulated sugar before baking, adding another layer of texture that elevates these simple treats.
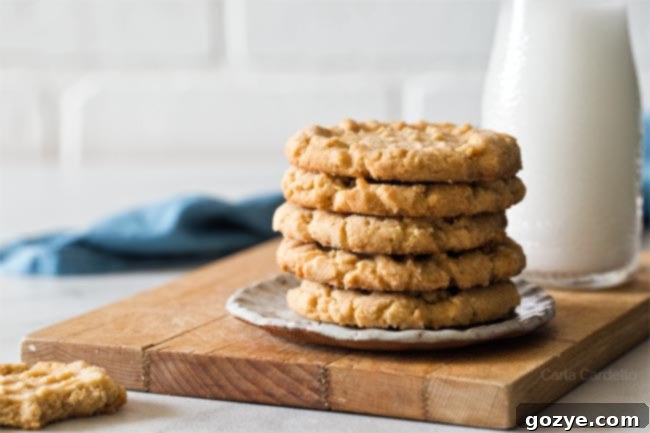
And don’t let the term “small batch” fool you – these aren’t tiny cookies! The dough spreads beautifully in the oven, creating substantial cookies that are thick enough to remain wonderfully soft rather than becoming thin and crispy. This recipe yields a perfect batch of 9 cookies. In my baking philosophy, anything less than a full dozen is considered a small batch, making it ideal for a couple, a small family, or simply for those who prefer fresh cookies without a huge commitment. Plus, the cookie dough freezes exceptionally well, offering the ultimate flexibility to bake them all at once or save some for later.
In a rush? You can satisfy your sweet tooth even faster with my microwave peanut butter cookie, ready in less than 5 minutes!
Essential Ingredients for Your Small Batch Peanut Butter Cookies
Crafting the perfect small batch peanut butter cookies requires a few pantry staples. Each ingredient plays a crucial role in achieving that signature soft, chewy, and intensely peanut buttery flavor:
- All-purpose flour: Accurate measurement is key here! Due to the limited liquid content in this specific dough, it’s vital to use the spoon and level method rather than scooping directly from the bag. This prevents over-measuring, which can lead to dry, crumbly cookies. For a detailed guide, learn more about how to measure flour.
- Baking soda and baking powder: The dynamic duo! Using both leavening agents in combination ensures a delightful texture – cookies that boast crisp edges while remaining wonderfully soft and tender in the middle.
- Salt: A pinch of salt is a flavor enhancer, not just in savory dishes but especially in baking. It beautifully balances and brings out the deep, rich flavors of the peanut butter and sugars, particularly since we’re using unsalted butter.
- Unsalted Butter: Opting for unsalted butter gives you precise control over the overall salt content in your small batch. Butter also contributes significantly to the cookie’s texture, helping the dough spread beautifully during baking to achieve that perfect thickness.
- Peanut butter: For consistent results, this small batch peanut butter cookie recipe has been thoroughly tested with typical processed peanut butter (like Jif or Skippy). Its consistent texture and oil content deliver reliable outcomes. Natural peanut butter, with its varying oil separation, can sometimes yield inconsistent results.
- Brown sugar: This is a critical ingredient for chewiness and moisture. It’s absolutely essential to use fresh, soft, and moist brown sugar. Dry or crumbly brown sugar will significantly affect the dough’s texture, making it difficult to work with and resulting in a dry cookie (more on softening techniques below). Brown sugar’s molasses also provides a slight acidity that reacts with the baking soda, aiding in leavening.
- Granulated Sugar: White granulated sugar works alongside brown sugar to contribute to the cookie’s desirable chewy texture. Beyond its role in the dough, rolling the cookie balls in granulated sugar before baking adds a lovely, subtle crunch to the exterior, making each bite even more satisfying.
- Egg yolk: In a small batch recipe like this, a whole egg introduces too much moisture, which can lead to a more cakey rather than chewy cookie. Using just the egg yolk provides the necessary richness and acts as a binder, helping to hold the dough together while maintaining that perfectly chewy texture.
- Vanilla extract: Much like salt, vanilla extract doesn’t just add its own flavor; it enhances and deepens all the other flavors present in the cookie, adding a warm and inviting aromatic note.
Mastering the Art of Softening Brown Sugar
Ensuring your brown sugar is soft and moist, not hard and crumbly, is a crucial step for the success of these small batch peanut butter cookies. While it might seem like a minor detail, it’s incredibly important here.
This recipe has a higher fat content from the peanut butter but minimal liquid (only an egg yolk). If your brown sugar is dry, it won’t contribute the necessary moisture, leading to a crumbly dough that’s difficult to scoop and a dry cookie texture. I learned this the hard way during my initial recipe tests! My brown sugar was on the verge of being dry, and my impatience led me to use it anyway. The result? A very crumbly dough that was a challenge to work with. The next time, with properly softened brown sugar, the problem was completely solved.
To keep your brown sugar soft for future baking, try adding a slice of fresh bread or a few marshmallows to its airtight storage container. These items will release moisture, keeping your sugar perfectly pliable.
However, if you need soft brown sugar right now and yours is hardened, don’t despair! Place the hardened sugar in a microwave-safe bowl. Lay a moist (not dripping wet) paper towel directly on top of the sugar. Microwave it in short 20-second increments, checking and fluffing with a fork after each interval, until it becomes soft again. Be very careful not to overheat and accidentally melt the sugar. This is exactly what I should have done during my first testing round, but c’est la vie – live and learn!
Not in the mood to scoop individual cookie dough balls? You might love my no-fuss Peanut Butter Cookie Bars or these irresistible Peanut Butter Blondies with Reese’s Pieces, both conveniently baked in an 8×8 inch pan.
How To Make A Small Batch Of Peanut Butter Cookies: Your Easy Guide
Making homemade peanut butter cookies for two (or a few!) from scratch is incredibly straightforward and quick. Follow these simple steps for perfectly baked treats:
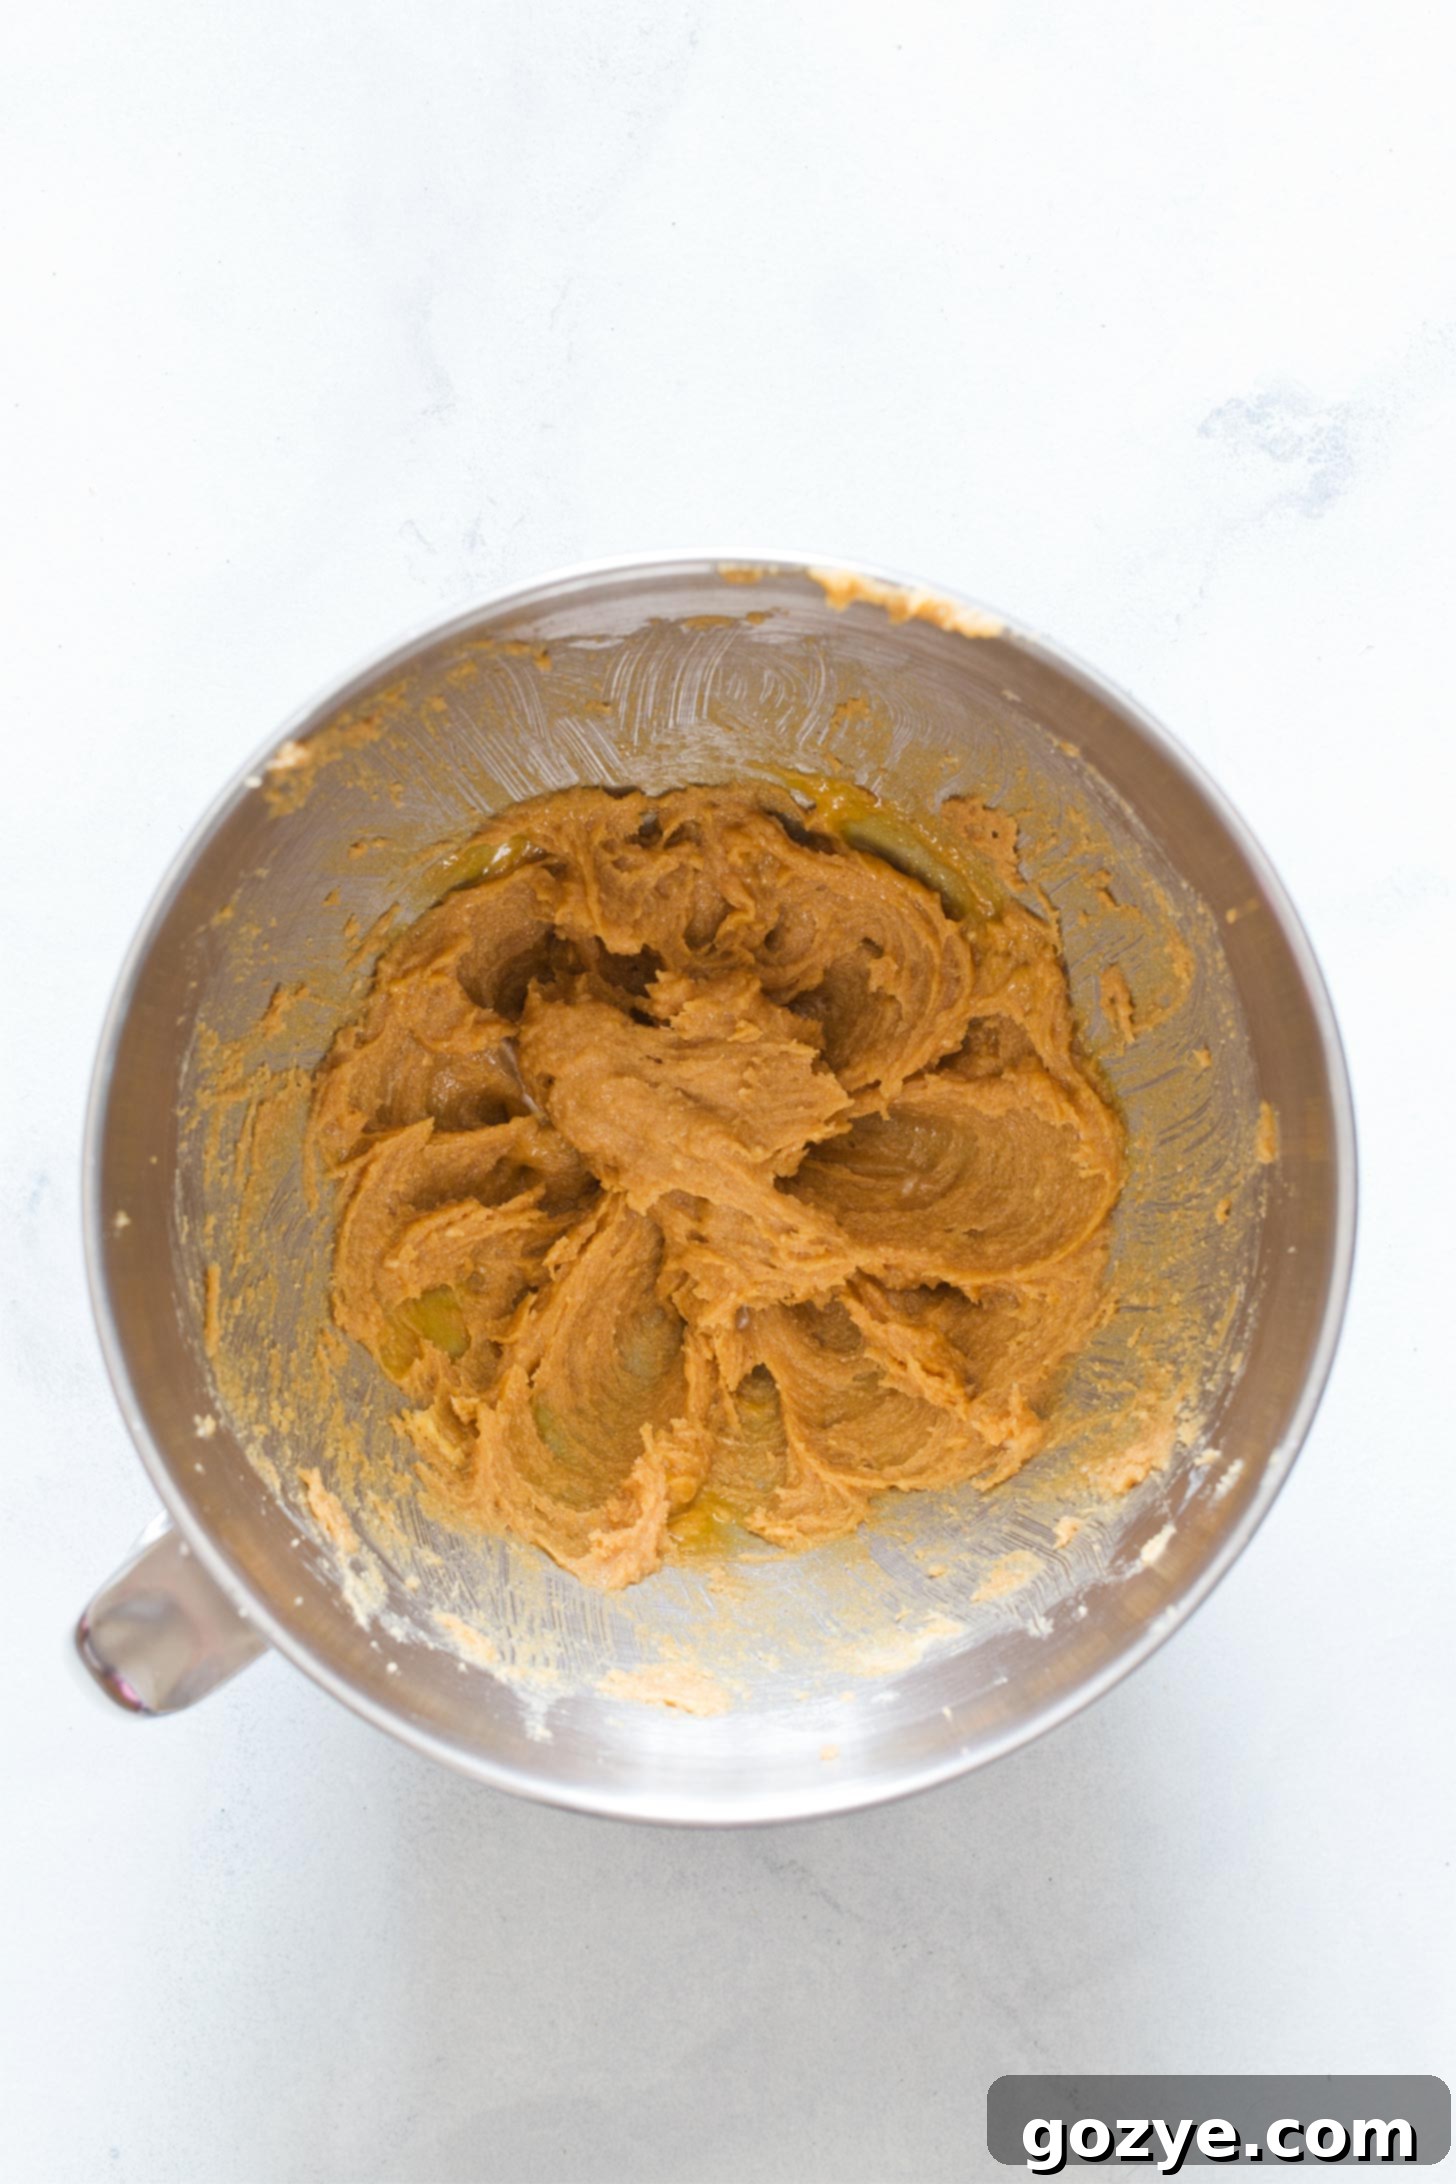
Step 1: Cream the Wet Ingredients. In a mixing bowl, combine your softened butter, creamy peanut butter, and both the brown and granulated sugars. Beat these ingredients together until the mixture is light, fluffy, and well combined. Proper creaming incorporates air, which contributes to the cookies’ tender texture.
Step 2: Add Egg Yolk and Vanilla. Next, beat in the single egg yolk and the vanilla extract until they are fully incorporated into the creamy mixture. The egg yolk helps bind the dough and adds richness, while vanilla enhances all the sweet flavors.
Step 3: Gradually Incorporate Dry Ingredients. Slowly add your whisked dry ingredients (flour, baking soda, baking powder, salt) to the wet mixture. Mix on low speed just until a cohesive dough forms. Be careful not to overmix, as this can lead to tough cookies.
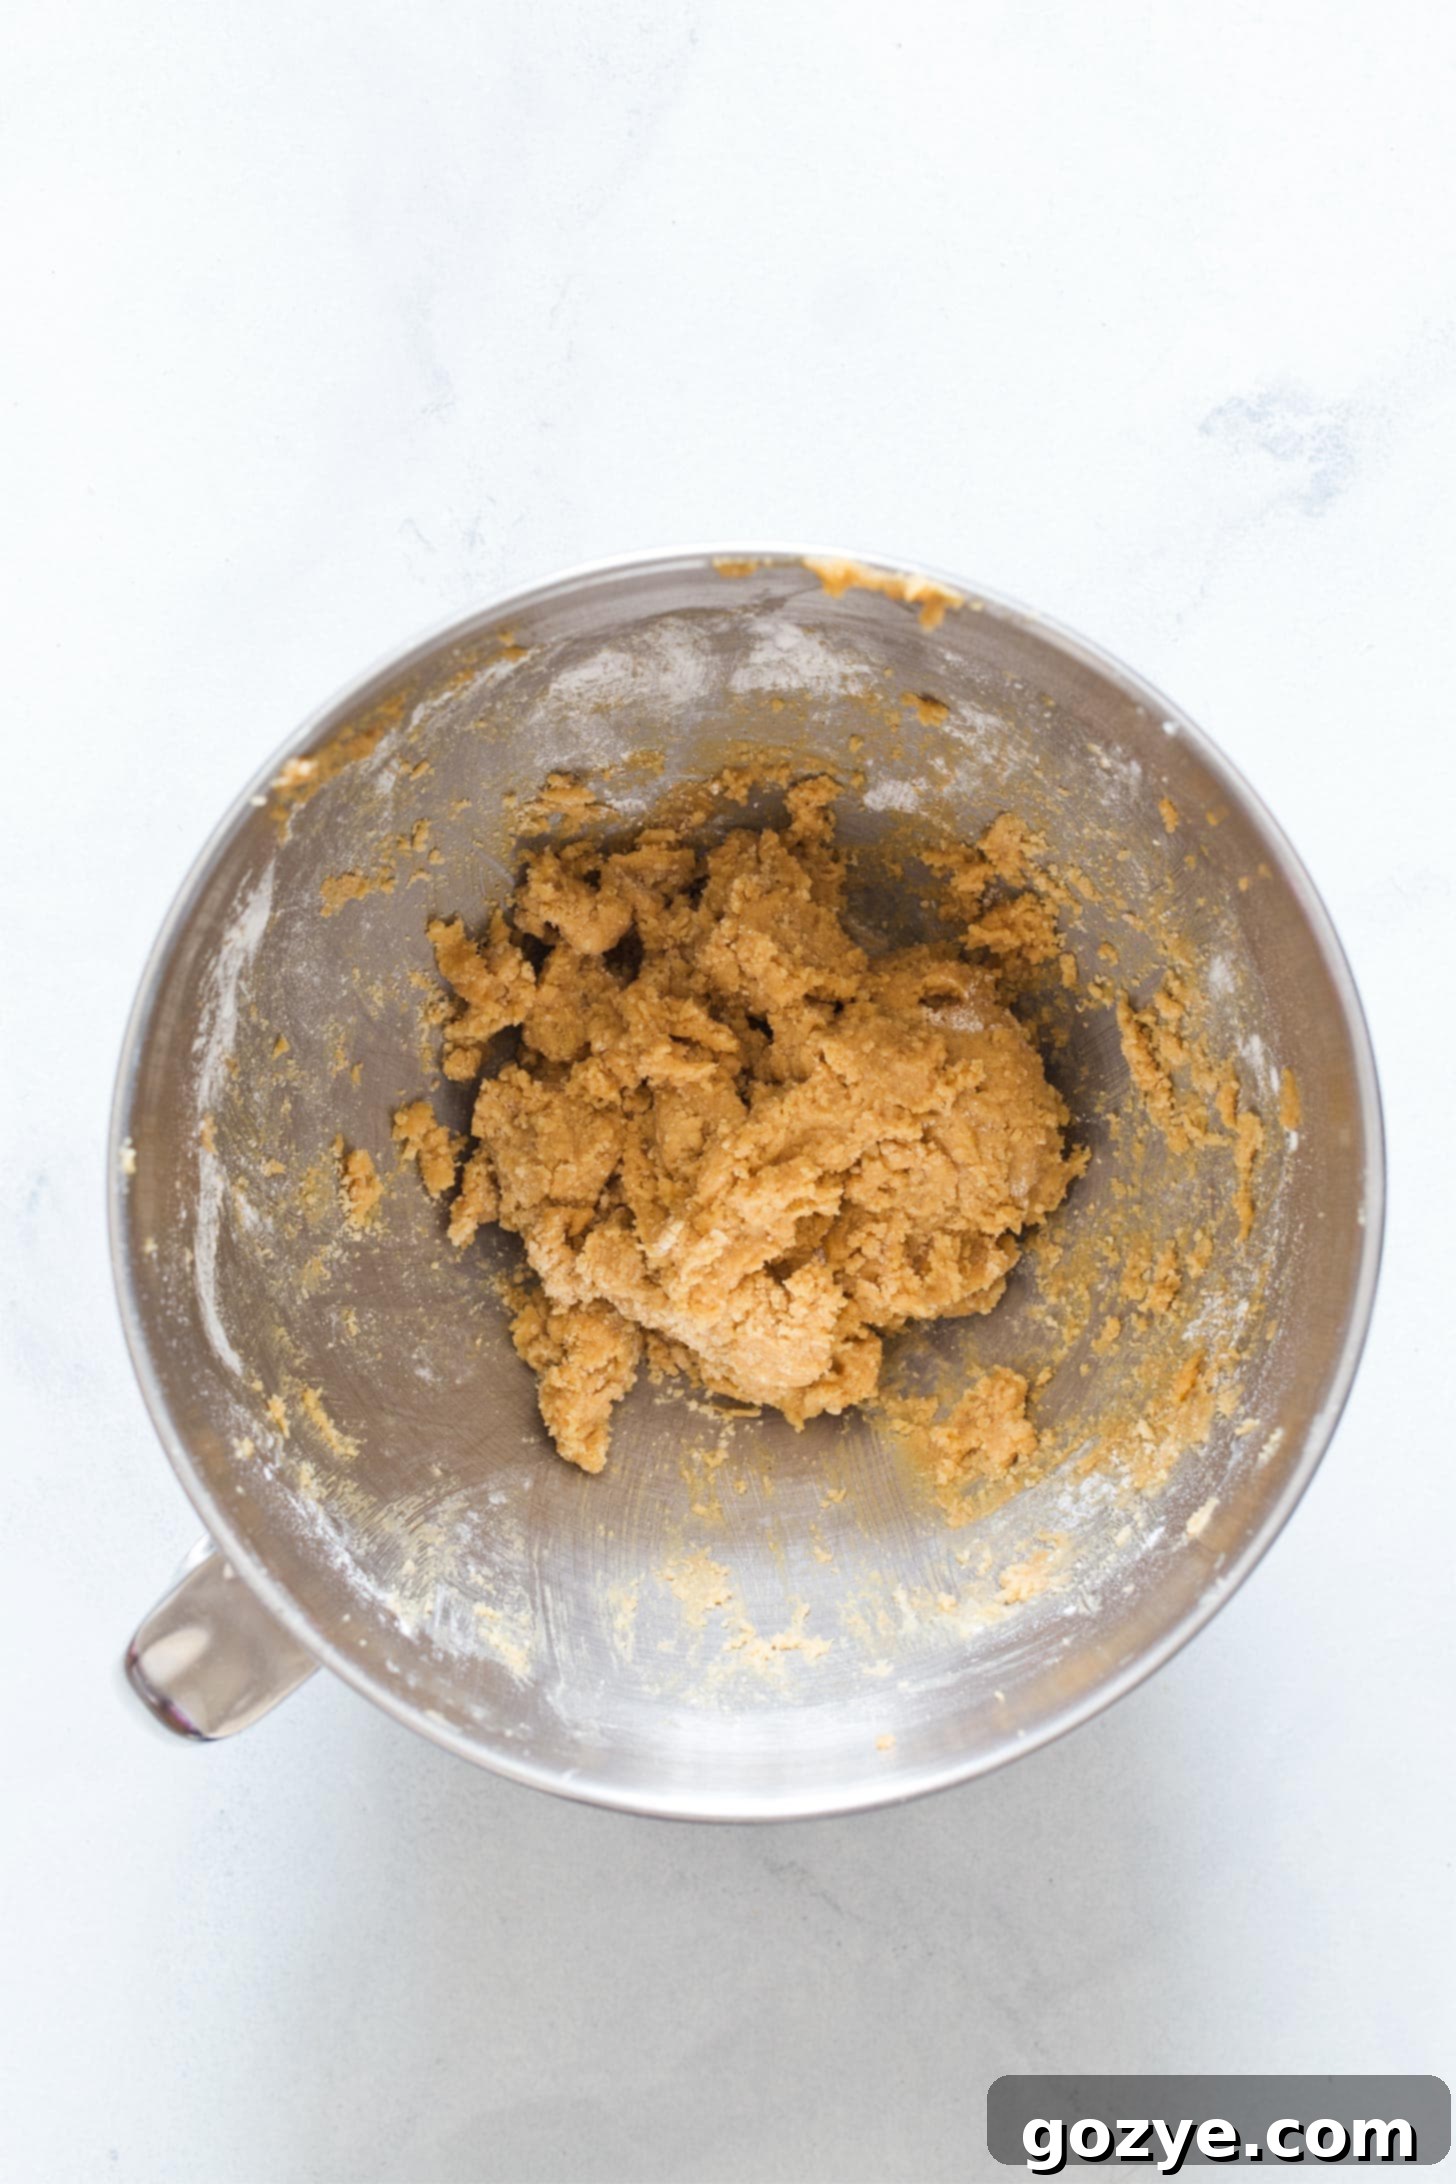
The resulting dough will be slightly sticky, which is perfectly normal for most cookie doughs. While this recipe is designed to be baked without chilling, if your kitchen is particularly warm and the dough feels too soft or warm to handle easily, you can refrigerate it for about 15 minutes. This brief chill will make it much easier to scoop and roll.
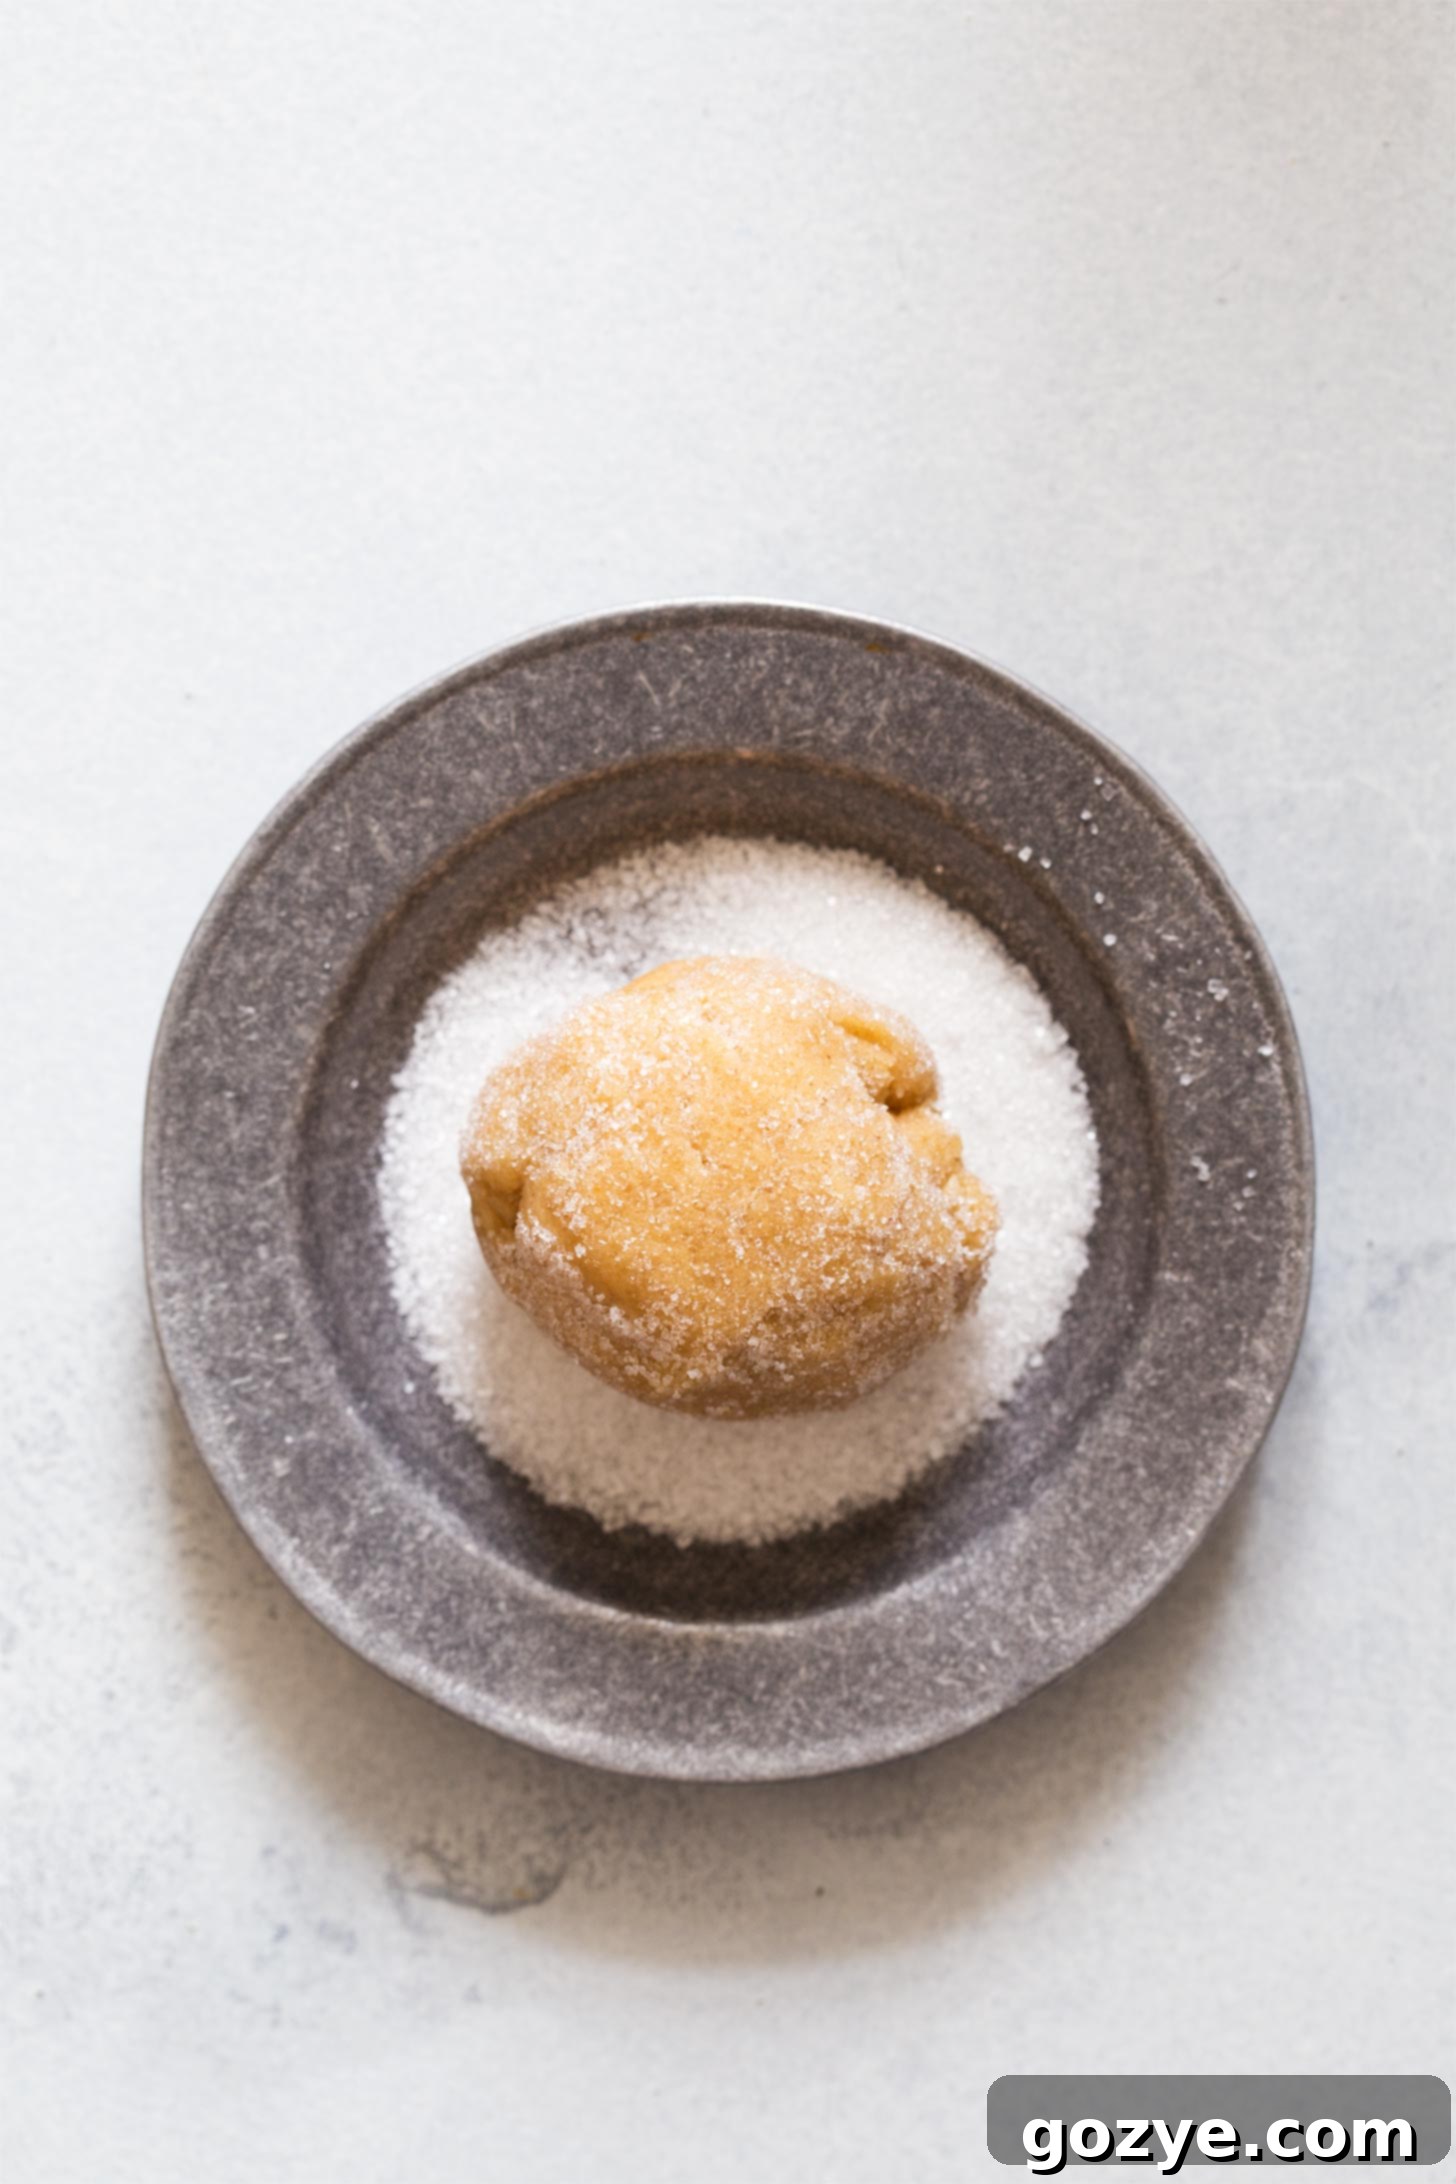
Step 4: Roll in Sugar. Using a cookie scoop or your hands, portion out the dough into uniform balls. Then, roll each dough ball generously in a bowl of granulated sugar. This step is highly recommended as it adds a wonderful subtle crunch and beautiful sparkle to the finished cookies.
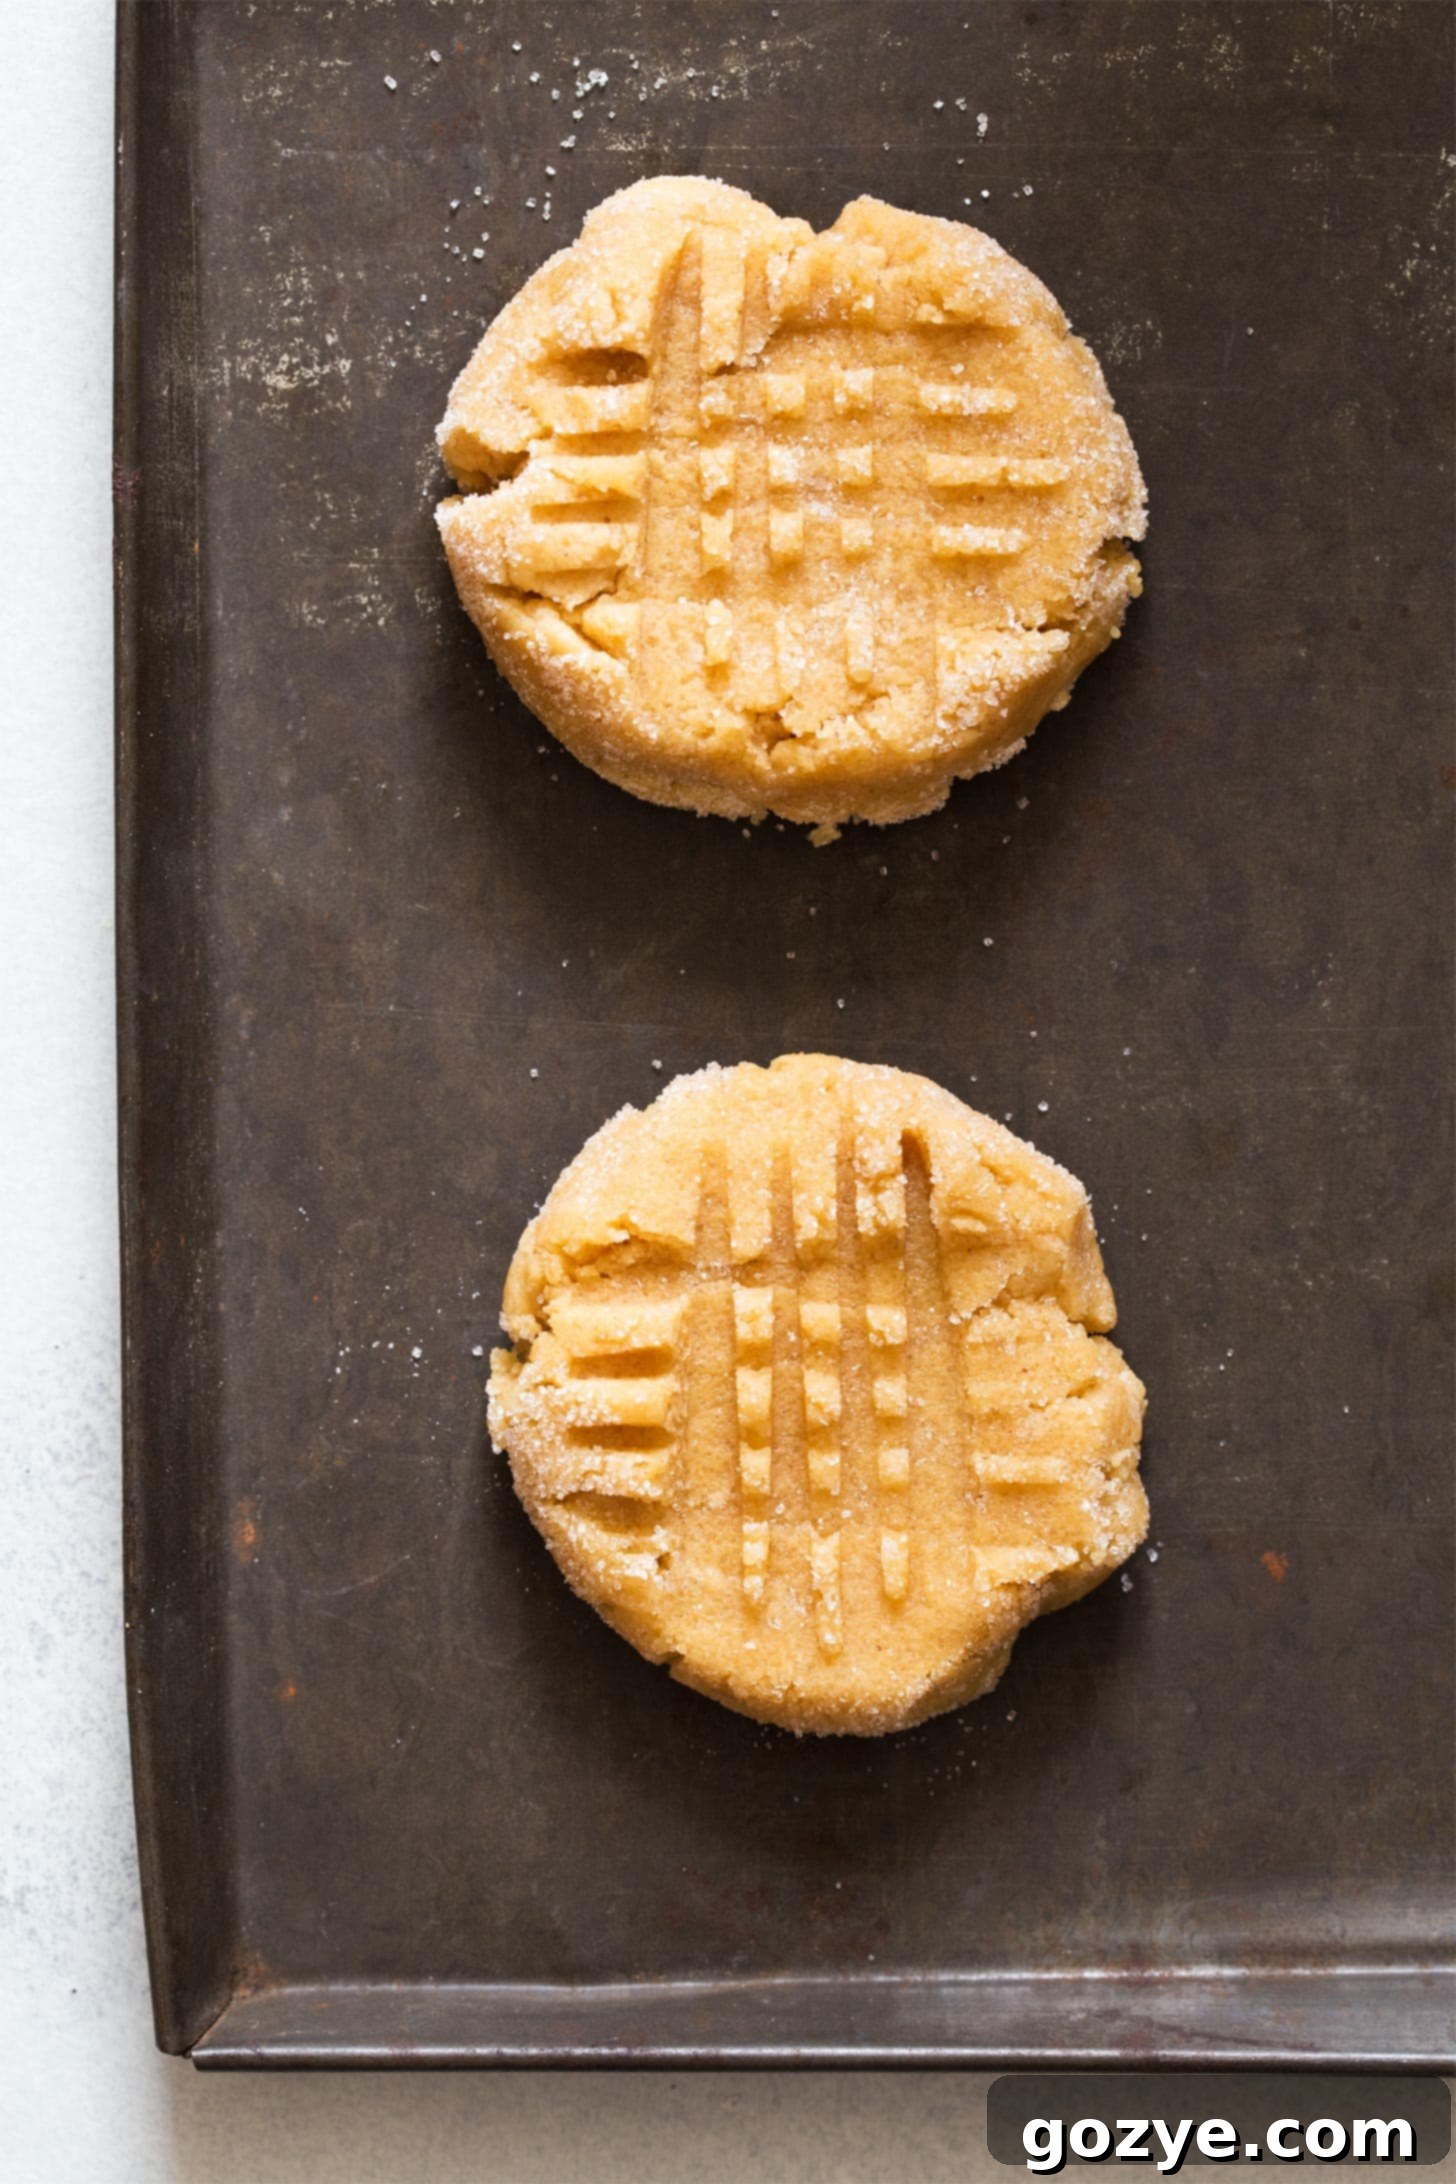
Step 5: Create Criss-Cross Marks. Place the sugar-coated dough balls on your prepared cookie sheet, spaced about 2 inches apart. Take a fork and gently press it down into the center of each dough ball to leave distinct tine marks. Rotate your fork 90 degrees and press down again to create the traditional criss-cross pattern. This classic step isn’t just for aesthetics; it also helps the cookies bake more evenly.
Don’t be alarmed if the cookies look a bit small after pressing; they will spread out nicely during baking.
Step 6: Bake to Golden Perfection. Bake your cookies in a preheated oven at 350°F (175°C) for 8-10 minutes. Look for a golden-brown hue, especially around the edges, as a sign of doneness. They might seem slightly soft in the center when first removed from the oven, but they will firm up as they cool.
Do I Have to Roll the Peanut Butter Dough in Sugar?
While technically optional, I highly recommend rolling the cookie dough in granulated sugar before baking. This simple step contributes a fantastic, subtle crunch to the exterior of each cookie, adding an extra layer of texture that truly enhances the eating experience. It also gives them a lovely, finished look.
However, rest assured that even without the sugar coating, these peanut butter cookies will still be incredibly flavorful, super peanut buttery, and utterly delicious. It’s a matter of personal preference, but for that classic taste and texture, the sugar roll is a winner.
Do You Need to Chill the Dough for Peanut Butter Cookies?
One of the most frustrating aspects of many cookie recipes is the mandatory chilling time. Nothing dampens the mood more than craving a warm, homemade peanut butter cookie only to discover you have to wait an hour (or more!) for the dough to chill.
As someone who appreciates instant gratification when it comes to baking, I specifically developed this small batch recipe to be baked right away, with no chilling required. The precise balance of ingredients ensures the cookies spread perfectly without needing refrigeration first.
Of course, if you prefer to prepare your cookie dough in advance or want to bake only a few at a time, you absolutely can chill the dough. Simply store it in an airtight container in the refrigerator until you’re ready to bake. This flexibility makes the recipe perfect for meal prepping or portion control.
Troubleshooting: Why Are My Peanut Butter Cookies Crumbly?
It can be disheartening when your cookie dough turns out crumbly instead of pliable. Several readers have encountered this issue with peanut butter cookie dough, and it’s usually due to a few common culprits:
- Dry Brown Sugar: As discussed earlier, this is the most frequent reason. If your brown sugar is hard and dry, it won’t contribute enough moisture to the dough, leading to a crumbly texture. Ensure your brown sugar is soft and moist before you start baking.
- Incorrect Egg Yolk Size: This recipe relies on a standard large egg yolk for just the right amount of moisture and binding. If your egg yolk was on the smaller side, or if you accidentally used a medium egg yolk, it might not provide enough liquid to hold the dough together.
- Too Much Flour: Even a slight over-measurement of flour can dramatically affect the dough’s consistency, especially in a small batch recipe where ratios are critical. Always use the spoon and level method to measure your all-purpose flour precisely.
How to Fix Crumbly Dough: If you find your dough is too crumbly after mixing, try beating it for an extra minute or two. Sometimes, simply allowing the ingredients to come together more thoroughly can help. If it’s still too dry, you can add a drop or two of milk (or even water, though milk adds a bit more richness). Be extremely cautious not to add too much liquid, as this dough isn’t designed to contain milk, and excess can alter the cookie’s texture, making it less chewy and more cake-like.
I know it’s tempting to add the leftover egg white to salvage the situation, but resist the urge! Adding the egg white would introduce too much moisture, invariably leading to cakey rather than perfectly chewy peanut butter cookies.
Can You Freeze Small Batch Peanut Butter Cookies?
Absolutely! These homemade peanut butter cookies freeze wonderfully, whether you prefer to freeze the dough for future baking or preserve baked cookies for later enjoyment. Here are two convenient methods:
- Freeze Peanut Butter Cookie Dough Before Baking: This method is perfect for having fresh-baked cookies on demand. After scooping the dough into balls but before rolling them in sugar or pressing with a fork, place the dough balls on a baking sheet or plate. Refrigerate them for about 1 hour until they are firm. Once firm, transfer the dough balls to a freezer-safe zip-top bag or airtight container. They can be frozen for up to 3 months. When you’re ready to bake, let the frozen dough thaw on the counter for about 30 minutes, then roll in sugar, press with a fork, and bake according to the recipe instructions.
- Freeze Peanut Butter Cookies After Baking: If you want to have ready-to-eat cookies on hand, this is the method for you. Once your cookies have cooled completely to room temperature, arrange them in a single layer on a baking sheet or plate and freeze for 1 hour until solid. Once firm, transfer the frozen cookies to a freezer-safe bag or airtight container, separating layers with parchment paper if stacking. They will keep well in the freezer for up to 3 months. When you’re ready to enjoy them, simply let them sit out on the counter until they reach room temperature – no re-baking necessary!
How To Store Small Batch Peanut Butter Cookies
Assuming you manage to resist the urge to devour the entire small batch in one sitting (a challenge, I know!), these peanut butter cookies store beautifully. Simply place the cooled cookies in an airtight container and keep them at room temperature. They will remain fresh, soft, and delicious for up to 1 week.
What To Do With Leftover Egg Whites
This delightful small batch peanut butter cookie recipe ingeniously uses just one egg yolk, which means you’ll have a single leftover egg white. Don’t let it go to waste! There are numerous culinary uses for a single egg white. You can save it in an airtight container in the refrigerator for a day or two, or freeze it for longer storage.
If you’re unsure what to whip up with your leftover egg whites, check out these creative and delicious recipes using leftover egg whites for inspiration!
More Irresistible Small Batch Cookie Recipes
If you love the convenience and joy of baking smaller quantities of cookies, you’re in luck! Here are more fantastic small batch cookie recipes that will satisfy your cravings without yielding a giant pile of sweets:
- Small Batch Chocolate Chip Cookies: The ultimate classic in a perfect mini batch.
- Small Batch Peanut Butter Cookie Cups: All the peanut butter cookie flavor, elevated with a chocolate cup!
- Small Batch Snickerdoodle Recipe Without Cream Of Tartar: Cinnamon-sugar goodness, no cream of tartar needed.
- Small Batch M&M Cookie Recipe: Fun, colorful, and perfectly portioned.
- Chocolate Sugar Cookies: A rich, soft twist on a classic.
- Red Velvet Sugar Cookie Recipe: Decadent red velvet in a smaller serving.
- Small Batch Gingerbread Cookies: Festive and spiced, perfect for any time of year.
Small Batch Peanut Butter Cookies
9 cookies
20 minutes
8 minutes
28 minutes
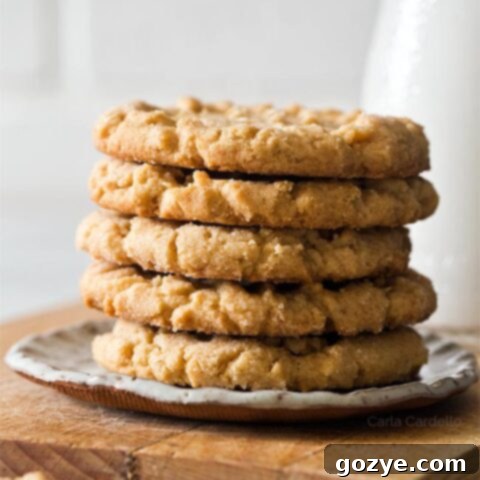
Classic Small Batch Peanut Butter Cookies are soft and chewy with a melt in your mouth texture without being dry. No chilling required!
Ingredients
- 2/3 cup all-purpose flour, sifted (measure by spooning and leveling rather than scooping and packing it in)
- 1/4 teaspoon baking powder
- 1/4 teaspoon baking soda
- 1/4 teaspoon salt
- 1/4 cup (2 ounces or 4 tablespoons) unsalted butter, softened
- 1/4 cup smooth processed peanut butter (not natural)
- 1/4 cup packed brown sugar (make sure it’s soft and moist. If it’s dry and crumbly, the cookie dough will also be dry and crumbly.)
- 2 tablespoons + 2 teaspoons granulated sugar
- 1 egg yolk, room temperature
- 1/2 teaspoon vanilla extract
Instructions
- Preheat oven to 350F. Have a large ungreased baking sheet lined with parchment paper ready.
- In a medium bowl, whisk together the flour, baking powder, baking soda, and salt.
- In a large mixing bowl on medium-low speed, beat together the butter, peanut butter, brown sugar, and 2 tablespoons granulated sugar until light and creamy, about 1-2 minutes.
- Scrape down the bowl with a rubber spatula then beat in the egg yolk and vanilla.
- Turn the speed down to low. Gradually beat in the flour mixture until a dough forms.
- In a small bowl, add the remaining 2 teaspoons sugar.
- Using a #40 cookie scoop or by hand, portion the dough into 1 1/2 tablespoon balls. Roll each ball into the sugar to coat completely then place on the baking sheet about 2 inches apart.
- Flatten each dough using a fork then rotate the fork and press down again, making a criss-cross patten.
- Bake for 8-10 minutes or until golden brown. Cool on the baking sheet for 5 minutes then transfer to a wire rack to finish cooling.
Store cookies in an airtight container at room temperature for up to 1 week.
Notes
- Loved this recipe? Check out my Small Batch Peanut Butter Cookie Cups.
- Since you’re using only the yolk, check out What To Do With Leftover Egg Whites.
- Want more small batch cookies? Check out Small Batch Chocolate Chip Cookies, Snickerdoodles Without Cream Of Tartar, and Flourless Chocolate Cookies.
Recommended Products
As an Amazon Associate and member of other affiliate programs, I earn from qualifying purchases.
- #40 Cookie Scoop
Did you make this recipe?
Let me know what you think! Rate the recipe above, leave a comment below, and/or share a photo on Instagram using #HITKrecipes
Originally published April 25, 2020
Serving Suggestions and Variations for Your Small Batch Peanut Butter Cookies
These classic small batch peanut butter cookies are delightful on their own, but they also lend themselves beautifully to various serving suggestions and simple variations:
- The Classic Pairing: Nothing beats a warm peanut butter cookie with a tall, cold glass of milk. It’s a timeless combination for a reason!
- Coffee or Tea Companion: For a more adult treat, enjoy these cookies with your morning coffee or an afternoon cup of tea. Their rich flavor pairs wonderfully with warm beverages.
- Ice Cream Sandwiches: Elevate your dessert by making mini ice cream sandwiches! Take two cooled cookies and sandwich a scoop of your favorite vanilla or chocolate ice cream between them.
- A Touch of Chocolate: For chocolate and peanut butter lovers, consider pressing a few chocolate chips into the dough balls before baking, or drizzling melted chocolate over the cooled cookies.
- A Sprinkle of Sea Salt: For an extra gourmet touch, a tiny sprinkle of flaky sea salt on top of the cookies right after they come out of the oven can enhance the peanut butter flavor and provide a delightful contrast.
Whether you stick to the classic recipe or try a small twist, these small batch peanut butter cookies are sure to be a hit every time. Enjoy your baking and your delicious homemade treats!
