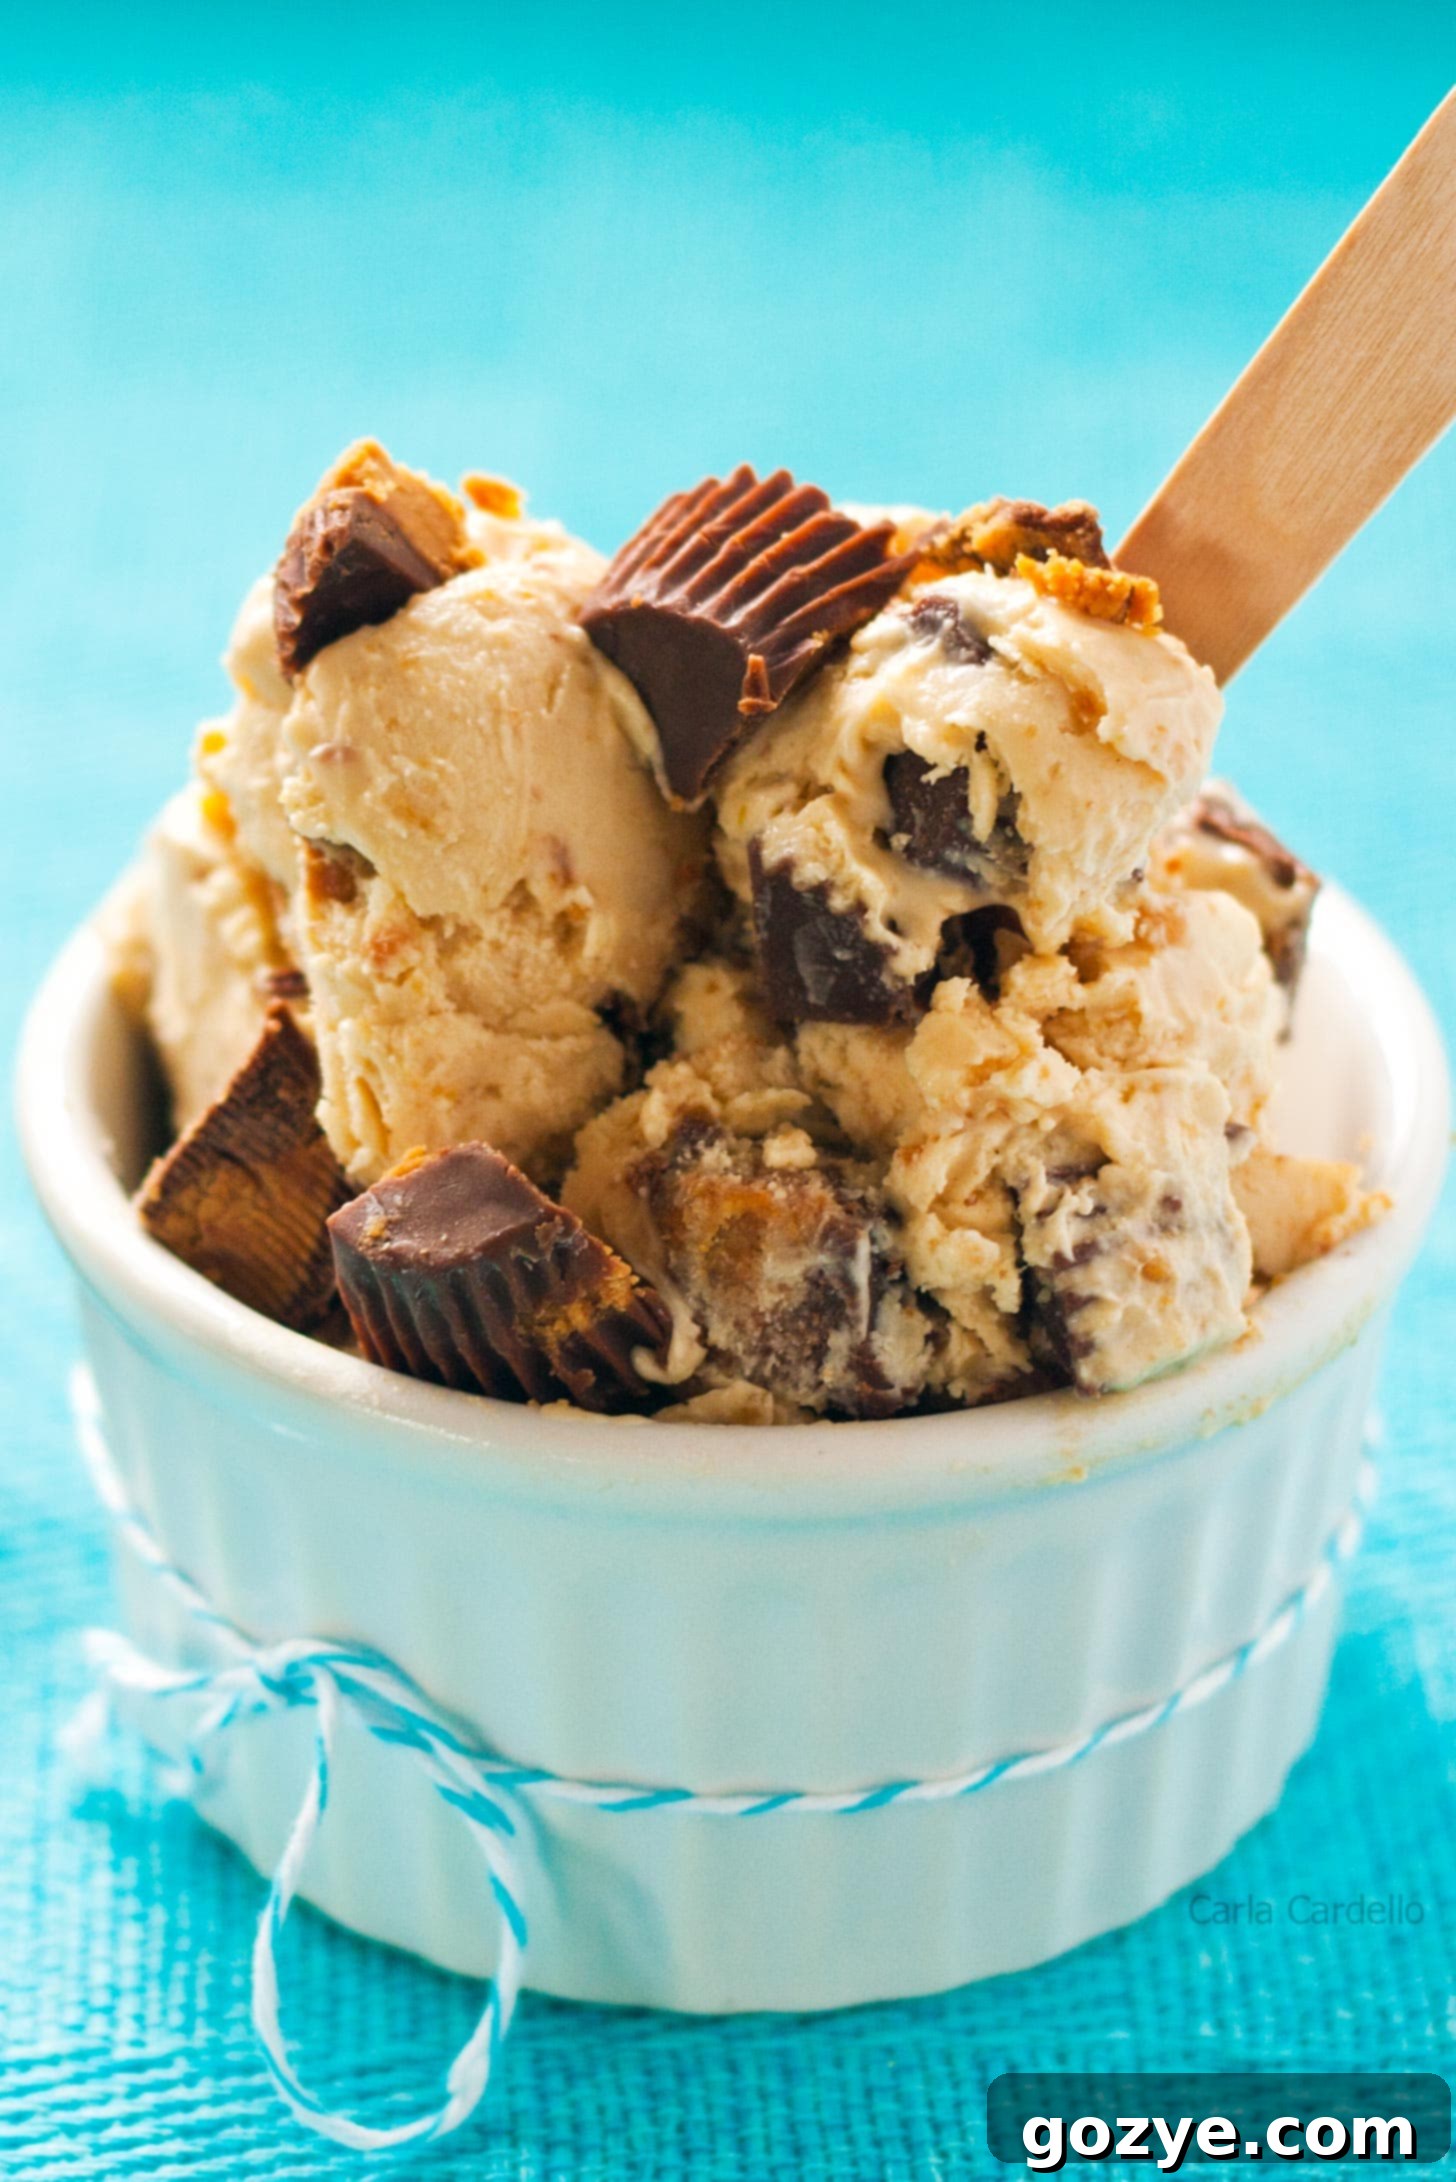
The Ultimate Homemade Peanut Butter Ice Cream Recipe with Peanut Butter Cups (Eggless & No-Churn Friendly)
Prepare for your new obsession: this incredibly creamy, nutty **Peanut Butter Ice Cream** generously studded with chopped peanut butter cups. It’s a game-changer for dessert lovers, an eggless marvel made simply in a blender with just six core ingredients. Forget complicated custard bases or the hassle of dealing with leftover egg whites – this recipe delivers pure, unadulterated peanut butter bliss with minimal effort.
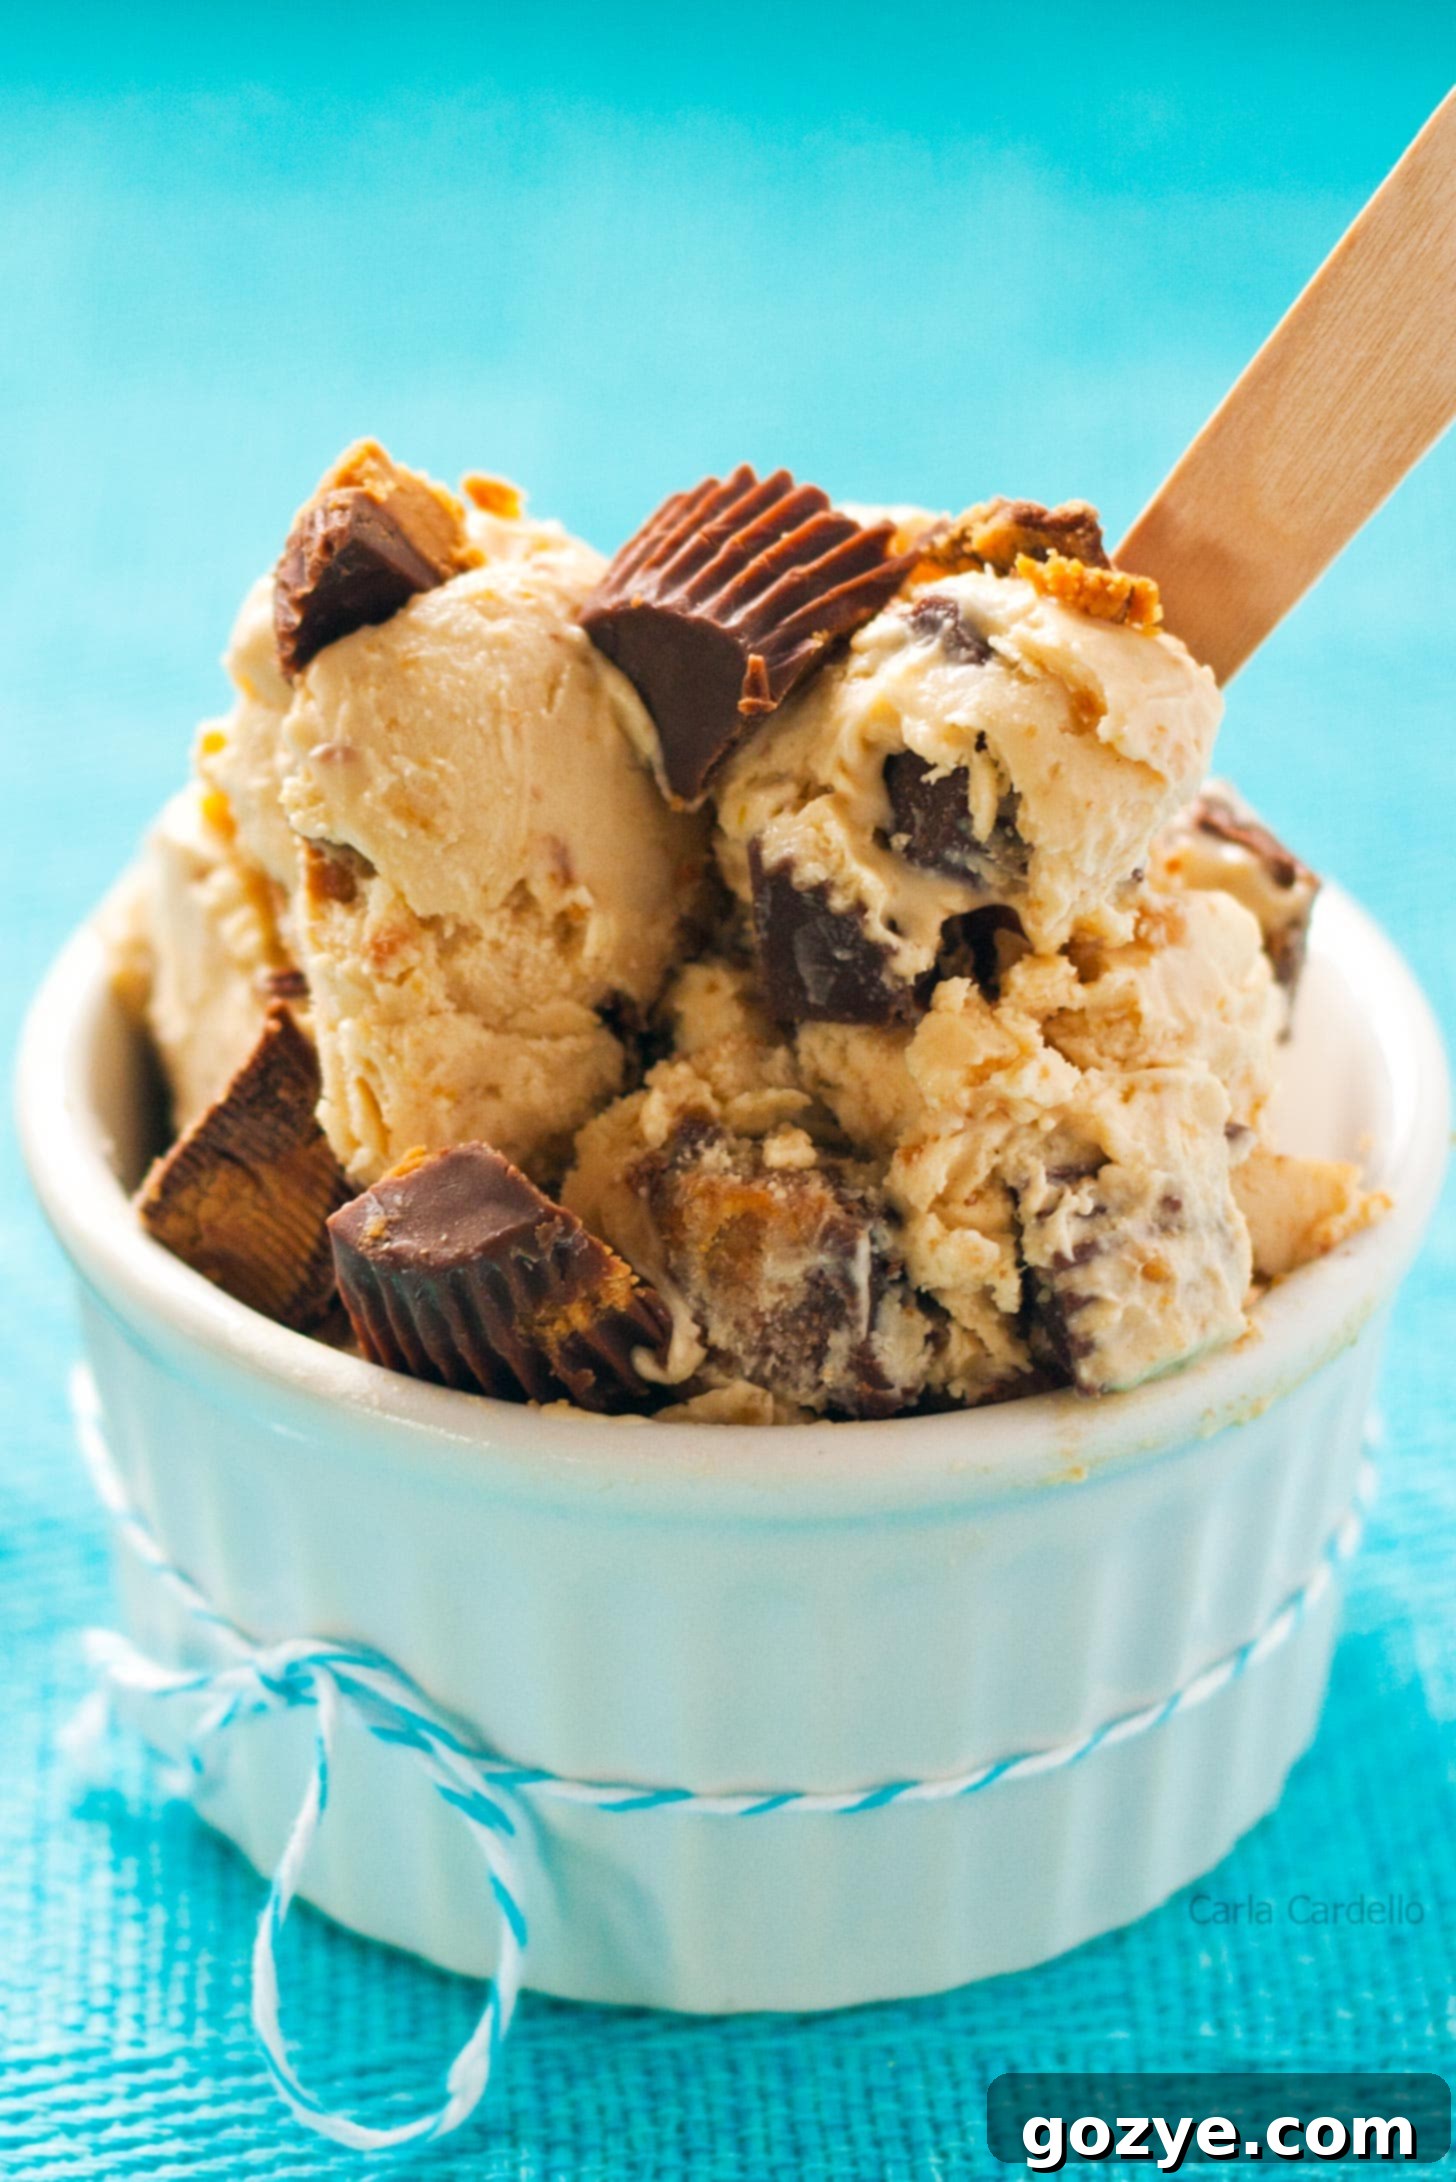
For many home cooks, the joy of making homemade ice cream is often tempered by the need for a custard base, which typically involves eggs. While traditional recipes can be delicious, they often lead to the predicament of leftover egg whites. Sure, you could meticulously plan ahead for a batch of flourless chocolate cookies or a delicate angel food cake in a loaf pan, but let’s be honest – life doesn’t always allow for such perfect culinary coordination.
That’s precisely why this **Peanut Butter Ice Cream** recipe is a revelation. It’s an entirely eggless ice cream that requires no cooking on the stovetop. Simply combine your ingredients in a blender, chill, and then freeze. This makes it an ideal solution not only for those with egg allergies but also for anyone who prefers a fuss-free approach to homemade frozen treats, eliminating any concern about wasting egg whites.
The secret to this rich, scoopable ice cream without eggs lies in the peanut butter itself. Its inherent thickness, high-fat content, and natural creaminess act as a superb emulsifier and stabilizer, effectively replacing the role eggs typically play in ice cream bases. This innovative technique is similar to how my popular Nutella ice cream recipe achieves its velvety texture without a single egg.
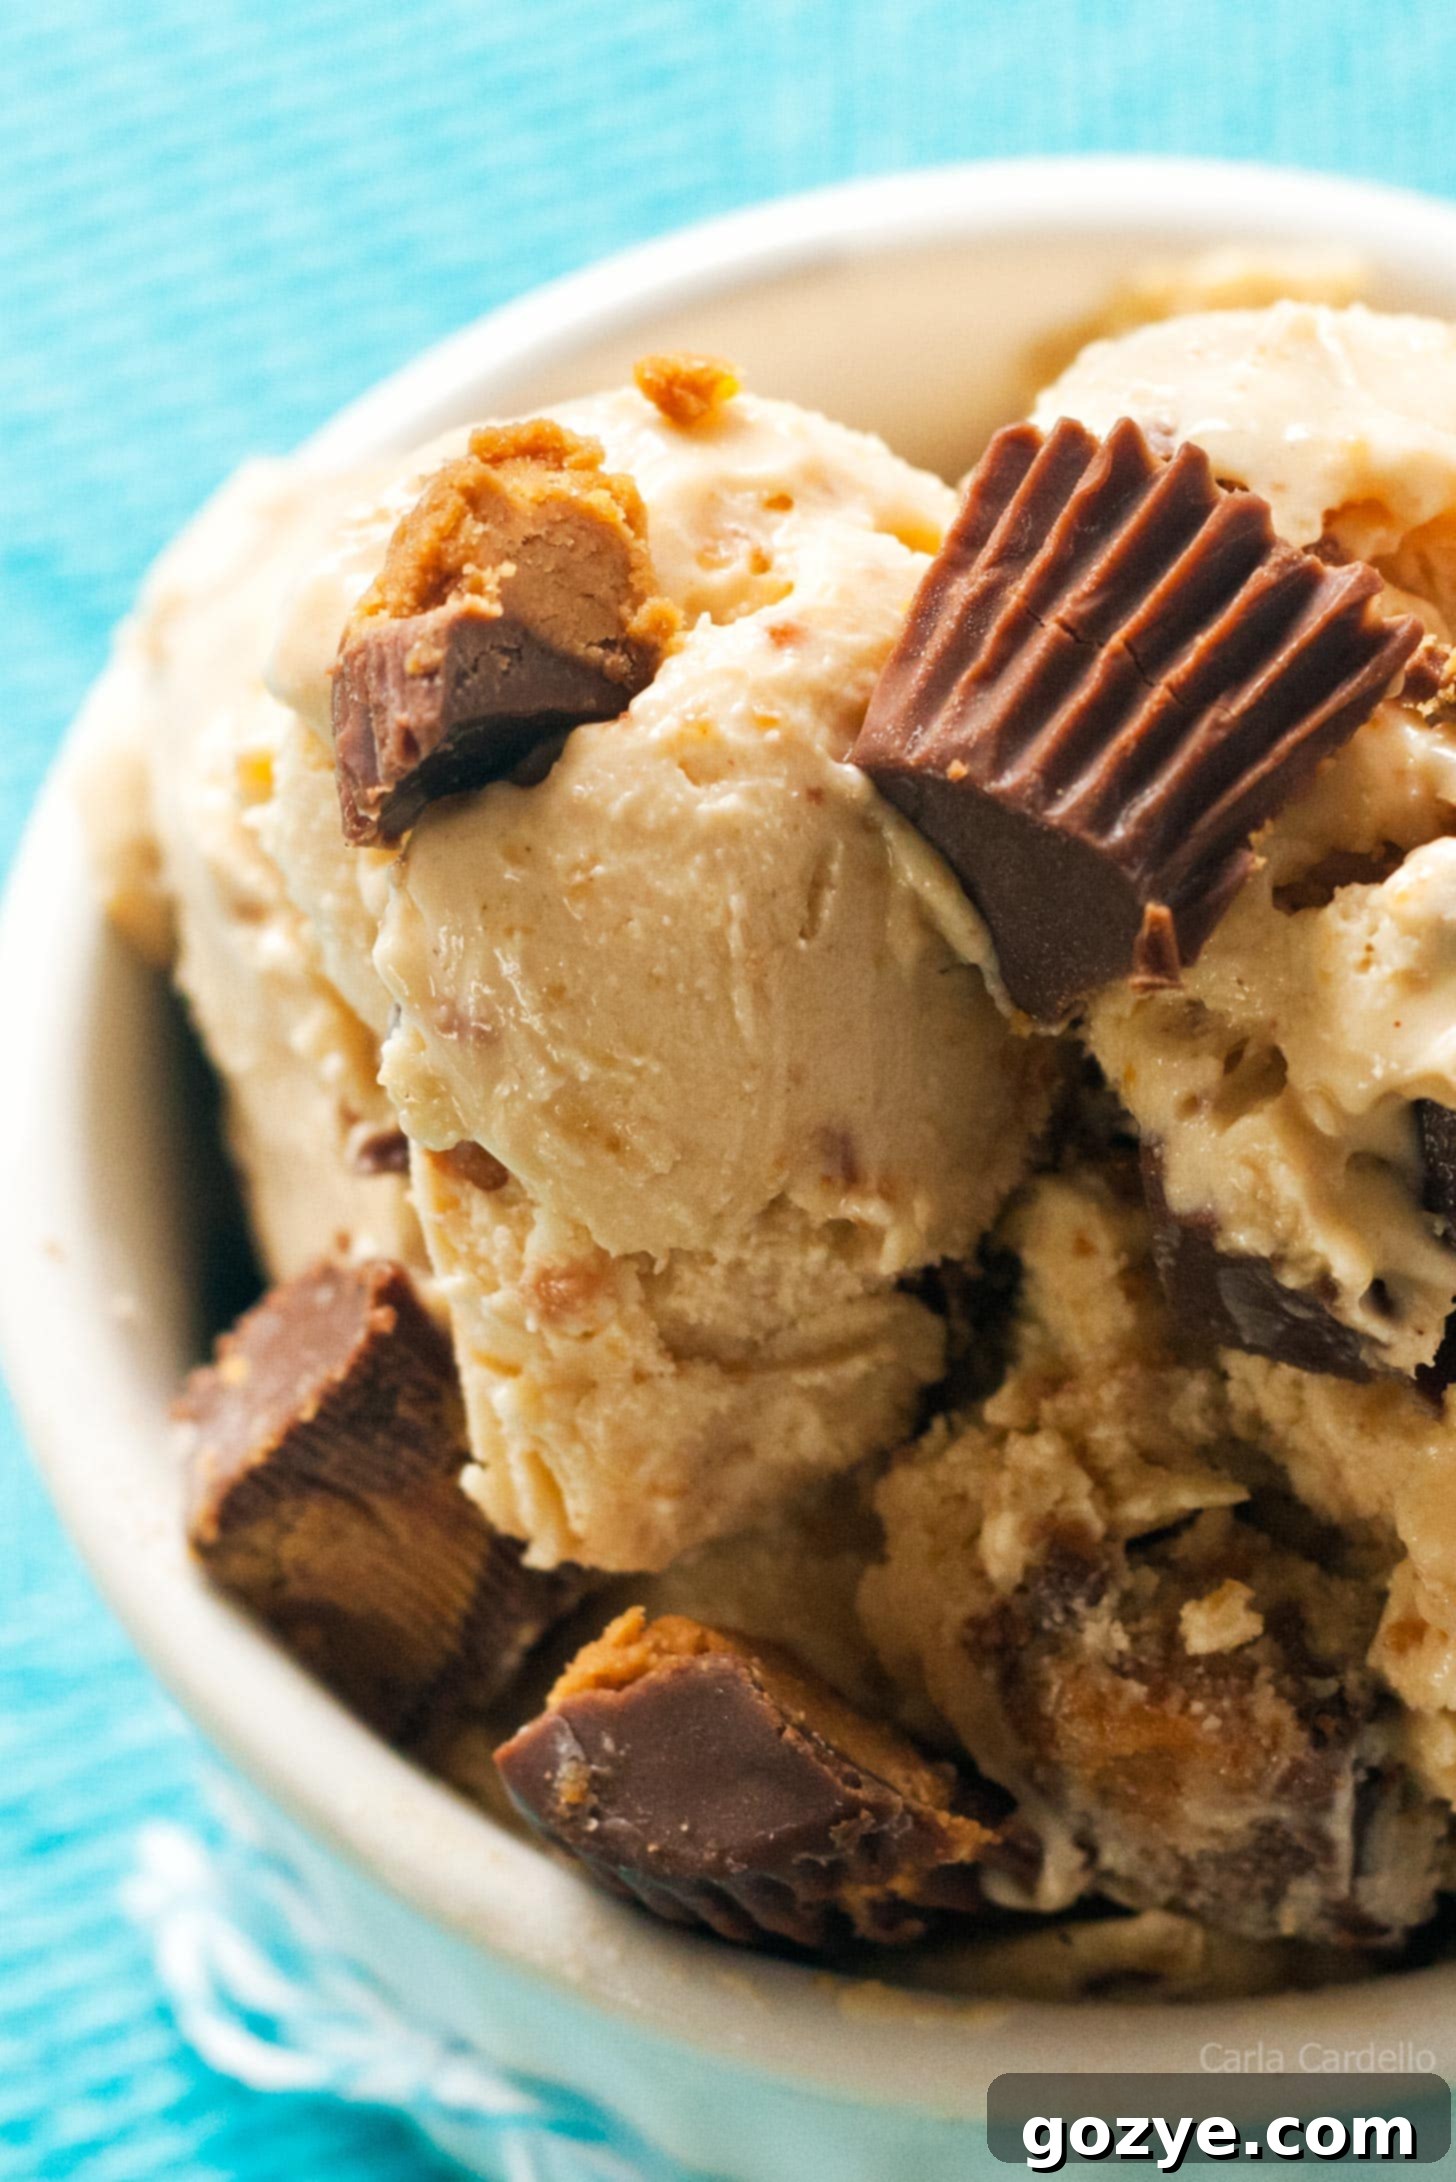
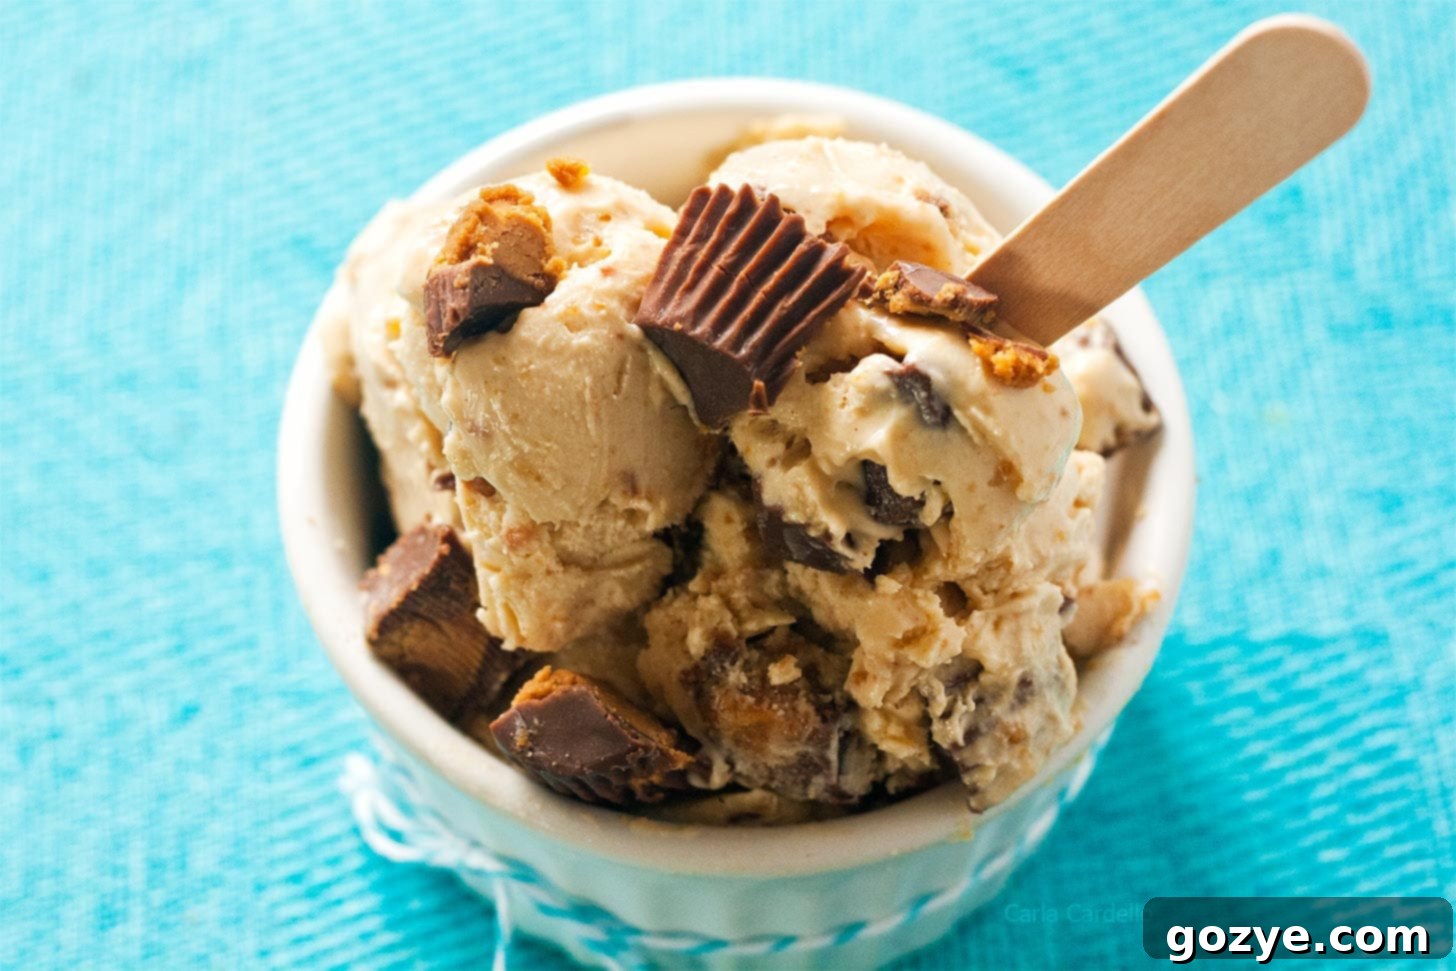
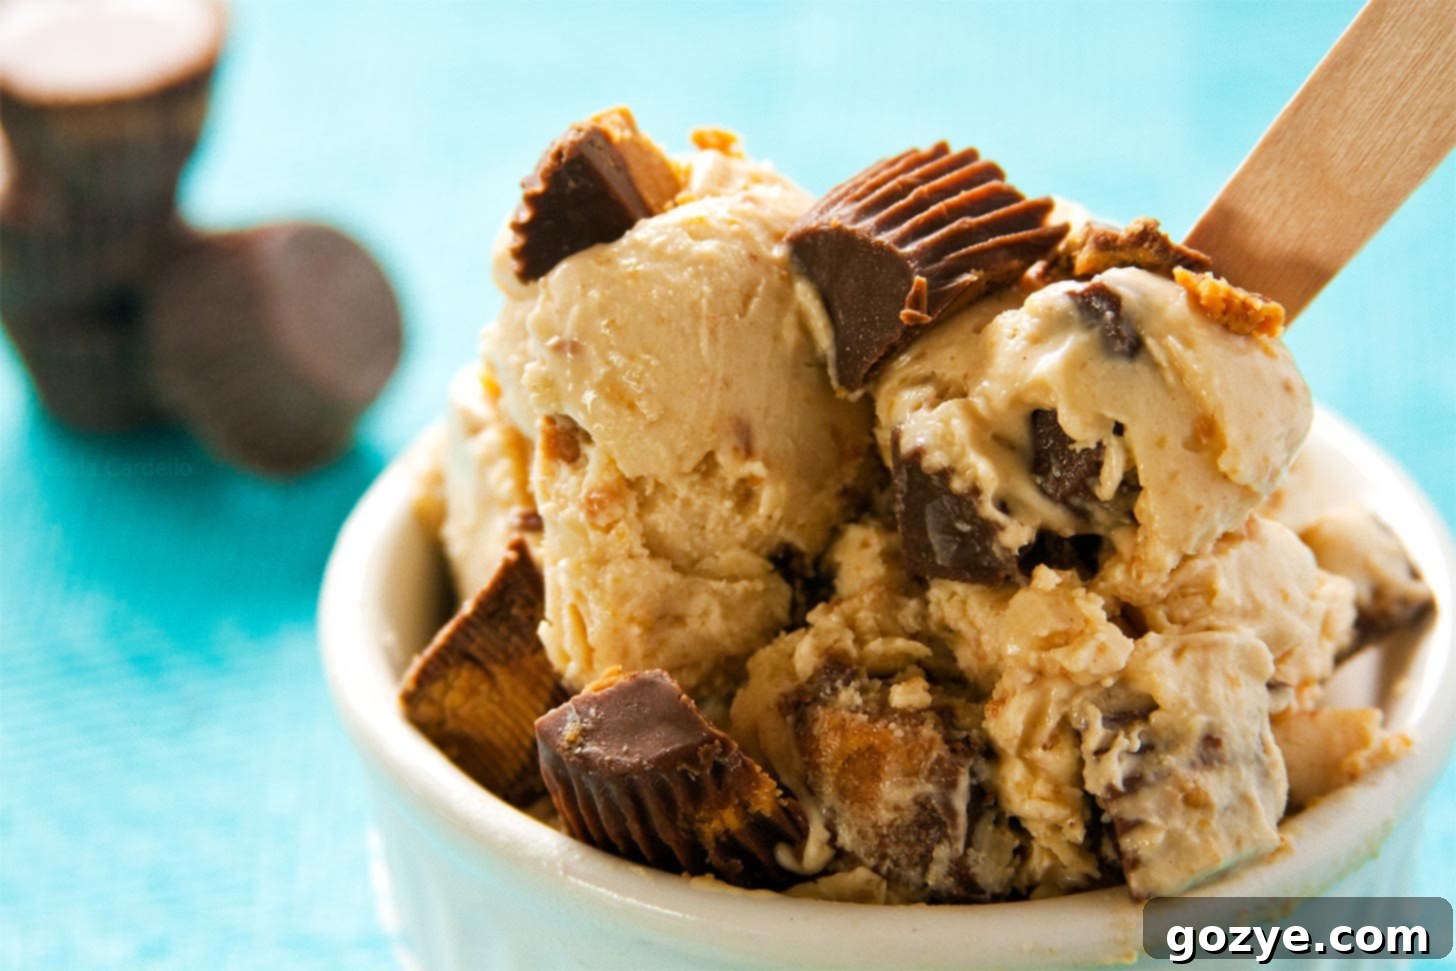
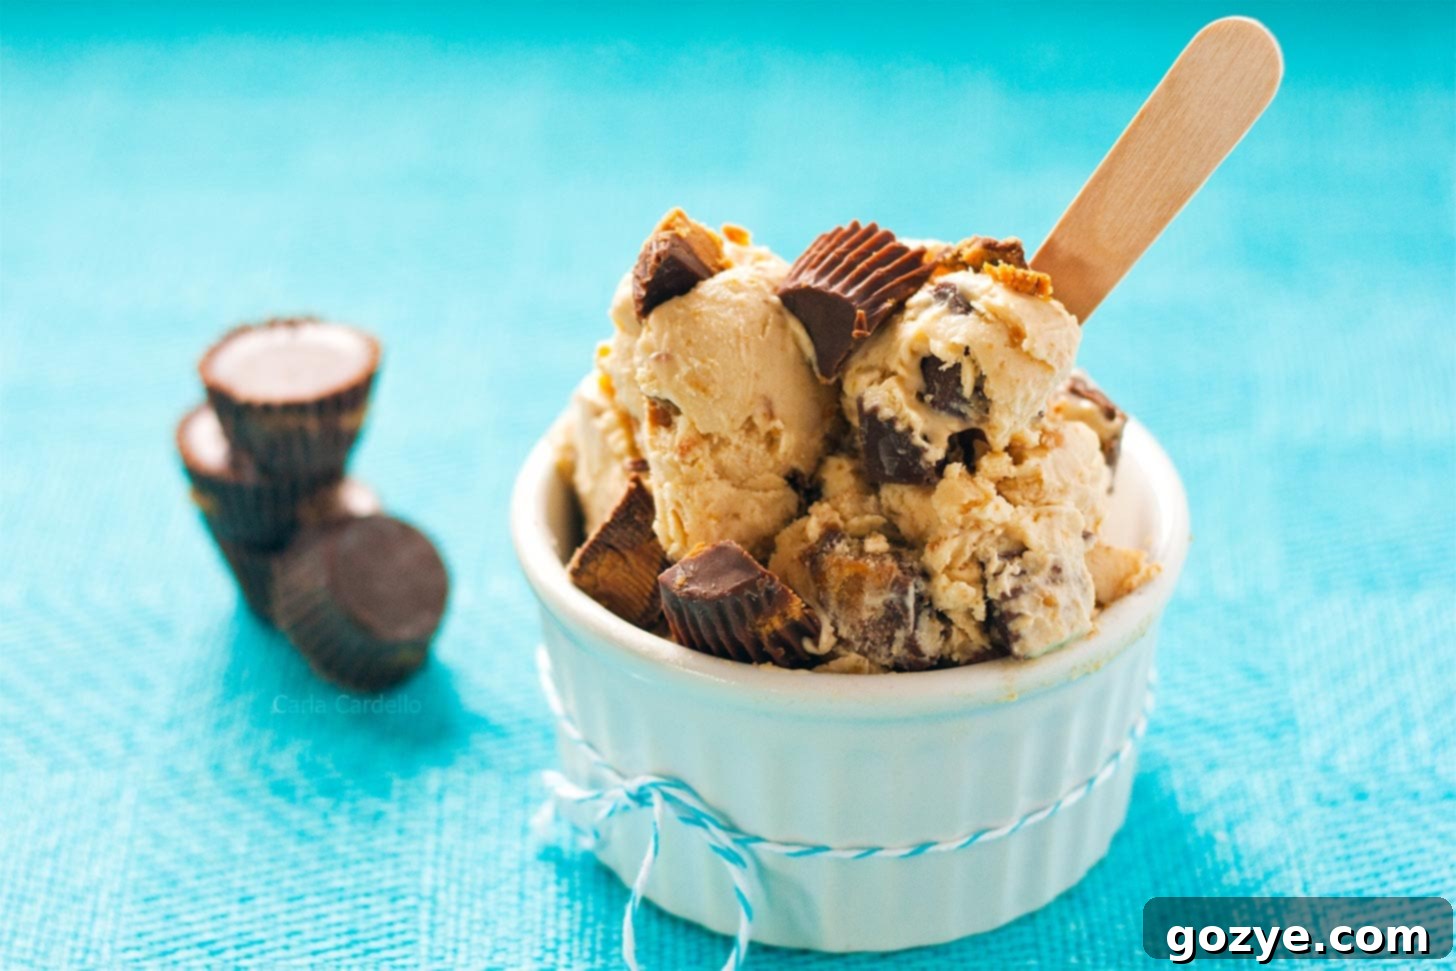
To elevate the peanut butter experience, we’ve taken it a step further by incorporating chopped peanut butter cups into the mix during the final minutes of freezing. This brilliant addition provides a delightful textural contrast, adding a satisfying crunch and bursts of chocolatey goodness that perfectly complement the creamy peanut butter base. The classic pairing of peanut butter and chocolate creates an irresistible flavor profile that will have you coming back for more.
If you’re looking to transform your peanut butter cup ice cream into an absolute showstopper, consider serving it with a luscious homemade peanut butter magic shell. The way it hardens into a crisp, flavorful coating is nothing short of magical and truly enhances the entire dessert experience.
Essential Ingredients for Your Perfect Peanut Butter Ice Cream
Crafting this homemade peanut butter ice cream is incredibly straightforward, thanks to a concise list of readily available ingredients. Each component plays a crucial role in achieving the desired creamy texture and rich flavor:
- Peanut Butter: This recipe relies on **processed, creamy (smooth) peanut butter**. It’s vital not to substitute with natural peanut butter, which tends to separate more readily and can result in an oily, less cohesive ice cream texture. Processed peanut butter’s consistency is key to providing the necessary body and fat to emulsify the mixture without eggs, ensuring a perfectly smooth and stable base.
- Granulated Sugar: Beyond just sweetness, sugar is a critical ingredient for texture in ice cream. It helps to lower the freezing point of the mixture, preventing your ice cream from turning into a solid, unmanageable block of ice. It ensures a scoopable, tender consistency straight from the freezer.
- Heavy Whipping Cream: This is non-negotiable for achieving that signature silky, rich, and smooth ice cream texture. Heavy cream boasts a high milk fat content, which is essential for preventing ice crystal formation and creating a luxurious mouthfeel. Please, do not substitute with lighter creams, milk, or half-and-half; doing so will result in an icier, less satisfying ice cream. The fat content is paramount here.
- Vanilla Extract: Often underestimated, vanilla is a powerful flavor enhancer. In this recipe, it doesn’t just add its own delicate notes; it brightens and amplifies the deep, nutty flavor of the peanut butter, preventing the ice cream from tasting flat or one-dimensional. A good quality vanilla makes a noticeable difference.
- Salt: A pinch of salt is crucial for balancing the sweetness and intensifying the overall flavor profile. It brings out the complexities of the peanut butter, ensuring the ice cream is rich and savory-sweet, rather than just blandly sweet. Kosher salt is often preferred for its clean taste.
- Peanut Butter Cups: These are the star add-ins! Chopped peanut butter cups provide an exciting textural contrast – a chewy, chocolatey surprise in every scoop. They not only double down on the peanut butter flavor but also introduce that classic, beloved chocolate pairing, elevating this ice cream from delicious to extraordinary. Feel free to use your favorite brand or homemade versions.
For a delightful vegan-friendly frozen treat that captures similar flavors, be sure to explore my Peanut Butter Banana Ice Cream recipe.
How To Master This Easy No-Cook Peanut Butter Ice Cream
This eggless, no-cook peanut butter ice cream recipe is remarkably simple. You might find that the longest part of the process is gathering your ingredients, not actually blending them! Here’s a detailed breakdown of how to create this delectable treat:
- Blend Together Your Base: In a high-powered blender, combine the creamy peanut butter, granulated sugar, cold heavy whipping cream, vanilla extract, and salt. Blend on medium-high speed until the mixture is completely smooth and uniform. Ensure there are no sugar crystals remaining and no lumps of peanut butter. This step is crucial for a velvety final product.
- Thorough Refrigeration is Key: Once blended, transfer the mixture to a bowl, cover it, and refrigerate for a minimum of 1 hour, or until thoroughly chilled. This chilling period is absolutely vital. If your base isn’t sufficiently cold before it goes into the ice cream maker, the machine won’t be able to freeze it effectively, resulting in a much longer churning time and a potentially icier texture. A well-chilled base ensures quick freezing and a smoother consistency.
- Churn for Perfection: Pour the chilled ice cream base into your ice cream maker and churn it according to the manufacturer’s specific instructions. Churning is the process of slowly freezing the mixture while simultaneously incorporating air, which creates a light, creamy texture and prevents large ice crystals from forming.
- Add Peanut Butter Cups (Optional, but highly recommended!): During the last few minutes of churning, when the ice cream has thickened to a soft-serve consistency, add your chopped peanut butter cups. This ensures they are evenly distributed throughout the mixture without becoming too frozen or clumping together.
- Freeze Until Firm: Once churning is complete, transfer the soft ice cream to a freezer-safe container. Cover it tightly and freeze for at least 4 hours, or ideally overnight, until it reaches a firm, scoopable consistency. Patience during this final freezing stage will be rewarded with perfectly set ice cream.
Do You Need an Ice Cream Maker to Make Homemade Ice Cream?
For many years, I crafted delicious ice cream entirely by hand, largely due to budget constraints and limited kitchen space for an ice cream maker. While a dedicated machine undeniably simplifies the process and virtually guarantees a smooth, crystal-free result by continuously agitating the mixture as it freezes, it is certainly not a strict necessity for enjoying homemade ice cream.
An ice cream maker works by churning the base while it freezes, constantly breaking up nascent ice crystals and incorporating air. This results in the wonderfully smooth, creamy texture we all love. I personally own and recommend this 1.5 quart ice cream maker. While smaller models exist, I appreciate the flexibility of being able to scale recipes up or down, depending on whether I’m making a small treat for myself or a larger batch for an ice cream cake or a party.
If you don’t have an ice cream maker, don’t despair! You can still achieve a fantastic result with a little manual effort. Here’s how to make ice cream by hand:
- **Initial Freeze:** Pour your already-chilled ice cream base (after the blender step and refrigeration) into a shallow, freezer-safe pan with deep edges, such as an 8×8 inch baking pan or a loaf pan.
- **The Whisking Ritual:** Place the pan in the freezer. Every 30 minutes, remove the pan from the freezer. Using a sturdy whisk or a fork, vigorously whisk or stir the mixture to break up any ice crystals that have started to form around the edges and throughout the center. This step is crucial for preventing a solid block of ice and for creating a smoother texture. Scrape down the sides of the pan as you go.
- **Repeat and Incorporate:** Continue this whisking process for the next few hours, typically 2-4 hours, or until your ice cream becomes mostly solid and is too hard to whisk effectively. The mixture will gradually thicken and become creamier.
- **Final Fold-In:** During your final whisking session, when the ice cream has a thick, slushy consistency, gently fold in your chopped peanut butter cups. This ensures they are well distributed before the ice cream fully sets.
- **Final Freeze:** Return the pan to the freezer for a final freeze until the ice cream is firm and scoopable.
While the hand-churned method requires more attention, the reward is a delicious homemade treat that proves an ice cream maker is a convenience, not a prerequisite.
Optimal Storage for Your Homemade Ice Cream
Properly storing your homemade ice cream is just as crucial as the making process itself. Incorrect storage can lead to issues like unsightly ice crystals forming on the surface, or even worse, freezer burn, which compromises flavor and texture.
To preserve the creamy texture and rich flavor of your peanut butter ice cream, choose the right container. I personally rely on small round freezer-proof plastic containers, which are perfectly sized to hold exactly 1 pint of ice cream. You can often find similar options in the storage container aisle of most grocery or home goods stores. Always check that the container explicitly states it is “freeze-proof,” as not all plastic containers are designed to withstand extreme cold without becoming brittle or allowing freezer burn.
Beyond specialized pint containers, you have several excellent options:
- Specialty ice cream containers: These are designed specifically for freezing ice cream and often have double-walled insulation or ergonomic shapes.
- **Loaf pan with plastic wrap:** A standard loaf pan works wonderfully. Simply press a layer of plastic wrap directly onto the surface of the ice cream before covering the entire pan tightly with another layer of plastic wrap or aluminum foil. This direct contact prevents air from reaching the surface, which is the primary cause of ice crystals.
- **Glass baking dish with a lid:** A glass baking dish (like an 8×8 inch or 9×13 inch) with an airtight lid is another excellent choice. Again, ensure the plastic wrap makes direct contact with the ice cream surface before sealing the lid.
Always place your ice cream at the back of the freezer, where temperatures are most consistent, and avoid opening the freezer door frequently. Stored correctly, your homemade peanut butter ice cream will maintain its quality for up to two weeks, though it’s often so delicious it rarely lasts that long!
Creative Ways to Serve Your Peanut Butter Ice Cream
Your homemade peanut butter cup ice cream is undoubtedly a triumph on its own, a perfect scoop of pure delight. However, there are countless ways to elevate this already fantastic treat and make it even more special, depending on your mood or the occasion.
For those who love extra indulgence, consider these luscious toppings:
- **Sauces:** Drizzle generously with a warm hot fudge sauce for a classic chocolate-peanut butter pairing, or try a vibrant strawberry sauce for a surprising fruity contrast. A rich caramel sauce would also be divine!
- **Whipped Creams:** For something a little lighter but still incredibly decadent, garnish with a dollop of homemade whipped cream. Take it up a notch with chocolate whipped cream or, for the ultimate peanut butter enthusiast, a swirl of peanut butter whipped cream.
- **Crunchy Toppings:** Add more texture with chopped peanuts, mini chocolate chips, sprinkles, or even crushed pretzels for a salty-sweet kick.
Beyond being a standalone dessert, this versatile peanut butter ice cream can also be a star ingredient in other confections:
- **Ice Cream Sandwiches:** Use it to create irresistible peanut butter ice cream sandwiches between your favorite cookies (chocolate chip, oatmeal, or even more peanut butter cookies!).
- **Ice Cream Cakes:** Layer it into a show-stopping peanut butter ice cream cake, perfect for celebrations.
- **Milkshakes:** Blend a scoop or two with milk and a touch more peanut butter for an epic peanut butter milkshake.
- **Affogato:** For an adult treat, try a scoop with a shot of hot espresso poured over it.
It also makes a phenomenal accompaniment to other baked goods. Serve a generous scoop alongside a slice of moist peanut butter birthday cake or a rich chocolate peanut butter cake for a truly indulgent dessert experience.
Loved this simple yet sensational recipe? Don’t stop here! Be sure to explore my other Small Batch Ice Cream Recipes for more delightful homemade frozen treats you can easily whip up.
Peanut Butter Ice Cream
1 pint
10 minutes
5 hours
5 hours 10 minutes
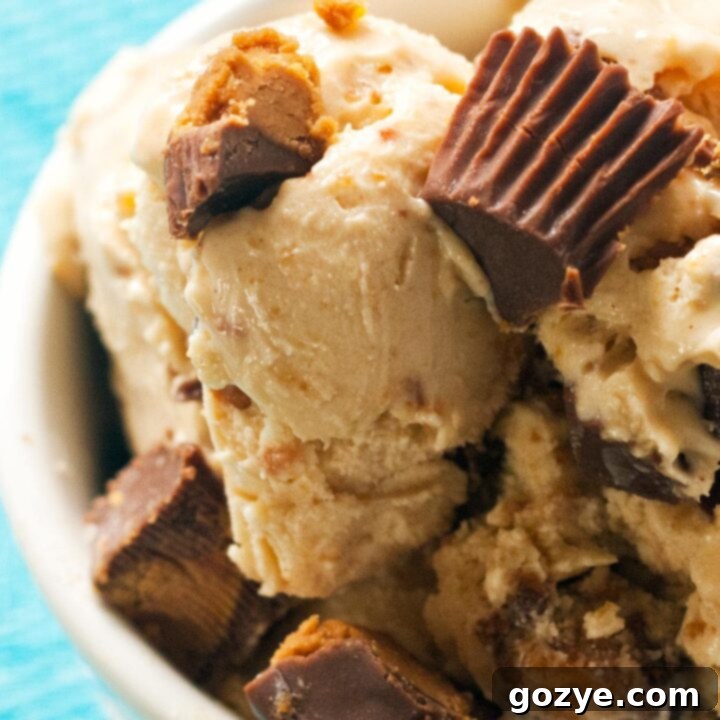
This Peanut Butter Ice Cream, generously mixed with chopped peanut butter cups, is destined to become your new favorite frozen treat! It’s an exceptionally creamy, rich, and nutty eggless ice cream made effortlessly in a blender with only 6 essential ingredients.
Ingredients
- 1/3 cup (78 grams) creamy (smooth) processed peanut butter (not natural)
- 1/3 cup (68 grams) granulated sugar
- 1 + 1/3 cup (320 mL) heavy whipping cream, cold (do not substitute)
- 1 teaspoon vanilla extract
- 1/8 teaspoon salt, preferably kosher
- 1 cup (140 grams) chopped peanut butter cups
Instructions
- In a blender, combine and blend together the peanut butter, sugar, cold heavy cream, vanilla, and salt until the mixture is completely smooth and thoroughly combined. Transfer this base to a bowl, cover it, and refrigerate until it is very cold, which will take at least 1 hour. Proper chilling is essential for the best results.
- Pour the well-chilled ice cream base into your ice cream maker and churn it according to the manufacturer’s specific instructions. If you are making it by hand (without a machine), follow the instructions outlined in the ‘Do You Need an Ice Cream Maker?’ section above. During the last few minutes of churning (or during your final manual whisking session), add the chopped peanut butter cups, allowing them to be evenly incorporated into the thickening ice cream.
- Once churned, transfer the soft ice cream to a freezer-proof airtight container. Cover the surface directly with plastic wrap before sealing the container. Freeze until the ice cream is completely firm and scoopable, which typically takes about 4 hours or, for best results, overnight. Store the homemade ice cream in the freezer for up to 2 weeks for optimal freshness.
Notes
- Did you enjoy the simplicity and flavor of this recipe? Be sure to check out my Nutella Ice Cream recipe, which utilizes the same easy no-cook, blender-based method.
- Get creative with your homemade ice cream! Use it as a delightful component to make scrumptious peanut butter ice cream sandwiches or a show-stopping peanut butter ice cream cake for special occasions.
- Looking for more delicious frozen treats? Explore my comprehensive list of Small Batch Ice Cream Recipes to discover a variety of flavors you can easily make at home.
Recommended Products
As an Amazon Associate and member of other affiliate programs, I earn from qualifying purchases.
- Blender
- Ice Cream Maker
Did you make this recipe?
Let me know what you think! Rate the recipe above, leave a comment below, and/or share a photo on Instagram using #HITKrecipes
Source: Adapted from The Perfect Scoop
First published July 15, 2012
