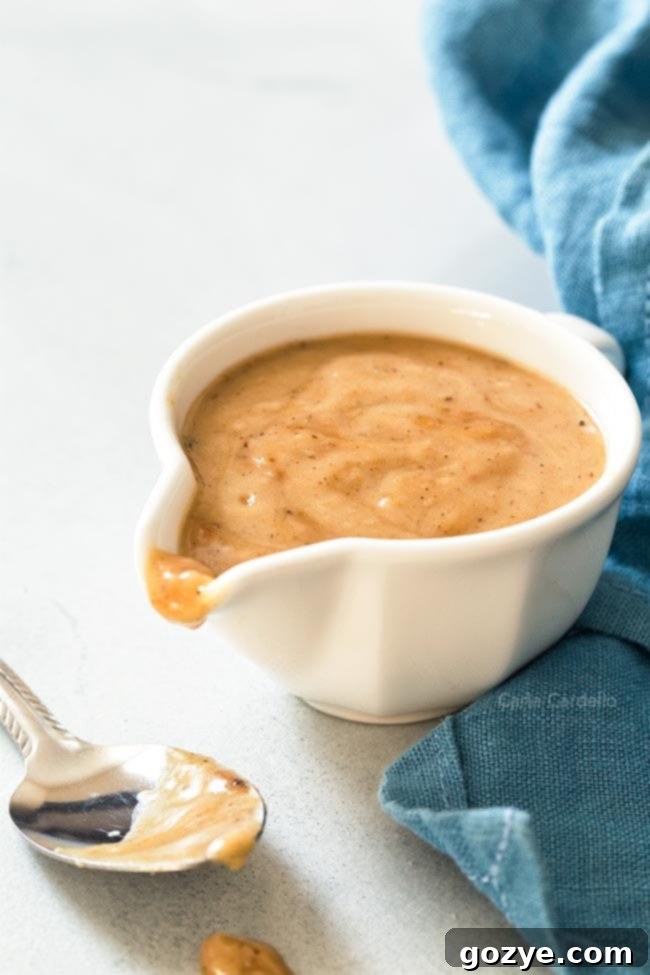
Mastering Homemade Gravy: Your Essential Guide to Making Flavorful Pan Gravy from Drippings
Tired of bland, packet gravy? Unlock the secret to truly spectacular meals by learning how to make rich, flavorful gravy directly from your pan drippings. This ultimate guide will walk you through creating a simple, from-scratch sauce for any roasted meat, transforming ordinary dinners into extraordinary feasts. Perfect for a cozy Sunday supper, festive holiday gatherings, or any meal that calls for a touch of homemade goodness.
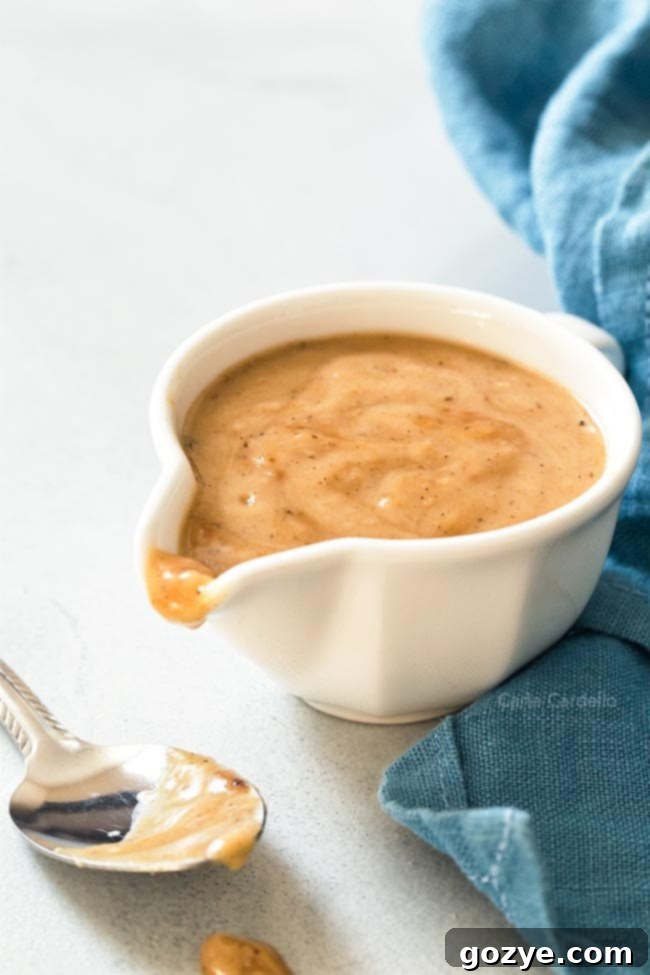
The philosophy behind many great home cooks is to create delicious meals from scratch, eschewing pre-packaged shortcuts. When it comes to gravy, this commitment truly shines. The thought of reaching for a gravy packet often makes dedicated cooks cringe, knowing just how incredibly simple and infinitely more flavorful homemade gravy is to prepare from the natural essences left behind after roasting meat.
Many home cooks share this sentiment, which explains the popularity of recipes like Gravy Without Drippings and Mushroom Gravy. These options are fantastic for those times when you don’t have meat drippings on hand. But what about those glorious occasions when you *do* have a pan full of savory meat juices? You absolutely don’t want to let those precious drippings go to waste!
This comprehensive guide is dedicated to teaching you my foolproof method for making the most delicious gravy from drippings, transforming what some might consider leftovers into the star of the plate. Recently, after preparing my Small Pork Roast, I found myself with a delightful amount of flavorful drippings in the pan. Being a resourceful cook, I turned them into a luscious, small-batch gravy – and realized this essential technique deserved its own dedicated explanation.
This guide is particularly helpful for anyone who has finished roasting a magnificent piece of meat and is left staring at the pan, wondering what magical transformation to perform on the savory remnants. You know instinctively that tossing those concentrated flavors would be a culinary crime, but perhaps you’re unsure where to begin the gravy-making process.
Whether you’re planning an intimate Thanksgiving Dinner For Two, a cozy Christmas Dinner For Two, or a delightful Easter For Two, a quick and easy homemade gravy is the perfect finishing touch. Perhaps your beloved roast recipe focuses solely on the meat, leaving out the crucial steps for creating the accompanying sauce. If you’ve found yourself searching the internet for “how to make gravy from drippings” and landed here, you’re in the right place!
And let’s be honest, what’s a fantastic roast and gravy without the perfect companions? Don’t forget to pair your pan gravy with creamy mashed potatoes or fluffy biscuits. No matter your reason, I’ve got you completely covered on crafting the most incredible gravy from those valuable meat drippings.
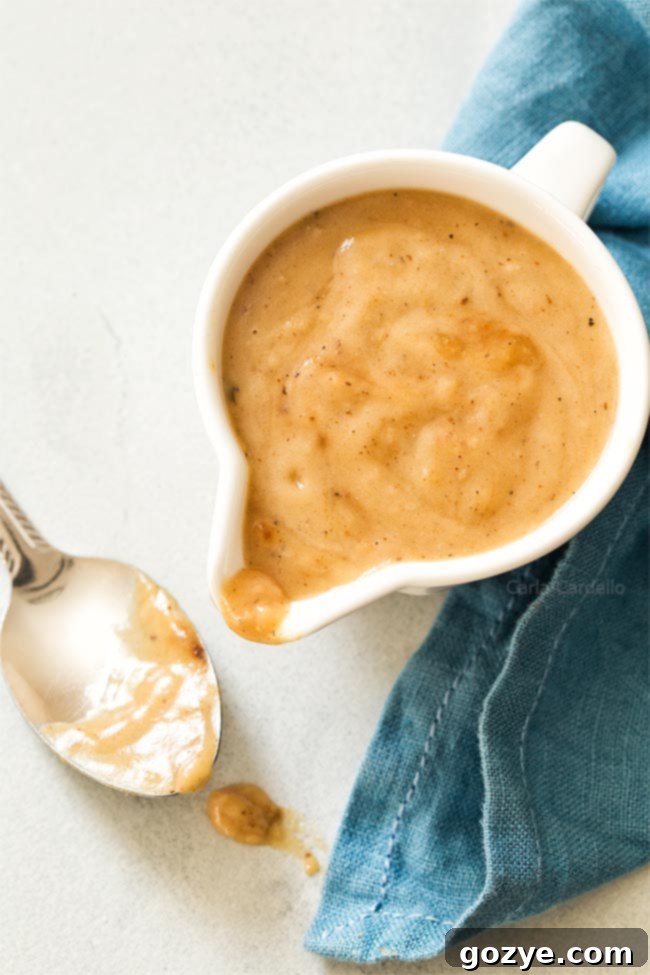
What Exactly is Pan Gravy?
Pan gravy is a culinary marvel, a flavorful sauce created directly from the precious juices and browned bits left in the pan after roasting meat. These “drippings” refer to the seasoned, un-thickened liquids that render from your meat as it cooks. They are a treasure trove of concentrated flavor, a testament to the deliciousness that just seeped out of your roast. To discard them would be a tragic waste of culinary potential!
While many people immediately associate gravy with turkey gravy from drippings, often accompanying holiday feasts with a Stuffed Turkey Breast, the concept of pan gravy extends far beyond poultry. You can make equally exquisite gravy from the drippings of chicken, beef, lamb, and especially pork. Imagine the rich flavors in a sausage gravy recipe for 2, or the deep savory notes from a beef roast transformed into a luxurious sauce. Each type of meat imparts its unique character to the drippings, resulting in a distinctively delicious gravy every time.
Why Make Gravy from Drippings? The Flavor Advantage
Beyond the simple satisfaction of cooking from scratch, there are several compelling reasons to make your gravy from pan drippings:
- Unmatched Flavor: The drippings capture all the savory, caramelized flavors that render out of the meat during roasting. This concentrated essence provides a depth of flavor that no store-bought packet or bouillon cube can replicate.
- No Waste: It’s a fantastic way to utilize every delicious component of your roasted meal, ensuring nothing goes to waste. You’re transforming what could be discarded into a valuable, flavor-packed sauce.
- Simplicity: Despite its gourmet taste, making gravy from drippings is surprisingly straightforward. Once you understand the basic technique, it becomes a quick and easy process.
- Customization: Starting with drippings gives you a perfect base to customize. You can adjust the seasoning, add herbs, a splash of wine, or a touch of cream to truly make it your own.
Essential Ingredients For Gravy From Drippings
To craft this delectable gravy recipe with drippings, you’ll need a few key components. Each ingredient plays a vital role in achieving that perfect balance of flavor and consistency:
- Pan Drippings: This is the heart and soul of your gravy. Collected directly from the bottom of your roasting pan, these are the seasoned juices and fats rendered from your meat. They provide an irreplaceable depth of flavor.
- Butter: Often, you may not have enough fat from the drippings alone to create the roux needed for thickening. Unsalted butter is usually preferred, as it gives you more control over the final saltiness of your gravy. It adds richness and helps create a smooth base.
- Flour: All-purpose flour is the most common thickener, forming a roux when cooked with fat. This creates a stable, smooth gravy. If you’re looking for a gluten-free option, or a slightly different texture, cornstarch can be substituted (see note below for specific instructions).
- Broth or Stock: This liquid base helps build volume and ensures your gravy isn’t overly thick. Use a broth that complements your roasted meat – chicken broth for chicken and pork, or beef broth for beef and lamb. Vegetable broth can also be a versatile choice.
- Milk or Cream: A splash of whole milk or a richer cream (like half-and-half or heavy cream) adds a wonderful creaminess and a lighter color to your gravy, enhancing its luxurious texture.
- Salt & Pepper: Seasoning is crucial. The amount of salt needed will vary significantly depending on how salty your initial drippings and chosen broth are. Always taste as you go and adjust to your preference. Freshly ground black pepper adds a lovely subtle spice.
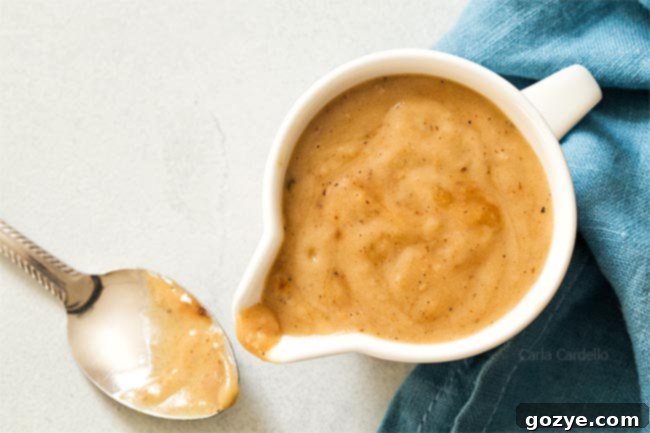
Equipment You’ll Need
Making gravy from drippings is a relatively simple process that doesn’t require a lot of specialized equipment. Here’s what you’ll likely need:
- Roasting Pan or Skillet: The primary vessel. Using the roasting pan directly on the stovetop is ideal. If not possible, a heavy-bottomed skillet works perfectly.
- Whisk: Essential for incorporating the flour evenly and preventing lumps.
- Wooden Spoon or Rubber Spatula: For scraping up the fond without scratching your pan.
- Measuring Cups and Spoons: For accurate ingredient measurements.
- Fat Separator (Optional but Recommended): A handy tool for easily separating the fat from the meat juices, especially for larger batches.
How To Make Gravy From Drippings: Step-by-Step Perfection
The beauty of making gravy from drippings lies in its directness. The absolute best way to make your gravy is directly in the roasting pan where your meat cooked. This allows you to effortlessly incorporate all the flavorful browned bits and caramelized goodness, known as “fond,” that cling to the bottom of the pan. This fond is a flavor powerhouse and the secret to an intensely delicious gravy.
To do this, simply place your roasting pan directly onto your stovetop burner(s) over medium heat. Make sure to use a sturdy wooden spoon or a heat-resistant rubber spatula to scrape up the fond without damaging the surface of your pan.
If your roasting pan isn’t suitable for stovetop use (or if it’s too large for your burner configuration), don’t worry! You can easily transfer all the drippings and fond to a heavy-bottomed skillet and proceed with the recipe there. If you’ve made a dish like my Instant Pot Pork Roast with Vegetables, you can even make your gravy directly in the Instant Pot after removing the meat.
Here’s how to create amazing gravy from your roast juices:
- Melt the Fat and Butter: Begin by melting the fat from your drippings (and any added butter, if needed) directly in the roasting pan over medium heat. As the fat melts and gently sizzles, use your wooden spoon or spatula to vigorously scrape up all those flavorful brown bits (the fond) from the bottom of the pan. These bits are essential for a deeply flavored gravy.
- Form the Roux: Once the fat is shimmering and the fond is mostly scraped up, stir in the all-purpose flour. Mix continuously for about 1 minute, cooking until the flour-fat mixture (your roux) turns a very light golden brown. This step cooks out the raw flour taste and creates the thickening agent for your gravy.
- Whisk in the Broth: Gradually, slowly whisk in your broth or stock. It’s crucial to add the liquid slowly and whisk constantly to prevent lumps. Continue whisking until the mixture is smooth. Bring the gravy to a gentle boil, then reduce the heat and let it simmer for 3-5 minutes, or until it visibly thickens to your desired consistency.
- Add Milk and Season: Remove the pan from the heat. Stir in the milk (or cream) for added richness and a smoother texture. Finally, taste your gravy and add salt and freshly ground black pepper as needed. Remember that drippings and broth can vary in saltiness, so always taste before adding more.
How To Make Gravy With Cornstarch (Gluten-Free Option)
For those who prefer not to use flour, or are looking to make a gluten-free gravy, cornstarch is an excellent alternative. The method for using cornstarch is slightly different than with flour, but equally effective.
Instead of creating a roux by cooking cornstarch directly with fat, you’ll need to make a “slurry.” A cornstarch slurry is a mixture of equal parts cornstarch and cold water (or broth) stirred together until smooth. This prevents lumps, which are almost guaranteed if you add dry cornstarch directly to hot liquids.
To use cornstarch:
- First, melt your fat from the drippings and any additional butter in the pan, scraping up the fond as usual.
- In a small bowl, whisk together 1 tablespoon of cornstarch with 1 tablespoon of cold water until completely smooth.
- Once your fat is hot and the fond is incorporated, slowly whisk the cornstarch slurry into the hot fat mixture.
- Immediately begin whisking in your broth. Bring the mixture to a boil. As soon as it reaches a rolling boil, the gravy should visibly thicken. If it’s too thick, add a little more broth; if too thin, make another small slurry and whisk it in, bringing it back to a boil.
- Remove from heat, stir in milk (if using), and season to taste.
The key difference is that cornstarch thickens upon boiling, while flour-based roux thickens as it simmers. Both methods yield a delicious, smooth gravy.
How Do You Separate Fat From Drippings?
Separating fat from drippings is an important step, especially when you have a large quantity, as it prevents your gravy from becoming overly greasy. While some fat is essential for flavor and creating the roux, too much can result in an unappetizingly oily sauce.
Here’s how to do it effectively:
- The Quick Chill Method: Transfer your collected drippings to a liquid measuring cup or a heat-proof bowl. Let it sit for about 15-20 minutes. As it cools slightly, the fat, being lighter, will naturally rise to the top and form a distinct layer. You can then easily skim off the top layer of fat with a spoon, leaving the flavorful meat juices below.
- Overnight Refrigeration (Easiest Method): If you have the luxury of time, let the drippings cool completely and then refrigerate them overnight. The fat will solidify into a firm layer on top, making it incredibly easy to lift off and discard (or save for other cooking applications, like roasting vegetables!).
- Using a Fat Separator: This specialized pitcher has a spout that starts from the bottom, allowing you to pour out the defatted meat juices while the lighter fat remains on top. It’s a very efficient tool, especially for larger volumes of drippings.
Once you’ve separated the fat, you’ll add a specific amount of this fat (or a combination of fat and butter) back into your pan to form the base for your gravy. If you don’t have enough drippings fat, simply add enough butter to reach the total amount of fat called for in the recipe.
Since I often focus on recipes for two, sometimes the amount of drippings produced is quite small. For instance, after making my small pork roast, I might only have a tablespoon or so of drippings left in the pan. In such small quantities, skimming off the fat might be more trouble than it’s worth, and the small amount of fat isn’t likely to make the gravy too greasy. In these cases, I often simply add everything from the pan along with a bit of butter, and proceed. However, for larger meals, such as a full turkey for Thanksgiving, I would absolutely take the time to properly skim off any excess fat from the drippings to ensure a perfectly balanced, rich gravy.
Tips for the Perfect Gravy Every Time
Even with a straightforward recipe, a few extra tips can elevate your homemade gravy from good to unforgettable:
- Prevent Lumps: The key to lump-free gravy is consistent whisking. When adding flour to fat, whisk vigorously to form a smooth roux. When adding liquid, pour it in slowly while continuously whisking. If using cornstarch, always make a slurry first.
- Fixing Lumps: If you do end up with a few stubborn lumps, don’t despair! You can pour the gravy through a fine-mesh sieve or strainer to remove them. Alternatively, an immersion blender can quickly smooth out any inconsistencies.
- Adjusting Consistency:
- Too Thin? If your gravy isn’t thickening enough, bring it back to a gentle boil and simmer for a few more minutes. If it’s still too thin, mix a small amount of flour or cornstarch with cold water to make a slurry and slowly whisk it into the simmering gravy, letting it cook until thickened.
- Too Thick? Simply whisk in a little more warm broth, water, or milk until you reach your desired consistency.
- Enhancing Flavor:
- Herbs: Add a sprig of fresh thyme or rosemary while simmering for an aromatic boost. Remove before serving.
- Wine: A splash of dry red or white wine (depending on the meat) can be added after the roux, before the broth, and allowed to cook down for a deeper flavor.
- Umami Boost: A tiny dash of soy sauce or Worcestershire sauce can add a subtle savory depth without altering the flavor profile significantly.
- Seasoning: Always taste and adjust seasoning at the very end. The saltiness of drippings and broth can vary widely, so don’t add too much salt initially. Freshly ground black pepper is a must.
Serving Suggestions for Your Homemade Gravy
Homemade gravy from drippings is incredibly versatile and can elevate a wide array of dishes:
- Classic Roast Dinners: Of course, it’s the perfect companion for roast turkey, chicken, beef, or pork.
- Mashed Potatoes: A generous pour over creamy mashed potatoes is simply divine.
- Stuffing/Dressing: Drizzle over your favorite holiday stuffing for extra moisture and flavor.
- Biscuits: Perfect for a hearty breakfast or brunch, especially with sausage or bacon.
- Roasted Vegetables: Enhance the flavor of roasted carrots, parsnips, or Brussels sprouts.
- Meatloaf: A classic pairing that makes meatloaf even more comforting.
- Hot Sandwiches: Use it to moisten open-faced roast beef or turkey sandwiches.
Storage and Reheating Homemade Gravy
Don’t let any leftover gravy go to waste! Homemade gravy stores well and can be easily reheated.
- Storage: Store leftover gravy in an airtight container in the refrigerator for up to 3-4 days.
- Freezing: For longer storage, gravy can be frozen in an airtight container for up to 3 months. Thaw overnight in the refrigerator before reheating.
- Reheating: Gravy will thicken considerably as it cools. To reheat, gently warm it in a saucepan over medium-low heat, whisking constantly. You will likely need to thin it out by adding a splash of broth, water, or milk until it reaches your desired consistency. Taste and re-season if necessary.
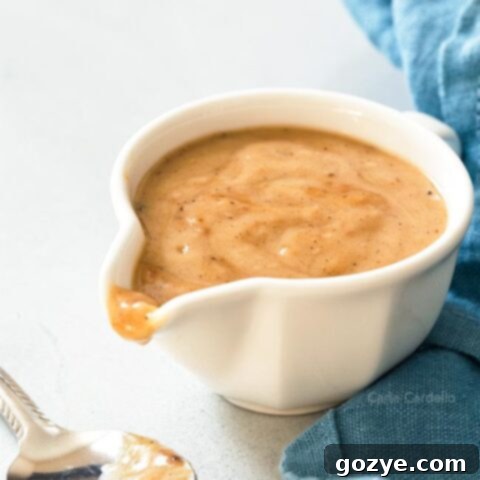
Gravy From Drippings
1 cup
20 minutes
10 minutes
30 minutes
Learn how to make gravy from drippings so you can make an easy from scratch sauce for your roasted meat. Make it for Sunday Supper or for holiday dinners.
Ingredients
- Pan drippings from roasted meat
- Up to 2 tablespoons unsalted butter
- 1/4 cup all-purpose flour* (see Note to substitute cornstarch)
- Up to 1 cup broth or stock, any flavor to match your meal
- 2 tablespoons whole milk
- Salt, to taste (preferably kosher)
Instructions
- Place meat drippings in a measuring cup and refrigerate 15 minutes.
- Skim 2 tablespoons fat off the top and place in roasting pan. Discard any remaining fat. If you don’t have enough, add enough butter to equal 2 tablespoons total fat.
- Add enough broth to the liquid drippings to equal 1 cup.
- On the stovetop over medium heat, melt the fat and butter in the roasting pan, scraping up any brown bits left in the pan.
If you can’t use your roasting pan, transfer everything to a skillet.
- Stir in the flour to form a roux (paste) and cook for 1 minute or until lightly brown.
- Slowly whisk in the liquid drippings mixture. Bring to a boil then cook until thickened, about 3-5 minutes.
- Remove from the heat and stir in the milk. Taste and adjust for salt.
Gravy will thicken as it cools. If this happens, reheat and stir in a little bit of broth to thin it out if needed.
Notes
- Don’t want to use flour? Stir together 1 tablespoon cornstarch and 1 tablespoon water in a small bowl then add to the melted fat in the pan.
- Need drippings? Make mySmall Pork Roast.
- Don’t have drippings? Check out my recipes for Homemade Gravy Without Drippings and Vegan Mushroom Gravy.
Did you make this recipe?
Let me know what you think! Rate the recipe above, leave a comment below, and/or share a photo on Instagram using #HITKrecipes
First published January 23, 2020
