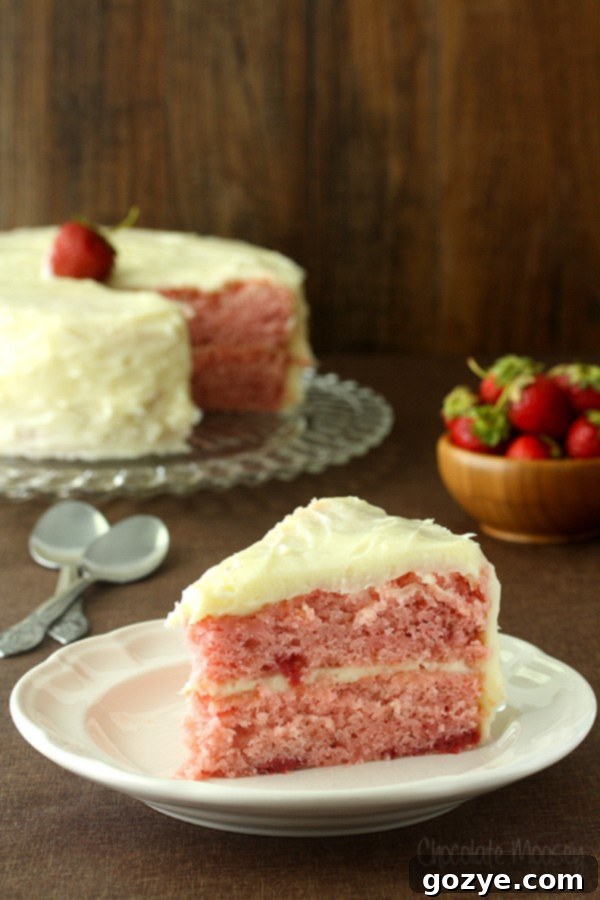
The Ultimate Homemade Strawberry Layer Cake: From Scratch with Cream Cheese Frosting (No Box Mix, No Jello!)
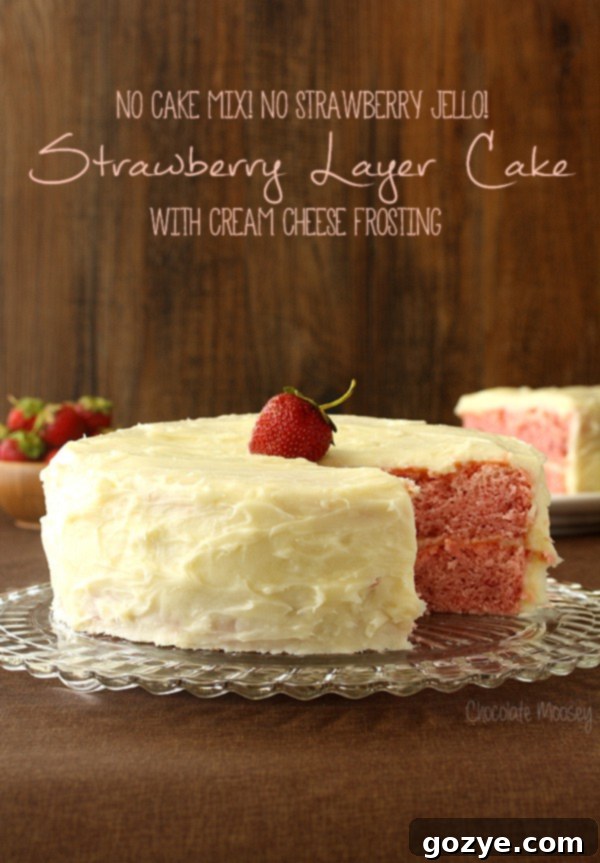
There’s an undeniable magic in creating something beautiful and delicious entirely from scratch. This isn’t just any strawberry cake; it’s a labor of love, a two-layer masterpiece born from a desire for authentic flavor and vibrant color, entirely free from cake mixes or artificial strawberry Jell-O. And, of course, no homemade cake is complete without the luxurious embrace of our incredible cream cheese frosting. Prepare yourself for a dessert experience that truly celebrates the joy of homemade baking.
Life often presents moments where you simply have to trust your gut. That powerful, intuitive feeling, often unexplainable, yet undeniably right. Seven years ago, when the idea of studying abroad in Ireland sparked within me, it wasn’t just about travel or cultural immersion. It was a vivid mental image: walking through campus, embracing student life in a new country. That’s how I knew I had to go; it felt like I already belonged there. Similarly, when searching for my current apartment, one particular place instantly felt like home. That same profound sense of “rightness” often guides my decisions, even in the kitchen, especially when perfecting recipes like this extraordinary homemade strawberry layer cake.
The Allure of From-Scratch Baking: Elevating Flavor Beyond the Box
In a world full of convenient shortcuts, there’s something deeply satisfying about baking from scratch. While box mixes promise ease, they often fall short on the rich, nuanced flavors and textures that only real ingredients can provide. This homemade strawberry cake is a testament to that philosophy. We bypass artificial flavors and colors found in mixes and Jell-O, opting instead for the pure, unadulterated goodness of fresh strawberries, real butter, and wholesome pantry staples. The result is a cake that doesn’t just taste good; it tastes authentic, comforting, and truly special.
The Culinary Journey to the Ultimate Strawberry Layer Cake
My journey to perfecting this strawberry layer cake was a prime example of trusting that gut feeling in baking. My first attempt was good, a respectable cake indeed, but it lingered in my thoughts. It wasn’t quite *pink enough*, nor was it *strawberry enough*. The flavor was subtle, the color a muted, almost grayish-pink, far from the vibrant, fruity experience I envisioned. The next morning, I awoke with a head full of ideas for improvement. If a cake could occupy my first thoughts of the day to that extent, I knew a remake was essential. This dedication to culinary excellence led to the recipe you see today.
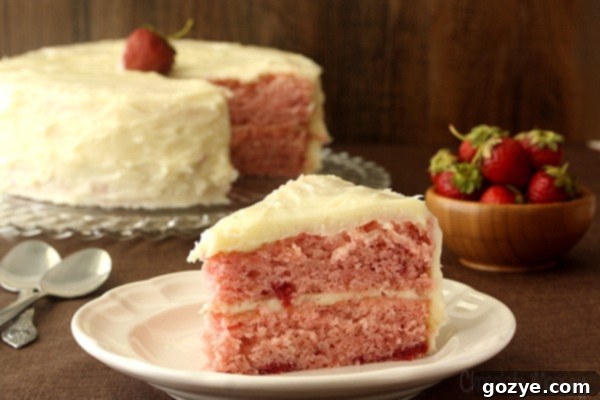
Today, I am incredibly proud to present a strawberry layer cake made entirely from scratch – no cake mix, no strawberry Jell-O in sight. Just the honest, delicious combination of good old flour, sugar, eggs, butter, an abundance of fresh, ripe strawberries, and the crowning glory of homemade cream cheese frosting. It’s a cake that embodies true strawberry essence, from its beautiful hue to its intense flavor.
Unlocking True Strawberry Flavor: Freshness Over Artificiality
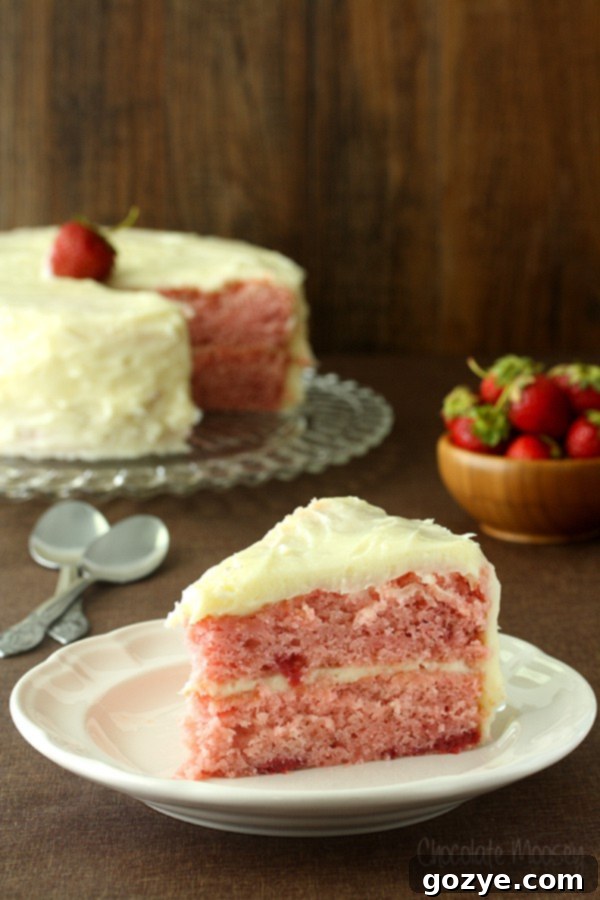
When most people think of strawberry cake, they conjure images of those wonderfully vibrant pink layers, often paired with vanilla or cream cheese frosting. However, a significant number of these cakes owe their color and flavor to a box mix or, more specifically, strawberry Jell-O. My goal was to prove that it’s absolutely possible to achieve that iconic pink appearance and a prominent, genuine strawberry taste without resorting to artificial enhancers. The answer, unequivocally, is yes.
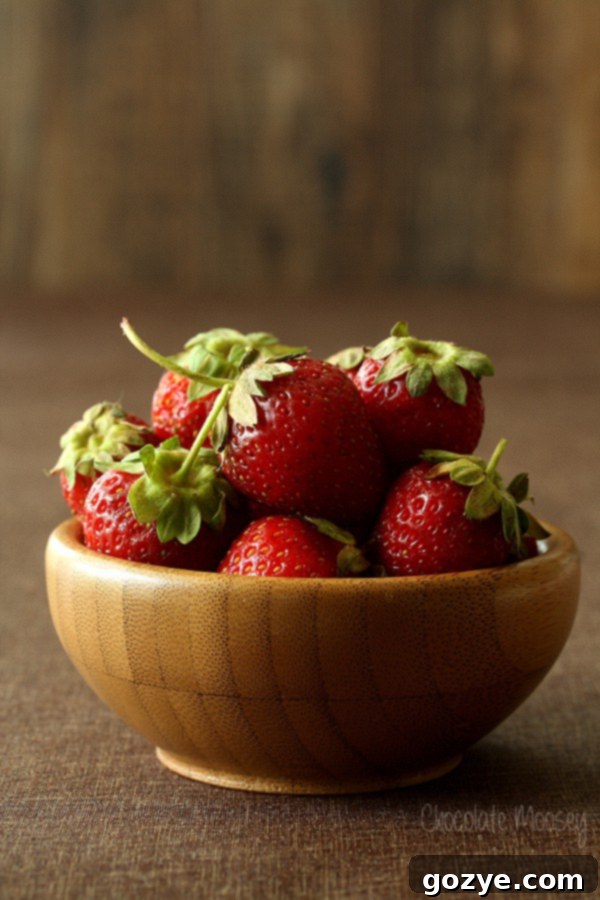
During my initial research into strawberry cake recipes, a recurring theme emerged: the prevalent use of strawberry gelatin. While it certainly delivers a strong pink color, it also imparts an artificial flavor that simply cannot compare to the real thing. I was determined that the primary source of my strawberry flavor had to come directly from fresh, ripe strawberries, not from a packet of gelatin. This commitment to fresh ingredients was non-negotiable and became the cornerstone of my recipe development.
The Science of Pink: Achieving Vibrant Color and Concentrated Taste
My first attempt, using whole eggs and a simple strawberry puree, yielded a decent cake, but as mentioned, it lacked the visual vibrancy and intense strawberry punch I craved. The color was a dull, grayish-pink, and the flavor, while present, was too subtle. I realized that to achieve that dazzling pink and powerful strawberry essence, I needed to approach the cake base differently.
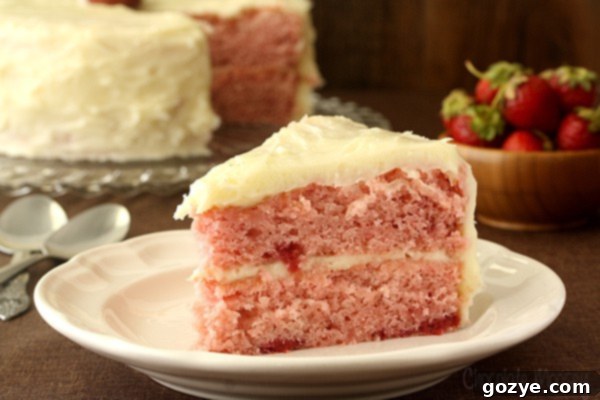
The solution involved a dual strategy. First, I decided to focus on creating a whiter cake base to allow the strawberry’s natural color to shine through more effectively. This meant swapping out whole eggs for egg whites, thereby eliminating the yellow tint from the yolks that was dulling my desired pink. Second, and crucially, I changed how I prepared the strawberries. Instead of just pureeing them, I cooked them down gently, much like making a fruit jam or preserve. This process concentrates the strawberry flavor significantly, intensifying its sweetness and aroma far beyond what raw pureed strawberries can offer. The reduction also results in a richer, more vibrant color. This technique truly made a difference, amplifying both the taste and the visual appeal.
Now, I will admit to a small, optional “cheat” – a few drops of red food coloring. While the cooked strawberry reduction provides a wonderful natural pink, a touch of red food coloring can elevate it to that truly eye-catching, vibrant hue that many associate with a perfect strawberry cake. This addition is purely for visual enhancement, not for flavor, as the rich strawberry taste is already locked in through our careful preparation. The combination of egg whites and cooked strawberries, along with the optional food coloring, allowed me to achieve the bright, beautiful pink and the deep, authentic strawberry flavor I had been striving for.
The Perfect Companion: Homemade Cream Cheese Frosting
With the cake layers perfected, it was time for the equally important task of decorating – or, in my case, making it look beautifully effortless! Some flavor combinations are simply meant to be, and strawberries and cream cheese frosting are one such divine pairing. Their synergy is akin to peanut butter and jelly or fine wine and cheese – a perfect harmony of sweet, tangy, and creamy. The rich, slightly tart cream cheese frosting provides a beautiful contrast to the sweet, fruity strawberry cake, creating an unforgettable bite every time.
While a classic homemade cream cheese frosting is a fantastic choice, you can also amp up the berry flavor even further with a Strawberry Cream Cheese Frosting. For this two-layer cake, you’ll want to double either recipe to ensure you have plenty of that luscious, spreadable goodness. Another delightful option is a classic strawberry buttercream, offering a slightly different texture and sweetness profile, yet equally complementary to the cake.
Expert Frosting Techniques: Achieving a Bakery-Quality Finish at Home
Frosting a cake can seem daunting, but with a few simple tricks, you can achieve a professional-looking finish right in your own kitchen.
- The Essential Crumb Coat: The secret to a smooth, pristine final layer of frosting is the crumb coat. This thin, initial layer of frosting is applied just enough to seal in any loose crumbs. The goal is to cover the entire cake lightly without using more than half of your frosting. This prevents crumbs from mingling with your beautiful outer layer, ensuring a clean canvas for your final decoration. After applying, chill the cake for 15-20 minutes to set the crumb coat.
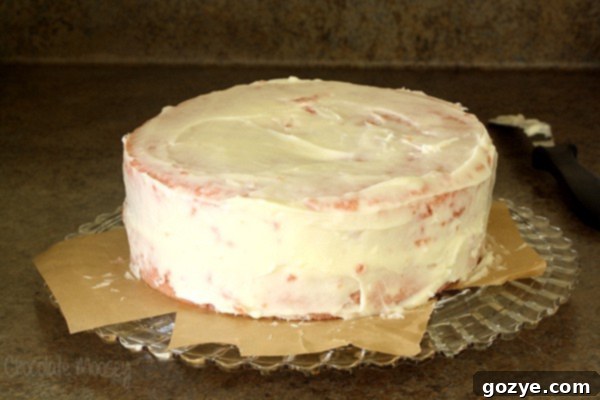
- The Parchment Paper Clean-Up Hack: To keep your cake stand or serving plate immaculately clean, simply slide small pieces of parchment or wax paper underneath the edges of the first cake layer before you begin frosting. Once you’re done frosting, gently pull these pieces out from underneath the cake. They’ll catch any drips and smudges, leaving your presentation flawless – as if your spatula was never there!
- Patience is Key: Don’t rush the process. Chilling the cake after the crumb coat, and again if needed before the final layer, will make spreading the frosting much easier and result in a neater finish.
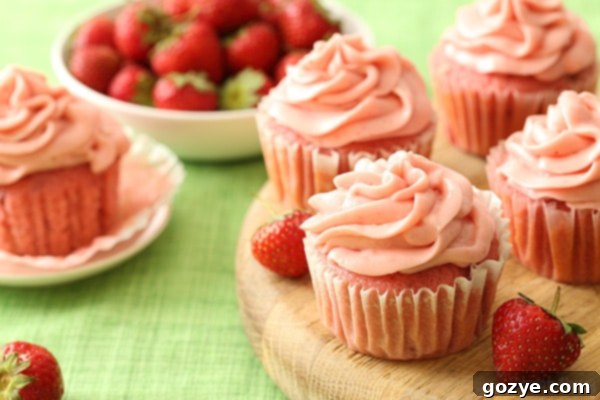
If you’re as enamored with this homemade strawberry layer cake as we are, you’ll be delighted to explore more of our from-scratch strawberry recipes. Be sure to try our luscious Strawberry Cupcakes with Strawberry Cream Cheese Frosting and our charming Strawberry Snack Cake. Both recipes proudly follow our philosophy: made entirely from scratch, without the need for Jell-O or a pre-made cake mix. They’re perfect for enjoying the true taste of strawberries in different forms!
Update 6/8/16: Based on invaluable reader feedback and my ongoing quest for perfection, I retested this cake recipe extensively. The recipe below has been carefully edited to reflect those significant changes. I refined the baking technique and adjusted some of the ingredient amounts to ensure the best possible results for every home baker.
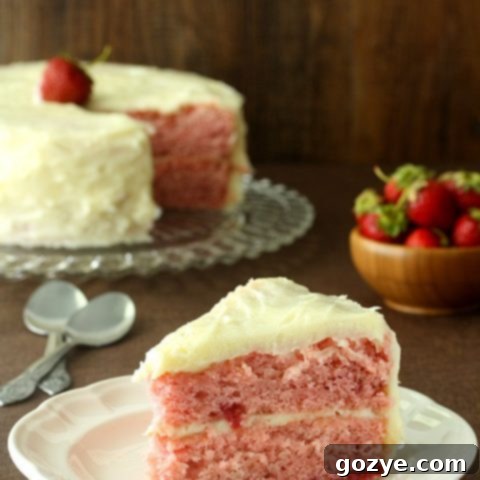
Strawberry Layer Cake With Cream Cheese Frosting
8-10 servings
20 minutes
25 minutes
45 minutes
This two layer strawberry cake is made all from scratch – no cake mix, no strawberry Jello. And of course you can’t forget the homemade cream cheese frosting.
Ingredients
- 2 cups sliced fresh strawberries* (see Note about quality)
- 2 tablespoons water
- 1 3/4 cup all-purpose flour (when measuring, spoon the flour into the measuring cup and level it off)
- 1/4 cup cornstarch
- 2 teaspoons baking powder
- 1 teaspoon salt
- 1/2 cup (1 stick or 4 ounces) unsalted butter, softened
- 1 1/2 cups + 2 tablespoons granulated sugar
- 4 egg whites, room temperature
- 1 teaspoon vanilla extract
- 1 cup whole milk, room temperature
- Red food coloring (optional)
Frosting Options (Pick One)
- Double Batch of Cream Cheese Frosting (get recipe here)
- Double Batch of Strawberry Cream Cheese Frosting (get recipe here)
- Double Batch of Strawberry Buttercream (get recipe here)
- Double Batch of Vanilla Buttercream (get recipe here)
- Double Batch of Chocolate Buttercream (get recipe here)
- Double Batch of Lemon Buttercream (get recipe here)
Instructions
- Preheat oven to 350F (175°C). Grease two 8-inch wide x 1 1/2 inch deep round cake pans and line the bottoms with parchment paper. This preparation ensures your cakes release easily and bake evenly.
- In a large saucepan, combine 1 1/2 cups of the sliced strawberries, water, and 2 tablespoons of granulated sugar. Bring this mixture to a gentle boil over medium heat, stirring occasionally. Allow it to boil for about 5 minutes, or until the strawberries have softened considerably, broken down, and the mixture begins to thicken into a jam-like consistency. Remove from heat and let it cool for 15 minutes. This step concentrates the strawberry flavor and color.
- In a separate large bowl, sift together the all-purpose flour and cornstarch. Sifting prevents lumps and aerates the dry ingredients, leading to a lighter cake. Then, stir in the baking powder and salt, ensuring they are evenly distributed.
- In another large mixing bowl, using an electric mixer on medium speed, beat together the softened unsalted butter and the remaining 1 1/2 cups of granulated sugar until the mixture is light, fluffy, and creamy, which typically takes about 2-3 minutes. Gradually beat in the egg whites, adding them one at a time and beating for a full minute after each addition. This incorporates air and helps create a tender crumb. Finally, beat in the vanilla extract until just combined.
- With the mixer on low speed, begin adding the flour mixture, alternating with the room temperature whole milk. Start and end with the dry ingredients, adding the flour in three additions and the milk in two additions. Be careful not to overmix the flour, as this can lead to a tough cake. Mix just until the ingredients are combined. Gently fold in the cooled cooked strawberry mixture and the remaining 1/2 cup of fresh sliced strawberries. At this point, if you desire a more vibrant pink color, add 3-5 drops of red food coloring, mixing until evenly distributed.
- Divide the prepared batter evenly between the two greased and lined cake pans (note that the batter will be relatively thin). Bake for 25-30 minutes, or until the tops are lightly golden and a wooden skewer or toothpick inserted into the center of a cake layer comes out clean. This indicates it’s fully baked. Let the cakes cool in their pans for 15 minutes before inverting them onto wire cooling racks to cool completely. Ensure they are entirely cool before frosting.
- If your cake layers have domed tops, use a serrated knife to carefully trim a thin layer off the top of each cake until they are flat. This creates stable layers for stacking and a professional appearance.
- Place one cooled, trimmed cake layer on your chosen cake stand or serving plate. For easy clean-up later, slide several small pieces of parchment paper or wax paper slightly underneath the edges of the cake. Spread a generous amount of your chosen frosting evenly over the top of this first layer. Carefully place the second cake layer on top. Apply a very thin layer of frosting all over the entire cake – top and sides – to create a “crumb coat.” This layer seals in any loose crumbs and should not use more than half of your total frosting. Refrigerate the cake for 15 minutes to allow the crumb coat to firm up.
- Once the crumb coat is firm, finish covering the entire cake with the remaining frosting, using an offset spatula or bench scraper to smooth the sides and top for a polished look. Carefully pull out the parchment paper pieces from underneath the cake. Refrigerate the frosted cake until the frosting is firm, typically 30 minutes to an hour. Store the cake covered in the refrigerator. For the absolute best flavor and texture, allow the cake to sit at room temperature for about 30 minutes before slicing and serving. Enjoy your homemade masterpiece!
Notes
- *Make sure your fresh strawberries are truly ripe and juicy. The intensity of your cake’s strawberry flavor directly correlates with the quality and flavor of the fruit you use. If your strawberries are underwhelming, the cake will reflect that.
- If fresh strawberry season isn’t upon us, you can substitute with frozen strawberries (ensure you’re using plain frozen fruit, not those packed in syrup). Thaw them completely before using and be sure to drain off any excess liquid to prevent diluting the batter.
Did you make this recipe?
Let me know what you think! Rate the recipe above, leave a comment below, and/or share a photo on Instagram using #HITKrecipes
Source: This recipe was originally adapted from Simply from Scratch Recipes Vol 2 (Amazon affiliate link). It has since been significantly updated and refined based on ongoing testing and valuable feedback from readers, continually improving to bring you the very best homemade strawberry cake experience.
