Mastering Homemade Lemon Fudge: A Creamy, Tangy Small Batch Recipe for Sweet Perfection
There’s something undeniably magical about homemade fudge. The rich, creamy texture, the melt-in-your-mouth sweetness, and the satisfaction of creating a confection from scratch. But let’s be honest, traditional fudge can sometimes feel like a culinary Everest. For years, the idea of making authentic fudge without “cheating” seemed daunting. Well, prepare to conquer that mountain with this incredible recipe for **Small Batch Creamy Lemon Fudge**! This isn’t your average quick-mix fudge; we’re talking about real, traditional, candy-thermometer-required fudge, infused with the bright, zesty flavor of fresh lemons. Every bite offers a delightful balance of sweet and tangy, guaranteed to brighten even the dreariest of days.

The Art of Traditional Fudge Making: Unlocking Creamy Perfection
Many home bakers shy away from making traditional fudge, and for good reason. It has a reputation for being finicky. My own journey with fudge has been a rollercoaster of triumphs and, more often, sticky, spoon-only disasters. I vividly recall a frustrating attempt at pumpkin fudge years ago; it barely set, leaving me with a soft, unappealing mess. That experience taught me a crucial lesson: fudge making is a precise science, not just an art. It’s about more than simply boiling ingredients; it’s about reaching the exact **soft ball stage** in candy making, which typically falls between 235-240°F (113-116°C).
This precise temperature is critical because it ensures the sugar crystals are small and evenly dispersed, resulting in that smooth, non-gritty texture we all crave. The moment the mixture hits this temperature, it undergoes a transformation that allows it to set firm and hold its shape after cooling. After reaching this stage, the process involves carefully incorporating your chosen flavorings before pouring the luscious mixture into a loaf pan to firm up into irresistible candy. The secret? Patience, attention to detail, and a reliable candy thermometer. Armed with these, you too can master the technique and enjoy delectable homemade fudge!
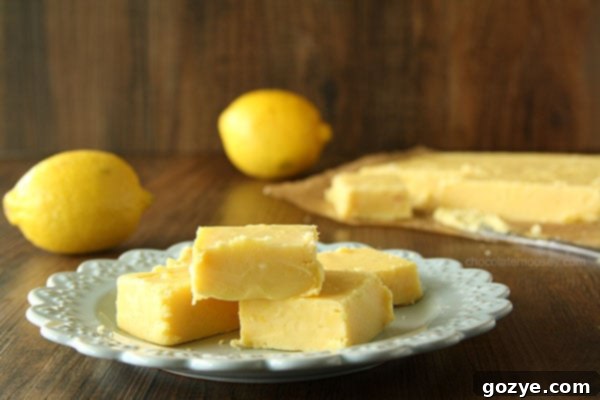
Conquering the Fudge Foe: My Lemon Fudge Triumph
For a long time, fudge felt like my culinary nemesis. I often resorted to “cheater” fudge recipes, which, while delicious in their own right (like my chocolate marshmallow fudge), didn’t offer the same sense of accomplishment as a true traditional batch. This time, however, I was determined to face the challenge head-on. The idea of crafting a vibrant **Lemon Fudge** using real lemons, with no extracts needed, was too appealing to resist.
The journey from a simmering pot of sugar and cream to perfectly set lemon fudge felt like a genuine victory. I was nervous, anticipating another failure as I poured the bright yellow mixture into the pan. But as it slowly cooled and solidified, transforming from a liquid into firm, delicious fudge, I felt an immense sigh of relief. The satisfaction of slicing into those creamy, tangy squares after years of struggle was truly unparalleled. This recipe proves that with the right guidance and a little perseverance, even the most intimidating baking projects can be conquered, yielding a small batch of creamy lemon fudge to savor.
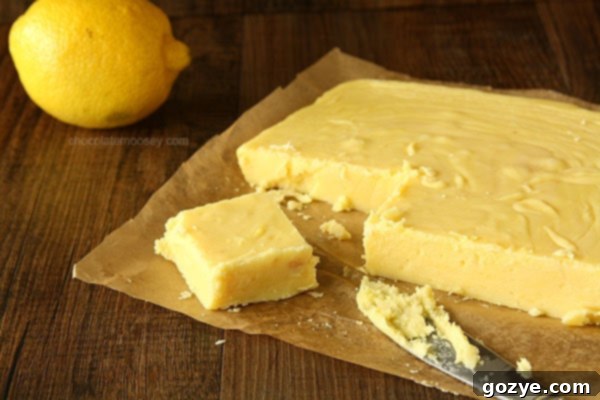
Why Lemon Fudge? The Zesty Secret to a Bright Treat
When contemplating my next fudge adventure, I considered various flavors. Rocky road, a favorite of my mom’s, was a strong contender. However, with the onset of chilly, dreary weather, I yearned for something to infuse a little brightness and cheer. Citrus, with its invigorating aroma and tangy taste, was the perfect answer. And so, **Lemon Fudge** was born.
This particular lemon fudge boasts an incredibly creamy, melt-in-your-mouth texture, coupled with a robust, refreshing lemon tang. The secret to this intense flavor lies in the generous use of fresh lemon zest. Trust me, you won’t need any artificial lemon extract here! Real lemon zest provides an unparalleled natural aroma and flavor that synthetic extracts simply cannot replicate. While the natural color of lemon fudge is a delicate pale yellow, I chose to add a few drops of yellow food coloring to enhance its visual appeal and truly emphasize its lemon identity. However, if presentation isn’t your primary concern, feel free to skip the food coloring; the taste will be just as spectacular, delivering a truly authentic homemade lemon fudge experience.
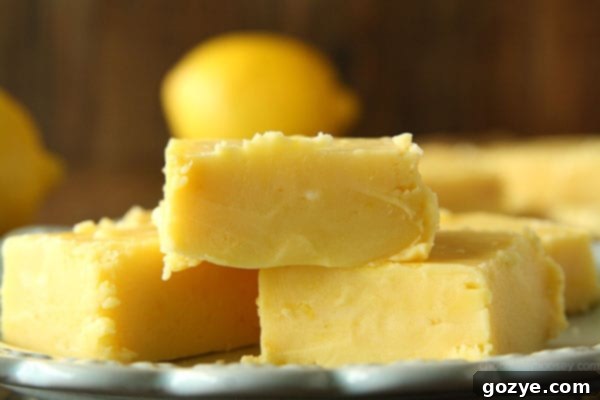
Ingredient Spotlight: Fresh Zest and Heavy Cream
One of the beauties of this recipe is its commitment to fresh, accessible ingredients. The original inspiration for this fudge often calls for lemon extract, an ingredient many home cooks (myself included) don’t typically keep on hand. My solution? A generous substitution with plenty of fresh **lemon zest**. Not only does this eliminate the need for a specialized ingredient, but it also elevates the flavor profile significantly. It’s crucial, however, to **avoid substituting lemon juice** for zest. The added liquid and acidity from the juice can disrupt the delicate chemistry of fudge making, potentially preventing it from firming up properly.
Another smart substitution I’ve made is using **heavy whipping cream** instead of evaporated milk. While evaporated milk is traditional, it’s not always readily available in my pantry, and often an entire can isn’t needed for a small batch. Heavy cream, on the other hand, is a staple for many, making this recipe more convenient without compromising on the rich, creamy consistency that defines perfect fudge. Both substitutions are designed to make your fudge-making experience as smooth and enjoyable as the finished product itself, yielding truly creamy lemon fudge.
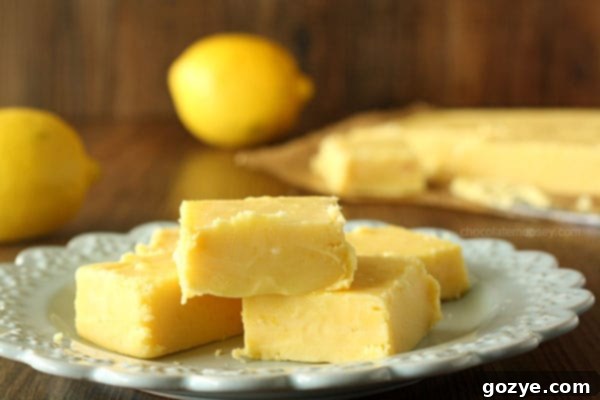
Tips for Flawless Fudge: Your Guide to Sweet Success
The Indispensable Candy Thermometer
If there’s one tool you absolutely cannot skip for traditional fudge, it’s a **candy thermometer**. This isn’t a suggestion; it’s a necessity. Achieving the precise temperature of 234-235°F (112-113°C) is the make-or-break factor for beautifully set, non-gritty fudge. I highly recommend a digital candy thermometer for accuracy and ease of reading (like this one I use). While the traditional “soft ball stage test” (dropping a small amount into cold water) can work, a thermometer removes all guesswork, significantly increasing your chances of success. Humidity and altitude can also affect cooking times, but the thermometer will always guide you to the correct temperature regardless of external factors, ensuring your homemade lemon fudge sets perfectly.
The Golden Rule: No Stirring While Boiling
Once your sugar and cream mixture reaches a rolling boil, resist the urge to stir! This is a critical piece of advice often overlooked. Stirring during the boiling process can encourage sugar crystals to reform on the sides of the pan and fall back into the mixture, leading to a grainy, gritty texture in your final fudge. We want tiny, imperceptible crystals for that silky-smooth consistency. If you notice any sugar crystals forming on the sides of the pan, you can gently wipe them down with a wet pastry brush, but otherwise, let the mixture boil undisturbed until it reaches the target temperature for your creamy lemon fudge.
Why Small Batch? Indulgence Without Overload
This recipe is specifically designed for a **small batch** of fudge, perfectly suited for a standard 9×5-inch loaf pan. Fudge, by its very nature, is an incredibly rich and sweet confection. A small square is often all you need to satisfy a sweet craving before the sugar rush becomes overwhelming. This small batch approach yields about 12 to 16 squares, depending on how generously you cut them. It’s the perfect amount for a household to enjoy without feeling like you have an endless supply, and it makes for a wonderful homemade gift without requiring a huge commitment of ingredients or time. Enjoy the perfect portion of creamy lemon fudge every time!
Cooling with Care
Once you’ve poured your fudge mixture into the prepared pan, the cooling process is just as important as the cooking. Allow the fudge to cool completely and firm up at room temperature for at least two hours, or for about one hour in the refrigerator if you’re in a hurry. Resist the temptation to cut into it too early, as it needs ample time to set properly. Impatience here can result in a softer, less defined fudge. Once fully cooled, it will lift easily from the parchment-lined pan, ready to be cut into perfect, creamy lemon fudge squares.
Troubleshooting Common Fudge Faux Pas
Even with the best intentions, fudge can sometimes present challenges. Here are some common issues and how to avoid them:
- Gritty Fudge: This is almost always due to premature stirring during the boiling stage or sugar crystals sticking to the sides of the pan. Remember: do not stir while boiling, and wipe down the sides of the pan with a wet pastry brush if needed to prevent sugar recrystallization.
- Fudge Not Setting: The primary culprit here is not reaching the correct soft ball stage temperature (234-235°F / 112-113°C). A candy thermometer is your best friend. Humidity can also play a role; on very humid days, it might be harder for fudge to set or it might require an extra degree or two.
- Fudge is Too Hard/Crumbly: This usually means the mixture was cooked to too high a temperature. Ensure your thermometer is accurate and remove the mixture promptly once it hits the target range. Overcooking can lead to brittle or crumbly fudge.
More Delicious Fudge Recipes to Explore
If you’ve enjoyed mastering this Lemon Fudge, you might love exploring other homemade fudge creations from my collection:
- Vanilla Bean Fudge
- Chocolate Peanut Butter Fudge
- Nutella Fudge
- Oreo Fudge
- Peanut Butter Oreo Fudge

Small Batch Creamy Lemon Fudge
12-16 squares
20 minutes
10 minutes
2 hours
2 hours 30 minutes
Learn how to make real traditional fudge with this Small Batch Creamy Lemon Fudge recipe made in a loaf pan. It’s a sweet and tangy flavor in every bite!
Ingredients
- 1 cup granulated sugar
- 1/3 cup heavy whipping cream or evaporated milk
- 4 ounces white chocolate, finely chopped
- 1/4 cup butter (2 ounces or 4 tablespoons), cut into 4 tablespoons
- 2 tablespoons lemon zest (roughly 2 lemons)
- 1/4 teaspoon vanilla extract
- Few drops of yellow food coloring (optional)
Instructions
- Line a 9×5 loaf pan with parchment paper. Have all of your mise en place (ingredients) prepped before starting.
- In a large saucepan, whisk together the sugar and cream/milk. Heat over medium-high heat, stirring constantly until it reaches a rolling boil.
- Turn the heat down to medium-low and boil until a candy thermometer reaches 234F degrees, about 5 minutes. Do not stir. If it begins to brown, turn the heat down to low, ensuring it’s still at a boil.
- Once the mixture reaches 234F degrees, remove from the heat. Using a rubber spatula, immediately stir in white chocolate, butter, lemon zest, and vanilla until the chocolate and butter are fully melted. The mixture should be thick and smooth. If you want a brighter color, stir in the food coloring.
- Immediately transfer to the pan and spread into an even layer. Let cool until firm, 2 hours at room temperature or 1 hour chilled. Remove from the pan and cut into squares.
Recommended Products
As an Amazon Associate and member of other affiliate programs, I earn from qualifying purchases.
- 9×5 Loaf Pan
- Digital Thermometer
Did you make this recipe?
Let me know what you think! Rate the recipe above, leave a comment below, and/or share a photo on Instagram using #HITKrecipes
Source: Adapted from The Well Seasoned Cook
Embrace Your Inner Confectioner!
Making traditional fudge can feel intimidating, but with this detailed guide and recipe for **Small Batch Creamy Lemon Fudge**, you’re well-equipped for success. The vibrant, tangy flavor of fresh lemon zest combined with a smooth, creamy texture makes this fudge an absolute delight. It’s perfect for a sweet treat, a thoughtful homemade gift, or simply a personal indulgence. Don’t let past failures deter you; follow these steps, trust your candy thermometer, and prepare to be amazed by the delicious results. Happy baking and enjoy your exquisite homemade lemon fudge!
