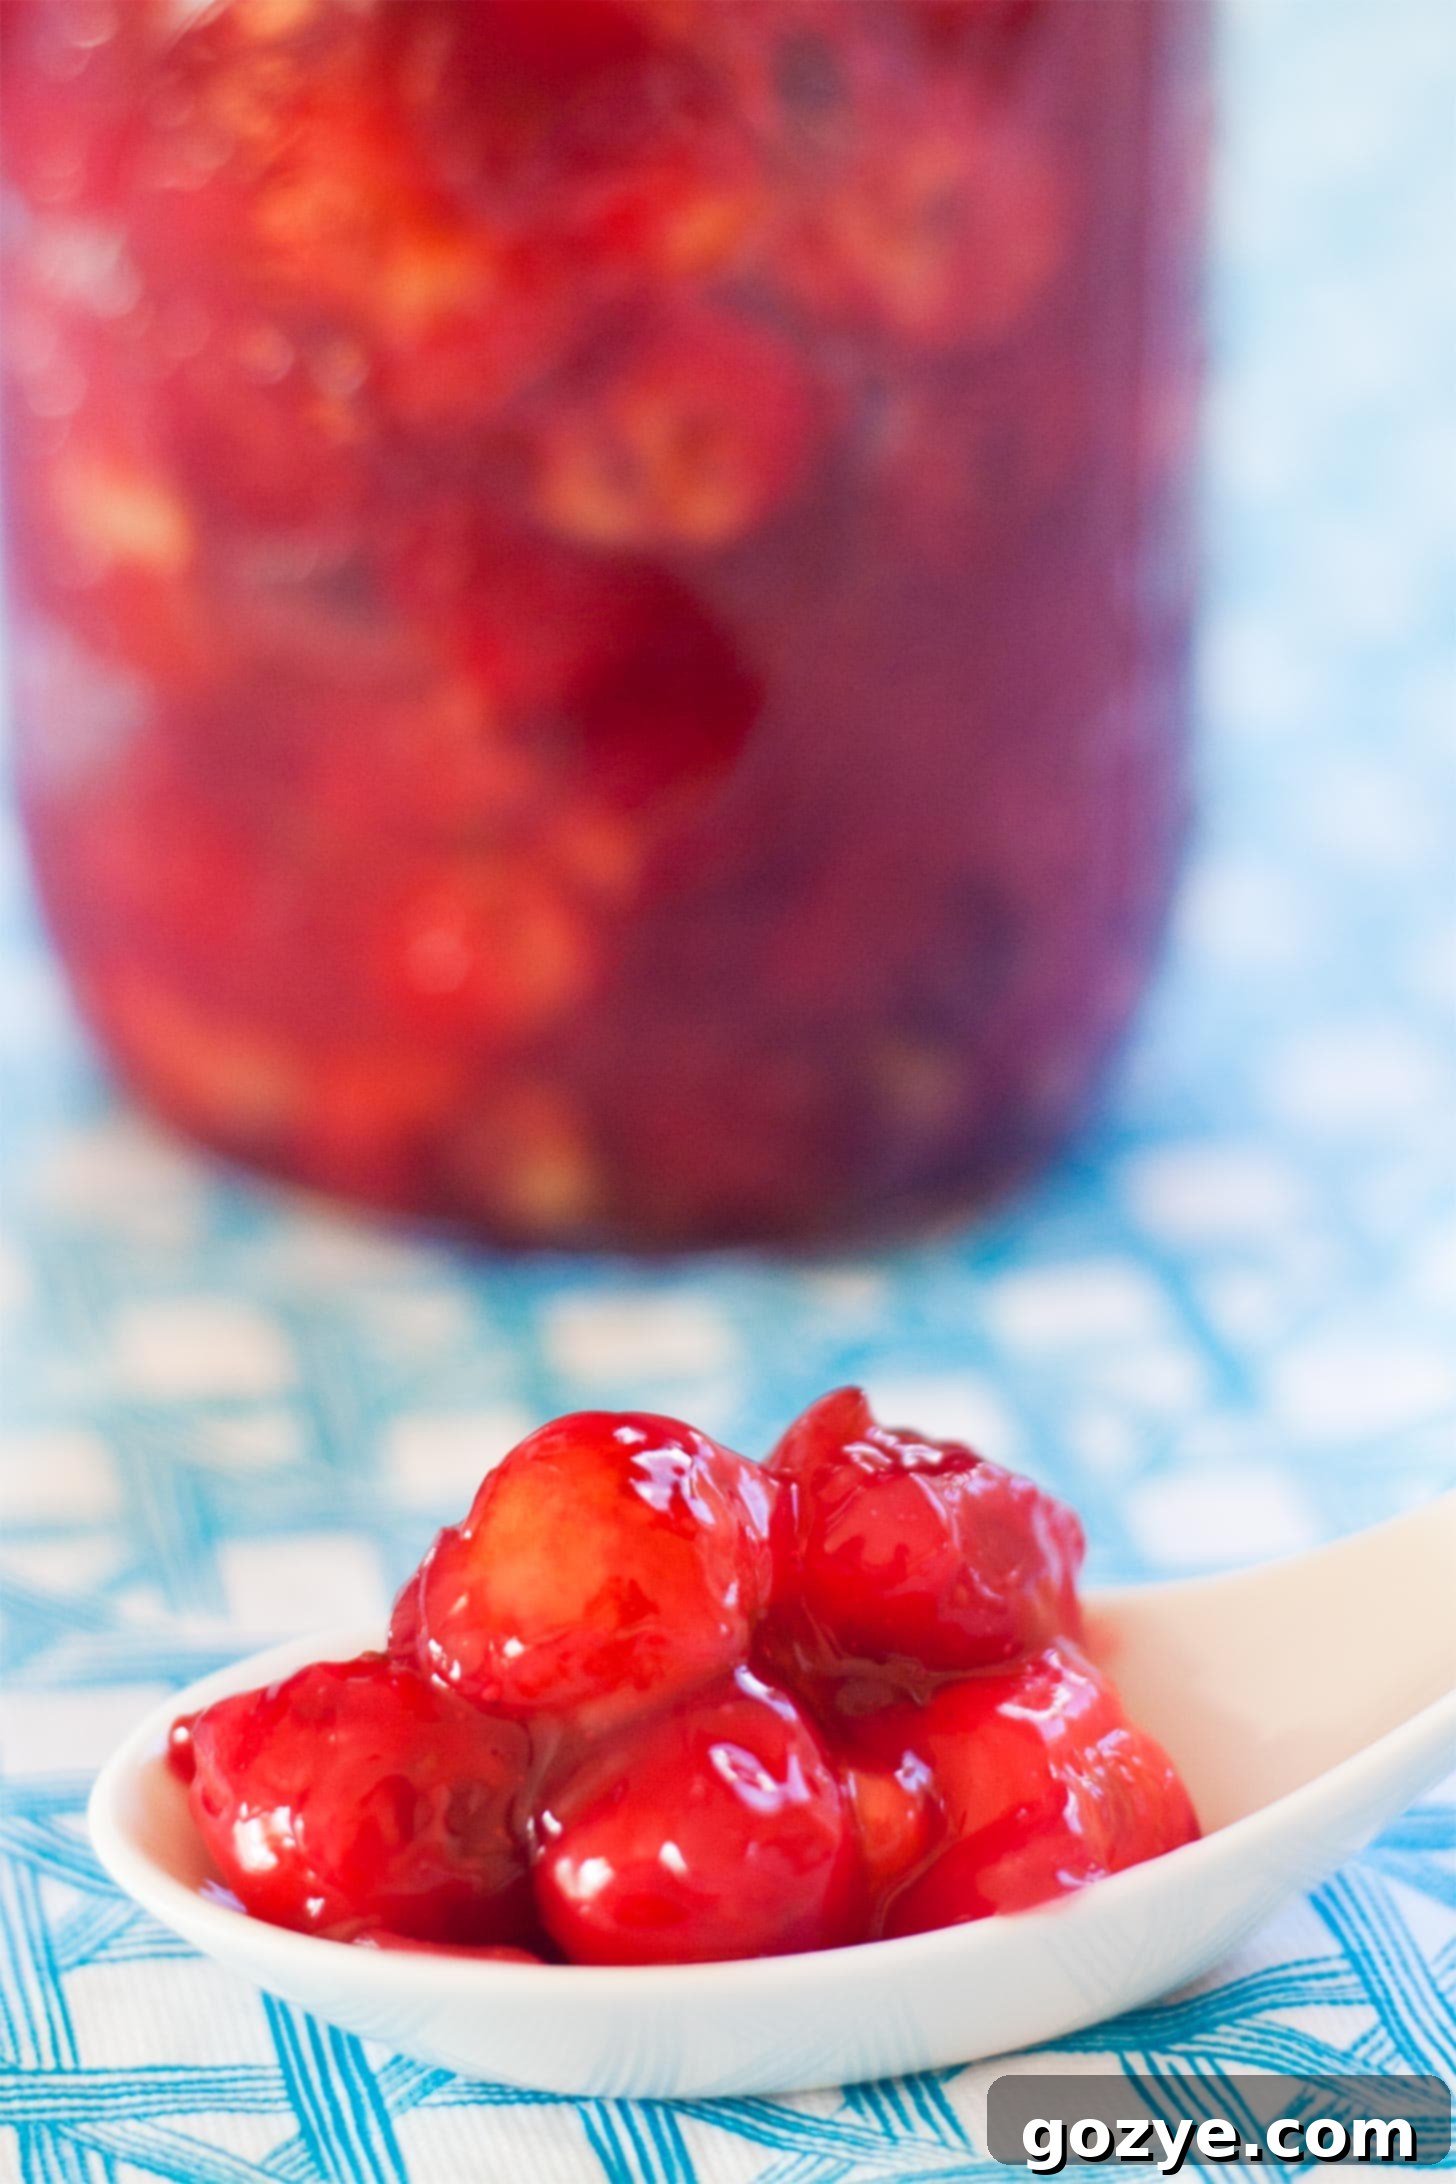
Homemade Cherry Pie Filling: The Best Recipe for Fresh Sour Cherries
Tired of bland, syrupy canned cherry pie filling that lacks natural flavor? It’s time to elevate your baking with a truly exceptional, Homemade Cherry Pie Filling made entirely from scratch! This recipe harnesses the vibrant taste of fresh sour cherries (also known as tart cherries) and a few simple pantry ingredients to create a filling that’s far superior in taste and texture. Best of all, it only takes about 5 minutes of actual cooking time, making it surprisingly quick and easy to prepare. Once you’ve made a batch, you’ll have a versatile ingredient ready for classic cherry pie, comforting cherry cobbler, decadent cheesecakes, and countless other delightful desserts.
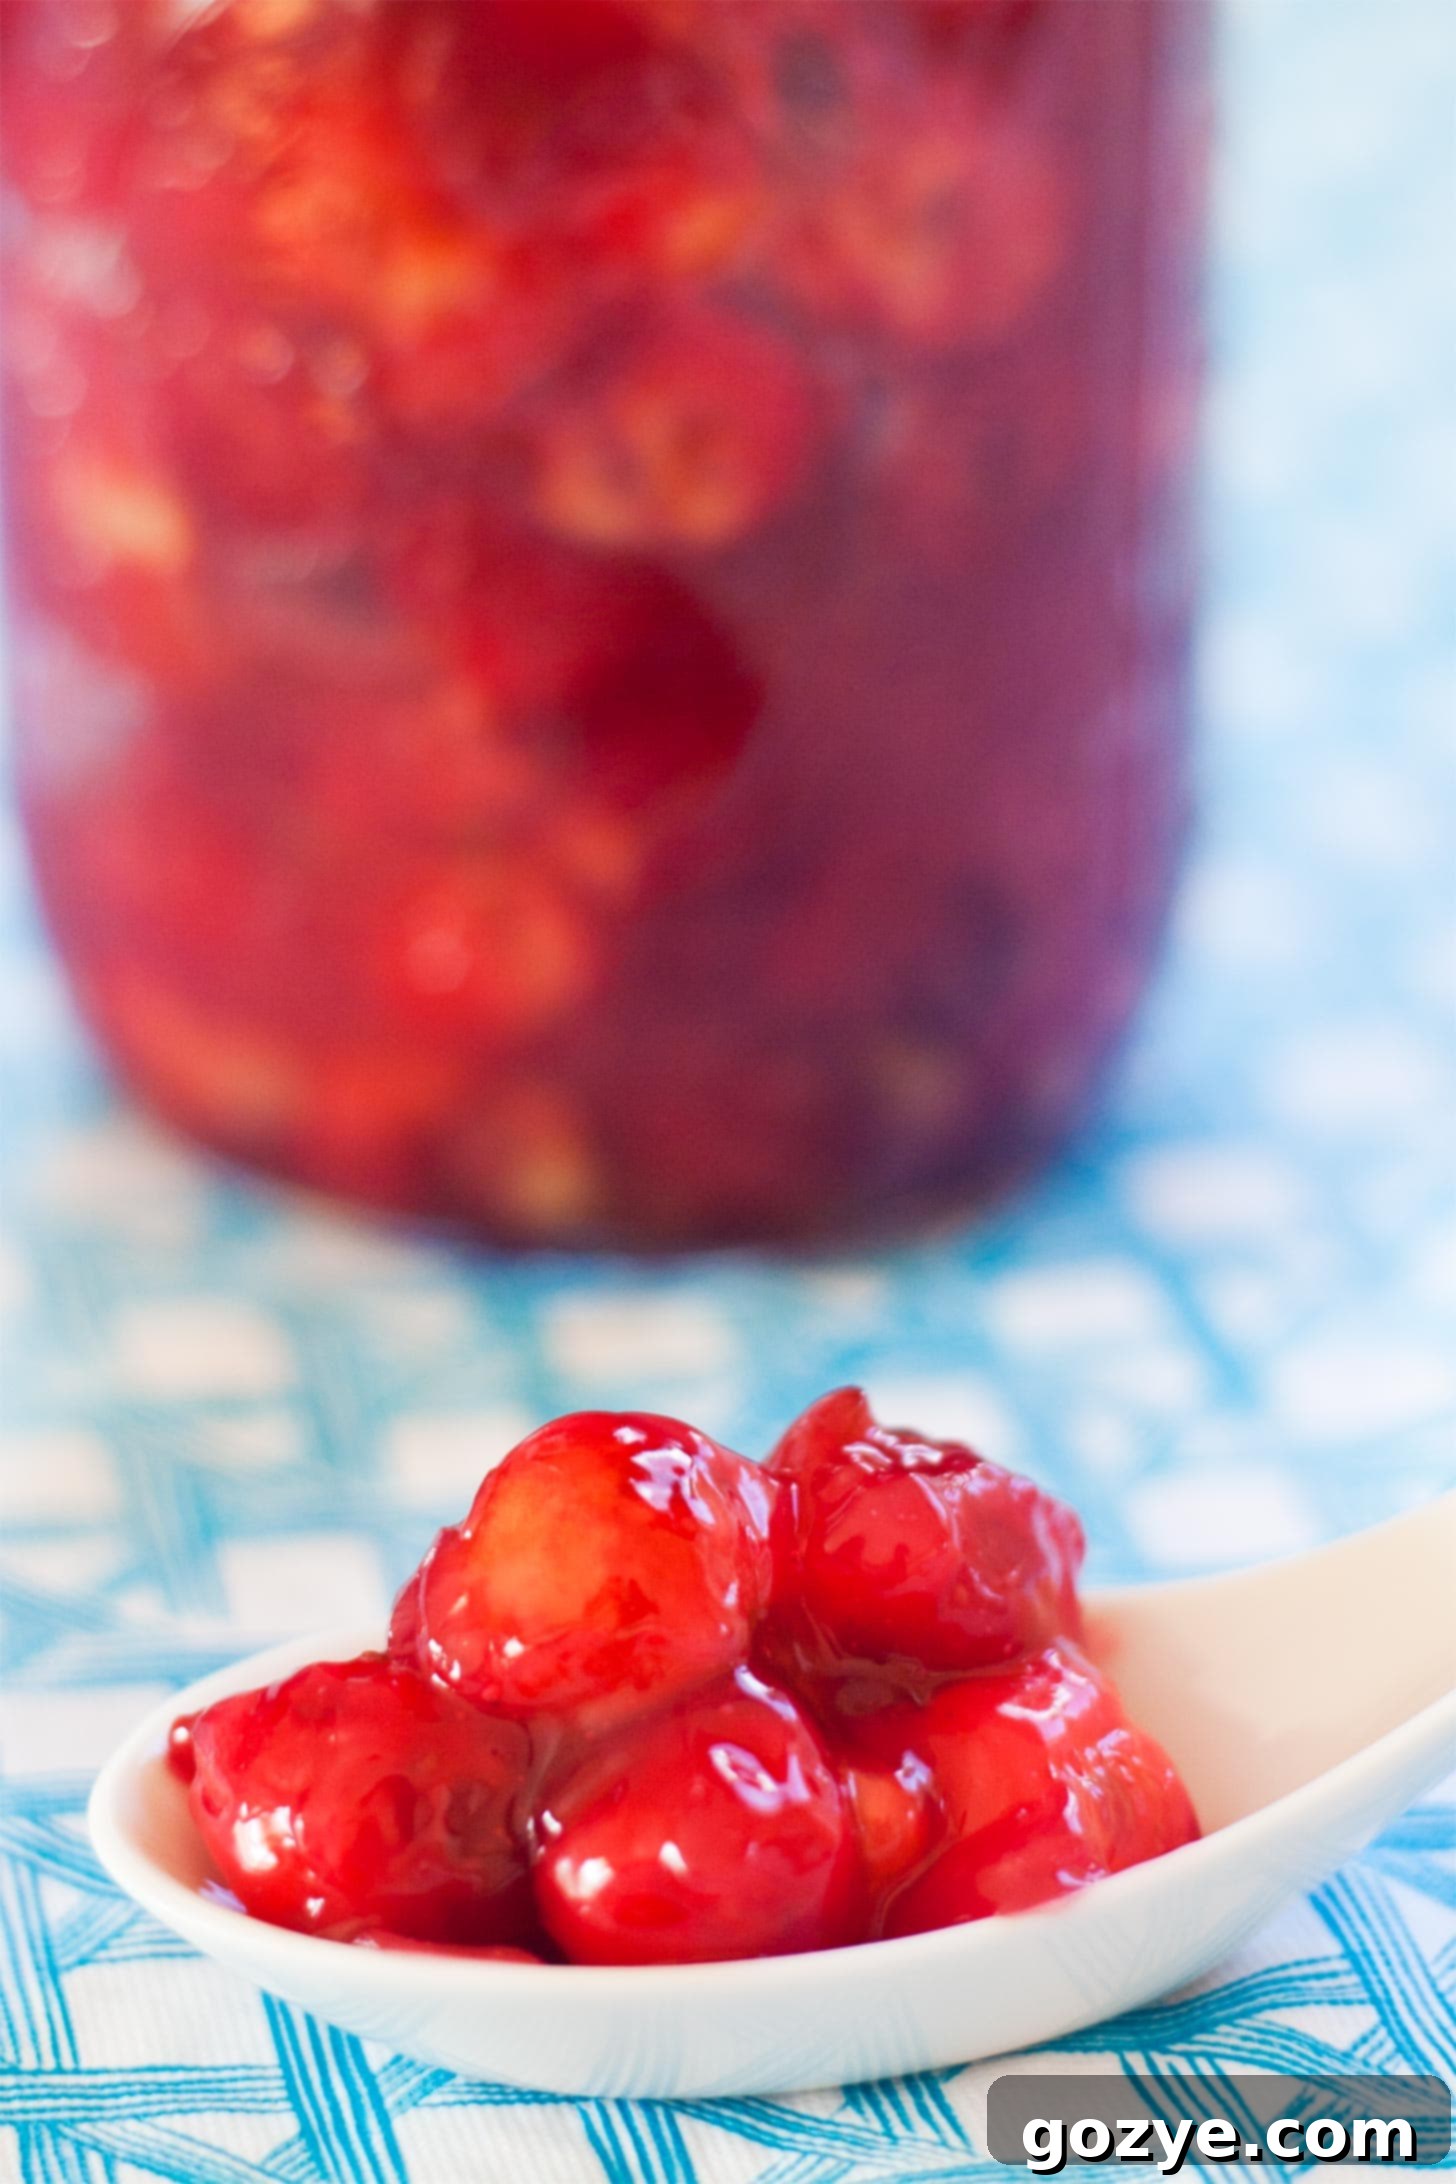
Why Choose Homemade Cherry Pie Filling?
There’s an undeniable satisfaction that comes from creating delicious food from its most basic components. I’ll confess, sometimes I can be truly overambitious in my kitchen endeavors. Growing up, I went through a phase where I insisted on making everything from scratch, even staples like ketchup without corn syrup! As I transitioned into full-time work, I quickly realized how precious my time and energy were, prompting me to allow myself the convenience of buying certain items to streamline kitchen prep.
However, that passion for homemade has never truly faded. I still find myself drawn to making everything from scratch, particularly when it comes to desserts. If it typically comes in a package or a mix, I see it as an opportunity to craft a homemade version. This philosophy is precisely what inspired this recipe for the absolute best Cherry Pie Filling, made entirely from scratch using fresh sour cherries (also known as tart cherries). You won’t find any corn syrup, artificial colors, or questionable preservatives here – just pure, unadulterated cherry goodness.
You’ll be amazed at how simple this process is. In fact, the most time-consuming part of making this fresh cherry pie filling is often pitting the cherries themselves, not the actual cooking! How easy is that? With just a few basic pantry ingredients and your choice of fresh cherries (whether tart or sweet), you can achieve a superior flavor and texture that no store-bought canned product can ever hope to replicate.
While I also boast other fantastic fruit filling recipes, including my popular homemade apple pie filling, blueberry pie filling, peach pie filling, and strawberry pie filling, this cherry version definitely holds a special place in my heart as a personal favorite. It’s absolutely divine as a luscious topping for my no bake cheesecake bars and my perfectly sized 6-inch cheesecake.
Of course, many of you are likely here with the intention of baking an actual cherry pie, and I’ve got you covered with beloved recipes like charming mini cherry pies and a comforting cinnamon pecan cherry crumble pie. Whichever dessert you choose to create, you’re going to adore the perfectly balanced sweetness and juicy texture of this homemade cherry pie filling. It truly is a game-changer for any cherry-based creation.
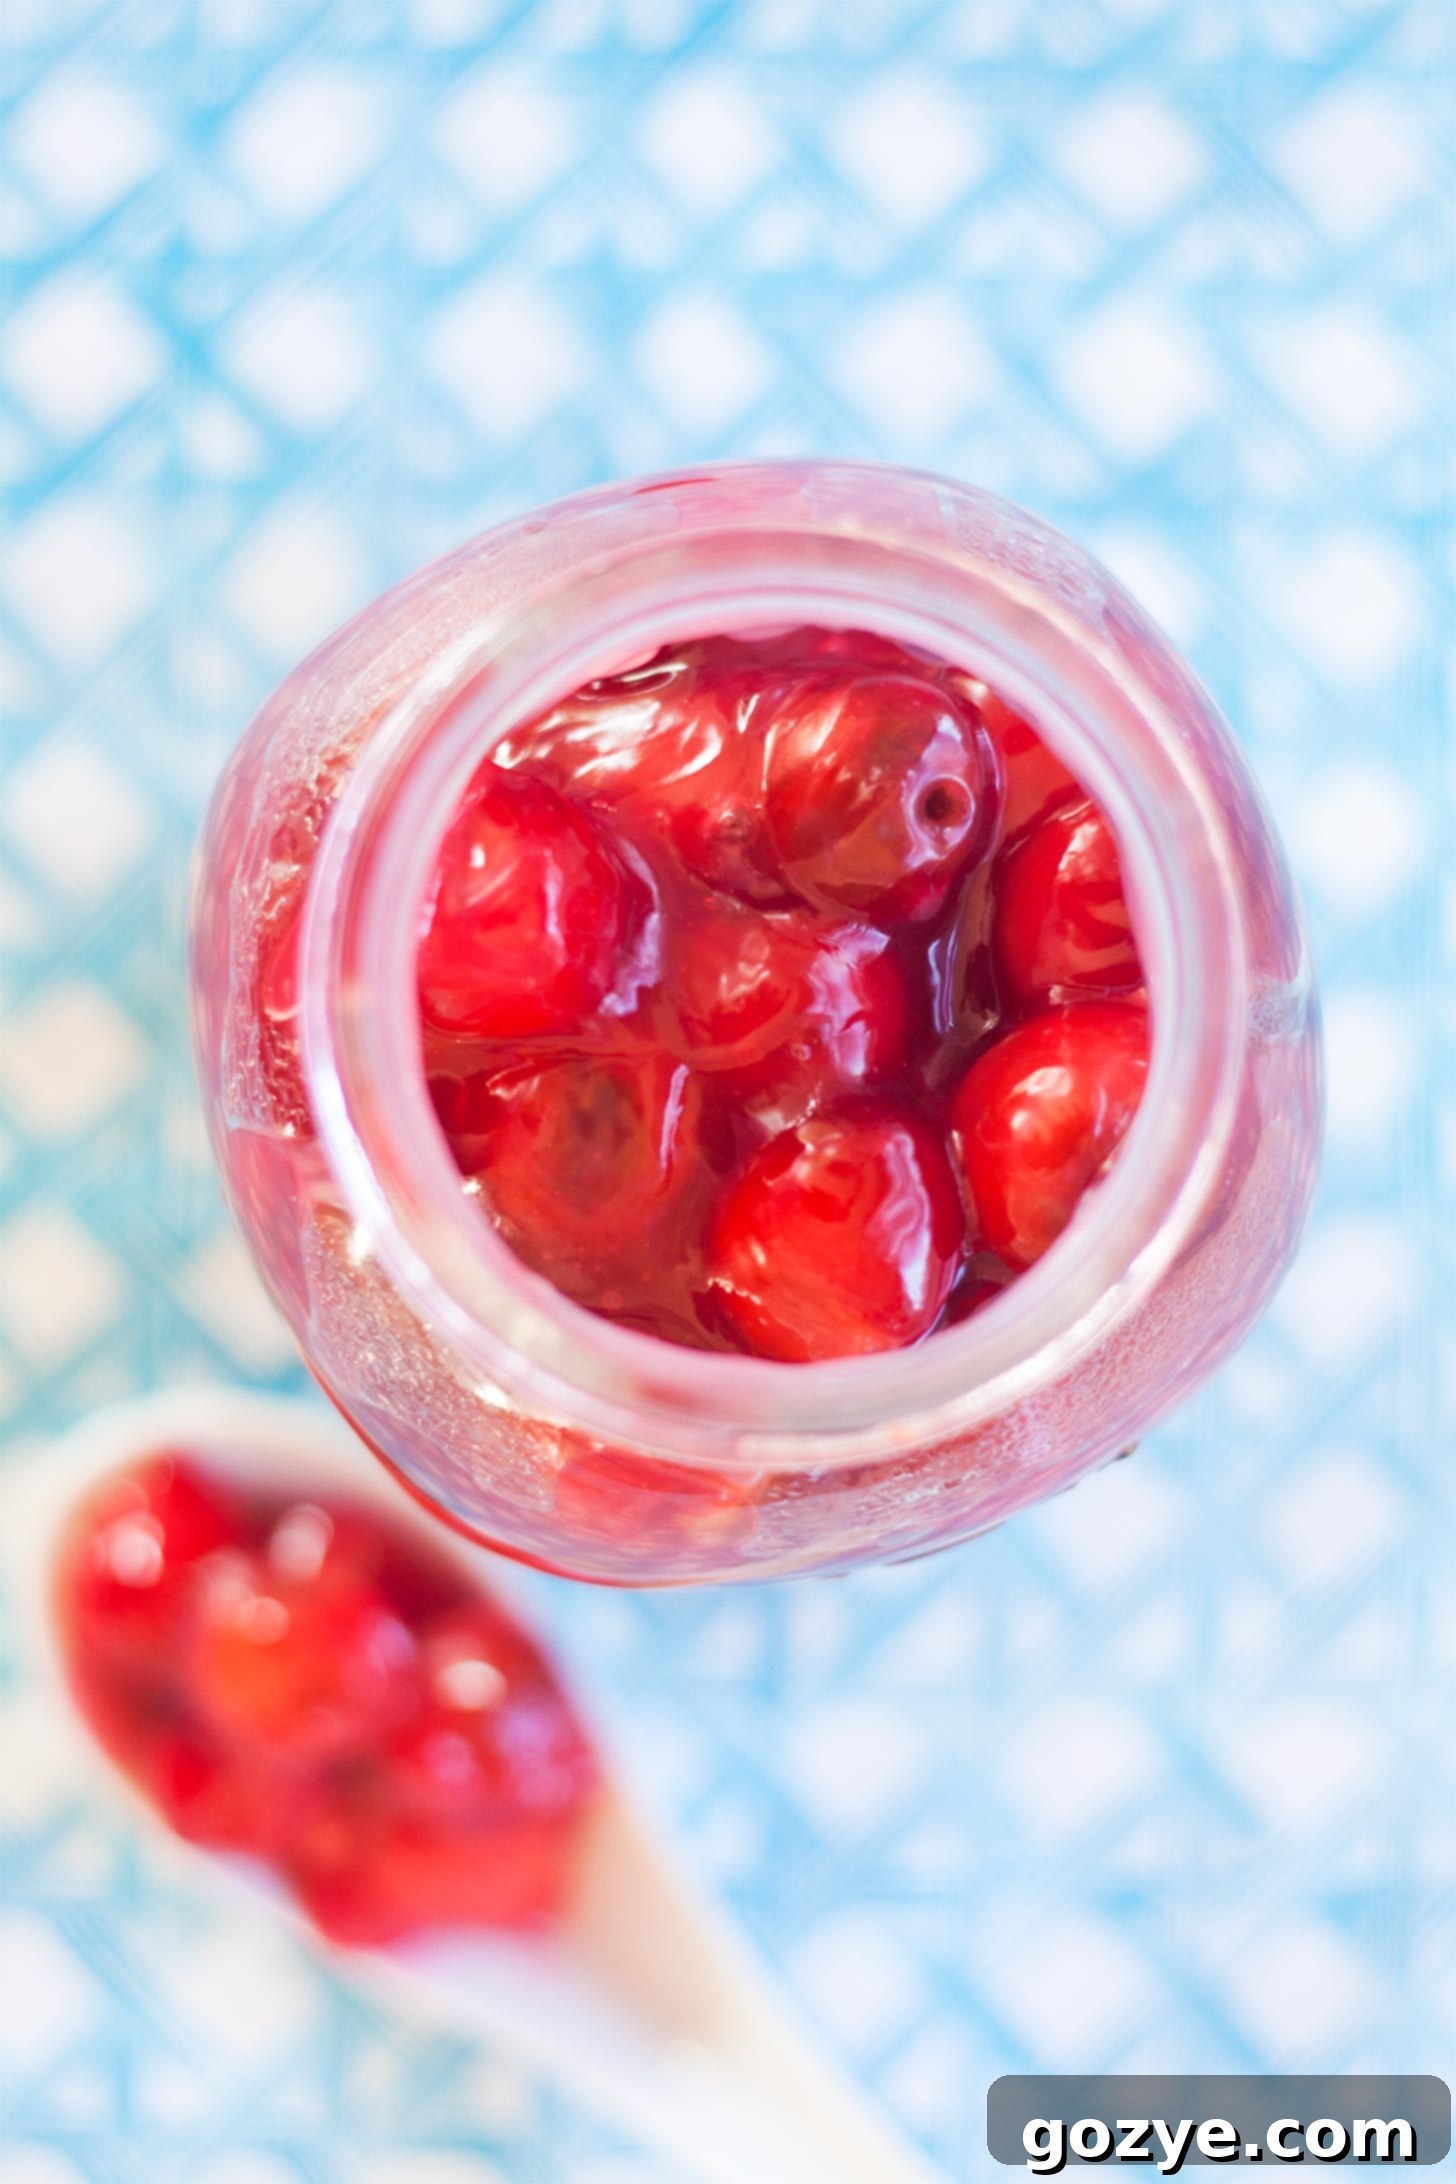
Essential Ingredients for the Best Homemade Cherry Pie Filling
Crafting an exceptional homemade cherry pie filling requires just a handful of readily available ingredients. Each component plays a vital role in achieving that perfect balance of flavor, sweetness, and consistency. Here’s a closer look at what you’ll need to create this delicious from-scratch filling:
- Granulated Sugar: More than just a sweetener, sugar is crucial for balancing the inherent tartness of sour cherries. It also contributes to the filling’s silky texture and acts as a partial preservative.
- Water: This liquid forms the base of our simple syrup, helping to dissolve the sugar and cornstarch evenly, which is essential for a smooth, lump-free filling.
- Cornstarch: This is our key thickening agent. Cornstarch is preferred over flour for fruit fillings because it creates a clear, glossy, and smooth sauce without making the filling cloudy or pasty. It ensures your pie slices beautifully, holding its shape without being runny.
- Fresh Cherries (Sour or Sweet): The heart and soul of this recipe! We highly recommend using sour cherries (also called tart cherries) for an authentic, classic cherry pie flavor. Their intense tartness mellows beautifully with sugar and baking. If sour cherries are unavailable, sweet cherries can be used, but you’ll want to add a touch of lemon juice for balance. Make sure they are pitted before measuring.
- Almond Extract: This is a game-changing ingredient for cherry desserts! Many people don’t realize that cherry pits and almonds contain similar aromatic compounds, which is why almond extract intensely enhances and complements the natural flavor of cherries. While vanilla extract can be used, almond extract truly elevates this filling to another level.
- Red Food Coloring (Optional): Freshly cooked cherry filling, particularly from sour cherries, may not always boast the vivid red hue you expect or see in canned versions. It can sometimes appear a bit muted. If a bright, visually appealing red is important for your presentation, a few drops of red food coloring can easily achieve that iconic color without altering the taste.
Where to Source Fresh Sour Cherries & Tips for Pitting
Finding fresh sour cherries can sometimes feel like a treasure hunt, but the effort is incredibly rewarding. In my home state of Pennsylvania, we are fortunate to have several cherry farms. Most seasons, I relish the experience of picking my own, but sometimes the farms will also sell them pre-harvested, which offers a convenient option. My first memorable cherry-picking adventure was back in 2012. The sweet cherry crops suffered significantly from a late frost that year, but the tart cherries thrived, and I happily harvested a substantial 6.81 pounds!
As their name implies, tart cherries are quite sour and generally not enjoyed raw as a snack. However, their intense tartness makes them absolutely perfect for baking. The sugar in this recipe beautifully balances their piquant flavor, resulting in a complex, deep, and utterly delicious profile that sweet cherries alone simply cannot replicate.
If you’re having trouble locating fresh sour cherries, check your local farmers’ markets, specialty grocery stores, or even the frozen fruit section (look for unsweetened varieties). If fresh sour cherries are genuinely unavailable, you can substitute an equal amount of fresh sweet cherries. In this case, I strongly recommend adding 1 tablespoon of fresh lemon juice to the filling. This crucial step will introduce that necessary tart balance, preventing your filling from becoming overly sweet and ensuring a more classic pie flavor.
When it comes to pitting, a dedicated cherry pitter is a small, inexpensive tool that makes the job incredibly fast, clean, and efficient. If you don’t own one, you can get creative using a sturdy straw, a chopstick, or even an unbent paperclip to gently push the pit out. It might be a little messy, but it’s a small price to pay for the superior taste of homemade!
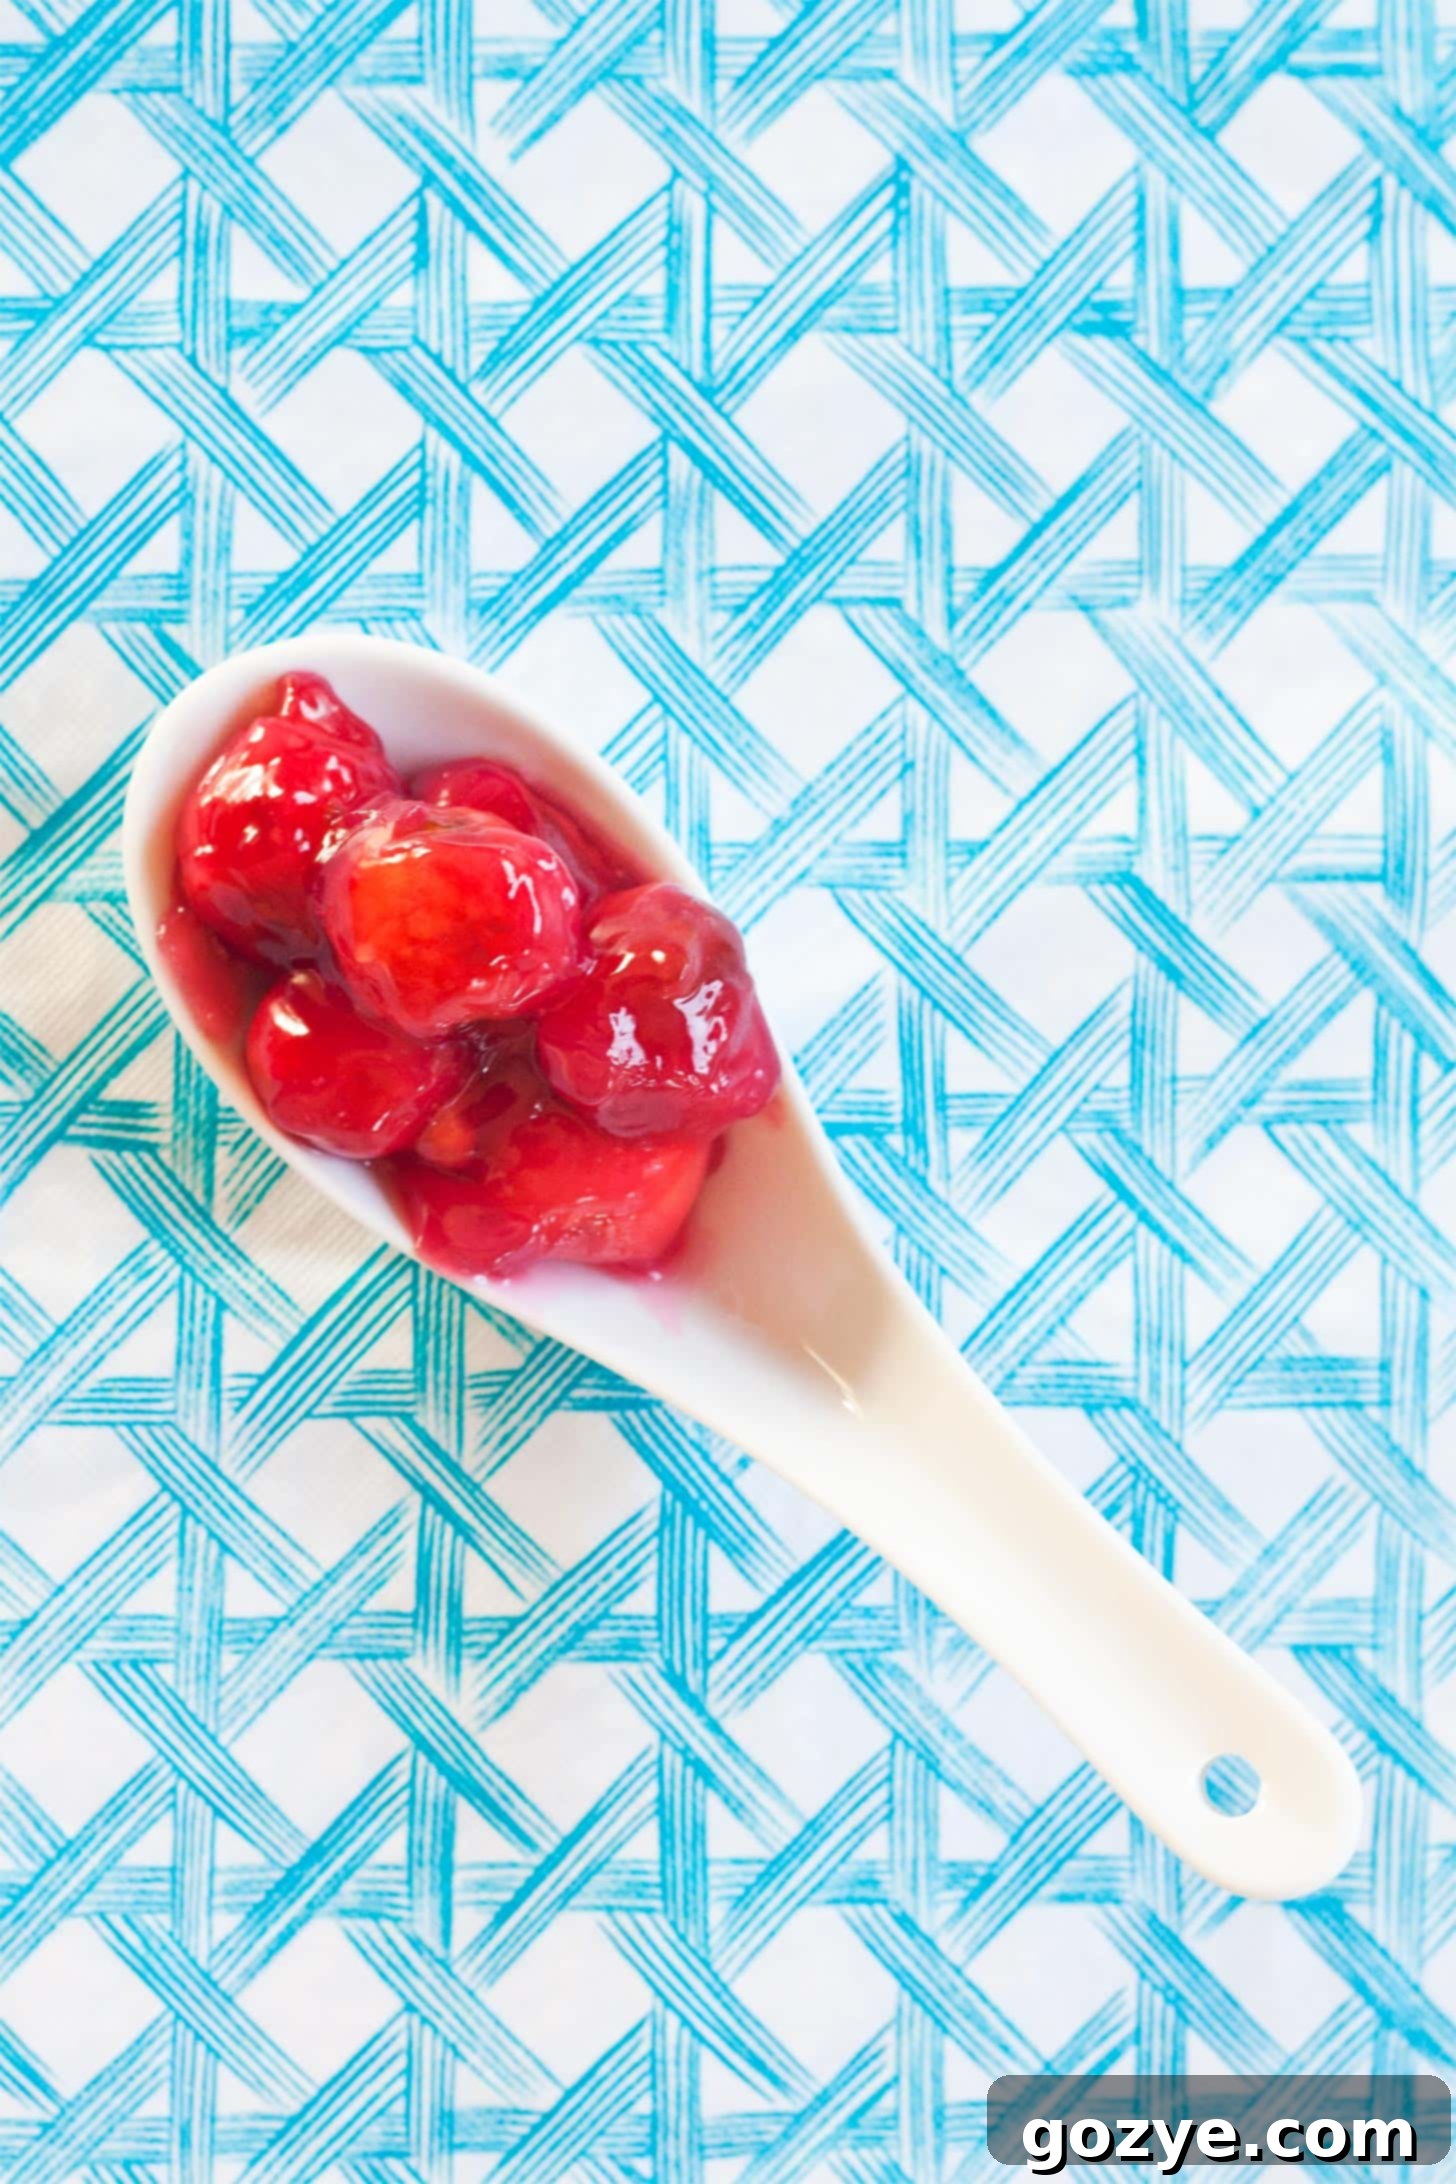
How to Make This Easy Homemade Cherry Pie Filling
Making homemade cherry pie filling is incredibly straightforward – so easy, in fact, that it’s almost as simple as boiling water, because that’s precisely what you’ll be doing for a key part of the process! With just three quick steps, you’ll have a rich, beautifully flavored filling ready to transform your favorite desserts. Here’s a detailed guide to preparing this delicious filling:
- Prepare the Thickening Base: In a medium to large saucepan, whisk together the granulated sugar, cold water, and cornstarch until the cornstarch is fully dissolved and there are no lumps. Starting with cold water helps prevent the cornstarch from clumping.
- Cook Until Thickened: Place the saucepan over medium heat and bring the mixture to a gentle boil, stirring frequently to prevent sticking and ensure even thickening. Continue to cook for about 1-2 minutes after it begins to boil, or until the sugar has completely dissolved and the mixture visibly thickens into a glossy, clear syrup that coats the back of a spoon.
- Add Cherries and Flavorings: Remove the saucepan from the heat immediately. Stir in your pitted fresh cherries, the almond extract (or vanilla extract, if you prefer), and the optional red food coloring until all ingredients are well distributed. The residual heat from the syrup will gently soften the cherries without overcooking them, preserving their fresh texture and flavor.
Allow your tart cherry pie filling to cool completely to room temperature before you use it in any recipe. As it cools, it will continue to thicken to that perfect, luscious pie-filling consistency. If you’re not planning to use it right away, transfer the cooled filling to an airtight container and refrigerate it for up to 4 to 5 days.
It’s important to note that the filling may separate slightly in the refrigerator once it’s thoroughly chilled. This is a completely normal occurrence due to the cornstarch and fruit juices. When you’re ready to use it, simply transfer the filling back to a saucepan and gently reheat it over low heat, stirring continuously, until it becomes smooth and homogeneous again. This quick reheat will restore its original luscious texture, ready for your baking projects.
Is Homemade Cherry Pie Filling Suitable for Canning?
This particular homemade cherry pie filling recipe is **not suitable for canning** for long-term shelf storage. The primary reason is the use of cornstarch as the thickening agent. While excellent for immediate use, refrigeration, or freezing, cornstarch tends to break down over time in canned goods, especially when exposed to the high temperatures involved in pressure canning or water bath canning. This breakdown can result in a watery, unappealing texture in your preserved product.
More critically, traditional cornstarch can also impact the safety and stability of canned foods. It doesn’t adequately prevent bacterial growth over extended periods when compared to canning-safe thickeners like modified food starch (e.g., ClearJel), which are specifically designed for this purpose. To ensure both the quality and safety of your delicious tart cherry pie filling, please store it strictly in the refrigerator for up to 4-5 days, or follow the detailed freezing instructions provided below for longer preservation.

How to Freeze Homemade Cherry Pie Filling for Future Baking
Got an abundance of fresh cherries and whipped up a generous batch of filling, but not quite ready to bake a pie? No worries! Just like a fully assembled cherry pie, this homemade cherry pie filling recipe freezes beautifully, allowing you to savor the taste of summer cherries all year long. There are two convenient and effective ways to freeze your filling:
- Freeze as a Ready-to-Bake Pie: For ultimate convenience, you can freeze your pie filling directly within a pie crust. First, line a freezable pie plate (it’s crucial to avoid glass pie plates, as they can shatter when baked directly from frozen due to thermal shock) with your prepared pie dough. Pour the cooled cherry pie filling into this crust. Top with a second piece of pie dough for a double-crust pie, remembering to cut three or four slits into the top crust to allow steam to escape during baking. Tightly wrap the entire pie with at least two layers of plastic wrap, followed by a layer of heavy-duty aluminum foil, to prevent freezer burn. Place it in a large freezer-safe plastic bag. Label with the date and freeze for up to 3 months.
- Freeze Filling Separately in a Bag: This method offers great flexibility for various future desserts. Transfer the completely cooled cherry pie filling into a freezer-safe plastic bag (a gallon-sized zip-top bag works well). Lay the bag flat inside an empty pie plate or on a baking sheet and gently spread the filling out evenly so it takes on a disc shape. Freeze until solid. Once frozen, the filling will hold the shape of the pie plate, making it incredibly easy to pop into a raw pie crust when you’re ready to bake. This method also saves valuable freezer space and allows you to use the filling for a wider range of recipes, not just pies.
Whichever method you choose, your frozen cherry pie filling will remain fresh and delicious for up to 3 months. When you’re ready to bake a pie, if freezing as a whole pie, simply cut three slits into the top crust (if you haven’t already), and bake the frozen pie at 400°F (200°C) for 45-60 minutes, or until the crust is beautifully golden brown and the filling is bubbling hot. If you froze the filling separately, thaw it overnight in the refrigerator, then gently reheat it in a saucepan, stirring, to restore its smooth consistency before adding it to your chosen dessert.
Delicious Desserts to Make with Your Homemade Cherry Pie Filling
Now that you’ve successfully created a jar of this incredible sour cherry pie filling, a world of delicious dessert possibilities opens up! Beyond the timeless classic cherry pie, here are some delightful ideas to inspire your baking and showcase your homemade goodness:
- Cherry Turnovers: Encased in golden, flaky puff pastry, these turnovers are generously filled with your juicy homemade cherries – a perfect treat for breakfast, brunch, or an afternoon snack.
- Cherry Cobbler Bars: A fantastic and convenient way to enjoy all the comforting flavors of cherry cobbler, but in a portable bar form, ideal for potlucks, picnics, or easy entertaining.
- Cherry Pie Ice Cream: When the weather calls for something cool, swirl this flavorful filling into homemade vanilla ice cream for a refreshing and utterly delicious frozen dessert twist.
- 4-Inch Cheesecake and 7-Inch Cheesecake: Elegantly top these perfectly sized individual cheesecakes with a generous dollop of your vibrant cherry filling for a stunning and decadent dessert.
- Mini Cheesecakes and No Bake Mini Cheesecakes: These bite-sized delights become even more irresistible when garnished with a spoonful of this bright and tangy cherry goodness, perfect for parties.
- No Bake Cheesecake Pie: Easily swap the blueberry filling in this recipe for your homemade cherry filling to create a show-stopping 9-inch no-bake cherry cheesecake pie.
- Cherry Cheesecake Stuffed Cupcakes: For those times you’re in the mood to celebrate, these cupcakes offer a delightful surprise of creamy cheesecake and tangy cherry filling tucked inside.
- Fruit Crumb Bars: Substitute the peach filling in these delicious crumb bars with your homemade cherry filling for a delightful and equally satisfying variation.
- As a Versatile Topping: Don’t limit yourself to just desserts! Use this delicious filling as an exquisite topping for pancakes, waffles, French toast, creamy yogurt, morning oatmeal, or simply over a scoop of vanilla bean ice cream.
For an even more extensive and inspiring list of creative recipes, be sure to check out my comprehensive post on Cherry Pie Filling Desserts!
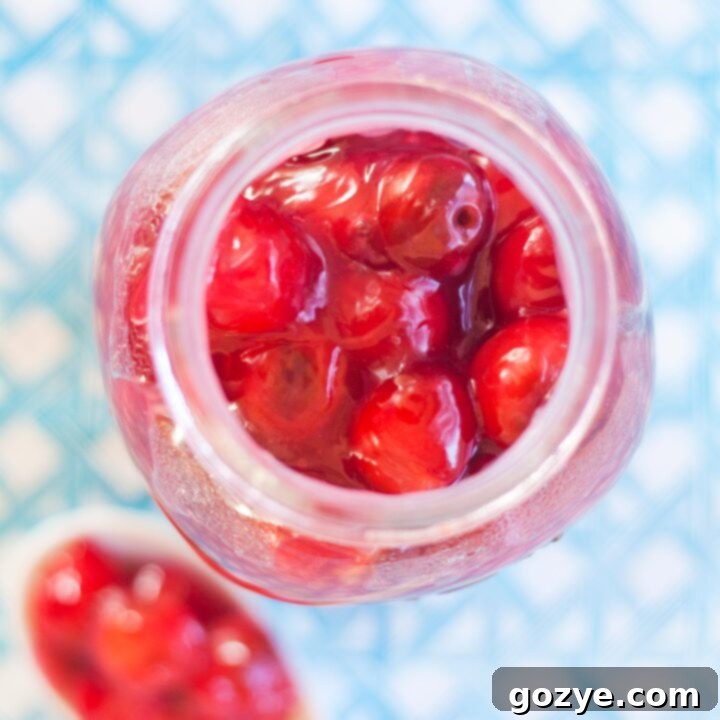
Homemade Cherry Pie Filling
5 cups
30 minutes
5 minutes
35 minutes
Skip the canned cherry pie filling and learn how to make Homemade Cherry Pie Filling from scratch using fresh sour cherries! It only takes 5 minutes to cook with a few pantry ingredients then you can use it for cherry pie, cherry cobbler, and more.
Ingredients
- 1 cup granulated sugar
- 1 cup water
- 1/4 cup cornstarch
- 5 cups pitted sour cherries*
- 1 teaspoon almond or vanilla extract
- 2-3 drops red food coloring (optional)
Instructions
- In a large saucepan, whisk together sugar, water, and cornstarch until fully combined and lump-free. Bring to a boil over medium heat, stirring often. Cook for 1-2 minutes until the sugar dissolves and the mixture visibly thickens into a glossy syrup.
- Remove from the heat and gently stir in the pitted cherries and almond extract (or vanilla). If a more vibrant red color is desired, add 2-3 drops of red food coloring. Cool completely to room temperature before using or refrigerating. The filling will continue to thicken as it cools.
The filling may separate when refrigerated. To restore its smooth consistency, simply reheat it gently in a saucepan, stirring continuously, until smooth again.
Please note: This recipe is not suitable for canning due to the cornstarch. Store in the refrigerator for up to 5 days or freeze for longer preservation.
To make a cherry pie (9-inch pie):
- Preheat your oven to 375°F (190°C). Add the cooled homemade cherry pie filling to a prepared 9-inch pie crust (homemade or store-bought). Top with a second 9-inch pie crust, making several slits in the top to allow steam to escape during baking. Bake for 40-45 minutes, or until the crust is golden brown and the filling is bubbly. Allow the pie to cool completely before slicing and serving for the best set.
Notes
- *If substituting sour cherries with sweet cherries, add 1 tablespoon of fresh lemon juice to the filling to balance the sweetness and add a touch of necessary tartness.
- Beyond traditional pies, this versatile filling is excellent in mini cherry pies, cherry cobbler bars, cherry crumble pie, as a topping for cheesecakes, pancakes, waffles, or yogurt.
- Enjoyed this recipe? Be sure to explore my other homemade fruit fillings: peach pie filling, blueberry pie filling, strawberry pie filling, and apple pie filling.
Recommended Products
As an Amazon Associate and member of other affiliate programs, I earn from qualifying purchases.
- Cherry Pitter
Did you make this recipe?
Let me know what you think! Rate the recipe above, leave a comment below, and/or share a photo on Instagram using #HITKrecipes
Originally published June 28, 2012
