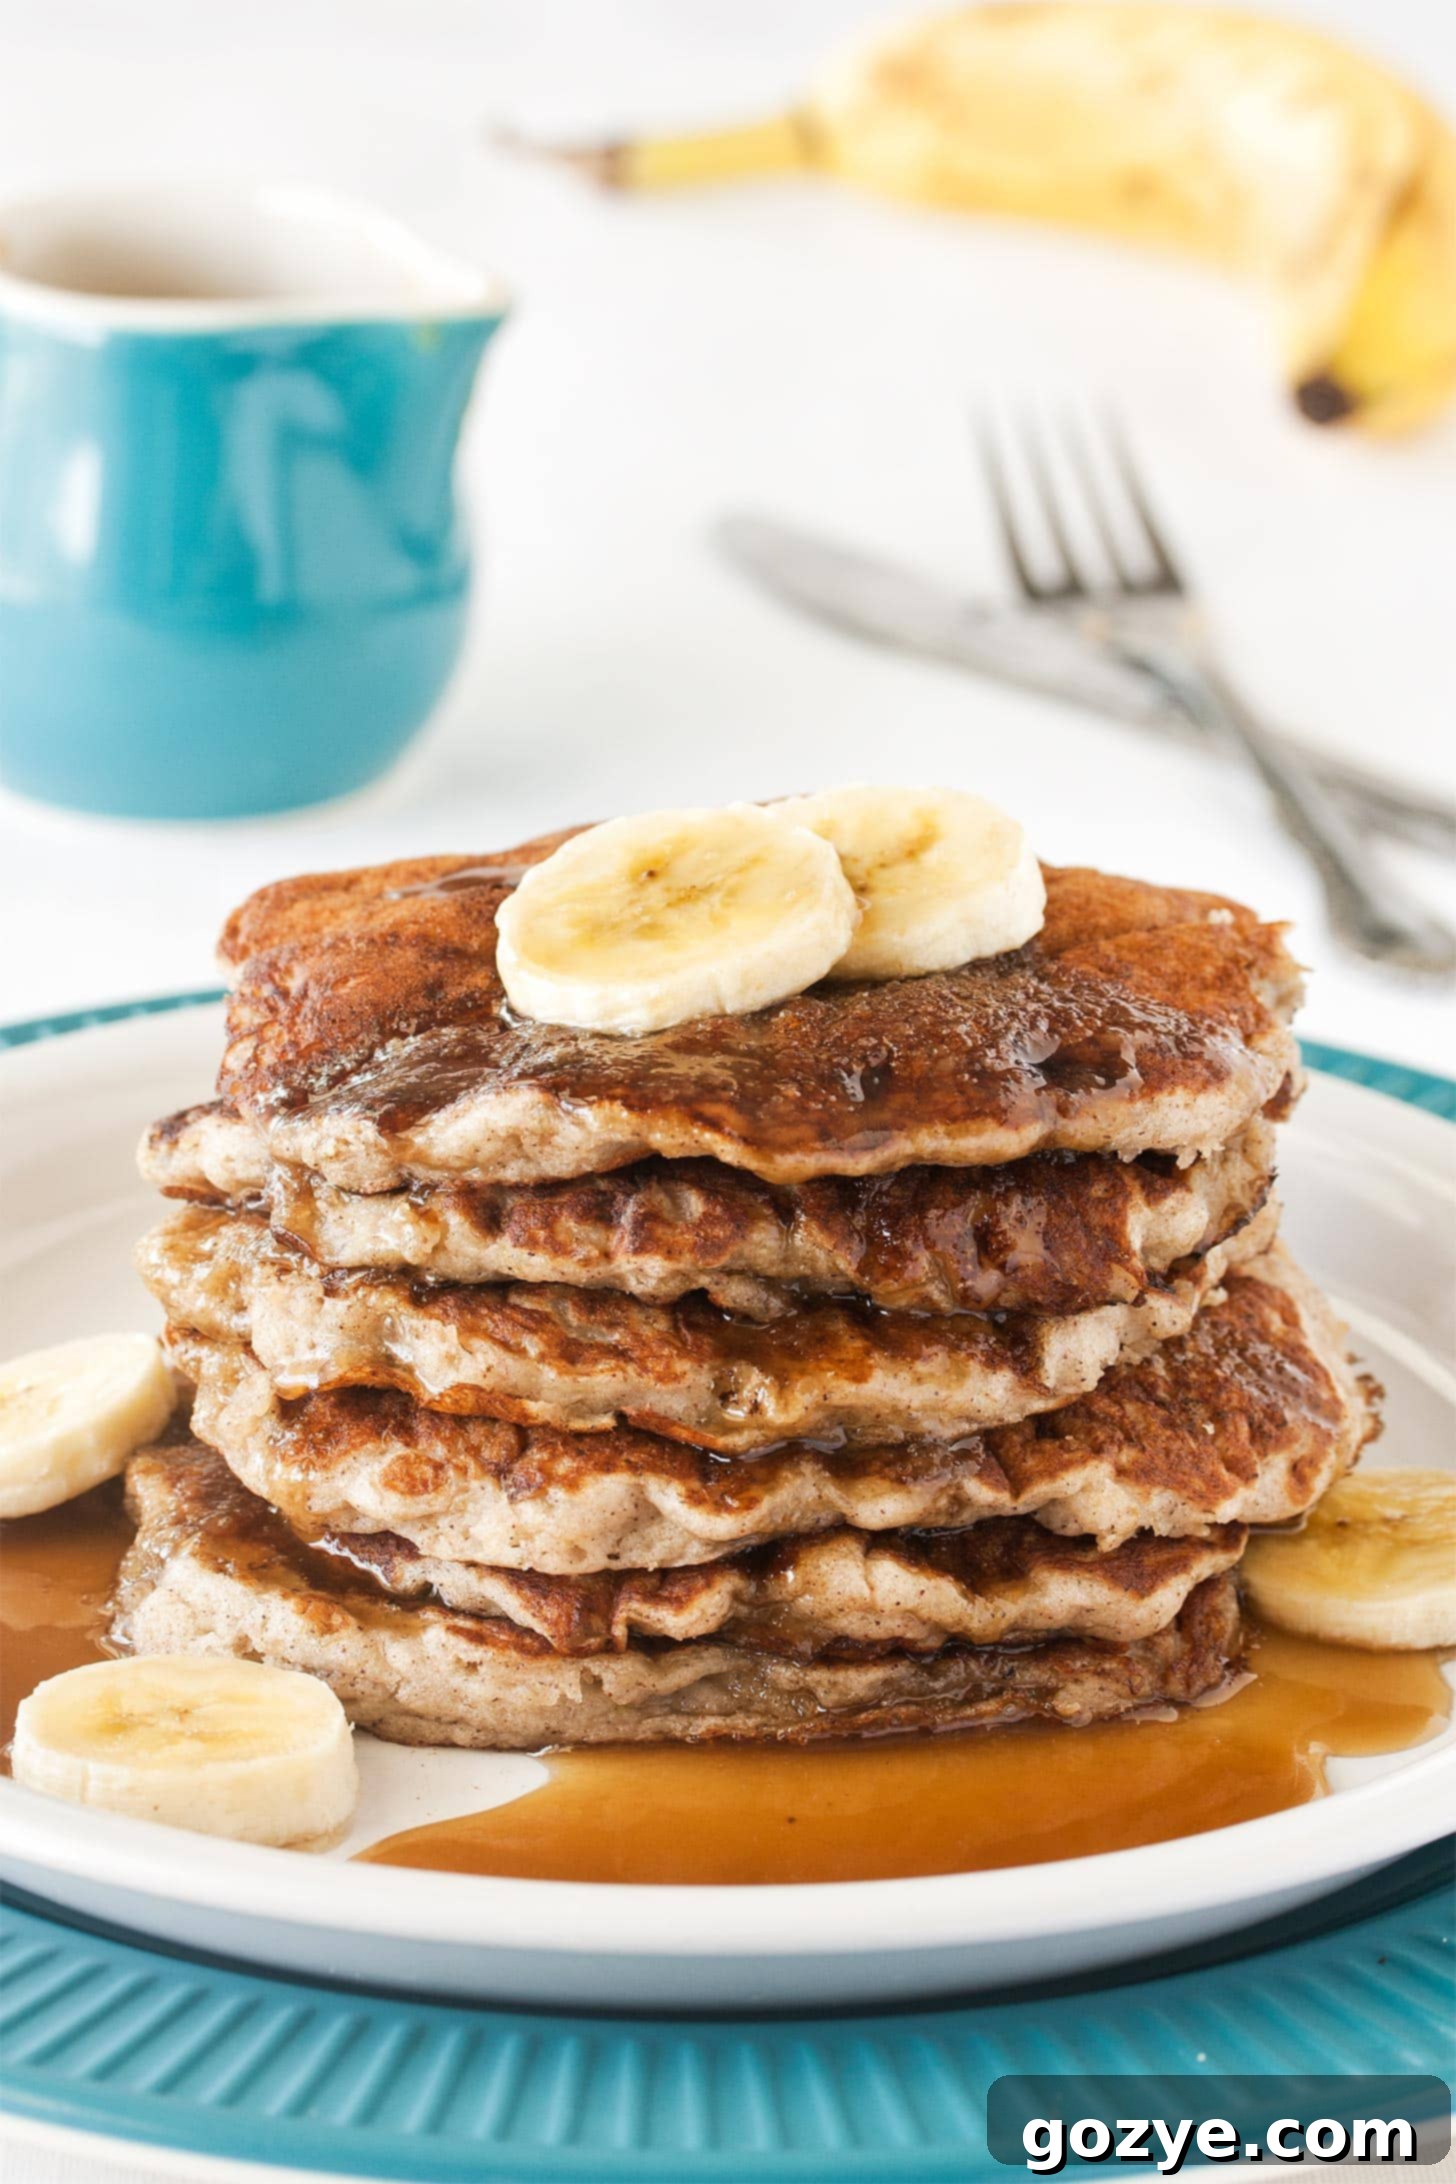
Fluffy & Delicious Dairy-Free Coconut Milk Pancakes with Banana: Your New Go-To Breakfast!
Imagine waking up to the aroma of warm, fluffy pancakes, perfectly golden and subtly sweet. Now, imagine those pancakes are completely dairy-free, rich with the tropical hint of coconut, and naturally sweetened with ripe banana. Yes, you’re in luck! Today, we’re diving into the delightful world of Coconut Milk Pancakes with Banana, a recipe that promises to elevate your breakfast or brunch experience without any dairy. Forget those bland, dry dairy-free options; these pancakes are moist, tender, and incredibly satisfying, made entirely from scratch without relying on any mixes like Bisquick.
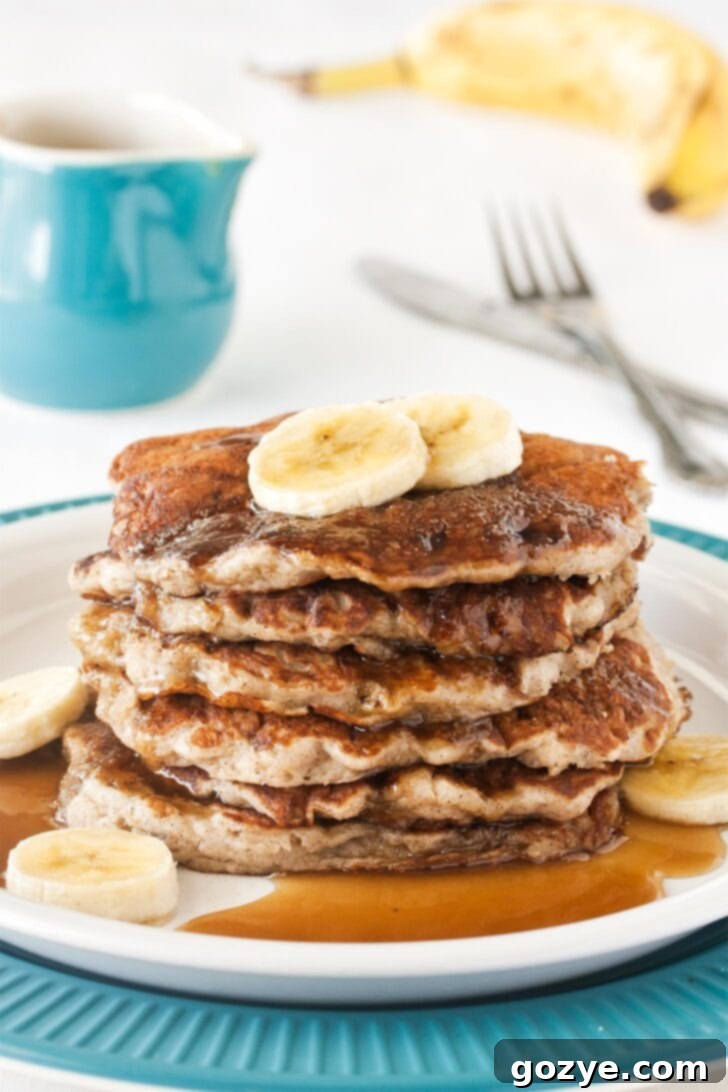
Whether you’re a devoted brunch enthusiast or simply love a sweet start to your day, these pancakes hit all the right notes. For many, the line between breakfast and brunch is delightfully blurred, often involving something sweet and comforting. If you, like me, find joy in homemade delights such as spiced chocolate chip pancakes, rich chocolate pancakes, classic waffles, or even French toast adorned with homemade whipped cream and maple syrup, then these banana coconut pancakes are about to become your new favorite. The natural sweetness from the mashed banana beautifully complements the subtle creaminess of coconut milk, creating a flavor profile that’s simply irresistible.
The inspiration for substituting traditional dairy milk with coconut milk came from a clever Twitter follower, and it was a revelation! Canned coconut milk, a staple in many cuisines, brings a unique richness and depth that dairy milk simply can’t replicate. While these pancakes aren’t vegan due to the inclusion of an egg, they are a fantastic option for anyone seeking dairy-free breakfast recipes. I promise, the absence of dairy goes completely unnoticed; instead, you get a delightful pancake that’s surprisingly light yet satisfyingly rich.
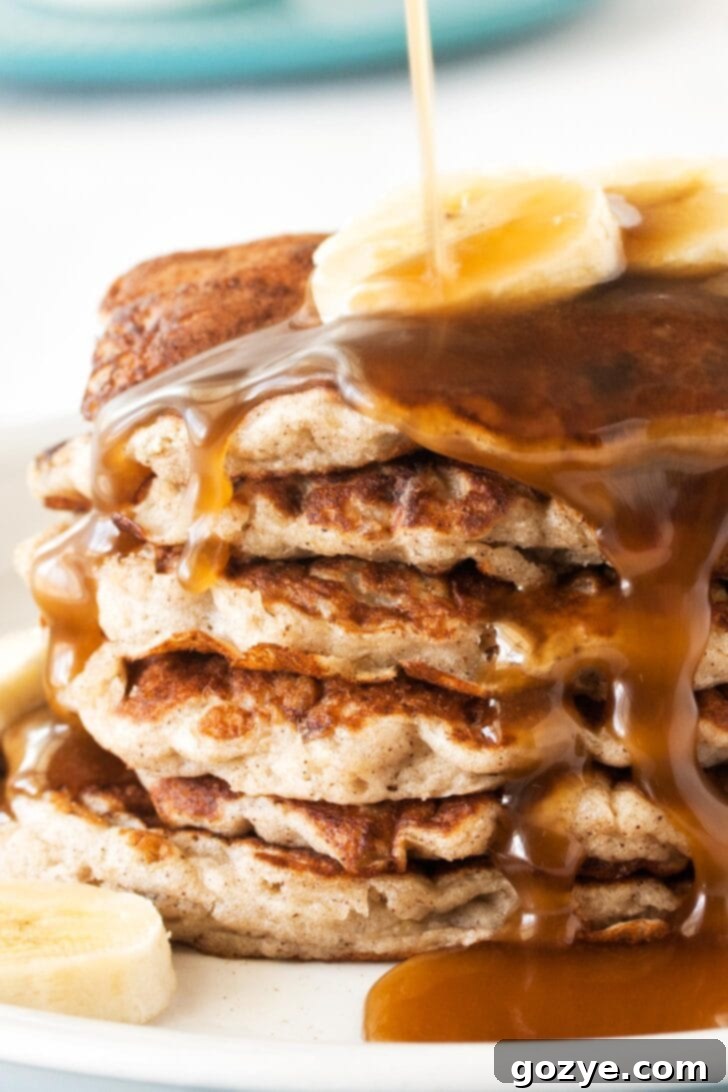
Why Choose Dairy-Free Coconut Milk Pancakes?
There are numerous reasons why dairy-free pancakes are gaining popularity, and these coconut milk pancakes are a testament to their delicious potential:
- Dietary Needs: For those with lactose intolerance or dairy allergies, this recipe offers a delicious and safe alternative to traditional pancakes.
- Unique Flavor Profile: Coconut milk adds a subtle, exotic flavor that’s both comforting and a little adventurous, pairing wonderfully with banana.
- Rich & Creamy Texture: Full-fat canned coconut milk contributes a luscious creaminess and moisture to the batter, resulting in incredibly tender and moist pancakes.
- Health Benefits: While still a treat, coconut milk can be a good source of healthy fats and offers a different nutritional profile compared to cow’s milk.
- Versatility: Once you master dairy-free pancakes, you open up a world of possibilities for future recipe variations.
Understanding Canned Coconut Milk: Your Dairy-Free Secret Weapon
If you’re new to the world of dairy-free baking, understanding canned coconut milk is key. When I refer to “canned coconut milk” in this recipe, I’m specifically talking about the rich, thick version typically found in the Asian, Latin, or even baking aisles of your grocery store. This is distinctly different from the thinner, refrigerated carton coconut milk found in the dairy section, or coconut water, or even cream of coconut (which is often sweetened).
Canned coconut milk is made by blending the grated white meat of mature coconuts with water, then straining it to produce a creamy liquid. It’s essential to use the full-fat version for these pancakes. The fat content is crucial for achieving the desired rich flavor, moist texture, and fluffy rise. “Lite” or “reduced-fat” coconut milk simply won’t have enough fat to replicate the results, leading to less flavorful and potentially tougher pancakes. Always double-check the label to ensure you’re grabbing the right ingredient!
Mastering Canned Coconut Milk Measurement
Working with canned coconut milk might seem a little different if you’re used to regular milk, but it’s quite simple once you know the trick. When you first open a can, you’ll notice that the solid coconut cream has often separated from the thinner liquid. This is perfectly normal!
To measure canned coconut milk correctly for this recipe:
- Shake the can vigorously before opening to help reintegrate the solids and liquids.
- Open the can and pour its contents into a bowl.
- Stir the solid and liquid together thoroughly until you have a smooth, uniform, and pourable consistency.
- Measure out the required amount for your recipe.
Any leftover coconut milk can be stored in an airtight container in the refrigerator for future use. Explore my other recipes using coconut milk for more delicious ideas, such as toasted coconut hot chocolate or passion fruit and coconut milk pops. A quick note: the coconut flavor in these pancakes is wonderfully subtle, acting more as a creamy backdrop. If you’re expecting an overwhelming burst of coconut, you might be surprised; the mashed banana will be the more dominant flavor here, creating a harmonious and comforting taste.
Essential Ingredients for Perfect Coconut Banana Pancakes
These incredibly fluffy dairy-free pancakes are made from scratch, meaning no need for store-bought baking mixes or Bisquick! All you’ll need are a few basic pantry staples, each playing a crucial role in achieving the perfect texture and flavor:
- All-Purpose Flour: This provides the primary structure for our pancakes. For a gluten-free option, you can substitute with a 1:1 gluten-free baking flour blend that contains xanthan gum.
- Granulated Sugar: Just a touch of sugar enhances the overall sweetness, complements the banana, and aids in giving the pancakes a beautiful golden-brown crust.
- Baking Powder: This is the secret to light, airy, and fluffy homemade pancakes. It might seem like a generous amount, but trust the recipe; it’s what gives them their incredible lift. Ensure your baking powder is fresh for the best results!
- Ground Cinnamon and Table Salt: These essential seasonings are vital for balancing the flavors and ensuring your batter isn’t bland. Cinnamon beautifully complements both banana and coconut.
- Large Egg (Room Temperature): The egg acts as a binder, provides richness, and contributes to the structure and moisture of the pancakes. Using one whole egg simplifies the process for this small batch, avoiding the need to separate yolks and whites.
- Canned Coconut Milk (Room Temperature): As discussed, this is our dairy-free base. Remember to use full-fat canned coconut milk, not the carton variety, and ensure it’s well-mixed and at room temperature for optimal batter consistency.
- Vegetable Oil: A neutral oil like vegetable or canola adds necessary fat and moisture, resulting in tender pancakes. Avoid strong-flavored oils like olive oil, which can introduce an unwanted savory note. You can also substitute with melted dairy or non-dairy butter.
- Vanilla Extract: A touch of vanilla enhances all the other flavors, adding a warm, aromatic depth.
- Mashed Banana: Overripe bananas (those with plenty of brown spots) are ideal as they are sweeter and easier to mash. Measuring your mashed banana is crucial to ensure you don’t add too much liquid or sweetness, maintaining the perfect batter consistency. Roughly one medium overripe banana should yield the necessary 1/2 cup.
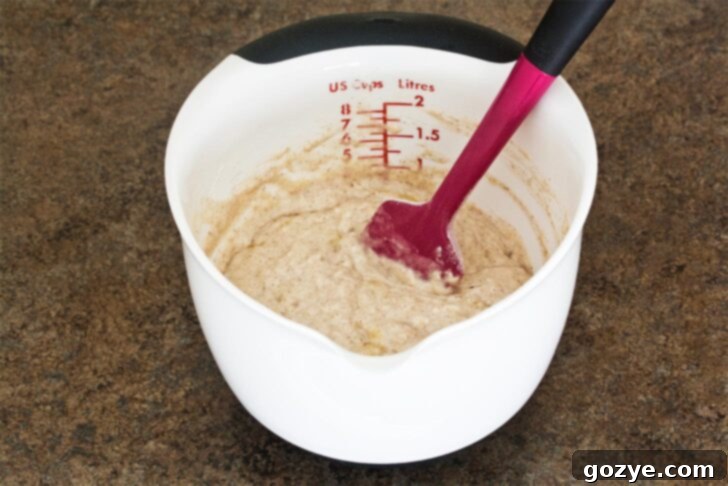
Step-by-Step: Crafting Your Fluffy Coconut Milk Pancakes
Making these dairy-free banana pancakes is a straightforward process, even for novice cooks. Follow these steps for perfectly fluffy results every time:
- Combine Dry Ingredients: In a large mixing bowl, whisk together the all-purpose flour, granulated sugar, baking powder, ground cinnamon, and table salt. Ensure these dry ingredients are thoroughly combined to distribute the leavening agent evenly, which is key for a consistent rise.
- Prepare Wet Ingredients: In a separate large measuring cup or another bowl, whisk together the room-temperature large egg, the measured and well-mixed room-temperature canned coconut milk, vegetable oil, and vanilla extract. Whisk until smooth and well integrated.
- Gently Combine: Gradually pour the wet ingredient mixture into the bowl with the dry ingredients. Using a whisk, gently stir until everything is just moistened. The key here is to not overmix! A few lumps are perfectly fine and even desirable, but make sure there are no dry pockets of flour remaining. Overmixing develops the gluten, leading to tough, chewy pancakes instead of light, fluffy ones.
- Stir in Banana: Gently fold in the mashed banana until just combined.
- Rest the Batter: Let the pancake batter rest for 5 minutes. This crucial step allows the gluten to relax, which contributes to tender pancakes, and gives the flour time to fully absorb the liquid, thickening the batter slightly.
- Heat Your Skillet: While the batter rests, heat a small non-stick skillet over medium heat. A non-stick pan is ideal for easy flipping. If your skillet isn’t non-stick, lightly brush it with a little vegetable oil or use cooking spray before each pancake. To check if your pan is hot enough, flick a few drops of water onto it; they should sizzle and evaporate quickly. If they just sit there, the pan isn’t hot enough. If they evaporate instantly with a harsh pop, it’s too hot – lower the heat slightly.
- Cook the Pancakes: Once your skillet is properly heated, pour approximately 1/4 cup of batter into the pan. Spread it gently with the back of the spoon if needed, ensuring it’s no more than 1/4 inch thick for even cooking.
- Flip and Finish: Cook the pancake until bubbles start to form on the surface and the edges appear set, typically 1-2 minutes. At this point, carefully flip the pancake and cook the second side until golden brown, usually about 1 more minute. Remember that heat can fluctuate, so adjust your stove temperature as needed. If pancakes are browning too quickly, lower the heat. If they’re taking too long, increase it slightly.
- Serve or Store: Remove the cooked pancake and place it on a cooling rack while you repeat the process with the remaining batter. This prevents them from getting soggy.
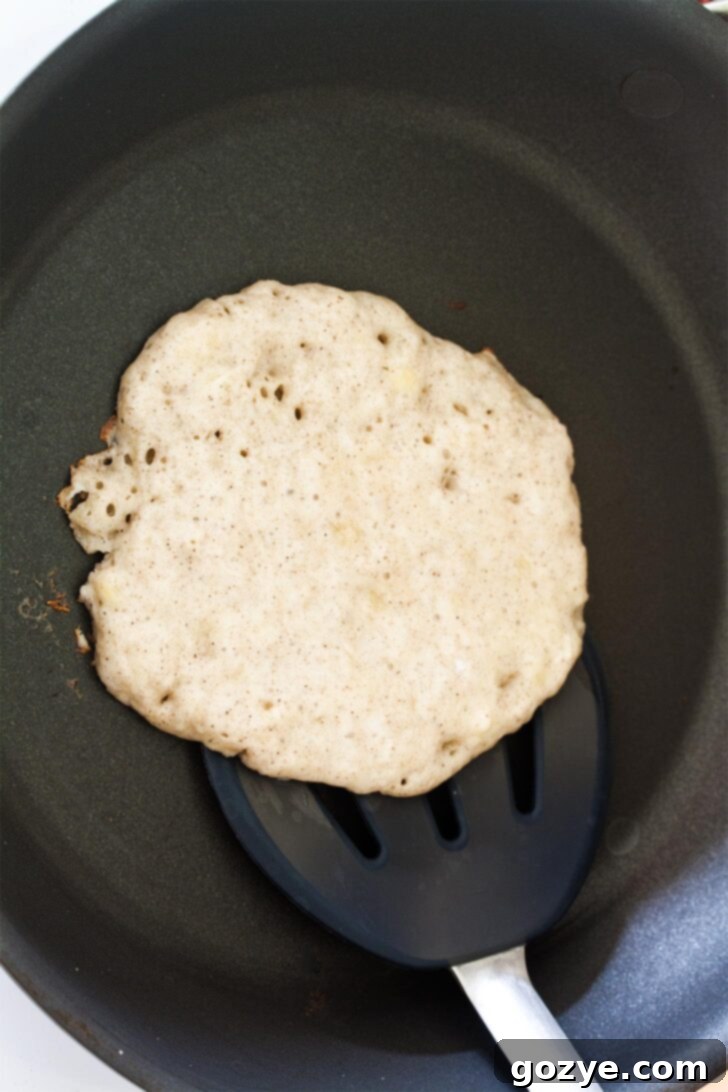
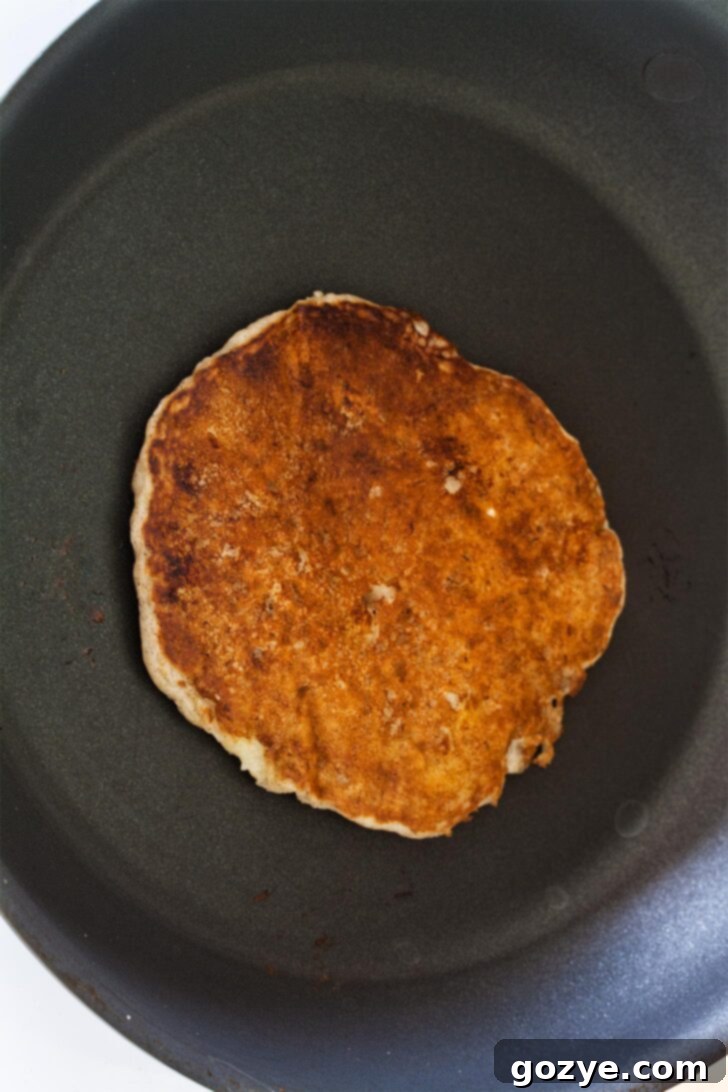
Perfect Pancake Serving Suggestions & Storage Tips
Once your stack of warm, fluffy coconut milk pancakes is ready, the fun really begins with toppings! Here are some delightful ideas to complement their flavor:
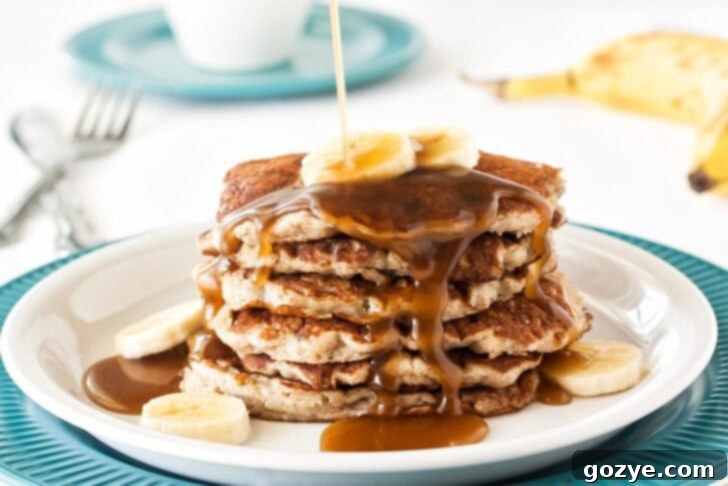
- Classic Maple Syrup: A timeless choice that always satisfies.
- Fresh Fruit: More sliced bananas, fresh berries (strawberries, blueberries, raspberries), or even a tropical fruit salad would be fantastic.
- Coconut Whipped Cream: For an extra dairy-free indulgence, top with homemade coconut whipped cream.
- Nut Butters: A drizzle of almond butter, peanut butter, or cashew butter adds protein and a creamy texture.
- Nuts or Seeds: Toasted shredded coconut, chopped pecans, walnuts, or a sprinkle of chia seeds for added crunch.
- Chocolate Chips: A handful of dairy-free chocolate chips melted on top or stirred into the batter for chocolate-banana lovers.
- Honey or Agave Nectar: Alternative sweeteners for a different flavor profile.
Storing Leftover Pancakes:
If you happen to have any pancakes left (a rare occurrence!), proper storage ensures you can enjoy them later:
- Refrigeration: Place cooled pancakes in a freezer-safe plastic bag or airtight container. For best results and to prevent sticking, layer them with a piece of parchment paper in between each pancake. They will keep fresh in the refrigerator for up to 1 week.
- Freezing: For longer storage, freeze the pancakes. Stack them with parchment paper in between, then place in a freezer-safe bag or container. They can be frozen for up to 3 months.
- Reheating: To reheat, simply pop them in the microwave for 30-60 seconds, toast them lightly in a toaster or toaster oven, or warm them in a preheated oven at 350°F (175°C) for 5-10 minutes until heated through.
Common Questions & Troubleshooting for Coconut Milk Pancakes (FAQ)
Several factors can affect pancake rise. Most commonly, your skillet wasn’t hot enough before adding the batter. Baking powder needs heat to react and create those essential air bubbles. Ensure your pan is properly preheated (test with water drops). Also, check the freshness of your baking powder; expired leavening agents won’t work effectively.
Pancakes that are raw in the middle are usually too thick or the heat is too high. If the heat is too high, the outside cooks and browns quickly, while the inside remains uncooked. Try pouring smaller amounts of batter, ensuring they are no more than 1/4 inch thick in the skillet, and cook them over a slightly lower heat to allow the inside to cook through evenly.
The most common culprit for dense, non-fluffy pancakes is overmixing the batter. The more you stir flour, the more gluten develops. Overdeveloped gluten results in a tough, chewy texture rather than light and airy. Remember, a slightly lumpy batter is perfectly acceptable; as long as there are no dry spots of flour remaining, stop stirring!
Yes, you can! Simply substitute the all-purpose flour with a high-quality 1:1 gluten-free baking flour blend that contains xanthan gum. The rest of the recipe should work perfectly, offering a delicious gluten-free and dairy-free option.
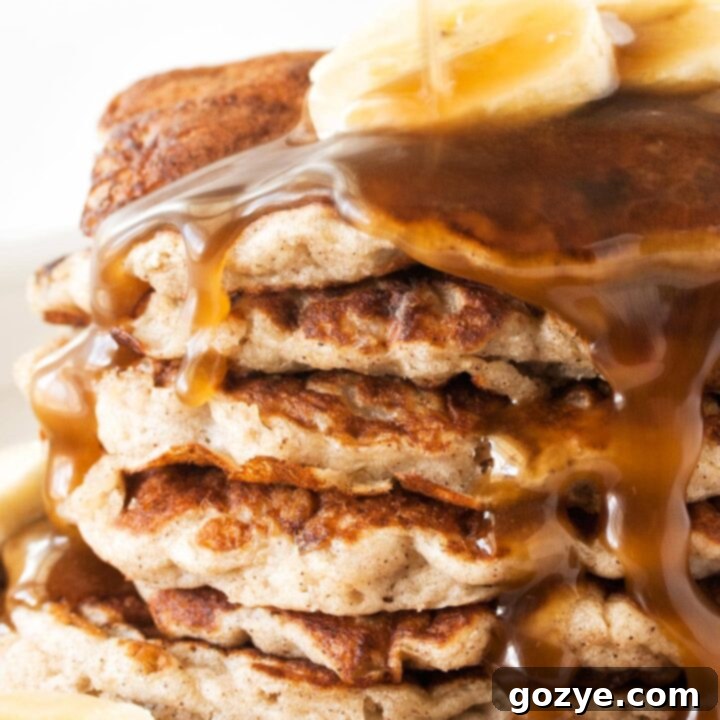
Coconut Milk Pancakes with Banana
6 pancakes
20 minutes
20 minutes
40 minutes
Start your morning off a little sweeter with a stack of these fluffy, dairy-free Coconut Milk Pancakes, naturally enhanced with mashed banana. This easy-to-follow recipe makes delicious pancakes from scratch, perfect for a delightful breakfast or brunch.
Ingredients
- 1/2 cup all-purpose flour
- 1 tablespoon granulated sugar
- 2 teaspoons baking powder
- 1/2 teaspoon ground cinnamon
- 1/4 teaspoon table salt
- 1 large egg, room temperature
- 1/2 cup canned coconut milk, room temperature* (read Note before measuring)
- 1 tablespoon vegetable oil
- 1/4 teaspoon vanilla extract
- 1/2 cup mashed banana (roughly 1 medium overripe banana)
Instructions
- In a large bowl, whisk together flour, sugar, baking powder, cinnamon, and salt.
- In a large measuring cup, whisk together egg, coconut milk (should be liquid and well-mixed – see Note), oil, and vanilla.
- Gradually pour the wet mixture into the dry ingredients while whisking gently until everything is moistened (do not overmix – lumps are ok but there should be no pockets of flour).
- Stir in the mashed banana. Let the batter rest for 5 minutes.
- Heat a dry small non-stick skillet large enough to flip one pancake over medium heat. If your skillet is not non-stick, brush your pan with a little bit of vegetable oil or use cooking spray before each pancake.
- Add a few drops of water to the hot pan to ensure it’s ready (they should sizzle then evaporate quickly). Once hot, pour in 1/4 cup of batter, making sure it’s no more than 1/4 inch thick.
- Cook until bubbles form on top and edges are set, about 1-2 minutes. Flip and cook the other side until golden brown, about 1 more minute.
- Remove and place on a cooling rack. Repeat with the remaining batter. You may need to adjust your heat if your pancakes are getting too dark or not cooking fast enough.
- Store any leftover pancakes in a freezer-safe plastic bag with a piece of parchment paper in between so they don’t stick. Refrigerate for up to 1 week or freeze for up to 3 months.
Notes
- To measure canned coconut milk: Shake the can well then open and add to a bowl. Stir the solid and liquid together until smooth and pourable. Measure 1/2 cup then save the rest for future use. Check out my recipes using coconut milk for ideas.
- If using leftover coconut milk stored in the refrigerator, it needs to be at room temperature. Don’t have time to wait? Microwave in 10-second increments, stirring after each, until smooth and pourable, then measure.
- Enjoyed this recipe? You might also love my spiced chocolate chip pancakes, waffles for two, and French toast for two.
Recommended Products
As an Amazon Associate and member of other affiliate programs, I earn from qualifying purchases.
- Nonstick Skillet
- Spatula
Did you make this recipe?
Let me know what you think! Rate the recipe above, leave a comment below, and/or share a photo on Instagram using #HITKrecipes
First published May 5, 2014, and continually updated for your enjoyment.
