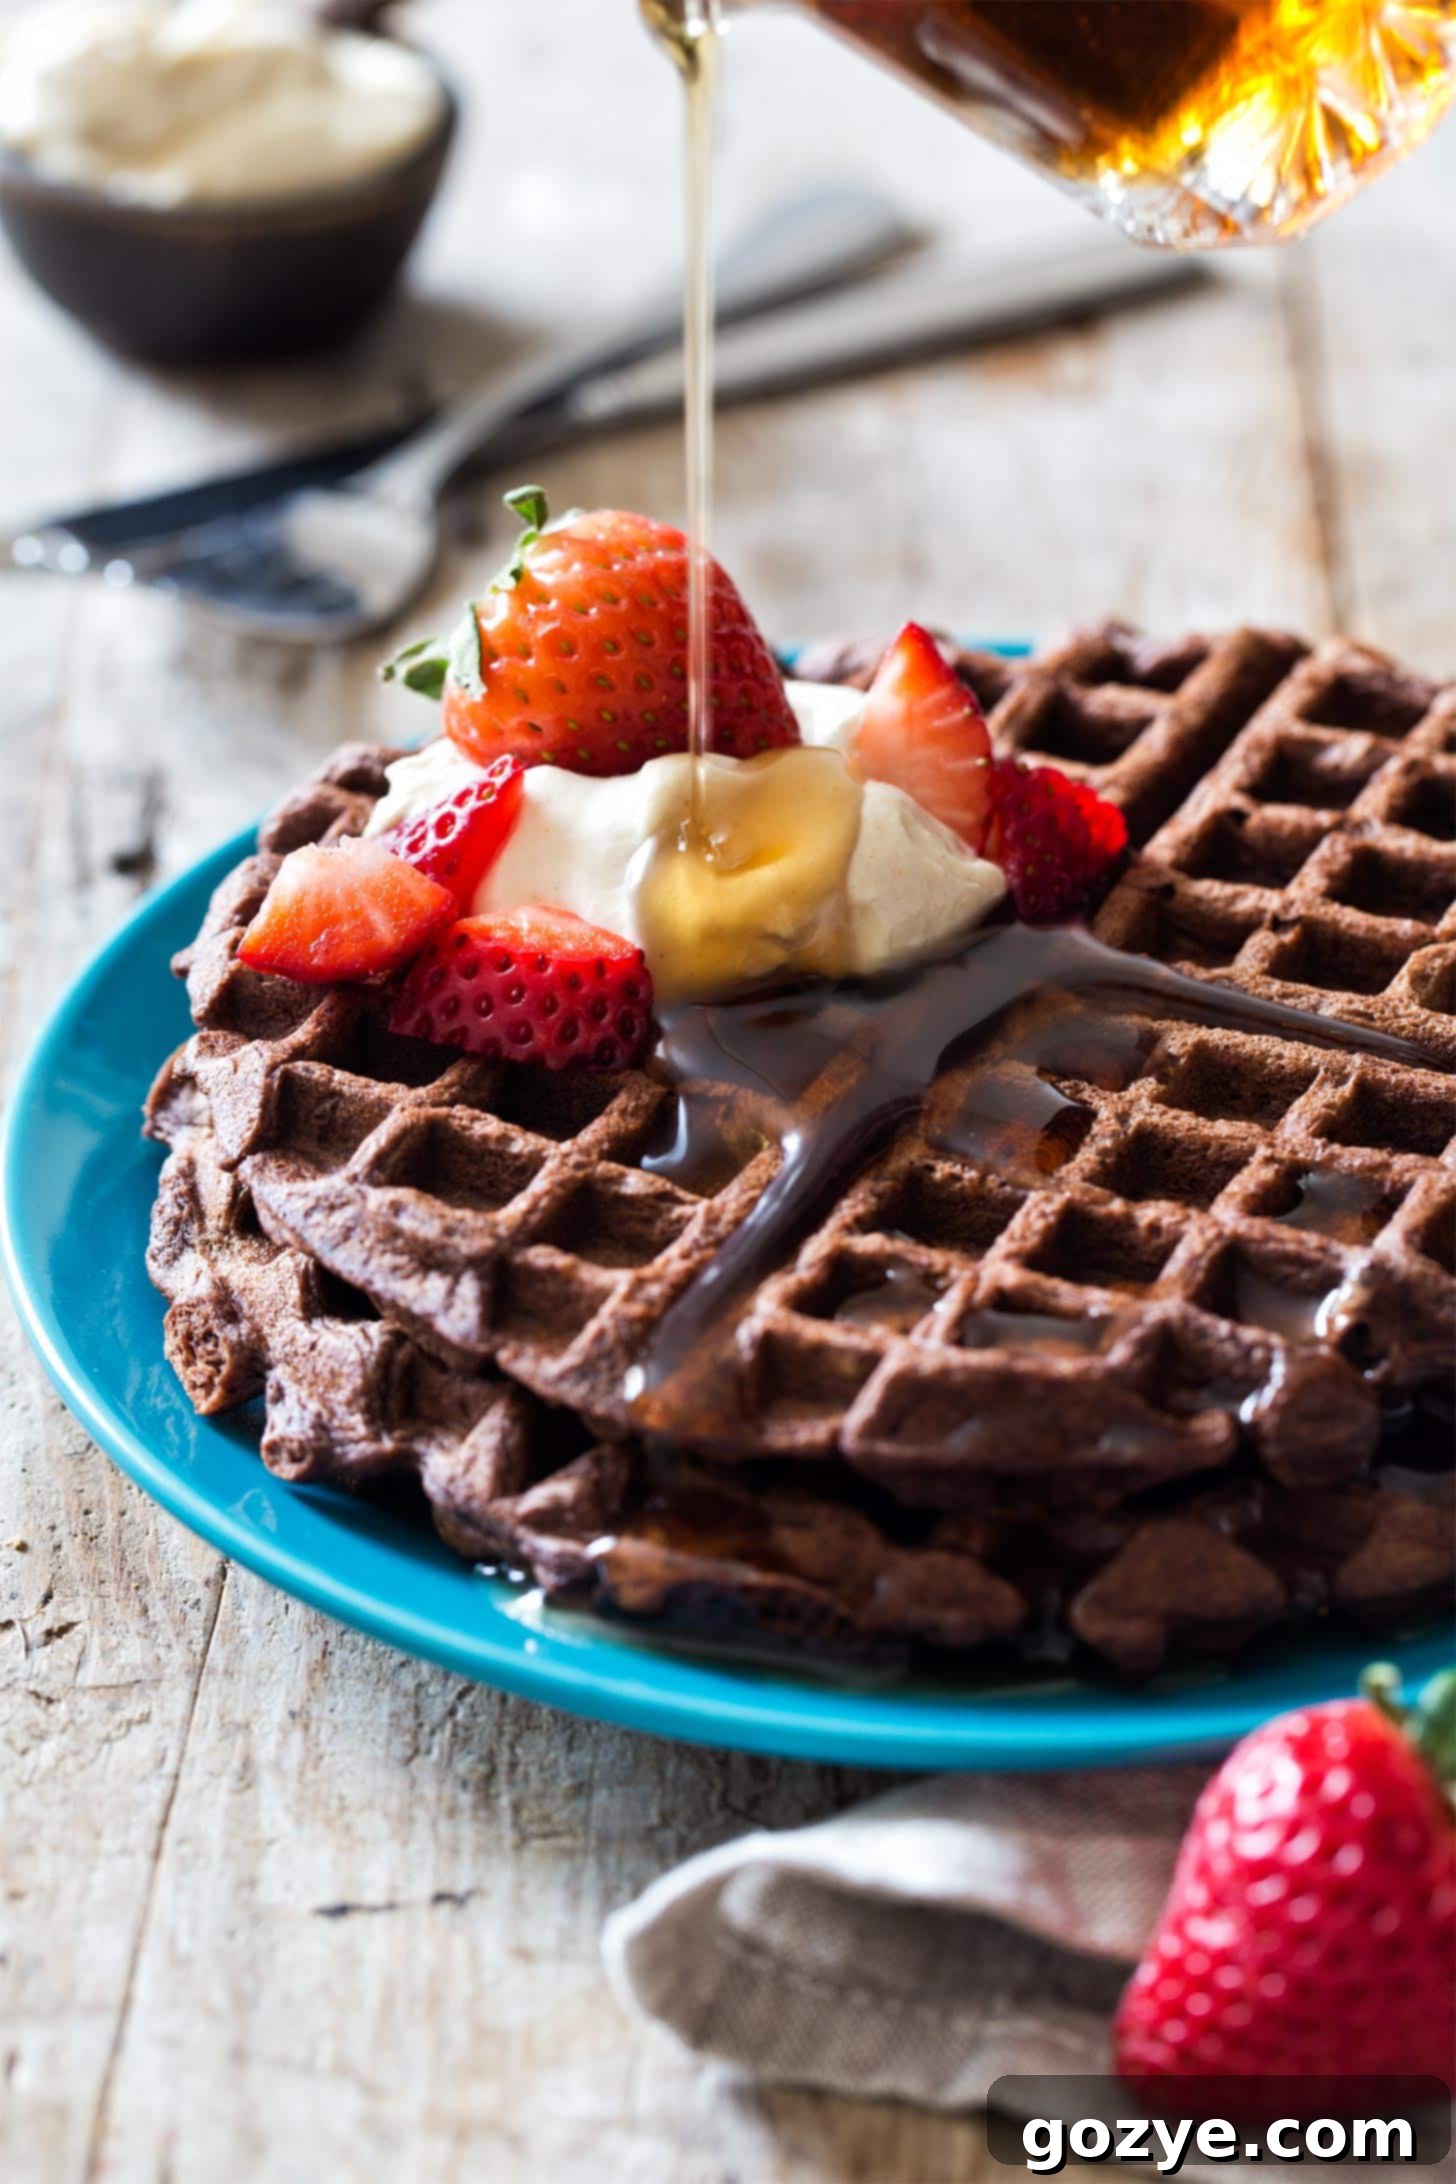
The Ultimate Recipe for Crispy & Fluffy Buttermilk Chocolate Waffles
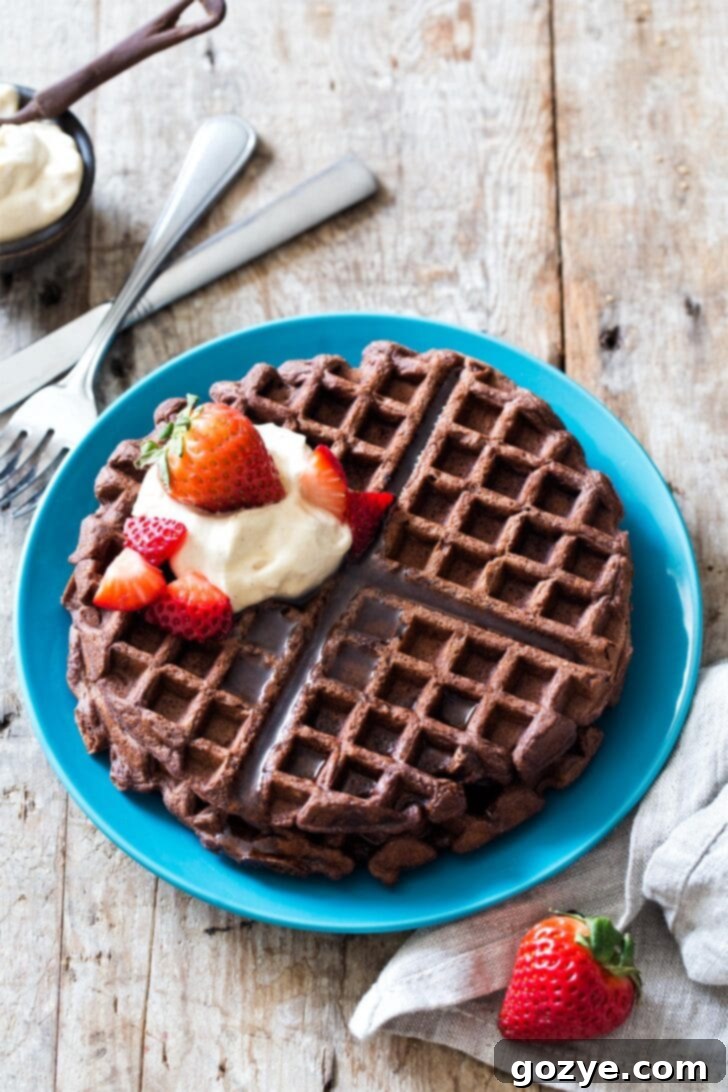
Imagine the delightful aroma of rich cocoa wafting through your kitchen as you start your morning. Now, picture yourself sinking your teeth into a warm, homemade waffle that boasts a perfectly crispy exterior, yet remains wonderfully fluffy and tender on the inside. This isn’t just a dream; it’s the reality of these incredible Chocolate Waffles! Our specially crafted small-batch recipe combines the magic of buttermilk with premium cocoa powder, delivering a truly exceptional breakfast experience without the extra effort of whipping egg whites. Prepare to transform your morning routine into a sweet, chocolatey indulgence!
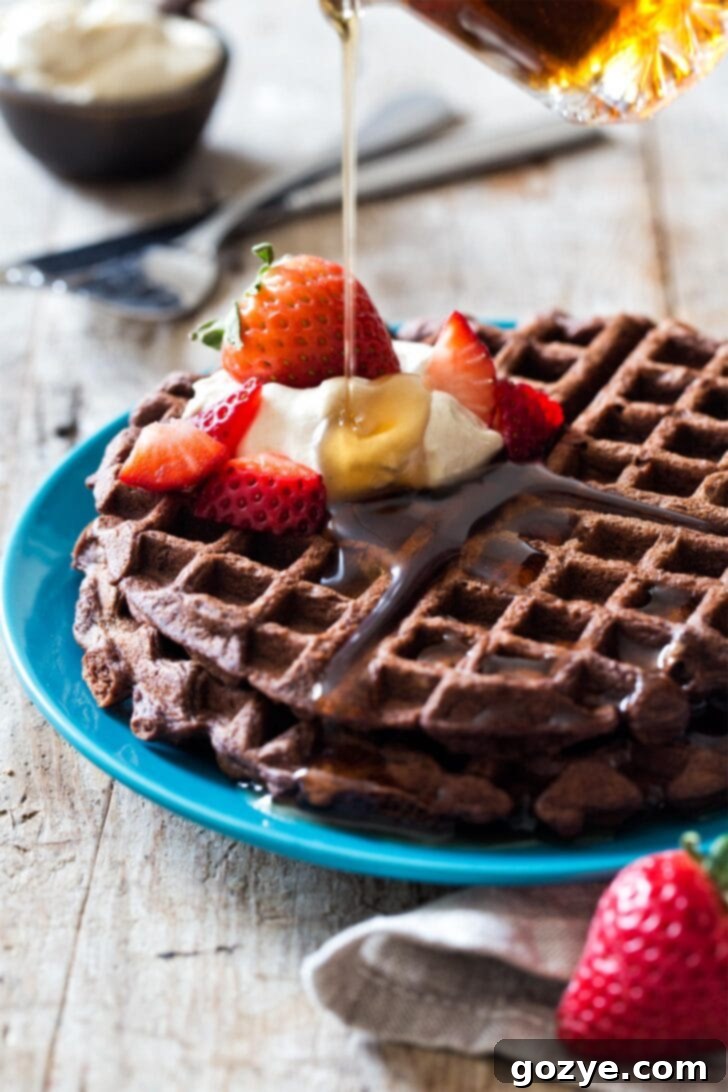
My journey into crafting more intimate, perfectly portioned breakfast recipes for two began last year, which ultimately led to the creation of my beloved classic waffles for two. Following the success of those, and after fine-tuning my small batch pancakes and rich chocolate pancakes, a clear path emerged for the next culinary adventure.
It became abundantly clear: it was high time to add a truly standout Chocolate Waffles recipe to my growing repertoire of breakfast favorites!
This recipe is meticulously designed to create two exquisite chocolate waffles, each a masterpiece of texture. They feature an irresistibly crispy exterior that gives way to an incredibly soft, tender, and fluffy interior. This delightful sweetness offers a perfect contrast to savory options like my popular ham and cheese waffles, making these a truly special treat.
The cocoa flavor in these waffles is wonderfully subtle, providing a sophisticated backdrop. For those who adore an extra burst of chocolate, I enthusiastically recommend incorporating chocolate chips, turning them into what I affectionately call “chocolate chocolate waffles.” However, if you prefer a more understated sweetness, feel free to omit the chips—the waffles are delightful either way.
And here’s a game-changer: absolutely no laborious whipping of egg whites is required! Let’s be real, on a leisurely morning, the last thing anyone wants is extra steps and more dishes. This recipe keeps things simple and delicious.
Achieving the ideal crispy texture for these cocoa waffles was a meticulous process of experimentation. My initial attempts often yielded waffles that were too soft, almost cake-like. This issue stemmed from the cocoa powder replacing some of the flour, which introduced excess moisture and disrupted the delicate balance of the batter’s structure.
After careful adjustments, specifically reducing the buttermilk to compensate for the cocoa powder’s moisture, I finally struck gold. The result? Flawlessly crispy chocolate waffles that maintain their structural integrity and deliver that satisfying crunch with every single bite. The journey was worth it!
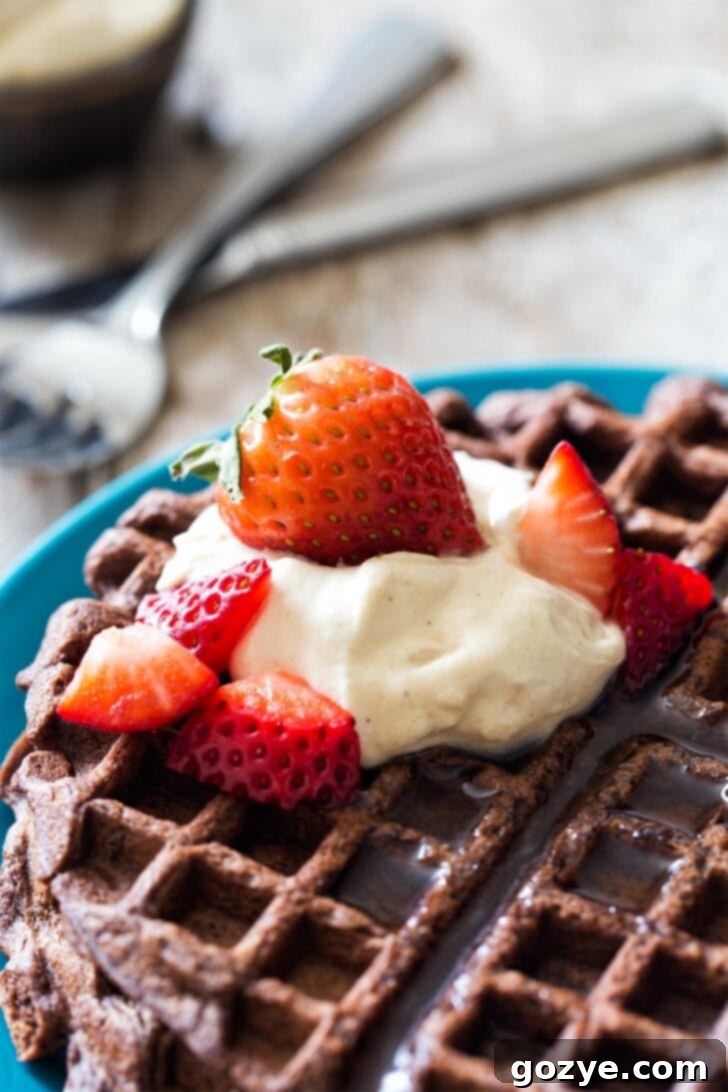
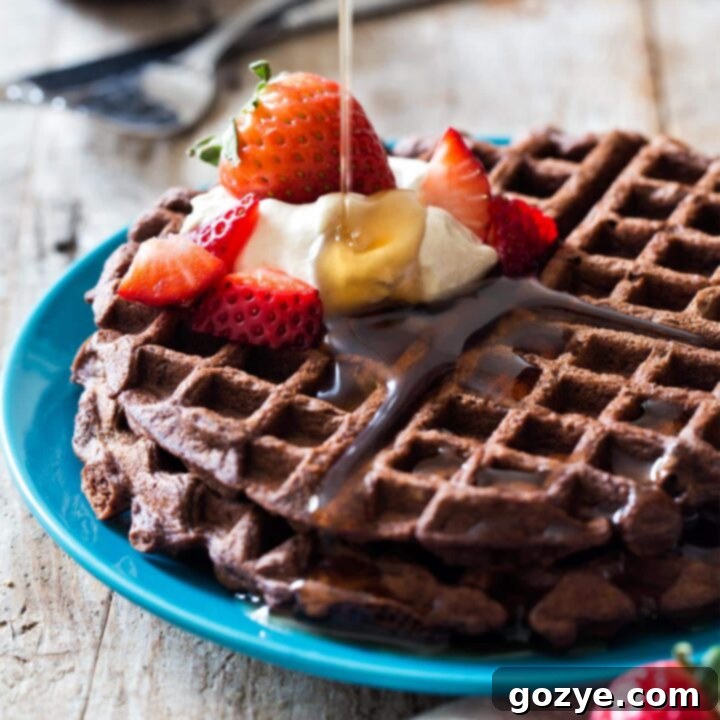
For an unforgettable start to your day, serve these freshly made waffles with a generous dollop of velvety homemade peanut butter whipped cream and a scattering of vibrant, juicy fresh strawberries. It’s a combination that’s sure to delight your taste buds and brighten any morning.
Choosing the Right Waffle Maker for Perfect Chocolate Waffles
It’s a common misconception that all waffle makers deliver the same results. Through extensive testing with various brands and models over the years, I’ve consistently found that less expensive machines often fail to reach the optimal temperature. This high heat is absolutely crucial for developing that desirable, crispy exterior on your waffles. Without it, you’re often left with soft, disappointing, and frankly, floppy waffles.
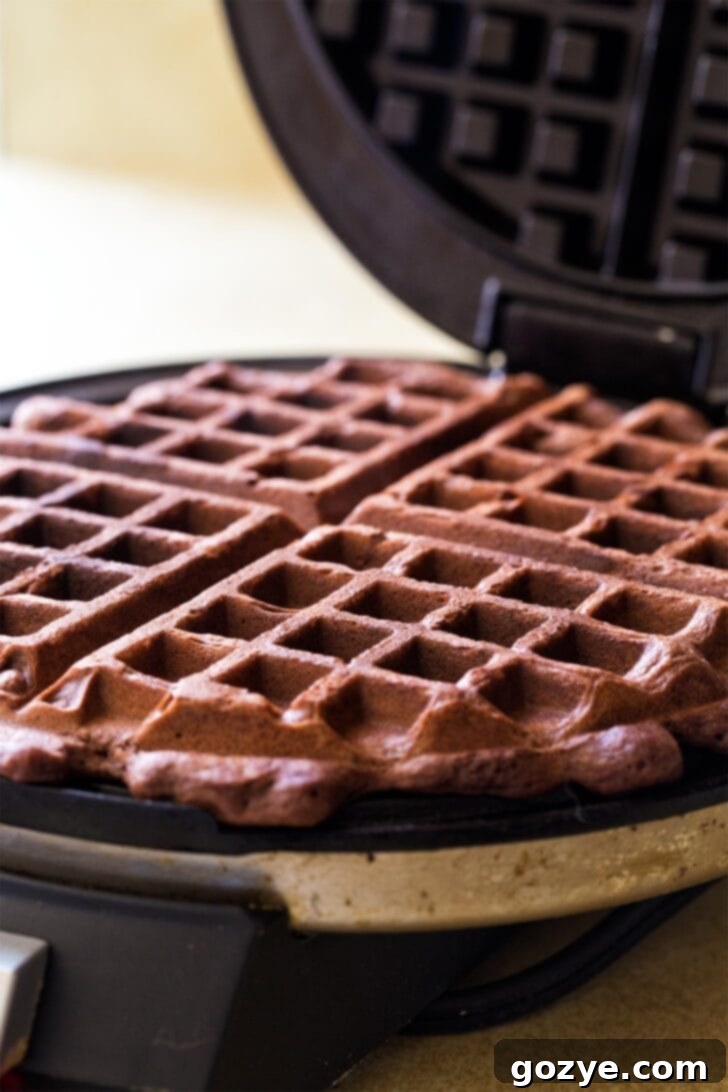
After much trial and error, I finally settled on this reliable round waffle maker. It strikes an excellent balance between affordability and superior performance, consistently producing crispy, golden-brown waffles, especially when used on its highest setting. When you’re in the market for a waffle maker, prioritize models known for their consistent heat distribution and their ability to achieve a proper crisp. Reading user reviews can be immensely helpful here.
Given the vast array of waffle maker shapes and sizes available today—from classic American-style to deep-pocket Belgian varieties, and even novelty designs—the exact yield from this recipe may vary. This particular small-batch recipe yields approximately 1 cup of waffle batter, which for my round waffle maker, is precisely enough for two perfectly crispy chocolate waffles. Always consult your waffle maker’s instruction manual for specific filling guidelines and recommended cooking times. Understanding your appliance’s quirks and nuances is key to achieving consistent, delicious results every time.
Essential Tips for Using Your Waffle Maker:
- Proper Preheat is Paramount: Never rush this step. Always allow your waffle maker to fully preheat until its indicator light signals it’s ready. A scorching hot surface is the secret weapon for crisp waffles.
- Light Greasing is Key: Even if your waffle maker boasts a non-stick coating, a light misting of cooking spray or a gentle brush of oil before cooking the first waffle is beneficial. It prevents sticking and encourages a beautiful golden crust.
- Avoid Overfilling: Resist the urge to pour too much batter. Overfilling can lead to uneven cooking, a less crispy texture, and undoubtedly, a messy overflow. Start with the recommended amount for your specific machine and adjust cautiously.
- Practice Patience: It’s tempting to peek, but opening the waffle maker too early can disrupt the cooking process and prevent your waffles from achieving peak crispiness. Wait for the steam to significantly diminish or cease, or for your machine’s indicator light to signal completion.
- Regular Cleaning: A clean waffle maker is a happy and efficient waffle maker. Wipe down the plates after each use once they have completely cooled to prevent batter buildup and maintain non-stick properties.
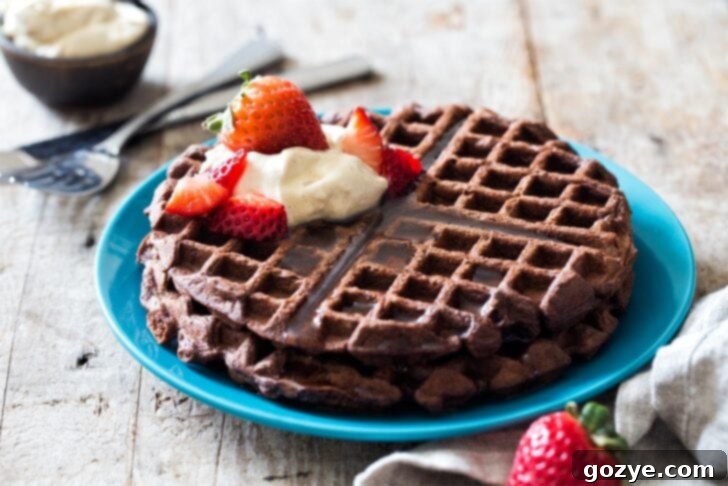
Essential Ingredients for Decadent Chocolate Waffles
To craft these unbelievably delicious and perfectly textured chocolate waffles, you’ll need a carefully selected array of standard pantry ingredients. Each component plays a critical role in achieving that coveted crispy-on-the-outside, tender-and-fluffy-on-the-inside perfection:
- All-Purpose Flour: This foundational ingredient provides the essential structure for your waffle batter, ensuring it has the perfect thickness and consistency for pouring effortlessly into your waffle maker. For accurate measurement, always spoon flour into your measuring cup and then level it off, rather than scooping directly.
- Unsweetened Cocoa Powder: The true star, responsible for delivering that rich, deep, and satisfying chocolate flavor. Opting for unsweetened cocoa allows you precise control over the overall sweetness of your waffles. The quality of your cocoa powder can significantly impact the final flavor.
- Granulated Sugar: Beyond just sweetness, sugar is a vital player in the caramelization process that occurs during cooking. This contributes to the beautiful golden-brown hue and enhanced crispiness of your waffle’s exterior.
- Baking Powder and Baking Soda: These dynamic leavening agents are absolutely indispensable for creating the light, airy, and fluffy texture that defines a perfect waffle. Specifically, baking soda reacts with the natural acidity in the buttermilk, generating carbon dioxide bubbles that cause the waffles to rise beautifully and achieve a tender crumb.
- Salt: A small but mighty ingredient, salt is crucial for balancing the sweetness and intensifying all the other flavors, particularly bringing out the depth of the chocolate. This is especially important if you are using unsalted butter.
- Espresso Powder (Optional but Highly Recommended): Don’t let the name deter you! A modest amount of espresso powder won’t impart a coffee flavor to your waffles. Instead, it acts as a flavor enhancer, subtly deepening and intensifying the chocolate notes, making them taste richer and more complex. It’s a beloved secret among bakers for boosting chocolate.
- Whole-Fat Buttermilk: This is arguably the most critical ingredient for these chocolate waffles, and one you should strive not to substitute. Buttermilk imparts a distinctive tang, contributes significantly to the waffles’ remarkable fluffiness, and helps create a batter with the ideal pourable consistency. Its acidity is also paramount for activating the baking soda, which results in that coveted tender crumb. Always ensure your buttermilk is at room temperature for optimal incorporation into the batter.
- Vegetable Oil or Melted Butter: Your choice here will subtly influence the final texture and flavor. Vegetable oil generally yields a noticeably crispier waffle, while melted butter contributes a richer, more profound buttery flavor profile. Personally, for the ultimate crispness in waffles, I lean towards using vegetable oil.
- Vanilla Extract: A dash of high-quality vanilla extract is essential for rounding out the complex flavors, adding a layer of aromatic depth and a comforting warmth to your chocolate waffle batter.
- Mix-ins such as Chocolate Chips: This is where you can truly personalize your waffles! Semisweet chocolate chips are a fantastic choice, melting into delightful pockets of gooey chocolate throughout. Feel free to experiment with other additions like chopped toasted nuts, dried cranberries, or even mini marshmallows for an extra touch of indulgence.
The Buttermilk Advantage: Why It Matters for Chocolate Waffles
You might be pondering, “Is it really that big of a deal to use buttermilk, or can I just swap in regular milk for waffles?” Typically, I advocate for simple substitutions and utilizing ingredients you already have on hand to avoid unnecessary trips to the grocery store.
However, when it comes to this specific cocoa waffle recipe, buttermilk is truly the unsung hero—an ingredient you absolutely should not omit. The profound difference it makes in both the texture and the overall taste is simply unparalleled. Not only does buttermilk contribute to an exceptionally fluffier waffle, but it also imparts a delicate tangy note that beautifully complements the rich depth of the chocolate, significantly elevating the entire flavor profile. Its inherent acidity is also vital for actively engaging the baking soda, which creates those precious air bubbles, resulting in a distinctively tender and light crumb.
Crafting a Buttermilk Substitute (Use with Caution):
If, despite your best efforts, genuine buttermilk is genuinely unavailable, you can create a makeshift substitute. For the 1/3 cup of buttermilk required in this recipe, combine 1/3 cup of regular whole milk with 1 teaspoon of fresh lemon juice or white vinegar. Stir gently and allow the mixture to rest for 5-10 minutes until it visibly curdles slightly. While this substitute will provide the necessary acidity to react with the baking soda, please be aware that the resulting texture and rich flavor will not be quite as authentic or profound as that achieved with real buttermilk. The original recipe has been meticulously calibrated for whole-fat buttermilk, which consistently yields the most superior results.
Once you’ve successfully created and savored your delicious chocolate chocolate waffles, you’ll likely have some buttermilk remaining. Don’t let this versatile ingredient go to waste! Dive into my comprehensive collection of 20+ recipes featuring buttermilk to creatively use up the rest of the carton. From airy pancakes and fluffy biscuits to tender cakes and more, there are plenty of delicious possibilities awaiting.
How To Make The Best Crispy Chocolate Waffles
Are you ready to embark on your delightful chocolate waffle-making journey? This detailed, step-by-step guide will ensure you create these delectable treats with absolute ease and confidence. Paying close attention to each instruction is key to achieving that ultimate crispy-on-the-outside, fluffy-on-the-inside outcome!
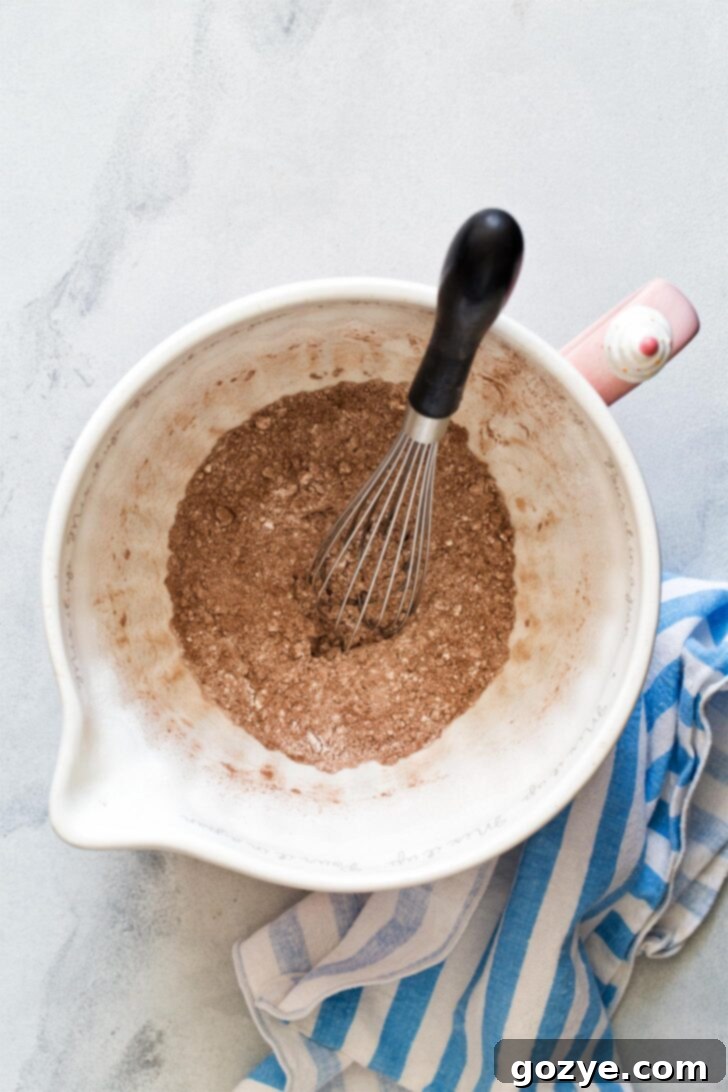
- Prepare Dry Ingredients: In a generously sized mixing bowl, begin by thoroughly sifting together the all-purpose flour and cocoa powder. Sifting is a crucial step as it breaks up any potential lumps and ensures a smooth, aerated foundation for your batter. Subsequently, whisk in the granulated sugar, salt, baking powder, baking soda, and the optional (yet highly recommended for flavor depth) espresso powder. Continue whisking diligently until all the dry ingredients are uniformly combined.
- Combine Wet Ingredients: In a separate large measuring cup or an alternative mixing bowl, whisk together the room-temperature buttermilk, melted vegetable oil or butter, large egg, and vanilla extract. Whisk vigorously until all these wet ingredients are completely emulsified and smoothly blended. Using room-temperature ingredients is beneficial as they combine more readily, resulting in a more cohesive and smooth batter.
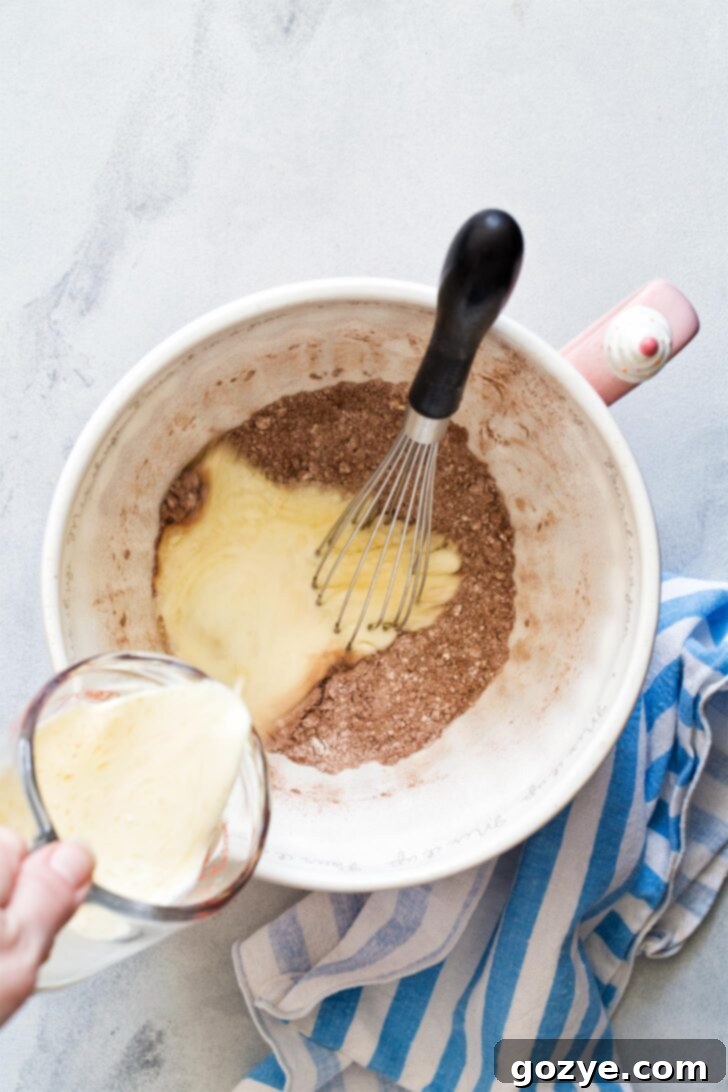
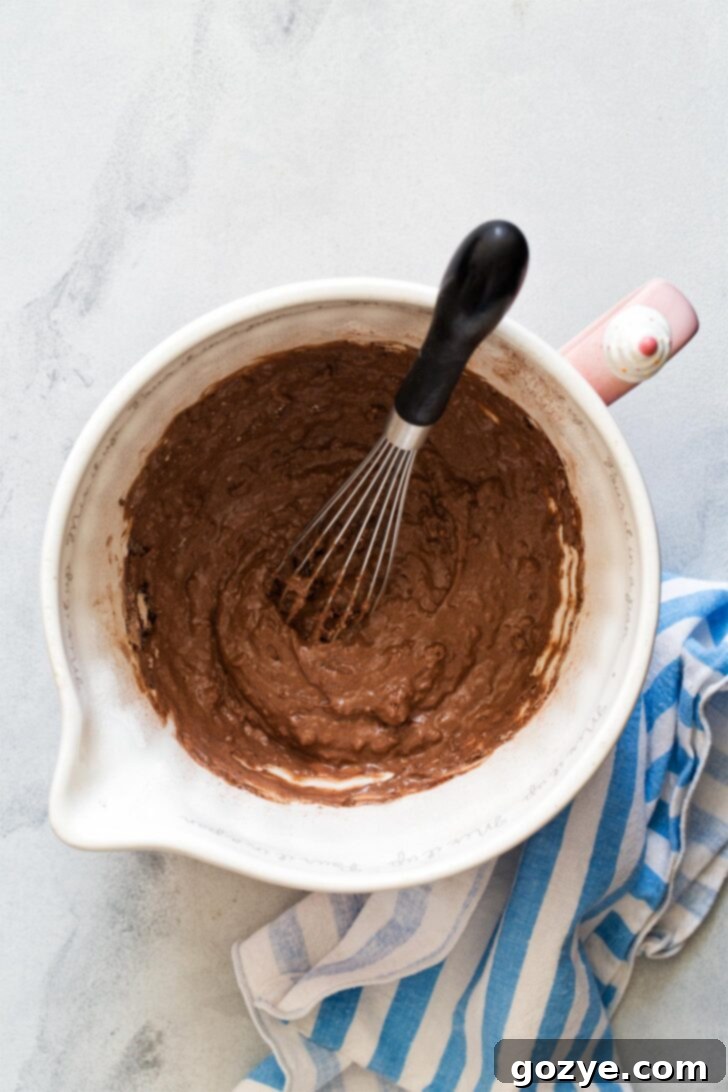
- Mix Batter: Now, pour the entire whisked wet ingredient mixture directly into the bowl holding your dry ingredients. Using a whisk or a rubber spatula, gently stir everything together until the ingredients are just blended and the batter appears mostly smooth. It is perfectly acceptable, and even preferred, to have a few small lumps remaining. Overmixing the batter can overdevelop the gluten, leading to tough, chewy waffles. However, do ensure there are no visible pockets or streaks of dry flour.
- Add Mix-ins (Optional): If you’ve chosen to enhance your waffles with chocolate chips or any other delightful mix-ins, gently fold them into the batter at this stage. Distribute them evenly throughout.
- Rest the Batter: This is an absolutely crucial step that is often overlooked but significantly impacts the final texture! Once mixed, cover the bowl and allow the batter to rest undisturbed for at least 5 minutes. This resting period provides ample time for the flour to fully hydrate, which thickens the batter to the perfect consistency, and critically, it allows the gluten to relax. The cumulative result is a waffle that is noticeably more tender, light, and wonderfully fluffy. Seriously, do not skip this step for the best possible outcome!
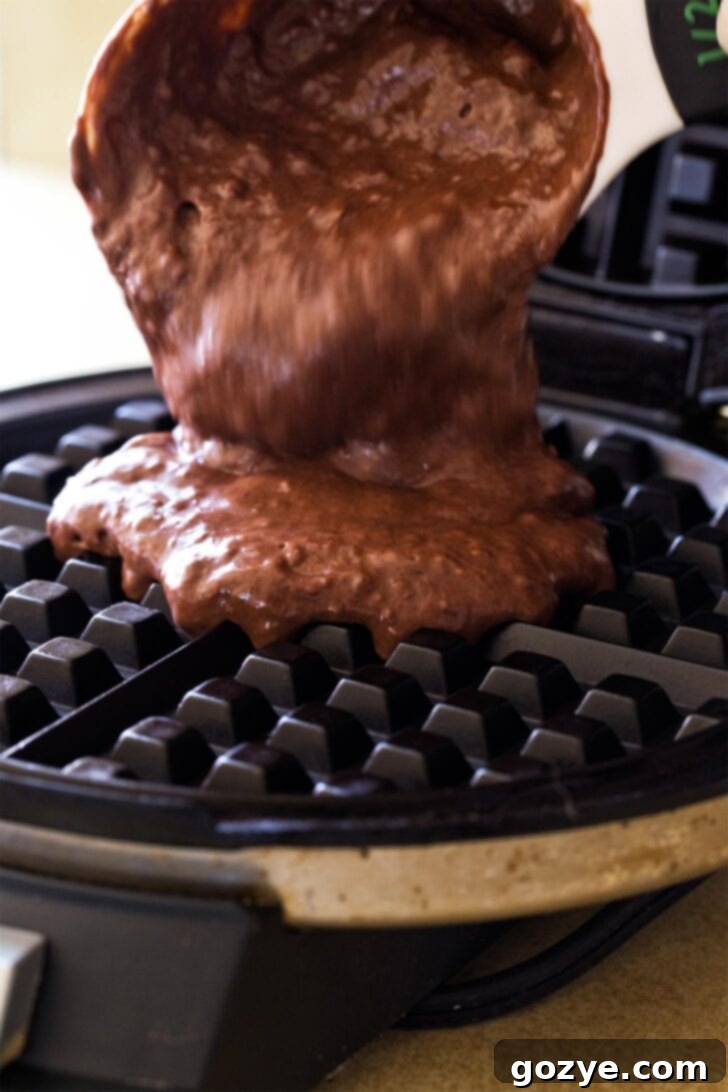
- Cook Waffles: While your batter rests, preheat your waffle maker according to its manufacturer’s instructions. For optimal crispiness, ensure it reaches its maximum temperature. Lightly grease the waffle plates with cooking spray or a brush of oil before cooking your first waffle, even if the machine is non-stick. Once the waffle maker is hot and ready, pour approximately 1/2 cup of the rested batter into the center of the plates. The batter should be thick but still easily pourable—avoid a thin, runny consistency. Close the lid and allow the waffles to cook until they are gloriously golden brown and wonderfully crispy. Cooking times can vary significantly between different machines (my round waffle maker typically takes about 2-3 minutes), so rely on your waffle maker’s indicator light or observe when the steam substantially reduces or stops, which usually signifies readiness.
- Serve Immediately: For the ultimate experience, waffles are always best enjoyed piping hot and fresh from the waffle maker. Repeat the cooking process with any remaining batter.
Storing and Reheating Your Delicious Chocolate Waffles:
Having leftover chocolate waffles can be a delightful bonus for future breakfasts or snacks! For the best storage, ensure they are completely cooled to room temperature before putting them away. You can store refrigerated leftovers in an airtight container for up to 2 days. For longer-term storage, arrange the cooled waffles in a single layer on a baking sheet and place them in the freezer until they are solid. This prevents them from sticking together. Once frozen, transfer the waffles to a freezer-safe bag or container, where they will keep beautifully for up to 3 months.
To reheat and revive their original crispiness, simply pop them into a toaster until warmed through and crisp. Alternatively, you can reheat them in a preheated 350°F (175°C) oven, placing them directly on a baking sheet or oven rack. Heat for approximately 5-10 minutes if refrigerated, or 10-15 minutes if frozen, until they are thoroughly hot and have regained their delightful crunch.
What To Serve With Your Chocolate Waffles: Creative Toppings & Pairings
The true brilliance of this chocolate waffle recipe lies in its incredible versatility; these waffles serve as a magnificent blank canvas for an almost endless array of toppings. They can effortlessly transition from a simple yet elegant breakfast into a lavish dessert or a stunning centerpiece for any brunch spread. Here are some inspiring and delicious ideas to spark your culinary imagination:
- Timeless Classics: You can never go wrong with tradition. A generous pat of high-quality butter melting into the warm, textured grooves of the waffle, followed by a luxurious drizzle of pure maple syrup, is always a winner. For a gourmet twist on this beloved classic, consider whipping up my exquisite homemade maple whipped cream.
- Berry Bliss & Chocolate Duo: Evoke the elegance of chocolate-covered strawberries! Pair your warm waffles with an abundance of fresh, thinly sliced strawberries, a cloud-like dollop of light strawberry whipped cream, and a vibrant homemade strawberry sauce. A delicate sprinkle of mini chocolate chips would perfectly complete this delightful pairing. Fresh raspberries or plump blueberries would also be equally fantastic additions.
- The Ultimate Chocolate Indulgence: If you’ve opted for “chocolate chocolate waffles” (with chips baked inside!), why not embrace the theme fully? Crown them with a rich, velvety chocolate whipped cream and a warm, glistening drizzle of my decadent hot fudge sauce. For an added textural contrast, a sprinkle of cocoa nibs could be truly divine.
- Creamy & Tangy Balancers: To beautifully counterbalance the inherent richness of the chocolate, opt for lighter, slightly tangy cream-based toppings. My classic homemade whipped cream is an unfailing favorite, or for a delightful blend of tangy sweetness, try my unique cream cheese whipped cream.
- Nutty Affairs: The harmonious combination of chocolate and nuts is simply divine. Beyond the delicious peanut butter whipped cream mentioned earlier, consider sprinkling your waffles with a generous handful of chopped toasted pecans, walnuts, or almonds. A luscious drizzle of smooth almond butter or creamy cashew butter can also elevate the experience.
- Fruity Compotes & Slices: Extending beyond fresh berries, thinly sliced bananas are a natural and classic pairing with chocolate. For a comforting, warm touch, explore various fruit compotes such as cherry, mixed berry, or even a spiced apple compote.
- Dessert Waffles with Ice Cream & Caramel: For a truly extravagant dessert experience, a scoop of premium vanilla bean ice cream or salted caramel ice cream melting over warm chocolate waffles is pure bliss. Finish this masterpiece with a luscious drizzle of homemade caramel sauce.
Chocolate Waffles FAQ: Your Questions Answered
While I strongly advise using buttermilk for the superior taste and texture it consistently delivers in this recipe, if whole milk is your absolute only option, you can create a makeshift substitute. To 1/3 cup of regular whole milk, add 1 teaspoon of lemon juice or white vinegar and allow it to sit for 5-10 minutes until it visibly curdles slightly. Crucially, you will also need to add an extra 1/4 cup of all-purpose flour to your dry ingredients. This adjustment is essential because whole milk is inherently thinner than buttermilk. Without the additional flour, your batter will be too thin, resulting in soft, cake-like waffles rather than the desired crispy texture. Even with these modifications, please note that the final results will not perfectly replicate the richness and fluffiness achieved with genuine buttermilk.
Several factors can contribute to waffles lacking that satisfying crispness. First and foremost, your waffle maker might not be reaching a sufficient temperature. Many cheaper or older machines struggle to achieve the high heat necessary for proper crisping. My own preferred waffle maker, for instance, only produces truly crispy waffles when set to its highest temperature. Secondly, an excessively wet batter or overmixing can also lead to a soft texture. If you substituted milk for buttermilk without adjusting the flour, or if you mixed the batter too vigorously, it can affect the crispness. To ensure crispy results, make sure your waffle maker is fully preheated, lightly greased, and cook the waffles until the steam significantly diminishes or stops, which is a key indicator that they are fully cooked and crispy.
Absolutely! Waffles are fantastic candidates for freezing and serve as a wonderfully convenient option for quick, delicious breakfasts on busy mornings. To freeze them correctly, allow your freshly cooked waffles to cool completely to room temperature. Once cooled, arrange them in a single layer on a baking sheet and place them in the freezer until they are solid—this crucial step prevents them from sticking together. Once individually frozen, transfer the waffles to a freezer-safe airtight bag or container. They will maintain their quality beautifully in the freezer for up to 3 months.
Reheating waffles is straightforward and effectively helps them regain much of their original crispiness. The most recommended methods are using a toaster or a conventional oven. For a toaster, simply insert the waffles as you would a slice of bread and toast until they are warmed through and delightfully crisp. If using an oven, preheat it to 350°F (175°C). Place the frozen or refrigerated waffles directly on a baking sheet or an oven rack. Heat refrigerated waffles for approximately 5-10 minutes, and frozen waffles for about 10-15 minutes, or until they are hot, crispy, and thoroughly heated.
Yes, this chocolate waffle recipe is wonderfully scalable! If your breakfast plans call for more than two waffles, you can effortlessly double all the ingredients to yield four waffles. For larger family gatherings or entertaining, you can even triple or quadruple the recipe. Just ensure you have a sufficiently large mixing bowl to accommodate the increased volume of batter and allow ample time for cooking the batches in your waffle maker.
While waffles are always at their absolute best when made with freshly rested batter, you do have some flexibility. You can prepare and combine all the dry ingredients ahead of time and store them in an airtight container. It is generally ideal to mix the wet ingredients and combine them with the dry ingredients just before you plan to cook. If you absolutely need to prepare the full wet batter in advance, it can be refrigerated in an airtight container for up to 24 hours. However, be aware that the leavening agents (baking powder and soda) begin to lose their potency over time, so you might notice a slight reduction in the fluffiness. Give it a gentle stir before using, but be careful not to overmix.
Belgian waffles are typically distinguished by their larger size, thicker profile, and notably deeper pockets, which make them perfectly suited for holding copious amounts of toppings. They often possess a lighter, airier texture, sometimes achieved through the incorporation of yeast or whipped egg whites into the batter. American waffles, in contrast, are generally thinner, tend to be denser, and feature shallower pockets. This specific chocolate waffle recipe is adaptable for use in either type of waffle maker, though the cooking time and final thickness will naturally vary depending on the particular specifications of your appliance.
More Delightful Breakfast For Two Recipes
Adored this rich cocoa waffle recipe and now seeking out more perfectly portioned breakfast ideas for two? Delve into these other fantastic recipes, each thoughtfully designed for smaller servings, guaranteeing fresh, delectable results without the hassle of excessive leftovers:
- French Toast For Two: A timeless, comforting breakfast classic, expertly scaled down for two servings.
- Coconut Milk Pancakes: A wonderfully light, fluffy, and completely dairy-free pancake option.
- Biscuits and Gravy for Two: A hearty, savory Southern comfort food, perfectly sized for two to share.
- Hash Brown Bowls with Baked Eggs: An inventive and incredibly delicious savory option, ideal for a satisfying start to your day.
- Classic Waffles For Two: If you’re in the mood for a traditional, non-chocolate version of delicious homemade waffles, this recipe is your perfect go-to!
Chocolate Waffles Recipe
2 servings
15 minutes
5-8 minutes
20-25 minutes
Indulge in these homemade, small-batch chocolate waffles, perfectly crispy on the outside and tender-fluffy within. Crafted with buttermilk and rich cocoa, they’re an easy breakfast dream come true – no egg white whipping needed!
Ingredients
- Dry Ingredients:
- 1/2 cup + 2 tablespoons (85g) all-purpose flour
- 2 tablespoons (10g) unsweetened cocoa powder
- 2 tablespoons (25g) granulated sugar
- 1/2 teaspoon table salt
- 1/2 teaspoon baking powder
- 1/4 teaspoon baking soda
- 1/4 teaspoon espresso powder (optional, but highly recommended for enhancing chocolate flavor)
- Wet Ingredients:
- 1/3 cup (80ml) whole-fat buttermilk, room temperature*
- 1 large egg, room temperature
- 2 tablespoons (30ml) vegetable oil or melted unsalted butter**
- 1/2 teaspoon vanilla extract
- Optional Mix-in:
- 1/2 cup (85g) semisweet chocolate chips
Instructions
- In a large mixing bowl, thoroughly sift together the all-purpose flour and cocoa powder to remove any lumps. Then, add the granulated sugar, salt, baking powder, baking soda, and espresso powder (if using). Whisk all the dry ingredients together until they are well combined.
- In a separate large measuring cup or another bowl, whisk together the room-temperature buttermilk, egg, vegetable oil (or melted butter), and vanilla extract until completely blended.
- Pour the wet ingredients into the bowl with the dry ingredients. Stir everything together gently with a whisk or spatula until the mixture is just combined and smooth. Be careful not to overmix; a few small lumps are perfectly fine and preferable to overdeveloped gluten, which can make waffles tough. Ensure there are no dry pockets of flour remaining.
- If adding chocolate chips, gently fold them into the batter. Then, cover the bowl and let the batter rest for 5 minutes. This crucial step allows the flour to hydrate and the gluten to relax, resulting in a fluffier, more tender waffle and the ideal batter consistency.
- While the batter rests, preheat your waffle maker according to its manufacturer’s instructions to its highest setting for optimal crispiness. Lightly grease the plates with cooking spray or a brush of oil before cooking the first waffle.
- Once the waffle maker is hot, pour approximately 1/2 cup of the rested batter into the center of the waffle maker. The batter should be thick enough to hold its shape but still pourable. Close the lid and cook until the waffle is golden brown and crispy, typically 2-3 minutes for my round waffle maker, but times will vary depending on your specific machine. Repeat with the remaining batter.
Waffles are best enjoyed immediately after cooking. For leftovers, refrigerate in an airtight container for up to 2 days, or freeze for up to 3 months. Reheat in a toaster or a preheated 350°F (175°C) oven until crispy.
Notes
- *Buttermilk Recommendation: For the absolute best flavor and texture, use whole-fat buttermilk. If you must substitute, combine 1/3 cup whole milk with 1 teaspoon lemon juice or white vinegar, let sit 5-10 minutes, and add an additional 1/4 cup flour to the dry ingredients to maintain batter consistency.
- **Fat Choice: Vegetable oil will generally yield a crispier waffle, while melted butter contributes a richer flavor. My preference for crispness leans towards oil.
- ***Yield Variation: This recipe creates approximately 1 cup of batter. My round waffle maker produces 2 waffles of this size. The number of servings will depend entirely on the size and type of your waffle maker.
- More Breakfast Inspiration: Don’t miss out on my other small-batch breakfast favorites: Classic Waffles For Two, Savory Ham and Cheese Waffles, Spiced Chocolate Chip Pancakes, Classic Chocolate Pancakes, and French Toast For Two.
Recommended Products
As an Amazon Associate and member of other affiliate programs, I earn from qualifying purchases.
- Cuisinart Round Classic Waffle Maker
Did you make this recipe?
I’d love to see your creations! Rate the recipe above, leave a comment below sharing your experience, and/or share a photo on Instagram using #HITKrecipes.
