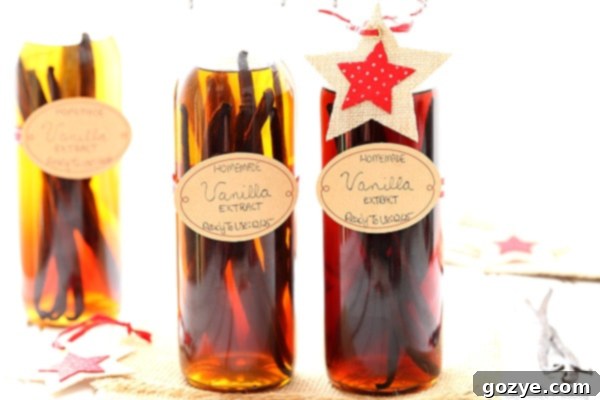
Mastering Homemade Vanilla Extract: Your Ultimate Guide to Flavorful Baking & Thoughtful Gifting
Imagine the rich, aromatic scent of pure vanilla wafting through your kitchen, elevating every baked good to a new level. Now, imagine making that magic happen yourself, right at home! This comprehensive guide will teach you how to create your very own homemade vanilla extract – a simple yet incredibly rewarding project. Not only will you save money on this baking essential, but homemade extract also makes for the perfect, heartfelt Christmas gift for your favorite bakers and food enthusiasts. All you need are a few quality vanilla beans, a suitable alcohol base, elegant bottles, and a mere 10 minutes of hands-on prep time.
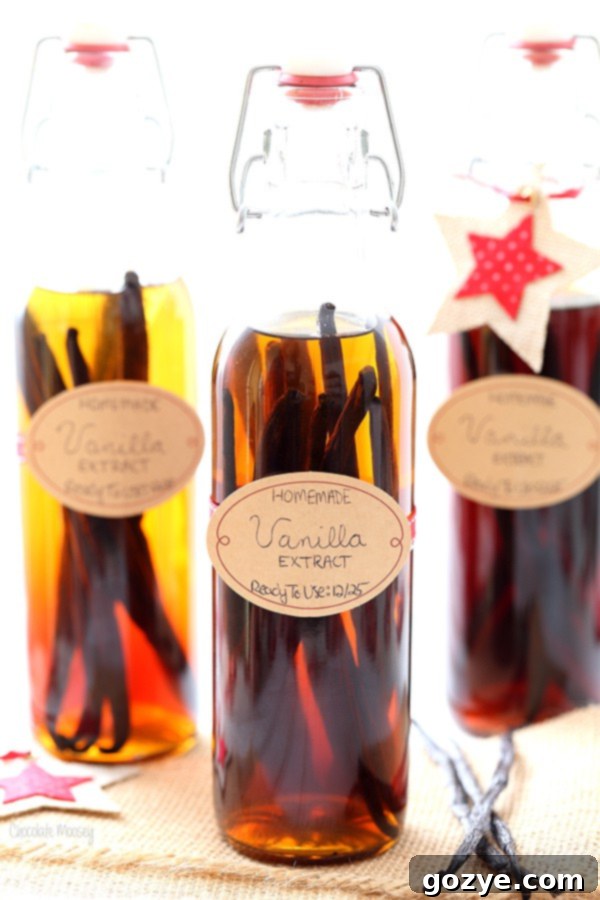
Happy December! As the holiday season approaches, many of us find ourselves pondering gift ideas. While navigating crowded stores can be a festive tradition for some, the joy of creating something truly special and handmade for friends and family often outweighs the consumer rush. As with my beloved Fiesta Dip Mix, I find immense satisfaction in crafting thoughtful homemade gifts.
Beyond the personal touch, homemade gifts offer several advantages: they save your sanity by avoiding the chaos of last-minute shopping, they’re often more meaningful, and they can be surprisingly affordable. This year, my go-to gift is Homemade Vanilla Extract. It’s not just a cost-effective way to ensure you always have a supply of superior vanilla for your own baking endeavors; it’s also an absolutely perfect present for any baker in your life. If they’re anything like me, they likely go through vanilla extract at an astonishing rate, incorporating it into almost every sweet creation.
The Unmistakable Difference: Pure Vanilla vs. Imitation
One of the foundational lessons every aspiring baker learns, whether they’re whipping up holiday treats or baking year-round, is the critical importance of using real vanilla extract over imitation vanilla. The difference in taste is not subtle; it’s profound. Pure vanilla extract is meticulously crafted by steeping real vanilla beans in alcohol, which extracts the complex array of aromatic compounds. In contrast, imitation vanilla is predominantly made with synthetic vanillin, a single chemical compound that attempts to mimic vanilla’s flavor but lacks the depth, nuance, and complexity of the real thing.
As someone who has extensively used both, I can confidently attest that your palate will immediately detect the richer, more authentic flavor that real vanilla brings to your cookies, cakes, custards, and glazes. While imitation vanilla might be cheaper, it often leaves your baked goods with a slightly artificial or flat taste. Investing in or making pure vanilla extract is an investment in the quality and flavor of your culinary creations.
If you’ve ever browsed the spice aisle for vanilla beans, you’ve probably noticed their rather steep price tag. A small number of beans can be quite expensive, which often deters home bakers from using them directly or making their own extract. This is precisely why learning how to make Homemade Vanilla Extract is such a game-changer. It’s incredibly easy, requiring just 10 minutes of active prep time, two primary ingredients, and suitable glass bottles.
Choosing Your Vanilla Beans: A World of Flavor
The first and arguably most crucial step in crafting exceptional vanilla extract is selecting the right vanilla beans. As you begin your search, you’ll encounter a fascinating array of varieties, each with its own unique flavor profile. So, which ones should you choose?
Firstly, I highly recommend buying vanilla beans online. Retail grocery stores typically offer a limited selection at a premium price, whereas online specialty suppliers often provide better quality and more competitive pricing for larger quantities. This is particularly beneficial when you’re making multiple bottles of extract or planning to replenish your supply regularly.
The beans I’ve used for many years are Madagascar Bourbon vanilla beans. These are widely regarded as the gold standard, celebrated for their “rich, dark, and creamy profile with an overwhelmingly sweet, buttery aroma.” They are incredibly versatile and produce a classic vanilla flavor that pairs beautifully with most baked goods.
However, the world of vanilla extends far beyond Madagascar. Mexican vanilla beans are another excellent choice, known for their bold, smoky, and spicy notes with hints of chocolate. I’ve used Mexican vanilla extract before and found it added a delightful depth to my recipes. Tahitian vanilla beans, by contrast, offer a more floral, fruity, and cherry-like aroma, perfect for lighter desserts or custards where you want a brighter vanilla essence.
Ultimately, you can’t go wrong with the beans you choose, as long as they are fresh and pliable. Consider experimenting with different varieties to discover your personal preference or to create a unique blend. And here’s a fantastic tip for sustainability and maximizing your investment: if you use the vanilla bean seeds (often called “caviar”) in a recipe, such as my popular vanilla bean ice cream, don’t discard the leftover pods! You can absolutely still use these “spent” pods to make vanilla extract, as there’s still plenty of flavor left to infuse into the alcohol.
The Alcohol Base: Crafting Your Extract’s Character
The second essential ingredient is alcohol. It’s crucial to understand that alcohol acts as the solvent, extracting and preserving the hundreds of flavor compounds from the vanilla beans. I’ve often been asked if water can be substituted, and the answer, for this method, is a resounding no. While there are methods to make alcohol-free vanilla flavorings (typically by using food-grade glycerin), this traditional and highly effective recipe relies on alcohol.
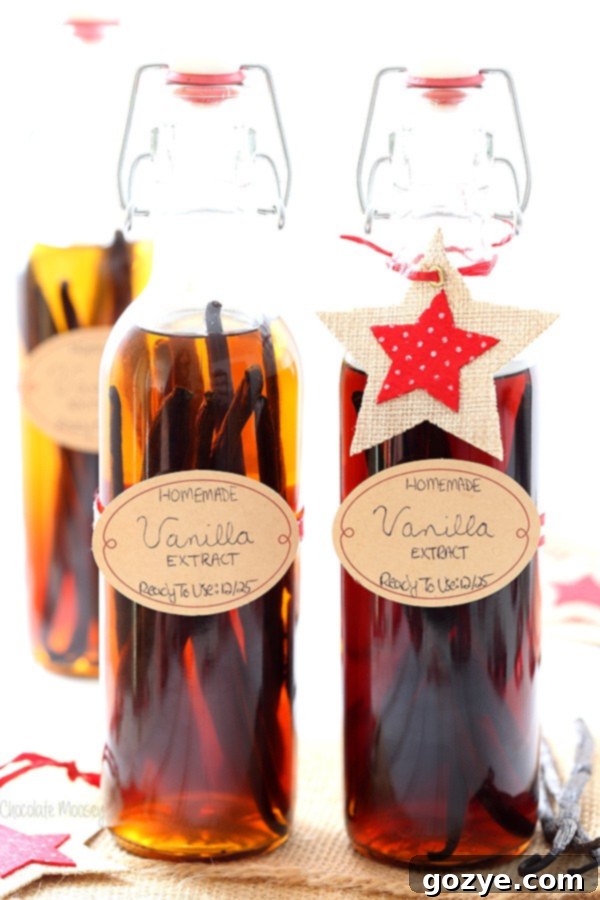
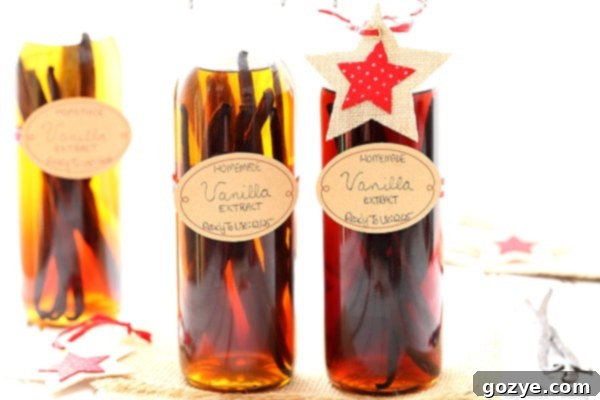
In the photo above, you can see examples of extracts made with different alcohol bases: vodka (the two left bottles) and rum (the right bottle). Vodka is the most commonly used alcohol for vanilla extract due to its neutral flavor. It allows the pure, unadulterated essence of the vanilla bean to shine through, making it a popular choice for all-purpose baking.
However, you have the freedom to experiment and customize your extract by using other spirits. Rum, especially dark rum, imparts a warm, sweet, and slightly molasses-like undertone to the vanilla. Bourbon introduces smoky, caramel, and oak notes, creating a rich and complex extract that’s wonderful in specific desserts like pecan pie or anything chocolate-based. Brandy offers fruity and slightly sweet characteristics, adding another layer of sophistication to your vanilla.
Ideally, you want an alcohol with a proof between 70 and 80 (35-40% alcohol by volume). This range is effective for extracting flavors without being overly harsh. While I typically aim for 70 Proof/35% Alcohol, sometimes 80 Proof/40% Alcohol is what’s readily available, and it works perfectly well. For the rum in my batch, I opted for a Jamaican dark rum, known for its robust flavor profile.
Choosing the Right Containers: Functionality Meets Aesthetics
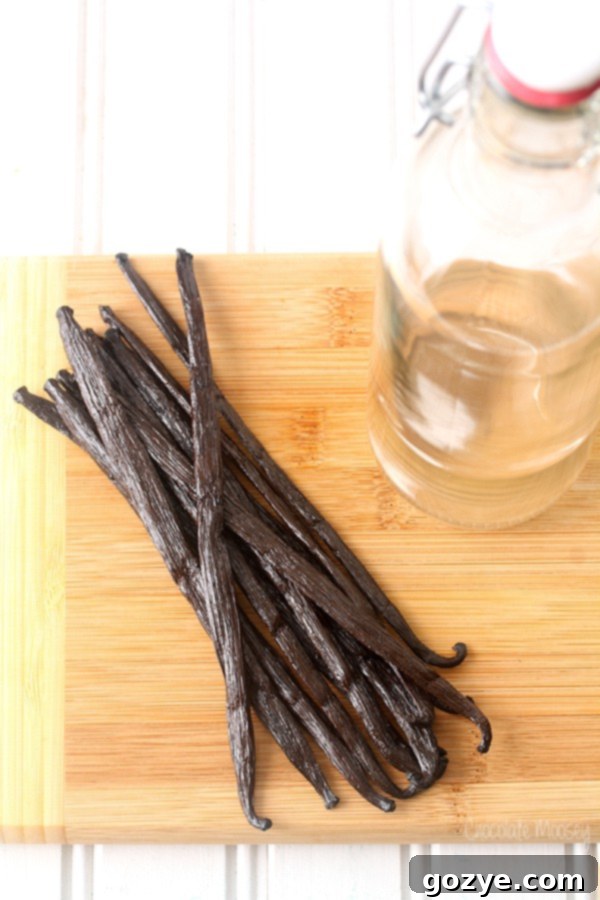
For your containers, let your imagination be your guide! I personally love using swingtop glass bottles. They offer a charming, rustic presentation that makes them ideal for gifting, and their airtight seal ensures easy, long-term storage without evaporation. Amber glass bottles are also an excellent choice, as they help protect the extract from light, which can degrade the vanilla over time.
The bottles pictured in this post are 12.5-ounce capacity, which are conveniently tall enough to accommodate whole vanilla beans without needing to cut them. However, don’t feel limited by this size. If you prefer smaller bottles, perhaps for individual gifts or to create a varied collection, simply bend or cut your vanilla beans in half (or even smaller pieces) to ensure they fit comfortably inside and are fully submerged in the alcohol.
The Art of Patience: Steeping for Perfection
One crucial factor to keep in mind – and perhaps the hardest part for eager bakers – is that homemade vanilla extract requires patience. It needs to steep away from direct sunlight for a minimum of 6-8 weeks before it’s ready for use. In fact, when I’ve polled my followers about their vanilla extract making, many on Instagram have enthusiastically shared that they let theirs sit for at least a year, sometimes even longer! The truth is, the longer it steeps, the deeper, richer, and more complex the flavor will become.
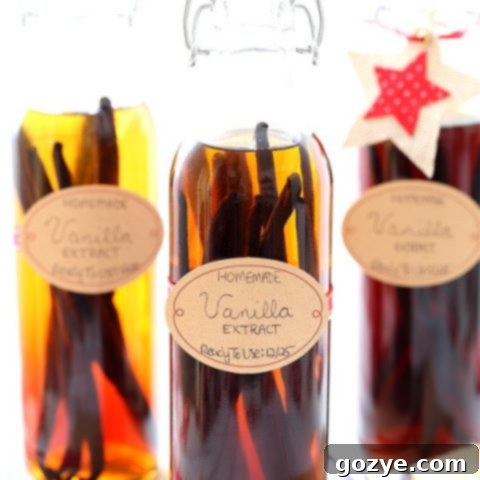
This extended steeping time doesn’t mean you have to wait 6-8 weeks (or a year!) to give homemade extract as a gift. The beauty of this gift lies in its anticipation. When you label the bottles, simply include a “Ready To Use” date, advising the recipient when their gourmet vanilla will be at its peak. This also adds a unique element of surprise and delight to the present.
Speaking of labels, I initially used some kraft tags I found at Target, which worked for a quaint look. However, for better adhesion and a more professional finish, I highly recommend using kraft printable labels. They stick securely to the bottles, preventing them from peeling off over time. Unfortunately, I had this realization at the last minute and my closest office supply store didn’t have any in stock – a lesson learned for next time!
Tips for the Perfect Batch and Gifting:
- Shake Regularly: For the first few weeks, give your bottles a gentle shake every few days to help distribute the vanilla compounds and encourage infusion.
- Store in a Dark Place: Just as sunlight can degrade many sensitive ingredients, it can also diminish the quality of your vanilla extract. A cool, dark pantry or cupboard is ideal.
- Topping Off: Once you start using your extract, you can often “top off” the bottle with more alcohol as you use it, provided you still have enough vanilla beans inside. This method allows you to continuously replenish your supply without starting from scratch, though the flavor may become slightly less intense over time.
- Personalized Labels: Get creative with your labels! Include the type of vanilla bean, the alcohol used, the date it was started, and the “Ready To Use” date. You can even add a small note about the benefits of pure vanilla.
- Presentation: Tie a ribbon around the bottle, add a small charm, or package it in a charming gift box for an extra special touch.
Homemade Pure Vanilla Extract
Approximately 12 ounces (per bottle)
This recipe provides instructions for making one 12.5-ounce bottle of homemade vanilla extract. Adjust the quantity of vanilla beans and alcohol proportionally for smaller or larger bottles, ensuring beans are fully submerged.
Ingredients
- One 12.5 ounce (or similar) clean glass bottle
- 8 whole vanilla beans (Madagascar Bourbon, Mexican, Tahitian, etc. – Grade B often preferred for extract)
- Approximately 1 1/2 cups of 70-80 proof (35-40% alcohol) vodka, bourbon, brandy, or rum (enough to completely submerge beans)
Instructions
- Using a sharp knife, carefully slice each vanilla bean lengthwise down the middle, creating a slit that opens the bean slightly to expose the inner “caviar.” This increases the surface area for flavor extraction. If using a smaller bottle, cut the beans into smaller pieces to ensure they fit and are fully submerged.
- Place the prepared vanilla beans into your clean glass bottle. Carefully pour your chosen alcohol into the bottle, ensuring that all the vanilla beans are completely submerged. Seal the bottle tightly then give it a good shake a few times to start the infusion process.
- Store the sealed bottle at room temperature in a cool, dark place, away from direct sunlight. Let it steep for a minimum of 6-8 weeks, though 3-6 months is ideal, and many recommend a year for the deepest flavor. For gifting, write a “Ready To Use” date on a homemade label to inform the recipient when their gourmet vanilla will be ready. Remember to shake the bottle occasionally, especially during the first few weeks.
Did you make this recipe?
Let me know what you think! Rate the recipe above, leave a comment below, and/or share a photo on Instagram using #HITKrecipes
Beyond Extract: Creative Uses for Your Vanilla Beans
The beauty of working with whole vanilla beans extends beyond just making extract. The “caviar” (the tiny seeds inside the pod) can be scraped out and added directly to custards, ice cream bases, whipped cream, or even pancake batter for those beautiful speckles and intense flavor. Once you’ve used the caviar, or even after your beans have steeped for a year in extract, don’t throw them away!
- Vanilla Sugar: Bury dried, used vanilla pods in a jar of granulated sugar. Over time, the sugar will absorb the vanilla aroma, creating a fragrant vanilla sugar perfect for baking, sprinkling on toast, or sweetening coffee and tea.
- Vanilla Bean Paste: For a concentrated vanilla flavor with the visual appeal of seeds, you can even make your own vanilla bean paste, which combines vanilla extract with finely ground vanilla beans and a thickener like corn syrup or agave.
- Re-infusion: If you’re not topping off your extract, you can let the beans dry out completely and then store them for later use in vanilla sugar or even a second, lighter batch of extract (though it will be less potent).
Start Your Vanilla Journey Today!
Crafting your own homemade vanilla extract is a fulfilling project that brings gourmet flavor to your kitchen and thoughtful elegance to your gift-giving. It’s a testament to the fact that some of the best things truly do come from patience and a little bit of love. So why wait? Gather your ingredients, choose your favorite vanilla beans and alcohol, and embark on this delicious journey. Your taste buds, and your lucky friends, will thank you!
Disclosure: This post contains Amazon affiliate links, which means I earn a small percentage of profit for each item you buy through this link. This profit goes back into maintaining this blog, including website hosting and ingredients for recipes. Thank you for your support!
