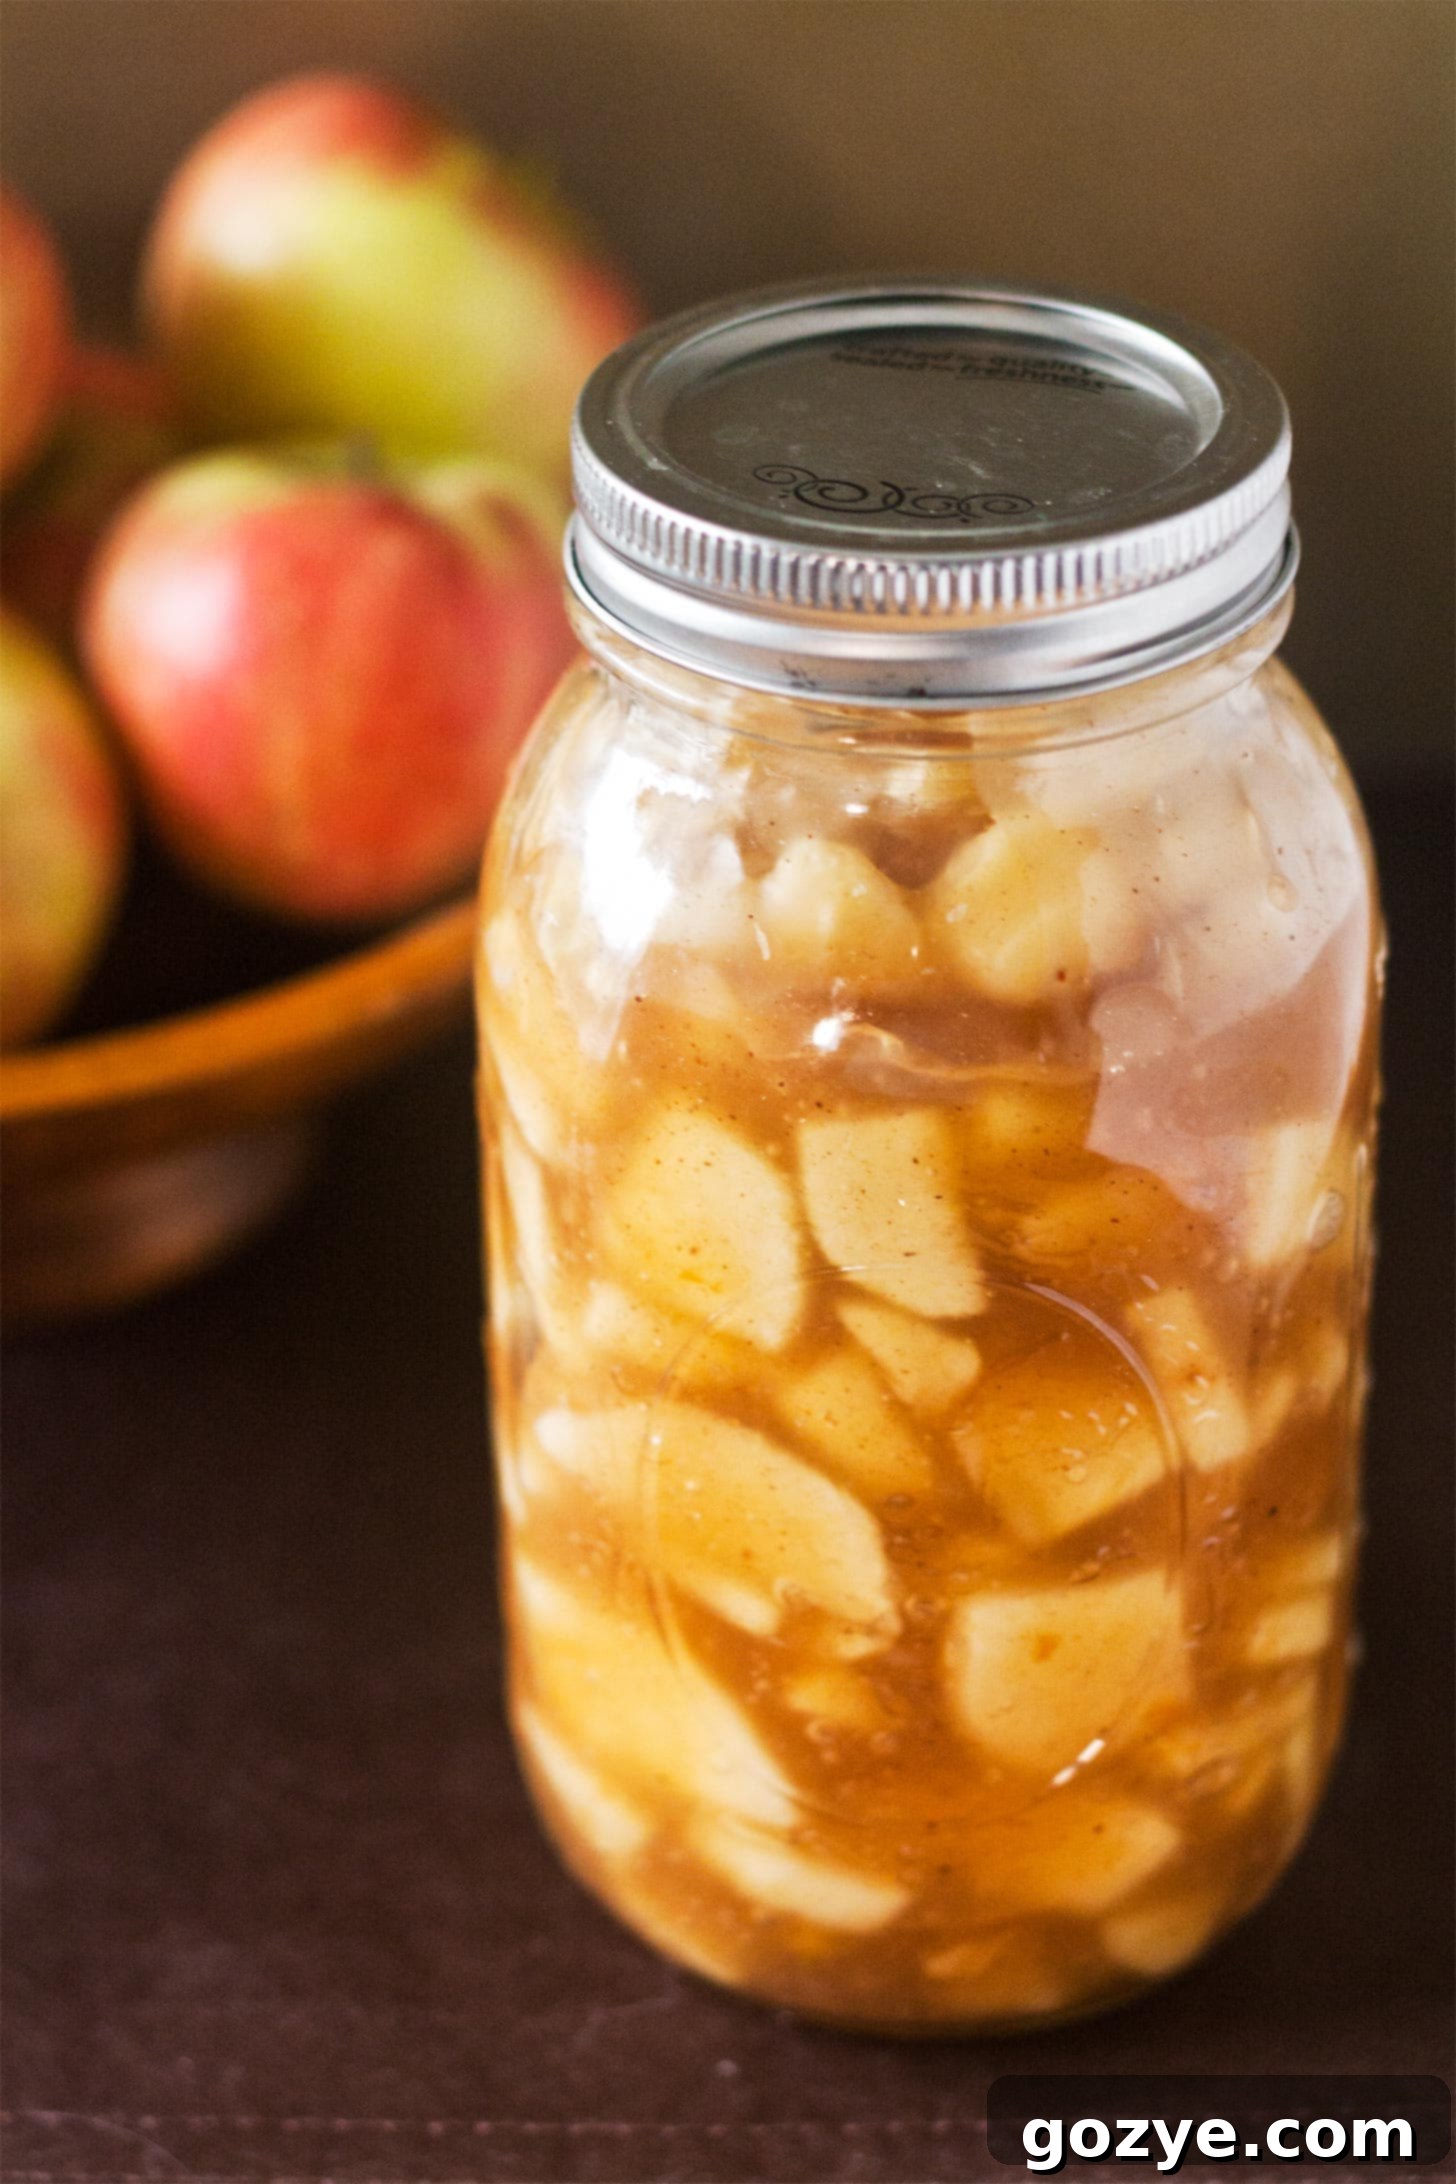
The Best Homemade Apple Pie Filling Recipe: Fresh, Flavorful & Easy from Scratch
Imagine the aroma of warm cinnamon, nutmeg, and clove filling your kitchen, mingling with the sweet scent of freshly cooked apples. That’s the magic of homemade apple pie filling. Forget those bland, overly sweet canned varieties – crafting your own apple pie filling from scratch is incredibly simple, takes just minutes, and elevates any dessert to a whole new level. Whether you’re making a classic pie, delightful apple turnovers, or a comforting crisp, this recipe is your ticket to bakery-quality flavor, without any artificial ingredients or preservatives.
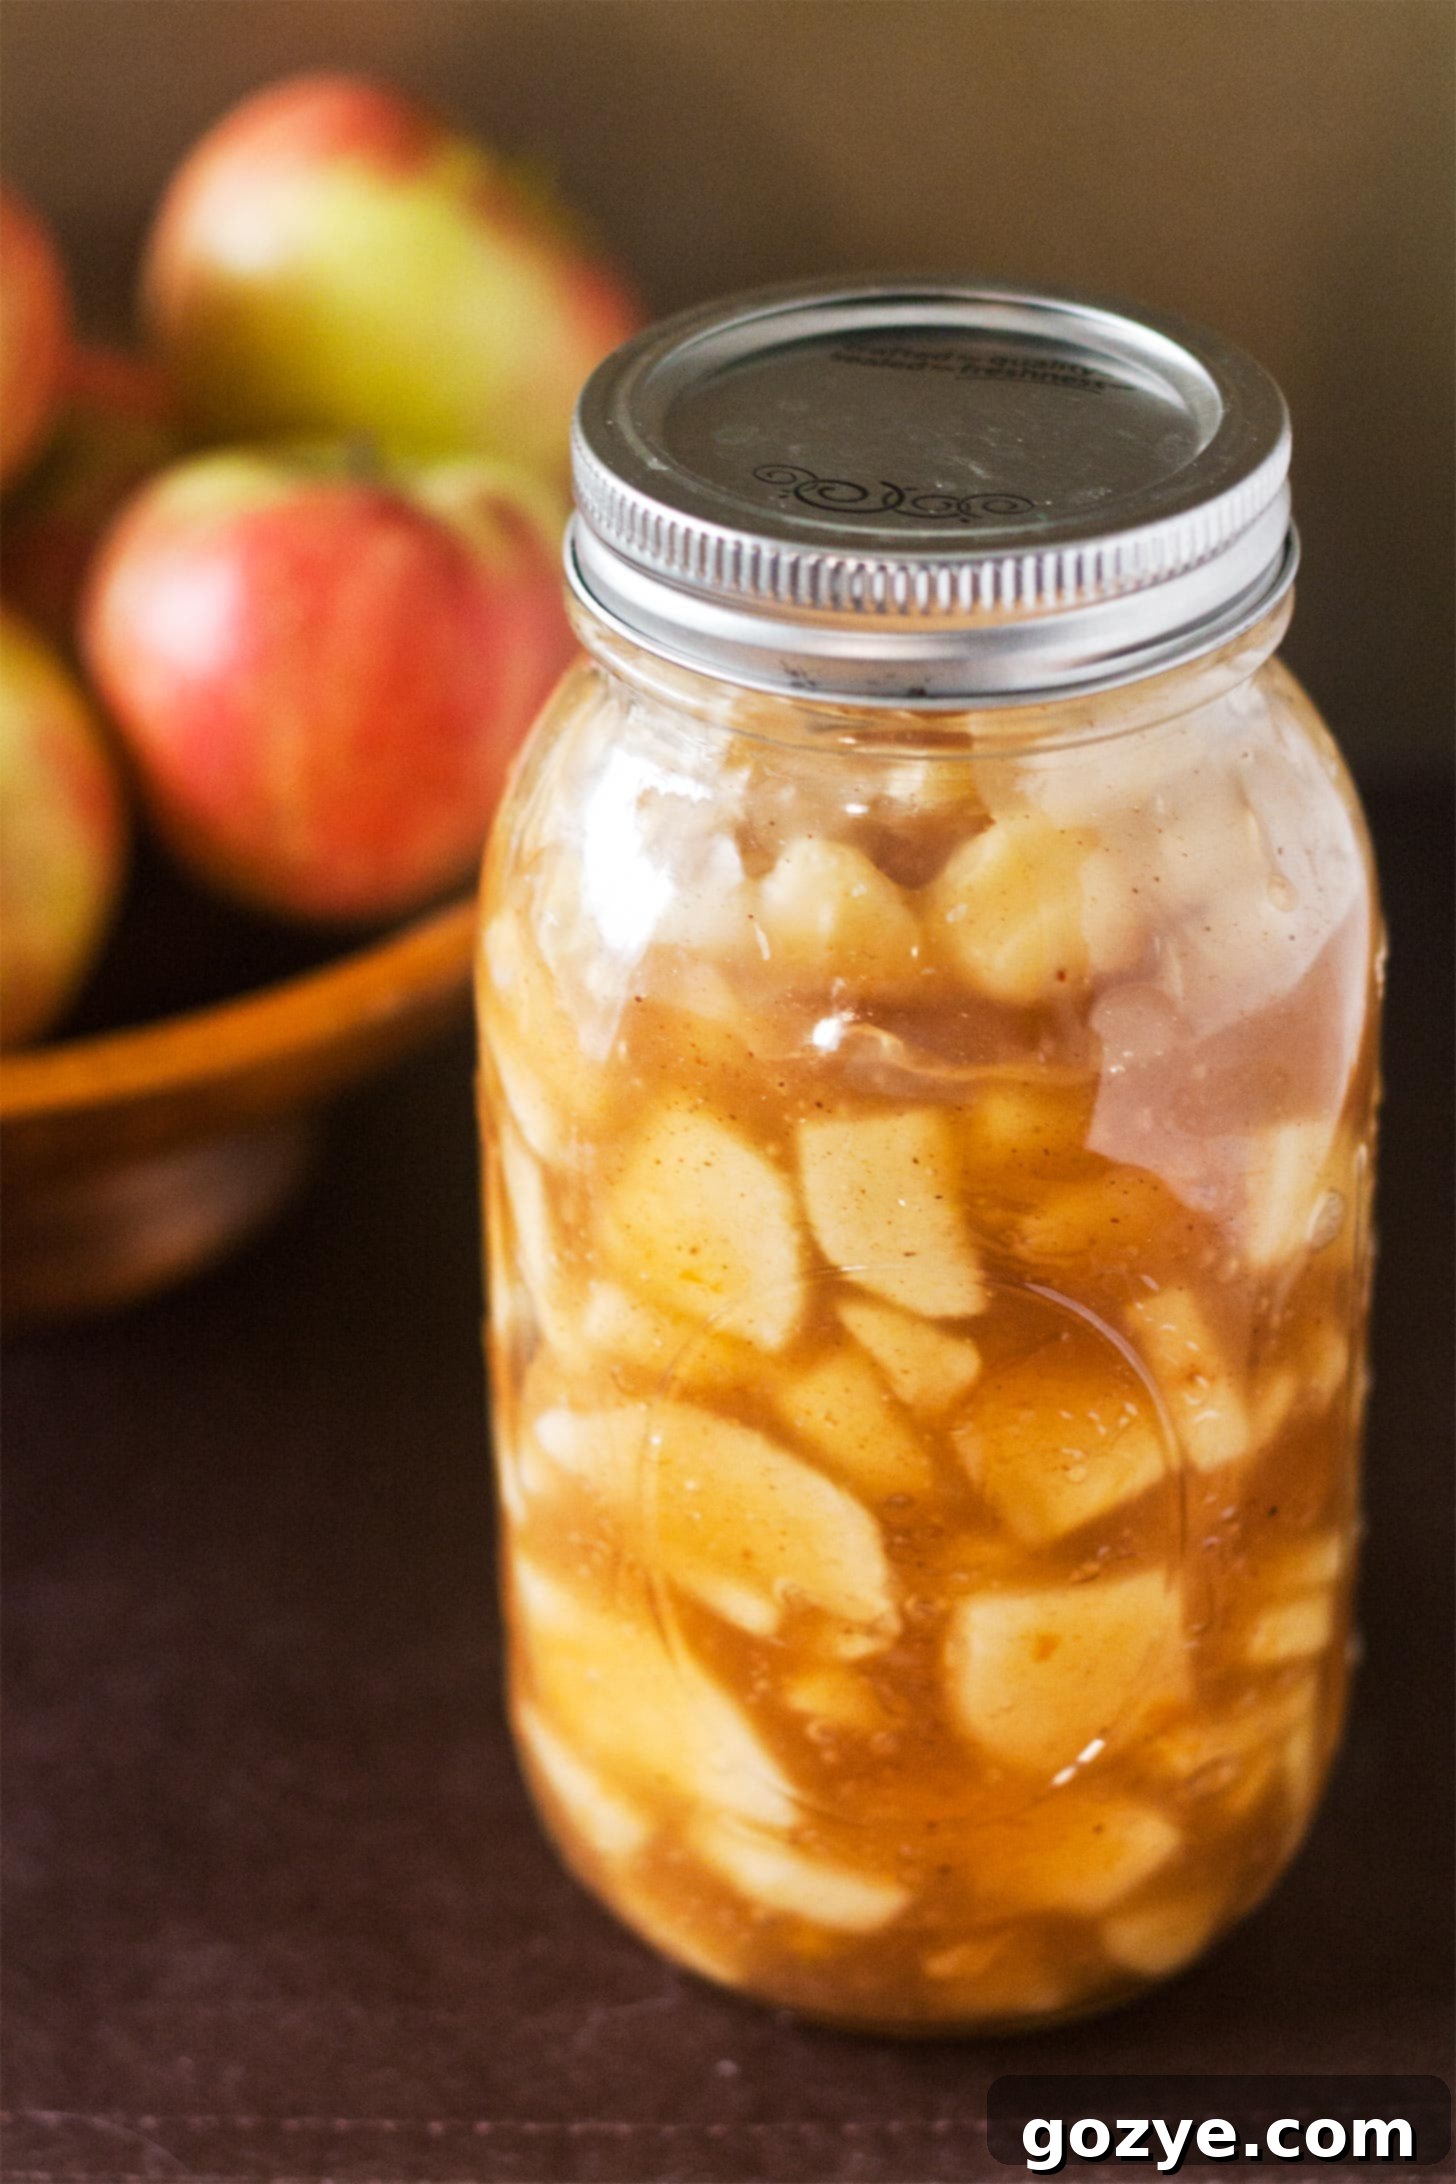
Every autumn, as the leaves begin to turn golden and crisp, my dad and I embark on our cherished tradition: apple picking at a local Pittsburgh farm. It’s a ritual that truly signals the start of fall. With baskets overflowing with ripe, juicy apples, the first thing on my mind is always this easy homemade apple pie filling. It’s a foundational recipe, much like my popular cherry pie filling, blueberry pie filling, strawberry pie filling, and peach pie filling – all designed for maximum flavor with minimal effort.
This homemade apple pie filling transforms simple apples into a warm, aromatic symphony of flavors, perfectly spiced with cinnamon, nutmeg, and clove. It’s exponentially more delicious than anything you’ll find in a can, and surprisingly, it can be ready in about 15 minutes of active cooking time. Once you try it, you’ll never go back!
As the name suggests, mastering this filling means you’re already halfway to baking a delicious, fresh homemade apple pie, nestled perfectly in a flaky pie crust. But the possibilities don’t end there! This versatile filling can be used in any recipe that calls for canned apple pie filling, from classic Apple Turnovers and charming Apple Hand Pies to decadent apple crisps and more.
You can even easily scale the recipe down for smaller treats like Mini Apple Pies or a Small Apple Pie, or use it as the star component in a cozy Apple Crisp For Two. It offers all the comforting texture of canned filling but with unparalleled freshness, and without any unwanted preservatives or high-fructose corn syrup.
In fact, the longest part of this entire process will likely be peeling and chopping your apples – the cooking itself is incredibly quick and straightforward. It truly is as easy as, well, apple pie!
Why Make Apple Pie Filling From Scratch?
If you’ve only ever used store-bought canned apple pie filling, you’re in for a delightful surprise. Making your own from scratch offers a multitude of benefits that truly elevate your baking and overall culinary experience:
- Unbeatable Fresh Flavor: Canned fillings often have a generic, sometimes artificial taste. Homemade allows the natural sweetness and tartness of fresh apples to shine through, complemented by vibrant, warm spices.
- No Artificial Preservatives or Corn Syrup: You control every ingredient, ensuring a healthier and more wholesome product. Say goodbye to unpronounceable additives!
- Customizable Sweetness and Spice: Apples vary in sweetness. With homemade, you can adjust the sugar to your preference and tweak the spice blend (more cinnamon, less clove, a pinch of allspice?) to perfectly suit your taste buds.
- Perfect Texture: Achieve the ideal balance of tender, yet still slightly firm, apple pieces suspended in a luscious, thick sauce. Canned fillings can often be mushy or overly uniform.
- Cost-Effective: Especially during peak apple season, making your own filling can be more economical than buying multiple cans of good-quality pie filling.
- Rewarding Experience: There’s immense satisfaction in creating something delicious from scratch, especially when it results in compliments on your amazing apple pie!
Essential Ingredients for Homemade Apple Pie Filling
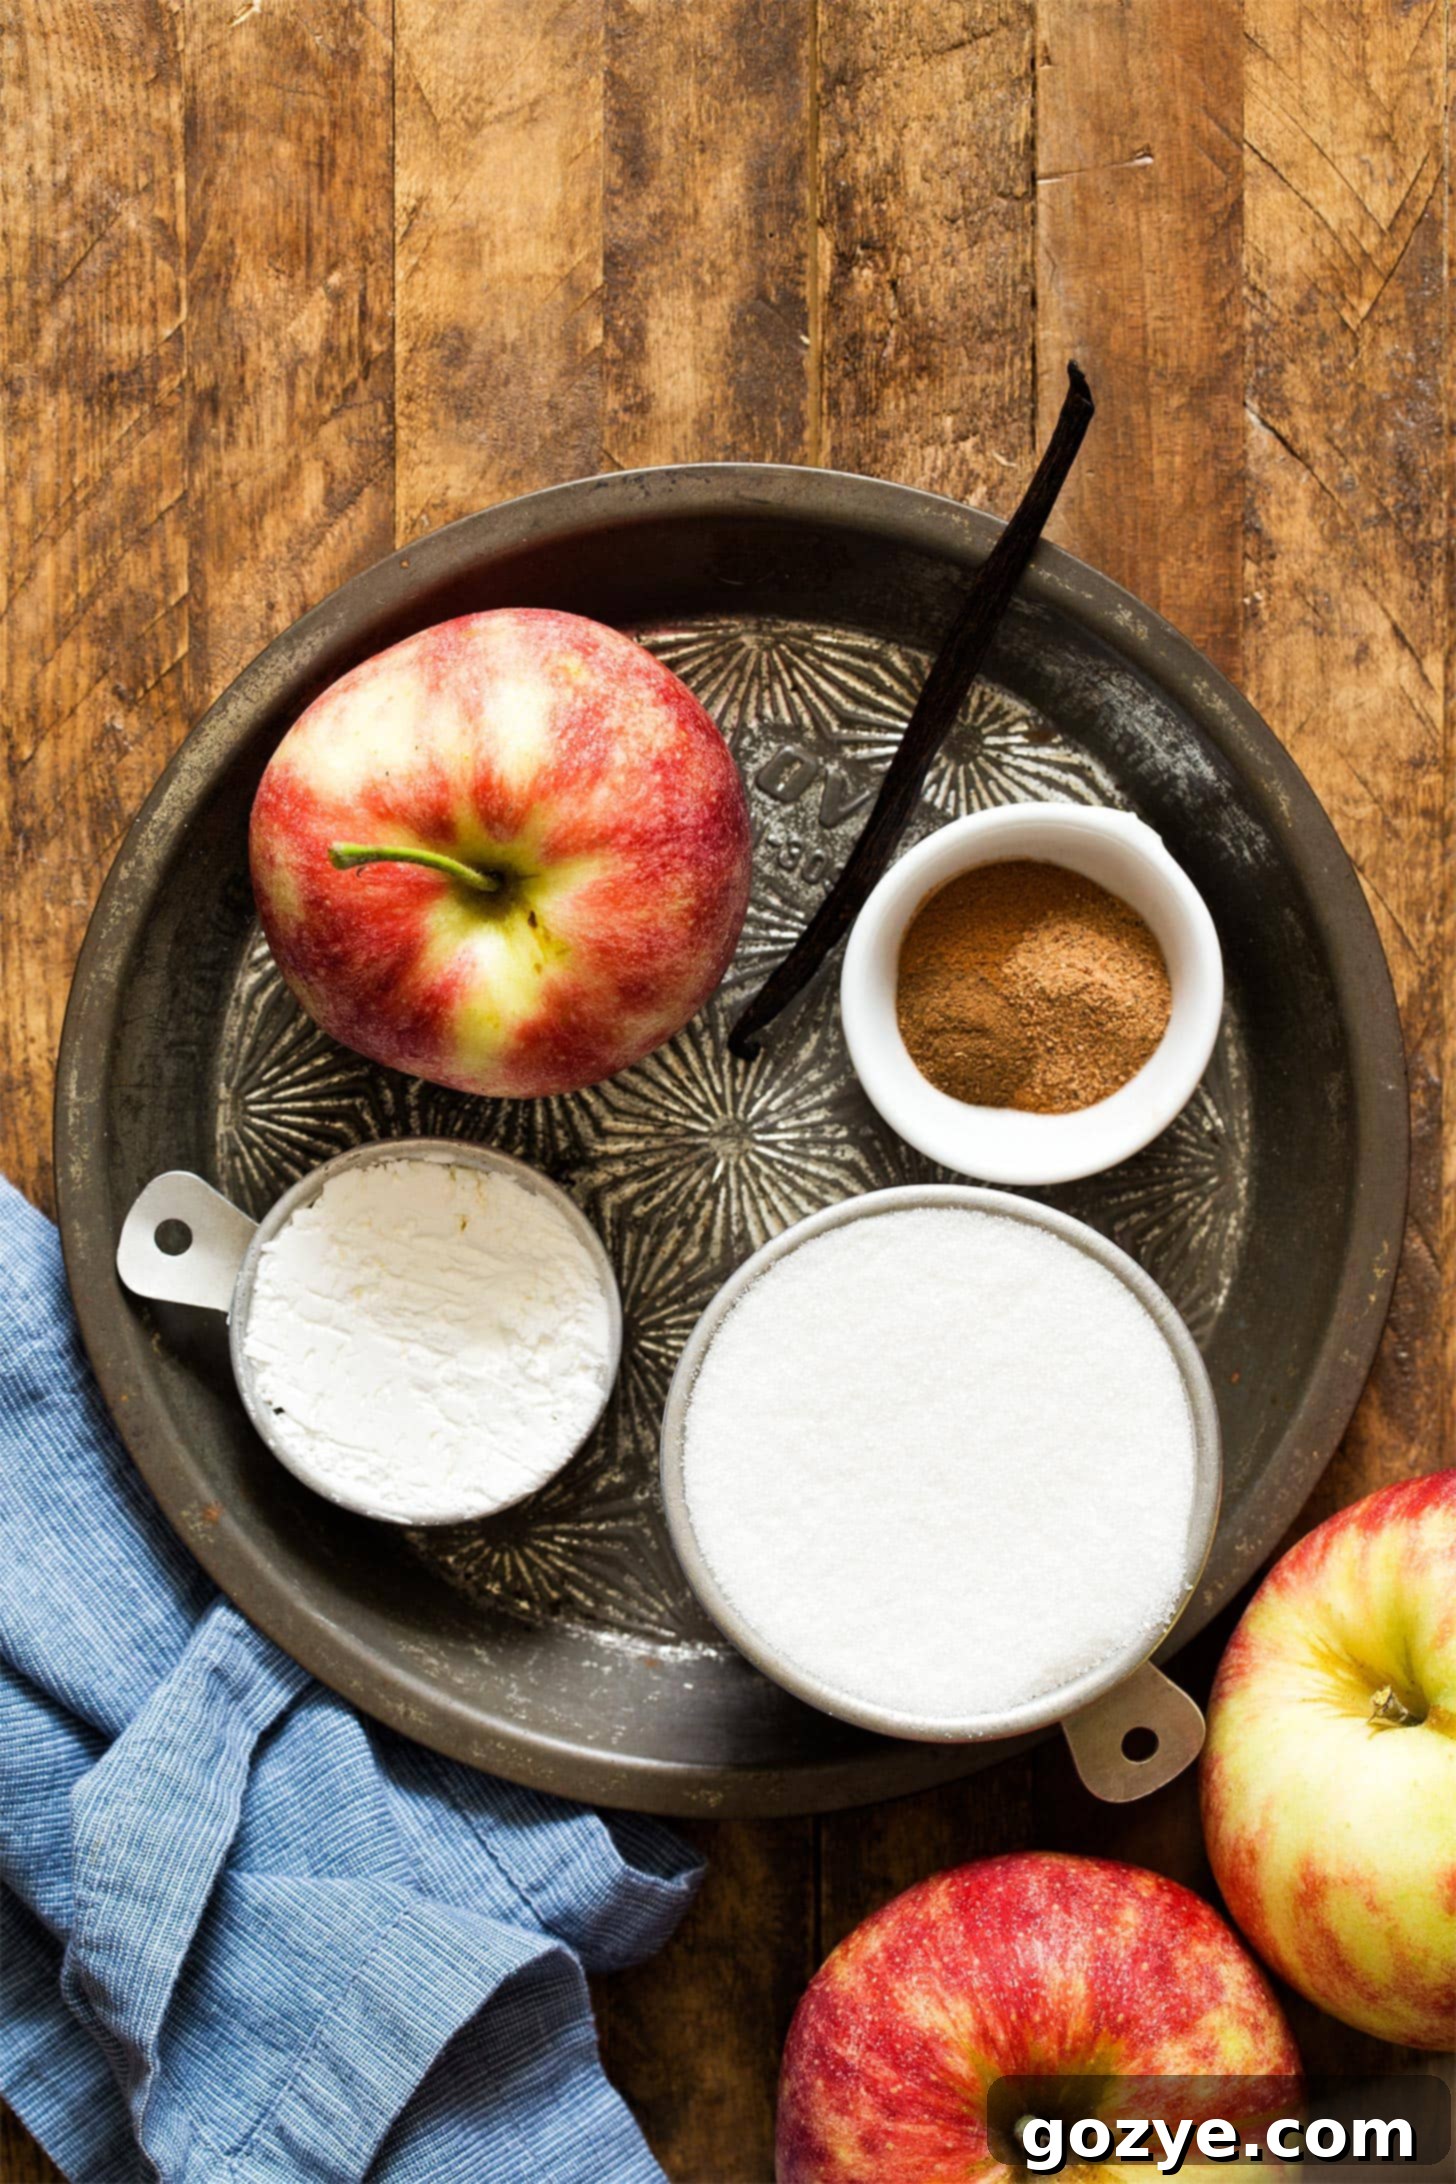
Ready to create this incredible apple pie filling from scratch? You’ll only need a few simple, wholesome ingredients:
- Apples: The star of the show! You’ll need about 5 cups of chopped, peeled apples. The type of apple you choose is crucial for flavor and texture (more on this below).
- Granulated Sugar: Even naturally sweet apples benefit from a bit of added sugar to create that classic pie filling flavor and balance any tartness. You can adjust the amount slightly based on your apple variety and personal preference.
- Water: This forms the base of our syrupy sauce. For an extra boost of apple flavor, feel free to substitute with apple cider or apple juice.
- Cornstarch: The magic thickener! Cornstarch is essential for achieving that perfectly luscious, spoonable consistency in your filling. It creates a smooth, clear sauce without imparting any flavor.
- Cinnamon, Nutmeg, and Clove: I lovingly refer to these three as the “holy trinity of baking spices” for good reason. They complement apples perfectly, adding warmth, depth, and that unmistakable apple pie aroma. Feel free to adjust their proportions or even add a pinch of allspice or ginger if you like.
- Lemon Juice: A splash of lemon juice is vital for two reasons: it brightens the overall flavor, cutting through the sweetness, and it helps prevent the apples from oxidizing and turning brown while you prepare them.
- Vanilla Extract: A touch of vanilla at the end enhances all the other flavors, adding a subtle complexity and richness that truly makes the filling sing.
Choosing the Best Apples for Pie Filling
Selecting the right apples is arguably the most critical step in making exceptional apple pie filling. You want apples that hold their shape well during cooking and offer a good balance of sweet and tart flavors. Generally, most firm baking apple varieties will work beautifully, but there’s one notable exception: Red Delicious. These apples are best enjoyed raw as a snack; they tend to turn mealy and mushy when cooked.
When you’re at the grocery store or farmer’s market, look for these excellent baking varieties:
- Fuji: Crisp, sweet, and holds its shape well. Great all-around choice.
- Gala: Sweet, juicy, and has a subtle floral note. Good for a sweeter filling.
- Jonagold: A cross between Jonathan and Golden Delicious, offering a nice balance of sweet-tart flavor and firm texture.
- Cortland: Known for not browning quickly and maintaining its shape. Mildly tart.
- Golden Delicious: Sweet and tender, it breaks down a bit more, contributing to a softer filling.
For a more complex flavor profile with a delightful tartness, consider mixing in some Granny Smith apples. Their crisp, tangy flesh provides a wonderful contrast to sweeter varieties and stands up beautifully to baking.
Pro Tip: Using a combination of 2-3 different apple varieties often yields the most interesting and delicious pie filling, blending different textures and flavor nuances.
Should You Peel Apples for Apple Pie Filling?
This is a common question, and for apple pie filling, the answer is a resounding **yes, you absolutely should peel your apples**. While leaving the skin on might seem like a time-saver or a way to add fiber, it significantly compromises the texture of your filling.
Apple skins become tough and chewy when cooked, rather than softening into the filling. Imagine biting into a slice of apple pie and encountering chewy bits of skin – it’s not the delicate, melt-in-your-mouth experience you’re hoping for. Peeling ensures a uniformly soft and tender apple filling that blends seamlessly with the luscious sauce, providing that signature smooth mouthfeel you desire in a perfect apple pie.
Don’t worry, peeling doesn’t have to be a chore! A good quality vegetable peeler makes quick work of the task. If you’re looking for expert tips on efficient peeling, you can learn how to peel apples from The Kitchn.
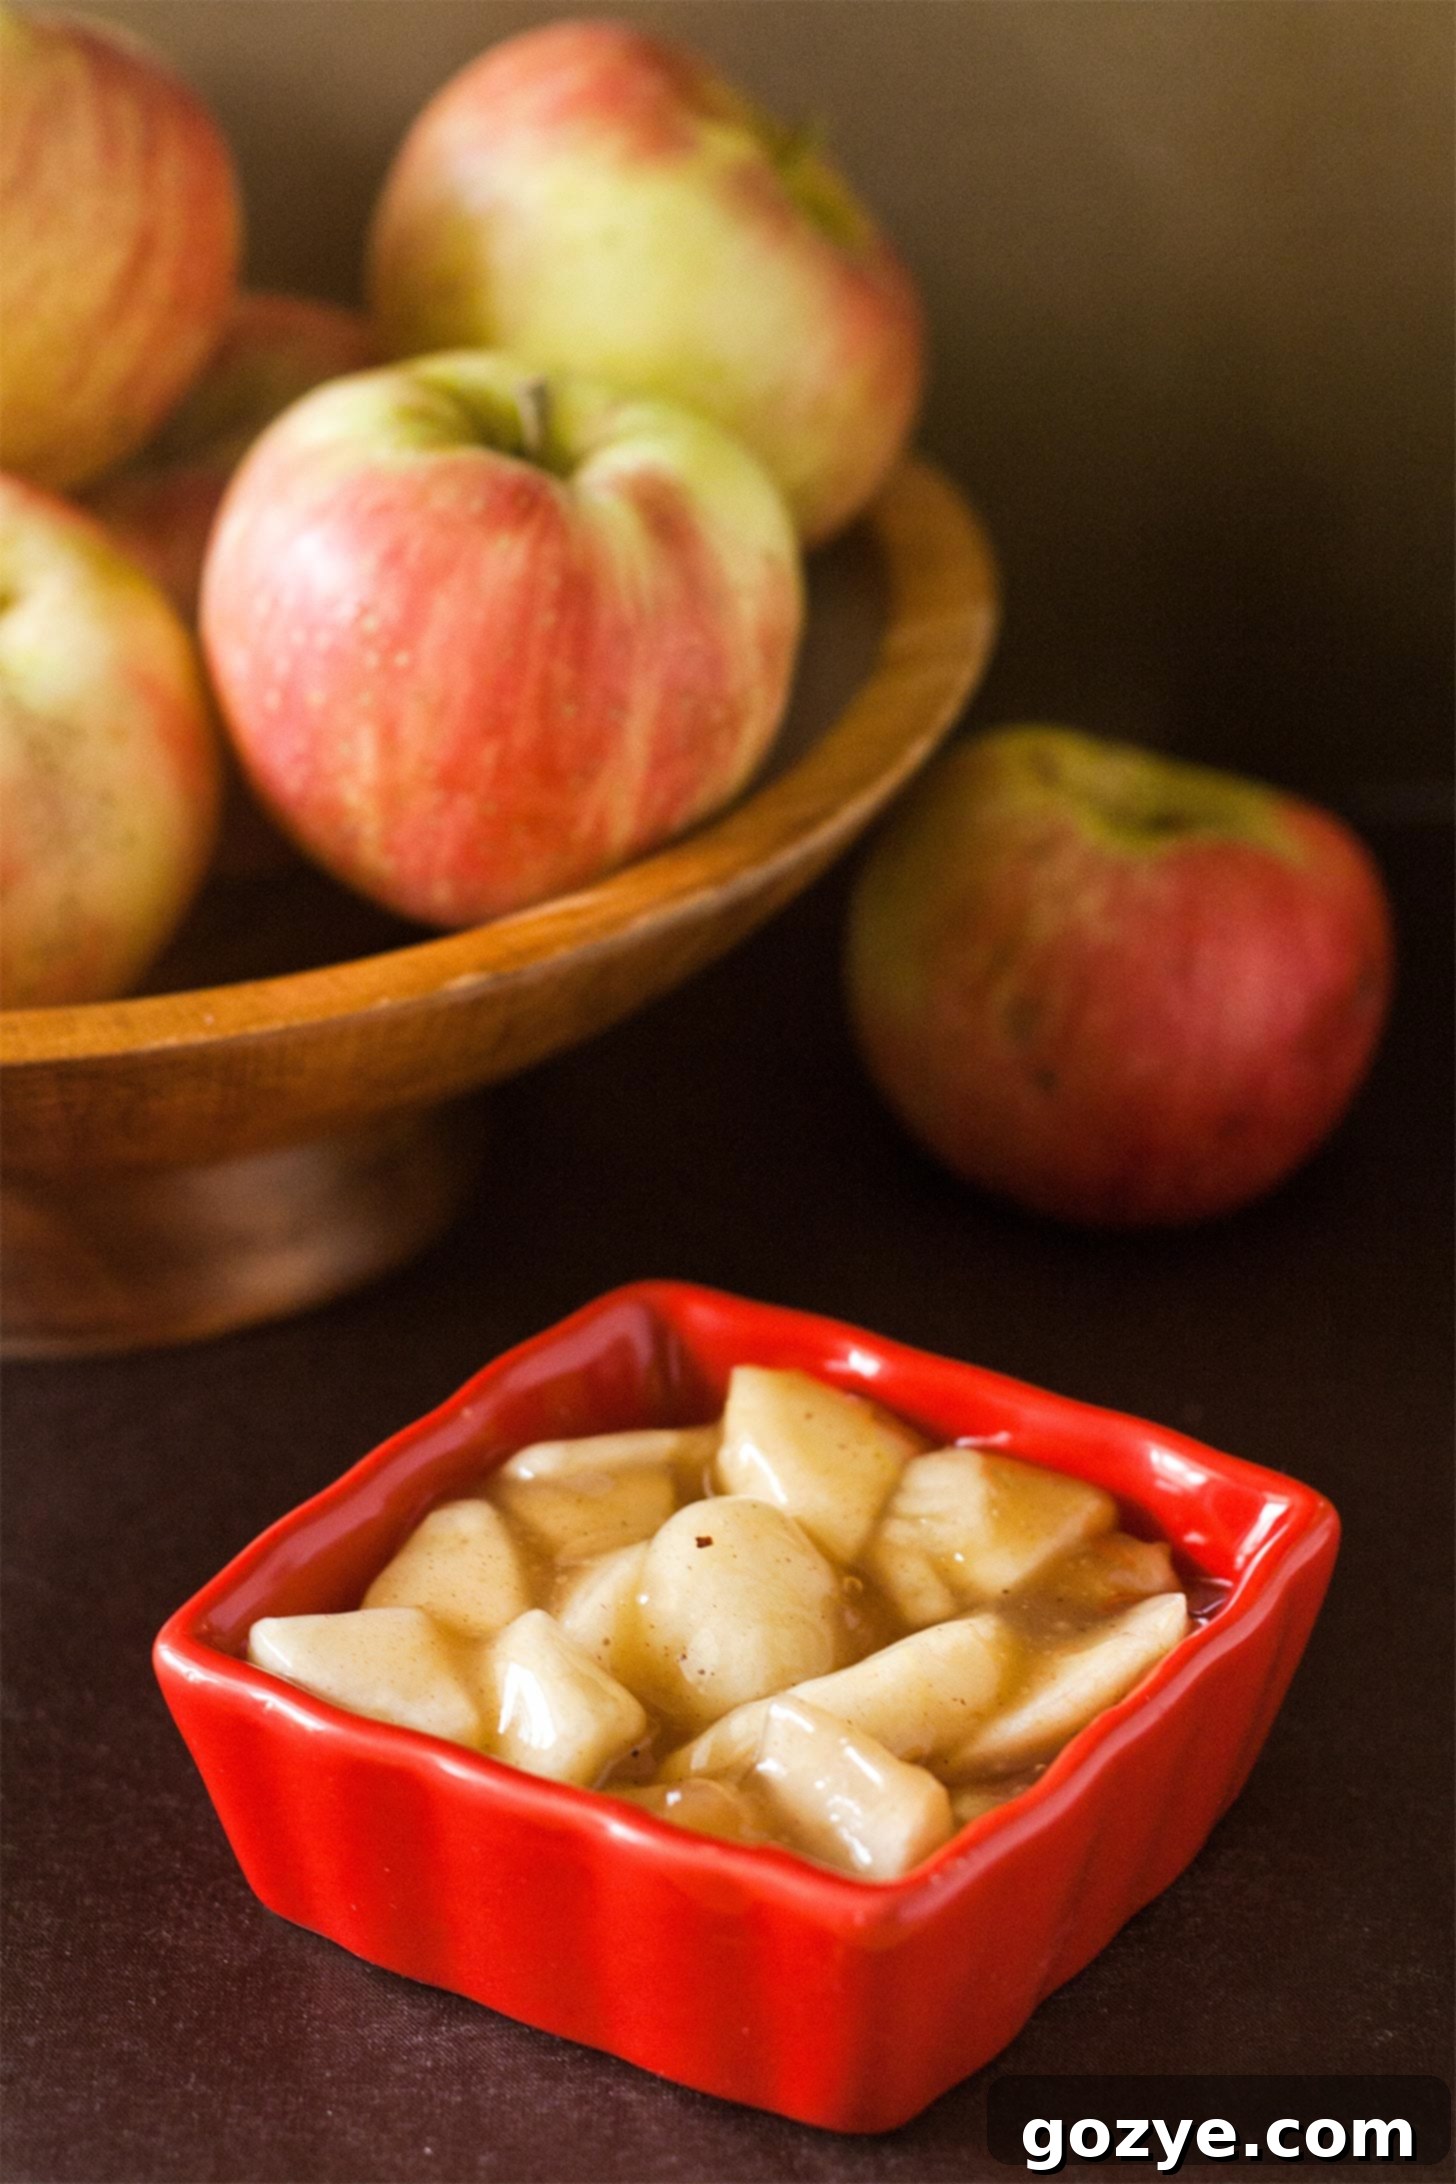
How to Make Homemade Apple Pie Filling: Step-by-Step
You’ll be amazed at how straightforward it is to create this delectable apple pie filling. It truly is almost as easy as boiling water, because that’s essentially the main cooking technique involved!
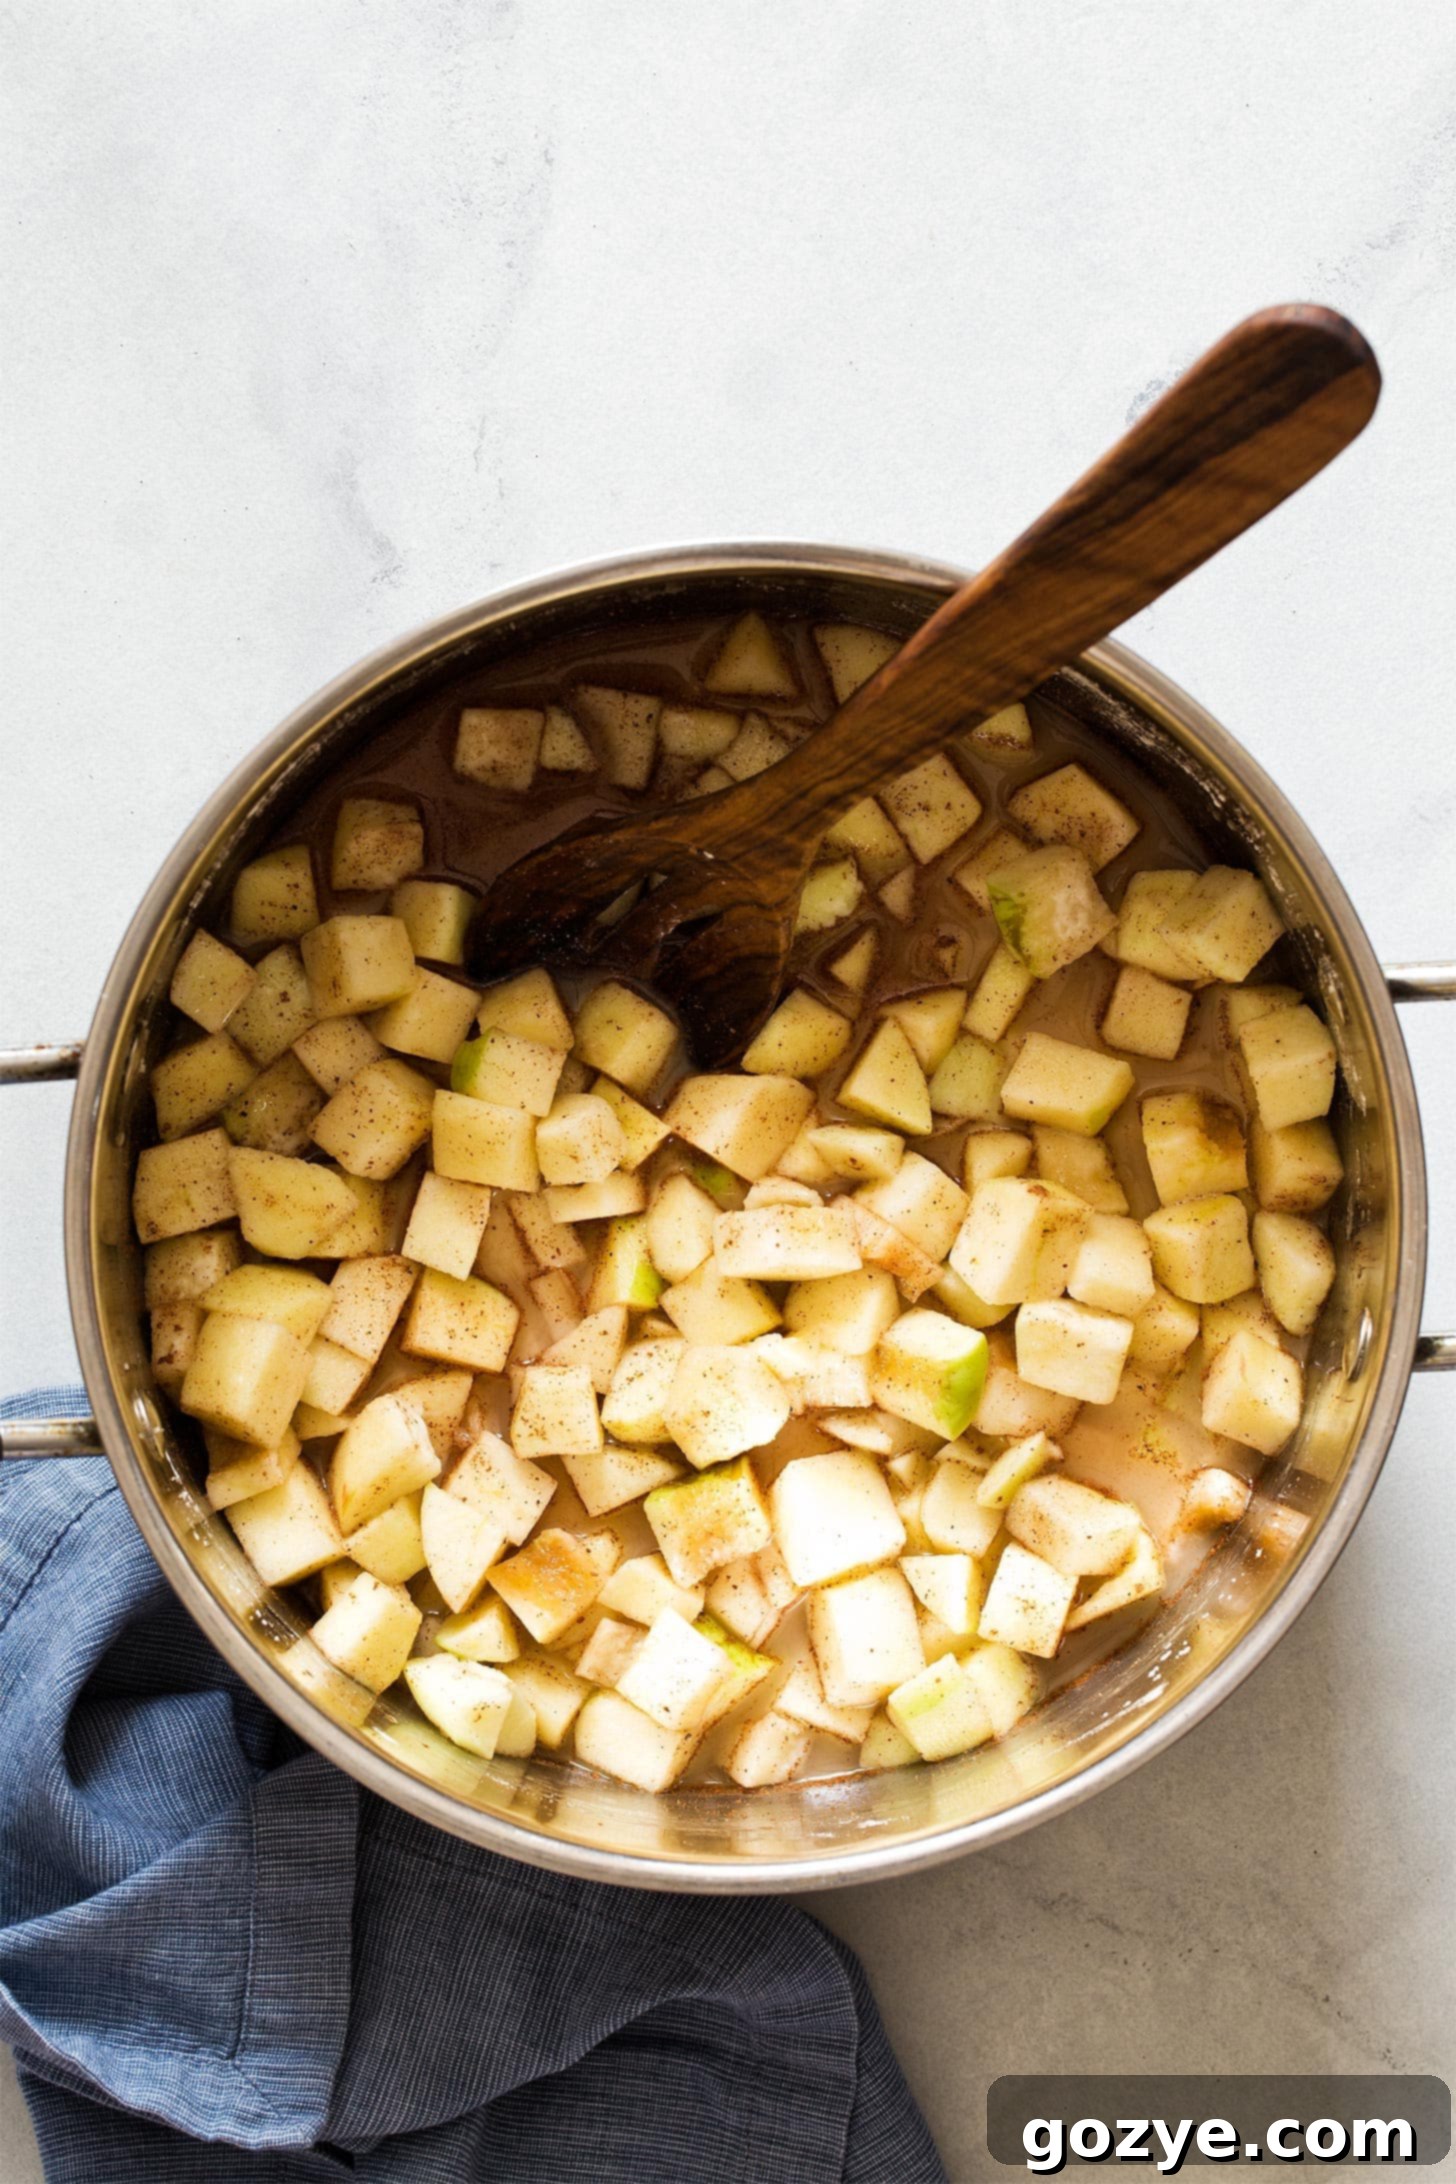
- Prepare the Apples: Start by peeling, coring, and chopping your chosen baking apples. Aim for pieces that are roughly 1/2 to 3/4 inch thick to ensure even cooking.
- Combine Ingredients: In a large, heavy-bottomed saucepan, combine the chopped apples, water (or cider/juice), granulated sugar, cornstarch, ground cinnamon, ground nutmeg, ground clove, and lemon juice. Stir everything together thoroughly until the cornstarch and spices are evenly distributed and the apples are coated.
- Bring to a Boil: Place the saucepan over medium heat. Bring the mixture to a gentle boil, stirring frequently. This is important to prevent sticking and to activate the cornstarch.
- Thicken the Filling: Once boiling, continue to stir. You’ll notice the mixture beginning to thicken rapidly, usually within 2-3 minutes, as the cornstarch works its magic. Continue stirring until it reaches a thick, syrupy consistency.
- Softening the Apples: After the filling has thickened, reduce the heat slightly and continue to cook for another 3-5 minutes. This allows the apples to soften. Remember, since you’ll likely be baking this filling again in a pie or other dessert, you don’t need to cook the apples until they are completely soft and mushy at this stage. They should still have a slight bite to them.
- Finish with Vanilla: Remove the saucepan from the heat. Stir in the vanilla extract. This adds a beautiful depth of flavor.
- Cool Down: Allow the filling to cool to room temperature before using it in any recipe or storing it. As it cools, it will thicken further.
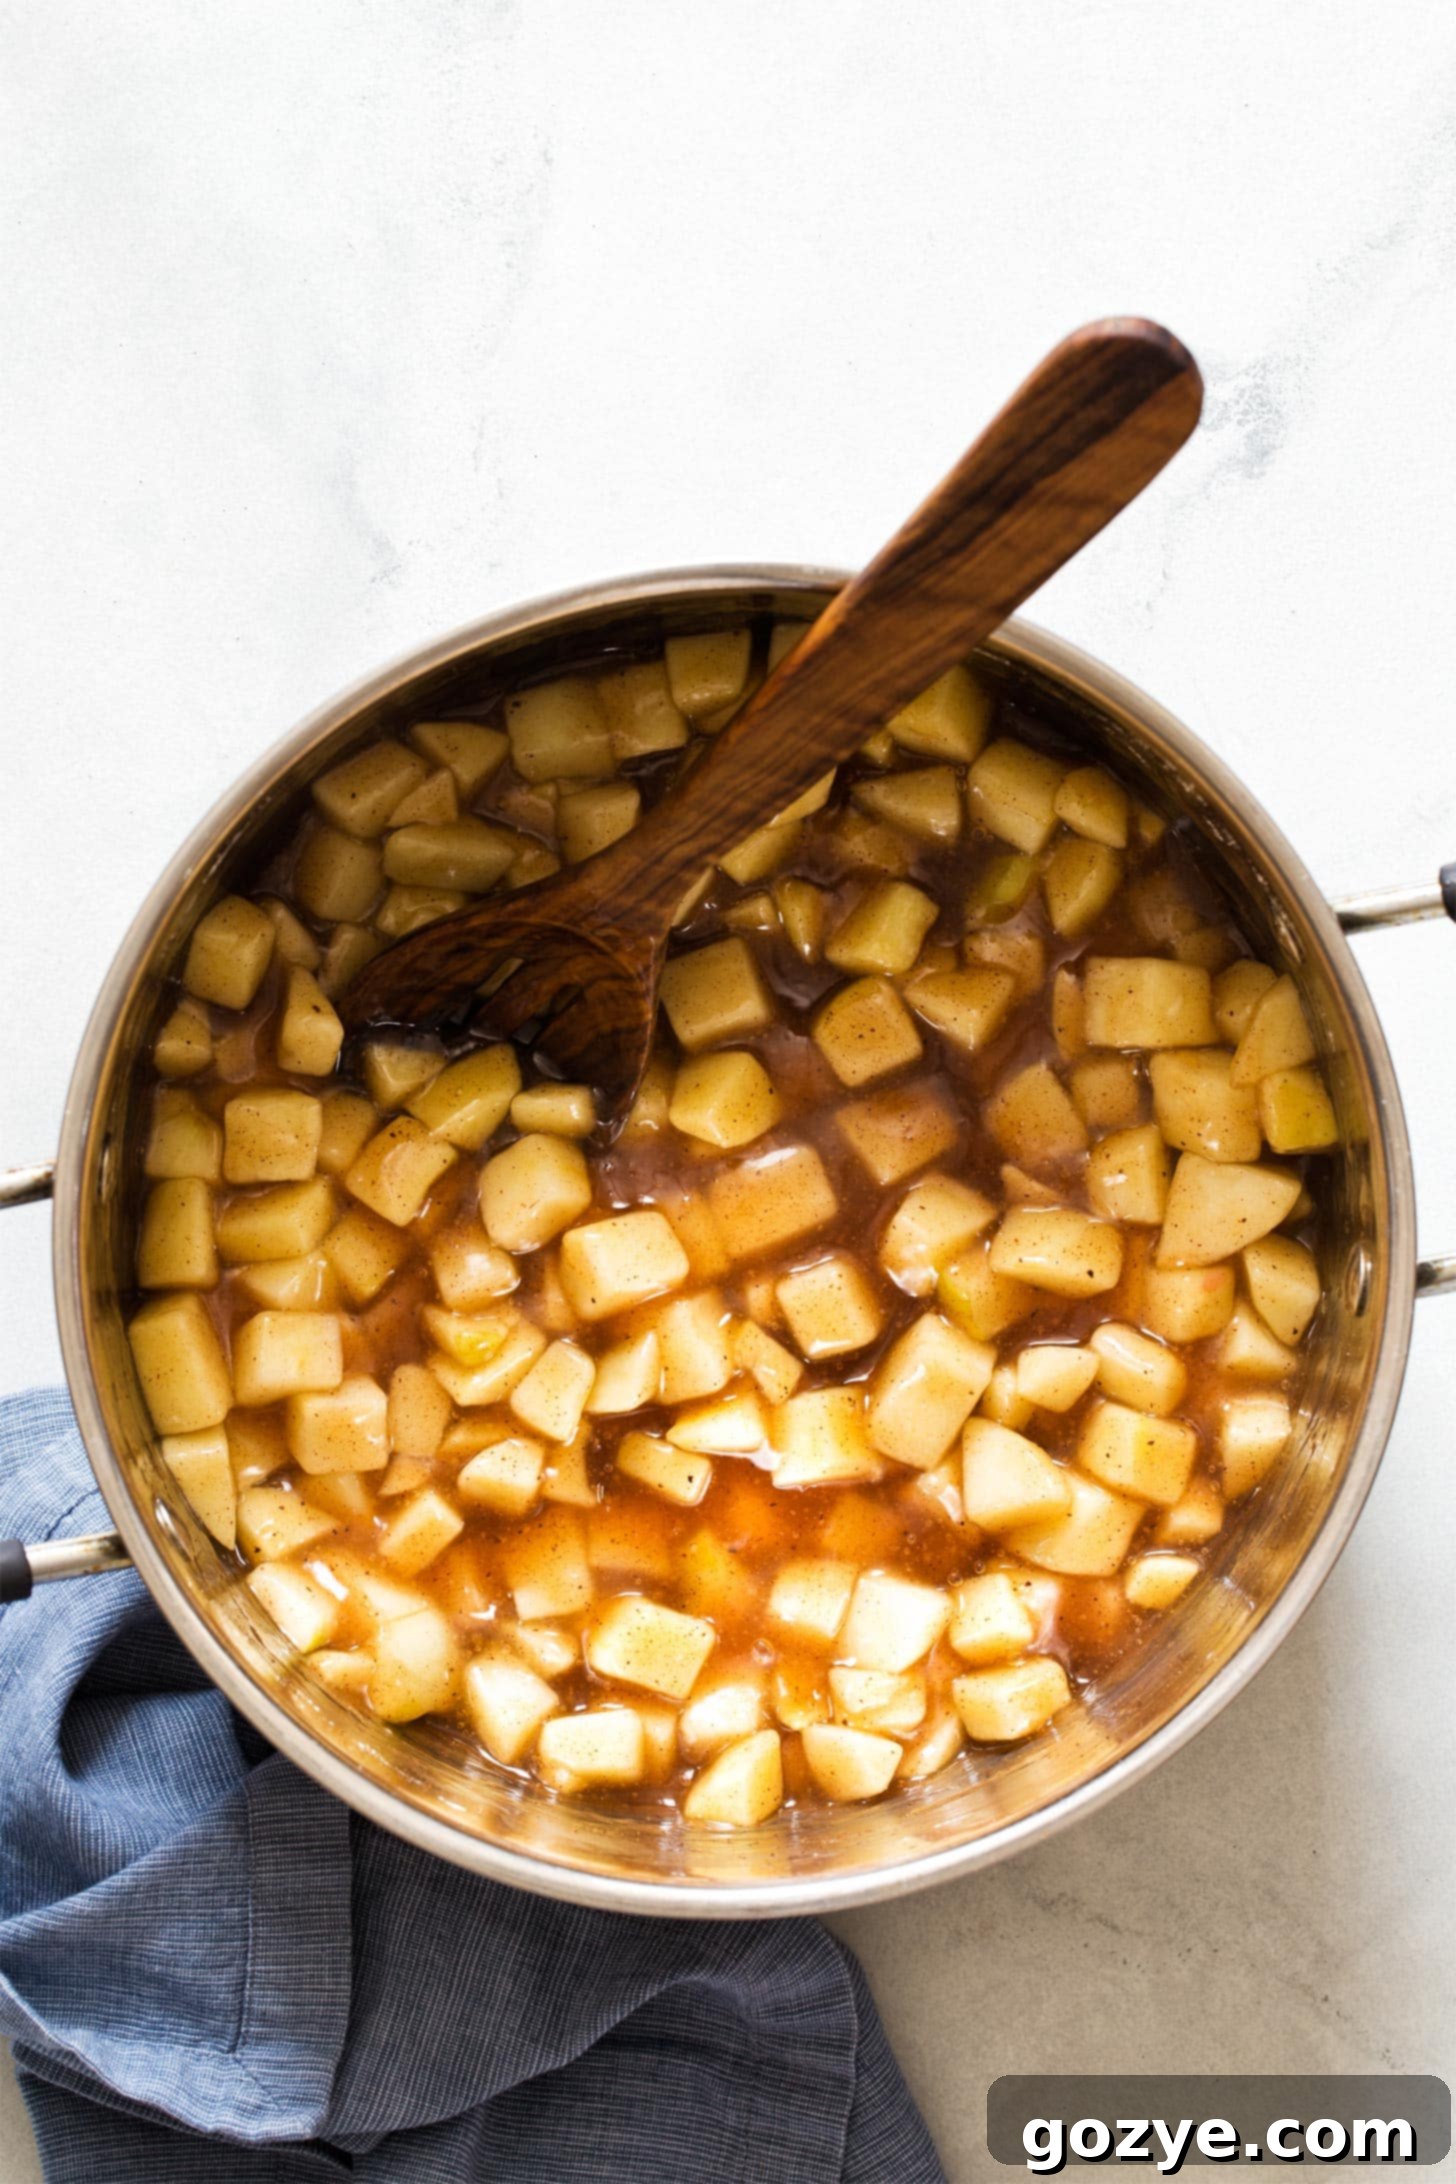
If you’re planning to serve the filling warm straight from the pan – perhaps over ice cream or as part of a parfait like my No Bake Caramel Apple Cheesecake – you might want to cook the apples for a couple of extra minutes until they reach your desired level of softness.
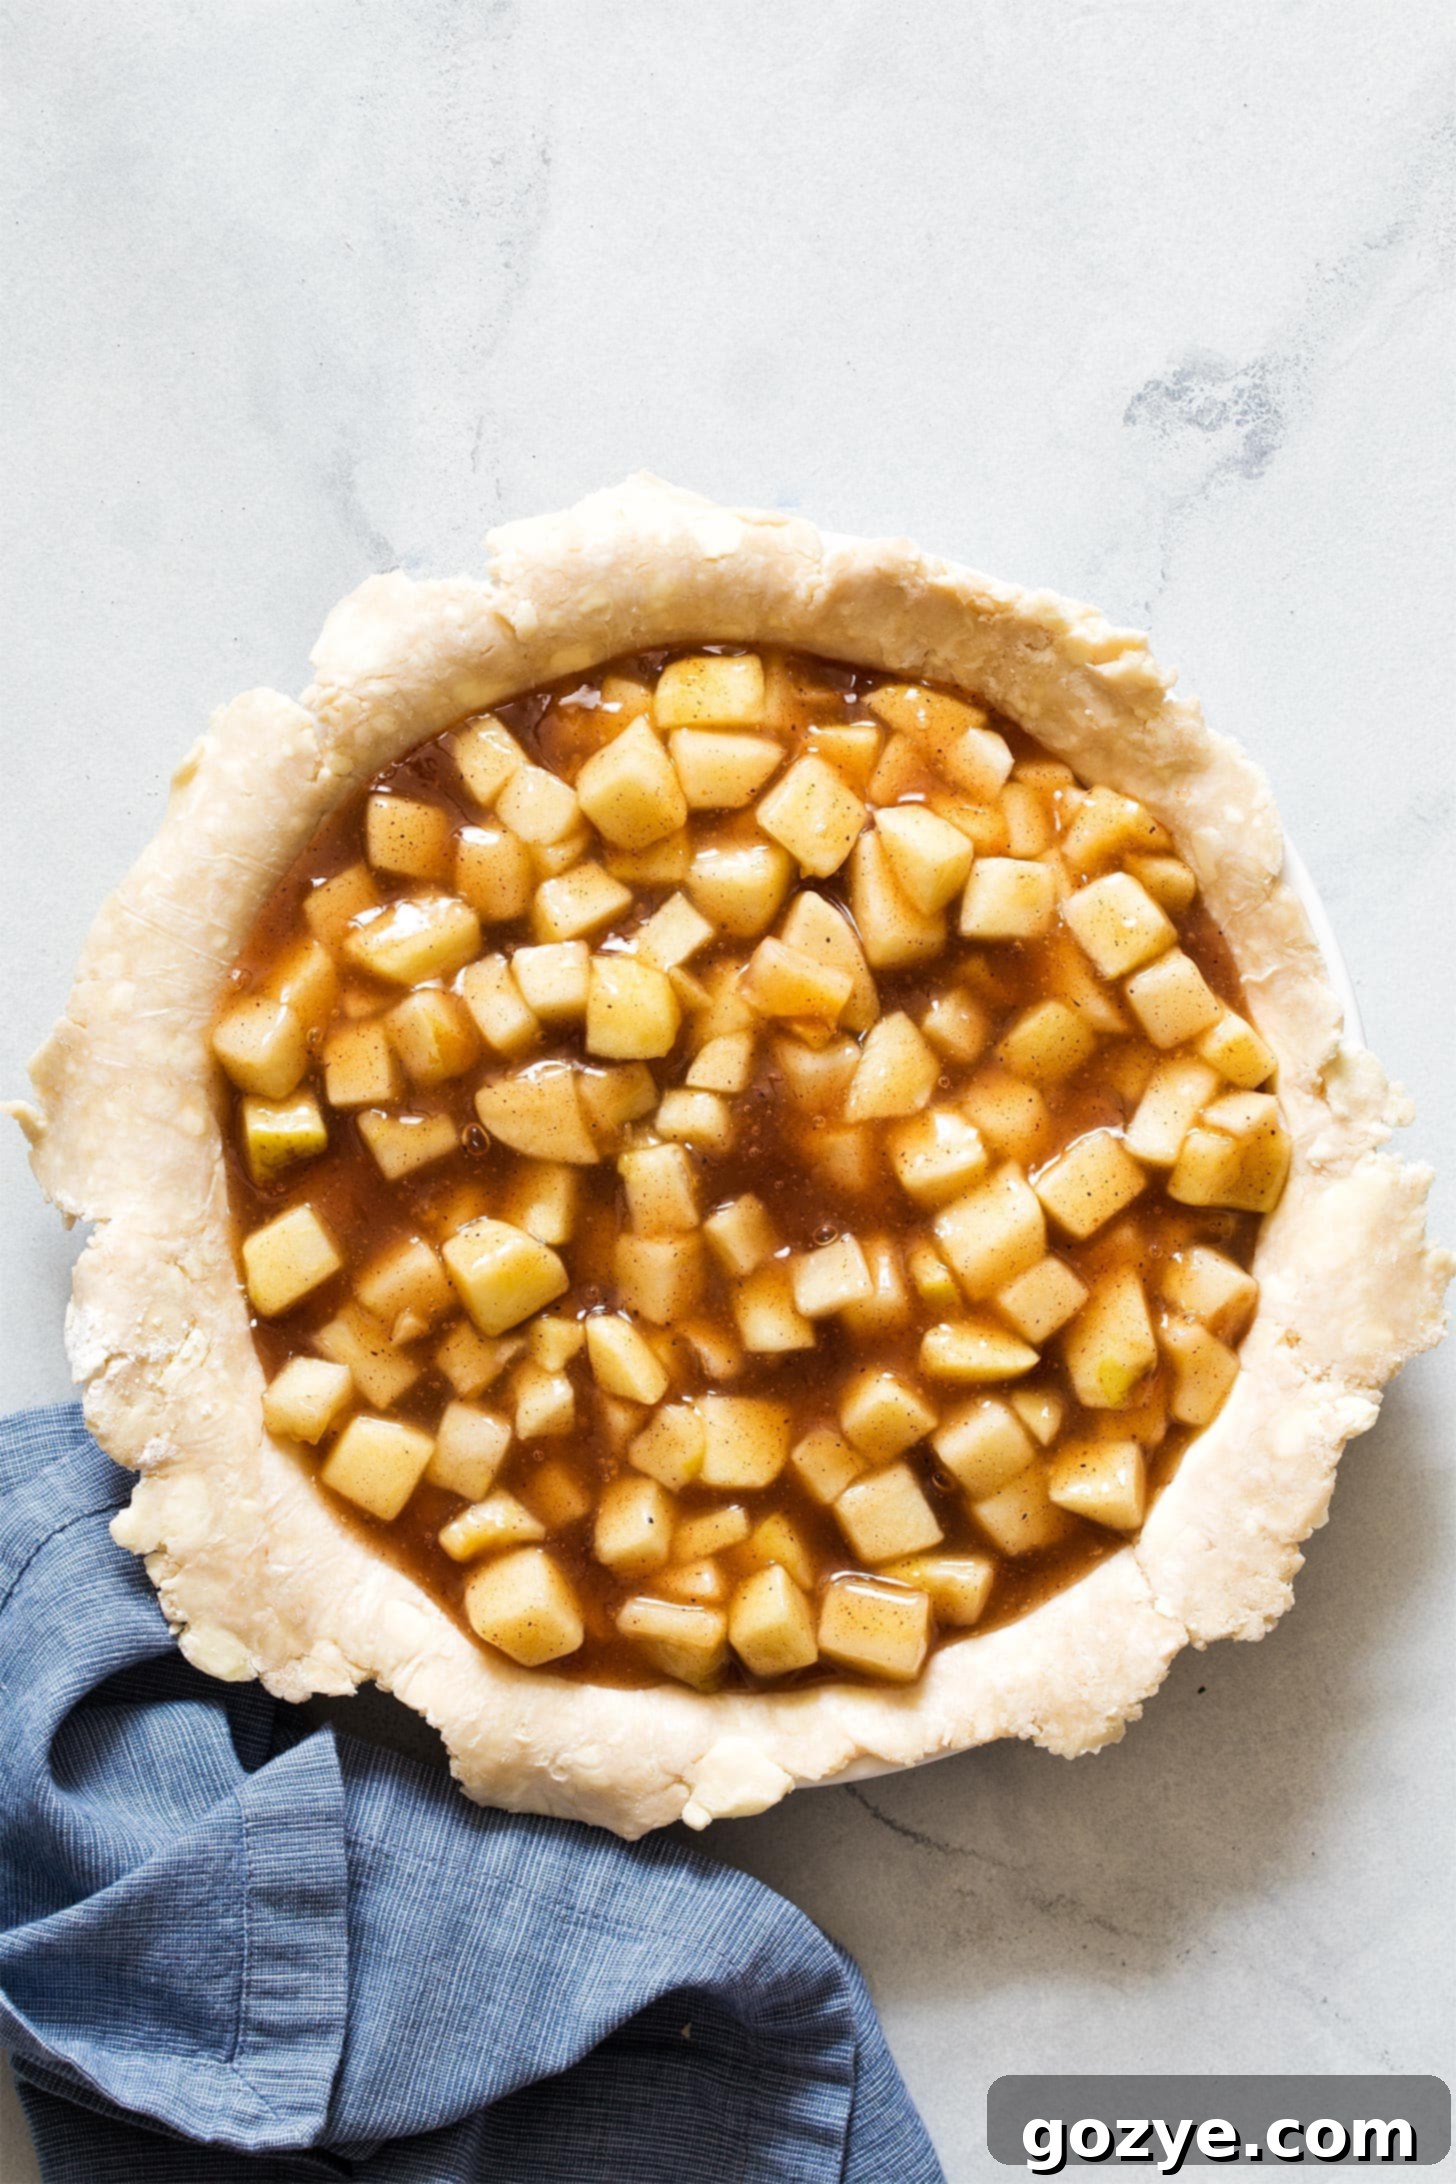
How to Use Your Freshly Made Apple Pie Filling
Now that you’ve whipped up a batch of this fantastic homemade apple pie filling, the delicious possibilities are endless! While it’s perfect for a traditional apple pie, don’t limit yourself. Here are just some ideas for how to enjoy your freshly made filling:
- Classic Apple Pie: The most obvious and beloved use! Follow the simple instructions in the recipe card below for a perfect pie.
- Apple Turnovers and Apple Hand Pies: Flaky pastry pockets filled with warm apple goodness.
- Apple Pie Crumb Bars: A delicious, shareable dessert with a crumbly topping and rich apple center.
- Apple Pie Filled Doughnuts: A truly indulgent treat, perfect for breakfast or dessert.
- Apple Crumble For Two or a larger crisp: A warm, comforting dessert with a buttery, oat topping.
- Apple Fritter Cake: Incorporate the filling into a moist, spiced cake.
- No-Bake Cheesecakes: Use it as a topping for cheesecakes, like a twist on my No Bake Blueberry Cheesecake.
- Breakfast Topping: Spoon warm filling over pancakes, waffles, oatmeal, or even Greek yogurt for a wholesome start to your day.
- Ice Cream Topping: A simple, yet incredibly satisfying dessert when warmed and spooned over vanilla ice cream.
- Baked Brie Topping: A sophisticated appetizer when paired with gooey baked brie.
Looking for even more inspiration? Dive into my full list of recipes using apple pie filling.
How to Store and Freeze Homemade Apple Pie Filling
One of the best features of this homemade apple pie filling is its excellent storage capabilities. You can make it ahead of time and store it in the refrigerator for quick desserts, or freeze it for future baking projects. This is especially handy if you’re planning for special occasions like a Thanksgiving For Two dinner and want to get a head start on your baking.
Refrigeration
Once your apple pie filling has cooled completely to room temperature, transfer it to an airtight container. It will keep beautifully in the refrigerator for up to 2 weeks. You may notice that the filling separates slightly once cold; this is completely normal due to the cornstarch. Simply transfer it to a saucepan and gently reheat over medium-low heat, stirring occasionally, until it becomes smooth and syrupy again before using.
Freezing Homemade Apple Pie Filling
Freezing your apple pie filling is a fantastic way to prep for future pies and desserts. It will maintain its quality in the freezer for up to 3 months.
There are two primary methods for freezing apple pie filling:
- Freeze in a Freezer-Safe Pie Plate (Pre-assembled Pie): This method is perfect if you know you want to bake a full pie later. Line a freezer-safe pie plate (avoid glass, as it can shatter when going from freezer to hot oven) with your favorite pie dough. Fill it with the cooled apple pie filling. Top with a second piece of pie dough, crimp the edges, and make 3-4 slits in the top crust for steam to escape. Wrap the entire pie tightly in several layers of plastic wrap, then place it into a large freezer-safe plastic bag or wrap again in aluminum foil.
- Freeze in a Pie Plate Shape (Filling Only): If you prefer to bake with fresh crust later, you can freeze just the filling in a convenient pie shape. Transfer the cooled pie filling into a large freezer-safe plastic bag (e.g., a gallon-sized bag). Place this bag inside an empty pie plate and spread the filling out so it takes on the shape of the plate. Freeze until solid. Once firm, you can remove the bag from the pie plate. Because it holds the shape of a pie, it will be easy to transfer into a fresh pie crust when you’re ready to bake. This saves freezer space too!
To Bake from Frozen: Whichever freezing method you choose, when you’re ready to bake, remove the pie or filling from the freezer. If using the pre-assembled pie, ensure the vent slits are clear (you might need to cut them again if covered by ice). Place the frozen pie directly into a preheated oven (usually around 400°F or 200°C). Baking time will be longer than for a fresh pie, typically 45-60 minutes, or until the crust is golden brown, and the filling is bubbly and reaches an internal temperature of 200°F (93°C). Tent with foil if the crust starts to brown too quickly.
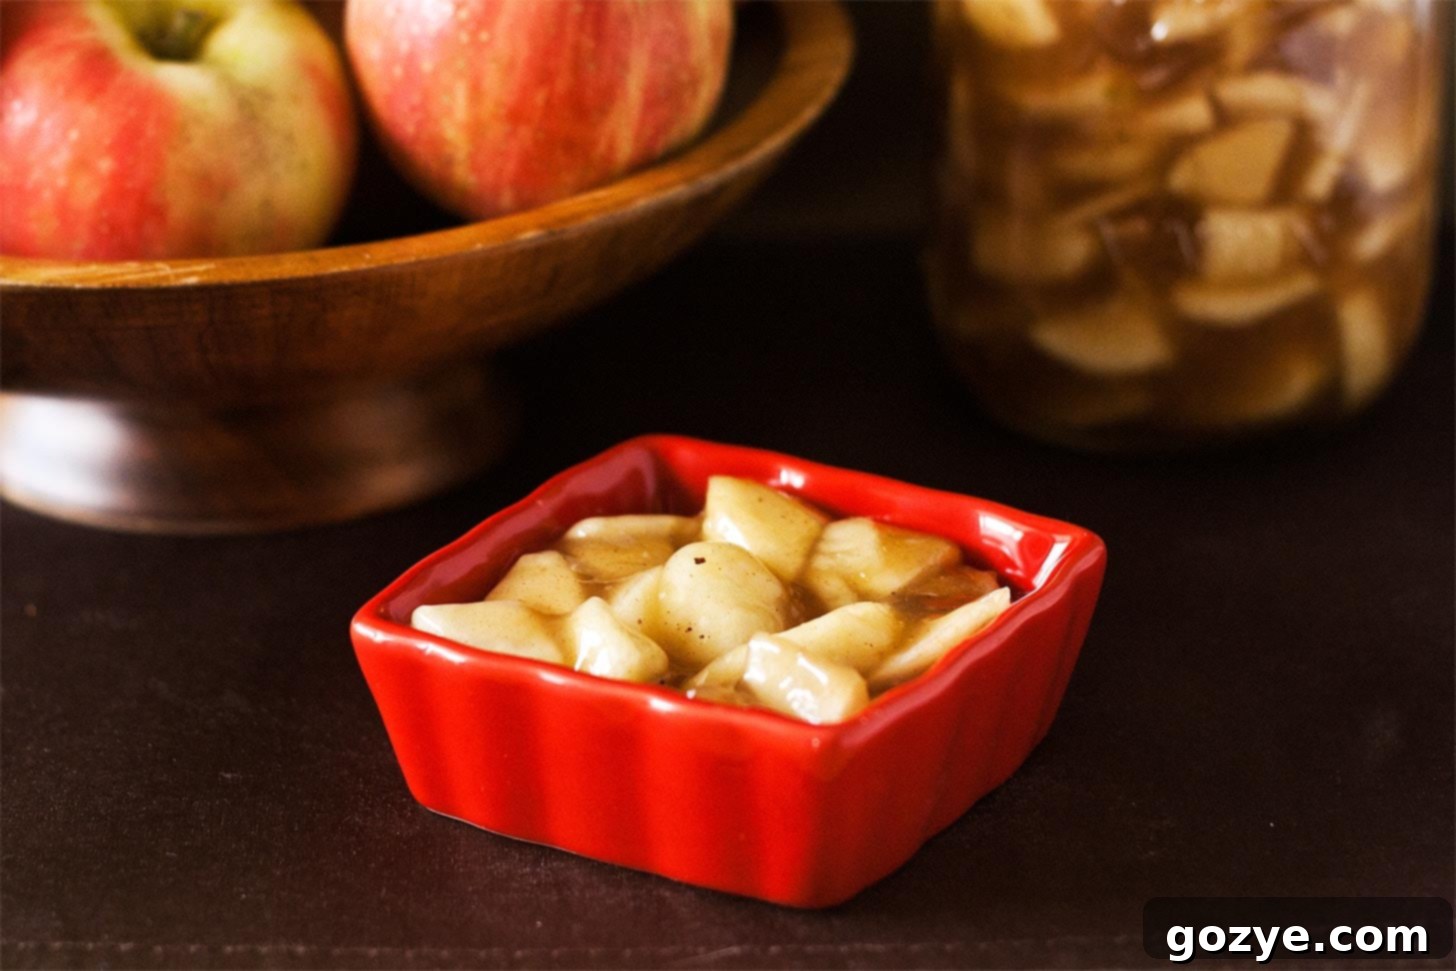
Apple Pie Filling FAQ
No, this particular recipe for apple pie filling is not suitable for traditional canning methods due to the inclusion of cornstarch as a thickener. Cornstarch can break down over time, which affects the safety and quality of the canned product, potentially allowing for bacteria growth. For safe canning, you would need a recipe specifically developed and tested for canning, typically using a different thickener like Clear Jel.
Yes, once this apple pie filling recipe has cooled to room temperature, it absolutely needs to be refrigerated to ensure its freshness and safety. Store it in an airtight container. You might notice that the filling will separate slightly and become more firm once cold; this is normal. To restore its smooth, syrupy consistency, simply transfer it to a saucepan and gently reheat over low-medium heat, stirring until it’s smooth again before serving or baking.
Absolutely! This recipe is a fantastic base for customization. If you’re particularly fond of a certain spice, feel free to increase it, or if you prefer a milder flavor, you can reduce the amounts. You can also experiment with adding other warm spices like a pinch of allspice, ground ginger, or even a tiny amount of cardamom for a unique twist. Always taste and adjust to your liking!
Yes, you can use frozen sliced apples! Thaw them completely before using, and drain any excess liquid that accumulates during thawing. Because frozen apples tend to release more water during cooking, you might need to cook the filling a little longer to achieve the desired thickness, or even add an extra teaspoon or two of cornstarch slurry if it seems too thin.
Preventing mushy apples starts with choosing the right varieties (firm baking apples like Fuji, Gala, Jonagold, or Granny Smith are best). Secondly, ensure your apple pieces are chopped uniformly and not too small. Finally, avoid overcooking them in the initial stage. Remember, they will continue to cook when baked in a pie or crisp, so a slight firmness after the initial cooking is ideal.
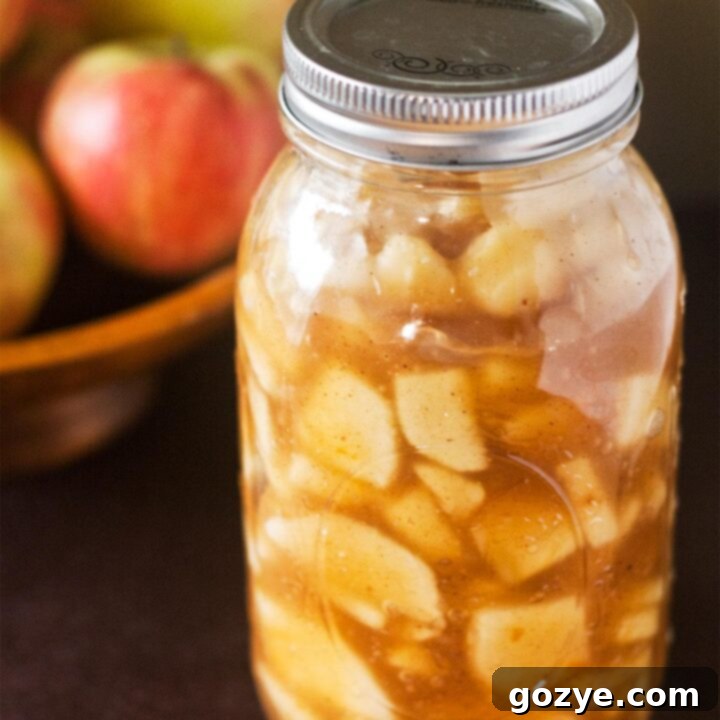
Homemade Apple Pie Filling
5 cups
20 minutes
10 minutes
30 minutes
Say goodbye to canned! Learn how to make the best Homemade Apple Pie Filling from scratch with fresh apples, warm spices, and a hint of lemon. Use it right away for pies and turnovers, or freeze it for later baking.
Ingredients
- 5 cups chopped, peeled firm baking apples (I recommend a mix of Fuji, Gala, Jonagold, or Granny Smith)
- 1 cup granulated sugar
- 1 cup water (or apple cider/juice for richer flavor)
- 1/4 cup cornstarch
- 1 teaspoon ground cinnamon
- 1/2 teaspoon ground nutmeg
- 1/4 teaspoon ground clove
- 1 tablespoon fresh lemon juice
- 1 teaspoon vanilla extract
Instructions
- In a large saucepan, combine the chopped apples, sugar, water, cornstarch, cinnamon, nutmeg, clove, and lemon juice. Stir well until all ingredients are evenly distributed. Bring the mixture to a boil over medium heat, stirring frequently. Cook until the mixture thickens to a syrupy consistency, about 2-3 minutes after boiling.
- Once thickened, continue to cook for another 3-5 minutes, stirring, until the apples begin to soften but still retain a slight bite. Remove the saucepan from the heat and stir in the vanilla extract. Cool the filling completely to room temperature before using or storing.
Storage Notes:
- This recipe is not suitable for canning due to the cornstarch, which breaks down over time. Store cooled filling in an airtight container in the refrigerator for up to 2 weeks. The filling may separate when refrigerated; simply reheat gently in a saucepan, stirring until smooth again.
To Make An Apple Pie:
- Preheat your oven to 400°F (200°C). Line a 9-inch pie plate with your favorite pie dough (homemade or store-bought). Fill with the cooled apple pie filling. Top with a second 9-inch pie crust, making 3-4 slits in the top to allow steam to escape. Brush the top crust with an egg wash (1 egg beaten with 1 tbsp water) for a golden finish.
- Place the pie on a baking sheet (to catch any potential spills) and bake for 45-55 minutes, or until the crust is golden brown, the filling is bubbly, and the internal temperature reaches 200°F (93°C). If the crust browns too quickly, tent loosely with aluminum foil. Cool completely on a wire rack before slicing and serving.
Notes
- Beyond classic pie, use your versatile filling in recipes like Small Apple Pies, Mini Apple Pies For Two, Apple Turnovers, Apple Hand Pies, or as a topping for pancakes, waffles, and ice cream.
- Looking for more delicious fruit fillings? Explore my recipes for peach pie filling, blueberry pie filling, strawberry pie filling, and cherry pie filling.
Recommended Products
As an Amazon Associate and member of other affiliate programs, I earn from qualifying purchases.
- Apple Corer
- Peeler
Did you make this recipe?
Let me know what you think! Rate the recipe above, leave a comment below, and/or share a photo on Instagram using #HITKrecipes
Originally published September 20, 2012, this post has been updated with enhanced details, more comprehensive instructions, and additional tips to make your homemade apple pie filling experience even better.
Embrace the Joy of Homemade Apple Pie Filling
Making your own apple pie filling is a rewarding experience that guarantees superior flavor, customizable ingredients, and endless possibilities for delicious desserts. With its warm spices and tender apples, this recipe is a testament to the fact that homemade is always best. Whether you’re a seasoned baker or just starting, this easy-to-follow guide will help you create a filling that will impress everyone and become a staple in your fall baking traditions. So grab those apples, gather your spices, and get ready to enjoy the rich, comforting taste of truly homemade apple pie!
