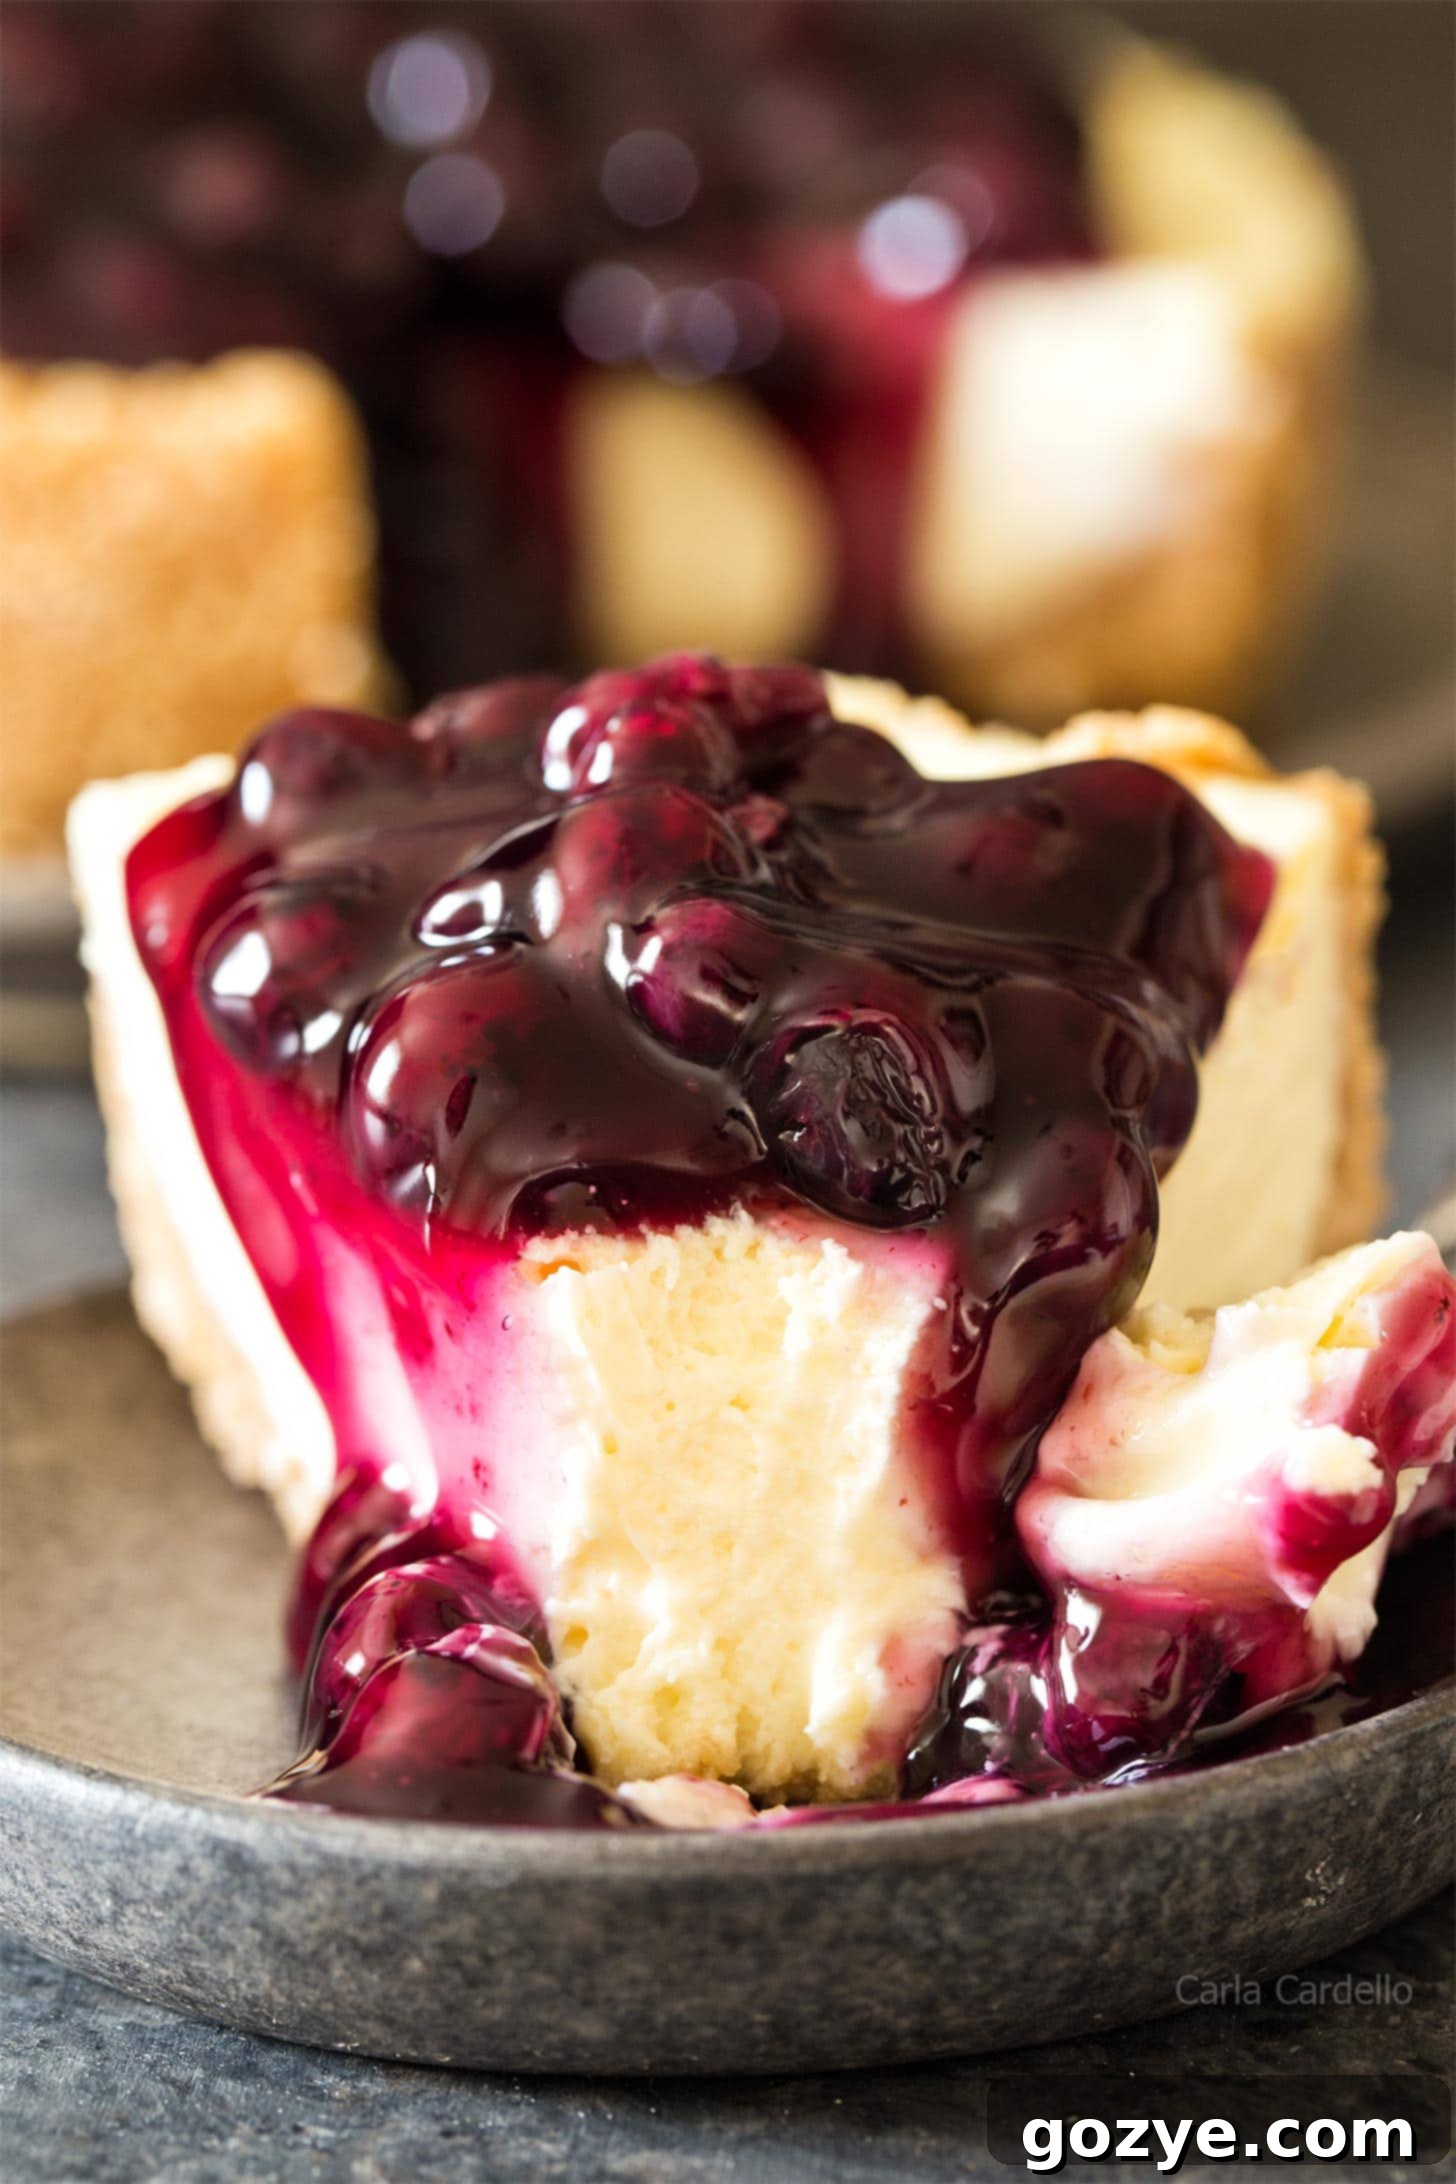
Perfect 7-Inch Cheesecake Recipe: Creamy, Small Batch Perfection for Any Occasion
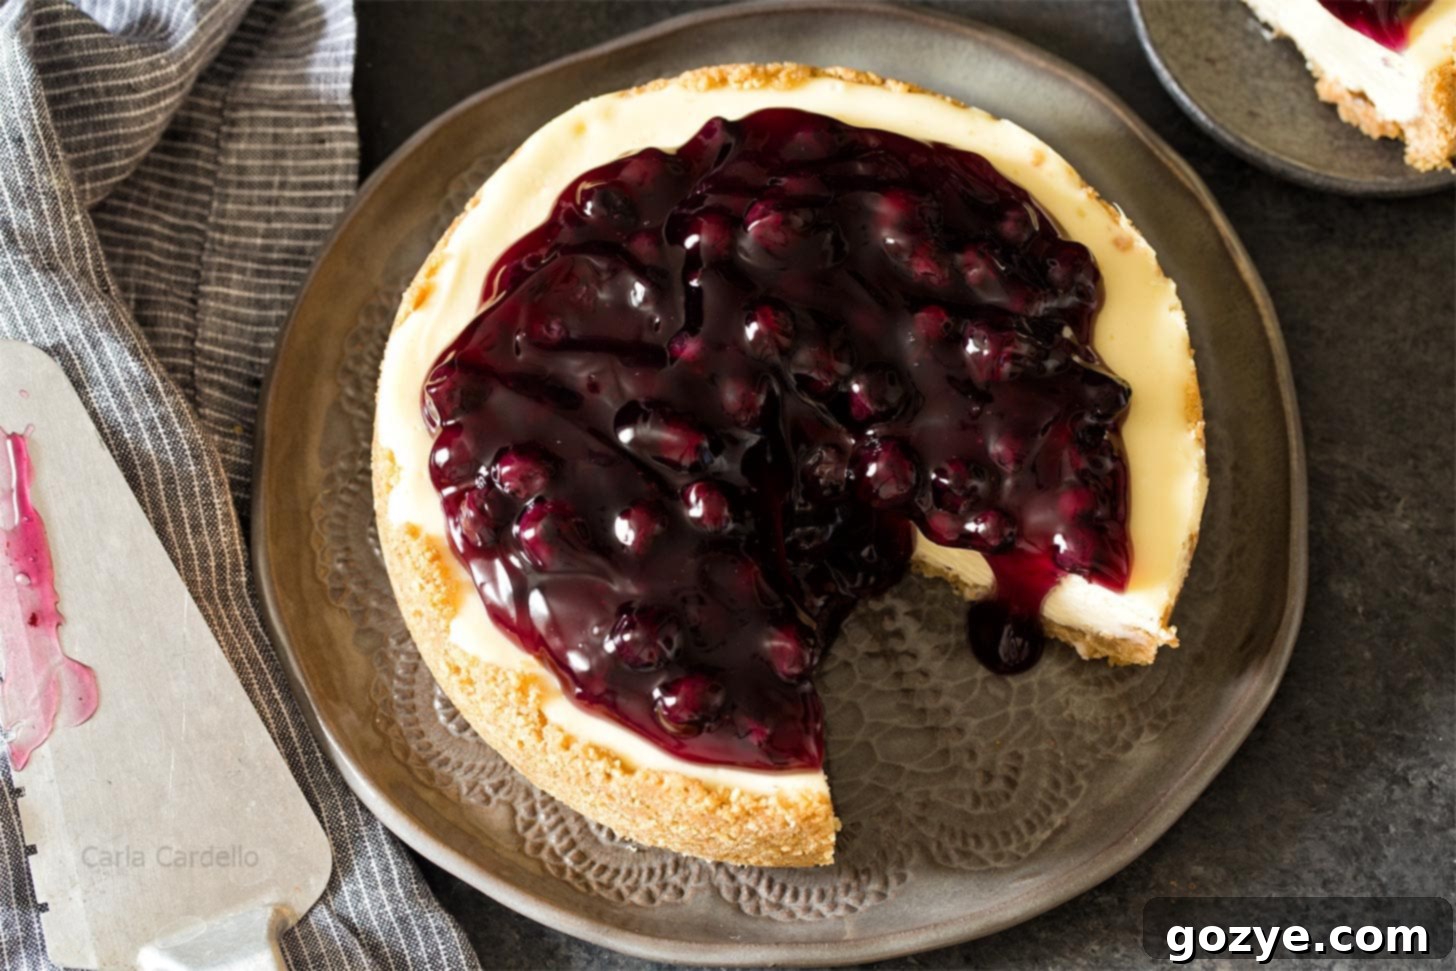
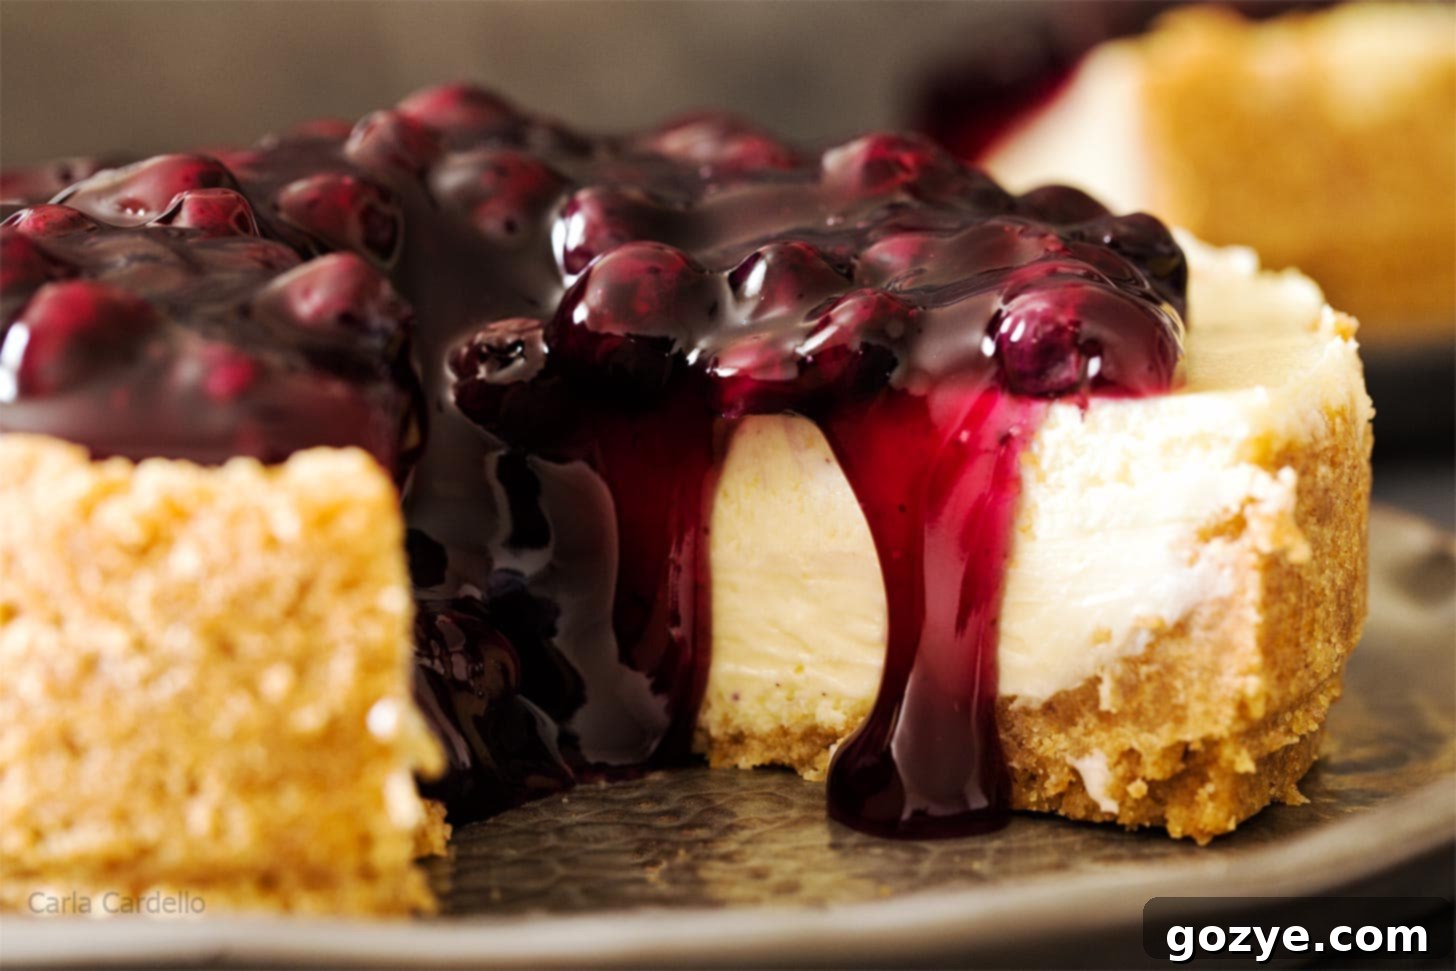
Craving a decadent, creamy cheesecake but don’t want a massive 9-inch dessert? Look no further! This perfect 7-inch cheesecake recipe delivers all the rich flavor and smooth texture you love in a convenient, small batch size. It’s an ideal dessert for intimate gatherings, a sweet treat for two, or simply when you want to enjoy fresh cheesecake without being overwhelmed by leftovers. Garnish it with luscious blueberry pie filling, a cloud of whipped cream, or any topping your heart desires!
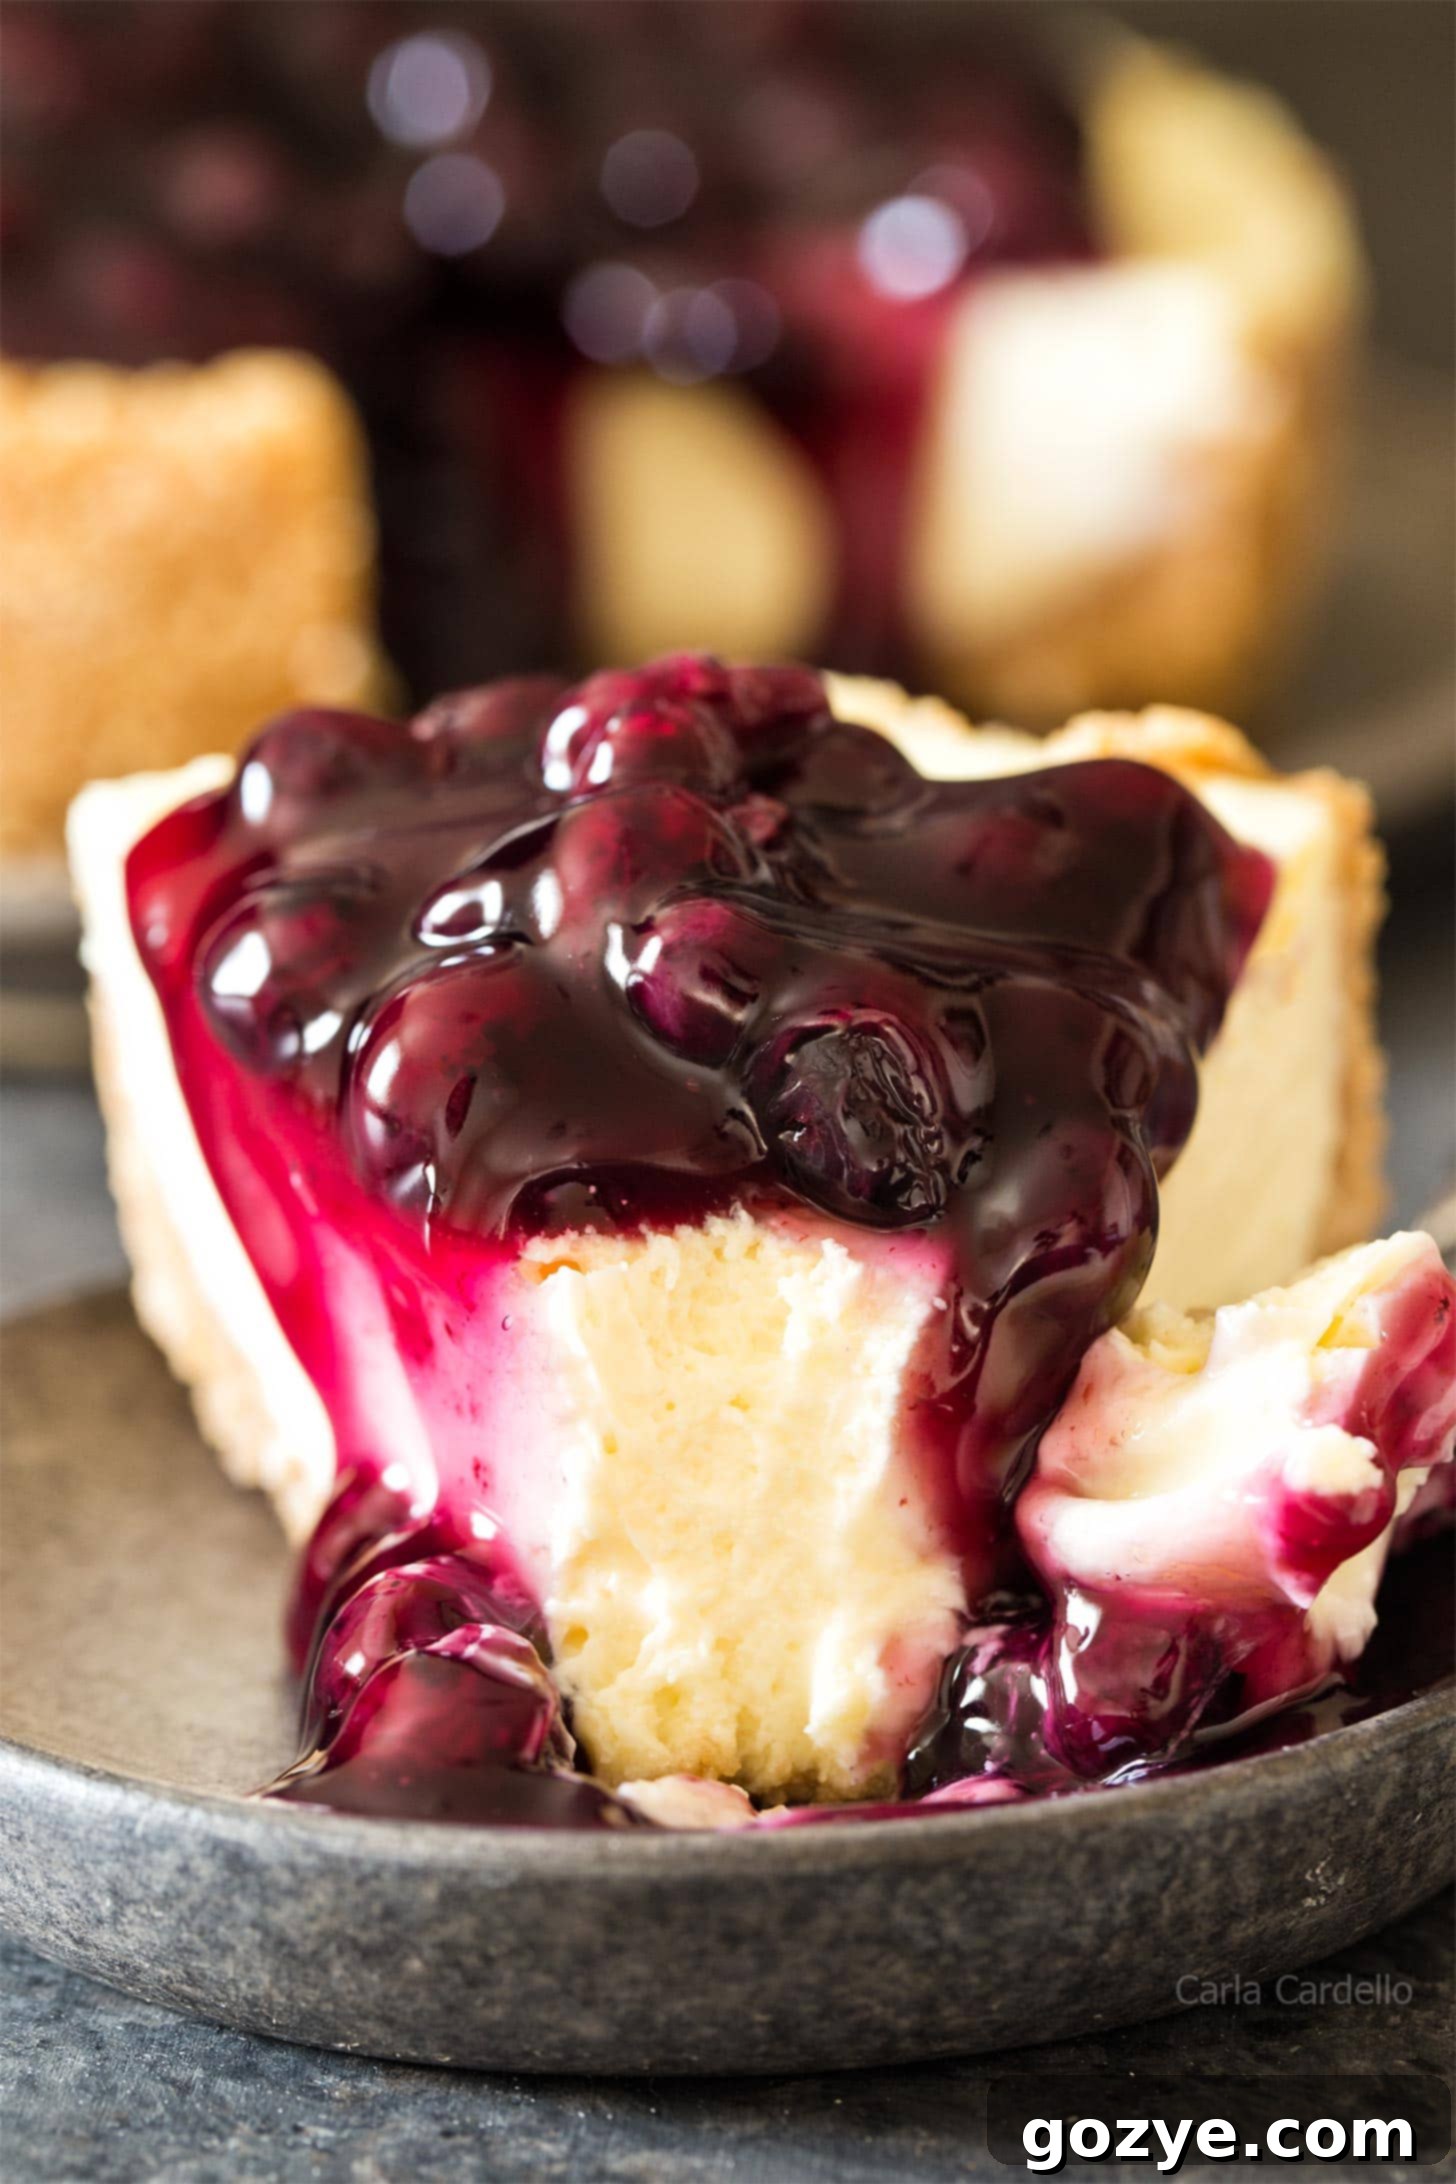
Among my most cherished and frequently visited recipes is my 6-inch cheesecake recipe. The sheer popularity of this smaller-sized dessert proved just how many of you adore the idea of indulging in homemade cheesecake without the commitment of a large, traditional one. It’s the perfect solution for preventing an abundance of leftovers, ensuring every slice is savored.
However, an overwhelmingly common question I’ve received is whether my successful 6-inch recipe can be seamlessly adapted for a 7-inch springform pan. After numerous requests and extensive testing, I am thrilled to finally present my dedicated 7-inch cheesecake recipe. No more guesswork or adaptations needed – this recipe is specifically formulated to yield flawless results in your 7-inch pan every single time.
It’s quite fascinating how many different sizes of cheesecake pans exist! From the petite 4-inch variety perfect for my mini 4-inch cheesecake recipe, to the widely popular 9-inch for my classic cheesecake, and now the versatile 7-inch. Regardless of the pan size you own, my goal is to provide you with a reliable recipe. If you’ve got a 7-inch springform pan, you’re in the right place!
This 7-inch cheesecake recipe is designed to be a charming small cheesecake, perfectly portioned for 2-4 people to enjoy over a few days, or to serve as an elegant dessert for a small dinner party. It features a simple yet irresistibly delicious homemade graham cracker crust that provides the perfect textural contrast to the silky-smooth filling.
At its heart, this is a traditional plain cheesecake, making it the ultimate blank canvas. Its neutral, subtly sweet, and tangy flavor profile is versatile enough to pair with virtually any topping or flavor infusion you can imagine. Whether you prefer fruity, chocolatey, or nutty additions, this base will shine through beautifully.
While this recipe for 7-inch cheesecake is straightforward enough for bakers of all skill levels, I’ve included crucial tips and tricks to guarantee the absolute best results. These insights are the winning formula for achieving that picture-perfect, creamy dessert – no more frustrating cracks, unsightly lumps, or unevenly baked centers. Prepare to impress yourself and your guests with a cheesecake that looks as incredible as it tastes!
Choosing the Right Pan for Your 7-Inch Cheesecake
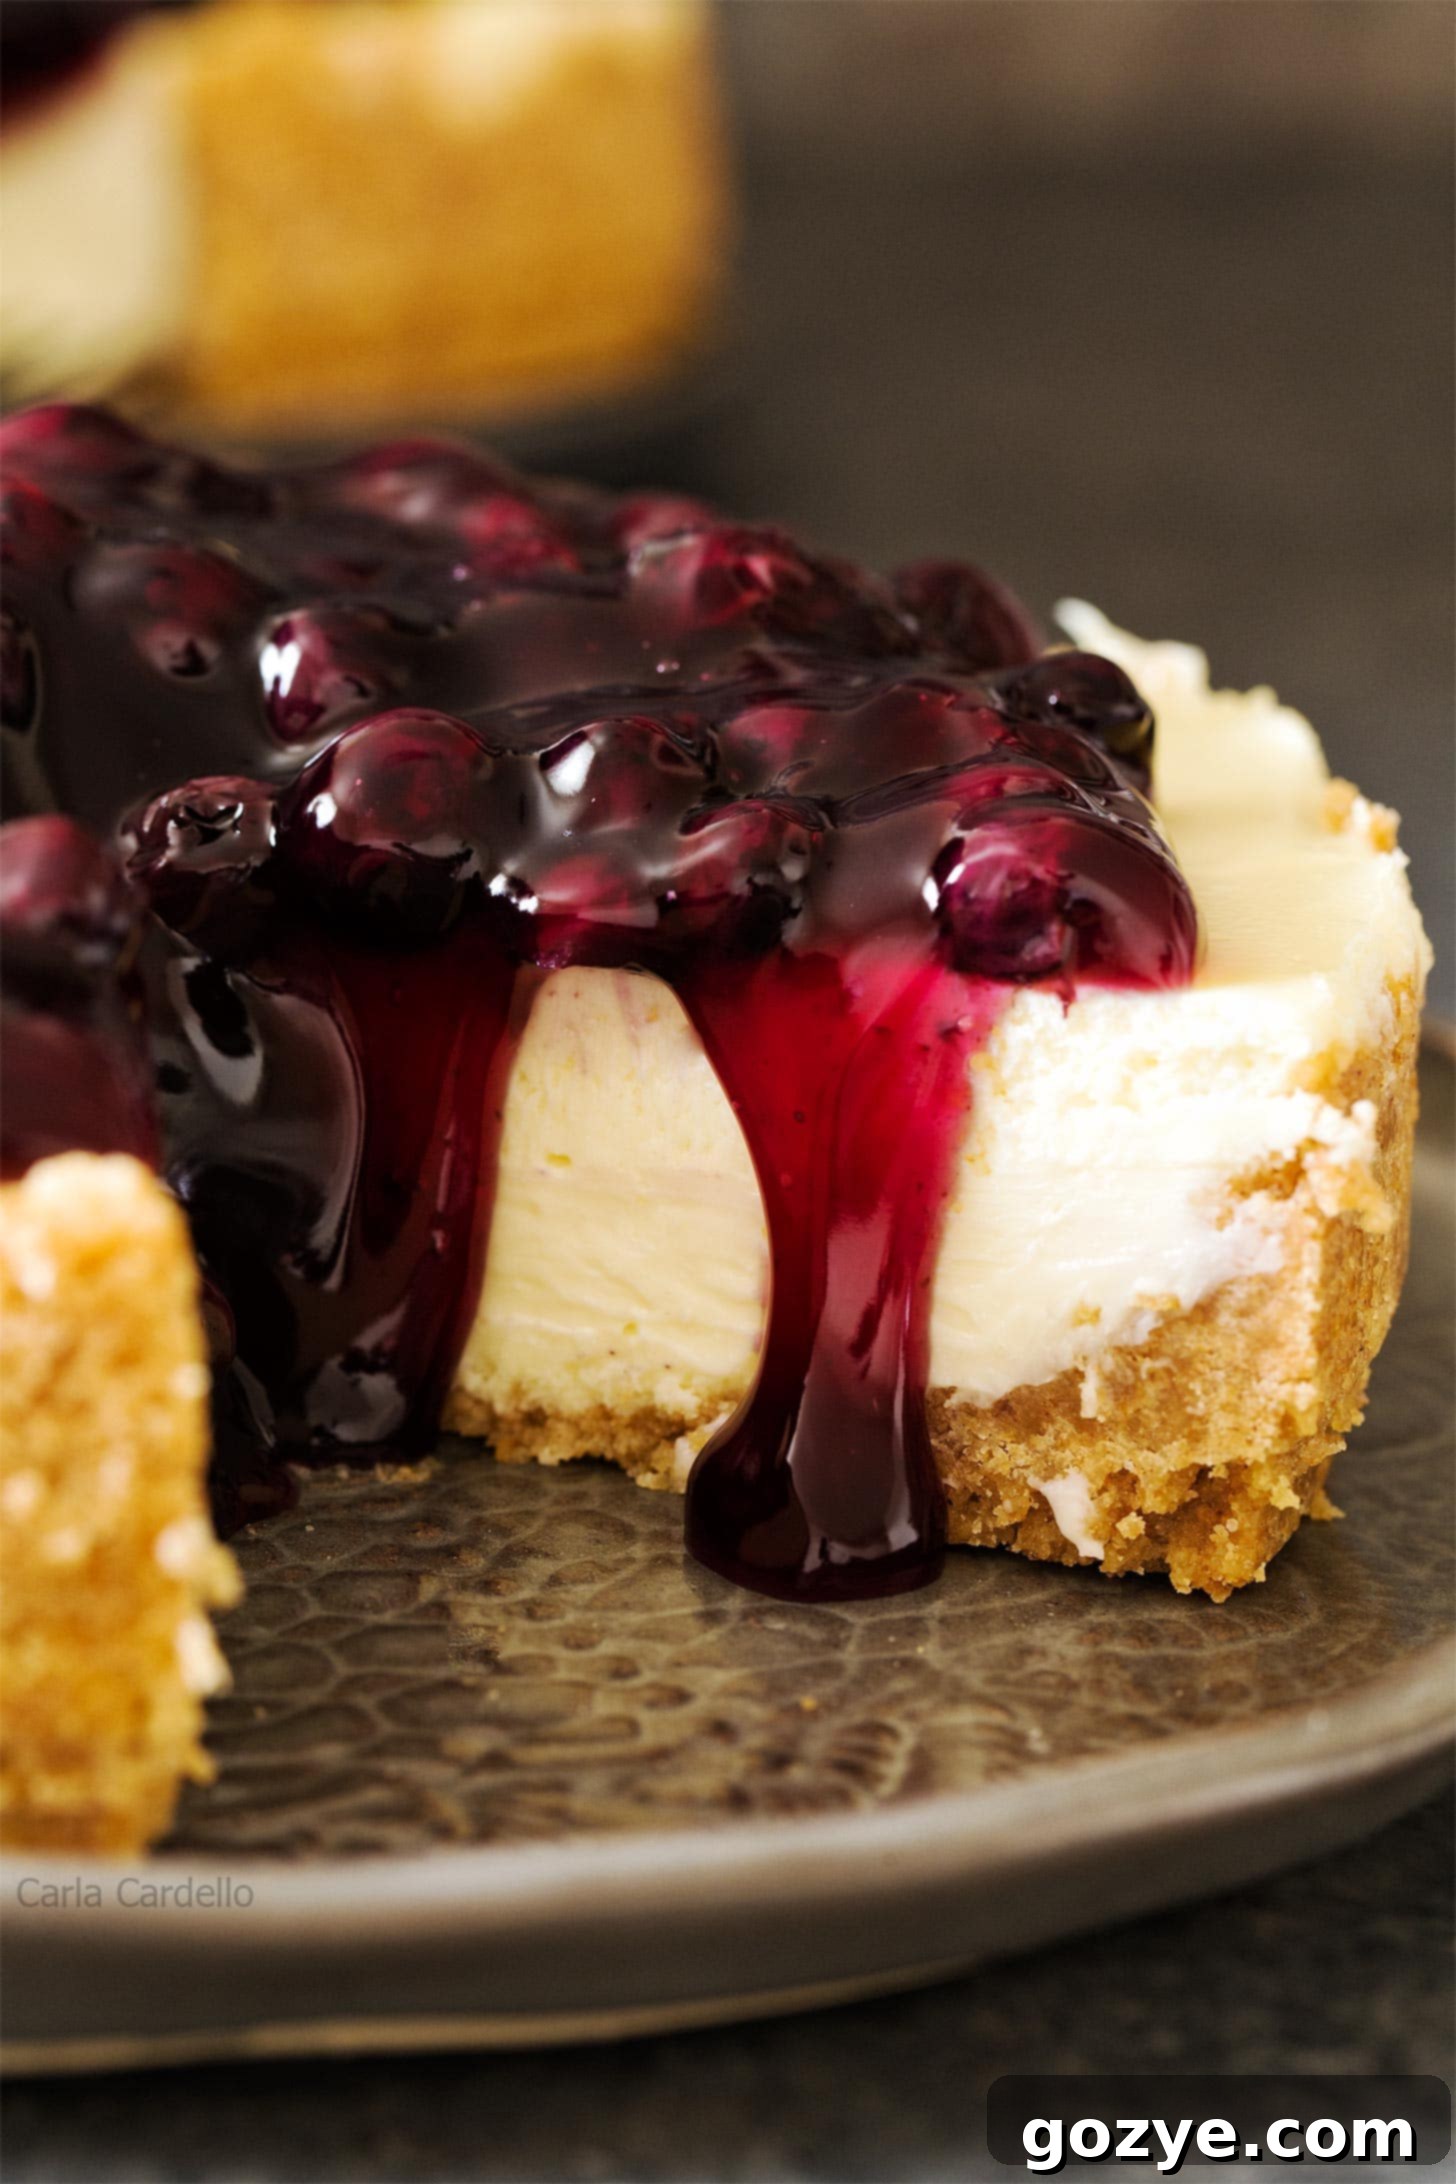
For any cheesecake recipe, especially this 7-inch cheesecake, a springform pan is absolutely essential. Cheesecake is a delicate custard, and its structure is too fragile to be inverted like a traditional cake. A springform pan features sides that can be easily released, allowing you to elegantly unmold your cheesecake without damaging its beautiful form or delicate crust.
You can often find springform pans at kitchen supply stores, larger supermarkets, or department stores like Target. Personally, I sourced my reliable 7-inch springform pan from Amazon. The ideal size for this recipe is a 7 x 3-inch pan. This specific dimension provides ample room for the cheesecake batter to rise perfectly without overflowing during baking or collapsing afterwards, ensuring a tall, impressive slice.
Attempting this recipe in a standard round cake pan is strongly discouraged. It would be exceedingly difficult, if not impossible, to remove the baked cheesecake cleanly from the pan. While it might be technically feasible if you line the pan meticulously with parchment paper extending over the sides, the presentation would likely suffer significantly. The beauty of cheesecake lies in its pristine edges, which a springform pan preserves.
If you don’t currently own a springform pan and are eager to bake a small-batch dessert, I highly recommend exploring alternatives like my mini cheesecakes or no-bake mini cheesecakes, which are conveniently baked and easily removed from a muffin pan. For a unique presentation, consider making cheesecake in a jar if you have mason jars on hand. You can also make a delicious small batch cheesecake in a loaf pan, offering another great option for smaller portions.
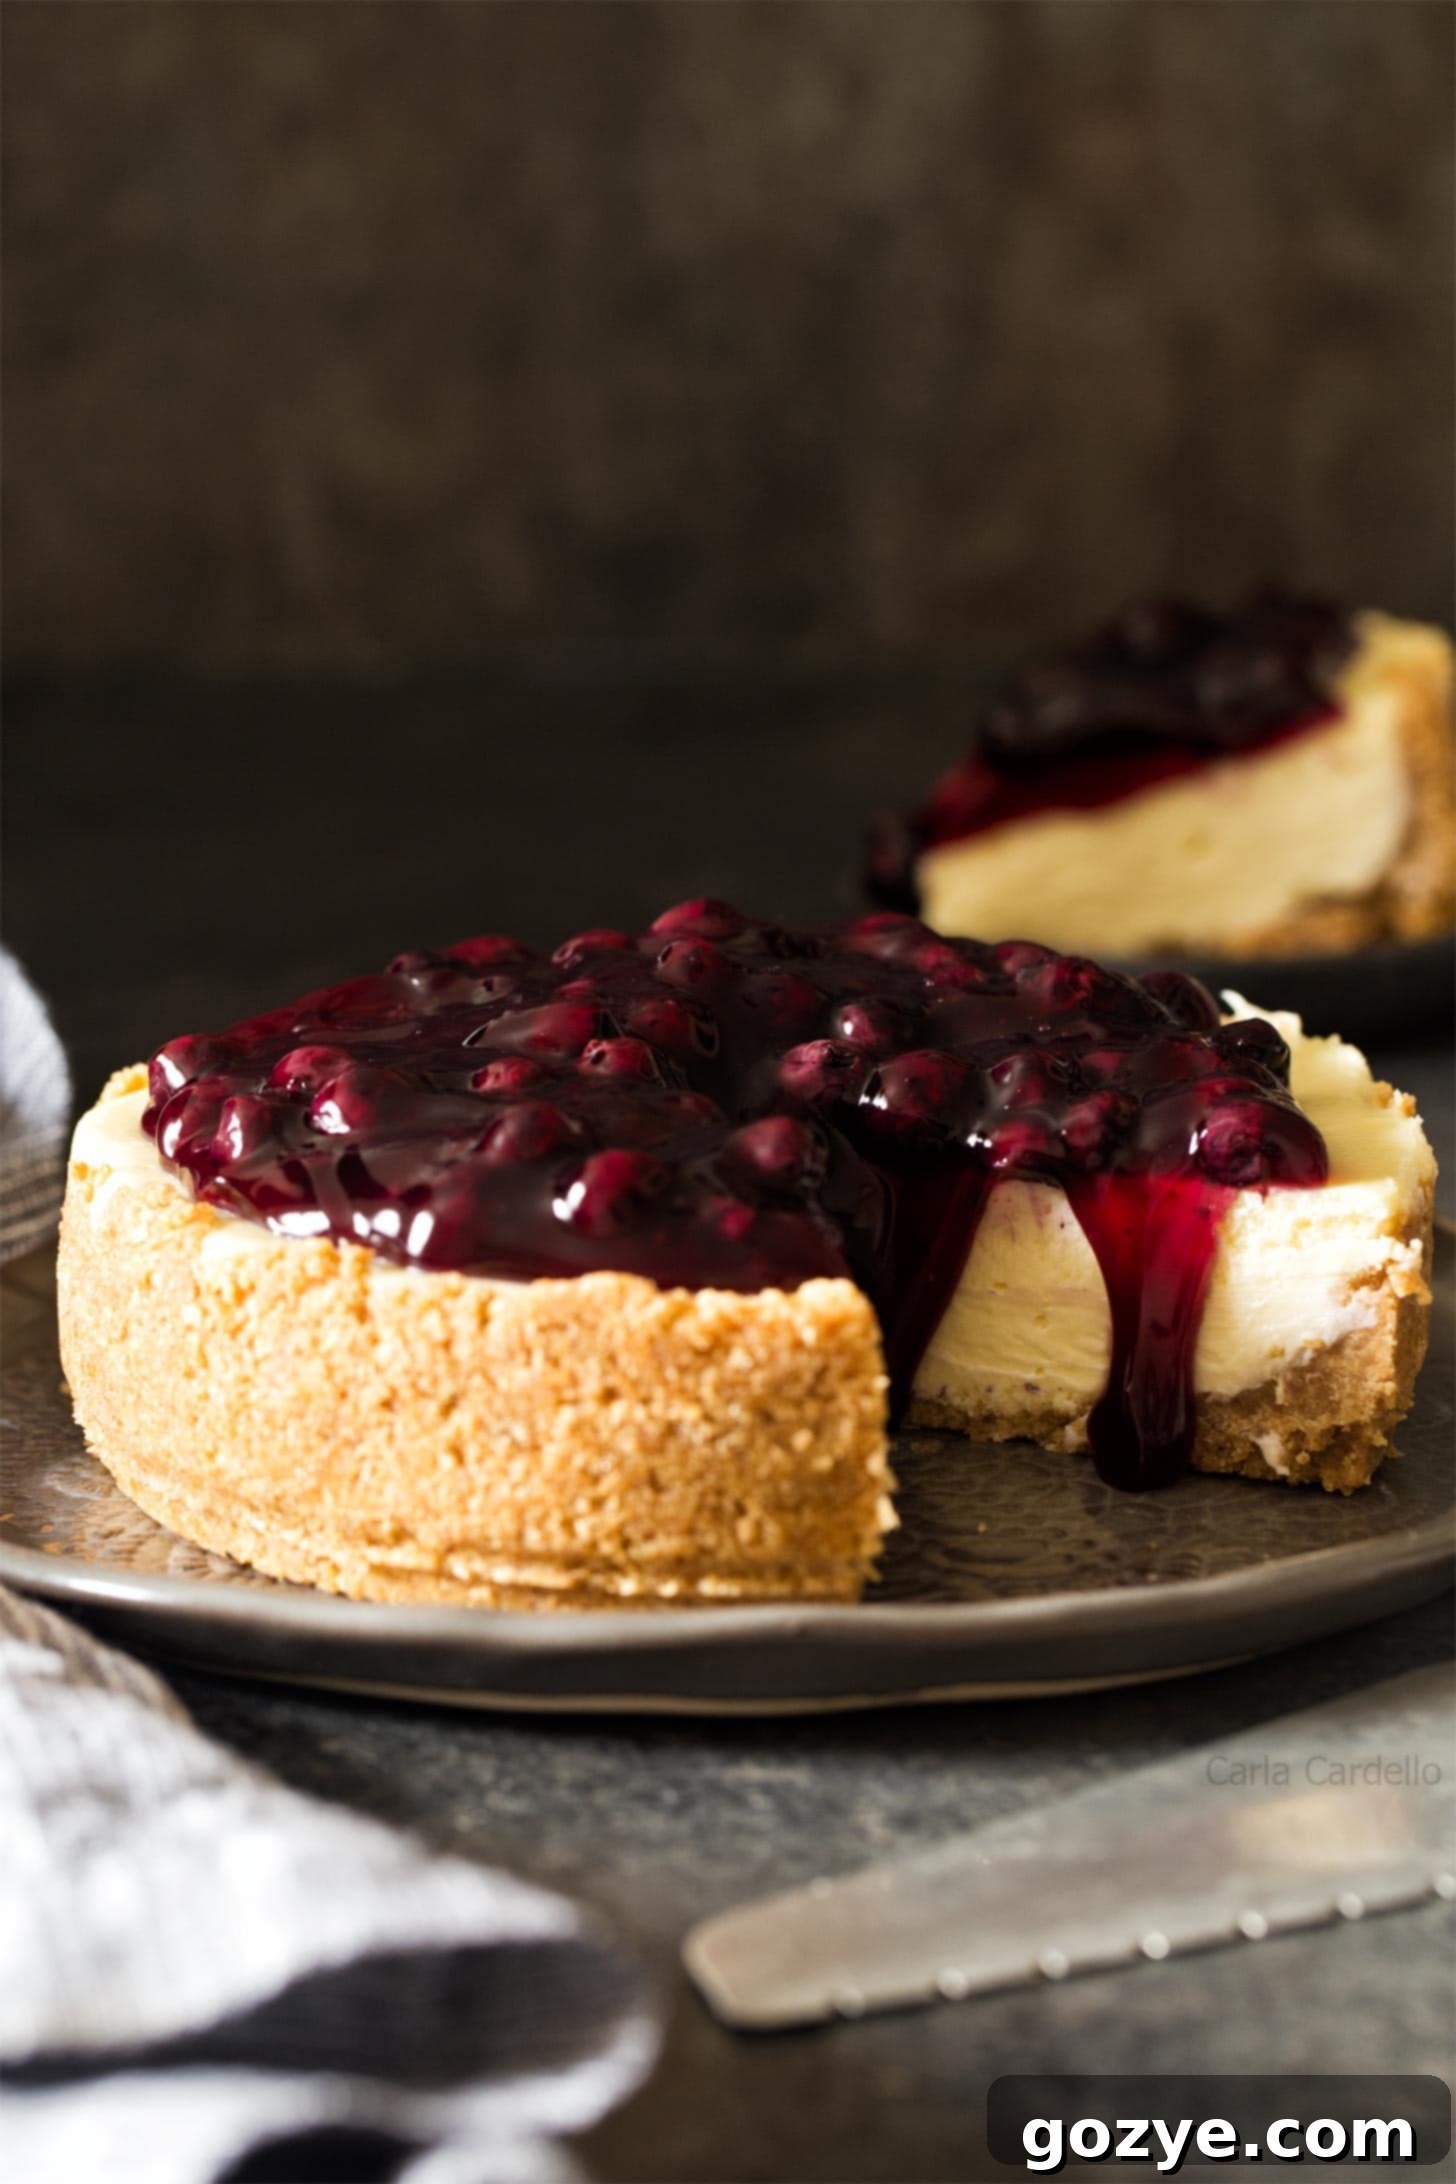
How Many Servings Does a 7-Inch Cheesecake Provide?
A beautifully baked 7-inch cheesecake can typically be cut into 6-8 generous slices, making it suitable for 6-8 servings. While these slices might be slightly smaller than those from a traditional 9-inch cheesecake, they are perfectly satisfying. I often consider this a “small cheesecake” perfect for a couple or a family of four to enjoy over several days. Each person gets a delightful portion, and it’s easy to come back for a second slice if desired (who can resist just one?). After all, when was the last time you truly ate *only* one slice of cheesecake?
If you find that even a 7-inch cheesecake is still a bit too much for your needs, or if you’re specifically looking for a dessert for two, be sure to check out my dedicated cheesecake for two recipe. It’s perfectly portioned for a romantic dessert or a personal indulgence.
This classic baked 7-inch cheesecake recipe does require a significant amount of time in the oven, followed by crucial cooling and chilling periods. If you’re seeking a quicker route to cheesecake bliss without sacrificing quality, consider my popular Instant Pot Cheesecake recipe, which is also conveniently made in a 7-inch pan and significantly reduces baking time. It’s a fantastic option for a faster dessert!
Essential Ingredients for Your 7-Inch Cheesecake
Crafting this exquisite 7-inch cheesecake requires a thoughtful selection of high-quality ingredients. Each component plays a vital role in achieving the perfect texture, flavor, and overall appeal of your dessert:
- Graham cracker crumbs: The quintessential choice for a classic cheesecake crust. Graham crackers provide a sweet, subtly spiced base that complements the creamy filling beautifully. For convenience, you can purchase pre-crushed crumbs, or easily make your own by pulsing whole graham crackers in a food processor (a mini food processor works perfectly for this quantity). Feel free to experiment with other cookie crumbs for a twist – Oreo, digestive biscuits, ginger snaps, or even shortbread cookies are fantastic alternatives.
- Butter: Melted butter is crucial for binding the graham cracker crumbs together, forming a firm, flavorful crust that holds its shape. Unsalted butter is generally preferred in baking to control the overall saltiness, but a pinch of salt can be added to balance the sweetness if using unsalted.
- Cream cheese: This is the star of the show! To achieve that signature rich, dense, and ultra-creamy cheesecake texture, it is imperative to use full-fat cream cheese. Low-fat or fat-free versions contain higher water content and will result in a runny, watery batter that can compromise the final texture after baking. Ensure your cream cheese is at room temperature and no longer cold to the touch before mixing. This is critical for a smooth, lump-free batter.
- Granulated sugar: Adds just the right amount of sweetness to the cheesecake, perfectly balancing the pleasant tanginess of the cream cheese. It also contributes to the batter’s smooth consistency.
- Eggs: Eggs are essential in cheesecake as they act as a binder, helping to set the custard and create a smooth, rich, and stable batter. They provide structure and richness. Always use large eggs for consistent results in baking recipes. Like the cream cheese, ensuring your eggs are at room temperature will help them incorporate more evenly into the batter, preventing lumps and overmixing.
- Vanilla extract: A touch of high-quality vanilla extract enhances all the other flavors, adding a warm, aromatic depth that is characteristic of classic cheesecake. Pure vanilla extract offers the best flavor.
Step-by-Step Guide: How to Make a Perfect 7-Inch Cheesecake
Follow these precise steps to create your impeccable 7-inch cheesecake recipe:
- Prepare the Crust: Begin by combining your graham cracker crumbs with melted butter. Mix thoroughly until the crumbs are evenly moistened, resembling wet sand. Firmly press this mixture into the bottom and slightly up the sides of your foil-wrapped springform pan. Use the bottom of a glass or a flat measuring cup to compact it tightly for a sturdy crust.
- Create the Creamy Batter: In a large mixing bowl, beat together the room temperature cream cheese and granulated sugar. Mix on medium speed until the mixture is incredibly smooth, light, and fluffy, typically for 2-3 minutes. Stop and scrape down the sides of the bowl frequently to ensure everything is fully incorporated and no lumps remain. This step is crucial for a smooth cheesecake!
- Incorporate Eggs Gently: Beat in the eggs, one at a time. After adding each egg, mix just until it is combined into the batter – approximately 1 minute per egg. It is vital not to overbeat the batter at this stage, as excessive air can lead to cracks in your baked cheesecake.
- Add Flavor: Finally, gently beat in the vanilla extract until just combined, adding that wonderful aromatic depth to your batter.
- Assemble and Bake: Carefully pour the prepared cheesecake batter into your graham cracker crust in the springform pan. Place the springform pan inside a larger baking pan (an 8×8 inch pan or larger works well) to prepare for the water bath.
- Water Bath Essential: Pour hot water into the larger pan until the springform pan is submerged about halfway. Exercise extreme caution to prevent any water from splashing into the foil-wrapped cheesecake pan itself.
- Bake to Perfection: Transfer the entire setup (larger pan with water bath and cheesecake) carefully to your preheated oven. Bake at 325°F (160°C) for 65-75 minutes. Refer to the “How To Know When A Cheesecake Is Done Baking” section for precise doneness cues.
The Importance of a Water Bath for Your 7-Inch Cheesecake
You might wonder, do I really need a water bath for a 7-inch cheesecake? The unequivocal answer is: Yes, you absolutely do.
While some of my 9-inch cheesecake recipes might occasionally forgo a water bath (due to their wider diameter allowing for more even heat distribution), a 7-inch cheesecake presents a different challenge. Its smaller diameter often results in a thicker cheesecake. Without the gentle, even heat of a water bath, the edges and top of the cheesecake tend to brown and overbake long before the denser center is fully cooked through.
I discovered this the hard way during recipe testing. My first few attempts without a water bath resulted in a cheesecake where the top was beautifully golden brown, yet the middle was noticeably underbaked – probably by a good 10 minutes or more. Had I continued baking until the center was set, the top would have been severely overbaked and dry, likely leading to significant cracking.
By utilizing a water bath, the cheesecake bakes much more evenly. The moist, consistent heat surrounding the pan allows the center to cook gradually and thoroughly, finishing at the same time as the edges, preventing the top from becoming too brown or dry. This method results in a supremely smooth, creamy, and crack-free cheesecake, every single time.
How to Properly Set Up a Water Bath for Cheesecake
Setting up a water bath (also known as a bain-marie) is straightforward and critical for a perfectly baked, crack-free 7-inch cheesecake. Here’s how to do it correctly:
- Wrap the Springform Pan: Before pouring in your batter, take several sheets of heavy-duty aluminum foil. Tightly wrap the entire outside bottom and sides of your springform pan, extending the foil up past the height of the pan. This creates a protective barrier to prevent any water from seeping into the crust and making it soggy. Double-wrapping with foil is a good extra precaution to ensure no leaks.
- Place in a Larger Pan: After you’ve filled your springform pan with the cheesecake batter, carefully place it inside a larger baking pan. An 8×8 inch square pan or a roasting pan that is larger than your springform pan will work perfectly.
- Add Hot Water: Once the springform pan is nestled within the larger pan, carefully pour hot (but not boiling) water into the larger pan. Fill it until the water level reaches about halfway up the sides of your springform pan. Be extremely careful not to splash any water into the foil-wrapped cheesecake itself. It helps to pour the water from a kettle or a measuring cup with a spout.
- Transfer to Oven: Now, very carefully transfer the entire setup – the large pan containing the water and your cheesecake – into your preheated oven. It can be heavy and the water might slosh, so move slowly and steadily.
Knowing When Your Cheesecake is Perfectly Baked
One of the most common challenges in baking cheesecake, especially a 7-inch cheesecake, is accurately determining when it’s done. Unlike a regular cake, it won’t always look completely set.
The most reliable method to ensure your cheesecake is perfectly baked is by using a digital instant-read thermometer. The internal temperature of a fully cooked cheesecake should register 150°F (65°C) when inserted into the center. This temperature indicates that the custard has set.
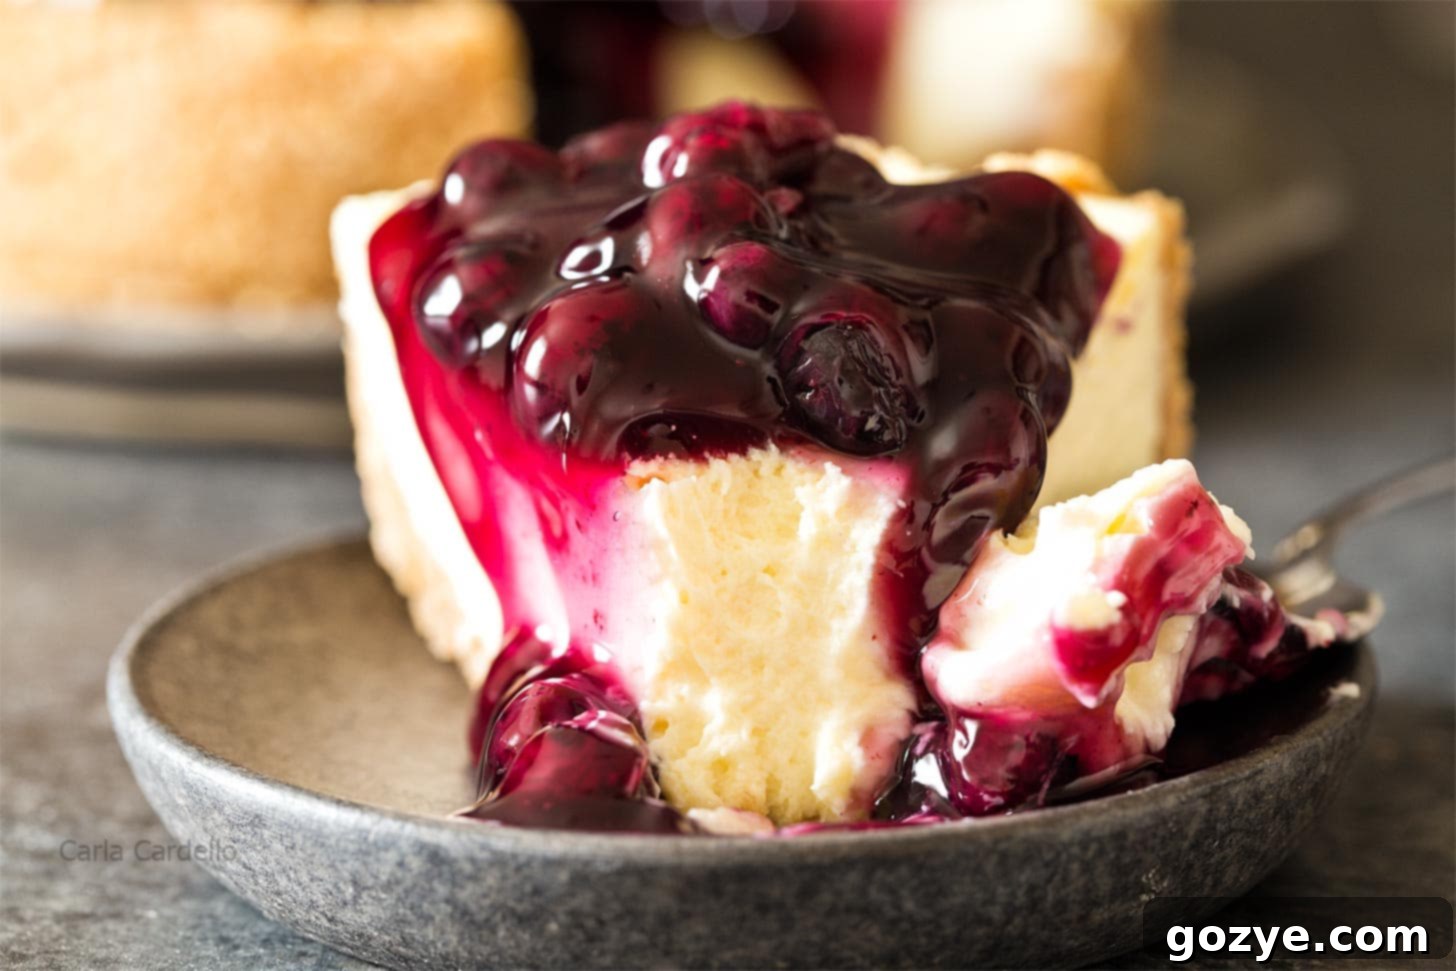
It’s important to note that because cheesecake is essentially a delicate custard, the very center will still have a slight jiggle or wobble even when it’s perfectly done. This “jiggle” is a good sign! If your cheesecake shows no movement at all in the middle, it means you’ve likely overbaked it, which can lead to a dry texture and, ironically, cracks. The edges, however, should appear firm and lightly golden brown, while only the direct middle retains that characteristic slight quiver.
Of course, inserting a thermometer will leave a small hole in the surface of your beautiful cheesecake. But don’t despair! This is easily covered up and concealed with a generous topping of cherry pie filling, a swirl of homemade whipped cream, fresh berries, or any other delicious garnish you choose.
How Long Does Cheesecake Stay Fresh?
Properly stored, your delicious 7-inch cheesecake can last for a good 5-7 days in the refrigerator. Store it in an airtight container to prevent it from absorbing any odors from other foods in your fridge and to maintain its freshness and creamy texture. With a smaller cheesecake like this, it’s often enjoyed entirely long before the week is up!
Can I Leave Cheesecake Out Overnight?
No, it is generally not safe to leave cheesecake out overnight at room temperature. Cheesecake is a perishable dessert, primarily due to its main ingredient, cream cheese, which is a dairy product. After baking, allow your cheesecake to cool down completely at room temperature for about 1 hour. Once it has cooled, it must be covered and immediately transferred to the refrigerator for chilling. This not only keeps it safe but also allows it to fully set and develop its ideal creamy texture.
Creative Ways to Garnish Your 7-Inch Cheesecake
The beauty of a plain, classic cheesecake is its versatility. It truly is a blank canvas, offering endless possibilities for decoration and flavor customization. Your 7-inch cheesecake is no exception, providing a perfect base for a variety of delightful garnishes:
- Fruit Pie Fillings: These are a classic and incredibly easy way to add flavor and vibrant color. I often use a generous layer of my homemade blueberry pie filling, but you can also opt for rich cherry pie filling, sweet strawberry pie filling, succulent peach pie filling, or comforting apple pie filling.
- Fresh Fruit & Sauces: For a fresher take, pile on an assortment of fresh berries like strawberries, blueberries, raspberries, and blackberries. Alternatively, drizzle with a homemade fruit sauce such as strawberry sauce. You could even swirl in strawberry curd for a smaller, equally delicious version of my popular strawberry swirl cheesecake.
- Whipped Cream & Mousse: A dollop or swirl of light and airy homemade whipped cream is always a welcome addition. For chocolate lovers, consider a rich chocolate whipped cream or even a light chocolate mousse.
- Chocolate Indulgence: Transform your plain cheesecake into a chocolate dream by covering it with a glossy layer of chocolate ganache. You can also sprinkle chocolate shavings or miniature chocolate chips for texture.
- Caramel & Nuts: A decadent drizzle of salted caramel sauce paired with toasted pecans or walnuts offers a wonderfully sophisticated flavor profile.
- Lemon Curd: For a bright, tangy contrast, a swirl of homemade lemon curd can elevate your cheesecake with its zesty notes.
Troubleshooting: Why Did My Cheesecake Crack?
Few things are as disheartening as spending over an hour perfecting your cheesecake, only to find a glaring crack across its beautiful surface! Cracks are a common issue, but understanding their causes can help you prevent them. Here are the primary reasons why your 7-inch cheesecake might crack, along with solutions:
- Overbeating the Batter: This is arguably the most common culprit. Overbeating the cream cheese mixture, especially after adding the eggs, incorporates too much air into the batter. During baking, this trapped air causes the cheesecake to puff up higher than it should. As the cheesecake cools, it inevitably sinks, and this rapid deflation can cause the surface to crack.
Solution: Beat the cream cheese and sugar until smooth, then add eggs one at a time, mixing only until just combined. Stop as soon as the streak of yolk disappears. Avoid high speeds once eggs are in. - Overbaking the Cheesecake: It’s natural to want to ensure your cheesecake is fully cooked through, but overbaking leads to a dry, firm top crust. This dry crust lacks flexibility and will crack as the cheesecake cools and contracts.
Solution: Rely on an instant-read thermometer. Bake until the internal temperature reaches 150°F (65°C). Remember, the center will still have a slight jiggle, which is perfectly normal for a done cheesecake. Also, ensure you use a water bath, which promotes even baking and prevents overbaking the top. - Opening the Oven Door Too Much/Too Soon: While it’s okay to briefly open the oven door to check for doneness towards the end of the baking time, doing so too frequently or too early can cause drastic temperature fluctuations within the oven. Rapid changes in temperature can shock the delicate cheesecake, leading to uneven setting and ultimately, cracking.
Solution: Resist the urge to peek! Only open the oven door when you’re ready to check for doneness, ideally towards the end of the specified baking time. Once baked, allow the cheesecake to cool gradually (first in the water bath, then at room temperature) before refrigerating. This slow cooling process is crucial for preventing cracks.
Troubleshooting: Why is My Cheesecake Lumpy?
A smooth, silky cheesecake batter is the foundation of a perfect dessert. If your 7-inch cheesecake batter turns out lumpy, the most probable reason is that your cream cheese and eggs were too cold when you started mixing them. Cold ingredients do not emulsify or combine smoothly, leading to an inconsistent texture.
Here’s how to ensure a perfectly smooth batter:
- Room Temperature Ingredients Are Key: Always make sure your cream cheese and eggs sit out at room temperature until they are no longer cold to the touch. This typically takes about an hour or so, but it can vary depending on the ambient temperature of your kitchen (ingredients will warm up faster in the summer than in the winter).
- Warming Up Cream Cheese: If you’re short on time and your cream cheese is still too cold, you can carefully soften it. Remove it from its foil wrappers and microwave it in 5-10 second increments on low power. Be very cautious not to accidentally melt it; you only want it softened enough to be easily beaten smoothly.
- Warming Up Eggs: To quickly bring eggs to room temperature, place them in a bowl of warm (not hot) water and let them sit for about 10-15 minutes, or until they no longer feel cold.
- Beat Cream Cheese First: A pro tip for preventing lumps is to beat the room temperature cream cheese alone for a minute or two until it’s completely smooth and creamy before adding the sugar or any other ingredients. This ensures a lump-free base from the start.
Expand Your Repertoire: More 7-Inch Cheesecake Recipes!
Here’s a fun and convenient fact: Many of my popular 6-inch cheesecake recipes will fit perfectly into a 7-inch springform pan without requiring any adjustments! This means you have a whole world of flavor options at your fingertips. If you’re looking to explore different flavors beyond the classic plain, check out these fantastic recipes:
- Decadent Chocolate Cheesecake with an Oreo Crust
- Seasonal 6-Inch Pumpkin Cheesecake (perfect for fall!)
- Rich Red Velvet Oreo Cheesecake
- Creamy Peanut Butter Cheesecake
7 Inch Cheesecake Recipe
6-8 servings
20 minutes
1 hour 15 minutes
4 hours
5 hours 35 minutes
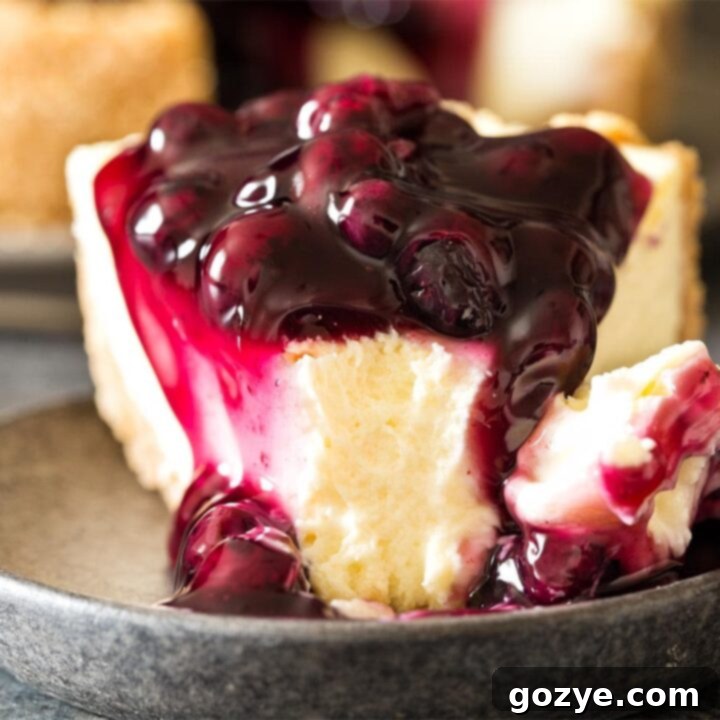
Got a small springform pan? This 7-inch cheesecake recipe is a creamy, small batch dessert, perfect for any occasion!
Ingredients
- 1 + 1/2 cups graham cracker crumbs
- 6 tablespoons unsalted butter, melted
- 16 ounces (2 blocks or 16 tablespoons) full-fat cream cheese, room temperature and not cold to the touch (do not substitute fat-free)
- 2/3 cup + 1 tablespoon granulated sugar
- 2 large eggs, room temperature and not cold to the touch
- 1 teaspoon vanilla extract
Instructions
- Preheat oven to 325°F (160°C). Wrap the outside bottom of a 7-inch springform pan tightly with several layers of heavy-duty foil to prevent water from entering.
- In a large bowl, mix together the graham cracker crumbs, 1 tablespoon of granulated sugar, and melted butter until well combined. Press firmly into the bottom and slightly up the sides of the prepared springform pan to form an even crust.
- In a large mixing bowl (using a paddle attachment if using a stand mixer), beat the room temperature cream cheese and the remaining 2/3 cup sugar on medium-high speed until the mixture is light, fluffy, and completely smooth, about 2-3 minutes. Scrape down the bowl as needed to ensure no lumps.
- Beat in the large eggs, one at a time, mixing for about 1 minute after each addition or until just smooth. Be careful not to overbeat the batter once the eggs are added. Beat in the vanilla extract until just combined.
- Transfer the smooth cheesecake batter to the graham cracker crust in the springform pan. Place the springform pan inside a larger baking pan (an 8×8 inch pan or larger works well).
- Pour hot water into the larger pan until the springform pan is submerged about halfway up its sides. Be extremely careful not to get any water inside the foil-wrapped cheesecake pan.
- Bake for 65-75 minutes, or until the edges are set and lightly golden, the center is mostly set with a slight jiggle, and the internal temperature reaches 150°F (65°C) when checked with an instant-read thermometer.
- Remove the cheesecake from the oven and let it cool in the water bath for 15 minutes. This gradual cooling helps prevent cracks.
- Carefully remove the springform pan from the water bath and let it cool completely at room temperature for at least 1 hour.
- Once cooled, cover the cheesecake tightly with plastic wrap and refrigerate for at least 4 hours, or preferably overnight, to allow it to fully set and chill before garnishing and serving. Store any leftovers in an airtight container in the refrigerator for up to 5-7 days.
Notes
- Looking for more delicious cheesecake variations that fit your 7-inch pan? These recipes will work without adjustments: Chocolate Cheesecake with Oreo Crust, Small Pumpkin Cheesecake, Red Velvet Oreo Cheesecake, and Peanut Butter Cheesecake.
- Want to bake a cheesecake in a different size pan? Explore my recipes for 4 Inch Cheesecake, 9 Inch Cheesecake, and Mini Cheesecakes.
Recommended Products
As an Amazon Associate and member of other affiliate programs, I earn from qualifying purchases.
- 7 Inch Springform Pan
Did you make this recipe?
Let me know what you think! Rate the recipe above, leave a comment below, and/or share a photo on Instagram using #HITKrecipes
