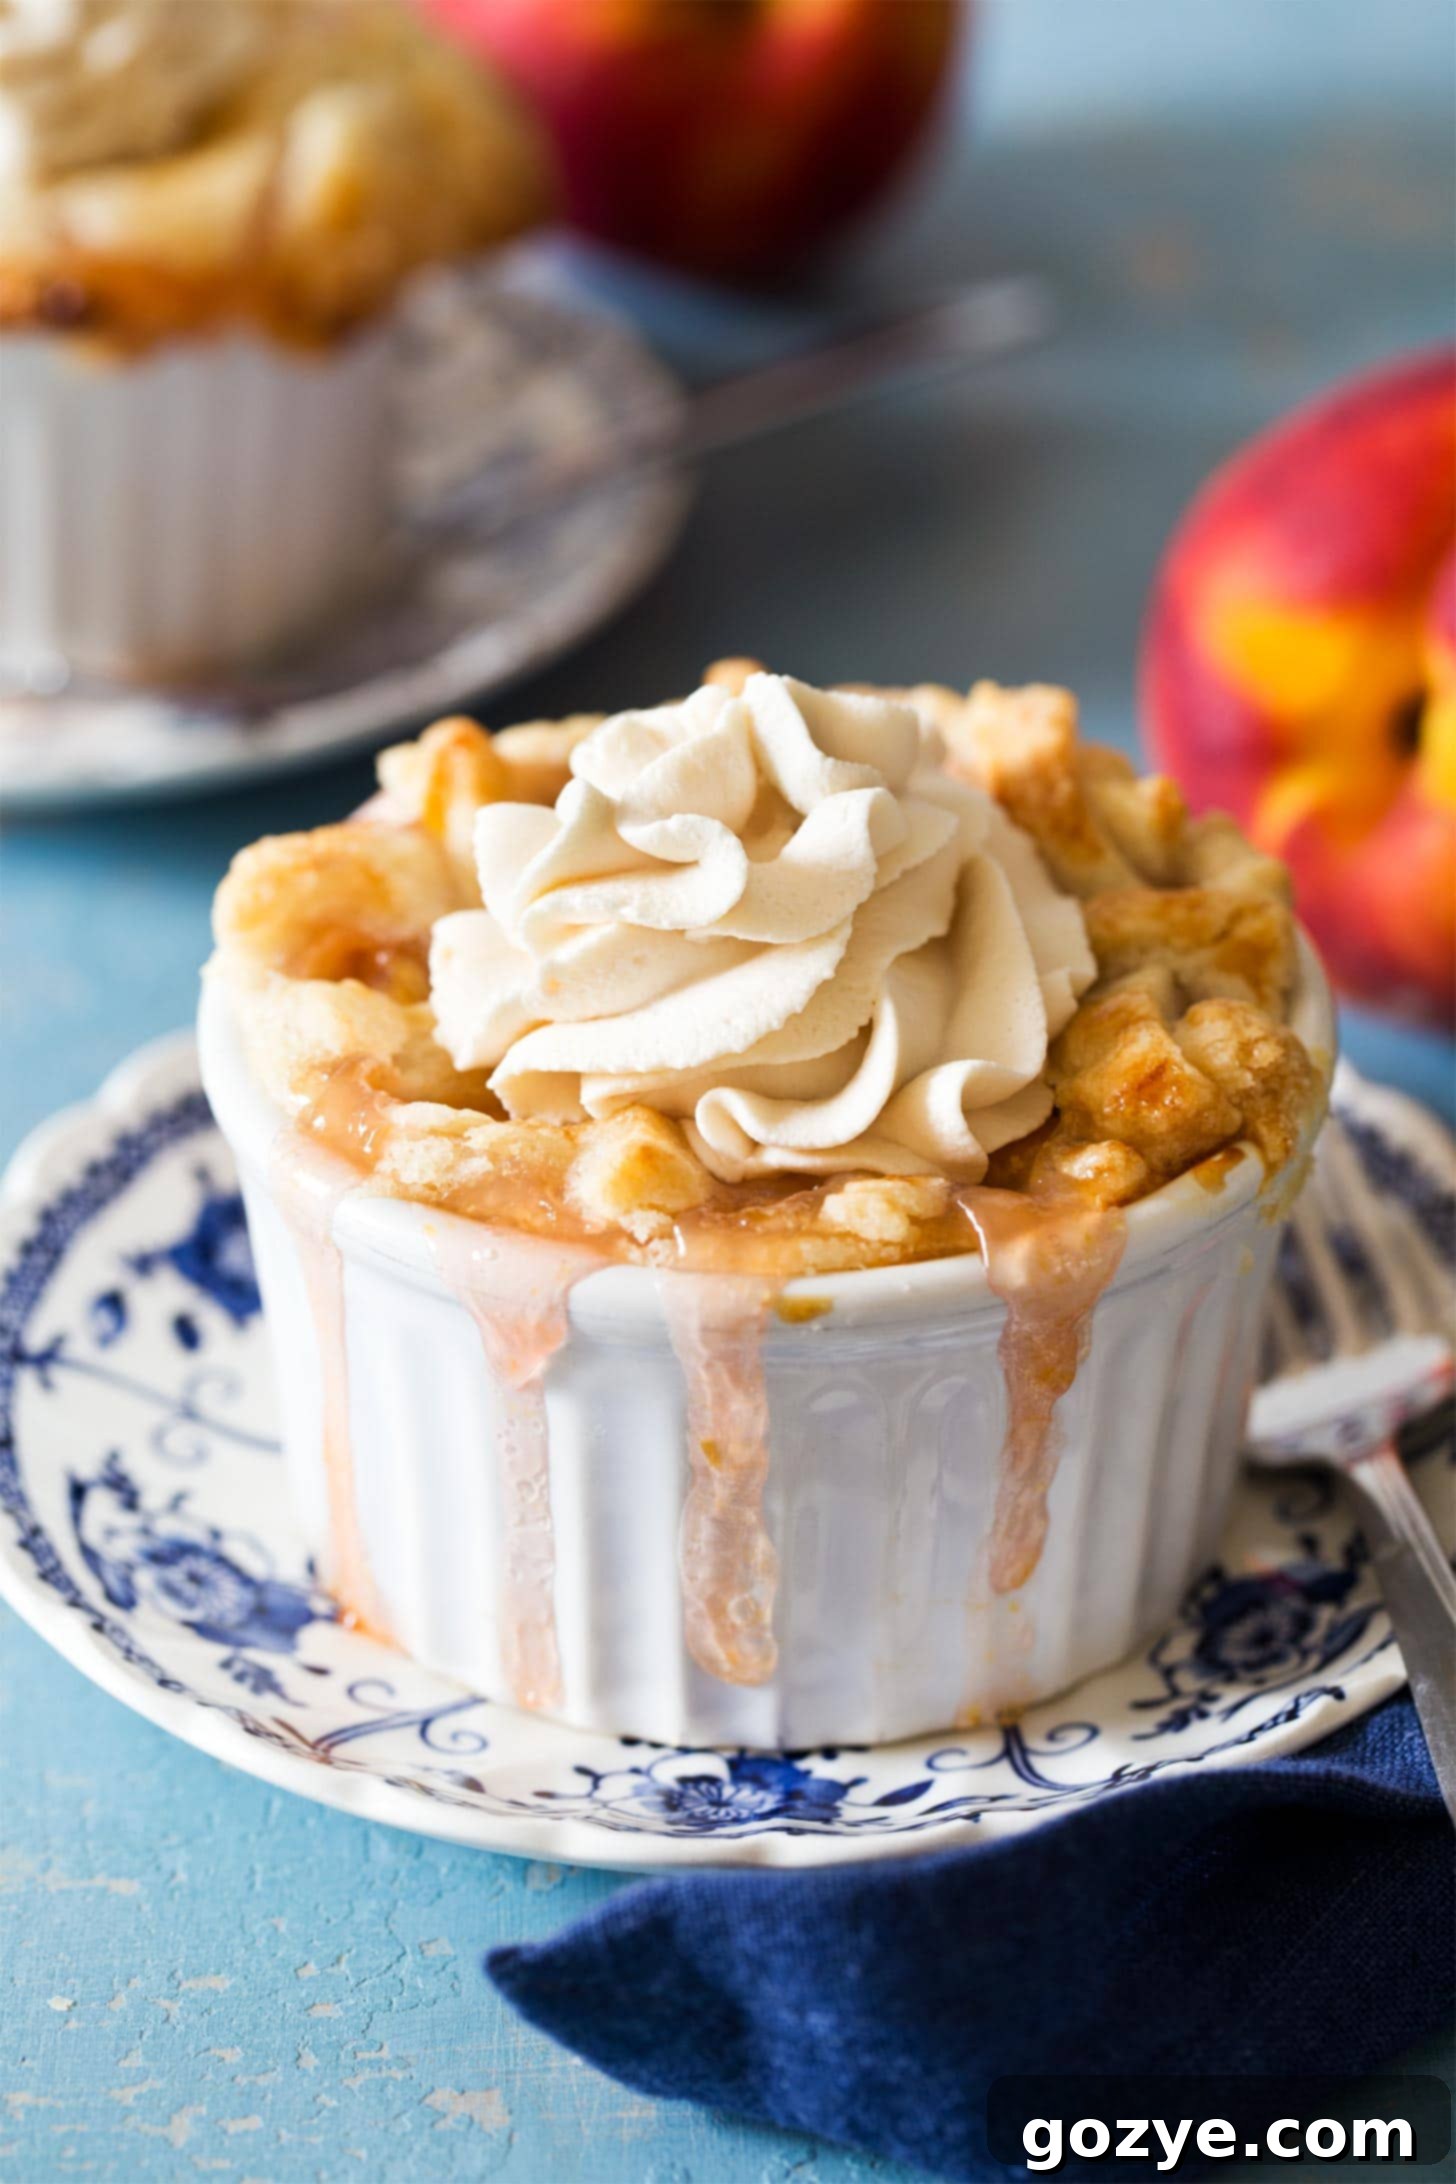
Irresistible Mini Peach Pies: Your Perfect Individual Summer Dessert Recipe
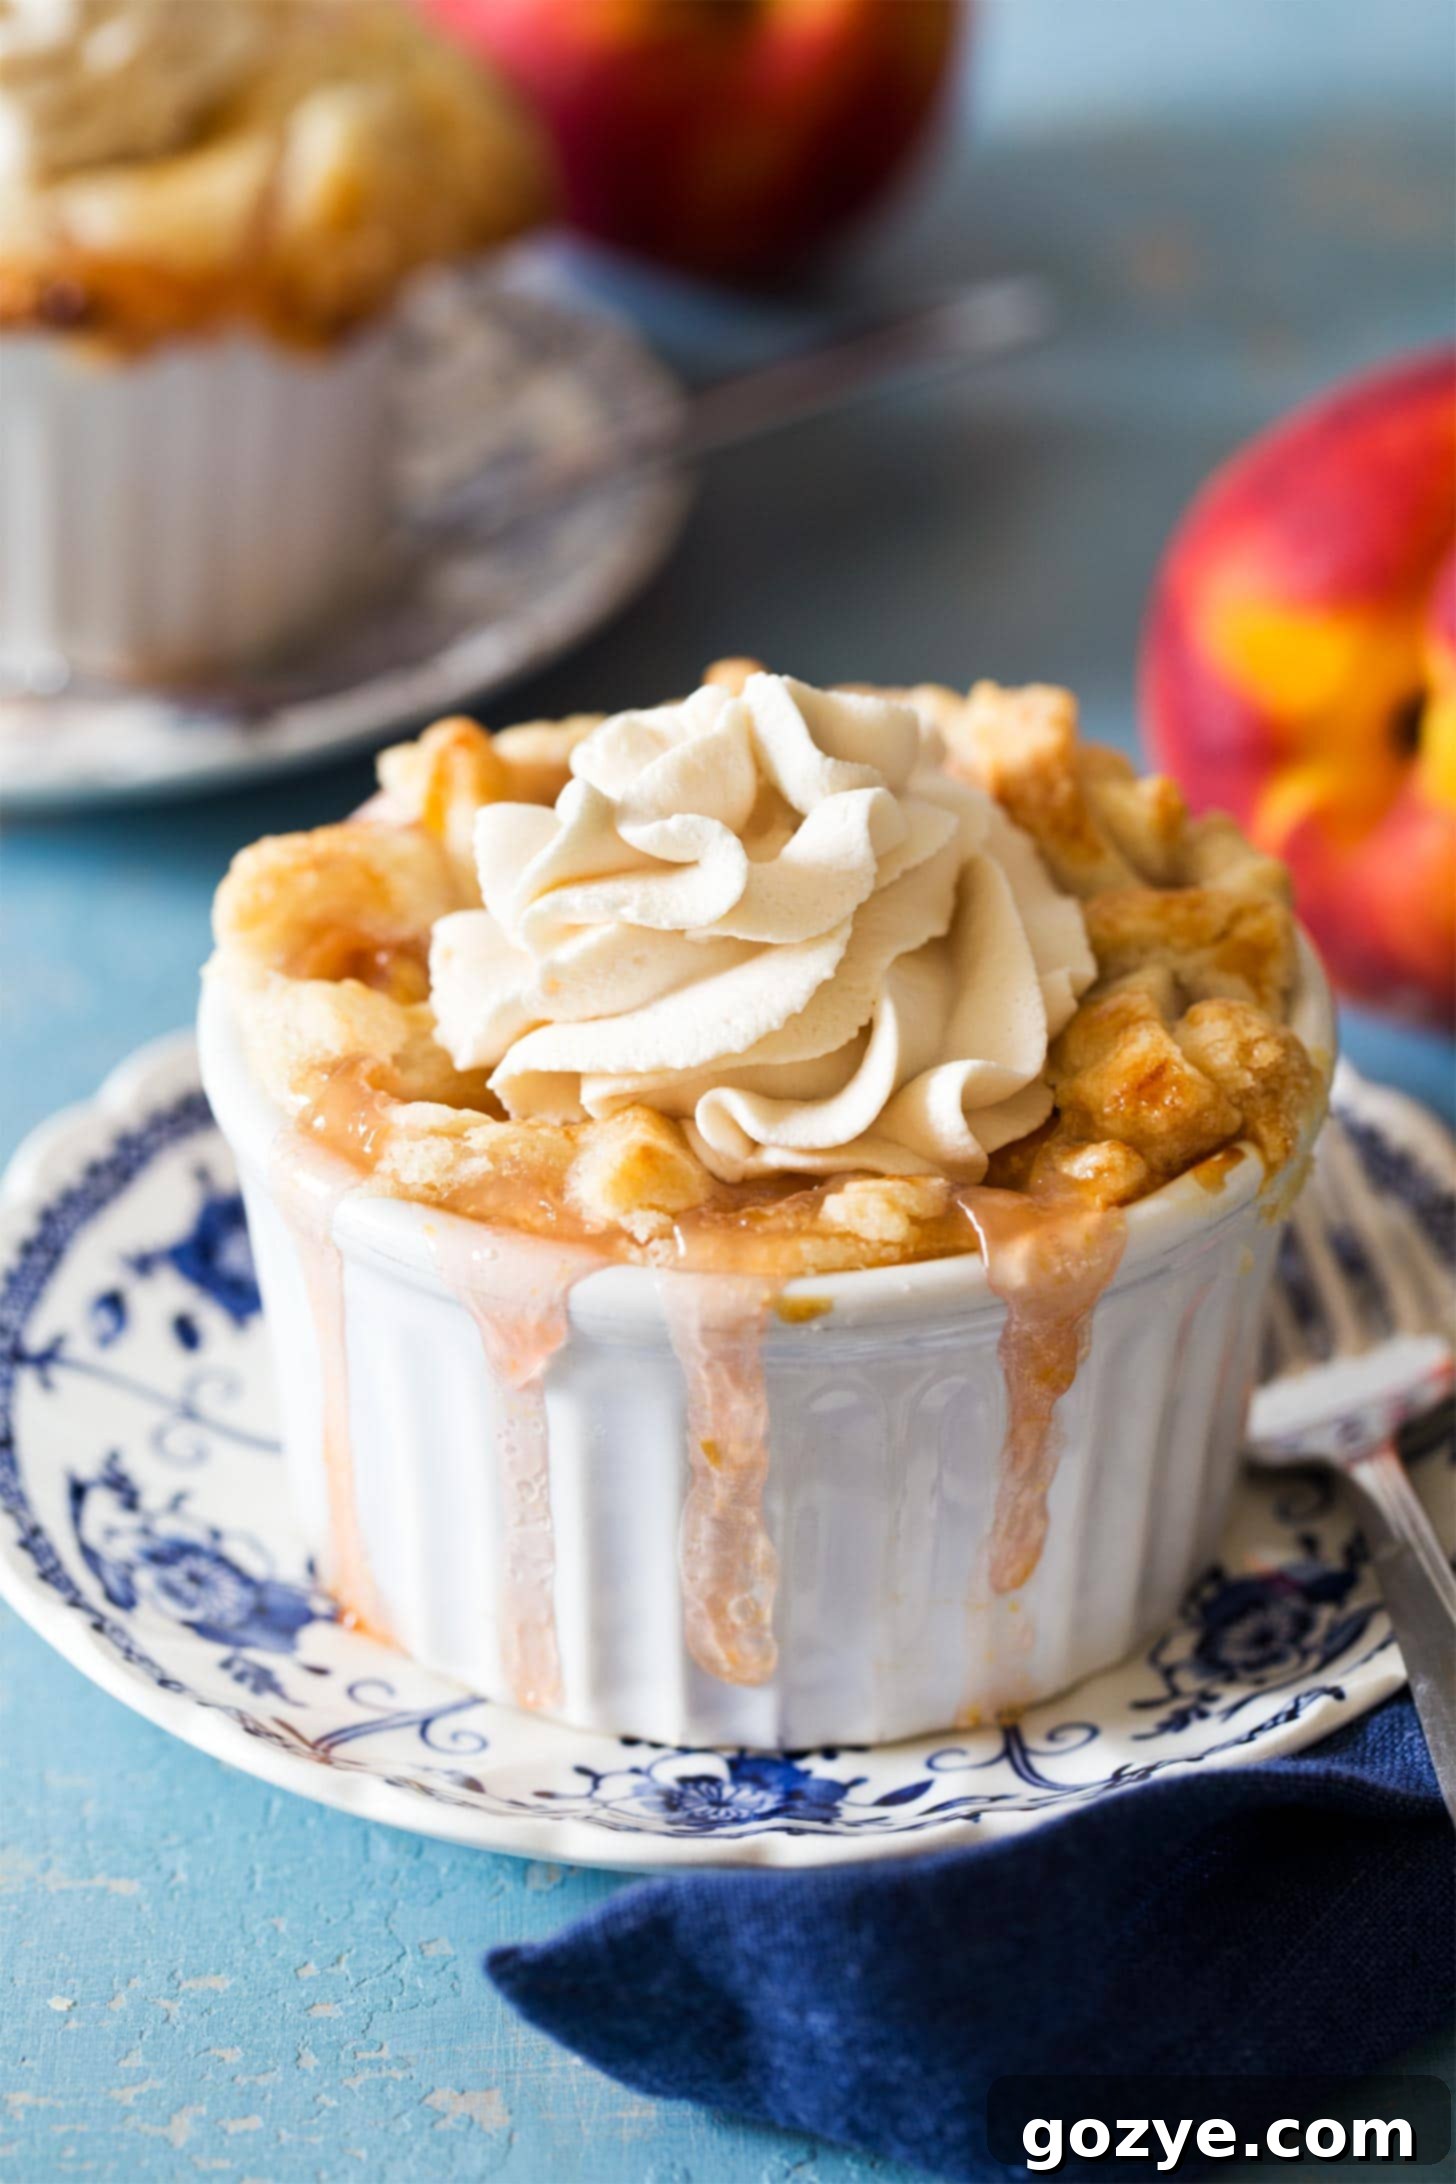
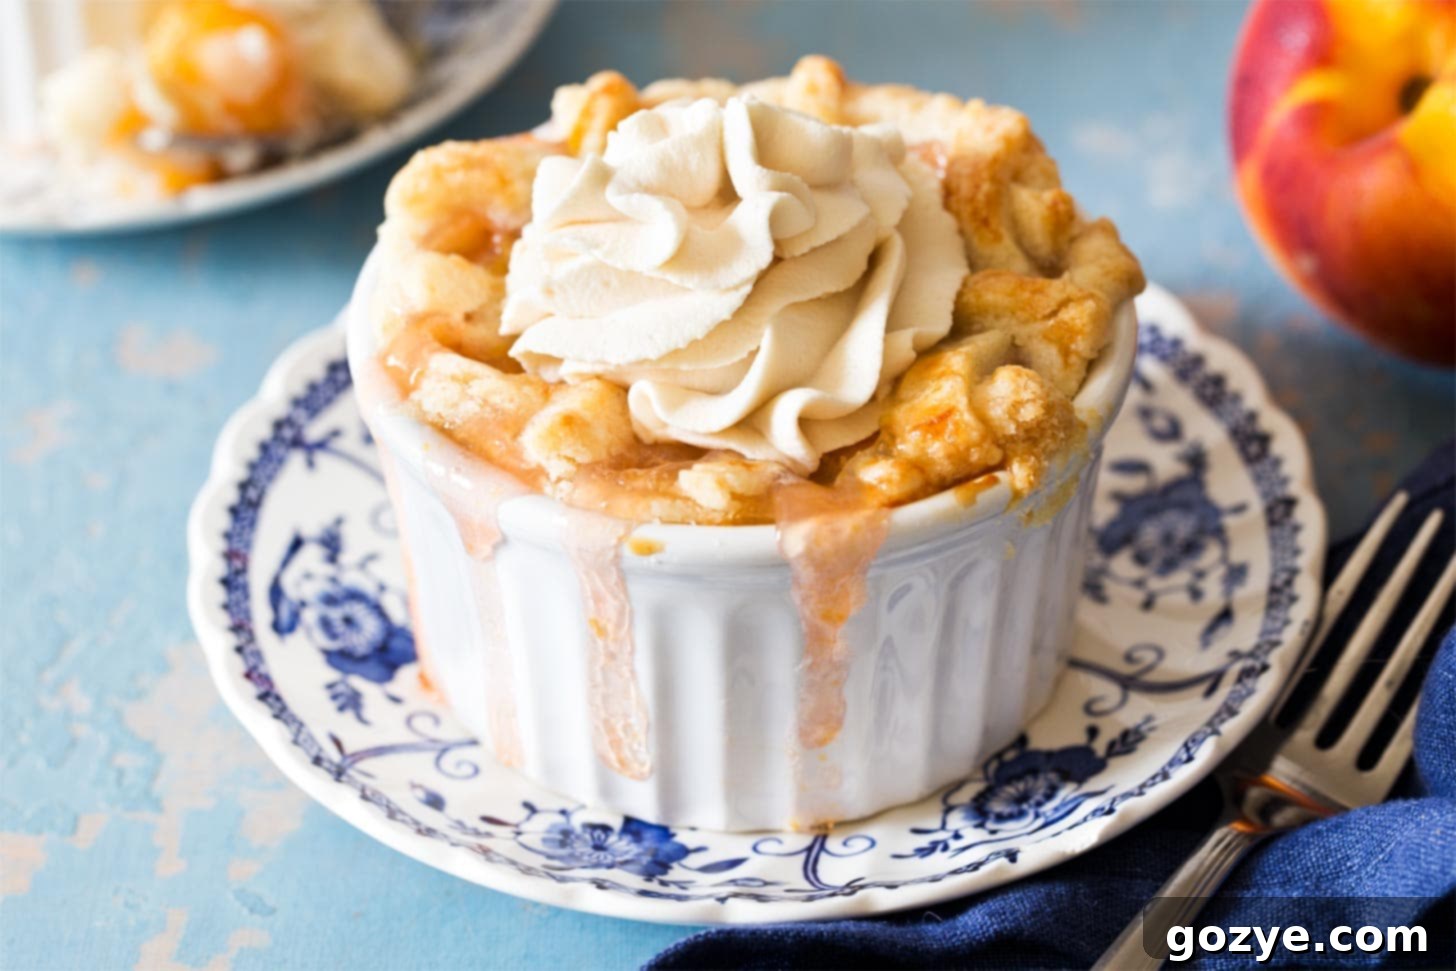
Summer just got a bit sweeter with these Mini Peach Pies! They’re individual pies baked in ramekins with a flaky, buttery pie crust bursting with a luscious peach pie filling. This recipe makes two charming ramekin pies, perfect for a delightful dessert for two.
As August rolls in, we find ourselves immersed in the heart of fresh peach season, especially here in Pittsburgh. This glorious time of year inspires a bounty of peach recipes, from classic favorites to innovative treats. We love creating everything from a cozy peach cobbler for two, to a refreshing no-bake peach cheesecake parfait, and of course, our versatile homemade peach pie filling.
Interestingly, while my blog has featured a homemade pie filling recipe since 2013, a dedicated peach pie recipe has been noticeably absent. Until now, that is!
These exquisite Mini Peach Pies finally fill that void, delivering a burst of juicy, sweet pie filling encased in a buttery, incredibly flaky homemade small pie crust. Similar to my popular mini strawberry pies, mini cherry pies, and mini apple pies, these are individual-sized delights baked in charming ramekins. They’re specifically designed to be a perfect summer dessert for two, offering both elegance and ease.
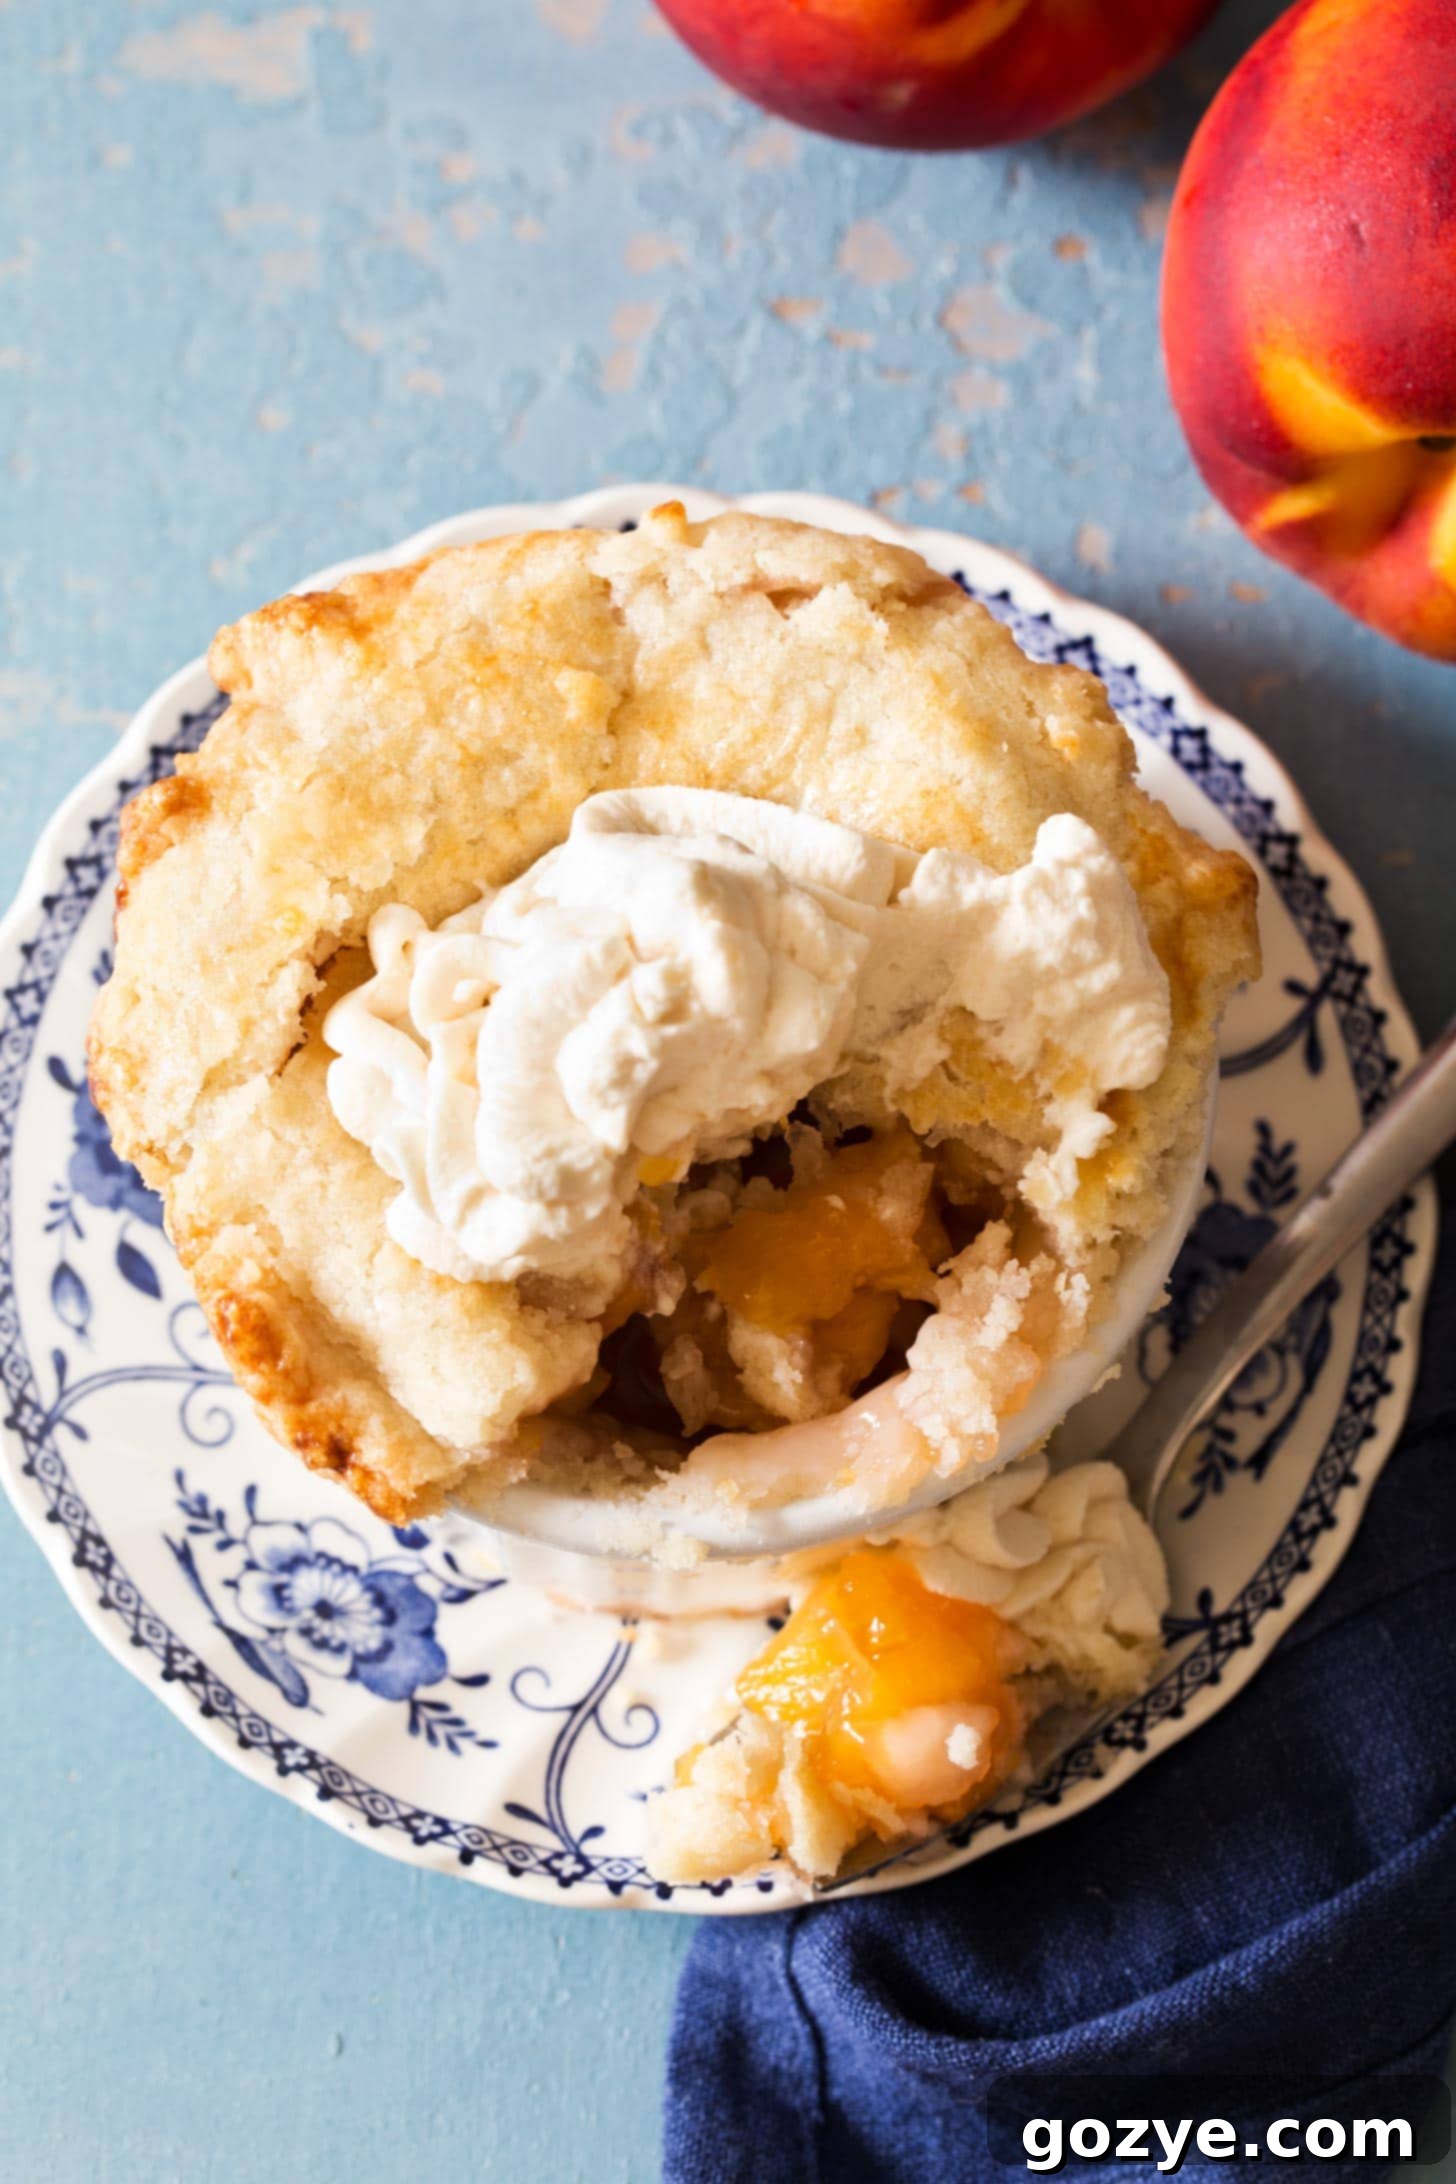
To elevate these mini pies, I love to garnish them with a dollop of honey whipped cream. The subtle sweetness of honey beautifully complements the peaches, a pairing I’ve explored before with my delicious peach jam without pectin.
And for those thinking, “But it’s too hot in August to turn on the oven!”, fear not! I’ve extensively tested these pies in the air fryer, achieving perfectly golden and bubbly results without heating up your kitchen. This means you can stay cool and still enjoy a warm, homemade peach pie!
Why You’ll Love These Individual Peach Pies
There’s something uniquely appealing about mini pies. Beyond their undeniable cuteness, they offer several advantages:
- Perfect Portion Control: No need to worry about cutting uneven slices or overindulging. Each ramekin holds a perfectly sized individual dessert.
- Ideal for Two: This recipe yields two pies, making it the ultimate romantic dessert or a thoughtful treat to share with a friend without having a large pie leftover.
- Quick Baking: Small pies bake much faster than their larger counterparts, getting you to dessert sooner.
- Customizable: Easily adapt toppings and even the crust design for each individual pie.
- No Slicing Stress: Serve them straight from the ramekin, eliminating the mess and potential crumbling that can come with slicing a traditional pie.
Key Ingredients For Flaky Mini Peach Pies
Crafting these delectable mini peach pies requires a few essential ingredients for both the crust and the filling. Here’s a detailed look at what you’ll need and why each component is crucial:
- All-Purpose Flour: The foundation of our tender crust. Flour provides structure, ensuring the dough holds its shape while baking and prevents it from becoming too sticky to work with.
- Granulated Sugar: Adds a touch of sweetness to the crust and aids in browning, giving it that beautiful golden hue we all love.
- Salt: A pinch of salt enhances the overall flavor of the pie crust, balancing the sweetness and bringing out the richness of the butter.
- Cold Butter: Essential for a truly melt-in-your-mouth pie crust. Keeping butter cold creates pockets of steam during baking, which results in those desirable flaky layers. It also contributes significantly to the crust’s rich flavor.
- Cold Shortening: The secret weapon for the most tender and flaky crust. While butter provides flavor, shortening excels at creating tenderness and prevents the crust from becoming tough. Because shortening is 100% fat and has a higher melting point than butter, it helps create exceptionally flaky layers without adding additional flavor that might compete with the peaches.
- Cold Water: Just like butter, cold water is key to flakiness. When it evaporates during baking, it creates steam, separating the layers of dough. It also binds the flour and fats together to form a cohesive dough without activating too much gluten, which can lead to a tough crust.
- Peach Pie Filling: The star of the show! You have the flexibility to use either a high-quality homemade peach pie filling (highly recommended for freshness!) or a convenient canned version.
- Large Egg (for egg wash): An egg, beaten with a fork, is used for the egg wash. This is crucial for giving the pie crust a beautiful, golden-brown sheen and a slightly crisp texture after baking.
Choosing and Preparing Your Peaches
If you’re opting for homemade peach pie filling, selecting ripe, juicy peaches is paramount. Look for peaches that are fragrant and yield slightly to gentle pressure. For this recipe, you’ll want to peel and slice them. To easily peel peaches, you can briefly blanch them in boiling water for about 30-60 seconds, then immediately transfer them to an ice bath. The skins should slip off easily. Slice them into small, even pieces so they cook consistently and fit well into the ramekins.
What baking dish do I need to make this individual peach pie recipe?
To create these charming mini pies, you’ll need two ramekins. Ramekins are small, round ceramic baking dishes, often featuring a fluted exterior. Their individual size makes them perfect for single-serving desserts.
I frequently use them for delightful individual treats such as my microwave chocolate chip cookie and decadent brownies for two. You can easily purchase a set of two 6-ounce ramekins online, at most big box stores, or even discover unique ones at a thrift store.
Once you’ve mastered these ramekin pies, be sure to explore more of my ramekin dessert recipes for continued individual baking inspiration!
Don’t have ramekins? No problem! You can fit the entire recipe into one 6-inch pie plate. Alternatively, if you prefer handheld treats, you can follow the instructions for making my small-batch apple hand pies to adapt this recipe into individual pastries.
How To Make Mini Peach Pies: Step-by-Step
Making these mini peach pies is a straightforward and rewarding process. Follow these steps for perfect individual desserts:
1. Prepare the Pie Crust
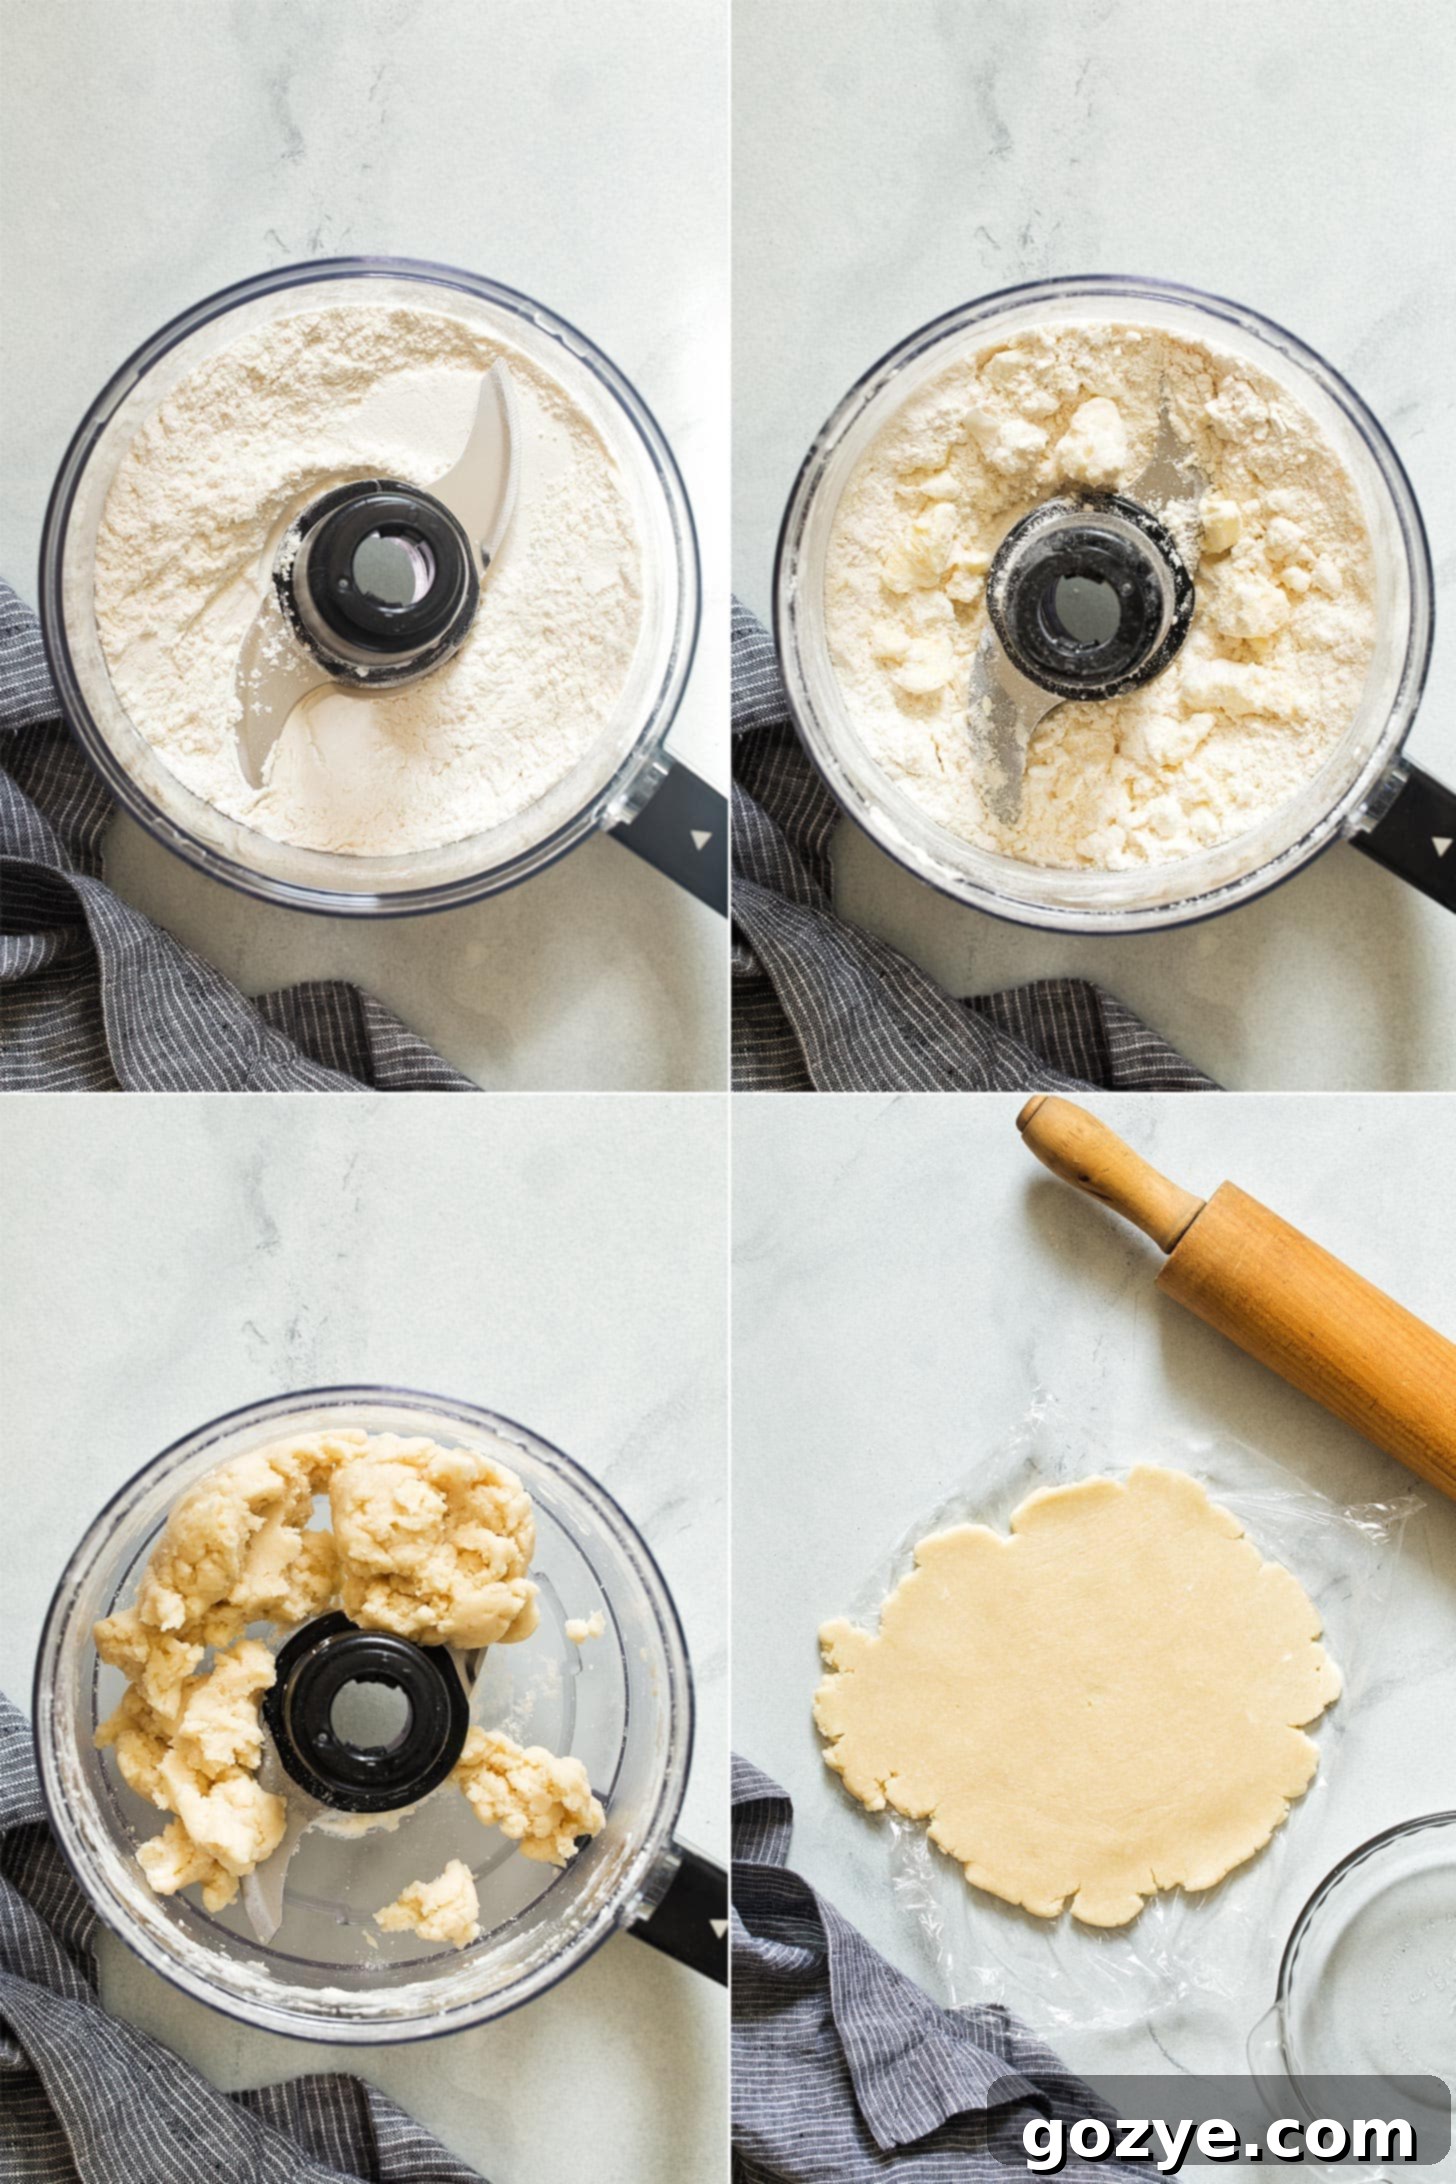
Begin by preparing your pie crust. Whether you opt for the speed of a food processor or the traditional method with a pastry cutter, the key is to work quickly and keep your ingredients, especially the butter and shortening, as cold as possible. This is crucial for achieving that desired flaky texture. Avoid overworking the dough, as this can develop the gluten too much and result in a tough crust. Once made, chill the dough for at least 30 minutes to allow the gluten to relax and the fats to firm up.
2. Line the Ramekins
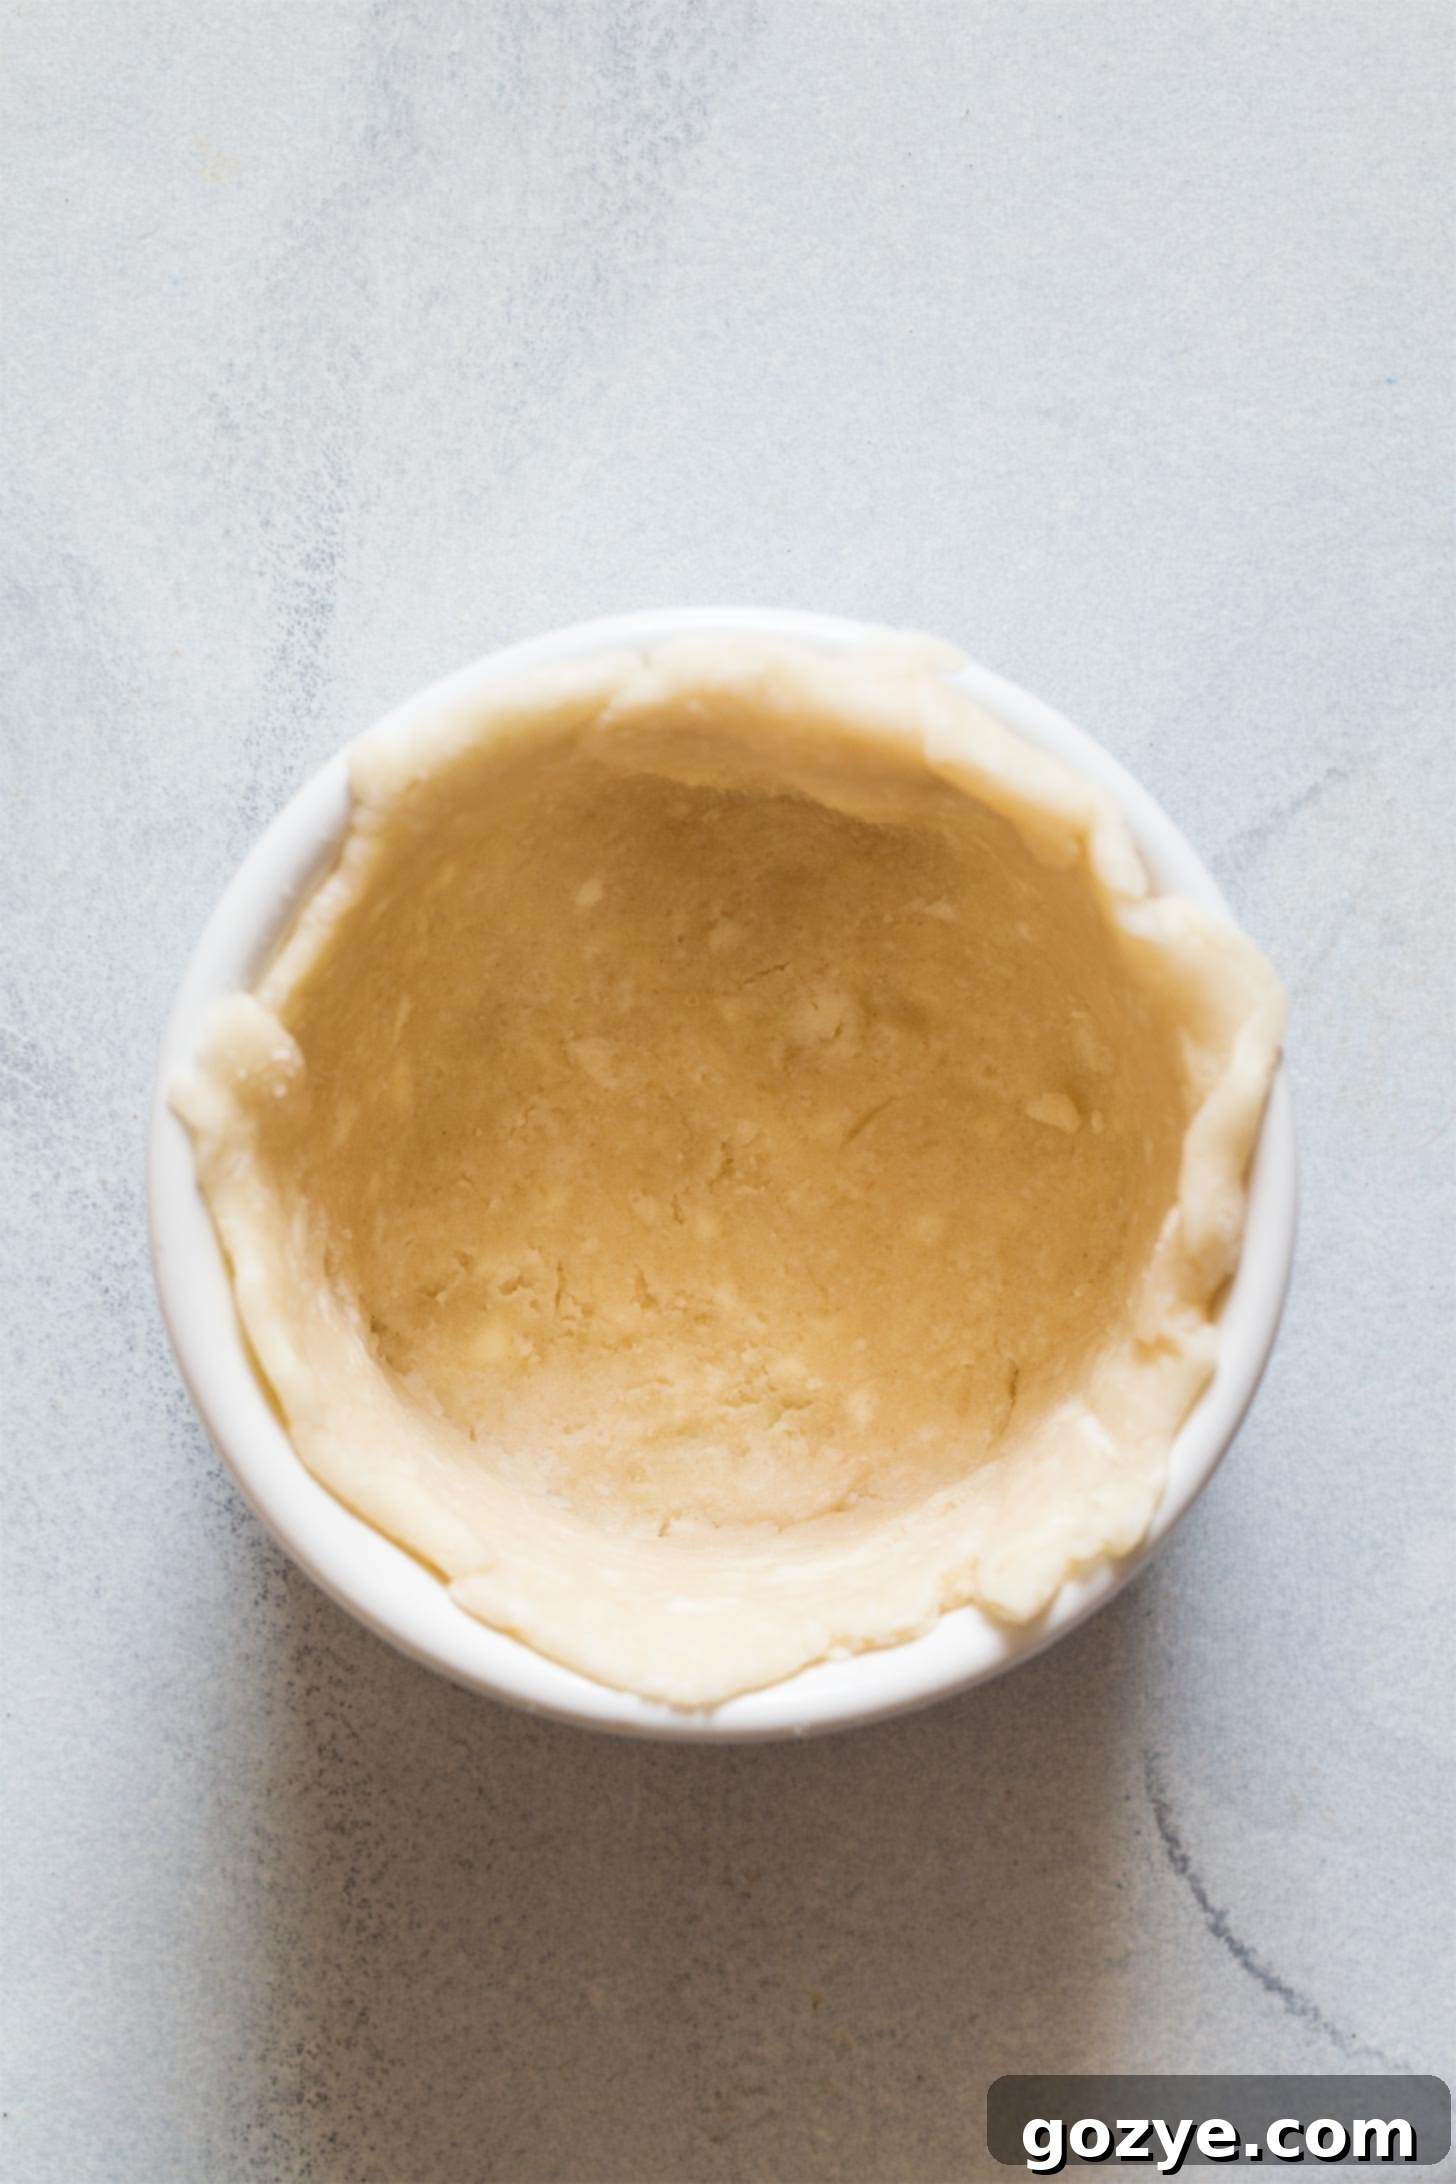
Take one piece of your chilled dough and roll it out on a lightly floured surface into a circle, ensuring it’s slightly larger than your ramekin. Carefully lift the dough and gently press it into the bottom and up the sides of the ramekin. If the dough tears, simply patch it together with your fingers – it will bake up perfectly! Trim any excess dough from the edges, leaving a small overhang.
3. Fill with Peach Goodness
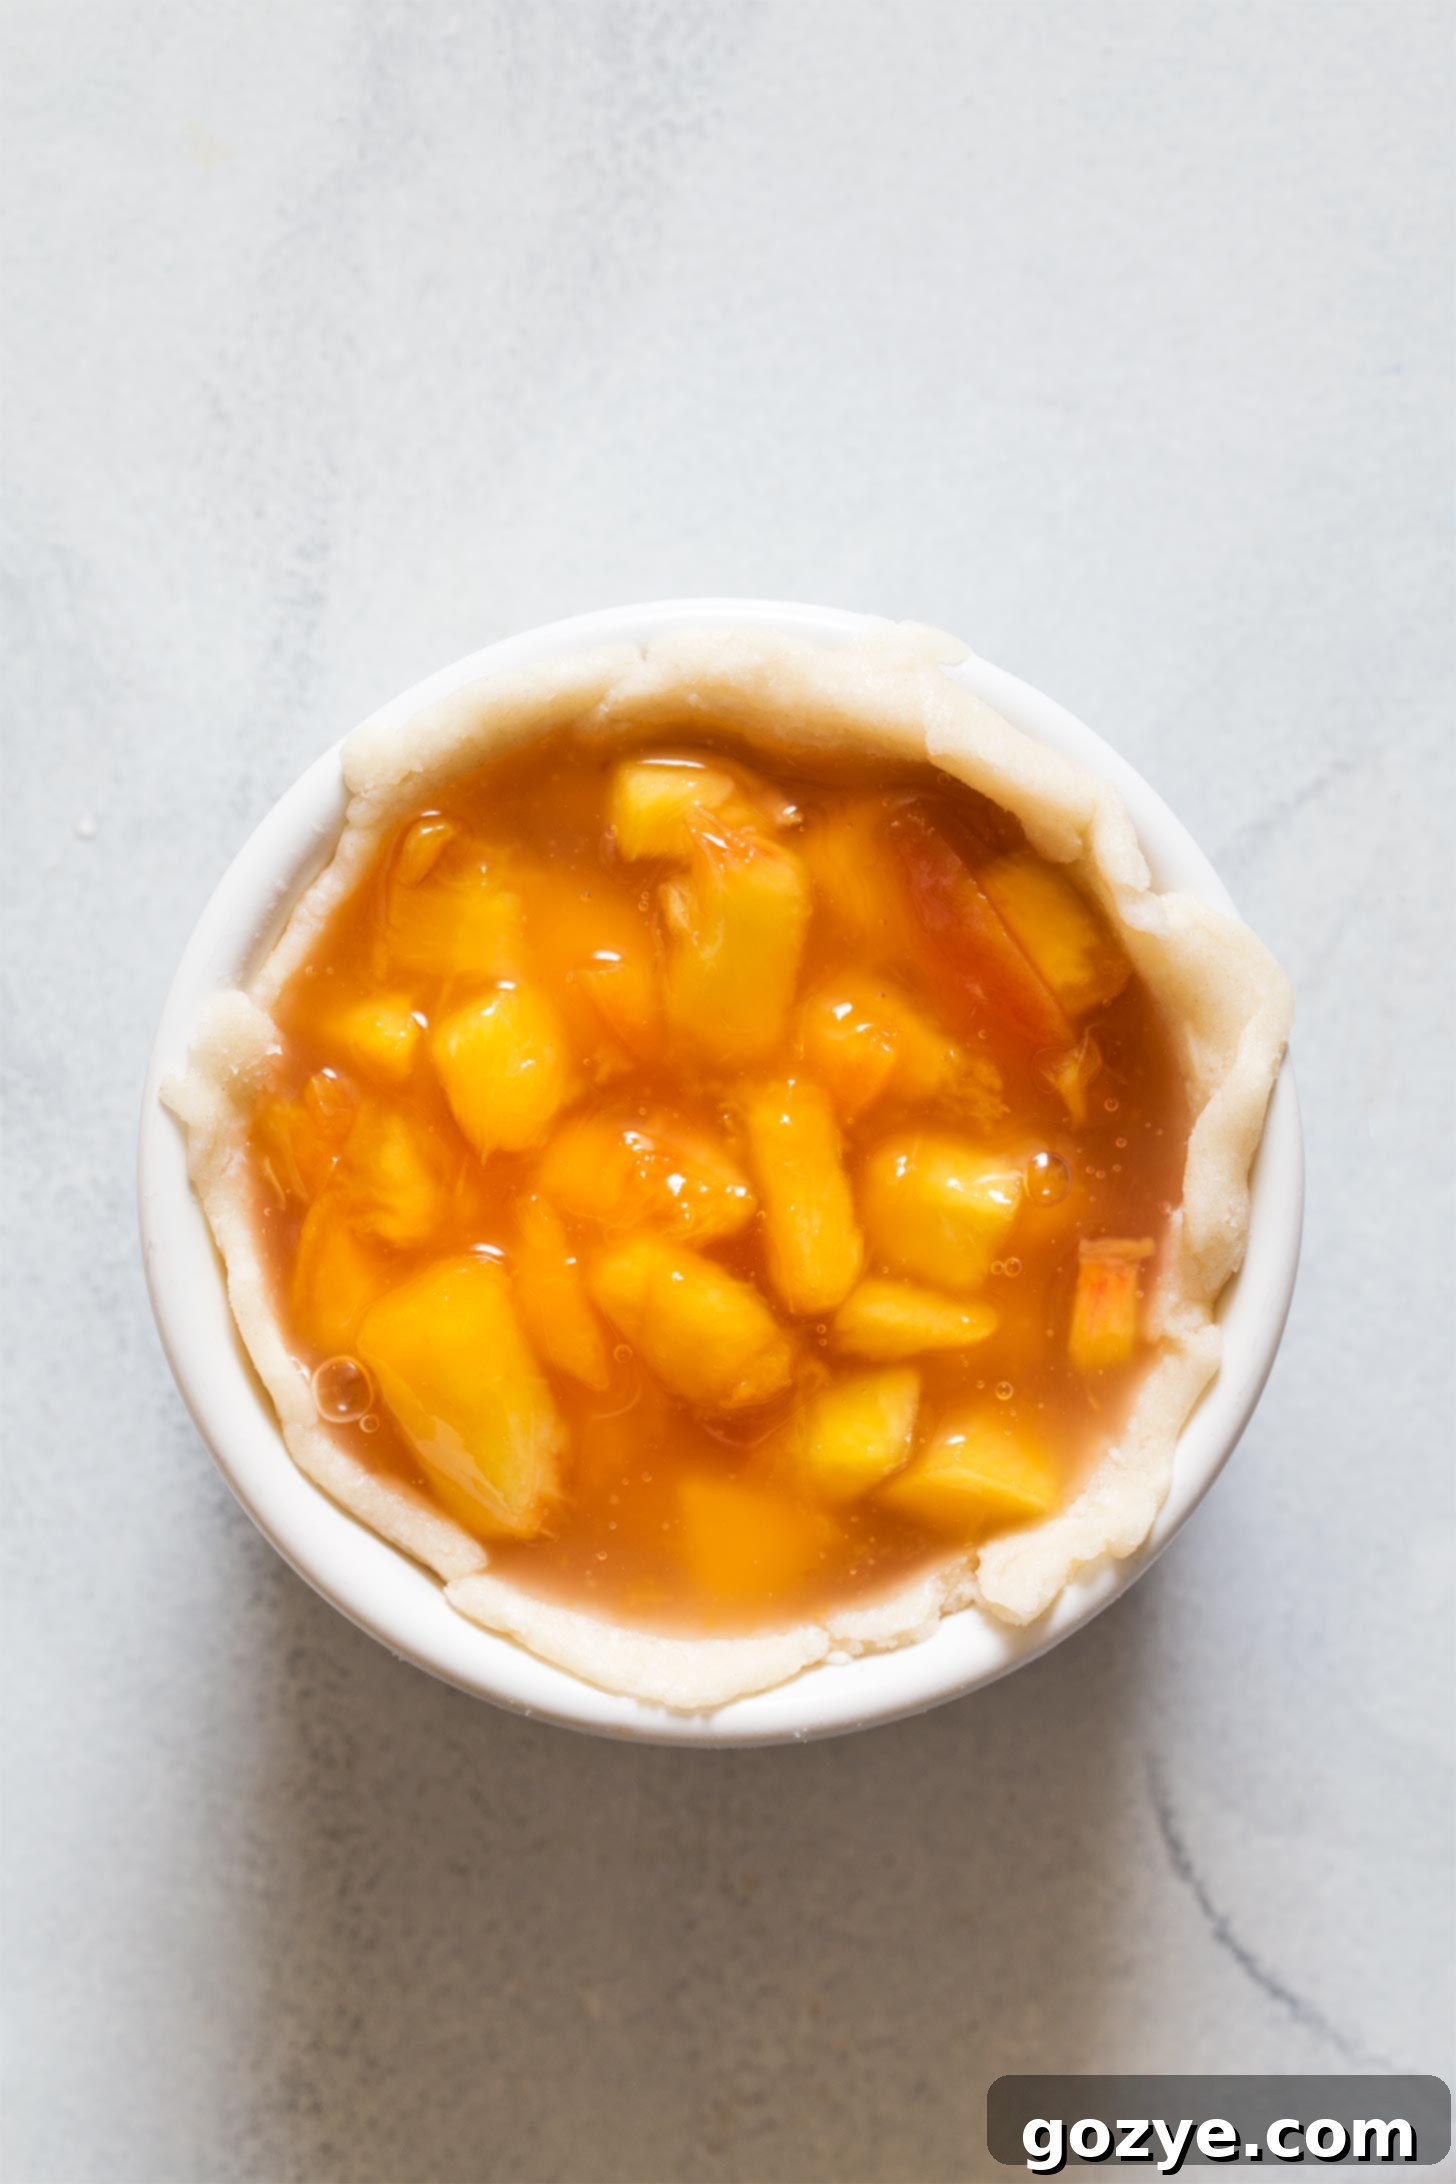
Spoon half of your peach pie filling into the prepared pie crust, spreading it evenly. Be careful not to overfill the ramekin, as the filling will bubble up during baking. Leave a small gap from the top edge to prevent spills.
4. Create the Top Crust
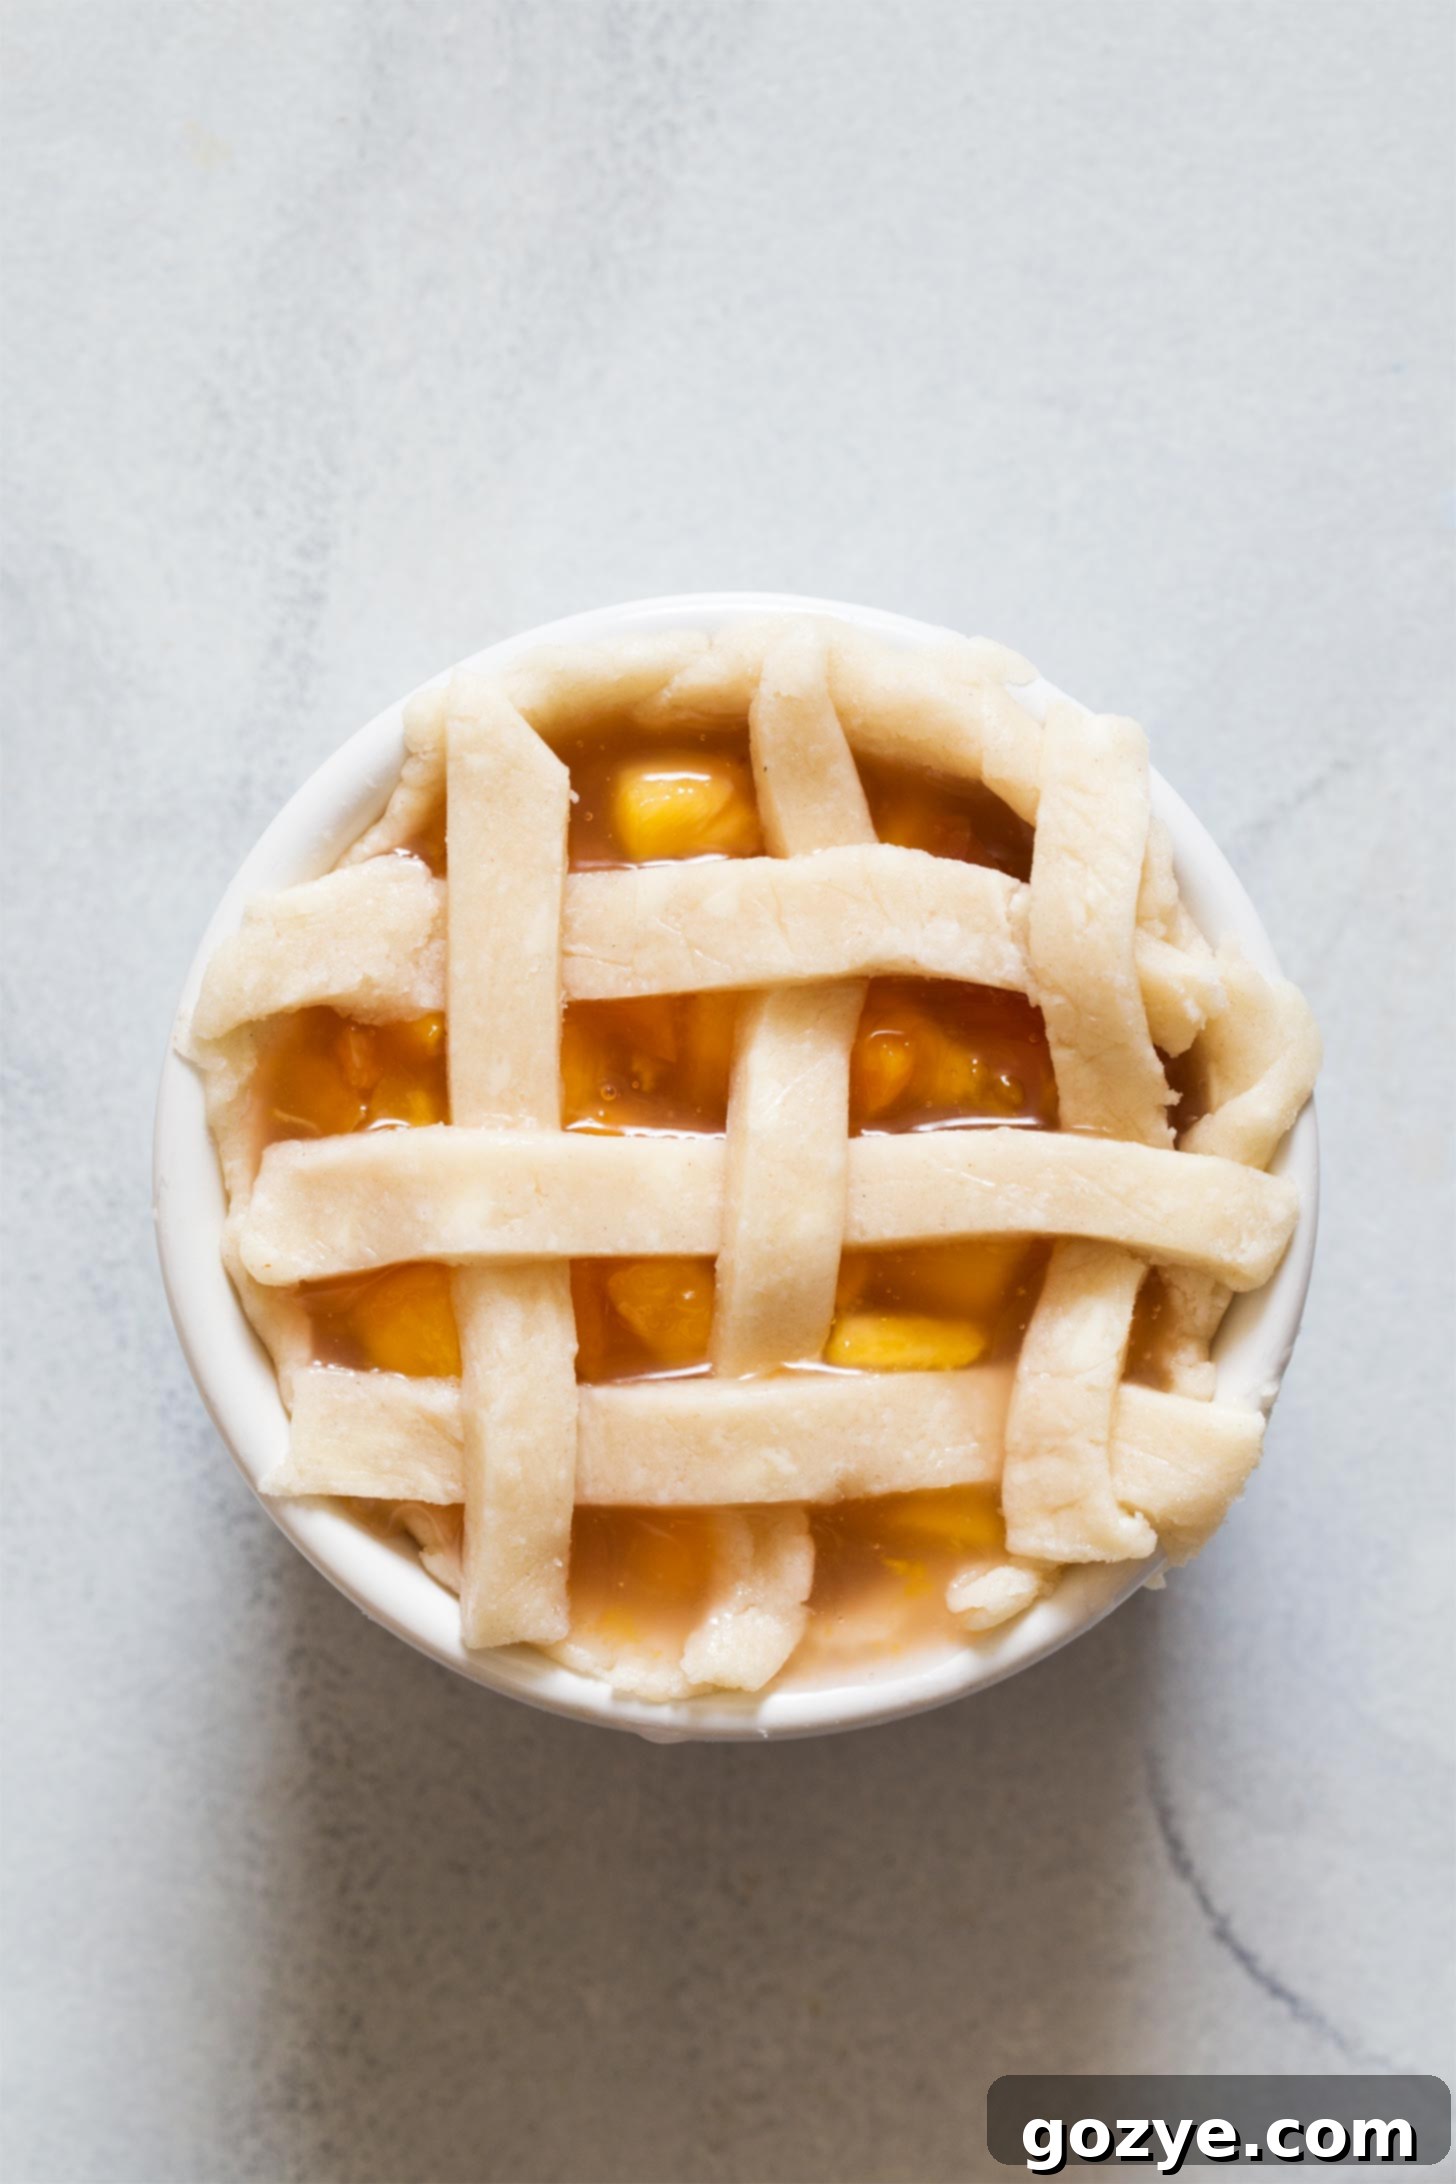
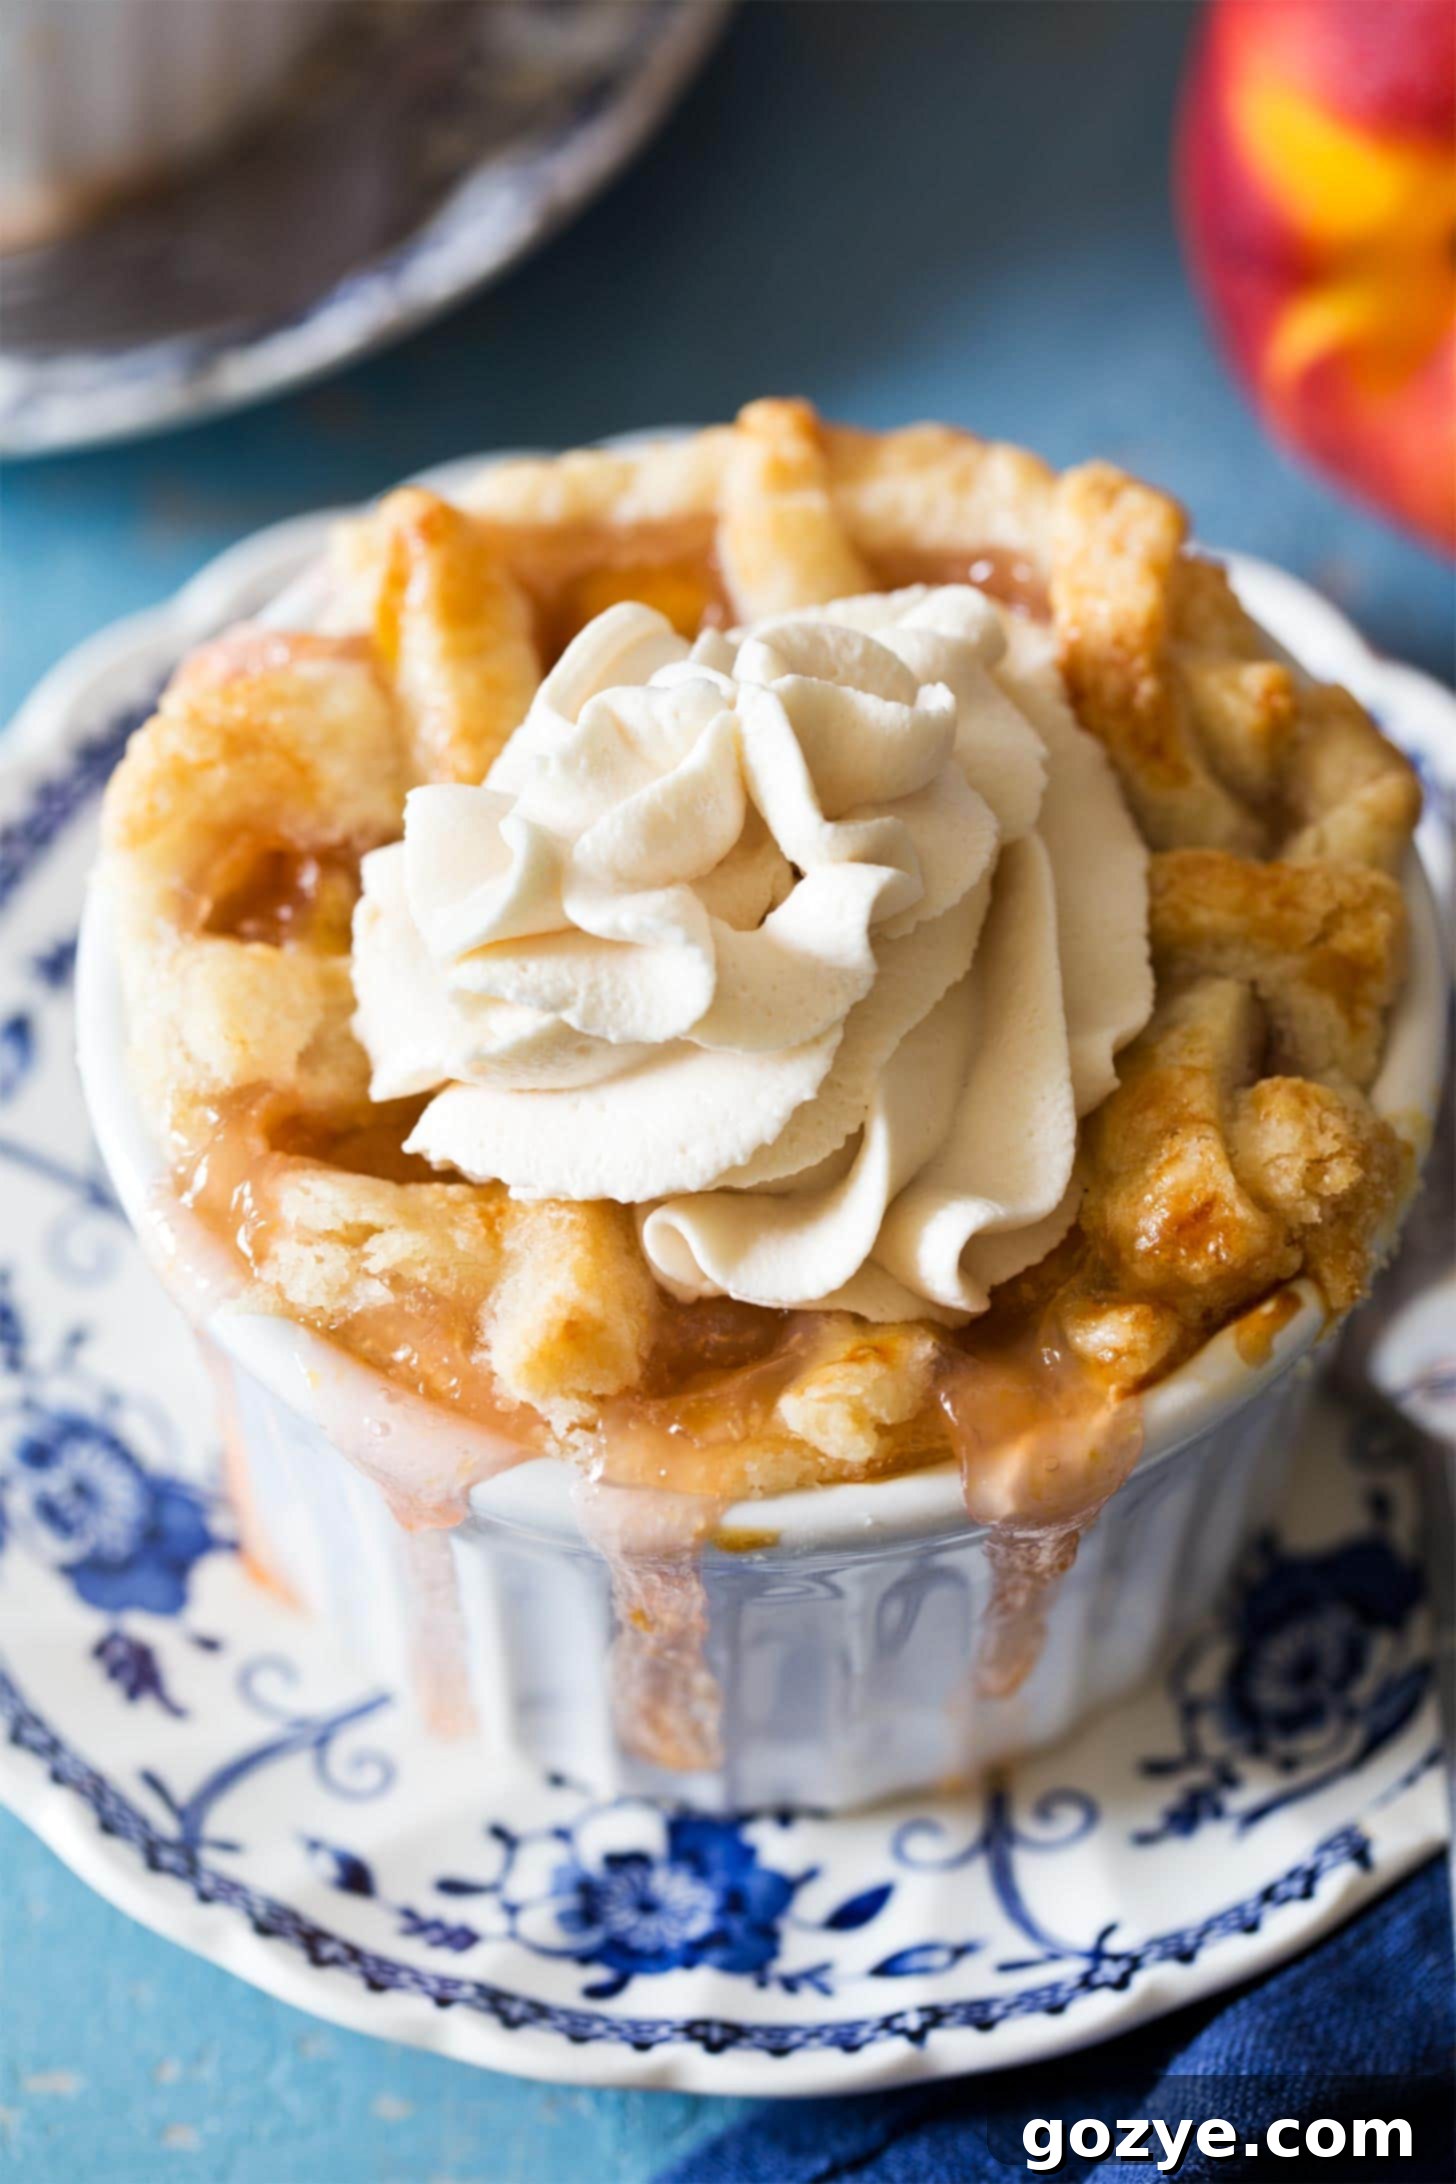
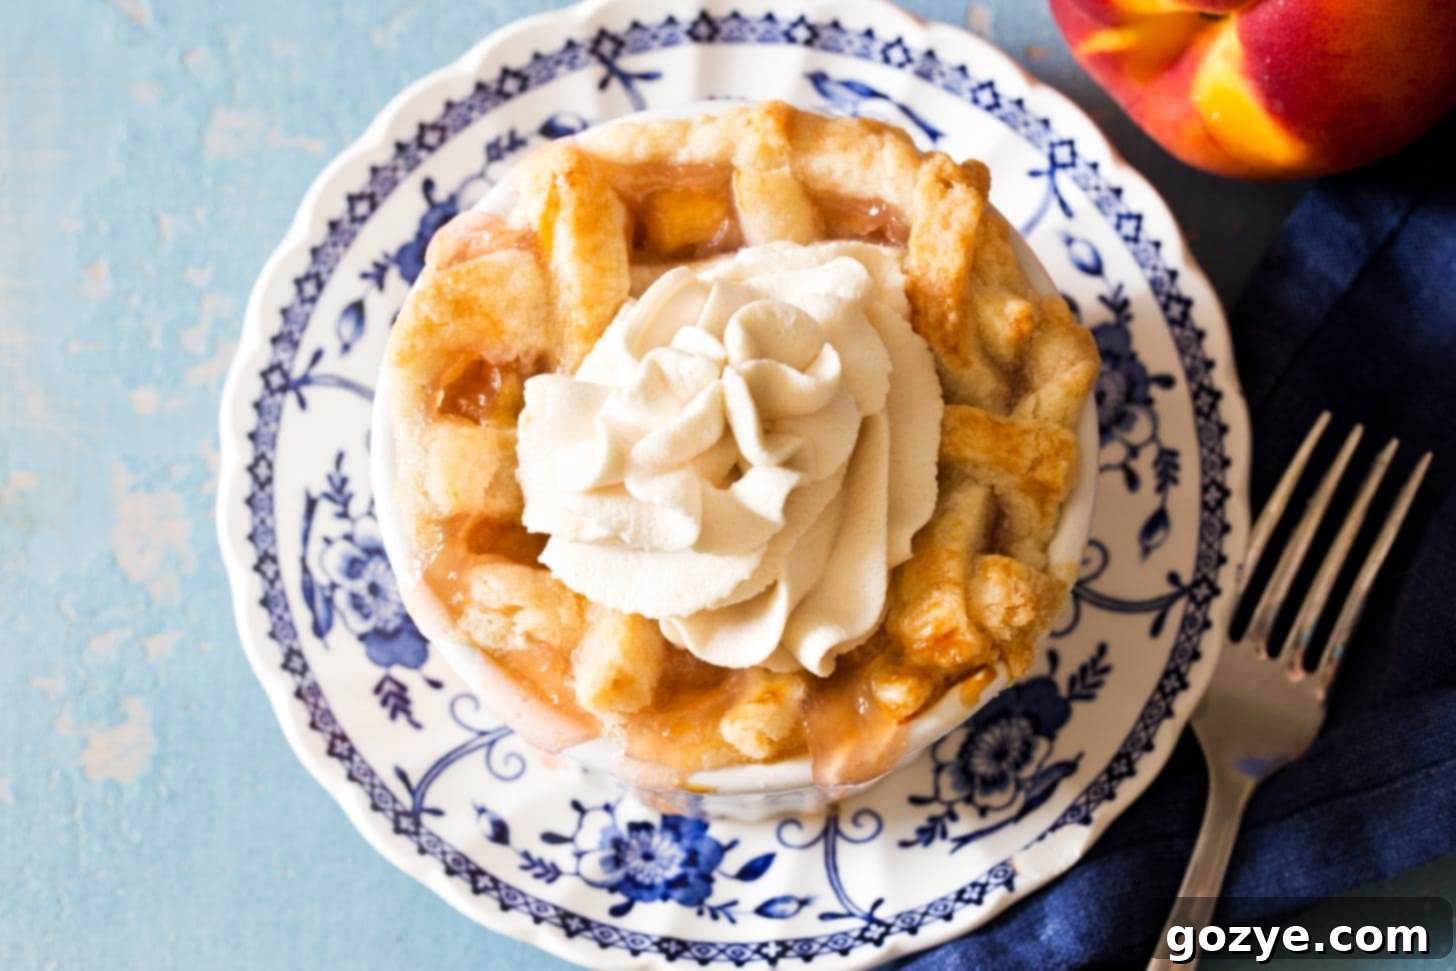
Roll out the second piece of dough into a circle just large enough to cover the top of the ramekin. Now, you have a couple of artistic options! You can either cut the dough into strips to weave a beautiful lattice crust, or simply place the entire dough circle on top as a single piece. If using a single piece, make sure to seal the edges well by crimping them with your fingers or a fork, then cut a few small slits in the top. These slits are essential for allowing steam to escape during baking, preventing the crust from puffing up excessively and ensuring even cooking.
5. Repeat and Prepare for Baking
Repeat steps 2-4 with your second ramekin, ensuring both individual peach pies are beautifully assembled. Once both are ready, gently place both ramekins onto a standard cookie sheet. This serves a dual purpose: it catches any potential spills from the bubbling filling and makes it significantly easier to transfer the hot ramekins in and out of the oven.
6. Egg Wash and Bake
With your pies on the cookie sheet, brush the tops generously with the beaten egg wash. This will give them a gorgeous golden-brown finish. Bake in a preheated oven at 350°F (175°C) for 35-40 minutes, or until the crust is deeply golden brown and the filling is visibly bubbling around the edges. The bubbling indicates the filling has thickened and cooked through.
7. Cool and Serve
Once baked, remove the pies from the oven and let them cool on the cookie sheet for at least 15 minutes. This cooling period is crucial, as it allows the filling to set properly, preventing it from being too runny when you take your first bite. Serve them warm for a comforting treat, or cool them completely to room temperature if you prefer.
Air Fryer Alternative
If you’re looking to keep your kitchen cool, especially during the warmer months, these mini peach pies bake wonderfully in an air fryer! Simply preheat your air fryer to 350°F (175°C) and bake the prepared ramekin pies for approximately 20 minutes, or until the tops are golden brown and the filling is bubbly. The air fryer method delivers a deliciously crisp crust without the need for a conventional oven.
Storage Tips
If you have any leftover pie (a rare occurrence!), you can refrigerate it. Once completely cooled, cover the ramekin tightly with plastic wrap or transfer the pie to an airtight container. It will keep well in the refrigerator for up to 4 days. Reheat gently in the microwave or air fryer for a few minutes before serving, if desired.
Do I need an egg wash for mini pies?
It’s understandable to question the use of a whole egg for just two individual pies, especially when you’re doing small-batch baking. However, the egg wash is truly a game-changer for achieving that professional, appetizing look.
An egg wash is the secret to a shiny, beautifully golden-brown pie crust. Without it, your pies might appear pale and “anemic,” lacking the vibrant color that makes them so appealing.
The good news is that you don’t have to waste any leftover egg wash. You can easily save it in a small, covered container in the refrigerator for a day or two. Use it to brush other delightful desserts that benefit from an egg wash, such as my sweet peach turnovers. Alternatively, you can use it in savory applications, like dredging breaded chicken for recipes such as my flavorful buffalo chicken tacos. So, embrace the egg wash – it’s a versatile tool!
What To Serve With Your Mini Peach Pies
While this mini peach pie recipe is utterly delicious on its own, it truly shines when paired with a complementary topping. As mentioned, a cloud of honey whipped cream adds a wonderful depth of flavor, enhancing the natural sweetness of the peaches.
However, don’t stop there! Get creative with various flavored whipped creams to find your perfect pairing:
- Homemade Whipped Cream: For a timeless and traditional accompaniment with pure vanilla essence.
- Chocolate Whipped Cream: Offers a subtle cocoa pairing that beautifully complements the fruit without overpowering it.
- Maple Whipped Cream: Infuses a touch of earthy sweetness and warmth, especially lovely as the seasons change.
- Cream Cheese Whipped Cream: Provides a delightful tanginess that cuts through the sweetness of the pie, offering a balanced flavor profile.
- Peanut Butter Whipped Cream: For an unexpected yet delicious nutty twist, adding richness and a unique flavor dimension.
In the mood for ice cream? A scoop of homemade ice cream melting into the warm pie is pure bliss. Consider these options:
- Vanilla Bean Ice Cream: The classic choice, allowing the peach flavor to truly shine.
- Peach Ice Cream: Doubling down on the peach flavor for an intensely fruity experience.
- Buttermilk Ice Cream: Offers a slight tang that beautifully contrasts with the sweet peaches, similar to the cream cheese whipped cream.
How To Freeze and Bake Frozen Mini Peach Pies
These mini peach pies are excellent candidates for freezing, whether you’re getting a head start on your baking or saving a delightful treat for a future craving. You can freeze them using one of two methods:
1. Freezing Before Baking (Unbaked)
This method is fantastic for meal prepping or having homemade pies ready for unexpected guests. Fully assemble both of your mini pies in their ramekins, including the top crust and egg wash (you can apply the egg wash just before baking if you prefer, but it holds up well if applied before freezing too). Wrap each individual ramekin pie securely in several layers of plastic wrap, ensuring no air can get in. Then, place the wrapped pies into a freezer-safe bag or an airtight container to prevent freezer burn. They can be frozen for up to 6 months.
2. Freezing After Baking (Baked)
If you have leftover baked pies or want to have fully cooked desserts ready to reheat, this is your method. Allow your baked pies to cool completely to room temperature. This is vital to prevent condensation and ice crystals from forming in the freezer, which can make the crust soggy. Once cool, wrap each pie tightly in plastic wrap, then place them in a freezer-safe bag or container. These can also be stored in the freezer for up to 6 months.
How To Bake Frozen Peach Pie
When you’re ready to enjoy your frozen ramekin pies, follow these steps for the best results:
- Thaw Overnight: Transfer the frozen pies (still wrapped) from the freezer to the refrigerator and let them thaw overnight. This slow thawing helps maintain the integrity of the crust and filling.
- Room Temperature Rest: Once thawed, remove the pies from the refrigerator and let them sit out at room temperature for about 30-60 minutes while your oven preheats. This ensures more even baking.
- Bake as Directed: Preheat your oven to 350°F (175°C). Place the pies on a baking sheet and bake as directed in the original recipe (35-40 minutes).
- Adjust Baking Time: If the pies are still quite cold when they go into the oven, you may need to add an extra 10-15 minutes to the baking time. Keep an eye on them! The key indicators of doneness are a beautifully golden-brown, bubbly crust and a visibly simmering filling.
No matter which freezing method you choose, you’ll be able to enjoy a homemade peach pie, even when peaches aren’t in season!
More Mini Pie Recipes To Love
If you’ve fallen in love with these individual peach pies, you’re in for a treat! The world of mini pies is vast and delicious. Here are some other delightful mini pie recipes that are perfect for personal portions or dessert for two:
- Mini Lemon Meringue Pies: Zesty, sweet, and topped with a cloud of toasted meringue.
- Mini Pumpkin Pies: All the fall flavor of a classic pumpkin pie, but in a charming individual size.
- Eggless Pumpkin Pie: A fantastic option for those with dietary restrictions, without compromising on flavor or texture.
Each of these mini pie recipes offers the same convenience and charm as our mini peach pies, making them perfect for any occasion.

Mini Peach Pies
2 servings
20 minutes
40 minutes
1 hour
Summer just got a bit sweeter with these Mini Peach Pies! They’re individual pies baked in ramekins with a flaky, butter pie crust bursting with a juicy peach pie filling.
Ingredients
- 1 recipe Small Pie Crust
- 2 cups peach pie filling (homemade or canned)
- 1 large egg, beaten with fork
Instructions
- Make your small pie crust recipe (get instructions here). Chill dough for at least 30 minutes.
- Take one dough piece out of the refrigerator. On a lightly floured surface, roll it into a circle slightly bigger than your ramekin. Line the bottom and sides of the ramekin with the crust, patching it together if necessary. Trim excess dough.
- Fill the crust with 1 cup peach pie filling, spreading evenly and not overfilling.
- Take another dough piece and roll into a circle just big enough to cover the top. Cut it into strips to make a lattice crust OR place the whole dough on top as a single piece and seal the edges by crimping. If covering the whole pie, cut a few slits in the top to let steam escape.
- Repeat with the remaining pie dough and filling for the second pie. Refrigerate both pies while you preheat the oven.
- Preheat oven to 350F (175°C). Once oven is ready, place both ramekins on a cookie sheet then brush the tops with the beaten egg wash for a golden finish.
- Bake for 35-40 minutes or until the crust is golden brown and the filling is bubbly. Cool for at least 15 minutes to allow the filling to set, then serve warm or at room temperature.
Alternatively, to use an air fryer, preheat to 350F (175°C) and bake for 20 minutes or until golden brown on top. This is a great option to avoid heating your kitchen in the summer!
Refrigerate leftover pie in an airtight container or covered tightly with plastic wrap for up to 4 days.
Notes
- Serve with honey whipped cream, homemade whipped cream, chocolate whipped cream, peanut butter whipped cream, maple whipped cream, or cream cheese whipped cream.
- Enjoyed this recipe? Check out my mini strawberry pies, mini cherry pies and mini apple pies.
- Don’t have ramekins? Put the entire recipe into one 6-inch pie plate or follow my instructions for making apple hand pies.
- For best results, ensure all pie crust ingredients are very cold.
- Don’t skip the egg wash for a beautiful golden crust.
Recommended Products
As an Amazon Associate and member of other affiliate programs, I earn from qualifying purchases.
- 6 ounce Ramekins
- 6 Inch Pie Plate
Did you make this recipe?
Let me know what you think! Rate the recipe above, leave a comment below, and/or share a photo on Instagram using #HITKrecipes
