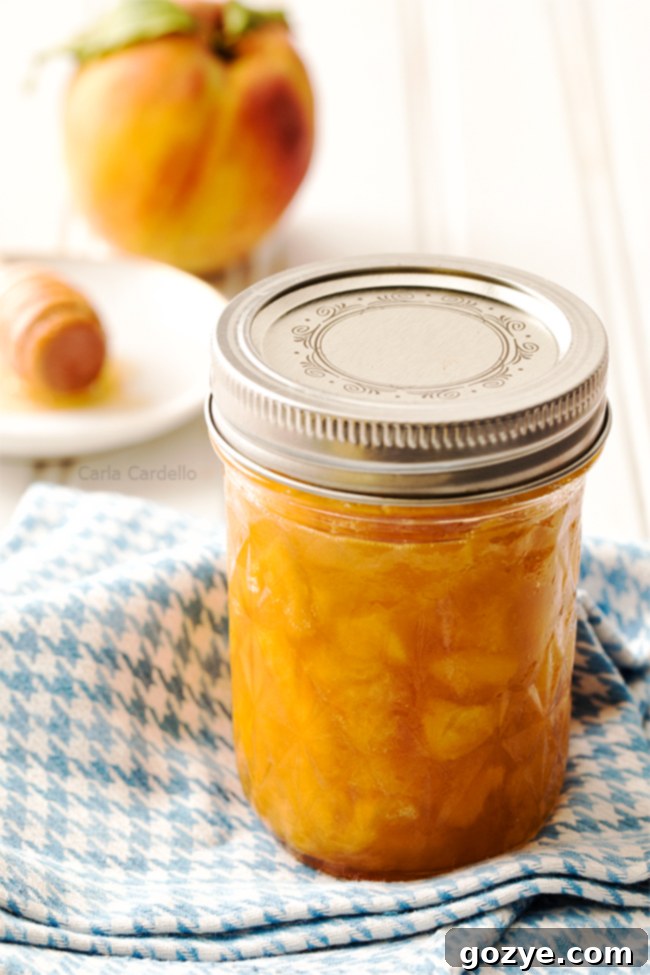
Delicious Small Batch Peach Jam Without Pectin: Your Easy 4-Ingredient Recipe
Brighten up your morning toast and elevate your desserts with this incredibly simple, 4-ingredient Peach Jam without pectin! This recipe is a dream come true for beginners and seasoned home cooks alike, primarily because this small batch peach jam only yields one 6-ounce jar. It’s the perfect way to enjoy fresh, homemade goodness without the fuss of large-scale canning or special ingredients. Get ready to capture the sweet taste of summer in a jar!
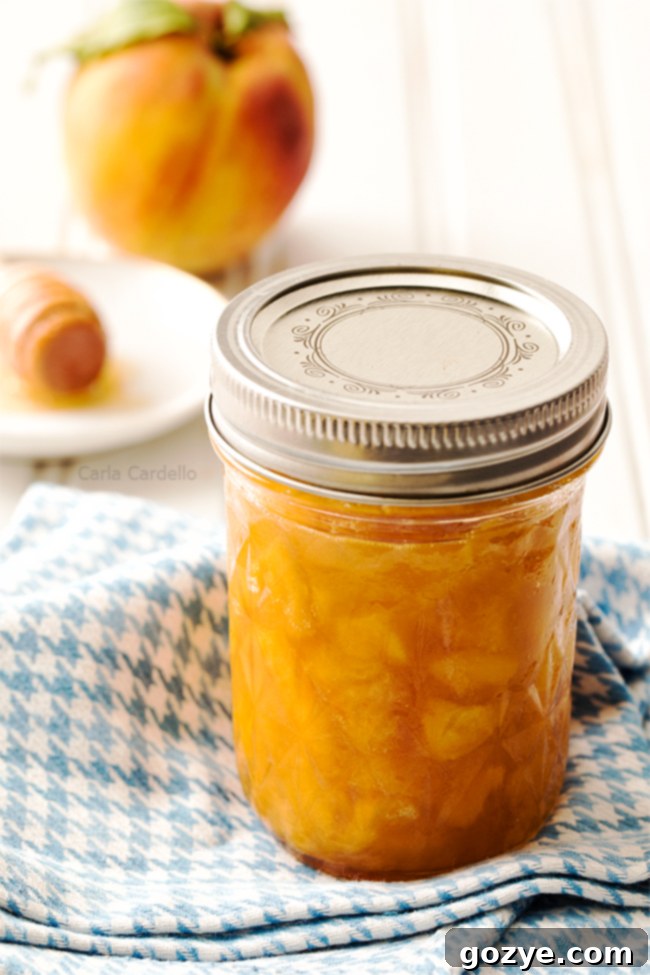
What’s the absolute best way to preserve the fleeting magic of summer? In a beautifully crafted jar of homemade jam, of course! When I recently asked my wonderful community for peach recipes, an overwhelming number of you enthusiastically suggested making jam. Your wish is my command: a single, perfect jar of delicious Peach Jam without pectin, coming right up!
The initial inspiration for this unique no pectin peach jam recipe blossomed from a delightful visit to my favorite local farm. Beyond their stunning array of freshly picked produce, they boast a charming store filled with homemade delights, including artisan jams and freshly baked breads. One item that truly captivated my taste buds was a sample of their peach honey jam. Its distinct flavor profile was so enjoyable that I instantly knew this was the type of homemade fruit preserve I wanted to recreate.
While I couldn’t find an exact recipe for a peach honey jam without pectin, a little research revealed that you can successfully substitute a portion of the sugar with honey. The key, as I learned, is not to replace too much of the sugar, as granulated sugar plays a crucial role in the preservation process, ensuring your jam lasts and sets properly. This balance allows for that wonderful honey note while maintaining the jam’s integrity.
The truly fantastic aspect of this small batch peach jam recipe is its modest yield – just one delightful jar. This makes it incredibly approachable, reducing waste and the need for extensive canning equipment. It’s just enough to grace your breakfast table all week long, perhaps paired with my small batch biscuits, or to add a sweet, peachy twist to desserts like my famous strawberry swirl cheesecake. This recipe is designed to be simple, satisfying, and perfect for anyone looking to dip their toes into the art of jam making.
Understanding Pectin: Why Go Without?
As you delve into the wonderful world of jam making, you’ll frequently encounter an ingredient called pectin. Pectin is a natural carbohydrate found in many fruits, acting as a gelling and thickening agent. It’s often added to jams and jellies, especially those made with fruits low in natural pectin, to help them set into that familiar, spreadable consistency after cooling.
You can typically find commercial pectin in the canning section of most grocery stores. However, for many home cooks, buying a specialized ingredient that they might only use a few times a year isn’t ideal. Fortunately, for those who prefer a more natural approach or simply don’t want to buy an extra item, there are fantastic ways to make delicious fruit preserves, like this peach jam recipe, entirely without added pectin.
While many fruits, particularly apples and citrus, are rich in natural pectin, stone fruits like peaches contain significantly less, especially once peeled. Peach skins do contain some pectin, but most jam recipes call for peeled peaches for a smoother texture. The good news is that with a bit of patience and the right technique, you can still achieve a beautifully thick and flavorful peach jam by simply boiling down the fruit with sugar and acid until it reaches the desired consistency. It’s a method that relies on time and evaporation, resulting in a rich, concentrated peach flavor that truly shines.
The Essential 4 Ingredients for Your No Pectin Peach Jam
Crafting your luscious no pectin peach jam requires just four simple yet crucial ingredients. Each plays a vital role in both flavor and structure:
- Peaches: The undisputed star of our jam! For the best results, select ripe, fragrant peaches. You’ll want to peel them for a smooth jam texture, so if you need a little guidance, check out my helpful guide on how to peel peaches easily. The ripeness of your peaches will significantly impact the final flavor, so choose wisely!
- Granulated Sugar: More than just a sweetener, sugar is absolutely essential for canning and preserving your jam. As the peaches cook, they release their natural water content. The sugar acts as a hydroscopic agent, bonding with this water and creating an environment that inhibits the growth of microorganisms, thus preserving the fruit. It also contributes to the jam’s texture and helps it achieve that classic shine.
- Honey: This is where our peach jam gets its unique and delightful flavor twist! Inspired by that farm-fresh sample, I’ve swapped out a portion of the granulated sugar for honey. This introduces an additional layer of floral sweetness and complexity, enhancing the natural peach flavor without making the jam overly sweet. Remember the earlier tip: a balance is key, as sugar still plays a critical role in preservation.
- Lemon Juice: Don’t skip this ingredient! Lemon juice is crucial for several reasons. Firstly, its acidity helps with the gelling process by working with the natural (even if minimal) pectin in the peaches and sugar to set the jam. Secondly, it brightens and balances the overall sweetness of the jam, preventing it from tasting flat and bringing out the vibrant, fruity notes of the peaches.
While many fruits naturally contain enough pectin to set jam, stone fruits like peaches (especially after peeling) are not high in this gelling agent. As mentioned, the peach skin does contain some pectin, but for a smooth, spreadable jam, peeling is generally preferred. Fortunately, the method of boiling peaches down with sugar, honey, and lemon juice is entirely effective in creating a beautifully thick and flavorful jam without needing any added pectin. Just be mindful not to overcook the peaches; doing so can result in an overly sticky, almost candy-like jam that becomes challenging to spread. A watchful eye and timely testing are your best allies!
Crafting Your Small Batch Peach Jam Without Pectin
Making this small batch peach jam is a straightforward process, perfect for a relaxed afternoon in the kitchen. Here’s how to get started:
- **Prepare for Testing:** Before you even begin cooking, place a small, clean ceramic plate or saucer in your freezer. This chilled plate is absolutely essential for accurately testing your jam’s consistency later, ensuring it sets perfectly.
- **Combine Ingredients:** In a large 12-inch skillet or a wide, heavy-bottomed pot, combine your finely chopped peaches, granulated sugar, honey, and fresh lemon juice. The wide surface area of the skillet is important as it allows for quicker evaporation of moisture, which helps the jam thicken more efficiently. Ensure you have enough room to stir comfortably without the fruit spilling over the edges.
- **Bring to a Boil:** Place the skillet over medium-high heat and bring the mixture to a gentle boil, stirring frequently. This initial stirring helps the sugar dissolve properly and prevents any fruit from sticking to the bottom of the pan.
- **Simmer and Thicken:** Once the mixture reaches a full, rolling boil, reduce the heat slightly to maintain a consistent simmer. Continue to cook, stirring occasionally. Stirring regularly ensures that the mixture cooks evenly, prevents bubbling over (which can be messy!), and keeps the peaches from scorching at the bottom of the pan. You should notice the jam beginning to reduce and thicken after about 8-10 minutes of simmering. The fruit will soften and break down, and the liquid will become syrupy.
The Key to Perfection: Knowing When Your Jam is Done
One of the trickiest parts of making jam without added pectin is knowing precisely when it has cooked enough to set properly. The jam’s final thickness isn’t apparent until it has completely cooled, and by then, it’s often too late to adjust it. This is precisely why the frozen plate technique is your secret weapon for perfectly set, no-pectin jam.
The Frozen Plate Test: Your Jam’s Best Friend
Because the plate is frozen, it will instantly cool down a small sample of your hot jam, allowing you to quickly determine its true thickness and setting point. Here’s how to perform the test:
- When your jam appears to have thickened and reduced sufficiently (after the initial 8-10 minutes of simmering), retrieve your chilled plate from the freezer.
- Carefully place a small spoonful of the hot jam onto the cold plate. Let it sit for about 30 seconds to allow it to cool rapidly.
- After 30 seconds, gently tilt the plate. Observe the jam’s movement.
- If the jam slides too quickly and runs easily, it needs more cooking time. Return it to the heat and continue simmering for another 1-2 minutes.
- If the jam slides slowly and a wrinkle forms when you push it gently with your finger, it has reached its setting point and is done!
- If it doesn’t move at all, or appears excessively stiff and sticky, you may have overcooked it slightly. While still usable, it might be more challenging to spread.
If your jam requires additional cooking, remember to re-test it frequently, every 1-2 minutes. The difference between perfectly done and overcooked can be surprisingly short. It’s always better to check too often than not enough, ensuring you achieve that ideal, luscious consistency for your homemade peach jam.
To Can or Not to Can: Storing Your Small Batch Jam
Given that this delightful peach jam recipe only yields one 6-ounce jar, you honestly don’t have to go through the full canning process. Canning is primarily necessary if you intend to store the jam for an extended period, typically several months, without refrigeration. For a single jar that you plan to enjoy relatively quickly, traditional canning methods are entirely optional.
Simple Storage for Freshness
If you prefer to skip the canning steps, simply make the peach jam as directed in the recipe. Once cooked, carefully transfer the hot jam into a clean, heat-proof container or jar. Allow the jam to cool completely to room temperature on your countertop before transferring it to the refrigerator. Once opened (or after it has cooled), homemade peach jam stored in the refrigerator will typically last for about 2 weeks. Always use your best judgment beyond this timeframe; if the jam looks, smells, or tastes even slightly “off,” it’s best to discard it to ensure food safety.
Optional Canning for Extended Shelf Life
For those who wish to extend the shelf life of their homemade peach jam, or if you decide to double the recipe, water bath canning is a safe and effective method. While this small batch may not warrant the effort for everyone, it’s good to know the option exists if you prefer shelf-stable preserves.
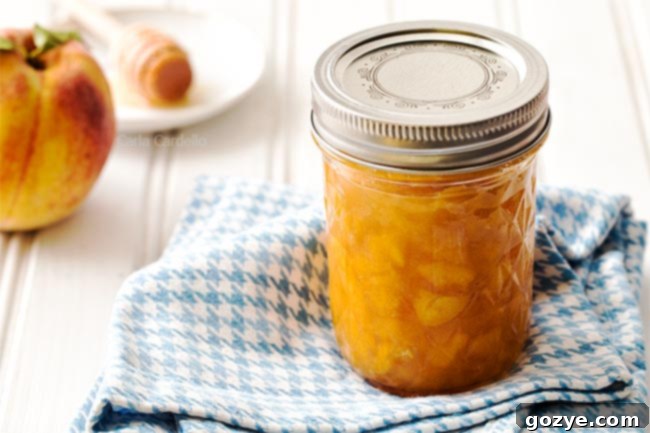
Beyond Breakfast: Creative Ways to Enjoy Your Peach Jam Without Pectin
While spreading this delectable peach jam on warm toast for breakfast is an absolute classic, its versatile flavor means it can enhance a wide array of dishes. Don’t limit yourself! Here are some creative and delicious ideas for incorporating your homemade peach jam into your meals and desserts:
- **Dessert Swirls:** Swirl it generously into Strawberry Cheesecake Bars or even plain yogurt for an instant flavor boost.
- **Delicious Fillings:** Use it as a vibrant filling for a variety of baked goods, such as rich Peach Crumb Bars, classic Raspberry Jam Bars, wholesome Blueberry Oatmeal Bars, or flaky Puff Pastry Peach Turnovers.
- **Elegant Toppings:** Spoon it as a luscious topping over creamy Mini Cheesecakes, an intimate Cheesecake For Two, or a refreshing No-Bake Peach Cheesecake Parfait. It’s also fantastic over vanilla ice cream!
- **Savory Pairings:** Elevate your appetizer game by serving it on a cheeseboard alongside a creamy cheese like Cranberry Baked Brie or goat cheese. The sweet and tangy notes of peach jam perfectly complement savory cheeses.
- **Main Course Glaze:** For a unique dinner, try using it as a glaze for savory dishes. These Peach Glazed Chicken Thighs by Cooks Well With Others are a testament to its versatility!
Explore More Small Batch Jam Adventures
Do you have an abundance of other beautiful summer fruits that you’re eager to transform into delicious preserves? The good news is that the “no pectin, small batch” approach works wonderfully for many varieties! Dive into these other easy small batch jam recipes to enjoy a spectrum of homemade flavors:
- Small Batch Strawberry Jam without Pectin
- Delicious Blueberry Jam without Pectin
- Unique Raspberry Jalapeno Jam (Small Batch, No Pectin)
- Tangy Sour Cherry Jam (No Pectin)
Peach Jam Without Pectin
6 ounces
15 minutes
15 minutes
30 minutes
Brighten up your morning toast with this 4 ingredient Peach Jam without pectin! It’s the perfect recipe for beginners because this small batch peach jam only makes one 6-ounce jar.
Ingredients
- 1 pound ripe peaches, peeled, pitted, and finely chopped (roughly 2 large peaches) (Learn How To Peel Peaches)
- 1/2 cup granulated sugar
- 2 tablespoons honey
- 1 tablespoon lemon juice
Instructions
- Place a small dish in the freezer to use for testing the jam.
- In a large 12 inch skillet, add peaches, sugar, honey, and lemon juice. Bring to a rolling boil, stirring often. Once boiling, cook until it thickens, about 10 minutes.
- When it seems thick enough, take your plate out of the freezer. Put a small spoonful of the jam onto the plate and let sit for 30 seconds. Tilt it. If it slides too fast, keep cooking in 1-2 minute increments. If it moves slow, it is done.
- Transfer to a heat-proof container. Cool to room temperature. If not canning, use within 2 weeks. Once opened, store in the refrigerator.
Canning Instructions (Optional)
- Place a clean 6-8 ounce glass mason jar and lid pieces into a large pot of boiling water deep enough for the jar to be completely submerged in water. Once the water is boiling, leave the jar in there until ready to use.
- Remove the jar and lids from water and drain out all of the water from the jar. Keep the water boiling.
- Transfer the finished jam to the jar. Wipe excess jam off the rim so it will seal properly. Add the lid. You may want to use an oven mitt so you can hold the jar still.
- Place sealed jar back into the boiling water and boil for 15 minutes. Make sure it is submerged in the water. Remove from the water and let dry on a heat-resistant surface for 18-24 hours.
- Once cool, press down on the lid. If it stays down, it is sealed. If it pops back up, put in the refrigerator and use within two weeks.
Notes
- Enjoyed this recipe? Check out my recipes for strawberry jam, raspberry jam, raspberry jalapeno jam, blueberry jam, and sour cherry jam.
- Use your jam in Strawberry Swirl Cheesecake, Blueberry Oatmeal Bars, and Raspberry Crumb Bars.
Recommended Products
As an Amazon Associate and member of other affiliate programs, I earn from qualifying purchases.
- Mason Jar
Did you make this recipe?
Let me know what you think! Rate the recipe above, leave a comment below, and/or share a photo on Instagram using #HITKrecipes
Originally published September 16, 2011
