Mastering Aperture: Your Ultimate Guide to Achieving Beautiful Blurry Backgrounds in Photography

Have you ever wondered how professional photographers achieve those stunning images where the subject is perfectly sharp, and the background melts into a dreamy, soft blur? This magical effect, often called bokeh, is primarily controlled by one of photography’s fundamental concepts: aperture. While it might sound technical, understanding aperture is remarkably straightforward and can dramatically transform your photography, especially in genres like food photography, portraits, and product shots.
For many, including myself, the technical jargon surrounding aperture can be intimidating. That’s why this guide is designed to demystify aperture, offering a non-technical, easy-to-understand explanation that will empower you to create captivating images with beautiful background blur. You’ll learn how to harness your camera’s aperture priority mode (often labeled ‘Av’ or ‘A’) to take full creative control.
Before diving into the details, here’s the golden rule you need to remember: The smaller your f-number, the blurrier your background will be.
- Want your subject to pop with a beautifully blurred background (common in food and portrait photography)? Use a low f-number (e.g., f/1.8, f/2.8).
- Need everything in the scene, from foreground to background, to be sharply in focus (ideal for landscapes)? Opt for a high f-number (e.g., f/11, f/16).
What Exactly Is Aperture?
At its core, the aperture of a camera lens is simply the opening through which light travels to reach your camera’s sensor. Think of it like the pupil of your eye – it expands and contracts to control how much light enters. In photography, we control the size of this opening using what your camera or lens refers to as f-stops or f-numbers. These are represented by the letter ‘f’ followed by a number, such as f/1.8, f/3.5, f/9.0, or f/16.
Here’s the crucial part about f-numbers and the opening size: the smaller the f-number, the wider the aperture opening. A wider opening allows more light to pass through the lens. Conversely, a larger f-number means a smaller opening, letting in less light. This inverse relationship is often the first hurdle for beginners, but once you grasp it, everything clicks into place.
Imagine pulling back curtains in a room: the more you pull them back, the wider the opening, and the more light floods in. Similarly, a lower f-number (like f/1.8) is like wide-open curtains, allowing maximum light and creating a shallow depth of field, which results in that sought-after blurry background. A higher f-number (like f/16) is like slightly opened curtains, limiting light and increasing the depth of field, keeping more of your scene in focus.

Why Does Depth of Field Matter? Creating Dimension and Focus
The primary reason photographers meticulously control aperture is to manipulate depth of field. Depth of field refers to the range of distance in your photograph that appears acceptably sharp. When you have a shallow depth of field (achieved with a low f-number), only a narrow slice of your scene is in focus, making the foreground and background delightfully blurry. A deep depth of field (achieved with a high f-number) keeps much more of your scene sharp.
Depth of field is incredibly important because it adds dimension and visual storytelling to your images. Photography captures a three-dimensional world on a two-dimensional surface. Without careful control, images can appear flat. By selectively focusing, you introduce depth, making your subject stand out and guiding the viewer’s eye.
- Shallow Depth of Field (Low f-number): This is your go-to for making a subject pop. Imagine a delicious plate of food, a captivating portrait, or a product you want to highlight. By blurring the background, you eliminate distractions and direct all attention to your main subject.
- Deep Depth of Field (High f-number): For expansive scenes like landscapes, cityscapes, or group photos where everyone needs to be sharp, a deep depth of field is essential. Here, the goal is to show the grandeur and detail of the entire environment.


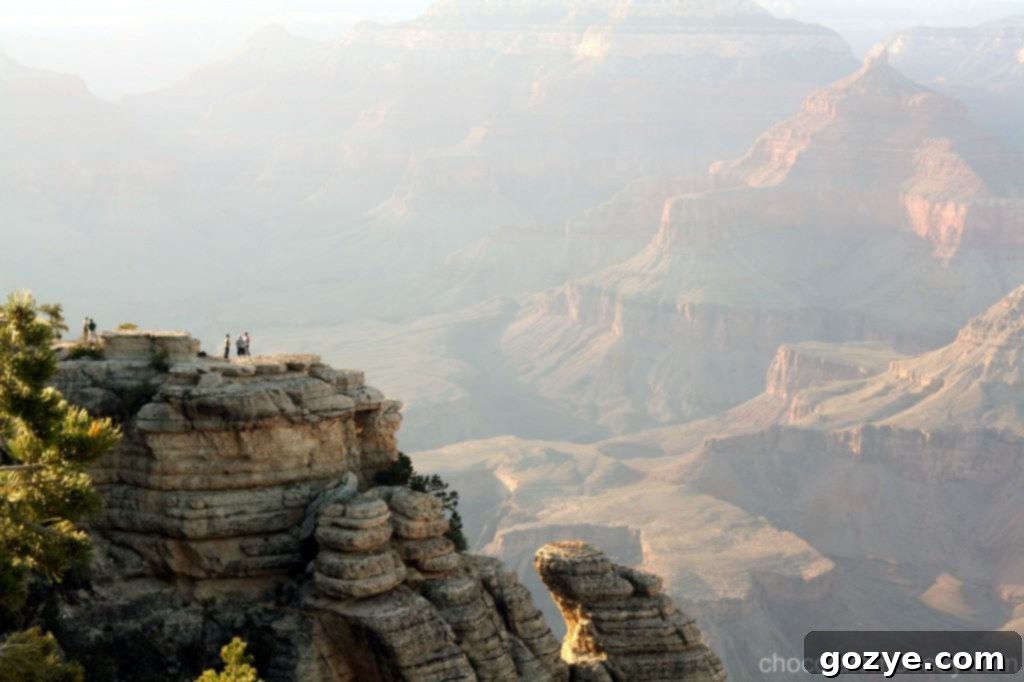
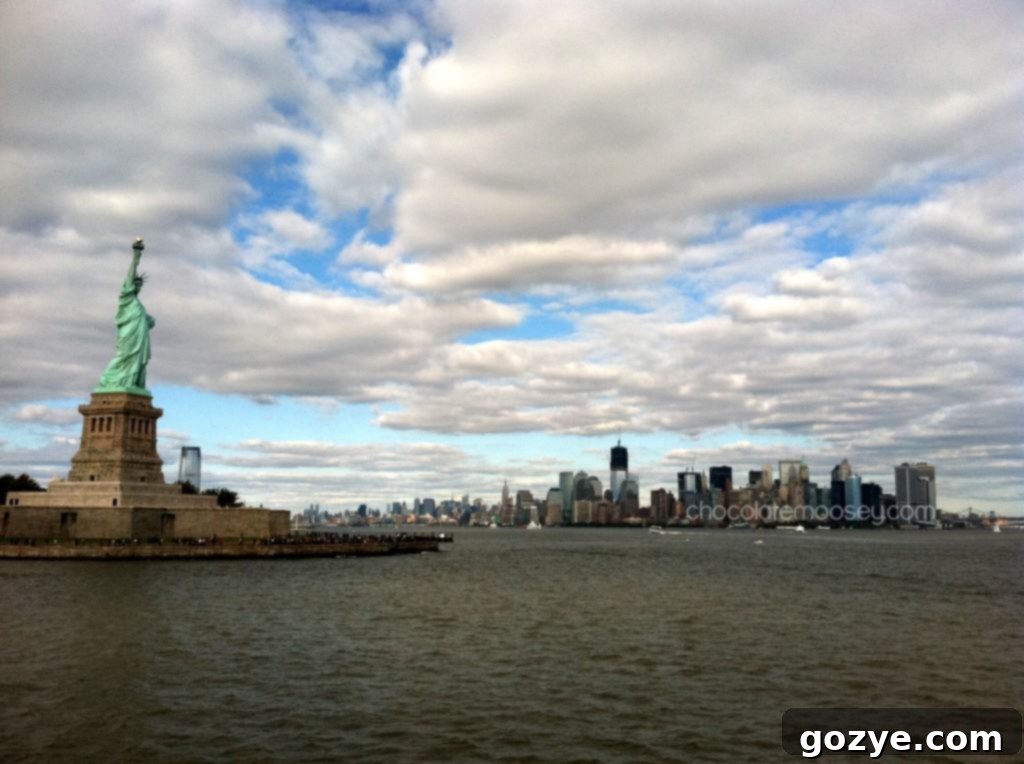
When I photographed the Grand Canyon, my biggest challenge was conveying its immense scale and depth. The best way to achieve this was through layering – having a prominent foreground, a clear midground, and a distinct background. Sometimes, even elements like clouds become powerful tools, adding an incredible sense of depth to a landscape. A beautiful, cloudy day can often provide the best visual opportunities for capturing dimension in outdoor photography.


Controlling Distractions and Guiding the Viewer’s Eye
Beyond simply adding dimension, aperture is an invaluable tool for controlling distractions and ensuring your viewers focus exactly where you want them to. Imagine photographing a delicious strawberry cupcake. You might want to include fresh strawberries in the background to hint at the flavor, but your main subject is undeniably the cupcake itself. By using a wider aperture (lower f-number), you can keep the cupcake sharp while rendering the background strawberries as soft, inviting blurs. They complement, rather than compete with, your star subject.
Another common scenario is when you find yourself in a less-than-ideal shooting location with a cluttered or busy background that you simply can’t move or control. In such cases, blurring the background becomes your best friend. It minimizes the impact of distracting elements, allowing your subject to stand out crisply and cleanly, elevating the overall professionalism and aesthetic appeal of your photograph.


How to Adjust the F-Number on Your Camera
The simplest way to control aperture is by using your camera’s Aperture Priority mode, often labeled ‘Av’ (for Aperture Value) on Canon cameras or ‘A’ (for Aperture) on Nikon, Sony, and others. In this mode, you select your desired f-number, and the camera automatically sets the appropriate shutter speed to achieve a correct exposure. This allows you to focus solely on the creative aspect of depth of field.
To adjust the f-number, you’ll typically use a control dial or wheel on your camera body. For specific instructions, always refer to your camera’s manual, as controls can vary between models and brands. For instance, on many Canon Rebel DSLRs, you might turn a single knobbed wheel. If you’re shooting in full manual (‘M’) mode, you might need to hold down a specific button (often marked ‘Av’) while turning the wheel to change the aperture, as the main dial usually controls shutter speed in manual mode.

Lens Limitations: Why You Can’t Go Below a Certain F-Number
An important point to understand is that the lowest (widest) f-number you can achieve is determined by your specific camera lens, not the camera body itself. This maximum aperture is a key specification of any lens and is often printed right on the lens barrel. For example, if you own a “50mm f/1.8 lens,” it means its widest possible aperture is f/1.8.
- Prime Lenses: These are lenses with a fixed focal length (no zoom) and often boast very wide maximum apertures (e.g., f/1.8, f/1.4, f/1.2). A 50mm f/1.8 lens will always allow you to shoot at f/1.8, regardless of your distance to the subject. These “fast” lenses are excellent for low-light conditions and achieving maximum background blur.
- Zoom Lenses: Many zoom lenses have variable maximum apertures, typically expressed as a range (e.g., “28-135mm f/3.5-5.6”). This means that when you’re at the widest end of the zoom (e.g., 28mm), your widest aperture might be f/3.5. But as you zoom in (e.g., to 135mm), the widest available aperture narrows to f/5.6. So, with a variable aperture zoom lens, the lowest f-number you can use depends on your chosen focal length.

Putting Aperture into Practice: A Visual Experiment
To truly grasp the impact of aperture, practical experimentation is key. Let’s look at an exercise performed with Peanut Butter-Stuffed Chocolate Cookies. The camera was placed on a tripod, and all settings remained constant except for the f-number. Observe how the background progressively comes into sharper focus as the f-number increases.
Which f-number looks best to you? There’s no right or wrong answer; it’s a matter of personal preference and artistic vision. For food photography, many photographers prefer f-numbers between f/2.5 and f/4.0. An f-number like f/1.8 can create an extremely blurry background, which some love, but others might find it too intense, making it hard to discern any background elements. Conversely, a mid-range f-number, if not carefully chosen, might look less like a deliberate blur and more like a focus error.


Troubleshooting: Why is My Photo Still Blurry Despite a High F-Number?
You’ve set a high f-number (like f/11 or f/16) expecting everything to be sharp, but your photo still looks fuzzy. What gives? While aperture controls depth of field, other factors can introduce unwanted blur. The two primary culprits are insufficient lighting and camera movement.
Aperture is one part of the “exposure triangle” (along with shutter speed and ISO). When you use a high f-number (small aperture opening), less light enters the lens. To compensate for this reduced light and achieve a proper exposure, your camera automatically lengthens the shutter speed – the amount of time the shutter stays open. A slow shutter speed means the sensor is exposed to light for a longer duration, making the camera incredibly susceptible to movement. Even the slightest shake from your hands can result in a blurry image.
Solutions for Sharpness:
- Use a Tripod: This is by far the most effective solution for combating camera shake, especially in low light or when using slow shutter speeds. Invest in a sturdy, reliable tripod. It eliminates virtually all camera movement, ensuring your images remain crisp. Features like a built-in bubble level can also be incredibly helpful for maintaining a straight horizon.
- Increase Lighting: If possible, introduce more light into your scene. Brighter conditions allow for faster shutter speeds, reducing the risk of blur due to movement.
- Adjust ISO: While increasing ISO can introduce digital noise, it allows your camera’s sensor to be more sensitive to light, enabling faster shutter speeds. Use it as a last resort to gain sharpness when a tripod isn’t an option.

Advanced Tips for Maximizing Background Blur (Bokeh)
If you’re specifically aiming for that super blurry background effect, beyond just using a low f-number, there are a few additional techniques you can employ:
- Increase Subject-to-Background Distance: The further your subject is from its background, the more pronounced the blur will be. Try placing your subject far away from any walls, trees, or objects in the background.
- Minimize Camera-to-Subject Distance: The closer your camera is to your subject, the shallower the depth of field becomes, enhancing background blur. Be mindful of your lens’s minimum focusing distance.
- Use a Longer Focal Length: Longer focal lengths (e.g., 85mm, 100mm, 200mm) naturally compress perspective and create a shallower depth of field compared to wider focal lengths (e.g., 24mm, 35mm) at the same f-number. This is why prime telephoto lenses are popular for portraits.

Conclusion: Embrace the Power of Aperture
Understanding aperture is a game-changer in photography. It’s the key to transforming ordinary snapshots into captivating images that truly draw the viewer’s eye. While the technical explanations can sometimes feel overwhelming, always remember the core principle: the smaller your f-number, the blurrier your background.
The best way to master aperture is through practice. Set your camera to Av (Aperture Priority) mode and spend an afternoon experimenting. Take multiple shots of the same subject using different f-numbers. Observe how the depth of field changes and how the background transforms. This hands-on experience will quickly reveal which settings best suit your artistic vision and photographic style.
Now that you’re armed with this knowledge, go out and create some stunning images! If you enjoyed this guide and found it helpful, please let us know what other photography topics you’d like to see covered next.
