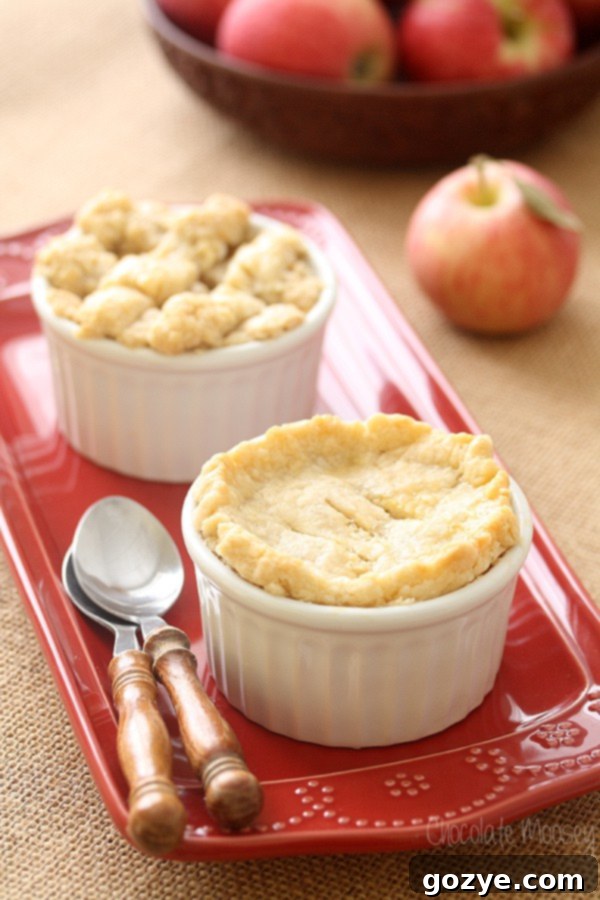
Easy Mini Apple Pies: A Perfect Individual Apple Pie Recipe for Two in Ramekins
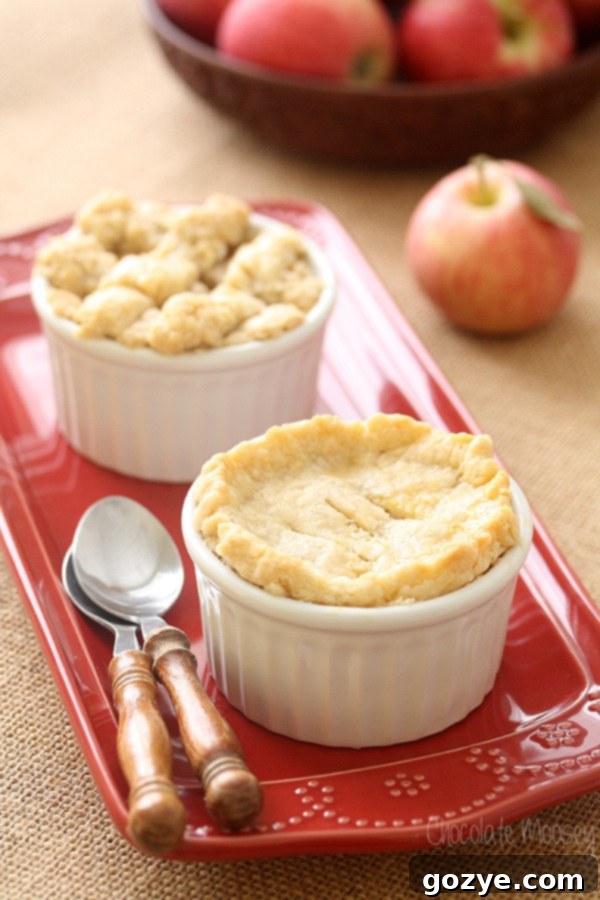
Craving an easy apple pie recipe but don’t want a whole pie sitting around? These delightful Mini Apple Pies are individual-sized portions, perfectly baked for two in convenient ramekins. They feature a flaky homemade pie crust and a comforting apple pie filling, offering all the classic flavor without the need for a special 6-inch pie pan or worrying about leftovers.
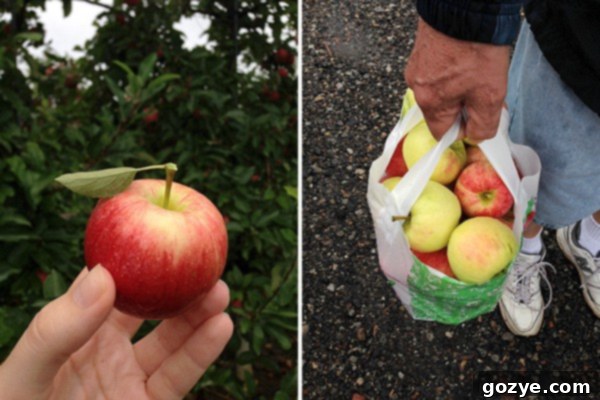
As apple season sweeps through Pennsylvania, a bounty of fresh apples inspires countless apple recipes, particularly during September and October. It’s a cherished annual tradition for my dad and me to kick off the season by visiting our beloved apple farm south of Pittsburgh.
With my passion for baking with apples (you might recall my popular apple crisp for two), I often find myself with a treasure trove of recipe ideas from the previous year. Right at the top of my list were these enchanting Mini Apple Pies.
These individual apple pies are perfectly portioned for two, baked right in ramekins. It’s the ultimate single-serve apple pie experience, ensuring each person gets their very own, perfectly baked treat! Of course, if you’re feeling extra indulgent, there’s no judgment in enjoying both yourself – one now, one later. It’s truly the baker’s choice!
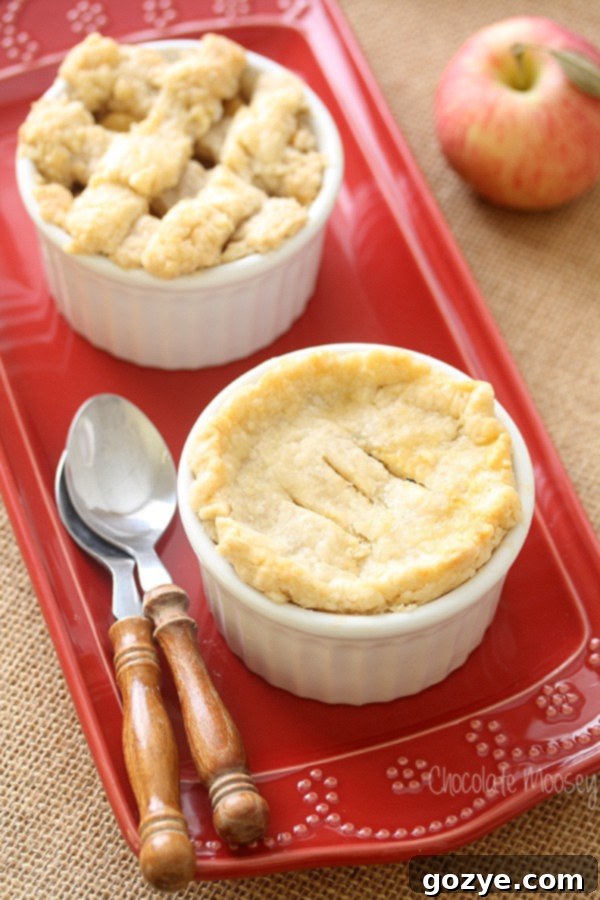
Beyond everyday indulgence, these mini apple pies also serve as an excellent dessert option for your Thanksgiving Dinner For Two, especially if you prefer a non-pumpkin alternative. Just like a traditional full-sized apple pie, these ramekin apple pies boast a double-crusted design, with one crust forming the bottom and sides and another elegantly topping the filling. While I could have opted for a crust-less bottom, it wouldn’t quite be the classic apple pie experience we all adore.
Naturally, every apple pie, regardless of size, demands a flavorful homemade apple pie filling. In this recipe, I’ll guide you through the process of scaling down the filling precisely for two mini apple pies, ensuring no waste and maximum deliciousness.
Essential Ingredients for Your Mini Apple Pies
Crafting these adorable and delicious individual apple pies requires a thoughtful selection of ingredients for both the perfect crust and the aromatic filling. Here’s a detailed breakdown of what you’ll need and why each component is crucial:
For the Flaky Pie Crust:
- All-Purpose Flour: This is the foundation of your pie crust. Its gluten content contributes to a tender yet structured crust, preventing it from becoming overly sticky. For accurate measurement, always spoon flour into your measuring cup and level it off with a knife, avoiding direct scooping which can compact the flour and lead to an overly dry dough.
- Granulated Sugar: A touch of sugar enhances the flavor of the crust, providing a subtle sweetness that complements the apple filling without overpowering it.
- Salt: Far more than just a seasoning, salt is a vital flavor enhancer in baking. It balances the sweetness and deepens the overall taste of your pie crust, especially when using unsalted butter.
- Cold Butter: The cornerstone of a flavorful pie dough! Cold butter, cut into small pieces, creates pockets of steam during baking, contributing to that desirable flaky texture. Butter imparts a rich, melt-in-your-mouth quality that is unparalleled. Keeping it cold is key to preventing it from fully incorporating into the flour, which would result in a tough crust.
- Cold Shortening: To achieve the ultimate tender and flaky crust, I incorporate shortening alongside butter. While shortening may not offer the same rich flavor as butter, it excels at creating an incredibly tender texture and distinct flakiness. Modern shortening is often sold in convenient sticks, making it easy to cut into precise tablespoons, just like butter. I often keep a stick in the freezer to ensure it’s extra-cold for optimal pie crust results.
- Cold Water: Water is essential for binding the dough ingredients together. Crucially, it creates steam within the dough during baking, which separates the layers of fat and flour, resulting in a beautiful, flaky crust. However, exercise caution: too much water can make the dough overly sticky and lead to excessive puffing due to surplus steam.
For the Aromatic Apple Pie Filling:
- Granulated Sugar: Even naturally sweet apples benefit from added sugar to achieve that classic pie filling sweetness and help create a luscious syrup.
- Water: This liquid component is vital for creating the syrupy consistency of the filling. For an even deeper apple flavor profile, consider substituting water with apple cider or apple juice.
- Cornstarch: A thickening agent, cornstarch ensures your filling isn’t watery but rather beautifully viscous, clinging to every apple slice.
- Cinnamon, Nutmeg, and Clove: These three spices are the quintessential “holy trinity” of apple pie, creating that warm, inviting, and unforgettable aroma and taste that defines classic apple pie. Don’t skip them!
- Lemon Juice: A small splash of lemon juice is crucial for balancing the sweetness of the apples and sugar. It adds a bright, tangy note that elevates the entire flavor profile.
- Vanilla Extract: Vanilla enhances and deepens the natural flavor of the apples, adding another layer of complexity to the filling.
- Apples: The star of the show! It’s important to select a baking variety (more on this below) that holds its shape well. Remember to peel them before cooking for a smooth, pleasant texture.
Not in the mood for apple? These individual pie crusts are incredibly versatile! You can easily substitute with other delicious fillings such as strawberry pie filling, blueberry pie filling, peach pie filling or cherry pie filling.
Choosing the Best Apples for Your Perfect Apple Pie
A frequently asked question when baking apple pie is, “Which type of apples are best?” The choice of apple significantly impacts the texture and flavor of your finished pie. For these mini apple pies, you want varieties that will soften beautifully without turning into mush.
During my visit to the farm, I selected Ginger Gold and Gala apples. Both are highly recommended for apple pie filling because they maintain their shape wonderfully throughout the baking process and don’t disintegrate, even after extended cooking times. Their balanced sweet-tart profile is also ideal.
Other excellent apple varieties to consider for baking include:
- Jonathans: Known for their tartness and firm texture, they add a great zing.
- Jonagolds: A cross between Jonathan and Golden Delicious, offering a good balance of sweet and tart with a crisp texture.
- Golden Delicious: Sweet and soft, they break down a bit more but contribute a lovely mellow sweetness. Often paired with tarter apples.
- Cortland: Sweet-tart and very crisp, they hold their shape exceptionally well.
- McIntosh: Soft and juicy with a tart flavor. While they tend to break down, some bakers enjoy their tender texture. Best when mixed with firmer apples.
- Honeycrisp: (My personal favorite for many apple desserts!) These are crisp, sweet, and hold their shape beautifully.
- Granny Smith: The classic tart apple, perfect for balancing sweeter varieties. They stay firm during baking.
While you can certainly get away with most apple varieties, I strongly advise against using Red Delicious. These apples are best suited for snacking raw due to their mealy texture when cooked and lack of robust flavor in baking.
For the best results, consider using a combination of two or three different apple varieties. This approach allows you to achieve a complex flavor profile, balancing sweetness and tartness, and a varied texture with some apples holding their shape while others become softer and more integrated into the filling.
Step-by-Step Guide: How To Make Your Mini Apple Pies
Let’s embark on creating your perfect apple pie for two! The process begins with the homemade pie dough, as it requires at least an hour to chill in the refrigerator, a crucial step for a flaky crust.
Crafting the Perfect Pie Dough:
The simplest and most efficient method for homemade pie crust is using a food processor. While you can certainly make it by hand with a pastry blender, the food processor significantly speeds up the process and ensures consistent results. For a detailed, step-by-step visual guide to making the dough, refer to my comprehensive Small Pie Crust post. Remember, the key to a tender, flaky crust is using cold ingredients and not overworking the dough.
Preparing the Flavorful Apple Filling:
While your pie dough is chilling, you can prepare the delicious apple filling. I’ve specifically scaled down my popular homemade apple pie filling recipe for these mini pies, ensuring you’ll have just the right amount without any unnecessary leftovers. However, if you’re ever in the mood to make a full batch of filling, don’t let leftovers go to waste! There are many fantastic recipes using apple pie filling to explore.
Assembling Your Individual Pies:
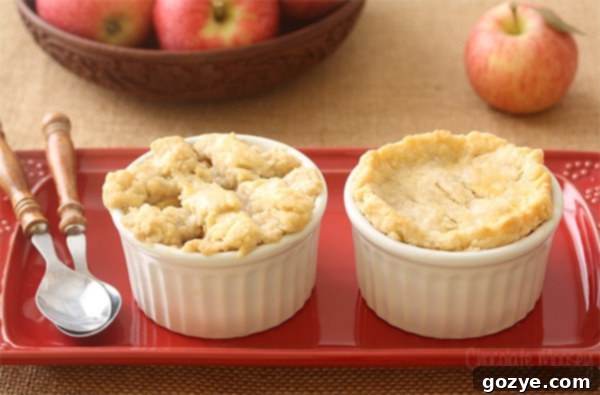
Once your dough is perfectly chilled and ready, it’s time for assembly. Take half of the prepared dough and use it to line two 6-ounce ramekins. This will form the bottom and sides of your mini pies. The remaining half of the dough will be used for the top crust. You have the creative freedom to either fully cover the tops for a classic look or get a bit fancy by creating some elegant lattice work. For more inspiration and detailed instructions on various decorative pie crust designs, Martha Stewart offers a handy tutorial that can guide your creativity.
No ramekins on hand? No problem! You can still enjoy a delicious small-batch apple pie by making my Small Apple Pie in a 6-inch pie plate instead.
Baking & Storing Your Mini Apple Pies
How Long to Bake Mini Apple Pies:
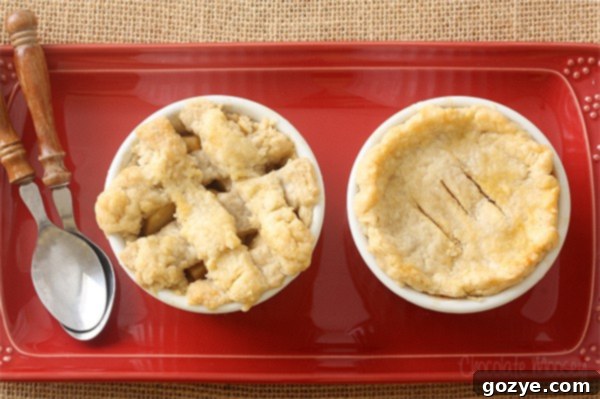
Your ramekin apple pies are perfectly baked when their tops turn a beautiful golden brown, indicating a fully cooked and flaky crust. For this mini apple pie recipe, expect the baking process to take approximately 35-40 minutes in a preheated oven. Keep an eye on them towards the end to ensure they achieve that perfect golden hue without over-browning.
Storage Tips:
These individual apple pies are best enjoyed warm, fresh from the oven, but they also keep well. At room temperature, loosely covered, your apple pies will last for up to two days. However, given their deliciousness, I highly doubt you’ll have any trouble finishing them much sooner! If you wish to extend their freshness by an extra day or two, simply refrigerate them. For longer storage, you can freeze baked and cooled mini pies (wrapped tightly) for up to 2-3 months. Thaw in the refrigerator and reheat gently in the oven.
Perfect Pairings: What To Serve With Mini Apple Pies
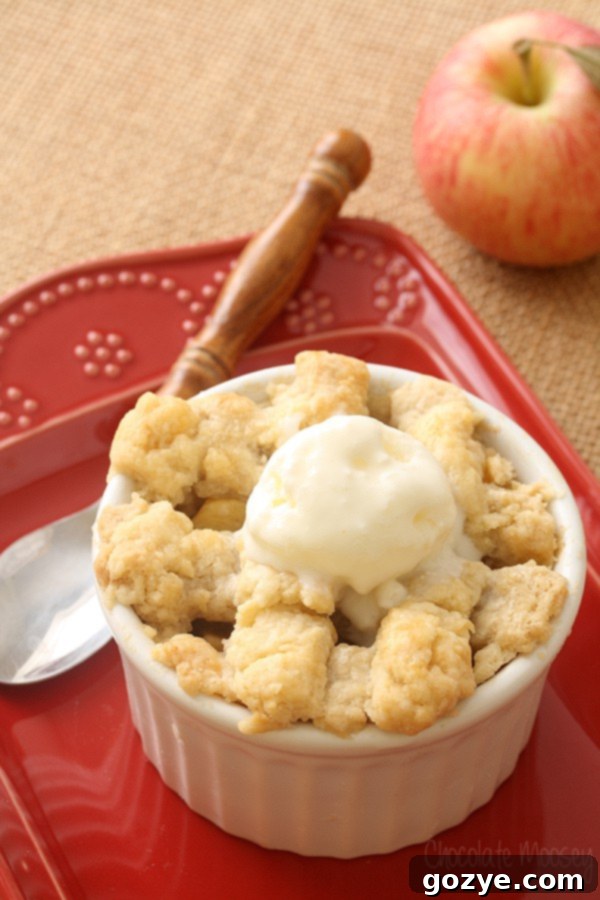
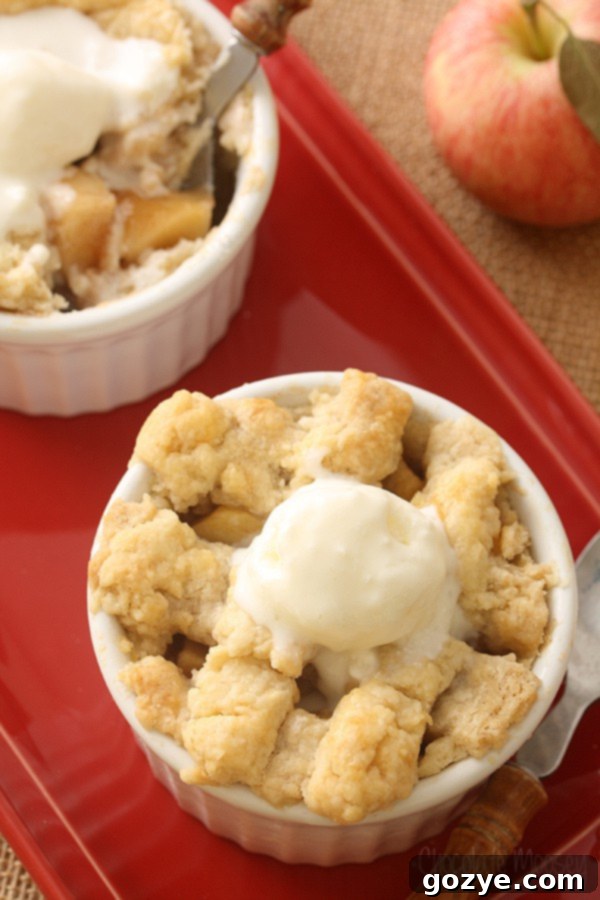
What is a warm, comforting apple pie without a delightful topping? The classic pairing, of course, is a generous scoop of ice cream. I love topping mine with a unique buttermilk ice cream for a tangy contrast, but you are absolutely welcome to choose your favorite. A creamy vanilla bean ice cream is always a perfect choice, or for an extra layer of autumnal flavor, try apple cider ice cream.
Beyond ice cream, you can also elevate your individual pies with a dollop of light and airy homemade whipped cream. For an extra touch of decadence, a drizzle of caramel sauce or a sprinkle of toasted pecans would be absolutely divine. No matter your choice, these mini apple pies are sure to be a showstopper!
Helpful Kitchen Tools You May Need (Affiliate Links)
To make your mini apple pie baking experience even smoother, consider these useful kitchen tools:
Explore More Ramekin Dessert Recipes
If you’ve enjoyed the charm and convenience of baking in ramekins, you’ll be delighted to discover a world of other single-serving desserts. Here are some more ramekin dessert recipes you can easily whip up:
- Mini Cherry Pies: Sweet and tart, these individual cherry pies are a delightful treat.
- Mini Strawberry Pies: Fresh strawberry goodness in a personal pie.
- Mini Peach Pies: Juicy peaches nestled in a flaky crust, perfect for summer.
- Eggless Pumpkin Pie: A creamy, spiced pumpkin pie, perfectly sized for two and suitable for those with egg sensitivities.
- Brownies For Two: Indulgent deep-dish brownies, ideal for a cozy dessert date.
- Cheesecake For Two: A rich and creamy cheesecake, scaled down for an intimate dessert experience.
- Peach Cobbler For Two: Warm, bubbly peach cobbler with a sweet biscuit topping.
- Single Serve Chocolate Chip Cookie: A giant, warm chocolate chip cookie just for you.
For a full and inspiring list of options, be sure to check out all my Ramekin Dessert Recipes. Enjoy exploring the possibilities!
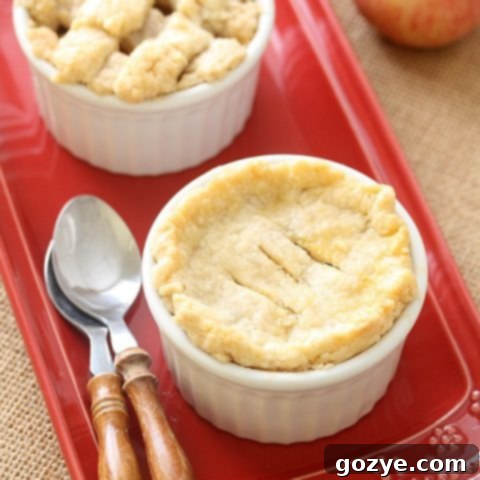
Mini Apple Pies
2 mini pies
15 minutes
40 minutes
1 hour
1 hour 55 minutes
Craving an easy apple pie recipe but don’t want leftovers? These Mini Apple Pies are individual apple pies for two baked in ramekins with a homemade pie crust and apple pie filling. No special 6 inch pie pan needed!
Ingredients
Pie Crust
- 1 cup all purpose flour
- 2 tablespoons granulated sugar
- 1/2 teaspoon salt
- 3 tablespoons cold shortening, cut into 3 pieces
- 3 tablespoons cold unsalted butter, cut into 3 pieces
- 2 tablespoons cold water
Apple Pie Filling
- 1/4 cup water
- 1 teaspoon lemon juice
- 1/4 cup granulated sugar
- 1 tablespoon cornstarch
- 1/2 teaspoon ground cinnamon
- 1/4 teaspoon ground nutmeg
- 1/8 teaspoon ground clove
- 1/4 teaspoon vanilla extract
- 1 1/2 cups chopped, peeled baking apples (such as Gala, Golden Delicious, or Jonagold)
Instructions
- In the bowl of a food processor, add the flour, sugar, and salt. Add the cold butter and shortening and pulse until butter and shortening are cut into the flour, looking like large pebbles. Add the water and pulse until a dough forms. Alternatively, you can do this by hand with a pastry blender.
- Divide the dough into four even pieces and flatten each piece into an evenly round disk. Wrap in plastic wrap and refrigerate at least 1 hour or until cold.
- For the apple filling: In a large saucepan, combine the water, juice, sugar, cinnamon, nutmeg, clove, and cornstarch. Stir over medium heat until thickened and bubbly. Stir in vanilla and apples then cook for 5 minutes or until the apples start to soften (don’t fully cook them), constantly stirring. Remove from the heat and let cool.
- Preheat oven to 350F. Have two six-ounce ramekins* and a cookie sheet ready.
- Take one pie crust piece out of the refrigerator. On a lightly floured surface, roll it into a circle slightly bigger than your ramekin. Line the bottom and sides of the ramekin with the crust, patching it together if necessary. Fill the crust with half of the pie filling.
- Take another pie crust piece and roll into a circle just big enough to cover the top. Place it on top and seal the edges. Cut a few slits in the top to let steam escape. If making the lattice crust, cut the dough in strips and lay the pieces on top in a criss-cross pattern.
- Repeat these steps with the remaining pie crust and filling.
- Place each ramekin on the cookie sheet and bake 35-40 minutes or until the top is golden brown. Cool for 15 minutes. Serve warm with ice cream or cool to room temperature.
Notes
- If you use ramekins that are not six ounces, you may need to adjust the amount of pie crust and filling used. Use your best judgement.
- Enjoyed this recipe? Check out my other Ramekin Dessert Recipes includingMini Cherry Pies and Mini Strawberry Pies.
- Don’t have ramekins? Make my Small Apple Pie instead.
Did you make this recipe?
Let me know what you think! Rate the recipe above, leave a comment below, and/or share a photo on Instagram using #HITKrecipes
Originally published on September 15, 2014
