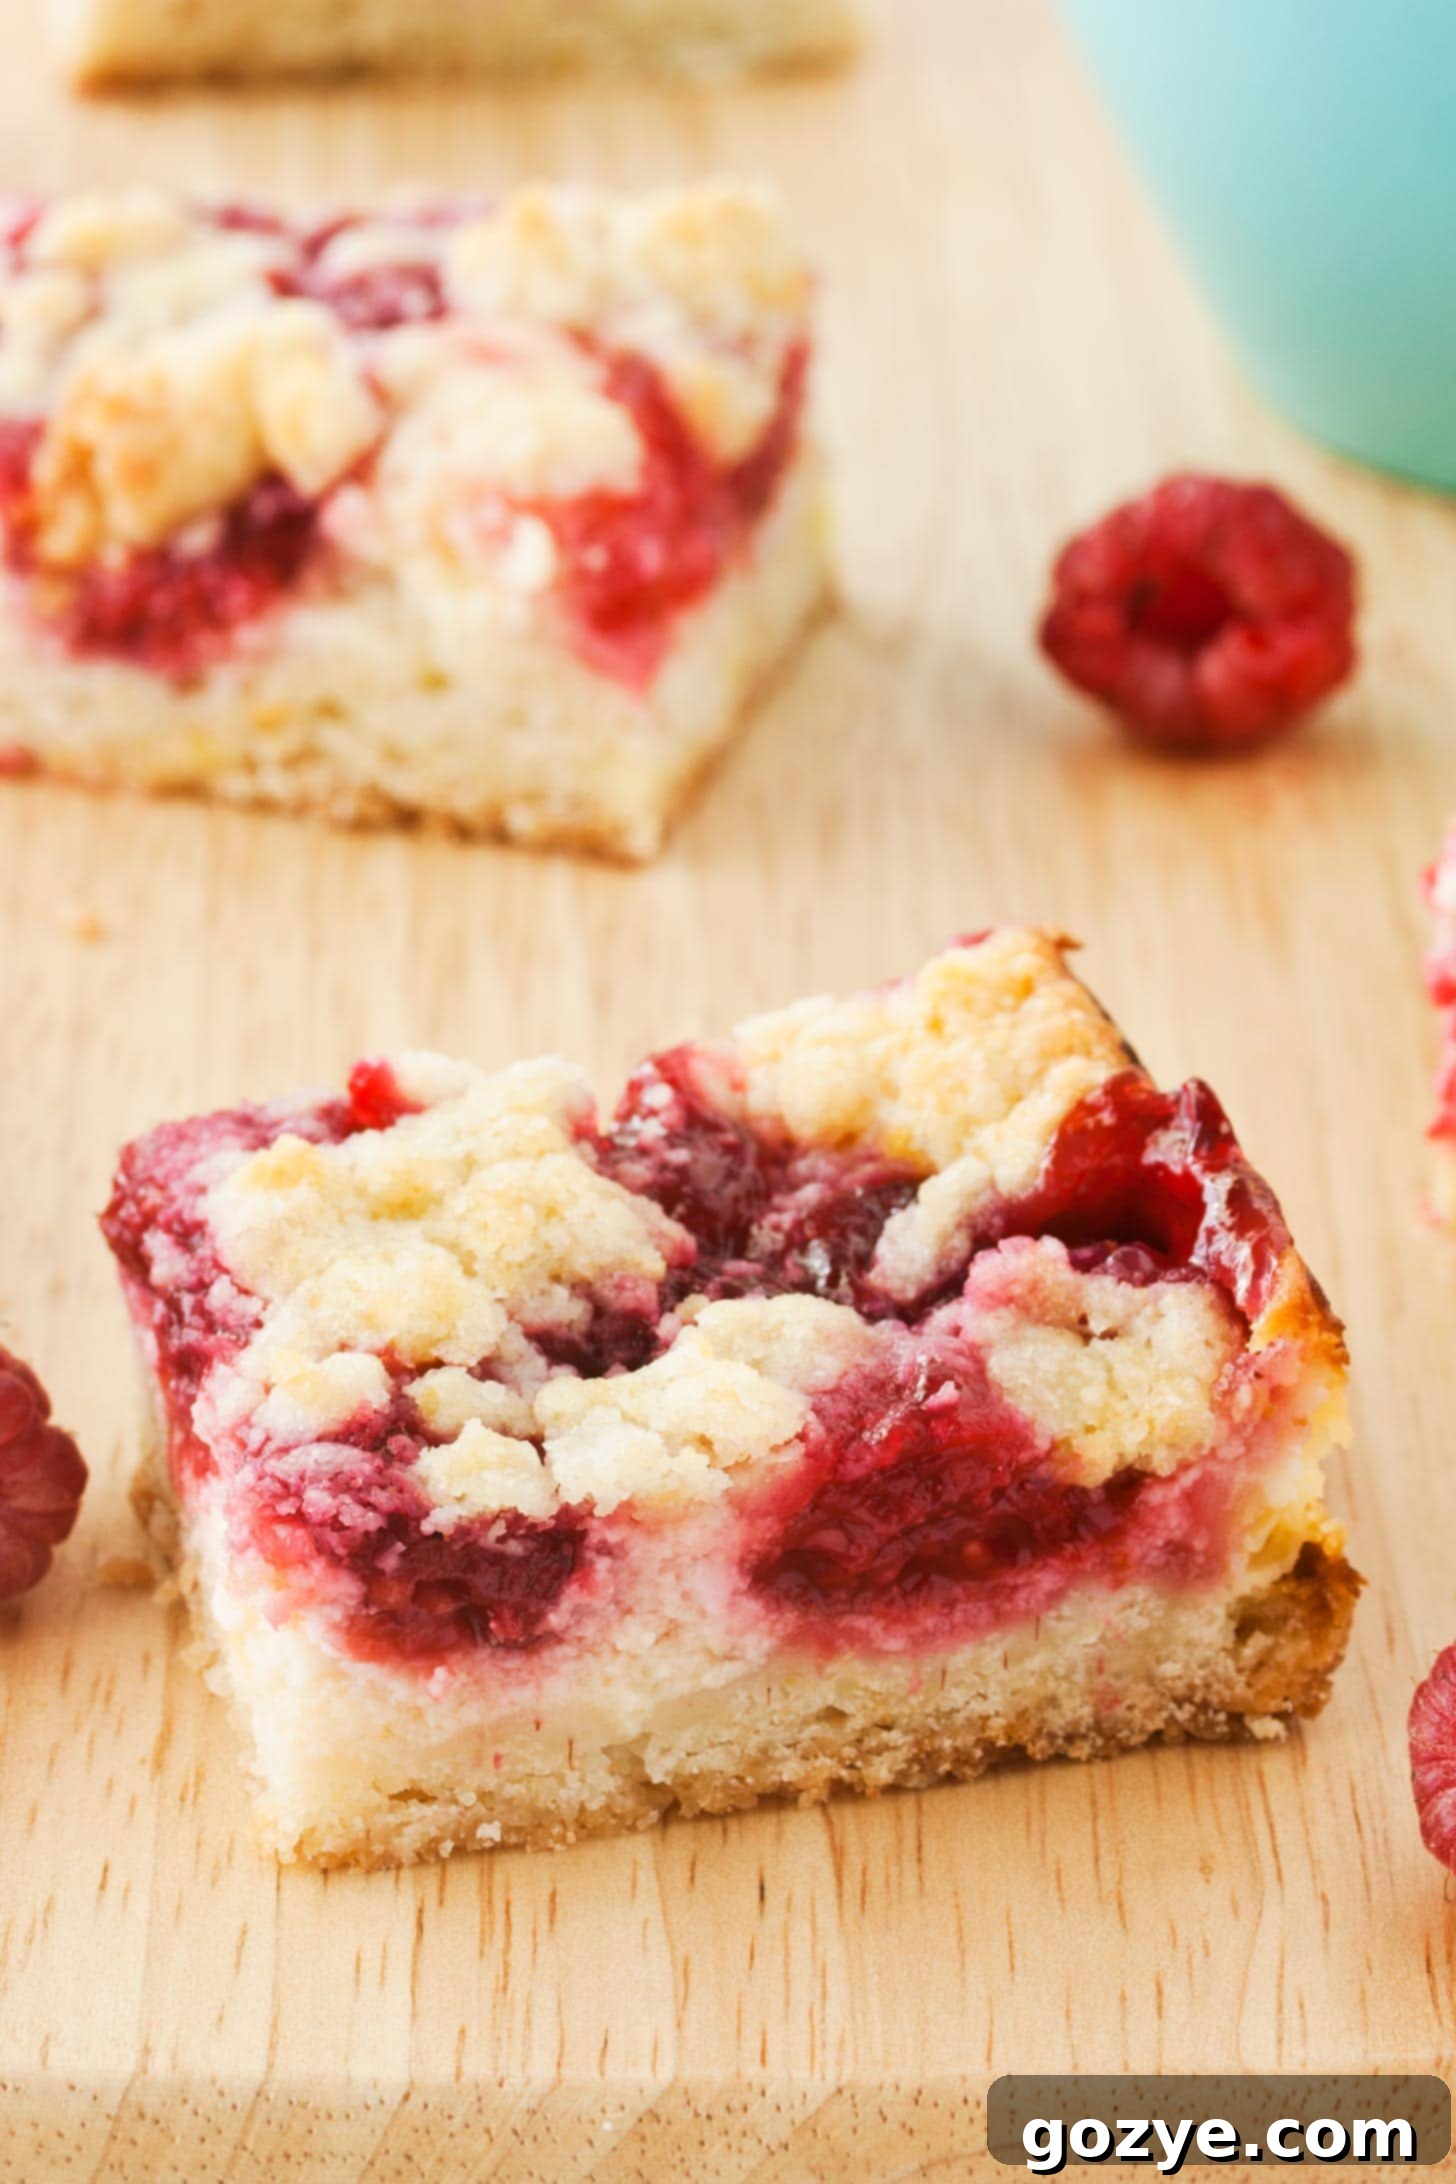
Irresistible Raspberry Cheesecake Bars: The Perfect Summer Treat
Easier than making a whole cheesecake, these Raspberry Cheesecake Bars are a delightful blend of melt-in-your-mouth raspberry crumb, a rich and creamy cheesecake layer, and a sweet-tart fruit filling. Baked conveniently in an 8×8 square pan, they boast a buttery cookie crust and a wonderfully textured crumble topping. Prepare to impress everyone with these simple yet sophisticated dessert squares!
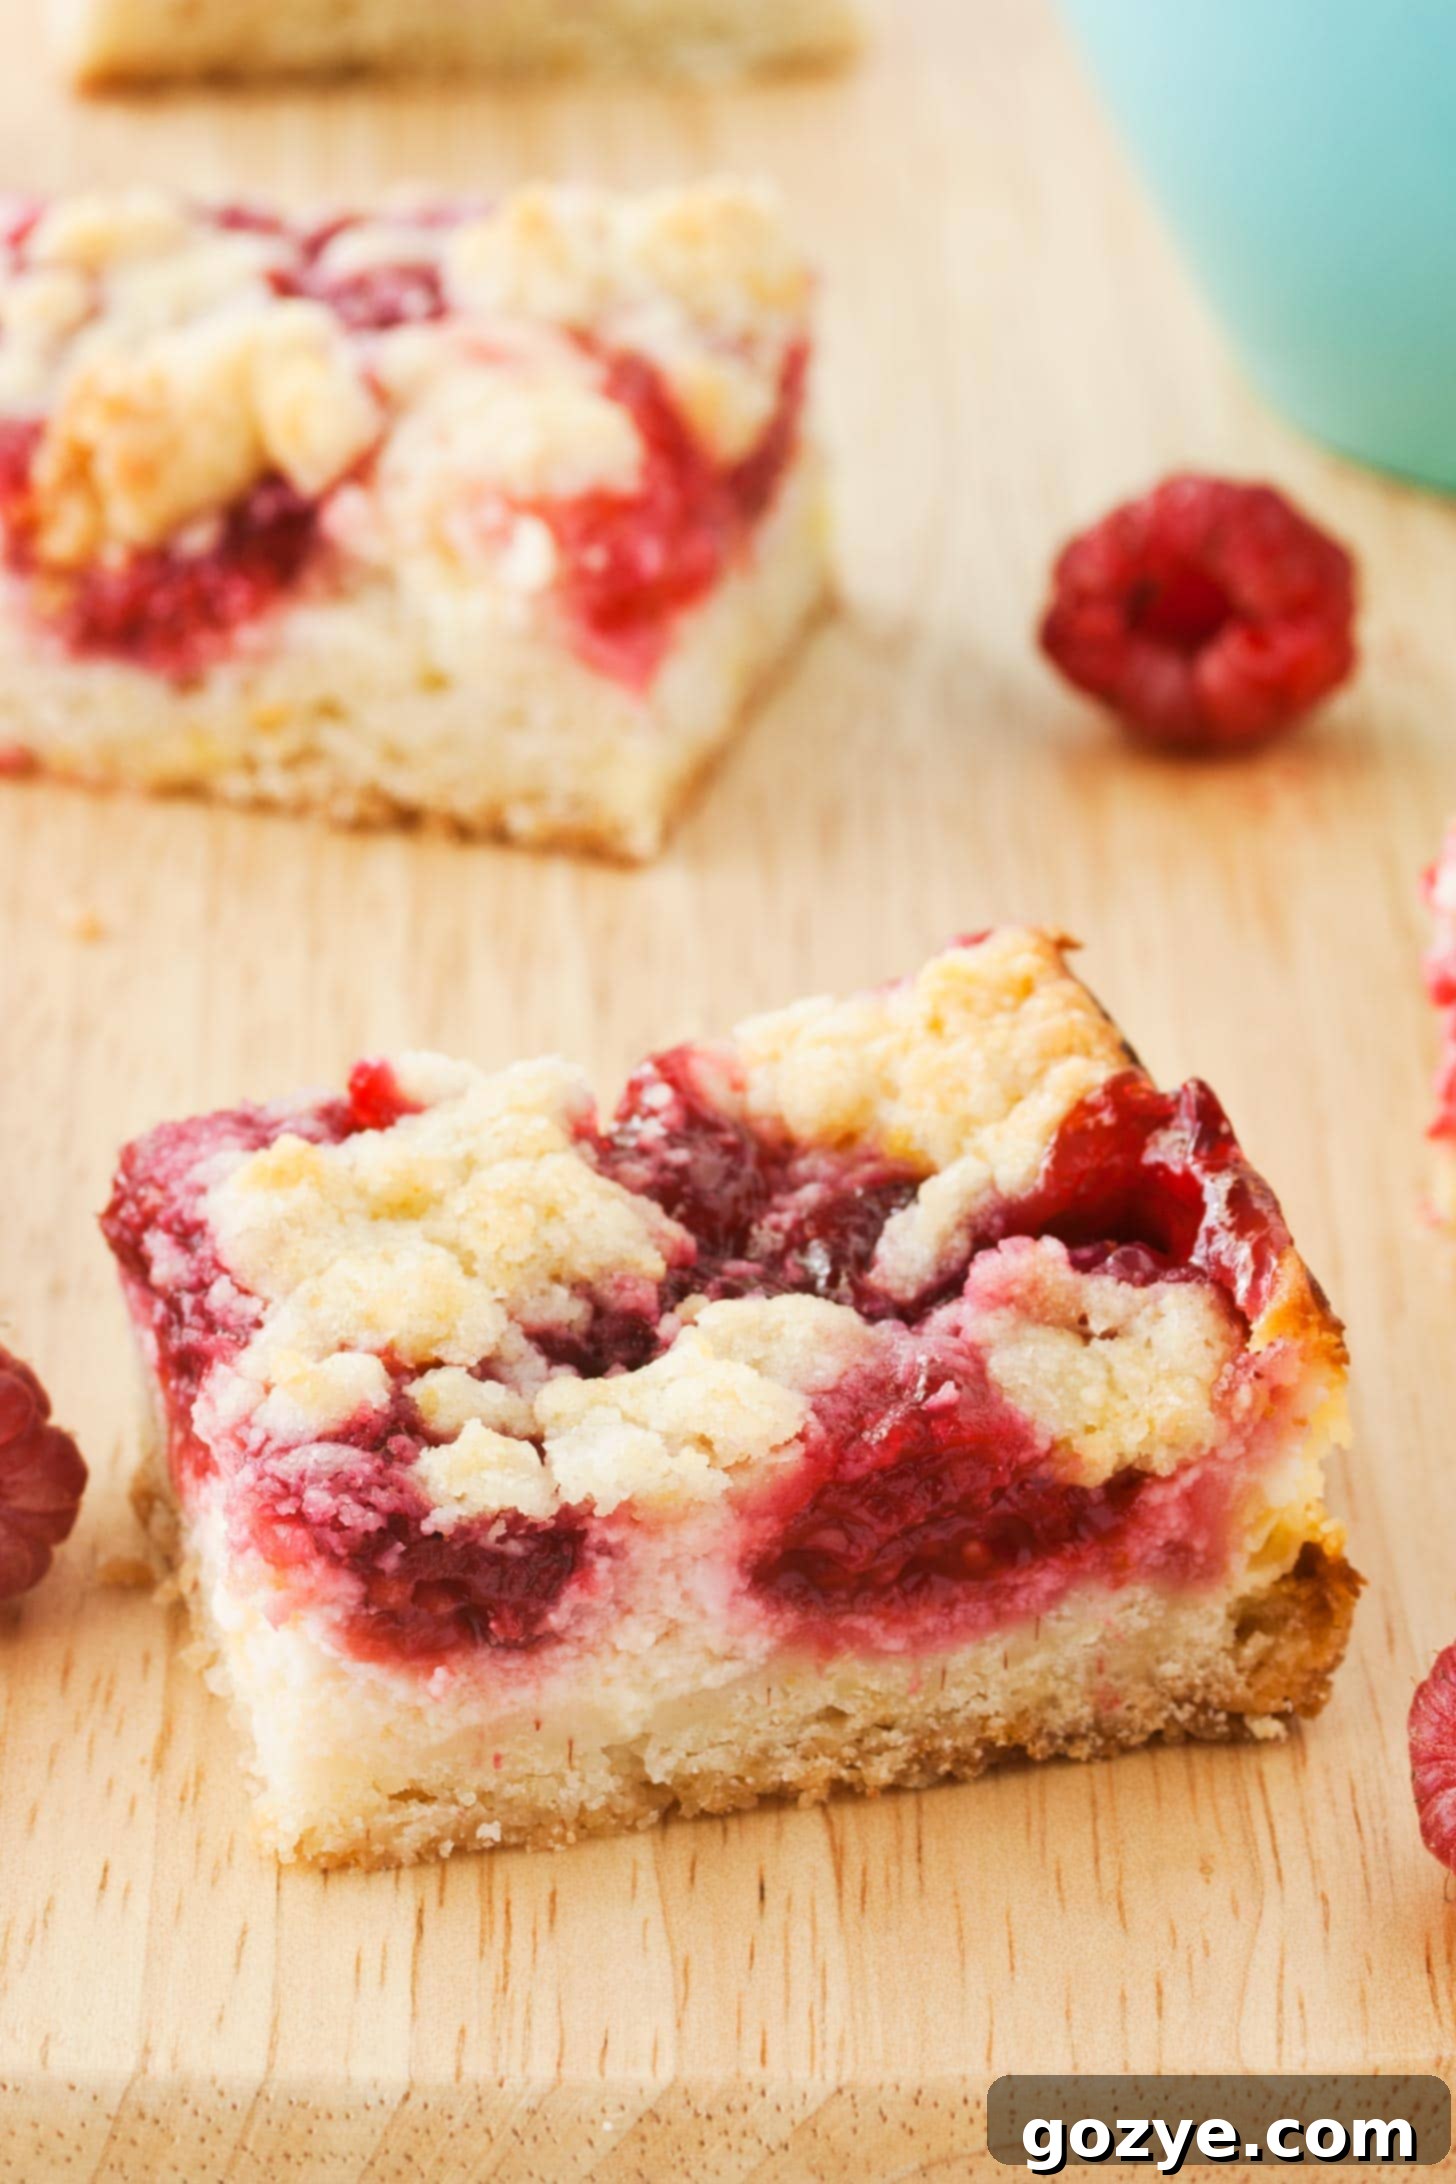
With the warmth of summer just around the corner, our thoughts naturally turn to the bounty of fresh, seasonal berries. There’s something truly magical about strolling through a bustling farmer’s market, basket in hand, gathering pint after pint of ripe, juicy raspberries. If you’re anything like me, you often return home with an abundance of these crimson jewels, then find yourself wondering, “What delicious creation can I whip up today?”
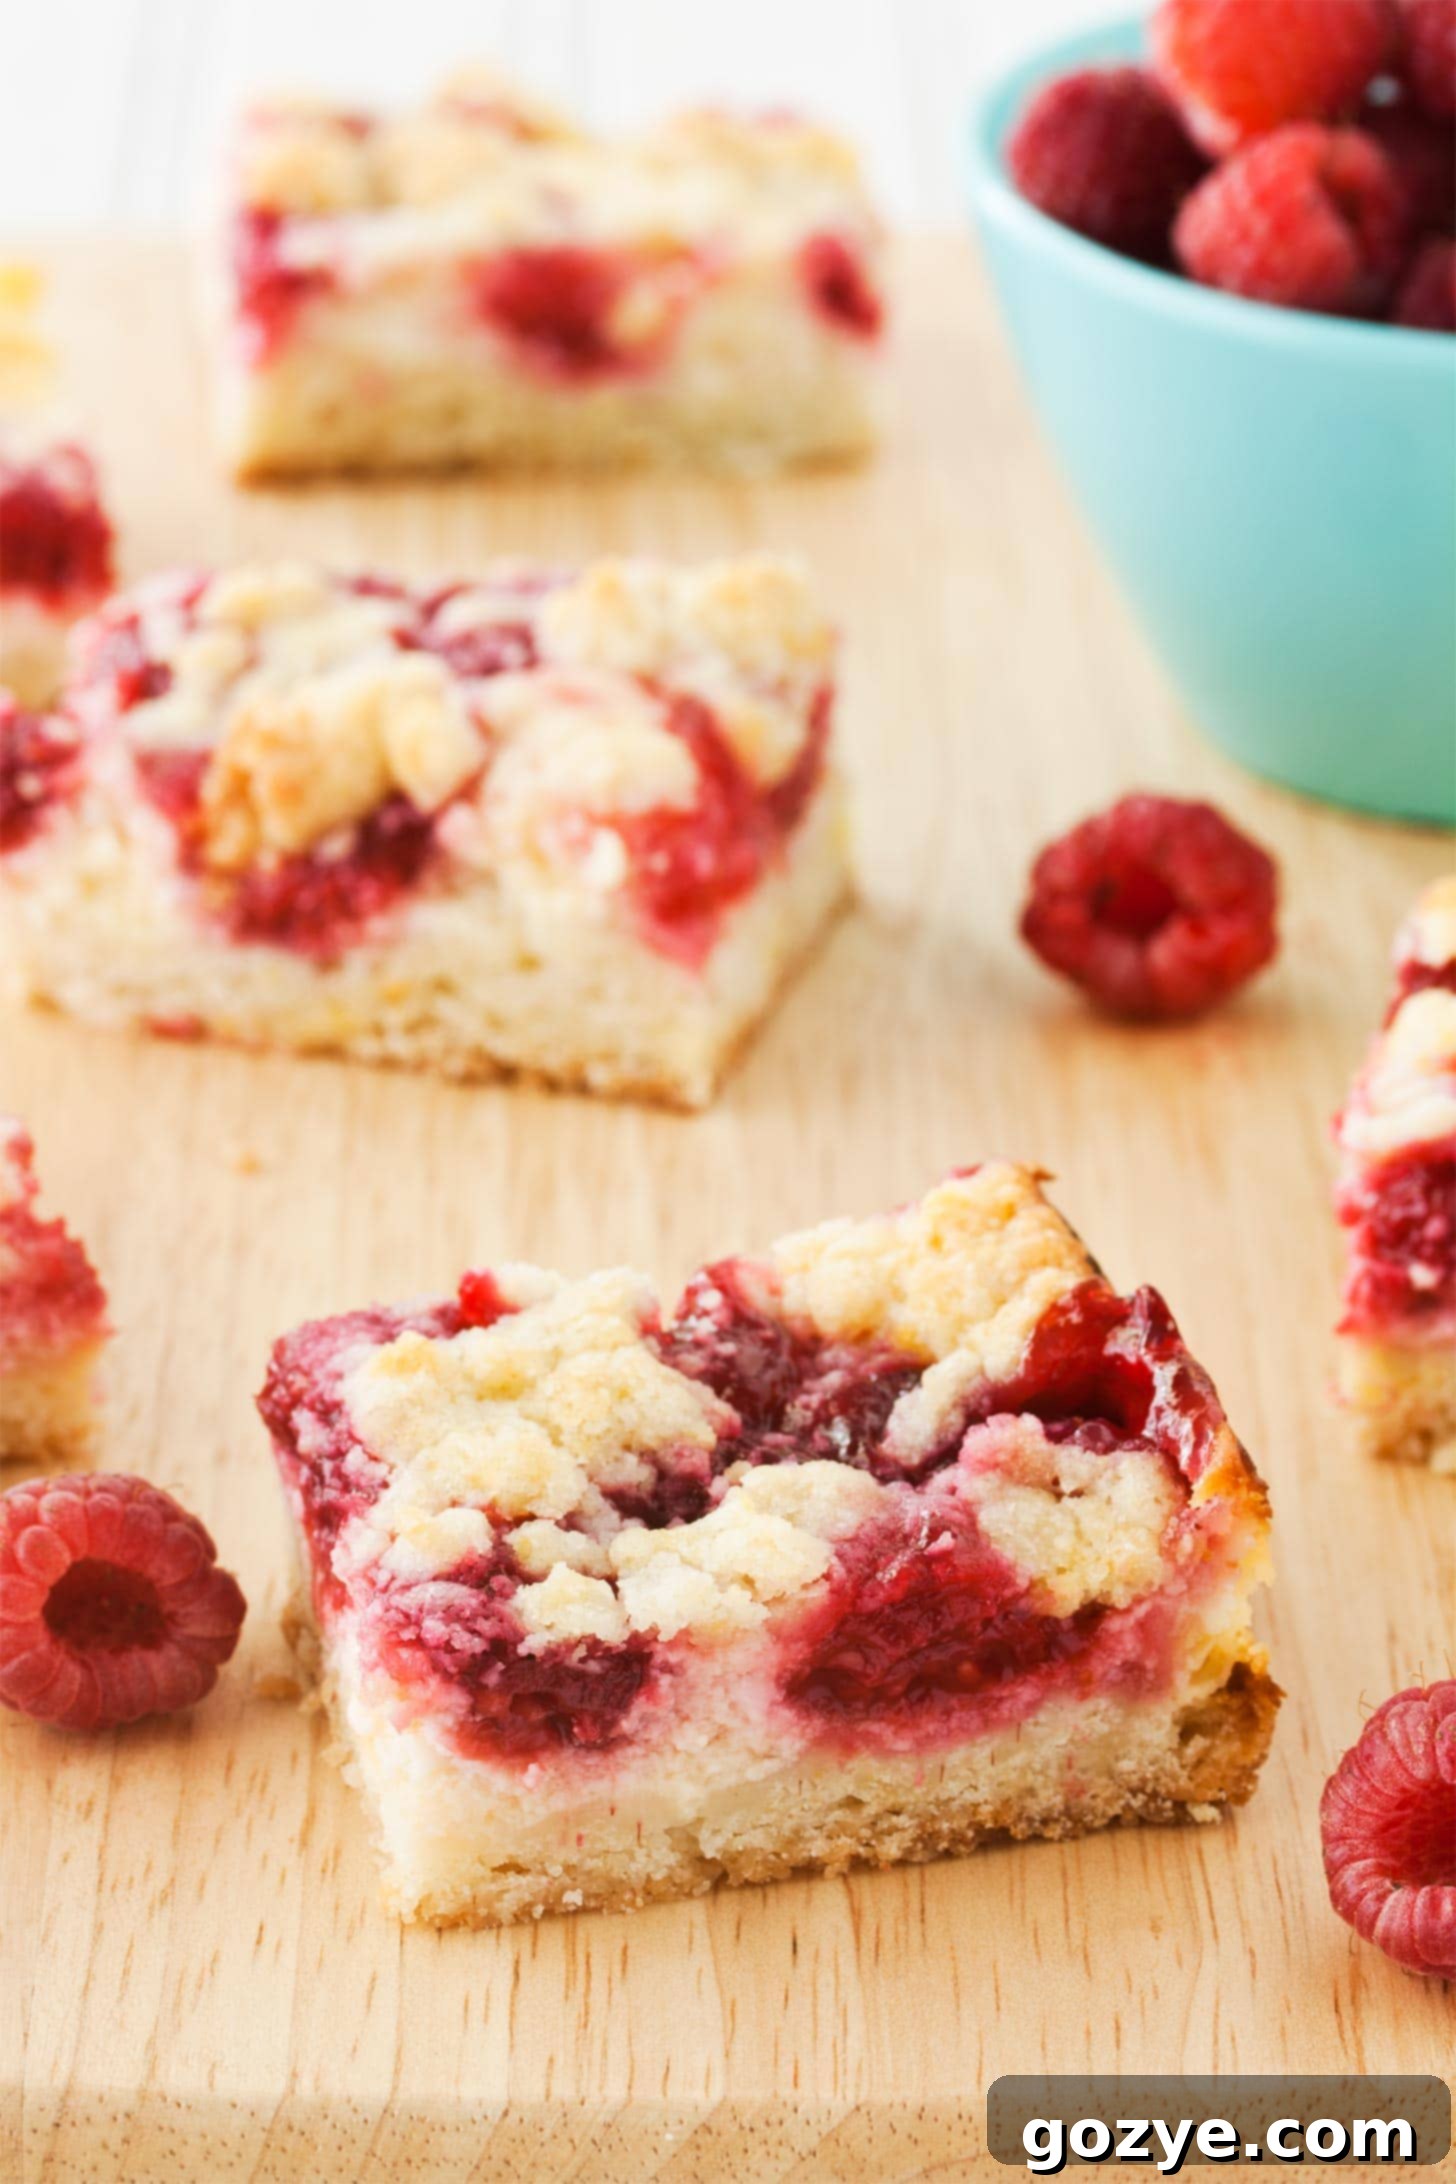
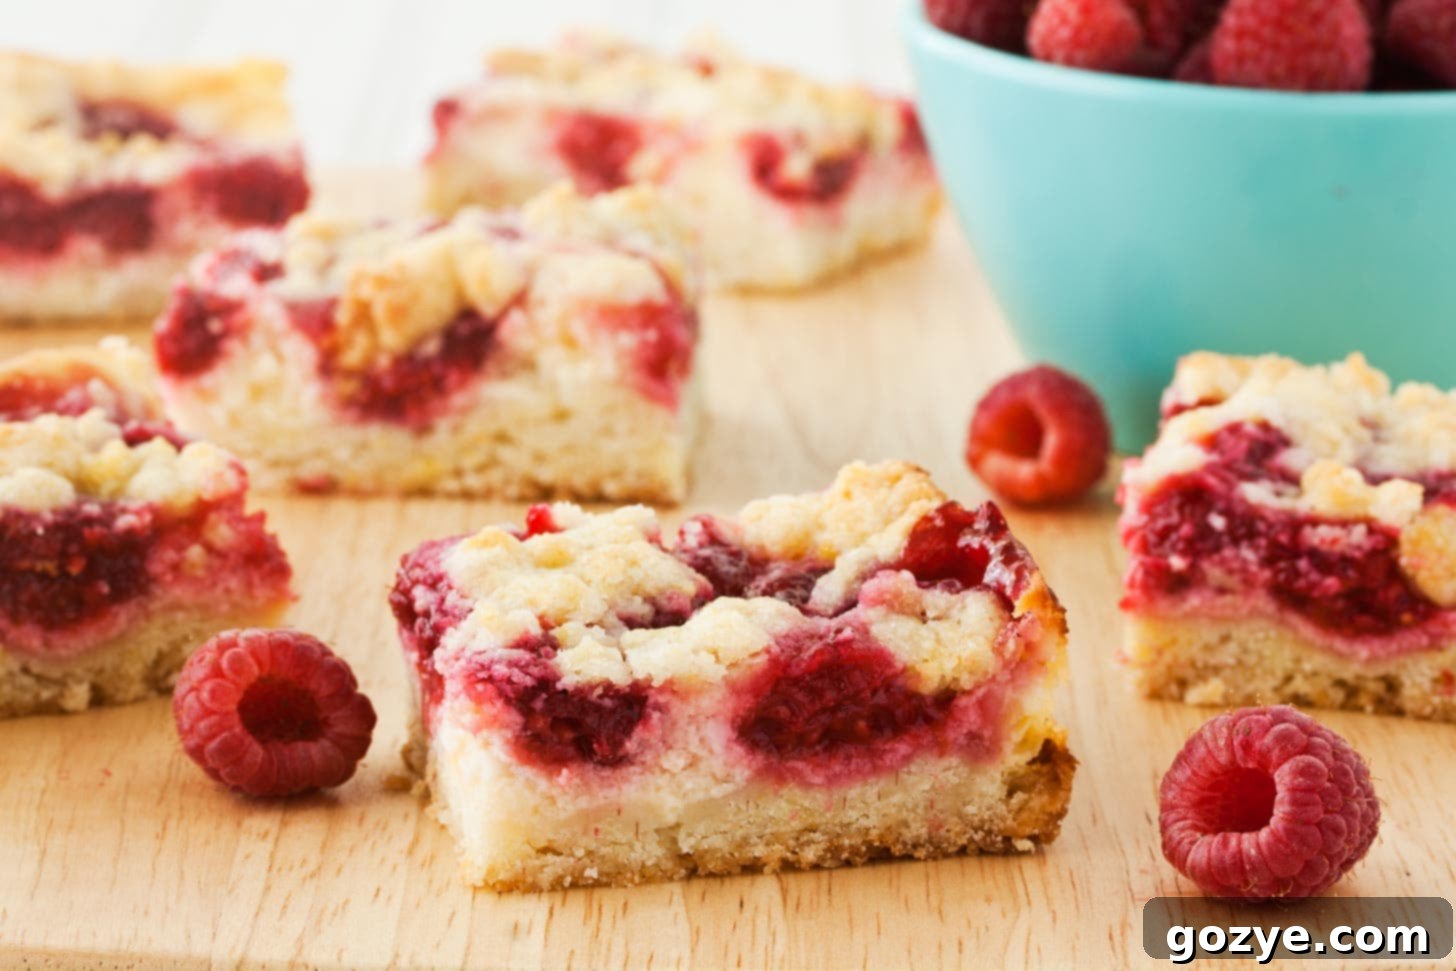
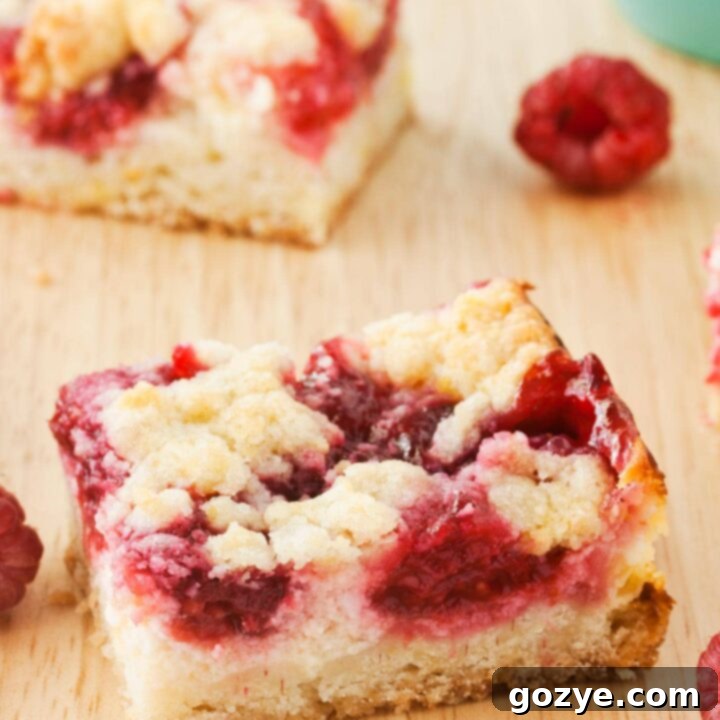
Look no further than these utterly irresistible Raspberry Cheesecake Bars. They are a harmonious symphony of textures and flavors: a tender, buttery crumb base that practically melts in your mouth, followed by a luxurious, creamy cheesecake layer, all crowned with a vibrant, tart raspberry filling and a delicate crumb topping. Think of them as sophisticated raspberry crumb bars elevated by the dreamy addition of cream cheese.
These bars share a family resemblance with my popular peach cheesecake bars, but they offer a unique and bright twist with a juicy, tangy raspberry filling. This homemade filling is similar in concept to making a classic homemade cherry pie filling, ensuring a burst of authentic fruit flavor in every bite.
I’ve found these raspberry cream cheese bars to be a universal crowd-pleaser, always welcomed with enthusiasm whenever I bring them to a picnic, potluck, or any casual gathering. While I adore a classic 6-inch cheesecake recipe, sometimes a whole cake isn’t the most practical option for sharing at a party.
From countless entertaining experiences, I’ve learned that individual, handheld treats are far easier to serve and enjoy at celebrations, especially when food is presented buffet-style. Guests appreciate not having to awkwardly cut their own slices, and these perfectly portioned raspberry cheesecake bars are just small enough to comfortably fit onto an already overflowing plate.
Why Choose Cheesecake Bars Over a Whole Cheesecake?
Beyond convenience, there are several compelling reasons to opt for these delightful raspberry cheesecake squares:
- Effortless Serving: No need for plates, forks, or a knife. Guests can simply grab a bar and go, making them ideal for stand-up parties or outdoor events.
- Perfect Portions: Each bar is a perfectly satisfying serving, making portion control a breeze for both you and your guests.
- Less Intimidating: Baking a full cheesecake can feel daunting. These bars offer all the rich flavor of cheesecake with a much simpler, more forgiving process.
- Portability: Transporting a pan of bars is much less stressful than a delicate whole cheesecake, especially to picnics or potlucks.
- Faster Baking & Cooling: Bars generally bake faster and cool quicker than a full cheesecake, getting you to dessert time sooner!
The Magic of Three Layers: What Makes These Bars Special
The secret to these raspberry cheesecake bars’ incredible appeal lies in their well-balanced, multi-layered structure:
1. The Buttery Crumb Base & Topping
One of my favorite tricks for making these raspberry cream cheese bars a little easier and quicker is to use the same dough for both the buttery cookie base and the crumb topping. This means you only prepare the dough once, then simply reserve a portion for scattering over the top. It’s a fantastic time-saver!
This single dough yields a wonderfully tender, melt-in-your-mouth crust at the bottom, providing a sturdy yet delicate foundation. The reserved crumble topping bakes into golden, buttery nuggets that add a delightful textural contrast and extra flavor to every bite.
2. The Rich and Creamy Cheesecake Layer
Nestled between the crumb layers is a luscious, velvety smooth cheesecake filling. This layer provides that signature rich, tangy cream cheese flavor that we all adore. It’s perfectly balanced against the sweetness of the crust and the tartness of the raspberries. We’ll dive into the importance of using full-fat cream cheese and ensuring it’s at room temperature for the best, silkiest results.
3. The Bright and Tart Raspberry Filling
The vibrant heart of these bars is the homemade raspberry filling. Its sweet-tart profile cuts beautifully through the richness of the cheesecake and the butteriness of the crust. This fresh fruit layer truly brightens the entire dessert, making it feel distinctly summery and refreshing.
Essential Ingredients for Your Raspberry Cheesecake Bars
To create these easy and delightful raspberry bars, you’ll need a straightforward list of ingredients. Each plays a crucial role in building the perfect flavor and texture:
- Water: Forms the base for the raspberry syrup, ensuring a smooth and juicy filling.
- Lemon Zest and Juice: These are key for brightening every layer, adding a refreshing tang that perfectly complements the raspberries and cream cheese. Don’t skip them!
- Sugar: Sweetens each component, balancing the tartness of the raspberries and lemon.
- Cornstarch: The essential thickening agent for your fruit filling, giving it that perfect pie-like consistency without being gummy.
- Raspberries: The star of the show! Fresh raspberries are preferred for their vibrant flavor and texture. If using frozen berries, make sure to thaw them completely and discard any excess liquid to prevent a watery filling.
- All-Purpose Flour: Provides structure to the crumb dough, binding everything together for a tender crust and topping.
- Baking Powder: Acts as a leavening agent in the dough, contributing to its light and tender texture.
- Table Salt: A pinch of salt enhances all the other flavors, preventing the bars from tasting flat.
- Unsalted Butter: Gives the dough its incredible melt-in-your-mouth texture and rich, buttery flavor. Using cold butter is crucial for a crumbly dough.
- Large Eggs: Bind the dough, contribute to its richness, and are vital for creating that smooth, creamy cheesecake layer. Ensure they are at room temperature for best results.
- Full-Fat Cream Cheese: This is non-negotiable for a truly rich and creamy cheesecake layer. Use blocks of full-fat cream cheese, and ensure it’s completely at room temperature before mixing. Low-fat or fat-free varieties will result in a watery, less flavorful cheesecake.
- Vanilla Extract: A classic enhancer, vanilla deepens and rounds out the flavors of all the layers, adding a hint of warmth.
Can you substitute raspberry jam for the homemade filling?
I understand that the prospect of making a homemade filling and the overall ingredient list might seem a bit extensive for some. If you’re looking to simplify things, you can certainly use your favorite raspberry jam (preferably without pectin for a softer set) instead of preparing the raspberry pie filling from scratch. This shortcut is similar to how you would make raspberry jam bars, and it will still yield delicious results!
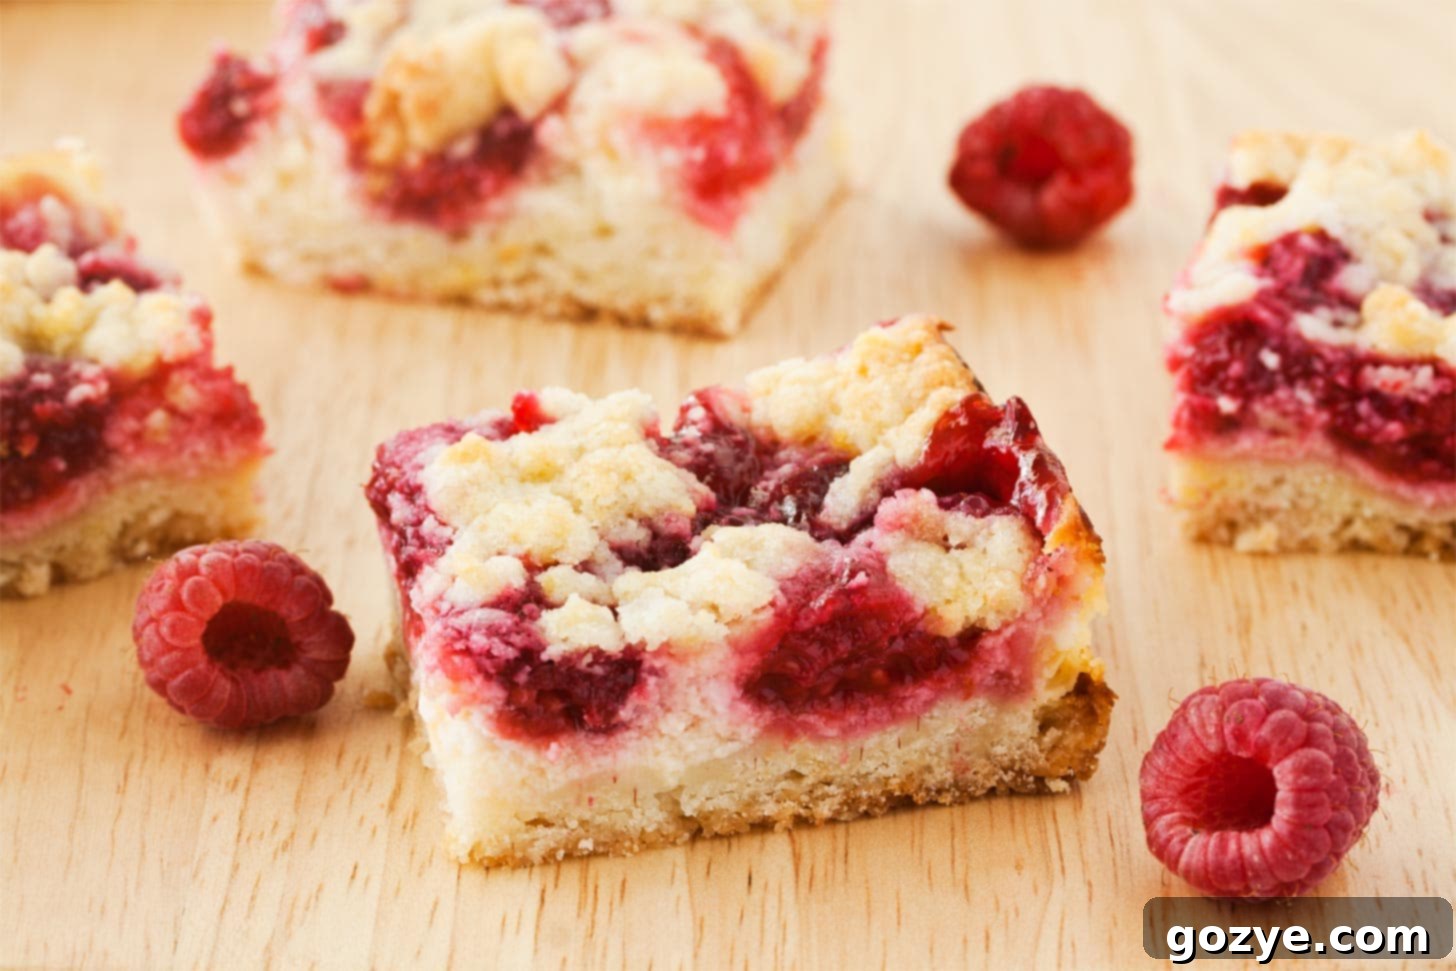
How to Make Raspberry Cheesecake Bars: A Step-by-Step Guide
Creating these luscious raspberry cream cheese bars is a surprisingly straightforward process, broken down into manageable steps:
- Prepare the Pan: Start by preheating your oven to 375°F (190°C). Line an 8×8 inch square baking pan with parchment paper, leaving an overhang on two sides to easily lift the bars out later. This crucial step prevents sticking and makes removal a breeze.
- Cook the Raspberry Filling: In a medium saucepan, whisk together the water, sugar, cornstarch, and lemon juice. Bring this mixture to a boil over medium heat, stirring constantly, until it thickens, which usually takes about 1-2 minutes. Remove it from the heat, then gently stir in your fresh raspberries and vanilla extract. Allow this filling to cool completely while you prepare the other layers. A cool filling is essential to prevent overbaking your bars.
- Whisk Dry Ingredients: In a large mixing bowl, combine the all-purpose flour, granulated sugar, lemon zest, baking powder, and salt. Whisk them together thoroughly to ensure all ingredients are evenly distributed.
- Cut in Butter and Egg: Add the cold, cubed butter to the dry ingredients. Using a pastry blender or your fingertips, cut the butter into the flour mixture until it resembles coarse crumbs or small pebbles. Then, add the egg and continue to cut it in until a cohesive, crumbly dough forms. The dough should stick together when pressed.
- Form the Base and Reserve Topping: Measure out about 1/2 cup of this prepared dough and set it aside for your crumb topping. Press the remaining dough evenly into the bottom of your prepared 8×8 pan, forming a solid crust.
- Prepare the Cheesecake Layer: In another large mixing bowl (or the bowl of a stand mixer with a paddle attachment), beat the softened, room-temperature full-fat cream cheese and sugar together on medium-high speed until the mixture is smooth and creamy, about 1 minute. Scrape down the sides of the bowl to ensure everything is well combined.
- Add Wet Ingredients: Beat in the room-temperature egg, lemon juice, and vanilla extract until just combined. Be careful not to overmix, as this can introduce too much air and lead to cracks in your cheesecake layer.
- Assemble the Layers: Carefully spread the creamy cheesecake mixture evenly over the pressed dough base in the pan. Next, spoon the cooled raspberry filling over the cheesecake layer, spreading it gently to the edges. Finally, scatter the reserved 1/2 cup of crumb dough evenly over the raspberry filling, mimicking a streusel topping.
- Bake to Perfection: Place the pan in your preheated oven and bake for 35-40 minutes, or until the crumb topping is golden brown, the edges of the cheesecake layer have set and begin to pull slightly away from the pan sides, and the center has a slight wiggle when gently shaken.
- Cool and Chill: It’s crucial to let the bars cool completely on a wire rack before attempting to cut them. This allows the cheesecake layer to fully set. Once cooled, refrigerate them for at least 2-3 hours (or even better, overnight) to ensure clean cuts and optimal texture.
Refrigerate any leftover raspberry cheesecake bars in an airtight container for up to 5 days, though they rarely last that long!
Can you make raspberry cheesecake bars ahead of time?
Absolutely! These raspberry crumb bars are fantastic make-ahead treats, which is another reason they’re perfect for parties. You can prepare them up to 2 days in advance. Just bake, cool completely, chill, and store them in an airtight container in the refrigerator.
You can also prepare the homemade raspberry filling up to 2 days prior to assembly. Store it in an airtight container in the refrigerator. When ready to use, bring it back to room temperature; a cold filling will increase your baking time, which could lead to overbaking and a drier crumb layer in your bars.
Tips for Success: Achieving Perfect Raspberry Cheesecake Bars Every Time
To ensure your raspberry cheesecake bars turn out perfectly, keep these simple tips in mind:
- Room Temperature Ingredients: Ensure your cream cheese and eggs are at room temperature. This is vital for achieving a smooth, lump-free cheesecake batter and for easy incorporation into the crumb dough.
- Don’t Overmix the Cheesecake: Once the egg, lemon juice, and vanilla are added to the cream cheese mixture, mix only until just combined. Overmixing can incorporate too much air, which can lead to cracks in the cheesecake layer during baking or cooling.
- Cool the Raspberry Filling: Always allow your homemade raspberry filling to cool down before spreading it over the cheesecake layer. Hot filling can cause the cheesecake layer to warm up unevenly and affect its texture.
- Properly Prepare Your Pan: Lining the 8×8 pan with parchment paper with an overhang is a game-changer. It allows you to easily lift the entire slab of cooled bars out of the pan, making cutting a breeze.
- Cool Completely Before Cutting: Patience is key! Cheesecake bars need to cool completely at room temperature, then chill thoroughly in the refrigerator for several hours (or overnight) before cutting. This ensures clean, sharp slices and a perfectly set cheesecake layer.
- Cold Butter for Crumb: When making the dough for the crust and topping, use very cold butter. This creates a tender, crumbly texture rather than a tough, cake-like one.
Variations to Try
While raspberry cheesecake bars are divine as they are, feel free to get creative with these delicious variations:
- Other Berry Options: Don’t limit yourself to raspberries! These bars are equally delicious with other fresh or frozen berries like blueberries, blackberries, or a mixed berry blend. Adjust sweetness slightly based on the tartness of your chosen fruit.
- Citrus Zest Swap: For a different flavor profile, try using orange or lime zest and juice instead of lemon. A lemon-blueberry or lime-raspberry bar would be delightful!
- Add a Hint of Spice: For a warm, comforting twist, you can add 1/4 teaspoon of ground cinnamon or cardamom to the crumb dough.
- Chocolate Drizzle: Once cooled, drizzle the bars with a bit of melted dark or white chocolate for an extra touch of decadence.
Storage & Freezing Instructions
These raspberry cheesecake bars are fantastic for making ahead, but how do you keep them fresh?
- Refrigeration: Store leftover bars in an airtight container in the refrigerator for up to 5 days. Ensure they are completely cooled before storing to prevent condensation.
- Freezing: For longer storage, these bars freeze beautifully! Once completely cooled and chilled, cut the bars into individual squares. Place them in a single layer on a baking sheet and freeze until solid (about 2-3 hours). Once frozen, transfer the individual bars to an airtight, freezer-safe container or freezer bags, separating layers with parchment paper to prevent sticking. They can be frozen for up to 2-3 months. Thaw individual bars in the refrigerator overnight or at room temperature for a quick treat.
Frequently Asked Questions About Raspberry Cheesecake Bars
Q: Can I use frozen raspberries instead of fresh?
A: Yes, you can! If using frozen raspberries for the filling, thaw them completely first. It’s crucial to drain any excess liquid that accumulates during thawing, as too much moisture can make your filling watery. You might also want to gently blot them dry with a paper towel before adding them to the cooked syrup.
Q: Why did my cheesecake layer crack?
A: Cracks in cheesecake often occur due to overbaking or rapid temperature changes. To minimize cracking, make sure not to overmix the cheesecake batter, allow the bars to cool slowly in the pan before refrigerating, and ensure your cream cheese and eggs are at room temperature.
Q: Can I make these in a 9×13 inch pan?
A: Yes, but you will need to double the recipe ingredients to fill a 9×13 inch pan adequately. The baking time will also likely increase. Start checking for doneness around 45-50 minutes, looking for golden edges and a slight jiggle in the center.
Q: Are these bars gluten-free?
A: As written, this recipe is not gluten-free. However, you can adapt it by substituting the all-purpose flour with a high-quality 1:1 gluten-free baking flour blend (one that contains xanthan gum for best results). Ensure any other ingredients like baking powder are also certified gluten-free if catering to strict dietary needs.
More Raspberry Dessert Recipes to Love
If you’ve fallen in love with these raspberry cream cheese squares, be sure to explore these other delightful dessert recipes featuring raspberries:
- Lemon Raspberry Cake
- Raspberry Cream Cheese Frosting
- Raspberry Crisp For Two
- Raspberry Hot Chocolate
Raspberry Cheesecake Bars
12 bars
20 minutes
45 minutes
1 hour 5 minutes
Easier than making a whole cheesecake, these Raspberry Cheesecake Bars are melt-in-your-mouth raspberry crumb bars with a rich and creamy cheesecake layer. Baked in an 8×8 square pan, they have a buttery cookie crust and a crumble topping.
Ingredients
Raspberry Filling*
- 1/4 cup water
- 1/4 cup granulated sugar
- 1 tablespoon cornstarch
- 1 teaspoon lemon juice
- 12 ounces (roughly 3 + 1/2 cups) fresh raspberries
- 1/4 teaspoon vanilla extract
Dough Base
- 1 + 1/2 cups all purpose flour
- 1/2 cup granulated sugar
- 1 teaspoon lemon zest
- 1/2 teaspoon baking powder
- 1/8 teaspoon table salt
- 1/2 cup (4 ounces or 8 tablespoons) cold unsalted butter, cut into 8 tablespoons
- 1 large egg, room temperature
- 1 teaspoon vanilla extract
Cheesecake
- 8 ounces (1 block) full-fat cream cheese, room temperature and not cold to the touch (do not sub low fat or fat free)
- 1/4 cup granulated sugar
- 1 large egg, room temperature
- 1 tablespoon lemon juice
- 1 teaspoon vanilla extract
Instructions
- Preheat the oven to 375F. Line an 8×8 pan with parchment paper.
- Make the raspberry filling: In a large saucepan, whisk together water, sugar, cornstarch, and lemon juice. Bring to a boil over medium heat, stirring often. Cook until thickened, about 1-2 minutes.
- Remove from the heat and stir in raspberries and vanilla. Cool while finish making the bars.
- Make the base: In a large bowl, whisk together the flour, sugar, lemon zest, baking powder, and salt.
- With a pastry cutter, cut in the butter until the pieces look like pebbles then cut in the egg. Dough will be crumbly but should stick together when pressed.
- Reserve 1/2 cup for the topping and pat the rest into the bottom of the pan. Set aside.
- Make the cheesecake: In a large mixing bowl on medium-high speed (with paddle attachment if using a stand mixer), beat together the cream cheese and sugar until smooth, about 1 minute.
- Scrape down the bowl then beat in the egg, lemon juice, and vanilla.
- Spread cheesecake layer over the base layer. Top with the cooled raspberry filling then top with the reserved 1/2 cup of topping, scattering it over the top like a streusel.
- Bake 35-40 minutes or until the top is golden brown, the edges pull away from the pan sides, and the center slightly wiggles when given a gentle shake. Cool completely before cutting.
Refrigerate leftovers in an airtight container for up to 5 days.
Notes
- *You can also substitute raspberry jam for the raspberry filling.
- Enjoyed this recipe? Check out my Peach Cheesecake Bars, Raspberry Jam Bars, and Apple Crumb Bars.
Recommended Products
As an Amazon Associate and member of other affiliate programs, I earn from qualifying purchases.
- 8×8 Square Pan
Did you make this recipe?
Let me know what you think! Rate the recipe above, leave a comment below, and/or share a photo on Instagram using #HITKrecipes
First published June 20, 2014
