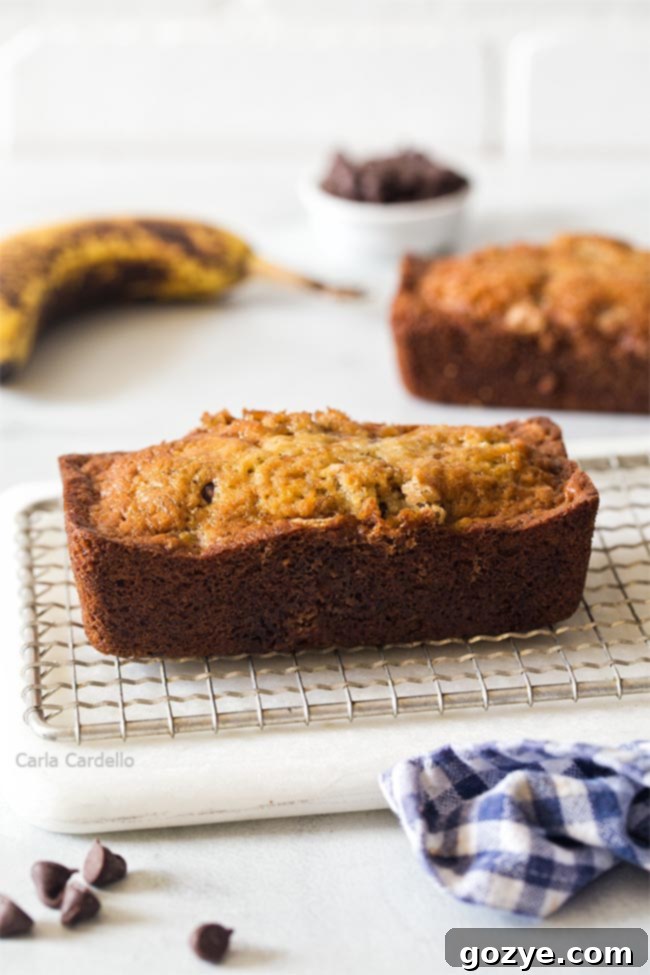
Perfectly Portioned Mini Banana Bread with Chocolate Chips: Your Go-To Small Batch Recipe
Indulge in the delightful taste of homemade banana bread without the commitment of a full-sized loaf. This recipe for Mini Banana Bread with chocolate chips is designed for those moments when you crave a fresh, warm treat but only have one banana on hand. Baked in mini loaf pans, these individual portions are perfect for satisfying your sweet tooth, controlling cravings, or sharing a thoughtful homemade gift.
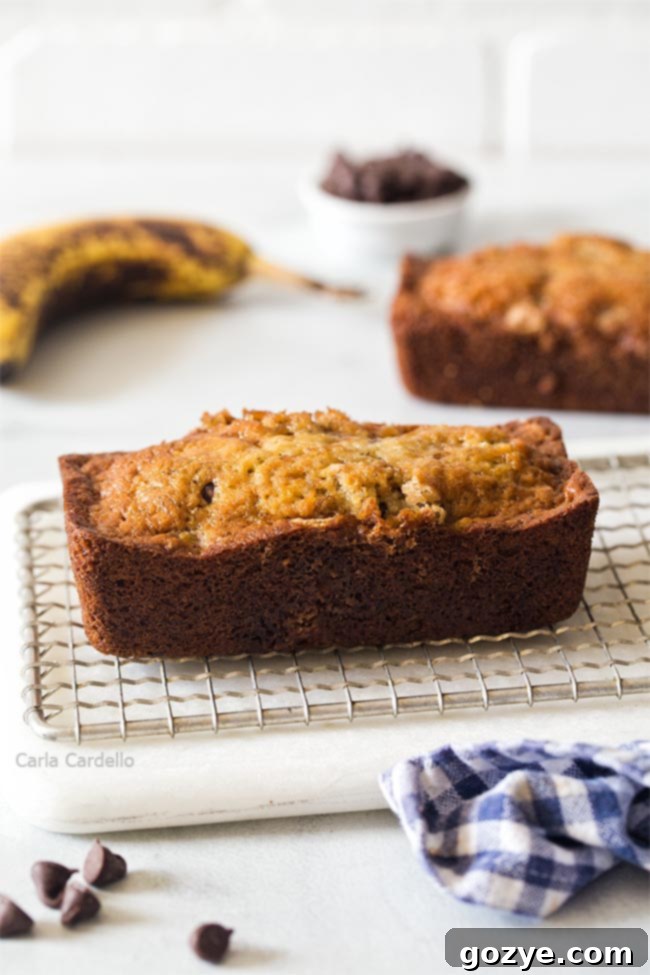
If you’re anything like me, the temptation to devour an entire loaf of freshly baked banana bread in one sitting can be incredibly strong. While delicious, a full loaf can sometimes lead to overindulgence. That’s where the magic of making Mini Banana Bread truly shines. By creating smaller, perfectly portioned loaves, you gain better control over your servings, making it easier to enjoy this classic comfort food responsibly.
This approach is similar to how I manage other irresistible treats, like my small batch chocolate chip cookies. It’s all about crafting just enough to satisfy without having too many leftovers to contend with. While I usually pride myself on my restraint and often share extra baked goods with colleagues, there are just some recipes that are too good to stop eating.
These delightful banana bread mini loaves are lovingly adapted from my popular Small Batch Banana Muffins recipe, maintaining the same simplicity of needing only one ripe banana and a single mixing bowl for minimal cleanup. The idea of requiring special mini loaf pans initially gave me pause, but when I consulted my private Facebook group, I was pleasantly surprised to find that many of you already owned these versatile pans!
Encouraged by your enthusiasm, I quickly acquired my own set, and now I’m excited to share a growing collection of mini loaf pan recipes with you, starting with these, and including my delicious pumpkin bread mini loaves. Banana bread for two (or a small group!) felt like the perfect starting point, given its universal appeal. If this recipe becomes a favorite, expect many more classic bakes reimagined in mini form!
Your feedback is invaluable! Please make sure to rate the recipe and leave your comments after trying it out. This helps me understand what you love and inspires future mini loaf creations!
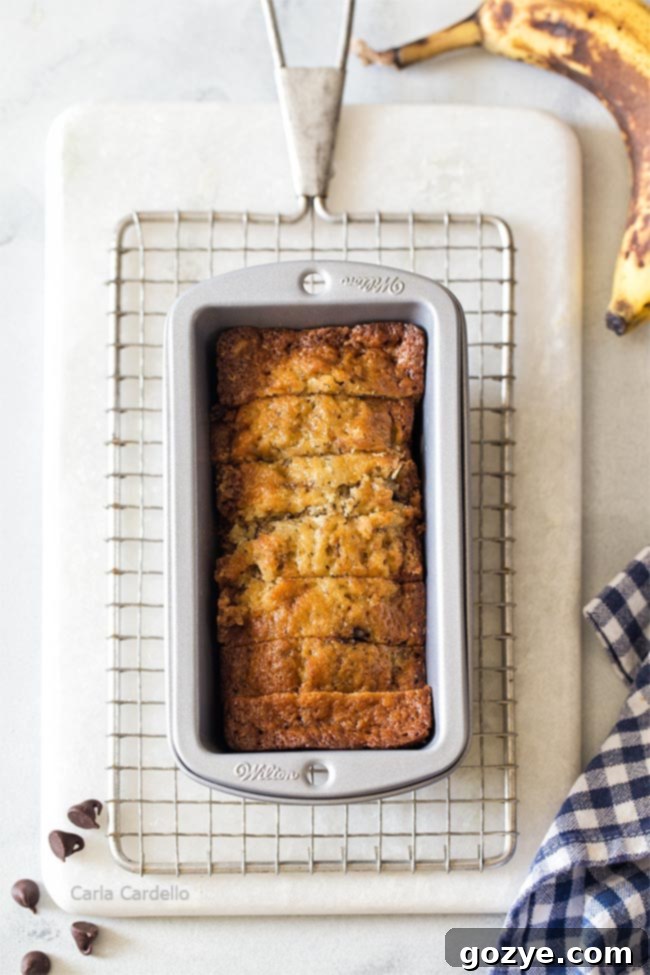
Essential Pans for Baking Mini Banana Bread
Before you embark on your mini banana bread adventure, you’ll need one of two types of baking pans. Selecting the right pan will determine the number of loaves you yield and the overall baking experience.
- Individual Mini Loaf Pans: Two 5.74×3 inch mini loaf pans are ideal if you prefer baking two distinct loaves that can be easily gifted or frozen separately. These provide a classic mini loaf shape.
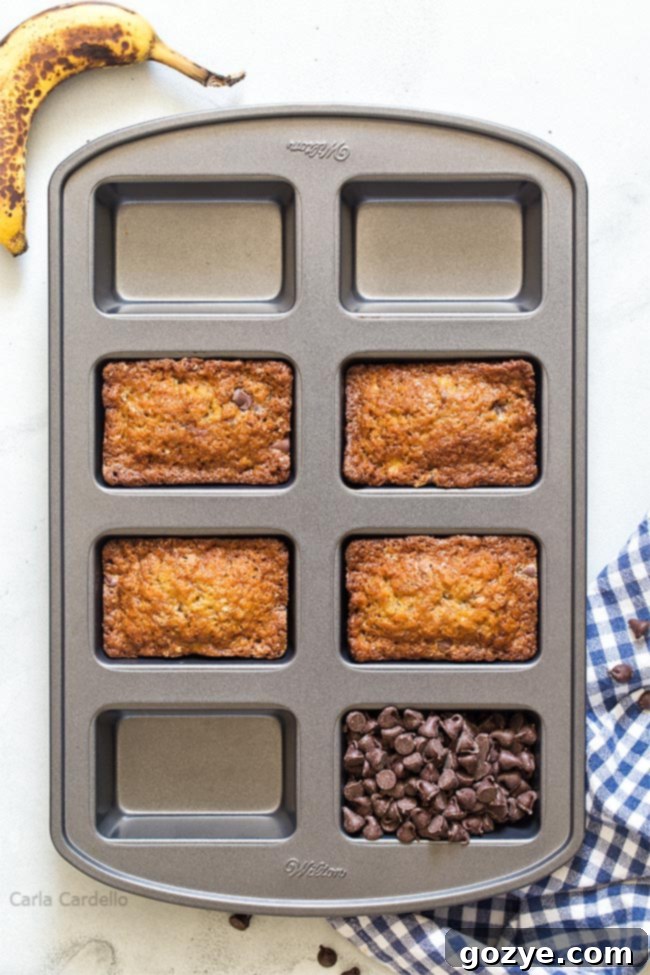
- Multi-Cavity Mini Loaf Pan: Alternatively, one 8-cavity mini loaf pan (with cavities roughly 2.5×3 inches each) is fantastic for baking a larger batch of smaller mini loaves simultaneously. This option is efficient if you want more portions from a single baking session.
Using two 5×3 inch pans will result in two generously sized mini banana bread loaves. If you opt for the 8-cavity pan, you’ll produce four smaller mini loaves, which are often delightful for sampling or gifting.
No Mini Loaf Pans? No Problem! Don’t let the lack of specialized pans deter you. You can easily adapt this recipe: use a standard muffin pan to make 6 delicious banana muffins, adjusting the baking time slightly. Or, if you prefer a traditional large loaf, consider making my 9×5 banana chocolate chip bread recipe instead, which is scaled for a full-size pan.
Why Choose Mini Banana Bread Loaves?
You might be wondering, if you can simply bake this one-banana recipe into muffins, what’s the compelling reason for investing in mini loaf pans? The answer lies in the unique benefits and charm that mini loaves offer:
- Perfect Portion Control: As mentioned, mini loaves naturally help manage serving sizes, making it easier to enjoy a treat without overdoing it.
- Ideal for Gifting: Mini banana bread loaves make charming and thoughtful homemade gifts for holidays, neighbor treats, or hostess gifts. They’re much easier to wrap and present beautifully than a slice from a large loaf.
- Fresher for Longer: Baking smaller loaves means you can enjoy freshly baked bread more often. Freeze individual portions and thaw them as needed, ensuring every bite is as fresh as possible.
- Versatile for Varieties: If you’re experimenting with different mix-ins (nuts, various chocolate types, dried fruit), mini loaves allow you to create a small batch of each variety without committing to multiple large loaves.
- Quicker Baking Time: Smaller loaves generally bake faster than a large loaf, meaning you get to enjoy your delicious banana bread sooner!
- Aesthetic Appeal: There’s something undeniably cute and inviting about a mini loaf. They look fantastic on a breakfast spread or dessert platter.
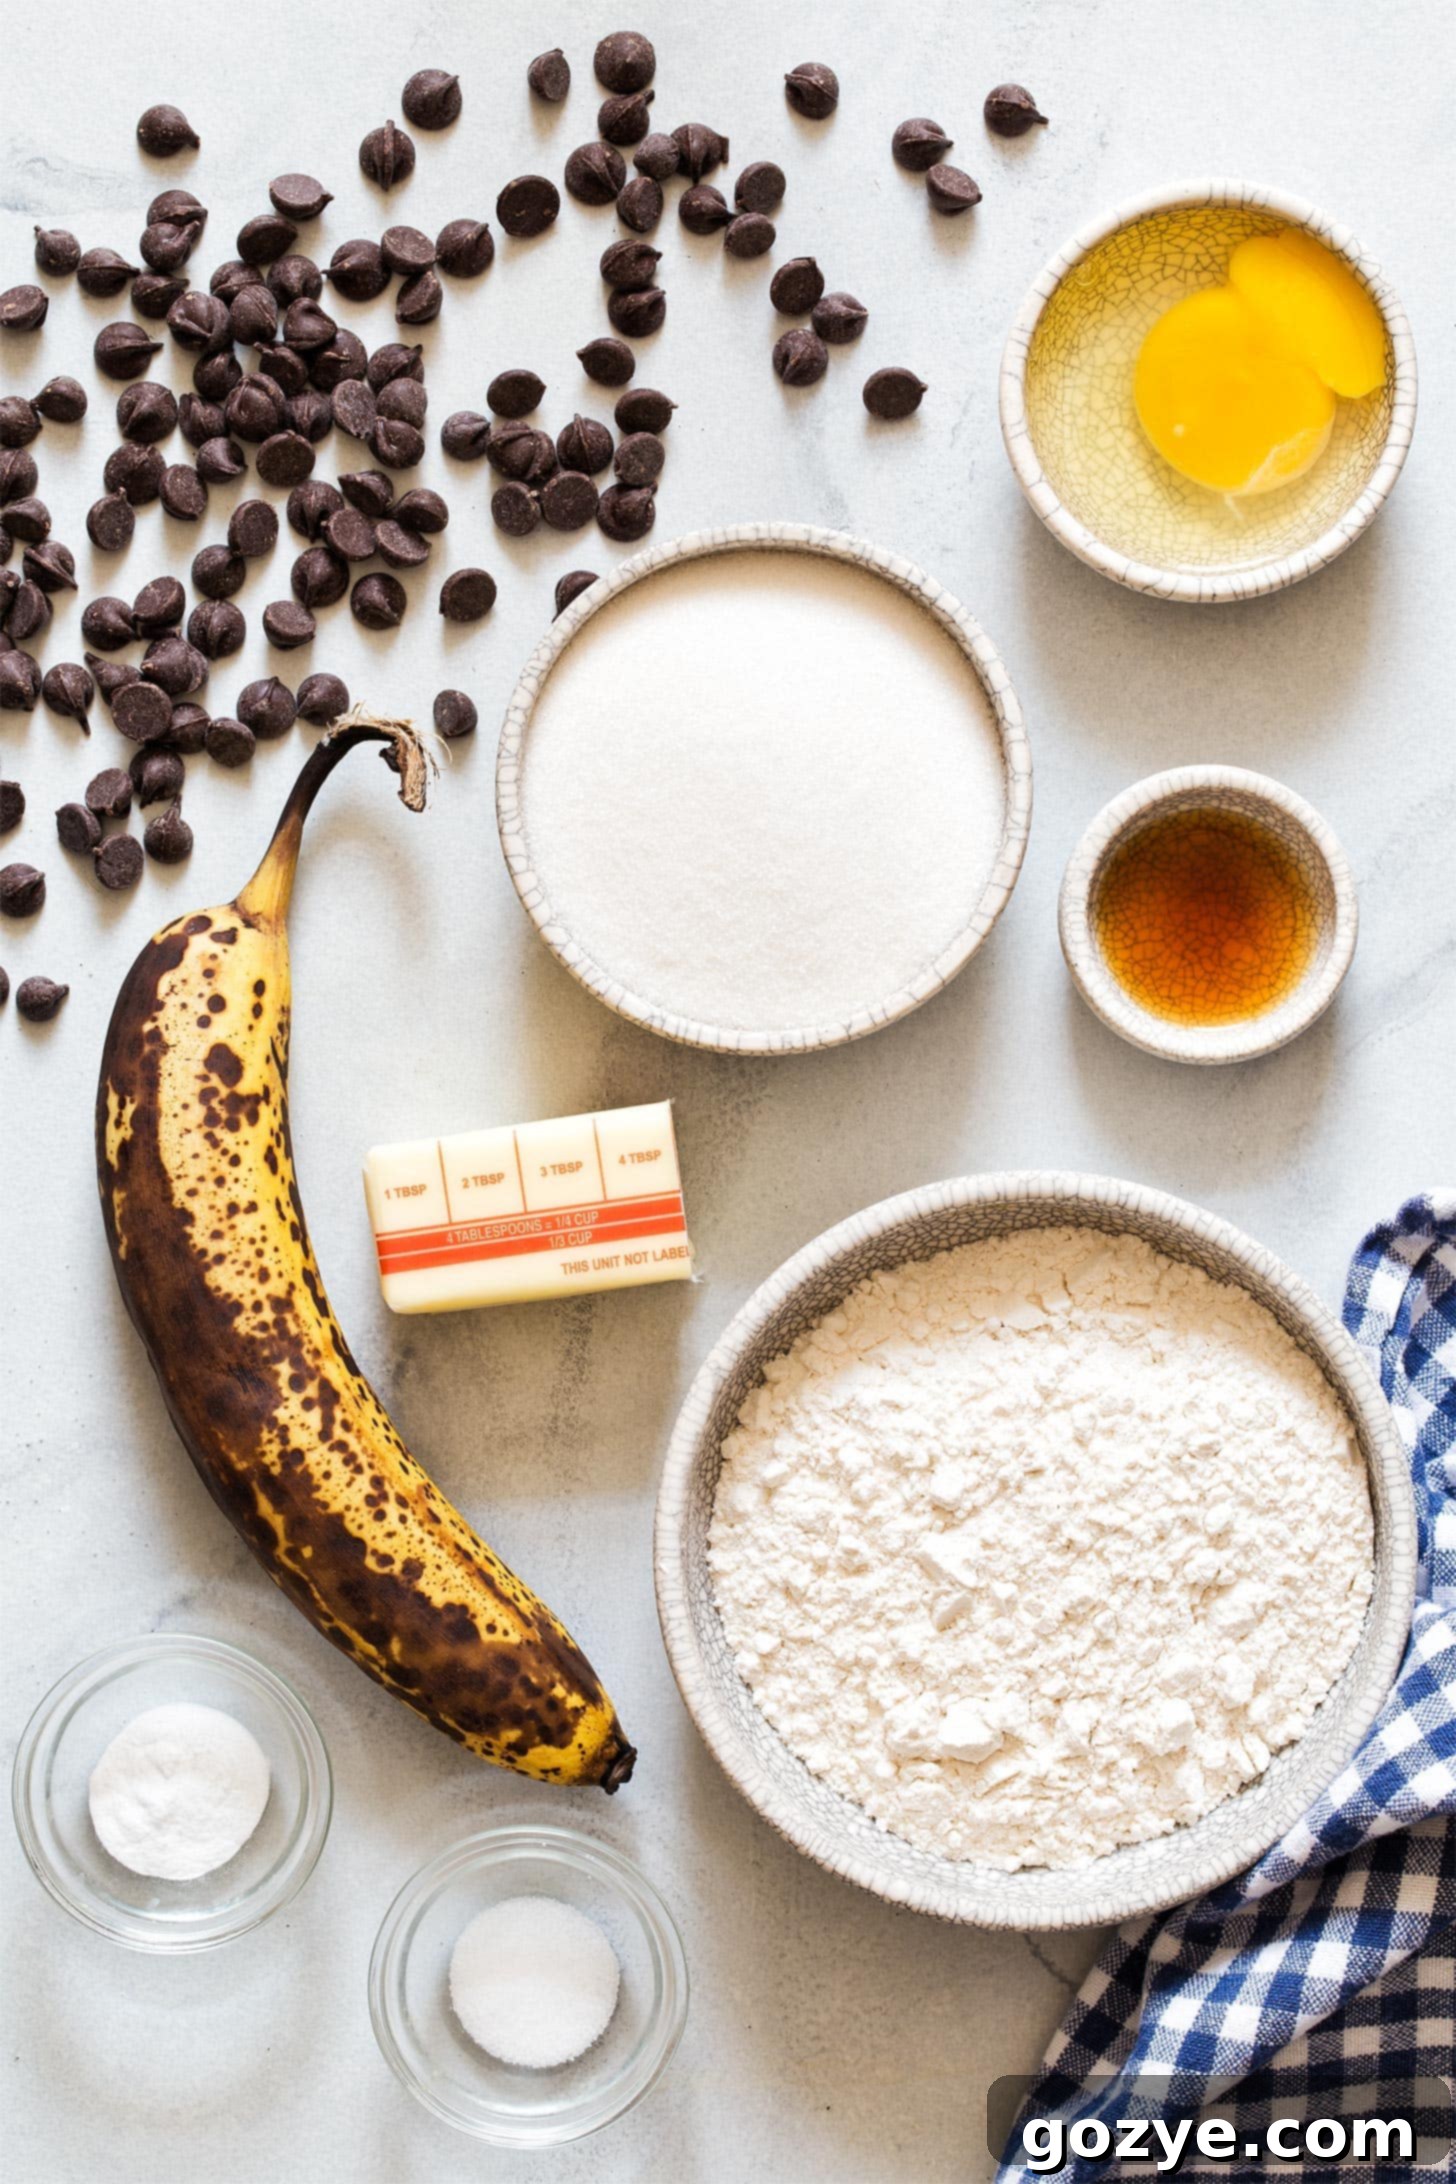
Key Ingredients for Your Mini Banana Bread
Crafting the perfect one-banana banana bread requires a careful selection of common pantry staples. Each ingredient plays a crucial role in achieving that moist, flavorful, and beautifully textured loaf:
- Sugar: Granulated sugar isn’t just for sweetness; it’s a key player in keeping your banana bread wonderfully moist by attracting and holding onto moisture. It also contributes to that appealing golden-brown crust.
- Butter: Using softened unsalted butter is essential. Creaming the butter with sugar incorporates air, which is vital for the bread’s rise and overall tender crumb. It also adds rich flavor.
- Egg: A standard large egg acts as a binder, helping to structure the bread and provide richness. Ensure it’s at room temperature for better emulsification with other ingredients.
- Banana: This is the star! The most crucial tip is to use a very ripe, almost overripe, banana. Look for one with abundant brown spots or even a completely brown peel, as these bananas are sweeter and have a more intense flavor and softer texture. While a medium banana is typically sufficient, bananas vary greatly in size, so it’s best to measure out 1/2 cup of mashed banana for consistent results.
- Vanilla Extract: A touch of vanilla extract works wonders in enhancing and complementing the natural sweetness and depth of the banana flavor, making the bread even more aromatic.
- All-Purpose Flour: For a light and tender crumb, proper flour measurement is critical. Always measure your flour by spooning it lightly into your measuring cup and then leveling it off. Scooping directly can pack too much flour, leading to a dense, dry bread.
- Baking Soda: This leavening agent reacts with the acidic banana to create carbon dioxide bubbles, giving the bread its lift and airy texture.
- Salt: A small amount of salt is vital for balancing the sweetness and intensifying all the other flavors in the bread, making them pop.
- Chocolate Chips: My absolute favorite addition to banana bread! Semisweet or dark chocolate chips are highly recommended. Milk chocolate can sometimes be overly sweet when combined with ripe bananas and sugar, whereas the slight bitterness of darker chocolate provides a lovely contrast.
Craving even more chocolate? Feel free to adapt my recipe for Small Batch Chocolate Banana Muffins and bake the batter in your mini loaf pans for a double chocolate delight! For other dessert options, consider my Small Banana Cake, decadent Banana Cupcakes, or my delightful vegan Banana Snack Cake.
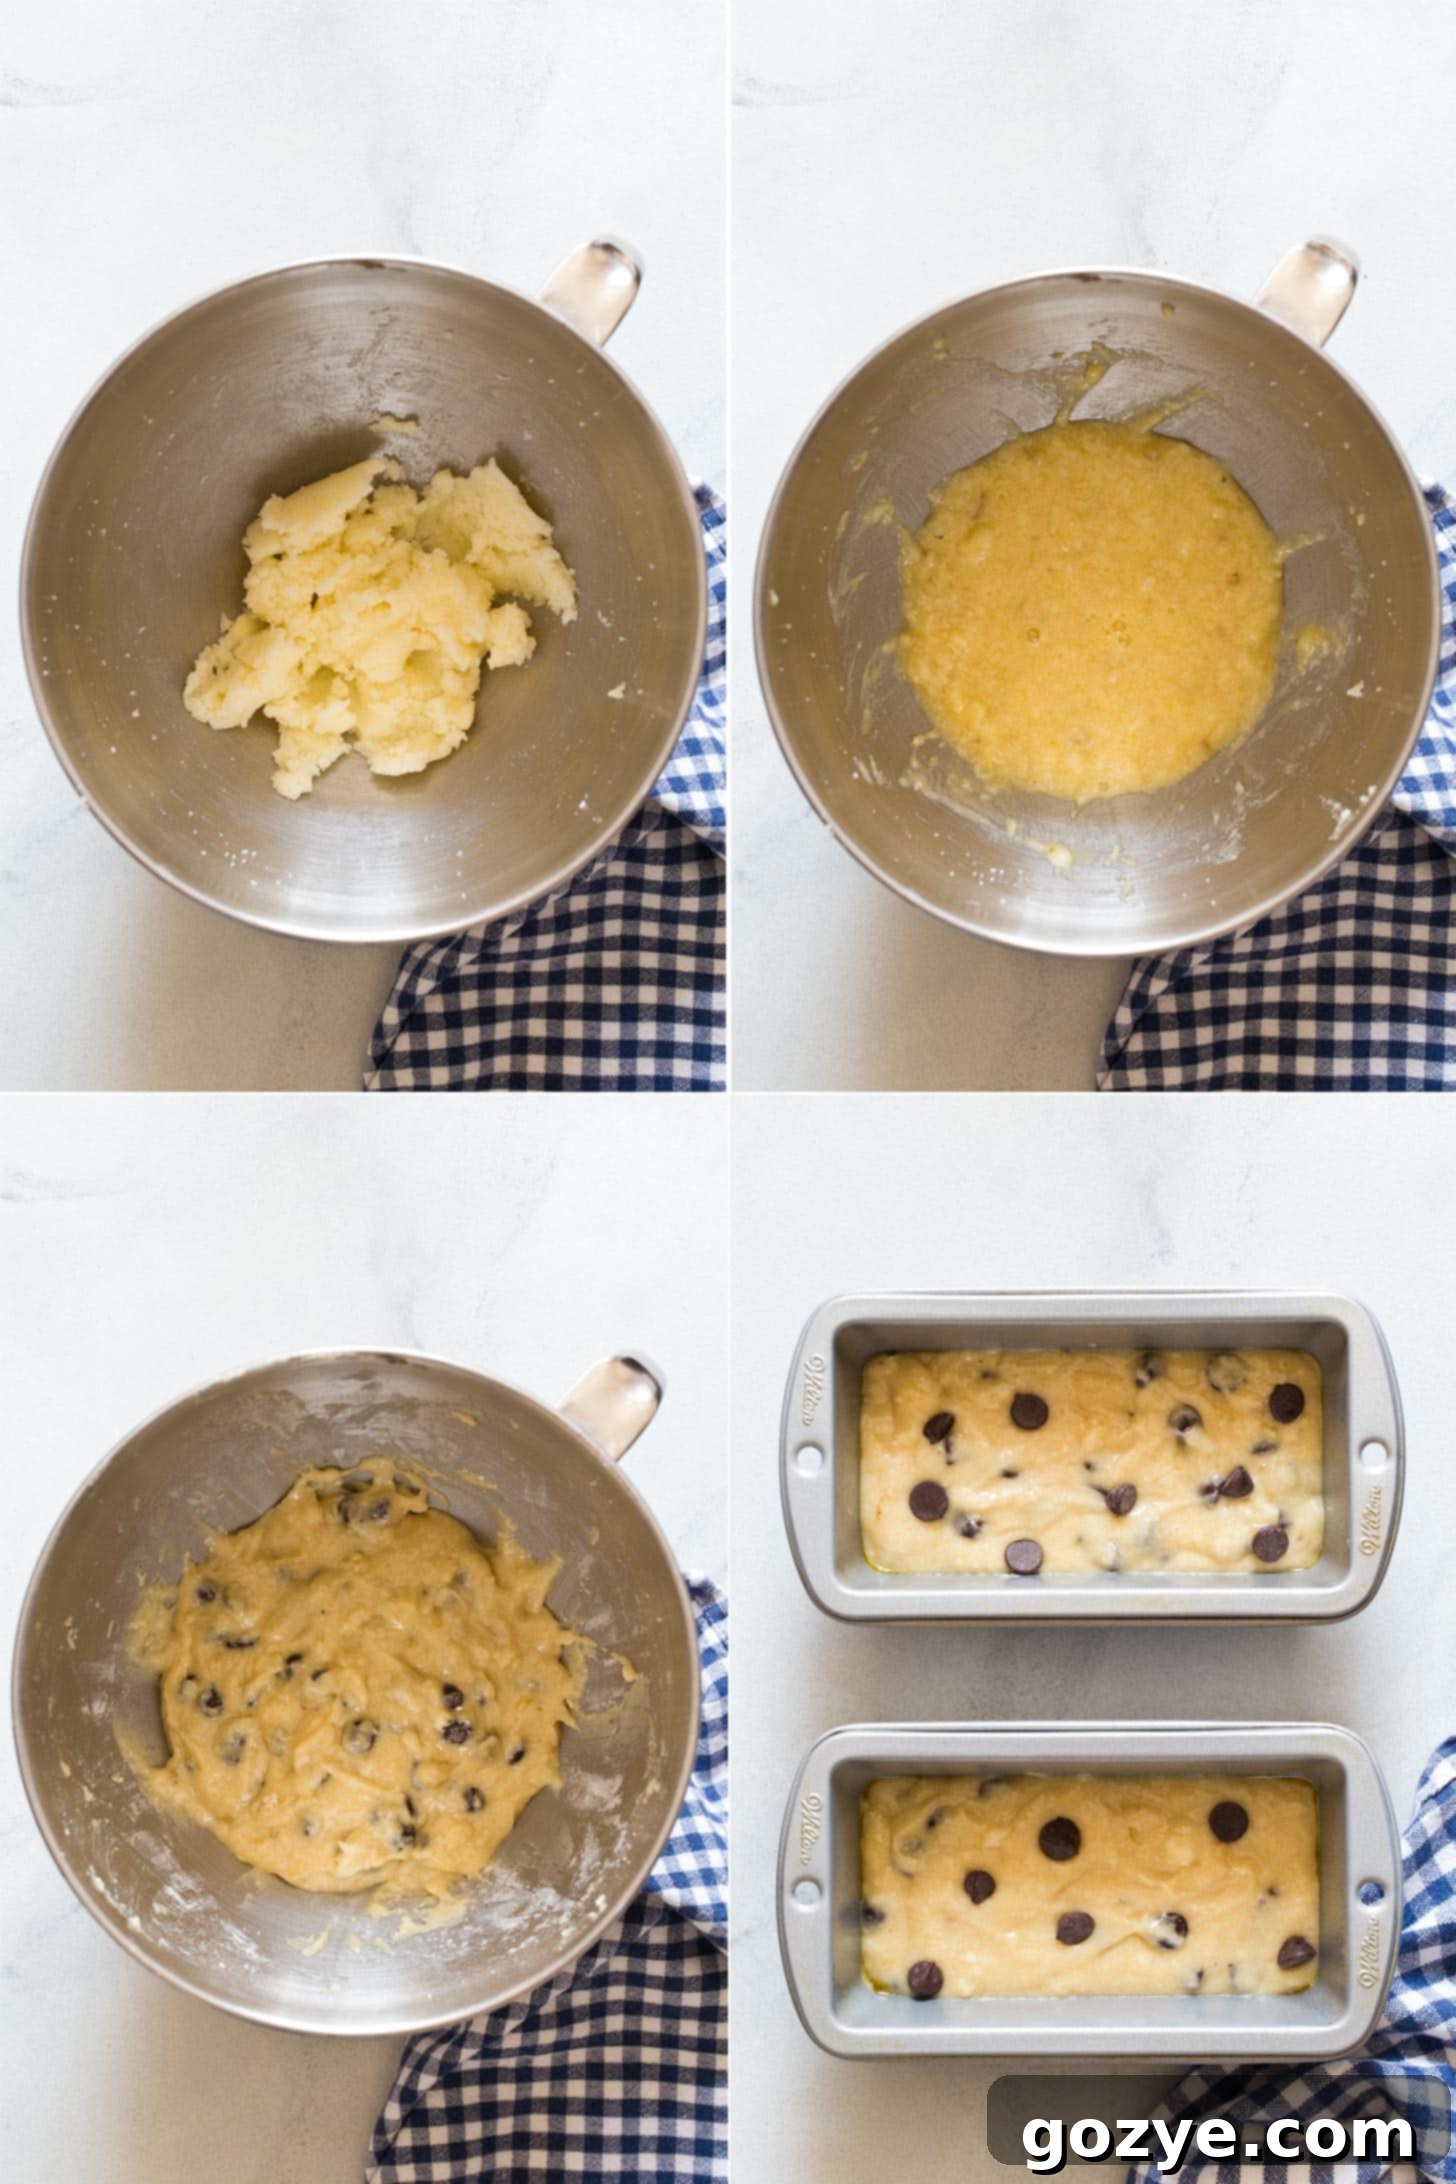
Simple Steps to Make Your Mini Banana Bread
Making this banana bread for two (or a few!) from scratch is wonderfully straightforward. Follow these steps for perfectly baked mini loaves:
- Prepare Your Oven and Pans: Preheat your oven to 350°F (175°C). Lightly grease and flour your chosen mini loaf pans to prevent sticking. This ensures your beautiful loaves release easily after baking.
- Cream Butter and Sugar: In a large mixing bowl, using an electric mixer (with the paddle attachment if you have a stand mixer), beat together the softened butter and granulated sugar on medium-high speed. Continue beating for 1-2 minutes until the mixture is light, fluffy, and pale in color. This creaming process is essential for incorporating air, which contributes to a tender crumb.
- Add Wet Ingredients: Beat in the room temperature egg until it’s fully incorporated, scraping down the sides of the bowl as needed. Next, add the mashed ripe banana and vanilla extract, beating until just combined. Don’t overmix at this stage; simply ensure everything is integrated.
- Incorporate Dry Ingredients: Reduce your mixer speed to low. Gradually add the all-purpose flour, baking soda, and salt to the wet ingredients. Mix only until the flour streaks have almost disappeared. At this crucial point, switch from your mixer to a rubber spatula. Gently fold in the chocolate chips by hand. Overmixing the batter once flour is added can develop gluten too much, resulting in tough, dry bread, so a light touch is key here.
- Fill Pans: Evenly divide the banana bread batter among your prepared mini loaf pans. For uniform baking, try to distribute the batter as equally as possible.
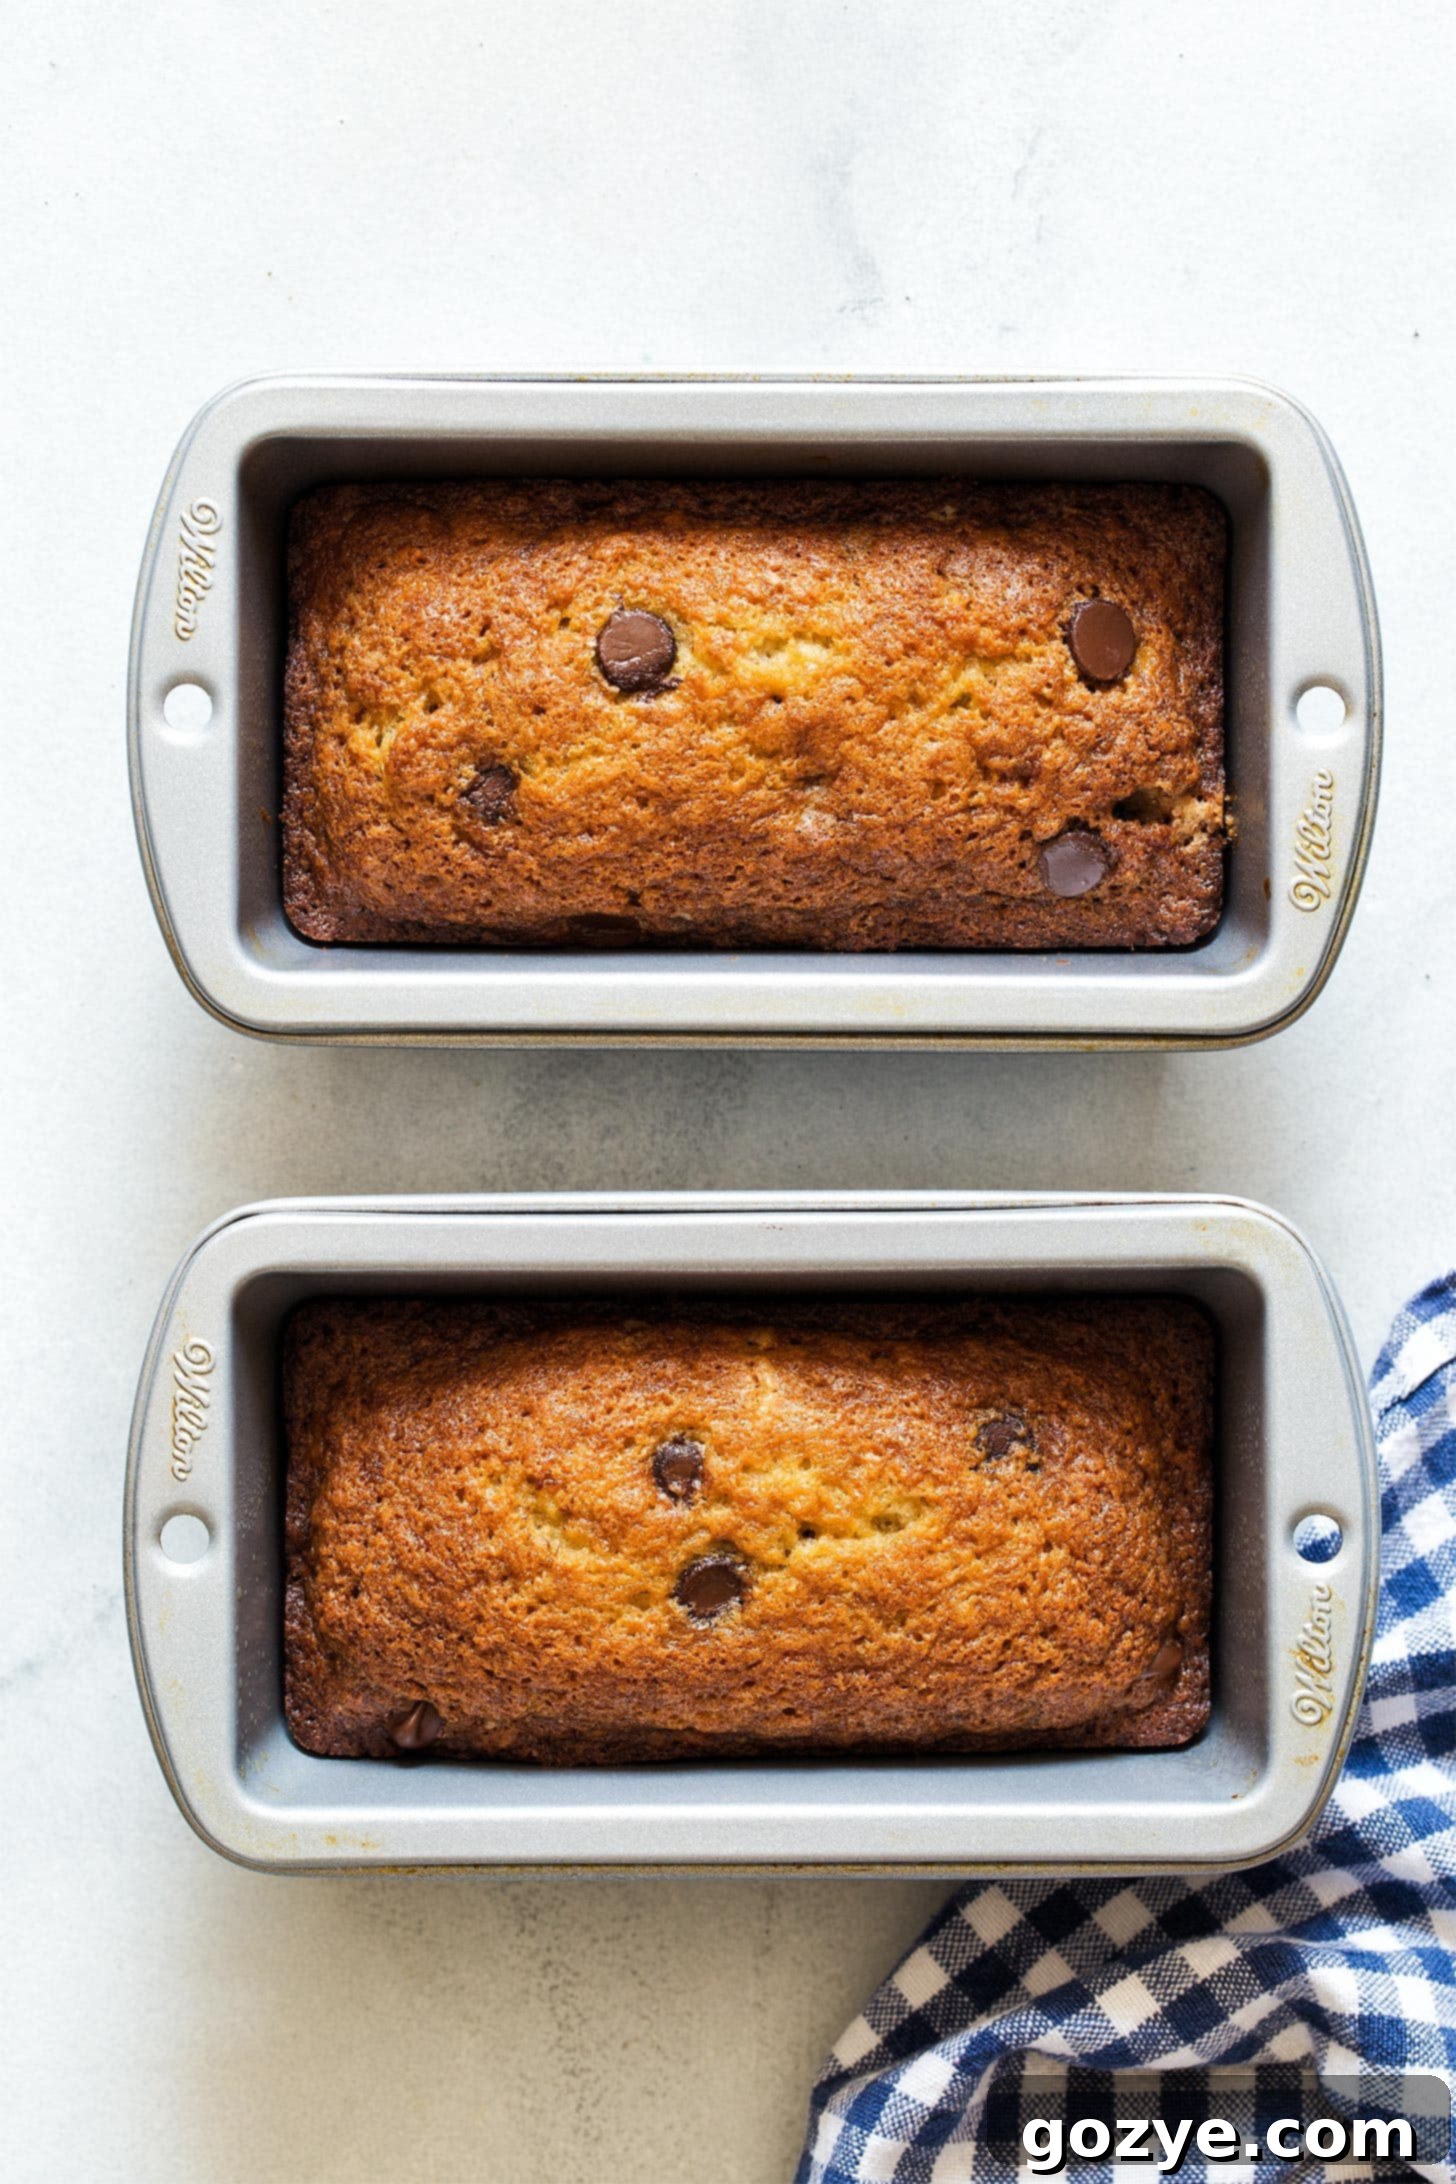
- Bake to Perfection: Bake in the preheated oven for approximately 30-35 minutes. The exact baking time can vary depending on your oven and the size of your pans, so keep an eye on them. To check for doneness, insert a toothpick into the center of a loaf; it should come out clean or with a few moist crumbs attached, but no wet batter. If the tops start to brown too quickly before the inside is cooked, you can loosely cover them with a piece of aluminum foil.
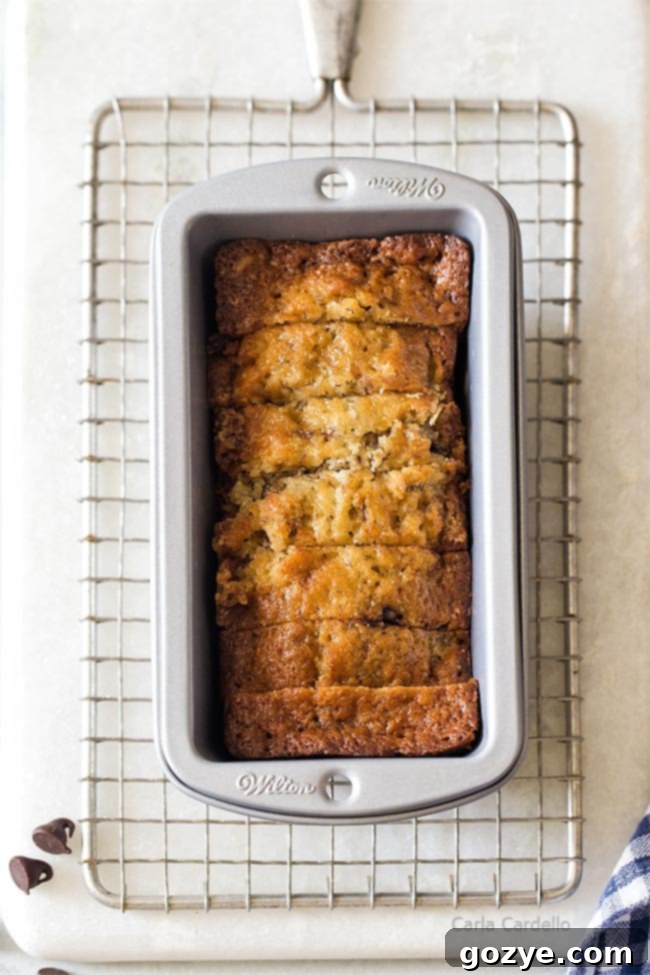
Once baked, allow the mini loaves to cool in their pans for about 15 minutes before carefully transferring them to a wire rack to cool completely. This prevents the bottoms from becoming soggy. Store your cooled mini banana bread in an airtight container at room temperature for up to 1 week to maintain its freshness and moisture.
Achieving Optimal Banana Ripeness for Baking
The secret to truly flavorful and moist banana bread lies in using perfectly ripe bananas. Unripe bananas simply don’t offer the same sweetness or soft texture needed for baking success. When you buy bananas from the grocery store, they often have a greenish tint or are uniformly yellow, which isn’t ideal for immediate baking.
For banana bread, you want bananas that are beyond eating-fresh stage – think lots of brown spots and absolutely no hint of green on the peel. These overripe bananas have converted more of their starches into sugars, resulting in a sweeter, more aromatic, and softer pulp that integrates beautifully into your batter.
How to Ripen Bananas Naturally (If You Have Time)
If you have a few days to spare, the easiest way to ripen bananas is to place them in a brown paper bag. As bananas ripen, they naturally release ethylene gas, a plant hormone that promotes ripening. Enclosing the banana in a paper bag traps this gas around the fruit, accelerating the ripening process significantly compared to leaving it on the counter. Check daily; your banana should be perfectly spotted brown within 1-3 days.
How to Quickly Ripen Bananas for Immediate Baking Needs
What if you’re hit with a sudden banana bread craving, but your bananas aren’t quite ready? Don’t despair! There’s a brilliant hack to quickly ripen your bananas in the oven. While they won’t look pretty, the internal result is exactly what you need for baking.
Here’s how to do it:
- Preheat your oven to 350°F (175°C).
- Place your unpeeled bananas directly on a baking sheet lined with foil or parchment paper. The lining will catch any drips from the banana as it bakes, making cleanup a breeze.
- Bake for about 15-30 minutes. Keep a close eye on them; the time will vary depending on their initial ripeness. You’ll know they’re ready when the peels turn completely black and the bananas feel very soft to the touch.
- Once baked, carefully remove the bananas from the oven. Let them cool for a few minutes before peeling and mashing them. They will be hot inside, so handle with care to avoid burning your fingers. The flesh will be wonderfully soft and slightly caramelized, perfect for your banana bread!
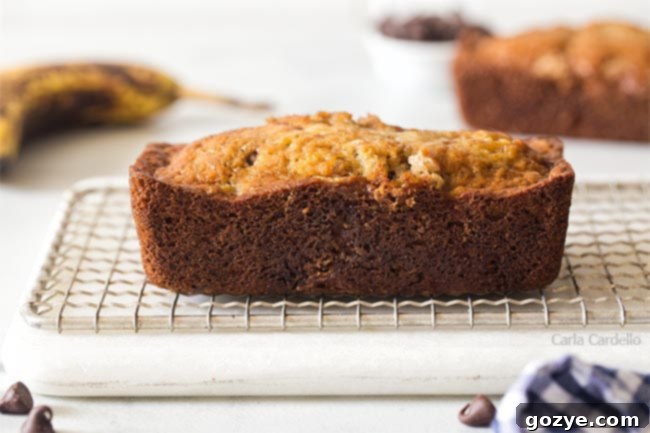
How To Freeze Your One-Banana Banana Bread for Later Enjoyment
One of the many advantages of baking mini banana bread loaves is how easy they are to freeze, allowing you to enjoy a fresh taste whenever a craving strikes, without wasting any. Properly frozen, these loaves can last for months.
Follow these steps for successful freezing:
- Initial Freeze (Flash Freeze): Once your mini banana bread loaves have completely cooled to room temperature (this is crucial to prevent ice crystals), place them on a baking tray or plate. Put the tray into the freezer and freeze until the loaves are firm, typically about 1 hour. This step prevents them from sticking together and helps them maintain their shape when wrapped.
- Individual Wrapping: After flash freezing, remove the firm loaves from the freezer. Wrap each loaf individually and tightly in plastic wrap. For extra protection against freezer burn, you can then add a layer of aluminum foil around the plastic-wrapped loaf.
- Storage in Freezer Bag: Place the individually wrapped loaves into a large, freezer-safe plastic bag or an airtight container. Label the bag with the date.
- Freeze: Store in the freezer for up to 3 months.
To Thaw and Enjoy: When you’re ready to enjoy a frozen mini banana bread, simply remove it from the freezer. Unwrap the loaf and place it on a wire rack at room temperature. The wire rack is important as it allows air to circulate underneath, helping to prevent the bottom from becoming soggy as condensation forms during thawing. It should take approximately 15-30 minutes to thaw, depending on room temperature. For a “freshly baked” experience, you can gently warm the thawed loaf in a toaster oven or microwave for a few seconds.
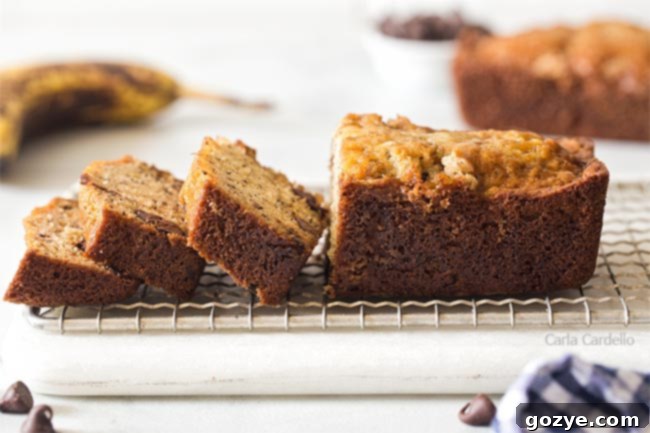
Mini Banana Bread Frequently Asked Questions
Absolutely! If you find yourself with two perfectly ripe bananas instead of just one, you can easily double this recipe. Simply multiply all the ingredient quantities by two. Your baking time should remain roughly the same, but it’s always a good idea to perform the toothpick test a few minutes earlier than expected, and then add a few more minutes if necessary until it comes out clean.
There are a few common culprits when banana bread sinks in the middle. The most frequent reason is underbaking; the internal structure hasn’t fully set, so it collapses when cooled. Other causes include overmixing the batter (which develops too much gluten, creating a weak structure), using underripe bananas (which lack the necessary moisture and sweetness), or opening the oven door too early during baking, causing a sudden temperature drop.
Dry banana bread is typically a result of one of three issues: overbaking (which dries out the moisture), overmixing the batter after adding flour (which develops gluten excessively, leading to a tough, dry texture), or using bananas that were not ripe enough. Underripe bananas contain more starch and less sugar and moisture, which is essential for a tender, moist crumb.
Explore More Mini Loaf Recipes
Now that you’ve discovered the joy and convenience of baking with mini loaf pans, a whole world of small-batch baking awaits! Here are some more delicious recipes you can try, perfect for those new mini loaf pans:
- Mini Angel Food Cake: Light, airy, and perfectly portioned, these mini angel food cakes are an elegant dessert that’s surprisingly easy to make.
- Lemon Crumb Muffins: While designed as muffins, the bright, citrusy batter with a delightful crumb topping can be baked in mini loaf pans for a zesty, individual bread.
- Irish Soda Bread Muffins: Transform classic Irish soda bread into individual muffins (or mini loaves) – perfect for a quick breakfast or alongside a hearty soup.
- Chocolate Zucchini Bread: A wonderful way to use up garden zucchini! You can easily cut this recipe in half for a smaller batch, or make the full recipe to yield 4-8 mini loaves, depending on your pan size.
- Cinnamon Apple Bread: Another comforting recipe that scales beautifully. Bake a half batch for a couple of mini loaves or the full recipe for a delightful double batch, perfect for sharing.
Mini Banana Bread with Chocolate Chips
2-4 mini loaves
15 minutes
30-35 minutes
45-50 minutes
This Mini Banana Bread recipe, featuring delightful chocolate chips, uses just one banana and bakes perfectly in mini loaf pans. It’s the ideal solution for when you desire a small batch of moist, flavorful banana bread without making a full loaf.
Ingredients
- 1/2 cup (100g) granulated sugar
- 1/4 cup (4 tablespoons or 2 ounces/56g) unsalted butter, softened
- 1 large egg, room temperature
- 1/2 cup (about 120g) mashed very ripe banana (roughly 1 large banana)
- 1/2 teaspoon vanilla extract
- 3/4 cup (90g) all-purpose flour (spooned and leveled)
- 1/2 teaspoon baking soda
- 1/4 teaspoon salt
- 1/3 cup (56g) semisweet chocolate chips
Instructions
- Preheat oven to 350°F (175°C). Lightly grease and flour two 5.75×3 inch mini loaf pans or 4 cavities of an 8-cavity mini loaf pan.
- In a large mixing bowl, using an electric mixer on medium-high speed (with the paddle attachment if using a stand mixer), beat together the granulated sugar and softened butter until light and creamy, about 1-2 minutes.
- Beat in the egg until fully incorporated, then beat in the mashed banana and vanilla extract until just combined. Scrape down the sides of the bowl as needed.
- Turn your mixer speed to low. Gradually add the all-purpose flour, baking soda, and salt. Mix only until the dry ingredients are just incorporated and no streaks of flour remain. Be careful not to overbeat the batter at this stage.
- Switch to a rubber spatula, scrape down the bowl thoroughly, then gently fold in the semisweet chocolate chips by hand.
- Divide the batter evenly among the prepared mini loaf pans. Bake for 30-35 minutes, or until a wooden toothpick inserted into the center of a loaf comes out clean or with a few moist crumbs attached (no wet batter). If tops brown too quickly, loosely tent with foil. Cool in the pans for 15 minutes, then carefully transfer to a wire rack to cool completely.
Store the cooled banana bread in an airtight container at room temperature for up to 1 week.
Notes
- In the mood for even more chocolate? Prepare the batter for my Small Batch Chocolate Banana Muffins then bake it in your mini loaf pans following the baking directions in this recipe.
- Got 2 bananas and want a slightly larger batch? Check out my classic Banana Chocolate Chip Bread and indulgent Double Chocolate Banana Bread recipes.
- Looking for more inspiration for your mini loaf pans? Don’t miss my delightful Pumpkin Bread Mini Loaves and elegant Mini Angel Food Cake.
Recommended Products
As an Amazon Associate and member of other affiliate programs, I earn from qualifying purchases.
- 5.75×3 Inch Mini Loaf Pans
- 8-Cavity Mini Loaf Pan
Did you make this recipe?
Let me know what you think! Rate the recipe above, leave a comment below, and/or share a photo on Instagram using #HITKrecipes
First published May 13, 2022
