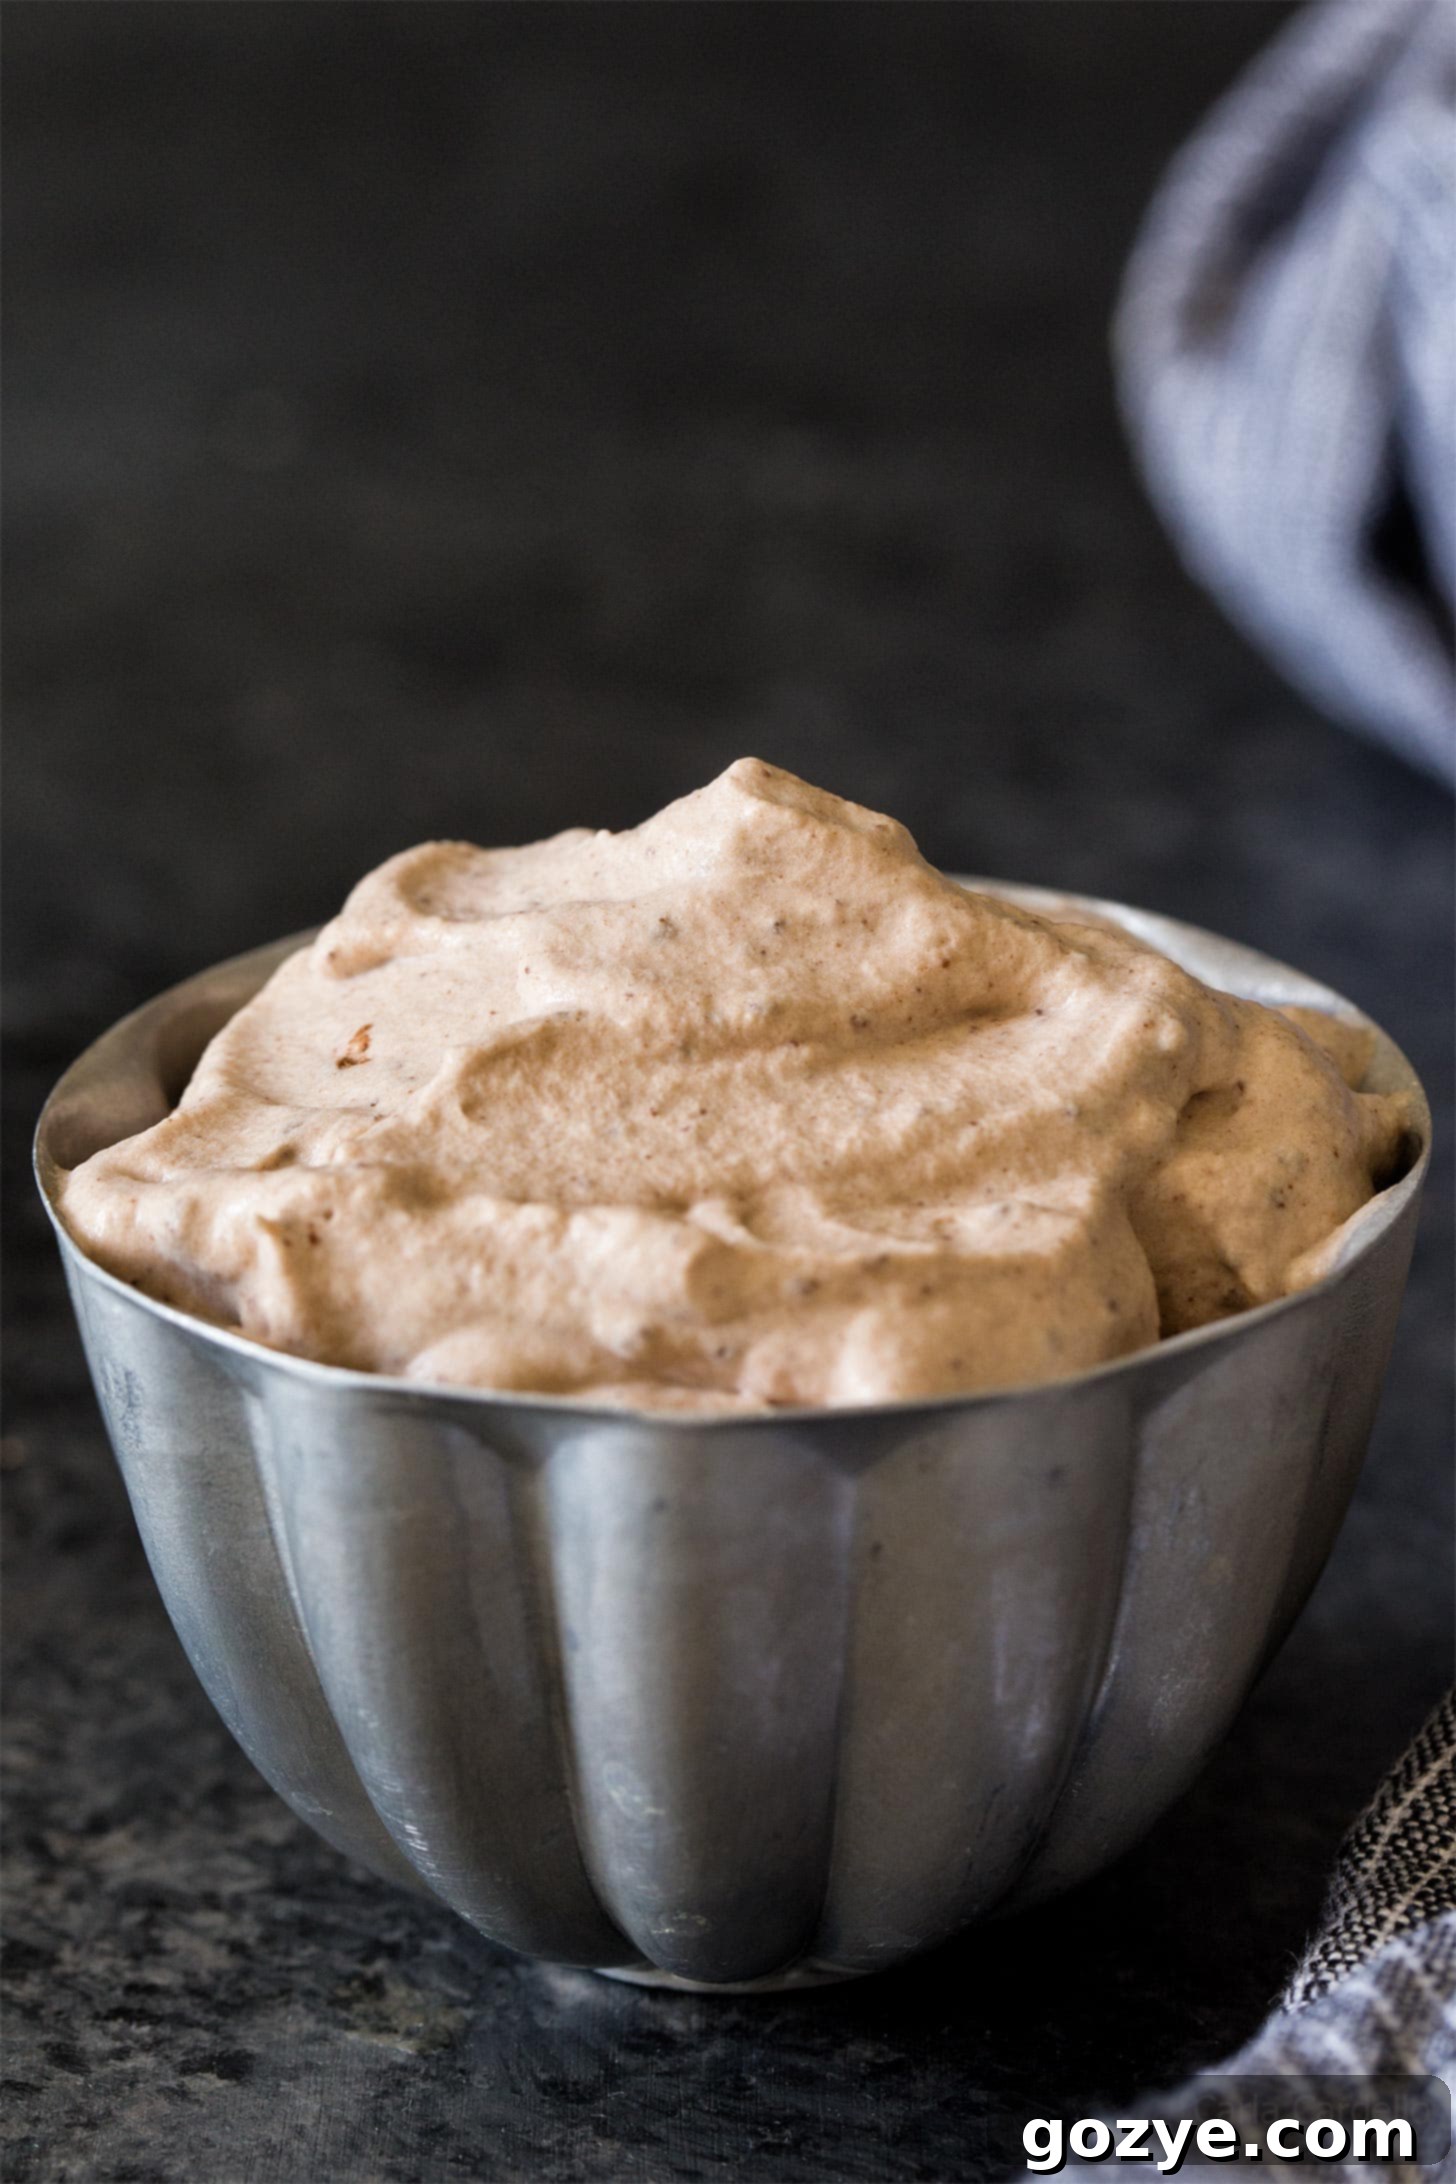
Irresistibly Easy Homemade Chocolate Whipped Cream: The 5-Minute Dessert Topping
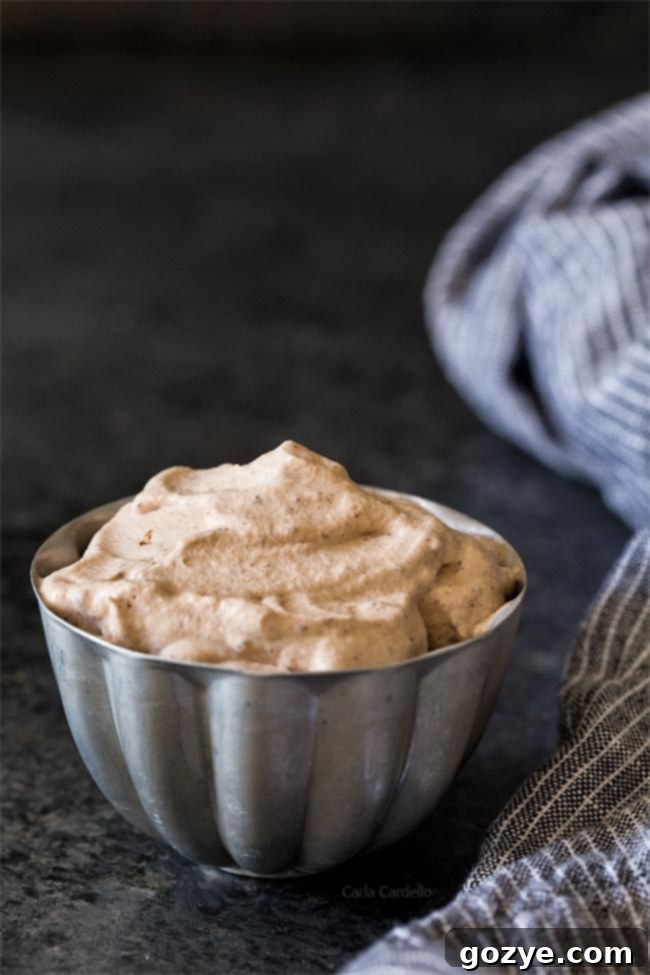
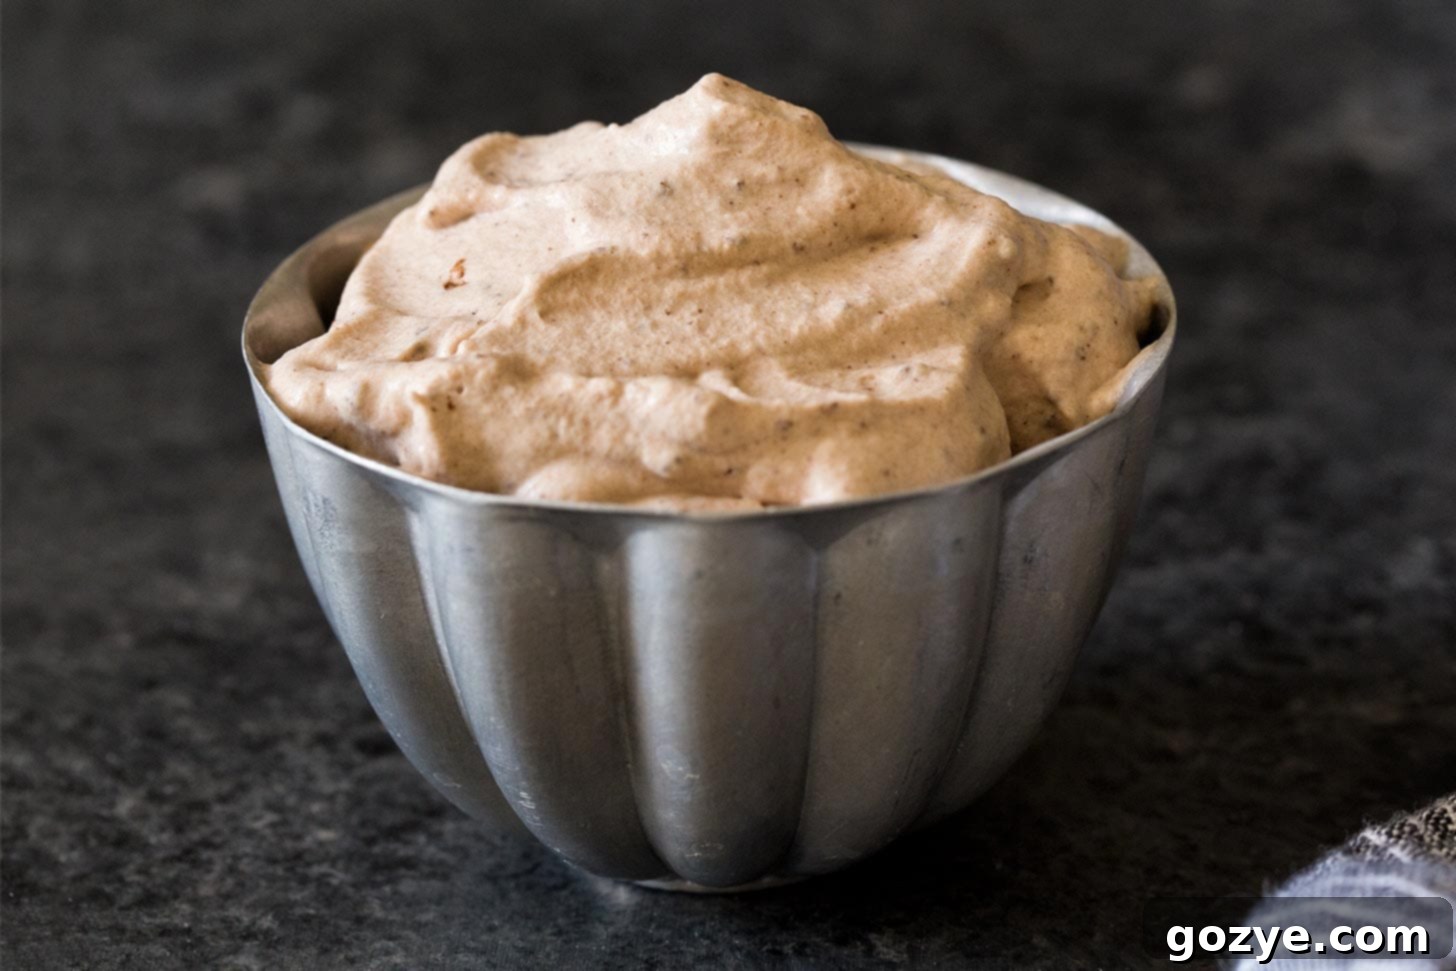
Elevate your dessert game with the simplest yet most decadent Chocolate Whipped Cream, made from scratch using rich cocoa powder! Forget complicated steps; you only need 4 basic ingredients and a mere 5 minutes of whipping time to create this airy, chocolatey delight.
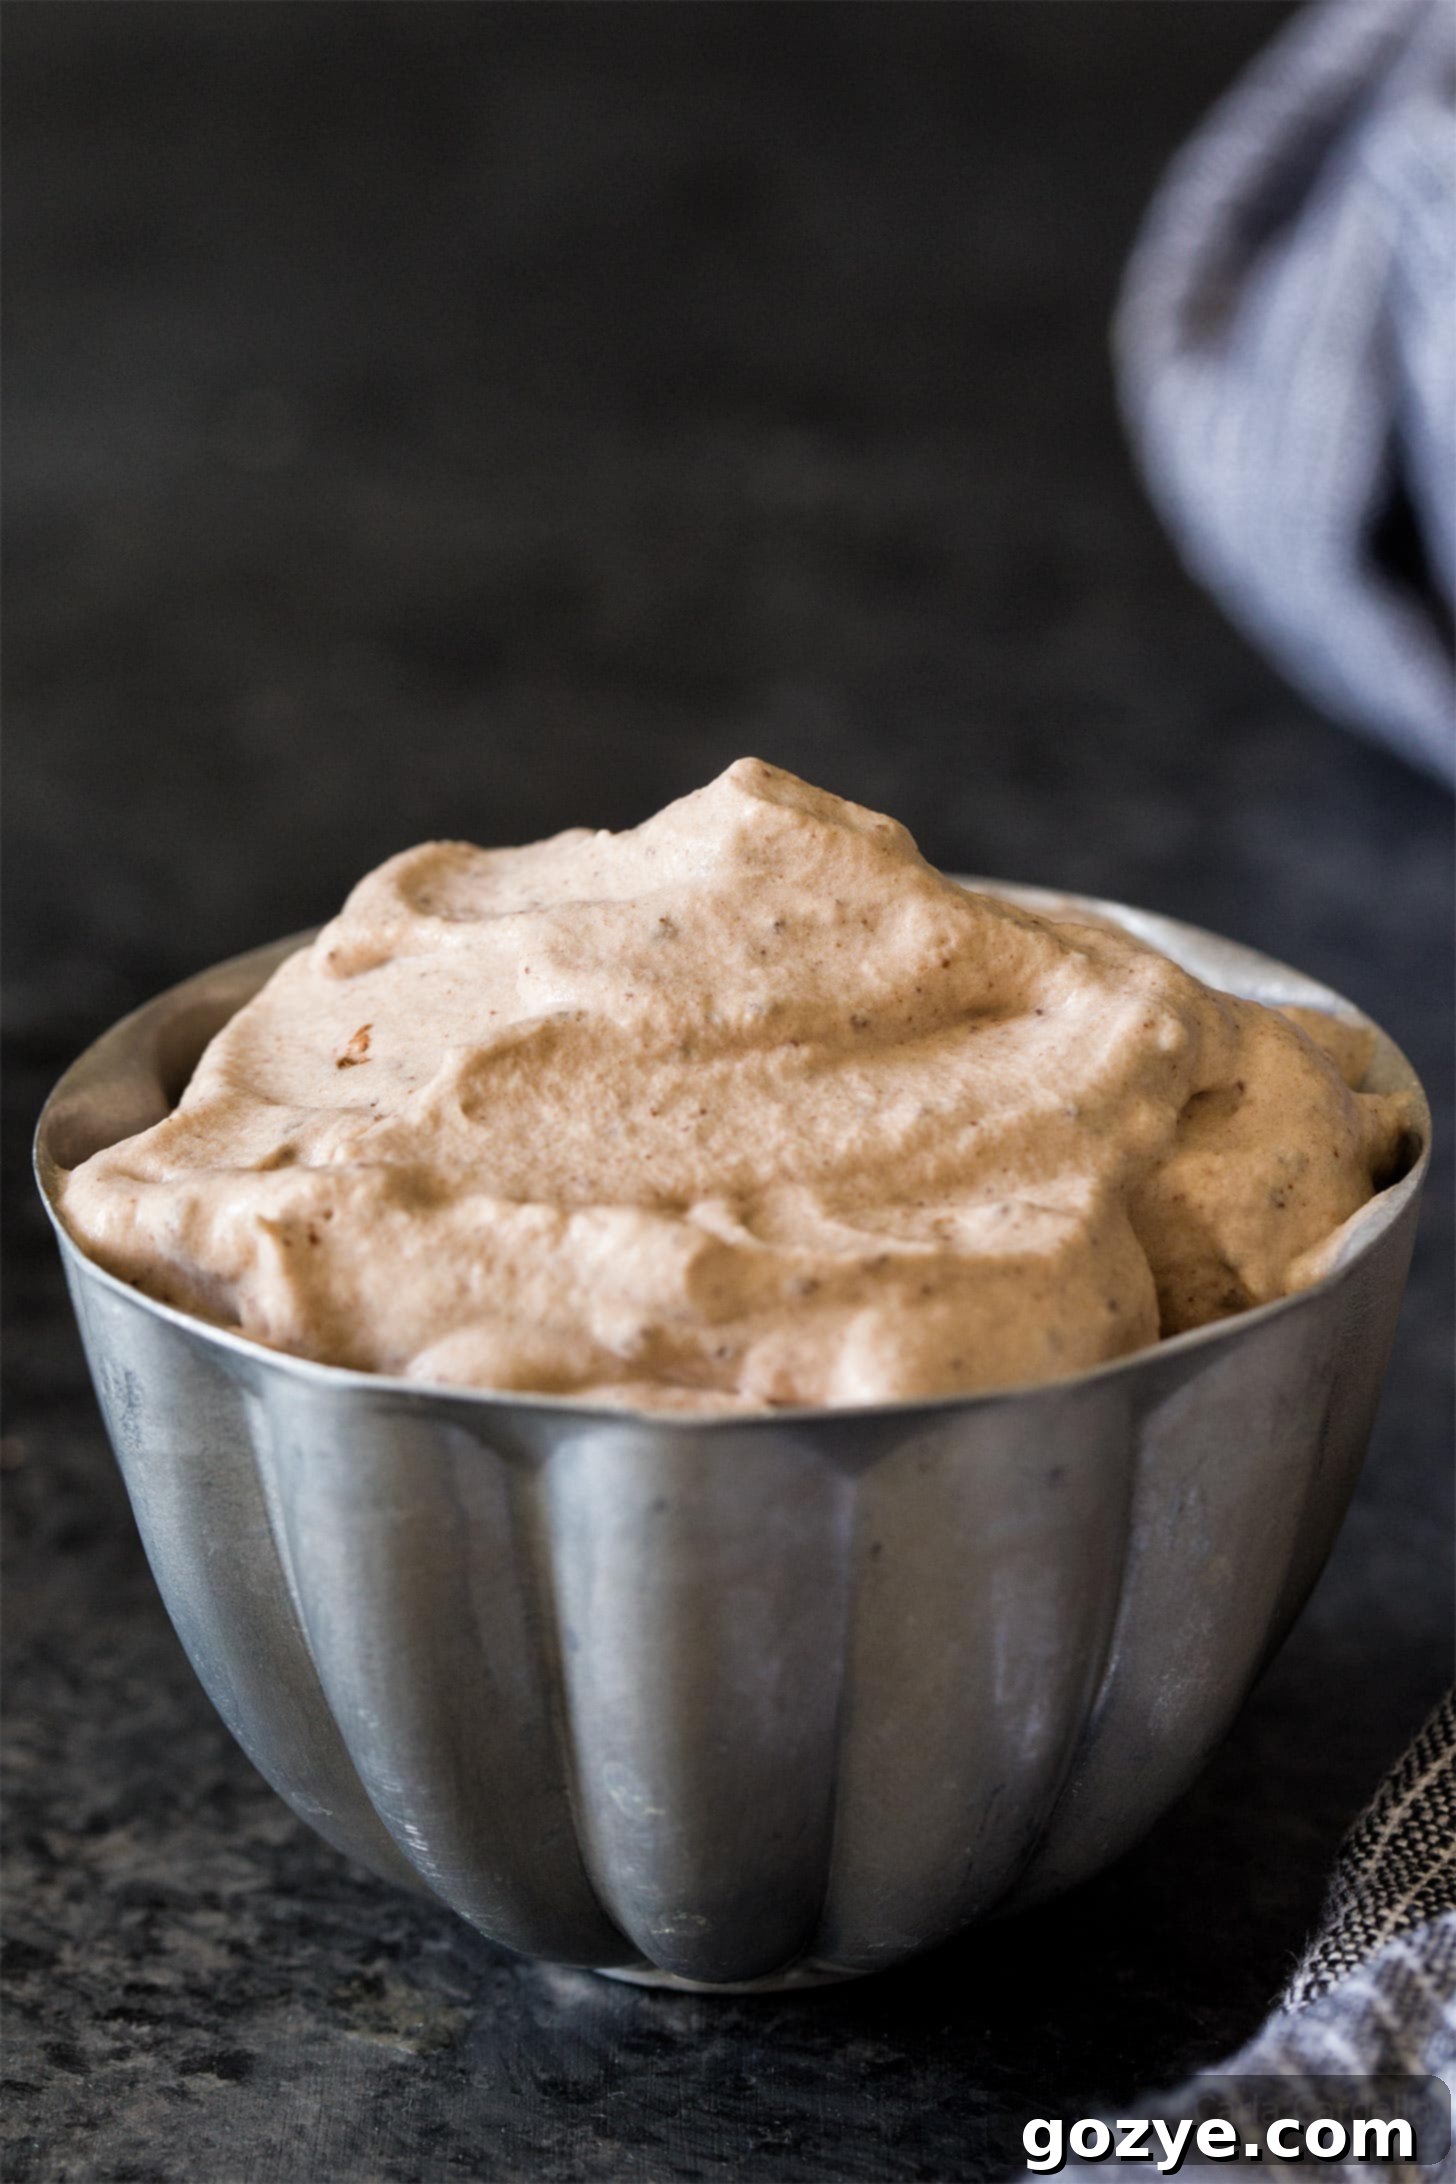
Today, we’re diving into a dessert topping that’s both elegant and incredibly straightforward to prepare: Chocolate Whipped Cream! While I’ve shared beloved recipes for Homemade Whipped Cream, Peanut Butter Whipped Cream, Strawberry Whipped Cream, Maple Whipped Cream, Honey Whipped Cream, and Cream Cheese Whipped Cream, it’s time to introduce the classic chocolate version.
What makes this particular chocolate whipped cream recipe so effortless and utterly delicious is the clever use of cocoa powder. There’s absolutely no need to melt chocolate, temper it, or worry about it seizing. This simple approach ensures a consistently smooth and incredibly fluffy texture every single time.
Just a dash of high-quality cocoa powder transforms ordinary whipped cream into a rich, decadent topping. Voila! You have another fantastic way to infuse chocolate into your favorite treats, whether it’s for Chocolate Pancakes, a comforting mug of Peanut Butter Hot Chocolate, or a luscious Instant Pot Cheesecake. Its versatility is truly unmatched.
One of the best qualities of this cocoa whipped cream is that it isn’t overly sweet. This makes it the perfect complement to richly flavored desserts, such as my Chocolate Peanut Butter Mug Cake. Its light, airy texture provides a delightful contrast, cutting through the decadence of richer sweets and balancing the flavors beautifully.
Since homemade whipped cream is best enjoyed fresh and typically doesn’t last more than 1-2 days in the refrigerator without deflating slightly, I’ve scaled this recipe down to a small batch. This means you can enjoy freshly made whipped cream without worrying about wasteful leftovers. It’s perfect for individual servings or smaller households.
Honestly, I’ve been perfecting this simple yet spectacular chocolate whipped cream recipe for years, long before store-bought chocolate whipped creams became a common sight. With just 4 ingredients and a mere 5 minutes of whipping, you’ll find yourself wondering why you ever considered buying it off the shelf again. The homemade taste and texture are simply superior!
Essential Ingredients for Perfect Chocolate Whipped Cream
Making delicious homemade chocolate whipped cream requires only these 4 simple, easy-to-find ingredients. The magic happens when these quality components come together:
- Heavy whipping cream: This is the foundation of your whipped cream. Look for cartons explicitly labeled “heavy whipping cream” rather than just “whipping cream.” The difference in fat content is crucial for stability and body, which we’ll discuss in more detail below. Always start with very cold cream for the best results.
- Cocoa powder: The star of the show for that rich chocolate flavor! I highly recommend using a high-quality unsweetened natural cocoa powder. Since there are so few ingredients in this recipe, the quality of your cocoa powder will significantly impact the final taste and color. Sifting it before adding can help prevent lumps.
- Powdered sugar: Also known as confectioners’ sugar, this ingredient serves two key purposes: it sweetens the cream and helps to stabilize and thicken it, contributing to a smoother texture. Unlike granulated sugar, powdered sugar dissolves easily, preventing any grainy mouthfeel.
- Vanilla extract: A secret weapon for enhancing chocolate flavor. While it might seem subtle, a good quality vanilla extract really brings out the depth of the chocolate and adds a lovely aromatic note. If you taste the cream before and after adding vanilla, you’ll immediately notice the profound difference it makes.
What is the Difference Between Heavy Whipping Cream and Whipping Cream?
When you’re at the grocery store, it’s easy to grab the wrong carton, but paying attention to the label can make all the difference in your whipped cream’s success.
While both types of cream will whip up into an airy topping, heavy whipping cream is superior for stability. It contains a minimum of 36% milk fat, which allows it to whip up more quickly, achieve a firmer consistency, and hold its shape much longer without deflating. This is your go-to for durable toppings on cakes or pastries.
On the other hand, plain whipping cream typically contains only 30% milk fat. It’s a little lighter in texture and a bit more time-sensitive, meaning it won’t hold its peaks or stay fluffy for as long before it starts to soften or deflate.
If you’re serving your chocolate whipped cream right away, perhaps melting beautifully over a mug of thick hot chocolate, either type of cream will work fine. However, if you need it to last longer, such as a topping for an elegant angel food cake or to adorn a pie, you’ll definitely want to opt for heavy whipping cream for its superior structure and staying power.
How To Make Chocolate Whipped Cream: A Simple Step-by-Step Guide
Learning how to make luscious cocoa whipped cream at home is incredibly easy. Once you try it, you’ll wonder why you ever bothered with those pressurized cans of whipped cream. Homemade is not only tastier but often more convenient – it’s much easier (and faster) to keep heavy cream on hand in your fridge and whip up a batch than to run to the store for a can.
Tips for Success Before You Start:
- Chill Your Equipment: For the best results, ensure your heavy cream is very cold. Additionally, chilling your mixing bowl and whisk attachment (or beater) in the freezer for 10-15 minutes before you start can significantly speed up the whipping process and help achieve stiffer peaks.
- Use a Stand Mixer or Handheld Mixer: While you can technically whisk by hand, an electric mixer will save your arm muscles and produce a much smoother, airier result in a fraction of the time.
Here’s your straightforward guide on how to make chocolate whipped cream:
- Combine Cold Cream and Cocoa Powder: In your large, chilled mixing bowl (preferably a 5-quart stand mixer bowl with a whisk attachment for this small batch, or a smaller bowl with a handheld mixer), pour in the very cold heavy cream. Sift the cocoa powder directly over the cream. Beat them together on medium-high speed. The cream will gradually begin to thicken, and the cocoa powder will fully incorporate, creating a light brown, slightly frothy mixture. This usually takes about 1 minute.
- Gradually Add Powdered Sugar and Vanilla: Once the cream starts to show some body, slowly add the powdered sugar, a tablespoon at a time, while the mixer is running. Follow this with the vanilla extract. Continue beating, allowing these ingredients to fully dissolve and integrate into the cream.
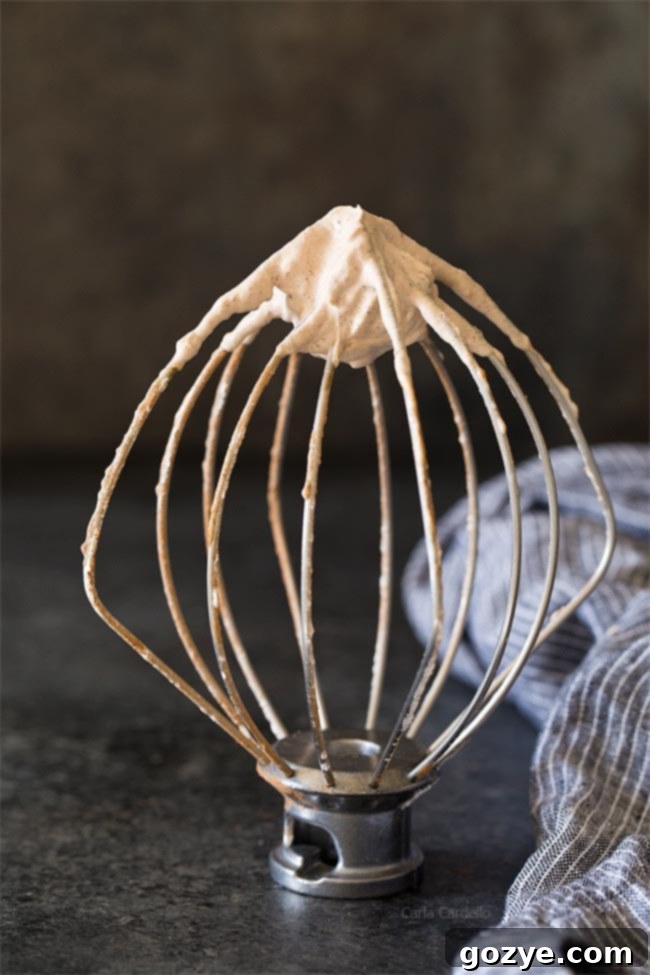
- Beat Until Stiff Peaks Form: Increase the mixer speed to high and continue beating. You’re looking for the “stiff peak” stage. This means when you lift the beater straight up out of the cream, the peaks that form will stand upright and hold their shape without flopping over. This magical transformation typically takes anywhere from 3 to 5 minutes, depending on the power of your mixer and how cold your ingredients were.
A note on peaks: If the tops of the peaks slightly curl or fall over, that’s the “soft peak” stage. This means you’re very close but still have a few more minutes of beating left to reach stiff peaks. Keep an eye on it!
Important: Do not overbeat! Once you reach the stiff peak stage, stop beating immediately. If you continue to beat beyond this point, the whipped cream will become grainy and eventually separate, turning into butter. If you do find yourself with slightly overbeaten whipped cream, you can sometimes rescue it by adding another tablespoon or so of fresh, cold cream and gently folding or briefly beating it in to help smooth out the texture.
Chocolate Whipped Cream FAQ
Yes, you can make cocoa whipped cream up to 24 hours ahead of time. Store it in an airtight container in the refrigerator. While it may deflate slightly over time, you can usually quickly re-whip it for a minute or two in a stand mixer to restore its fluffy texture just before serving.
Absolutely! Freezing whipped cream is a fantastic way to prepare it for later use. Portion it onto a parchment-lined cookie sheet (either piped into rosettes or spooned into dollops), then freeze until firm. Once frozen solid, transfer the individual portions to a freezer-safe bag or airtight container. They will last for up to 2 months. This makes them perfectly convenient for dropping into hot chocolate or using on individual desserts whenever a craving strikes!
Yes, this recipe is incredibly flexible and easily scalable. Simply double all the ingredients – double the heavy cream, cocoa powder, powdered sugar, and vanilla extract – then follow the instructions as written until stiff peaks form. The whipping time might increase slightly with a larger volume, so pay attention to the consistency.
There are a few common culprits. Firstly, ensure your heavy cream is very cold, and preferably, your bowl and whisk are chilled too. Warm cream won’t whip properly. Secondly, make sure you are using “heavy whipping cream” (36%+ fat) and not “whipping cream” (30% fat) or another lower-fat cream, as higher fat content is crucial for stable peaks. Lastly, it might simply need more whipping time! Keep beating on high speed until stiff peaks form. If it still doesn’t stiffen after several minutes, the cream might be too warm or not have enough fat.
Delicious Ways to Enjoy Your Homemade Chocolate Whipped Cream
Now that you’ve whipped up a batch of this heavenly chocolate cream, the possibilities for indulgence are endless! Here are some of the delectable desserts and beverages you can serve it with, transforming them into truly special treats:
- Hot and Cold Beverages: Top a rich Peanut Butter Hot Chocolate or a classic Thick Hot Chocolate. It’s also fantastic on an iced coffee or a homemade Frozen Hot Chocolate for a truly decadent experience.
- Cakes and Cupcakes: It’s the perfect light and airy frosting or filling for any chocolate cake, like my Small Chocolate Cake, a rustic Chocolate Skillet Cake, or even a delightful Chocolate Strawberry Shortcake. It also pairs wonderfully with Mini Lava Cakes or Red Velvet Lava Cakes.
- Cheesecakes and Pies: Add a cloud of chocolate goodness to a Cheesecake For Two, an Air Fryer Cheesecake, a rich Peanut Butter Cheesecake, or a classic Chocolate Cheesecake. It’s also divine with Mini Strawberry Pies or a comforting Strawberry Cobbler.
- Brownies and Bars: Elevate simple brownies, especially my Brownies For Two, into a gourmet treat by adding a generous dollop.
- Breakfast and Brunch: Transform your breakfast or brunch by topping Chocolate Waffles, pancakes, or French toast with a swirl of this rich chocolate whipped cream.
- Fruit: A simple bowl of fresh berries (strawberries, raspberries, blueberries) becomes an elegant dessert when accompanied by homemade chocolate whipped cream. The tang of the fruit beautifully balances the chocolatey sweetness.
Chocolate Whipped Cream
2 servings
5 minutes
5 minutes
10 minutes
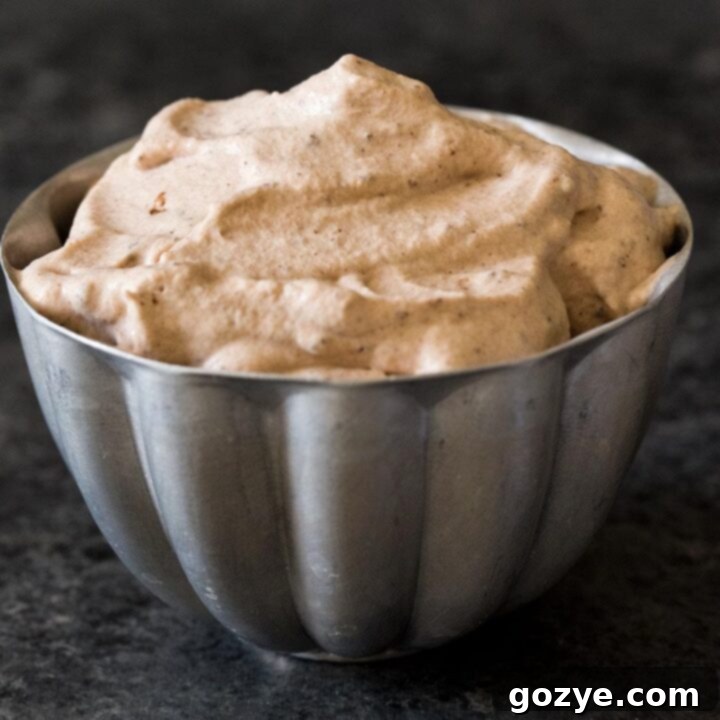
Dress up your desserts with fresh Chocolate Whipped Cream made from scratch using cocoa powder! This quick and easy recipe uses only 4 ingredients, takes 5 minutes of whipping time, and yields a small batch perfect for enjoying without leftovers.
Ingredients
- 1/4 cup heavy whipping cream, very cold (ensure the label says “heavy whipping cream” for best results)
- 1 tablespoon unsweetened natural cocoa powder, sifted
- 2 tablespoons powdered sugar
- 1/2 teaspoon vanilla extract
Instructions
-
In a large, cold mixing bowl (ideally chilled beforehand, with a whisk attachment if using a 5-quart stand mixer), combine the very cold heavy cream and the sifted cocoa powder. Beat on medium-high speed until the cream begins to thicken and the cocoa is fully incorporated, which typically takes about 1 minute.
Because this recipe makes a small batch, you don’t want your bowl to be excessively large (a 5-quart bowl works well for a stand mixer). If needed, use a smaller bowl with a handheld mixer or simply double the recipe for a larger stand mixer bowl.
- With the mixer still running, gradually beat in the powdered sugar and then the vanilla extract. Continue beating on high speed until stiff peaks form. Stiff peaks are achieved when you lift the beater straight up, and the peaks in the cream stand tall and hold their shape without collapsing. This process generally takes an additional 3-4 minutes.
- Serve your homemade chocolate whipped cream immediately for the freshest, fluffiest texture. Any leftovers can be stored in an airtight container in the refrigerator for up to 2 days. Keep in mind that the longer it sits, the more it may naturally deflate, but it will still be edible and delicious.
Notes
- Freezing Tip: You can freeze homemade whipped cream for up to 2 months. To do this, portion it onto a cookie sheet lined with parchment paper (either by piping or spooning dollops), freeze until firm, then transfer the frozen portions to a freezer-safe bag or airtight container. They’ll be ready to go for hot chocolate, individual desserts, or whenever you need a quick chocolatey topping.
- Explore More Whipped Cream Flavors: If you enjoyed this recipe, be sure to check out my other delightful whipped cream variations: Peanut Butter Whipped Cream, Strawberry Whipped Cream, traditional Homemade Whipped Cream, Maple Whipped Cream, Honey Whipped Cream, and Cream Cheese Whipped Cream.
- Perfect Pairings: Serve your decadent chocolate whipped cream with Peanut Butter Hot Chocolate, Thick Hot Chocolate, or my satisfying Brownies For Two for an extra special treat.
Recommended Products
As an Amazon Associate and member of other affiliate programs, I earn from qualifying purchases.
- Stand Mixer
- Hand Mixer
- Whisk
Did you make this recipe?
Let me know what you think! Rate the recipe above, leave a comment below, and/or share a photo on Instagram using #HITKrecipes
First published March 7, 2019. Updated and expanded for enhanced clarity and deliciousness.
Making your own Chocolate Whipped Cream is a simple pleasure that genuinely elevates any dessert. With just a few minutes and basic ingredients, you can create a luxurious, airy, and perfectly chocolatey topping that store-bought versions simply can’t compete with. So ditch the can, grab your mixer, and whip up a batch today – your taste buds will thank you!
