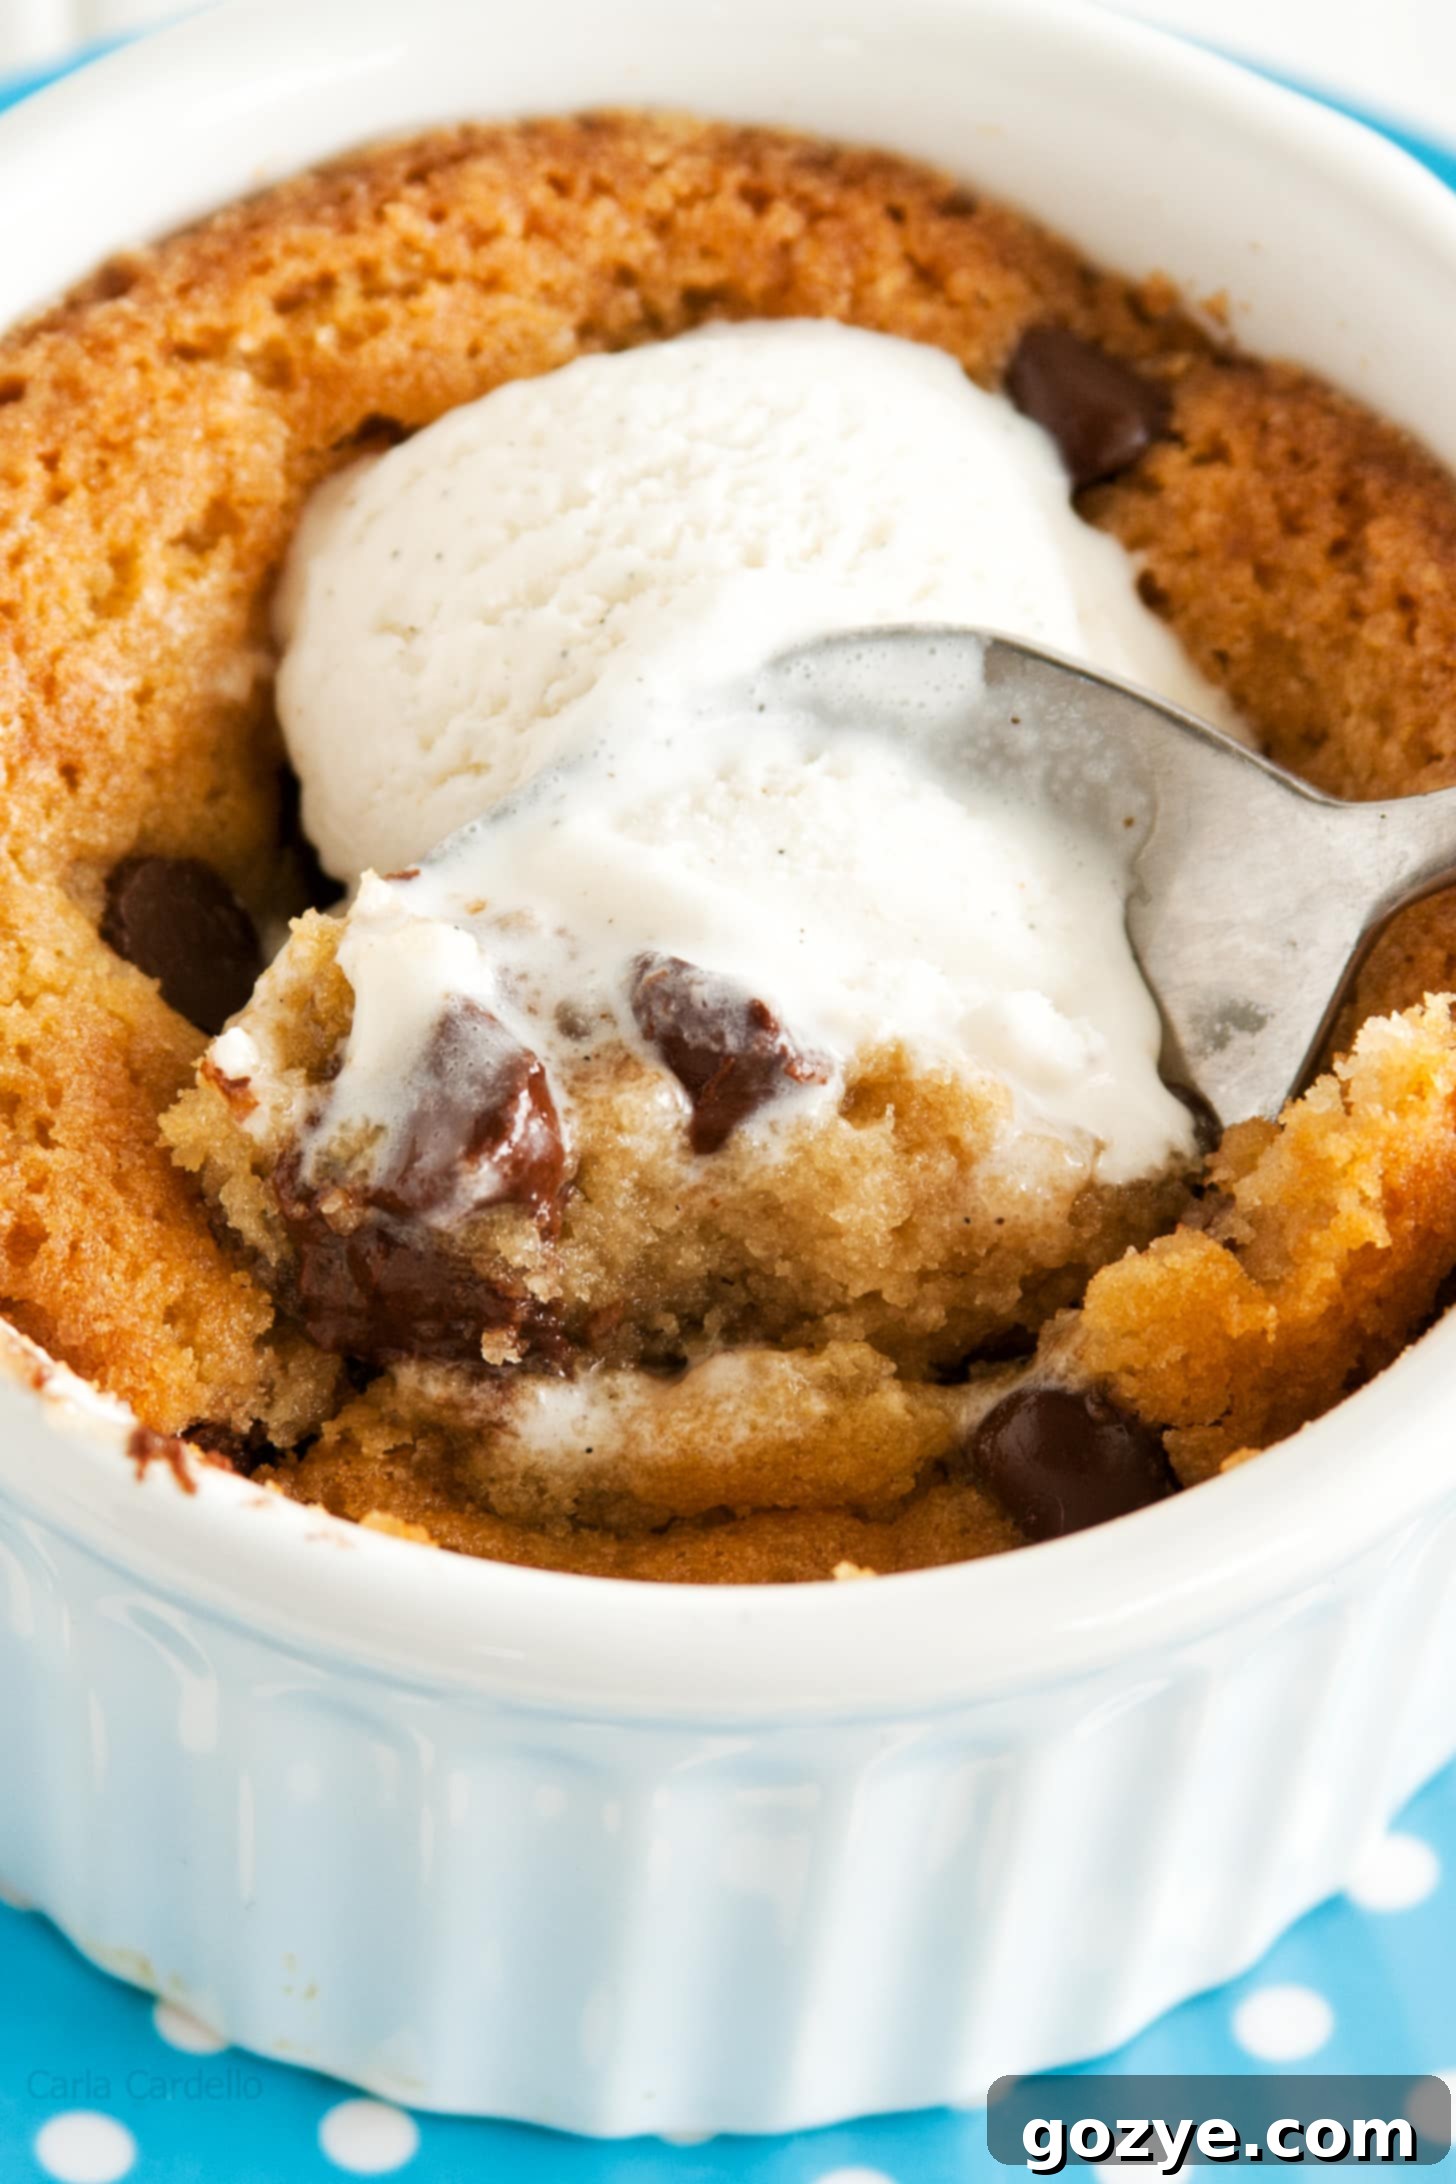
Indulge Guilt-Free: The Ultimate Single Serve Chocolate Chip Cookie (No Egg!)
There’s nothing quite like a freshly baked chocolate chip cookie. The aroma filling your kitchen, the golden-brown edges, and that irresistibly gooey, melted chocolate center. It’s a culinary hug, a moment of pure bliss. But let’s be honest, who among us hasn’t started with one cookie and suddenly found themselves halfway through a dozen? It’s a delicious dilemma that often leads to overindulgence, which is why the concept of a “single serving” dessert is an absolute game-changer. Imagine enjoying all the delight of a homemade chocolate chip cookie without the temptation of extras or the commitment of baking a large batch. That’s precisely what this incredible Single Serve Chocolate Chip Cookie recipe offers!
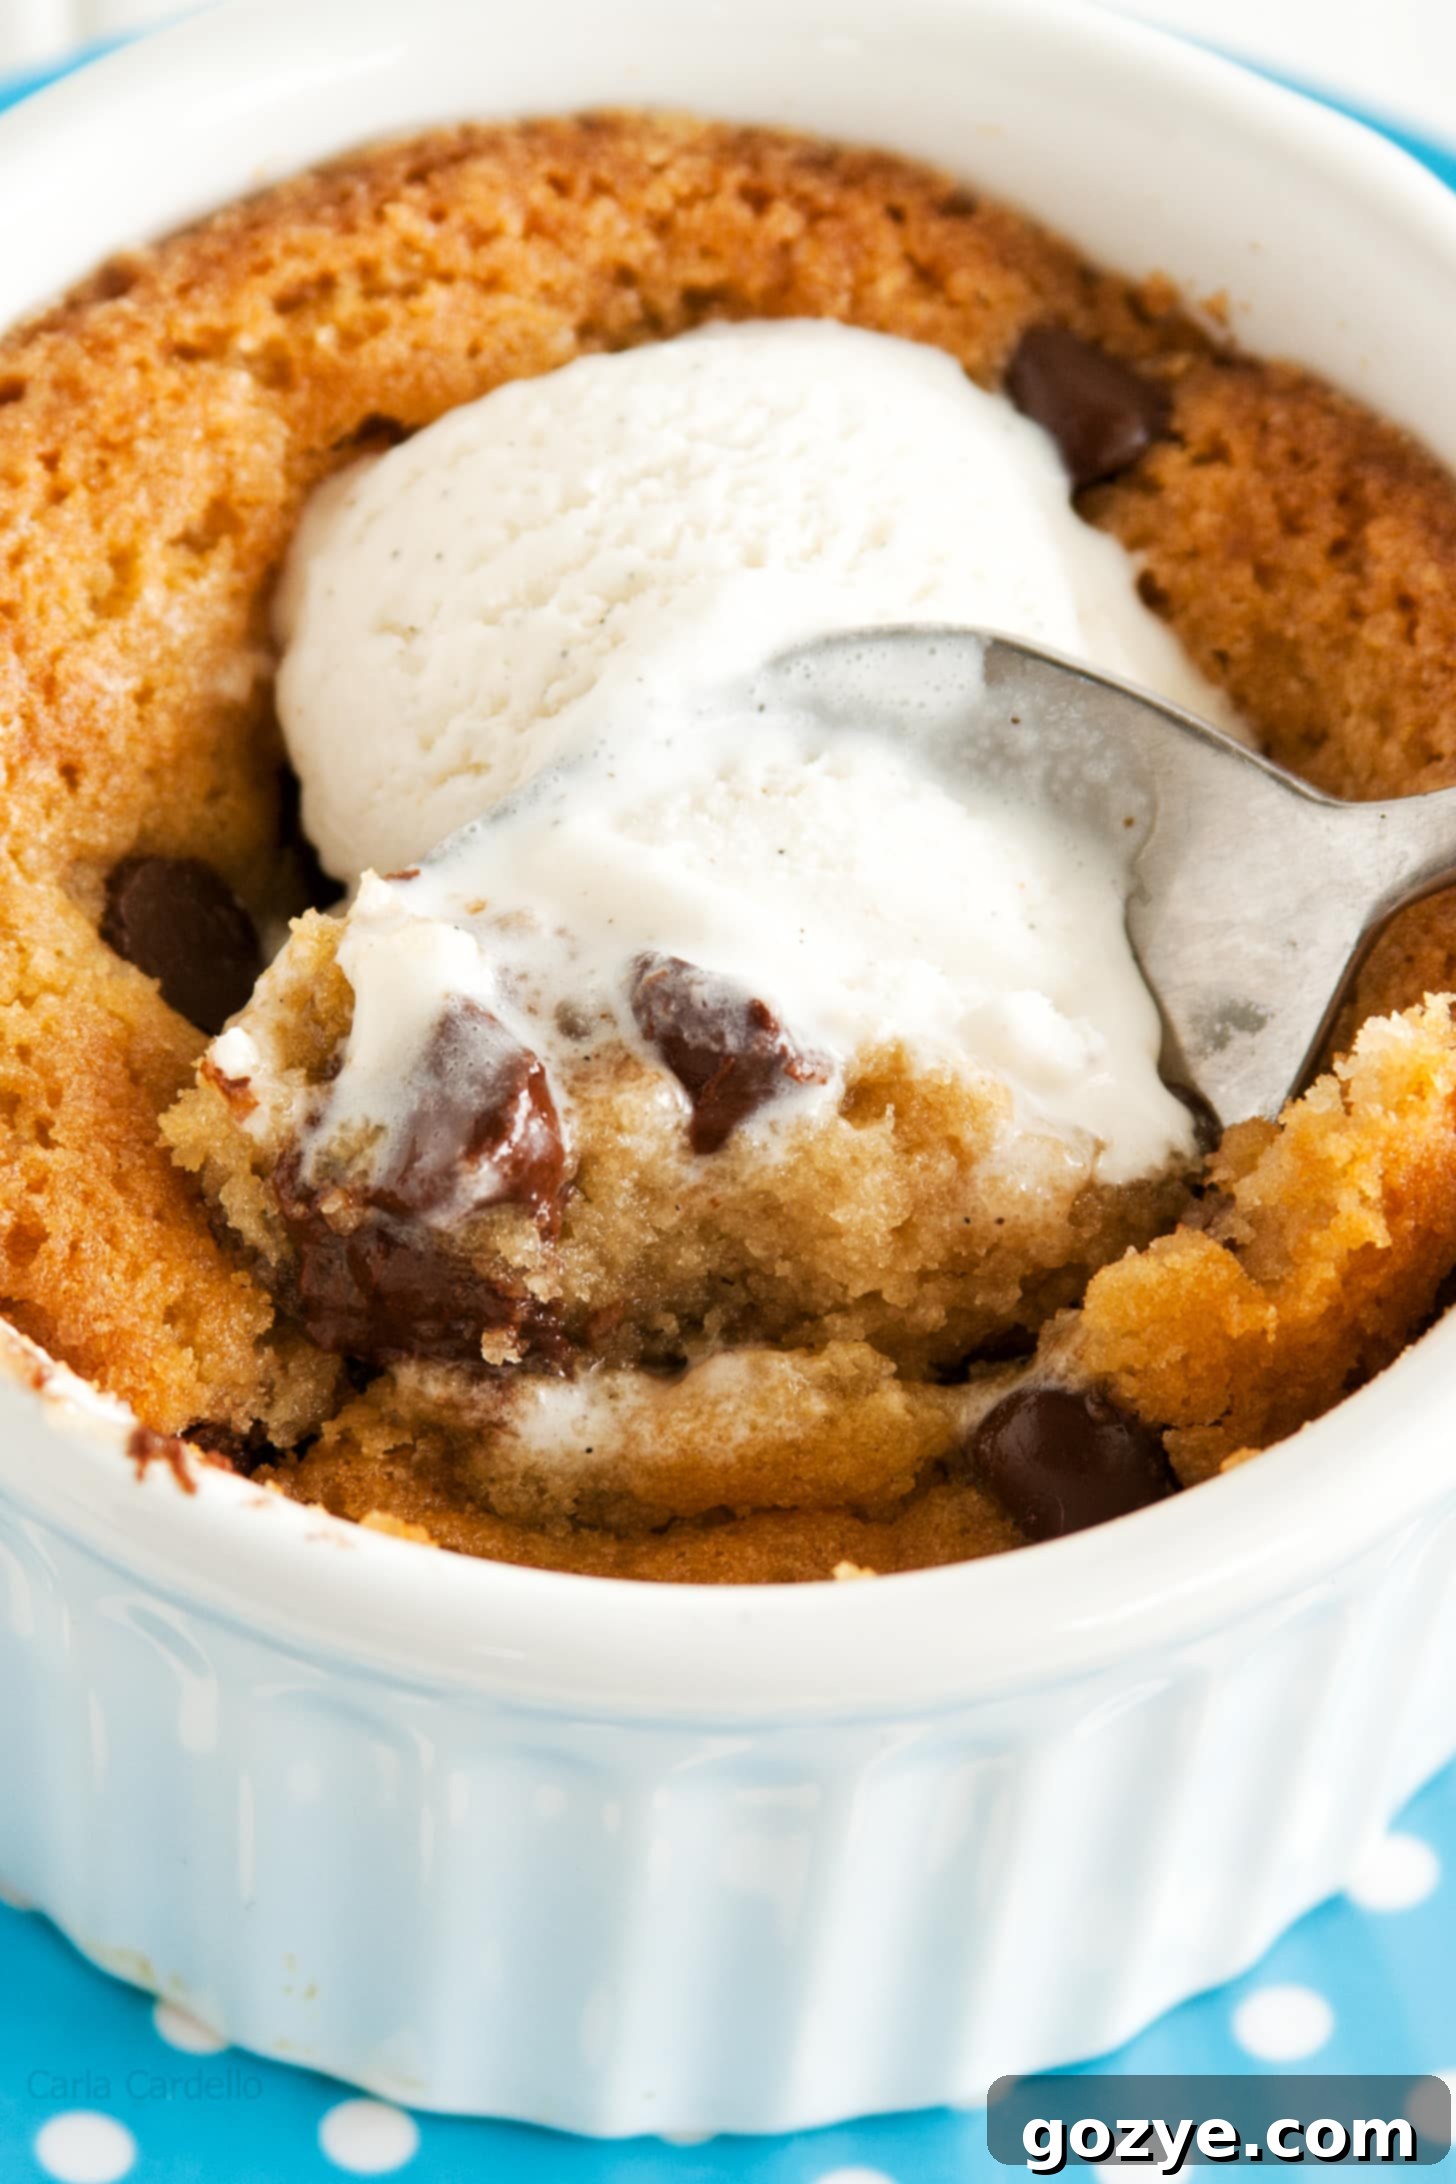
This isn’t just any cookie; it’s a perfectly portioned, deeply satisfying treat designed just for you. Baked in an individual ramekin, it’s a warm, tender, and intensely chocolatey experience that you can enjoy anytime, without the need for a mixer or even an egg. Yes, you read that right – it’s a delicious no-egg chocolate chip cookie that delivers on all fronts: flavor, texture, and convenience. Serve it warm, perhaps with a scoop of vanilla ice cream melting on top, and prepare for a moment of pure, unadulterated cookie happiness.
Why Opt for a Single Serve Chocolate Chip Cookie?
The allure of a single serving dessert goes beyond just portion control. It’s about immediate gratification, mindful indulgence, and simplifying your baking experience. Here are a few compelling reasons why this individual chocolate chip cookie recipe will become your new go-to:
- Craving Control: If you’re anything like me, a fresh batch of cookies can be dangerous! This recipe eliminates the temptation of eating an entire tray by giving you just enough to satisfy that specific craving, keeping those extra calories at bay. It’s the ultimate solution for mindful dessert enjoyment.
- Instant Gratification: When a cookie craving strikes, you want a solution fast. This recipe requires minimal prep time (about 10 minutes) and bakes quickly, meaning you’re mere minutes away from warm, fresh-from-the-oven deliciousness. No long waits, just pure cookie bliss.
- No Mixer Needed: Forget hauling out heavy kitchen equipment. This recipe relies on melted butter and simple whisking, making cleanup a breeze and the entire process incredibly straightforward. It’s perfect for lazy afternoons or quick weeknight treats.
- Perfect for Any Occasion (or No Occasion!): Whether you’re unwinding after a long day, celebrating a small victory, or just need a sweet pick-me-up, this single cookie is perfectly suited. It’s your personal treat, anytime you need it, tailored just for your mood.
- Egg-Free Convenience: Many single-serving cookie recipes call for just an egg yolk, leaving you with leftover egg whites that can go to waste. Our no-egg approach simplifies things even further, making it accessible for those with egg sensitivities or simply when you don’t have an egg on hand.
- Minimize Waste: No leftover cookies to worry about going stale, and no excess ingredients sitting around. It’s efficient, economical, and ensures every bite is as fresh and perfect as possible, making it a sustainable choice for your sweet tooth.
This deep-dish delight, baked in an individual ramekin, is designed for those moments when you’re by yourself and simply yearn for the comfort of a warm, homemade cookie but don’t want the fuss or aftermath of a full-sized recipe. It’s akin to my popular single serving sugar cookie, offering the same convenience and personalized pleasure.
Essential Ingredients for Your Solo Cookie Adventure
Crafting this perfect individual chocolate chip cookie requires just a handful of pantry staples. The magic lies in the balance and the method, ensuring a rich flavor and delightful texture without the need for an egg. Here’s a detailed look at what you’ll need and why each component is crucial:
- Unsalted Butter, Melted: The foundation of any good cookie! Using melted butter is key here because it eliminates the need for a stand mixer or hand mixer, making the process incredibly simple. It also contributes to a chewier, more tender texture in the final cookie. If you only have salted butter, simply omit the added salt from the recipe to avoid an overly salty taste.
- Granulated Sugar: This provides essential sweetness and helps with the desirable browning of your cookie, giving it those lovely caramelized edges. When combined with melted butter, ensure you whisk thoroughly until the sugar fully dissolves. This step is vital for avoiding a gritty or grainy texture and achieving that perfect smooth consistency in your dough.
- Brown Sugar (Soft and Moist): A non-negotiable for classic chocolate chip cookies! Brown sugar not only adds a deeper, more complex caramel-like sweetness but also contributes significant moisture, which is crucial for that wonderfully chewy texture that defines a great cookie. Make sure your brown sugar is soft and pliable, not hard and crumbly, for the best results.
- Pure Vanilla Extract: Often underestimated, pure vanilla extract elevates the flavor profile, adding warmth, aroma, and complexity that truly makes your cookie shine. It transforms a simple sweet treat into something truly special. Don’t skip this flavor enhancer!
- All-Purpose Flour: This is the structural backbone of your cookie dough. It brings all the wet ingredients together, transforming them into a pliable dough that holds its shape. For the best results, it’s crucial to measure flour properly by using the spoon and level method. Scooping directly from the bag can compact the flour, leading to too much flour and a dry, dense, or crumbly cookie.
- Baking Soda: This leavening agent helps the cookie rise slightly and spread just enough, preventing it from becoming overly dense and giving it a tender crumb. It also plays a subtle role in enhancing the cookie’s golden-brown color and creating a pleasant chewiness.
- Table Salt: A small pinch of salt is essential for balancing the sweetness and enhancing all the other flavors, preventing your cookie from tasting bland or one-dimensional. Remember to omit this if you’re using salted butter to avoid over-salting.
- Semisweet Chocolate Chips: The star of the show! Semisweet chocolate chips offer a balanced sweetness that pairs perfectly with the rich cookie dough, melting into delightful pockets of chocolate. However, feel free to get creative! You could use milk chocolate chips for a sweeter cookie, bittersweet for a more intense chocolate flavor, or even experiment with peanut butter chips, white chocolate chunks, or chopped nuts for a different twist.
The No-Egg Secret: Why This Cookie Shines Without It
In the world of baking, eggs are often considered indispensable, especially in cookies, for their binding, emulsifying, and leavening properties. I’ve conducted numerous rounds of testing, debating whether an egg yolk was truly necessary for this single-serving delight, as many other recipes often include it.
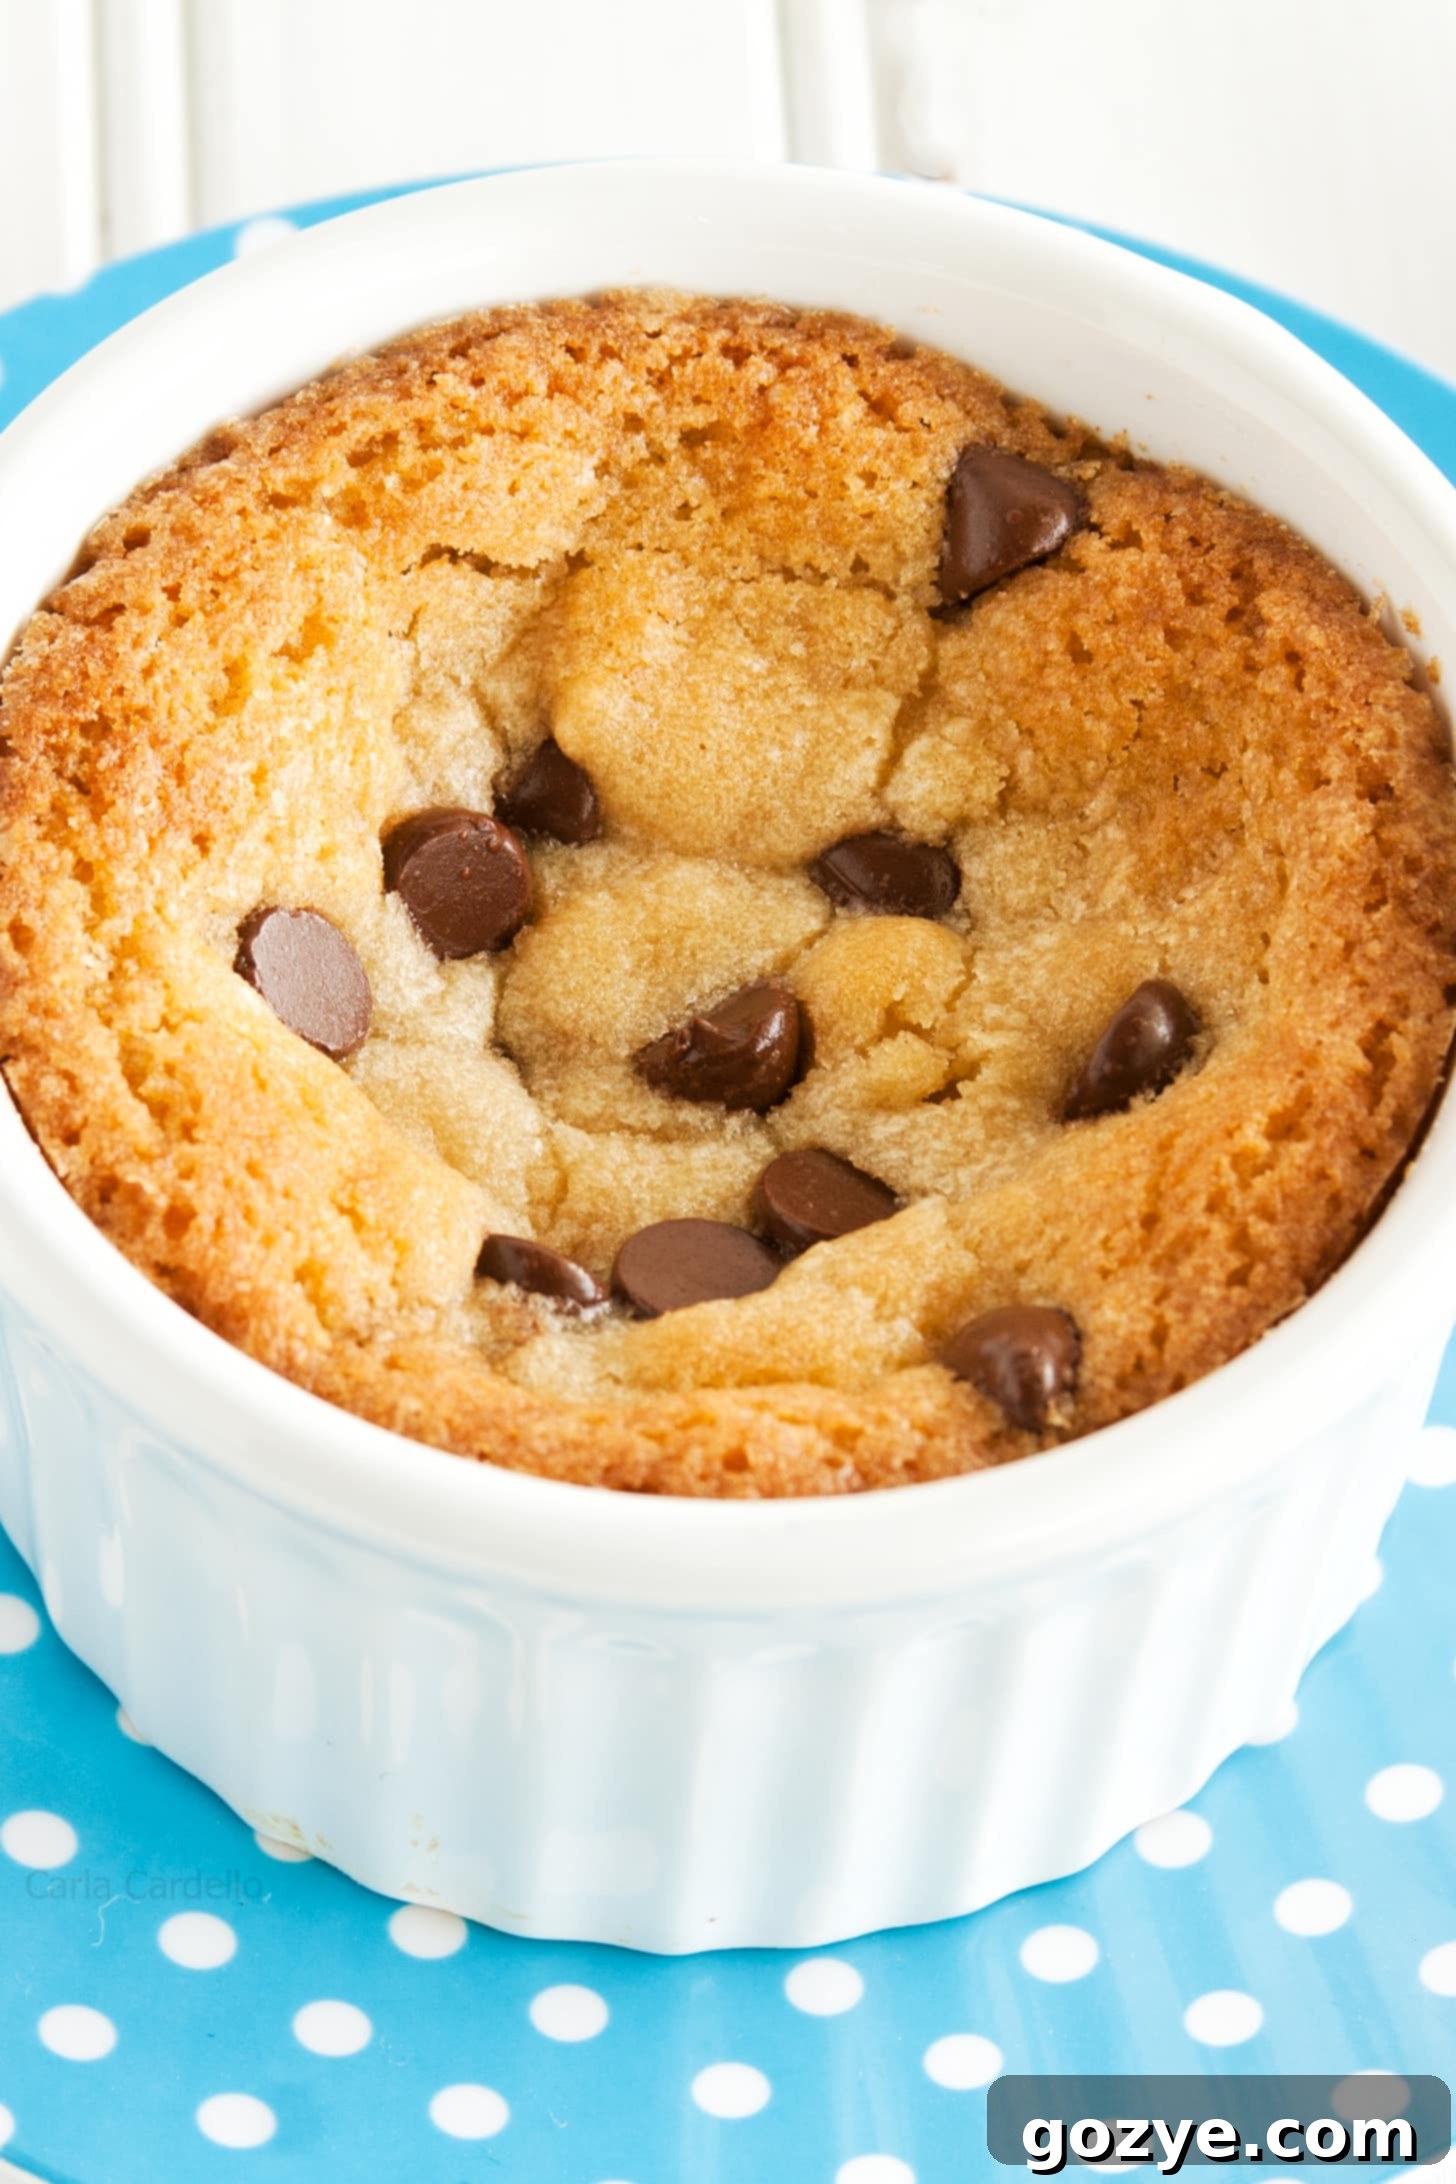
My conclusion? I genuinely prefer the texture of this cookie without an egg. The absence of an egg yolk surprisingly mimics the tender, wonderfully chewy texture of a traditional cookie, though it tends to be a bit more crumbly. This slight crumbliness, which I personally find incredibly satisfying and perfectly suited for a deep-dish, spoon-eaten cookie, actually enhances the “melt-in-your-mouth” experience, satisfying that specific cookie craving more effectively than a cake-like texture.
Conversely, adding an egg yolk results in a softer, almost cakier cookie with fewer crumbs. While it might hold together better when scooped with a spoon, it deviates from the classic, irresistible chewiness that I associate with a true chocolate chip cookie. It becomes less like a cookie and more like a mini cake, which isn’t the goal for this particular recipe.
Ultimately, the choice is yours, depending on your preferred texture. However, for a genuine, chewy chocolate chip cookie experience in a single serving, I wholeheartedly recommend embracing the no-egg version. If you do decide to experiment with an egg yolk for a cakier consistency, you might find my recipes on what to do with leftover egg whites quite useful, so nothing goes to waste!
Choosing the Right Ramekin (or Alternative)
The ramekin is your vessel for this individual cookie masterpiece! Ramekins are small, round ceramic baking dishes, typically featuring a fluted exterior, designed for single portions. For this recipe, I specifically use a 6-ounce ramekin. This size is ideal for creating that wonderfully thick, deep-dish cookie texture that bakes up perfectly tender in the center and slightly crisp on the edges, ensuring a satisfying bite every time.
You can easily find 6-ounce ramekins online, for example, on Amazon (affiliate link), or perhaps even discover some hidden gems at local thrift stores or kitchen supply shops. They are a versatile kitchen tool well worth the small investment for various single-serve desserts.
What if you don’t have a 6-ounce ramekin? Don’t let that stop your cookie craving!
- Different Size Ramekin: If your ramekin is slightly larger (e.g., 8-ounce), your cookie will be thinner, and it might bake faster. Keep a close eye on it, and reduce the baking time by a few minutes. Conversely, if your ramekin is smaller (e.g., 4-ounce), the cookie will be thicker, potentially requiring a longer baking time to ensure the center is cooked through without burning the edges. Always test for doneness by checking if the top is firm and golden.
- Oven-Safe Mugs or Bowls: A sturdy, oven-safe mug (ceramic, not plastic) or a small oven-safe ceramic bowl can be a suitable substitute. Ensure it’s rated for oven use at high temperatures (like 375°F) to prevent cracking or damage.
- Small Cast Iron Skillet: A mini cast iron skillet (around 3.5-4 inches) would also work beautifully, offering excellent heat retention and a charming rustic presentation. Be mindful that cast iron heats up faster, so watch your baking time.
Regardless of your chosen dish, remember that the material and thickness can also influence baking time. Ceramic generally conducts heat evenly, but metal (like cast iron) heats up faster. Always err on the side of under-baking slightly for a gooier center, and test with a gentle touch – if the edges are set and the center looks just barely cooked, it’s likely perfect.
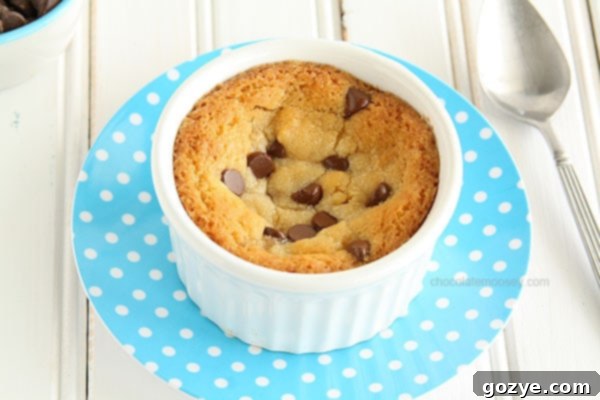
Step-by-Step: How To Make Your Single Serve Chocolate Chip Cookie
Get ready for a remarkably simple and quick baking process. This individual chocolate chip cookie comes together with ease, proving that you don’t need a lot of fuss for a truly delicious treat. Follow these steps for ramekin cookie perfection:
- Prepare Your Oven and Ramekin: First, preheat your oven to a precise 375°F (190°C). While it’s heating, have your 6-ounce ceramic ramekin (or your chosen oven-safe dish) ready. There’s no need to grease it, as the butter in the cookie dough will naturally prevent sticking.
- Whisk Wet Ingredients Thoroughly: In a medium-sized bowl, combine the melted butter, both granulated and brown sugars, and the pure vanilla extract. This step is crucial for the final texture: whisk vigorously for at least 1 minute, or until the sugars are completely dissolved into the butter mixture and the liquid appears smooth and slightly glossy. Don’t rush this part! Insufficient whisking can lead to a gritty or grainy texture in your finished cookie, which we want to avoid.
- Combine Dry Ingredients and Chocolate Chips: Add the all-purpose flour (remember to spoon and level!), baking soda, and salt to the wet mixture. Stir gently with your whisk or a spoon until just combined and it resembles a cohesive cookie dough. Be careful not to overmix; overmixing can develop the gluten in the flour, resulting in a tough, less tender cookie. Finally, fold in your semisweet chocolate chips (or your preferred chips) until they are evenly distributed throughout the dough.
- Bake to Golden Perfection: Transfer the cookie dough into your prepared ramekin. Spread it out evenly with the back of a spoon if needed, ensuring it reaches the edges for even baking. Bake for 15-18 minutes, or until the top is beautifully golden brown, appears firm to the touch (it shouldn’t look wet or jiggly in the center), and the edges are nicely set. For an extra gooey center, you might even pull it out at the 15-minute mark, but ensure the edges are golden.
- Cool and Serve: Once baked, carefully remove the ramekin from the oven and place it on a wire rack. Allow the cookie to cool in the ramekin for at least 10 minutes. This cooling time is important as it allows the cookie to set further and prevents it from crumbling too much when you dig in. Serving it warm is highly recommended for the best experience!
The beauty of this recipe is its simplicity and speed. With just a whisk and a few minutes of active time, you’ll have a warm, fragrant chocolate chip cookie ready to brighten your day and satisfy your sweet craving.
Microwave vs. Oven: Why Baking is Best for This Recipe
It’s a common and understandable question with single-serve desserts: can I just pop it in the microwave for even quicker results? While the convenience of a microwave is undeniably tempting, I strongly advise against making this specific chocolate chip cookie recipe in the microwave.
The baking soda in this recipe, while excellent for oven baking, tends to react quite differently and often unfavorably in a microwave environment. It can result in a strange, almost metallic taste and an unappetizing, rubbery, or dense texture that is far from the tender chewiness and crisp edges we’re aiming for. The radiant, dry heat of an oven is crucial for achieving that perfect golden crust, caramelized sugars, and a thoroughly cooked yet deliciously gooey interior.
However, if you’re truly pressed for time and absolutely need a microwave-friendly cookie, don’t despair! I have dedicated recipes specifically formulated for microwave success. You can absolutely make my Microwave Chocolate Chip Cookie instead, which is designed to deliver a delicious result in minutes without the pitfalls of baking soda in the microwave. Not in the mood for chocolate? My microwave peanut butter cookie is another fantastic quick option that works wonderfully in the microwave!
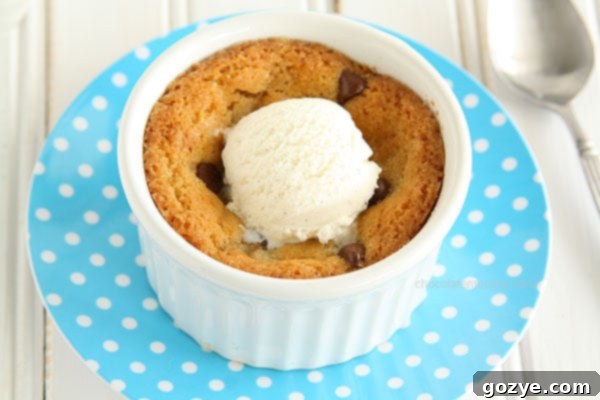
Elevate Your Treat: What To Serve With Your Single Serve Cookie
While your freshly baked chocolate chip cookie for one is undoubtedly a magnificent treat all on its own, adding a contrasting garnish can elevate the experience to pure dessert nirvana. The warmth of the cookie, combined with a cool, creamy topping, creates an unforgettable sensation. Here are some classic and creative ideas to pair with your warm ramekin cookie:
- Classic Vanilla Ice Cream: This is arguably the most beloved pairing for a warm chocolate chip cookie. A generous scoop of creamy vanilla bean ice cream melting into the warm, gooey cookie creates an incredible hot-and-cold sensation that is simply irresistible. The contrasting temperatures and textures are pure magic.
- Homemade Whipped Cream: If ice cream isn’t available or you prefer something lighter, a dollop of fluffy homemade whipped cream adds a delicate sweetness and airy texture. You can even take it a step further with flavored whipped creams like rich chocolate whipped cream for an extra layer of cocoa indulgence, or creamy peanut butter whipped cream for a nutty twist.
- A Drizzle of Caramel or Chocolate Sauce: For a truly decadent finish, a swirl of warm caramel sauce or a rich chocolate ganache drizzle can add another dimension of flavor and visual appeal. A little goes a long way in making your cookie feel extra special.
- A Sprinkle of Sea Salt: For those who appreciate a salty-sweet balance, a tiny sprinkle of flaky sea salt on top before serving enhances the chocolate flavor and provides a delightful, sophisticated contrast to the cookie’s sweetness.
- Fresh Berries: For a touch of freshness and color, a few fresh raspberries or sliced strawberries can brighten the richness of the cookie and add a lovely burst of fruitiness and acidity.
- A Glass of Milk: Sometimes, the simplest pairings are the best. A tall, cold glass of milk is the quintessential, comforting accompaniment to any chocolate chip cookie, perfect for dipping or sipping alongside.
Don’t be afraid to experiment with your favorite toppings to customize your single serving cookie experience and make it uniquely yours!
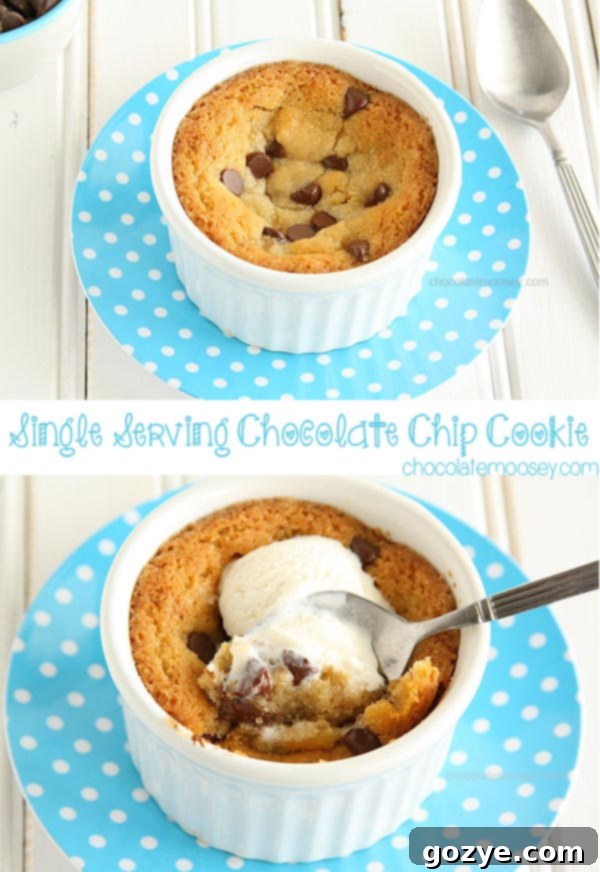
Frequently Asked Questions About Single Serve Cookies
Here are some common questions you might have about making this delicious individual chocolate chip cookie, along with helpful answers:
- Can I double or triple this recipe?
This recipe is specifically formulated and perfectly balanced for a single serving. While you can technically multiply the ingredients, it’s often easier and yields better, more consistent results to simply make multiple individual batches if you need more than one cookie. Baking two or three ramekins side-by-side works perfectly! - Can I prepare the dough ahead of time?
Yes, you absolutely can! Prepare the cookie dough as instructed, then transfer it into your ramekin. Cover the ramekin tightly with plastic wrap and refrigerate for up to 24 hours. When you’re ready to bake, you might need to add just a minute or two to the baking time, as the dough will be starting cold. - Can I freeze the dough?
While it’s possible, for a single serving, it’s generally not worth the effort of freezing such a small amount. However, if you wanted to prepare multiple individual portions for later, you could form the dough into small discs, wrap them individually in plastic wrap, and freeze them in an airtight container for up to 1 month. When ready to bake, place the frozen dough directly into the ramekin and bake, adding several minutes (around 5-10) to the baking time until golden and firm. - My cookie came out dry or crumbly – what went wrong?
This is a common issue with small-batch baking, and it could be due to several factors:- Over-measuring flour: Too much flour is a frequent culprit for dry cookies. Ensure you’re using the spoon and level method rather than scooping directly, which can compact the flour.
- Over-baking: Even a minute or two too long in the oven can significantly dry out a small cookie. Keep a very close eye on it, and remove it once the edges are set and the top is golden.
- Not enough melted butter: Ensure your butter measurement is accurate. Butter adds crucial moisture and fat.
- My cookie is grainy – how do I fix it?
Graininess in a cookie usually comes from undissolved sugar. The key here is proper whisking in the initial step. Make sure you whisk the melted butter, granulated sugar, and brown sugar together vigorously for at least a full minute until the mixture is smooth and you no longer feel or see sugar crystals when rubbing a tiny bit between your fingers.
More Individual & Small Batch Dessert Ideas
If you’ve fallen in love with the simplicity and immense satisfaction of this ramekin cookie, you’ll be thrilled to discover more of my Ramekin Dessert Recipes and small-batch treats. They’re perfect for satisfying sweet cravings without overdoing it or leaving you with too many leftovers, making mindful indulgence easy:
- Single Serve Brownie: A rich, fudgy brownie just for one, often topped with gooey marshmallows or delightful peanut butter cups.
- Brownies For Two: When you’re sharing your sweet moment with a loved one, but still want a perfectly portioned, intimate dessert.
- Mini Lava Cakes: Elegant and incredibly decadent, these molten chocolate cakes are surprisingly easy to make for one or two, offering a restaurant-quality dessert at home.
- Small Batch Chocolate Chip Cookies: If you prefer traditional drop cookies but still want a smaller yield than a full recipe, these are perfect for a modest treat.
- Chocolate Chip Cookie Bars: Another fantastic small-batch option, these bars are incredibly easy to make, require no individual shaping, and are simple to slice and serve.

Single Serve Chocolate Chip Cookie
1 serving
10 minutes
15 minutes
25 minutes
This Single Serve Chocolate Chip Cookie is a delightful, no-egg recipe perfect for satisfying a sweet craving. Baked in a ramekin, it’s served warm, often crowned with ice cream!
Ingredients
- 2 tablespoons unsalted butter, melted
- 1 tablespoon granulated sugar
- 1 tablespoon brown sugar (soft and moist, not dry and crumbly for best texture)
- 1/4 teaspoon pure vanilla extract
- 1/3 cup all-purpose flour (measured properly using the spoon and level method to avoid a dry cookie)
- 1/8 teaspoon baking soda
- 1/8 teaspoon table salt (omit if using salted butter, or use a pinch of flaky sea salt for garnish)
- 2 tablespoons semisweet chocolate chips (or your favorite variety like milk, dark, or peanut butter chips)
Instructions
- Preheat oven to 375°F (190°C). Have one 6-ounce ceramic ramekin ready*; no need to grease it.
- In a medium bowl, vigorously whisk together the melted butter, granulated sugar, brown sugar, and vanilla extract until the sugar has completely dissolved and the mixture is smooth, at least 1 minute. This is crucial for a non-grainy cookie.
- Add the all-purpose flour, baking soda, and salt to the wet ingredients. Stir gently with a spoon or whisk until the mixture just comes together and resembles cookie dough. Be careful not to overmix. Fold in the chocolate chips until evenly distributed.
- Transfer the cookie dough into the prepared ramekin, spreading it out evenly. Bake for 15-18 minutes, or until the top is firm, golden brown, and no longer appears wet in the center. The edges should be set.
- Remove from oven and let cool in the ramekin on a wire rack for 10 minutes before serving. This allows the cookie to set properly. Enjoy warm, perhaps with your favorite topping!
Notes
- *Using a different size or type of ramekin may affect the texture and bake time. A larger ramekin might require slightly less time as the cookie will be thinner, while a smaller one might need more time. Keep a close eye on it for visual cues.
- This recipe is intentionally designed for a slightly crumbly, tender, and chewy texture that closely mimics a traditional cookie experience.
- If you prefer a softer, more cake-like, and less crumbly texture, you can reduce the butter to 1 tablespoon and then whisk in 1 egg yolk along with the vanilla extract. Be aware this will change the final result significantly.
- No ramekin on hand? Don’t worry! You can easily make a small batch of traditional cookies using my Small Batch Chocolate Chip Cookies recipe instead.
Recommended Products
As an Amazon Associate and member of other affiliate programs, I earn from qualifying purchases.
- 6 ounce Ramekins
Did you make this recipe?
Let me know what you think! Rate the recipe above, leave a comment below, and/or share a photo on Instagram using #HITKrecipes
First published February 14, 2013, updated with enhanced details and SEO optimization.
