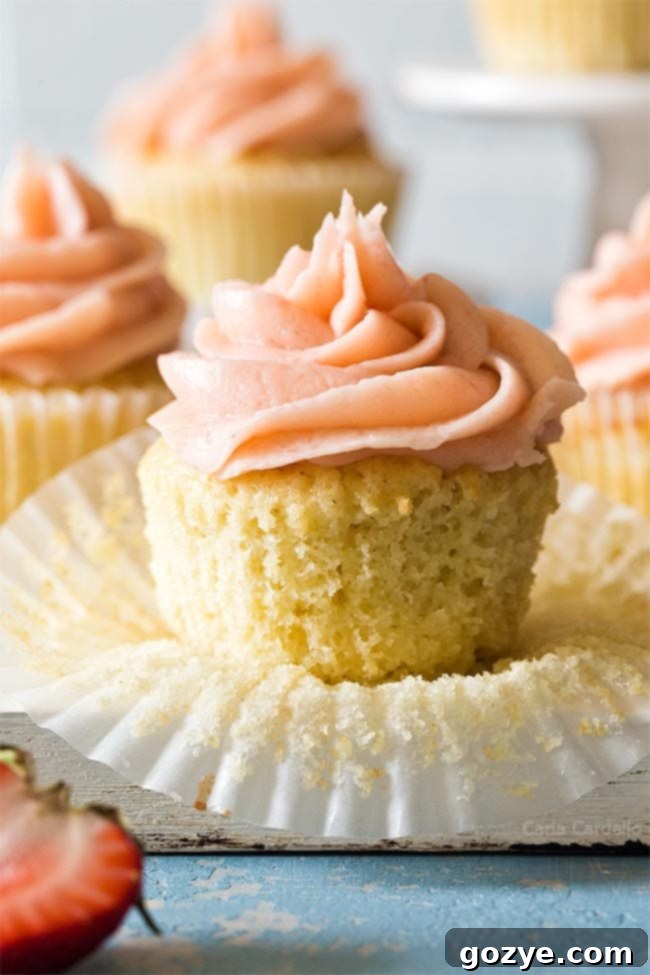
Easy Small Batch Vanilla Cupcakes: Moist, Fluffy, & Perfect for Two!
Indulge in the simple pleasure of homemade baking with these incredibly moist and fluffy Small Batch Vanilla Cupcakes, complete with luscious buttercream frosting. This delightful 6-cupcake recipe is designed to brighten your day and satisfy your sweet cravings without overwhelming you with leftovers. Perfect for a cozy evening, a small celebration, or simply when you need a comforting treat from scratch.
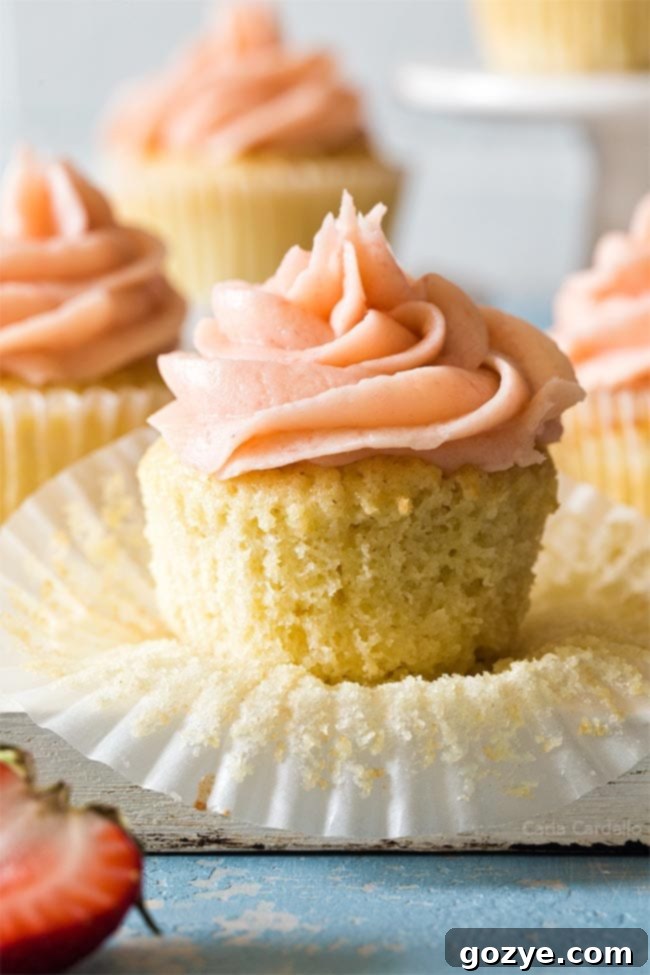
Are you a devoted fan of classic vanilla cupcakes? There’s something undeniably comforting and universally loved about the pure, sweet flavor of vanilla. While my Small Batch Chocolate Cupcakes and Red Velvet Cupcakes have their loyal following, it was only a matter of time before I perfected the quintessential Small Batch Vanilla Cupcakes.
This recipe, yielding exactly six perfect vanilla cupcakes, is a scaled-down version of my popular Small Vanilla Cake recipe. It’s truly ideal for those moments when you’re not hosting a large party, or when it’s just you and a special someone. Imagine celebrating your partner’s birthday with fresh, homemade treats, or perhaps rewarding yourself after a big work promotion. Even if you simply find baking a therapeutic way to de-stress, this recipe ensures you won’t be left with a mountain of cupcakes you can’t finish.
Even for a family of four, these cupcakes offer a perfect balance: each person gets one delicious treat, leaving two extra for a later indulgence or a quick breakfast pick-me-up. It’s an excellent way to enjoy a sweet dessert responsibly, especially if you’re mindful of portion control.
Working from home often means I don’t always have a crowd to share my baking with. That’s why I’m passionate about developing small batch cupcake recipes – because everyone deserves a fresh-baked treat, no matter the size of their household!
What sets these vanilla cupcakes apart? Since they are vanilla cupcakes from scratch, I’ve generously doubled the amount of vanilla extract you’d typically find in a half-dozen cupcake recipe. This ensures a rich, fragrant vanilla flavor that truly shines. For an extra luxurious boost, feel free to scrape in the seeds from half a vanilla bean – it adds beautiful specks and an even deeper aromatic profile.
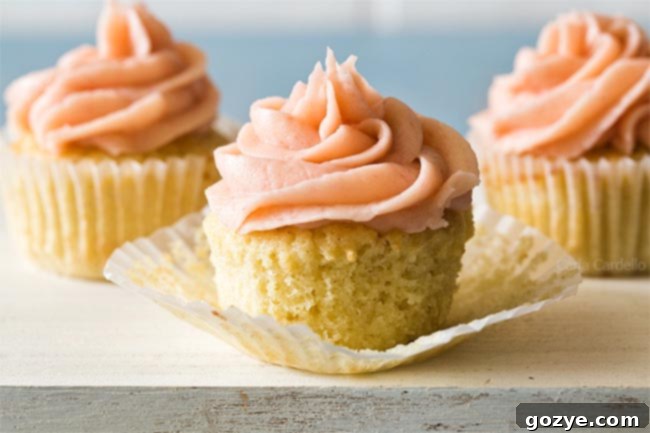
While I opted for a vibrant strawberry buttercream to crown these beauties, giving them a delightful pop of pink, the versatility of vanilla means almost any homemade frosting recipe will be a perfect match. Let your culinary imagination guide you!
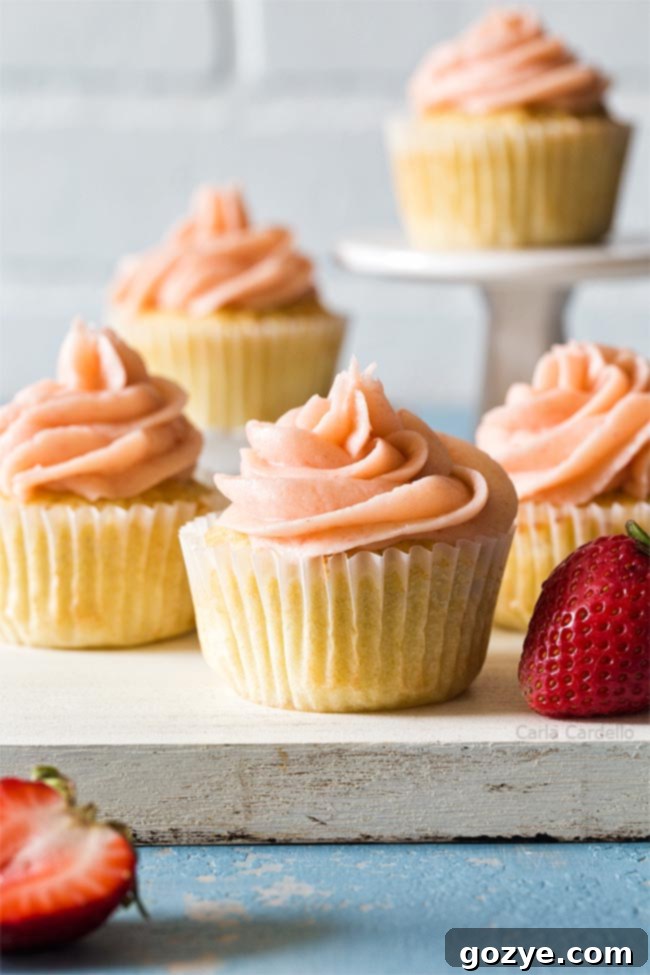
Vanilla, Yellow, and White Cake: What’s the Difference?
Understanding the subtle distinctions between different “vanilla” cakes can elevate your baking knowledge. My Small Batch Vanilla Cupcakes, for example, differ from my Small Batch Yellow Cupcakes in a few key ways. Our vanilla recipe here uses slightly less butter and a more pronounced amount of vanilla extract, allowing the pure vanilla flavor to be the star.
- Yellow Cake: Characterized by its rich golden hue, yellow cake typically incorporates more butter and relies on whole eggs (both yolks and whites). The egg yolks contribute significantly to its signature color and a tender, moist crumb.
- White Cake: As its name suggests, white cake aims for the purest white possible. This is achieved by using only egg whites and sometimes shortening (which is white) instead of butter, which can impart a yellowish tint. White cake often has a slightly firmer, yet still delicate, texture.
- Vanilla Cake (This Recipe): Our vanilla cake strikes a beautiful balance, using whole eggs for structure and moisture, but with a focus on a generous amount of pure vanilla extract for flavor, without needing to lean into the deeper yellow color of a classic yellow cake. It’s a versatile base for many frostings and occasions.
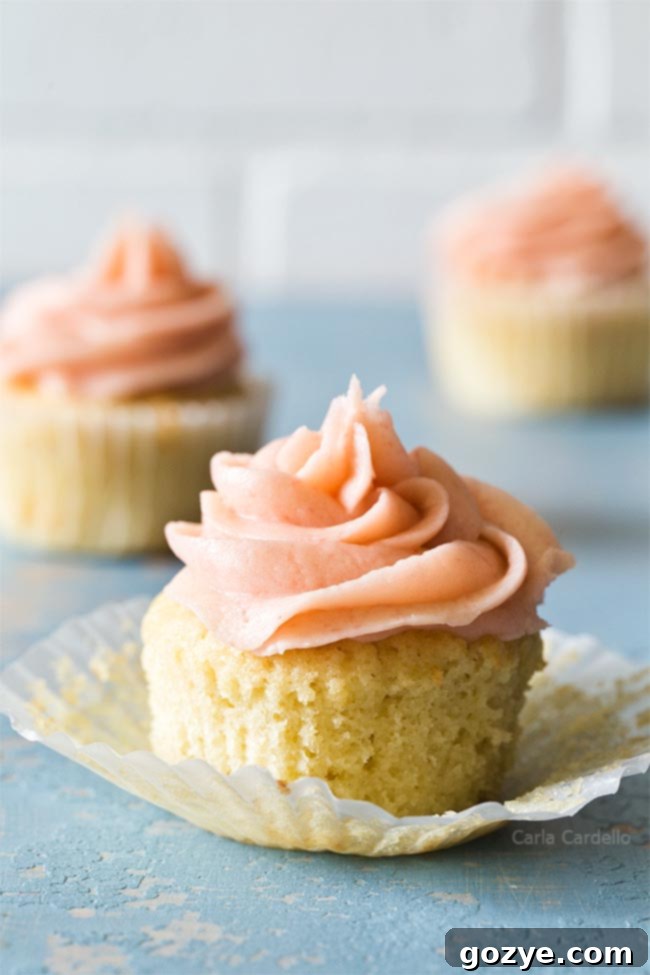
Essential Ingredients for Your Small Batch Vanilla Cupcakes
Crafting the perfect batch of 6 vanilla cupcakes starts with understanding the role of each ingredient. Here’s what you’ll need and why it matters:
- All-Purpose Flour: Instead of the less common cake flour, we opt for all-purpose flour combined with cornstarch. This clever substitution allows for a cake-flour-like texture (finer crumb, more tender) using ingredients you likely already have on hand.
- Cornstarch: This is our secret weapon! When mixed with all-purpose flour, cornstarch inhibits gluten development, mimicking the low-protein content of cake flour. This results in a softer, more delicate crumb. If you happen to have cake flour, you can substitute 3/4 cup + 1 tablespoon of cake flour and omit the cornstarch entirely.
- Baking Powder: Our primary leavening agent. It’s crucial for giving your cupcakes that beautiful rise and airy texture. Always check the expiration date; old baking powder means flat cupcakes!
- Salt: Don’t underestimate the power of salt in baking. It doesn’t just make things salty; it enhances all the other flavors, particularly the sweetness and vanilla, preventing your cupcakes from tasting bland.
- Unsalted Butter: Butter is key for both flavor and texture. As it melts during baking, it creates steam, trapping carbon dioxide within the batter. This process helps the cupcakes rise and contributes to an incredibly tender, moist crumb. Ensure your butter is softened to room temperature for optimal creaming.
- Granulated Sugar: Beyond just sweetness, sugar helps tenderize the cake, keeps it moist, and contributes to the golden-brown crust.
- Large Egg: A standard large egg, ideally at room temperature, binds all the ingredients together, provides structure, and adds richness and moisture.
- Vanilla Extract: Since these are *vanilla* cupcakes, invest in a high-quality pure vanilla extract, not imitation. The difference in flavor is truly noticeable and worth it. For an even more intense flavor, consider adding vanilla bean paste or seeds from a vanilla bean.
- Whole Milk: For truly moist and rich cupcakes, whole milk is non-negotiable. The fat content in whole milk contributes significantly to the tenderness and moisture of the final product. Avoid skim or 2% milk if you want the best results.
Craving a larger dessert? Explore my complete collection of 6 Inch Cake Recipes for two, perfect for any occasion.
How To Make The Best Small Batch Vanilla Cupcakes
Creating these delightful cupcakes is a straightforward process, but paying attention to a few details will ensure perfect results every time:
- Creaming Butter and Sugar: Begin by creaming together your softened butter and granulated sugar until the mixture is light, fluffy, and pale in color. This process incorporates air, which is vital for a tender crumb. This should take about 1-2 minutes with a mixer.
- Adding Wet Ingredients: Scrape down the sides of your bowl to ensure everything is well combined. Then, beat in the room temperature egg and high-quality vanilla extract for about one minute. This emulsifies the mixture and further aerates it.
- Alternating Dry and Wet: This is a crucial step for a tender cupcake. You’ll alternate adding the dry ingredients with the milk. The general rule is to start and end with the dry ingredients. Add the dry ingredients in three additions and the milk in two additions.
- Adding all the milk at once can cause the batter to “split” or separate due to oversaturation, making it harder to emulsify.
- Adding all the flour at once can lead to a very thick batter that’s easily overmixed. Overmixing develops gluten too much, resulting in a tough, dense cupcake.
By alternating, you ensure a smooth, well-combined batter without overworking the gluten. When you add the final bit of flour, switch to a rubber spatula and gently fold it in by hand until just combined. Lumps are okay – overmixing is the enemy!
- Baking to Perfection: Divide the batter evenly among 6 cupcake liners, filling each about halfway full. Bake at 350°F (175°C) for 18-20 minutes, or until a wooden skewer or toothpick inserted into the center comes out clean.
- Cooling: Let the cupcakes cool in the pan for about 10-15 minutes before transferring them to a wire rack to cool completely. Frosting warm cupcakes is a recipe for disaster (and melted frosting!).
Can you make small batch vanilla cupcakes ahead of time?
Absolutely! You can bake your cupcakes up to 2 days in advance. Store them unfrosted in an airtight container at room temperature. When ready to serve, simply frost and enjoy!
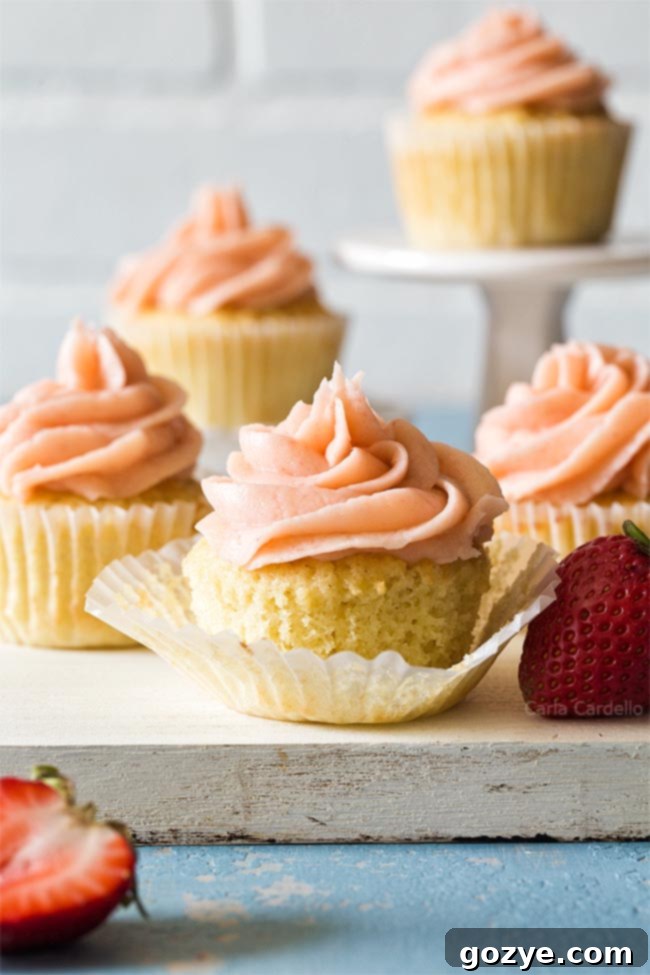
Which Frostings Pair Perfectly with Vanilla Cupcakes?
Vanilla cupcakes are like a blank canvas, ready to be adorned with almost any frosting your heart desires! While I chose a delightful strawberry frosting for a touch of fruitiness and color, the possibilities are truly endless:
- Fruity & Fresh: For another sweet and tangy fruit pairing, try a strawberry cream cheese frosting or a vibrant raspberry cream cheese frosting. The tartness of the fruit beautifully complements the sweetness of the vanilla.
- Rich & Decadent: If you’re in the mood for contrasting flavors, a rich chocolate frosting is a classic choice. Opt for a creamy chocolate cream cheese frosting for a tangy twist, or a classic small batch chocolate frosting for pure indulgence.
- Double Vanilla Bliss: For those who can’t get enough vanilla, enhance the experience with a small batch vanilla buttercream. Or, for a slightly less sweet option with a pleasant tang, a small batch cream cheese frosting is always a winner.
Do I Have to Refrigerate Frosted Cupcakes?
Proper storage is key to keeping your cupcakes fresh and delicious:
- Buttercream Frosting: Cupcakes frosted with traditional buttercream (made primarily with butter and sugar) or unfrosted vanilla cupcakes can generally be stored at room temperature. Simply place them in an airtight container on your counter for up to 3 days. This helps maintain their moist texture.
- Cream Cheese Frosting & Warm Climates: If your cupcakes are topped with cream cheese frosting (which contains dairy) or if your kitchen is particularly warm, refrigeration is necessary. Store them in an airtight container in the refrigerator for up to 1 week. For the best flavor and texture, let refrigerated cupcakes come to room temperature for 15-30 minutes before serving.
Can You Freeze Vanilla Cupcakes?
Yes, just like most baked goods, cupcakes freeze exceptionally well, allowing you to enjoy homemade treats whenever a craving strikes!
- Freezing Unfrosted Cupcakes: This is generally the preferred method.
- Place the completely cooled unfrosted cupcakes on a baking sheet and freeze for about an hour, or until firm. This prevents them from sticking together.
- Once firm, wrap each cupcake individually in plastic wrap, then place them in a freezer-safe plastic bag or an airtight container.
- Freeze for up to 3 months. For extra protection against freezer burn or getting squashed, you can place the wrapped cupcakes inside a sturdy container.
- Freezing Frosted Vanilla Cupcakes: While unfrosted is best, you can freeze frosted cupcakes, especially if they have buttercream frosting. Cream cheese frosting can sometimes develop a slightly grainy texture after freezing and thawing, though it will still be perfectly edible.
- Place the frosted cupcakes on a baking sheet and freeze for about an hour until the frosting is completely firm.
- Once firm, carefully place each cupcake into a deep enough airtight container that won’t touch or squash the frosting.
- Freeze for up to 3 months.
- Thawing Cupcakes: To thaw, remove the desired number of cupcakes from the freezer and place them on a wire rack at room temperature. Let them thaw for about 15-30 minutes for unfrosted, or 1-2 hours for frosted (depending on frosting type and thickness). The wire rack helps to prevent the bottoms of the cupcakes from getting soggy as they thaw.
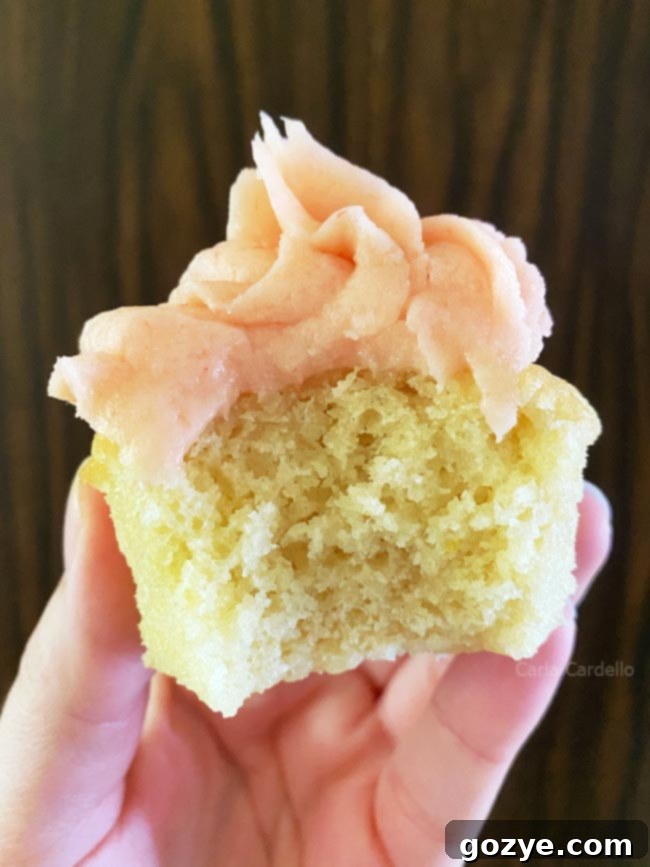
Why Are My Vanilla Cupcakes Dry and Not Fluffy?
Even with a well-tested recipe like my 6 vanilla cupcakes, baking can sometimes present challenges. If your cupcakes aren’t coming out as moist and fluffy as you’d hoped, here are some common culprits and solutions:
- Overbaking: This is perhaps the most frequent cause of dry cupcakes. Ovens can vary significantly, so relying solely on the recipe’s time might not be enough.
- Solution: Invest in an oven thermometer to ensure your oven is truly heating to 350°F (175°C). Start checking for doneness a few minutes before the minimum bake time. The toothpick test should yield a clean toothpick with perhaps a few moist crumbs, but no wet batter.
- Too Much Flour: Accidentally adding too much flour is another common issue. Flour absorbs moisture, so excess flour leads to a dry, dense crumb.
- Solution: Learn how to measure flour correctly. The spoon-and-level method (spooning flour into your measuring cup and leveling it off with a straight edge) is crucial. Avoid scooping directly with the measuring cup, as this compacts the flour and can add up to 25% more than intended.
- Not Enough Fat: Fat (from butter and whole milk) is essential for moisture and tenderness.
- Solution: Stick to the specified amount of unsalted butter and ensure it’s actual butter, not margarine, which has a different fat and water content. Always use whole milk; skim or low-fat milk simply won’t provide the richness and moisture needed for truly tender cupcakes.
- Overmixing: Once you add the flour, vigorous or prolonged mixing develops gluten. While gluten is necessary for structure, too much results in a tough, chewy, and dry texture, similar to cornbread.
- Solution: Mix the batter on the lowest speed possible after adding the flour. As soon as the last addition of flour goes in, switch to a rubber spatula and fold gently until *just* combined. A few small lumps are perfectly fine and often indicate you haven’t overmixed.
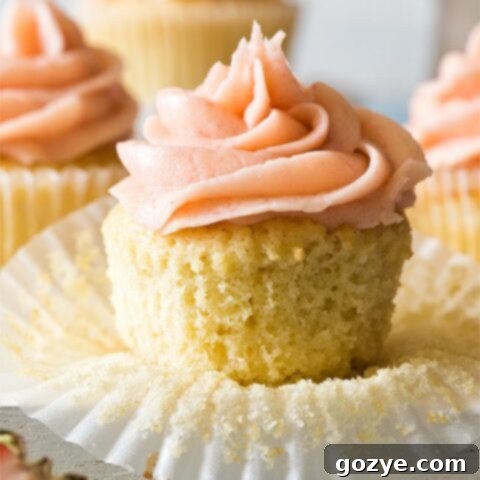
Small Batch Vanilla Cupcakes
6 cupcakes
20 minutes
20 minutes
40 minutes
Moist and fluffy Small Batch Vanilla Cupcakes from scratch is a 6 cupcake recipe to make your day a little sweeter.
Ingredients
- 3/4 all-purpose flour (when measuring, spoon the flour into the measuring cup and level it off)*
- 1 tablespoon cornstarch
- 1 teaspoon baking powder
- 1/2 teaspoon table salt
- 1/2 cup granulated sugar
- 4 tablespoons (1/4 cup or 2 ounces) unsalted butter, softened
- 1 large egg, room temperature
- 1 teaspoon vanilla extract
- 1/4 cup whole milk, room temperature (do not use low fat or fat free)
Pick One To Decorate
- Strawberry Buttercream (get recipe here)
- Vanilla Buttercream (get recipe here)
- Chocolate Buttercream get recipe here)
- Full List Of Frosting Recipes
Instructions
- Preheat oven to 350F (175°C). Line a cupcake pan with 6 liners.
- In a medium bowl, sift together the flour and cornstarch. Then, stir in baking powder and salt until well combined.
- In a large mixing bowl, using a medium-high speed (with the paddle attachment if using a stand mixer), beat together the granulated sugar and softened unsalted butter until the mixture is light, fluffy, and creamy, which typically takes about 1-2 minutes.
- Scrape down the sides and bottom of the bowl thoroughly to ensure all ingredients are incorporated. Beat in the room temperature egg and vanilla extract for another 1 minute until well combined and smooth.
- Reduce the mixer speed to the lowest setting. Begin adding the dry flour mixture alternately with the whole milk. Add the dry ingredients in three separate additions, and the milk in two separate additions. Always start and end with the dry ingredients.
After the final addition of flour, immediately turn off the mixer. Switch to a rubber spatula and gently fold the batter by hand until it is just combined. Be careful not to overmix at this stage, as overmixing will develop the gluten and result in a dense, tough, almost cornbread-like texture in your finished cupcakes.
- Evenly distribute the prepared batter among the 6 cupcake liners, filling each about halfway full. Bake for 18-20 minutes, or until a wooden skewer or toothpick inserted into the center of a cupcake comes out clean. Allow the cupcakes to cool in the pan for about 15 minutes before carefully transferring them to a wire rack to cool completely.
- Once fully cooled, decorate your cupcakes with the frosting of your choice. Store frosted cupcakes covered at room temperature for up to 2 days (for buttercream frosting only). For cream cheese or ganache frosted cupcakes, or in warmer environments, store them in the refrigerator for up to 1 week. For the best taste and texture, allow refrigerated cupcakes to sit at room temperature for 15-30 minutes before serving.
Notes
- To substitute for cake flour, use 3/4 cup + 1 tablespoon of cake flour and omit the cornstarch from the recipe.
- Loved this recipe and want more small batch inspiration? Browse my full list of Small Batch Cupcake Recipes, featuring delightful flavors like chocolate, strawberry, and many others.
- Prefer a cake to cupcakes? You’ll love my equally delicious Small Vanilla Cake recipe, perfect for a modest celebration.
Recommended Products
As an Amazon Associate and member of other affiliate programs, I earn from qualifying purchases.
- Cupcake Pan
- Paper Liners
- Piping Set
Did you make this recipe?
Let me know what you think! Rate the recipe above, leave a comment below, and/or share a photo on Instagram using #HITKrecipes
First published June 4, 2021
