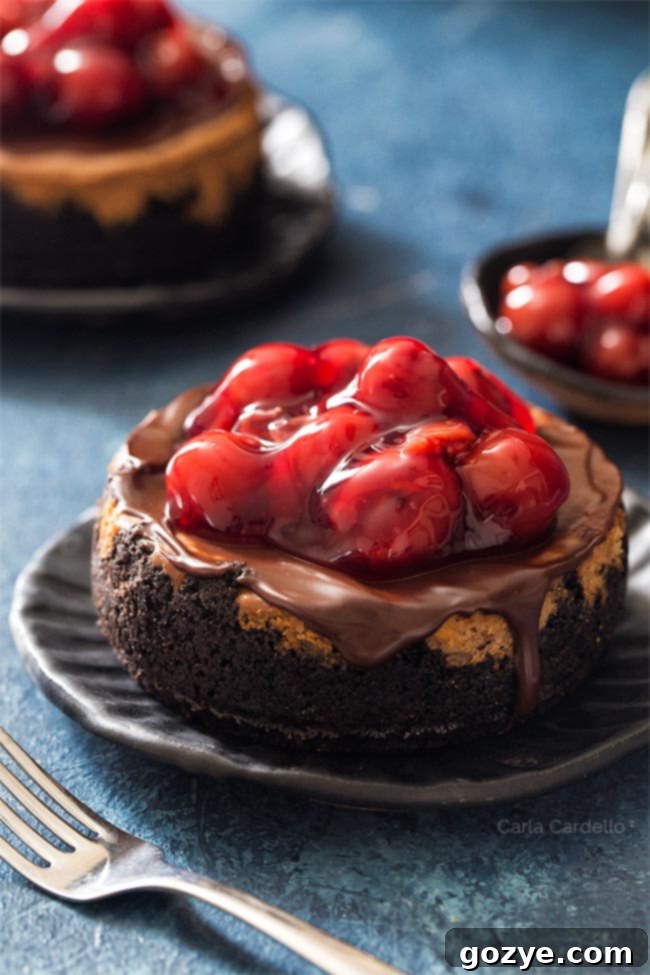
Decadent 4-Inch Mini Chocolate Cheesecakes: The Perfect Dessert for Two
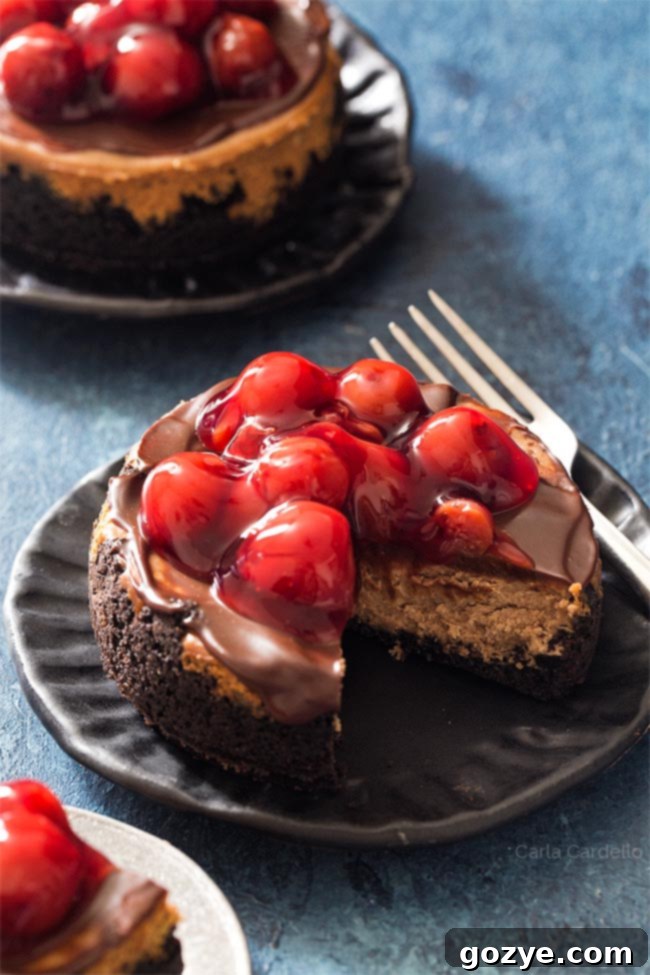
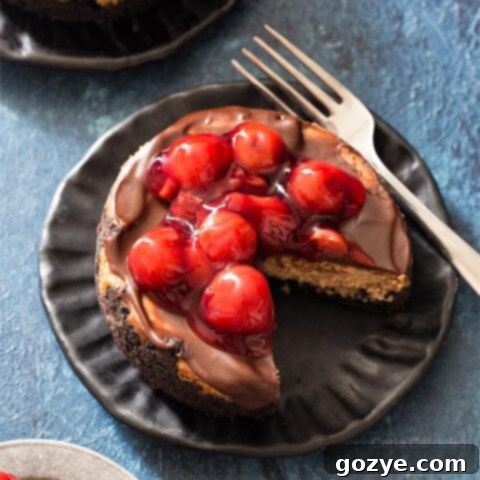
Are you searching for a delightful, intimate dessert to share with someone special, or simply to treat yourself without overindulging? This 4-inch Mini Chocolate Cheesecake recipe is exactly what you need! Designed to yield two perfectly portioned cheesecakes in individual springform pans, these rich chocolate treats are a dream come true for any chocolate lover. Imagine a luscious chocolate ganache topping, complemented by a vibrant cherry pie filling—pure bliss in every bite.
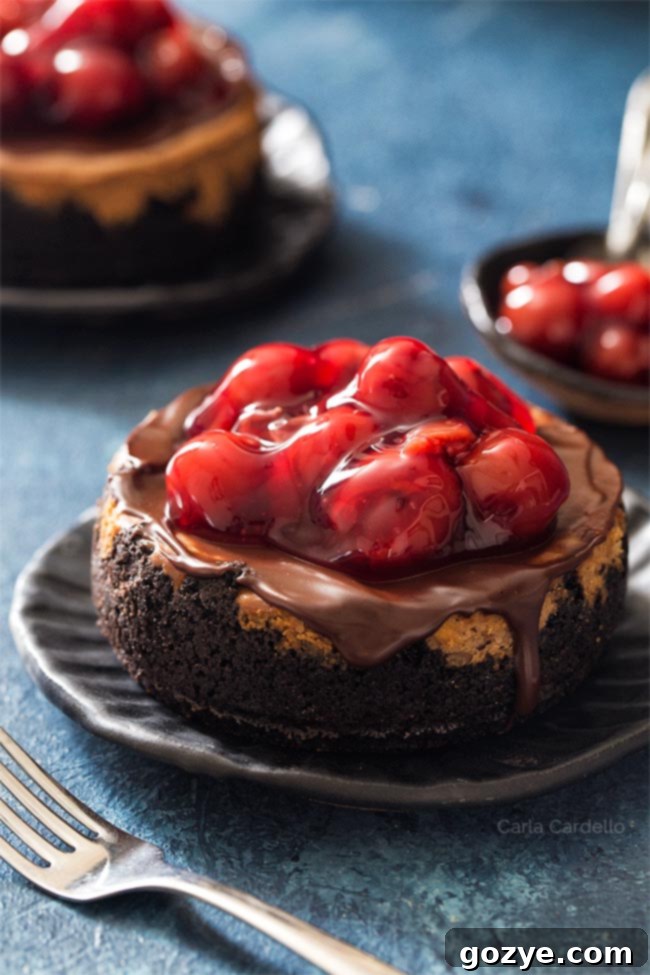
Following up on my beloved 4-inch Classic Cheesecake, it’s only fitting to introduce its decadent cousin: the 4-inch Chocolate Cheesecake. This recipe takes everything you love about a classic cheesecake and infuses it with deep, rich chocolate flavor. These aren’t just any mini cheesecakes; they feature a perfectly balanced Oreo cookie crust, a smooth chocolate glaze, and a generous dollop of sweet cherry pie filling. While cherry is a fantastic choice, feel free to customize your topping with alternatives like a luscious strawberry sauce or a cloud of homemade whipped cream. I happened to have some leftover cherry pie filling, making it a convenient and delicious choice.
These individual chocolate cheesecakes are an exquisite dessert for two, making them ideal for romantic dinners, special occasions, or simply a luxurious personal indulgence. For those who, like me, always choose chocolate over vanilla, this recipe promises an unforgettable experience.
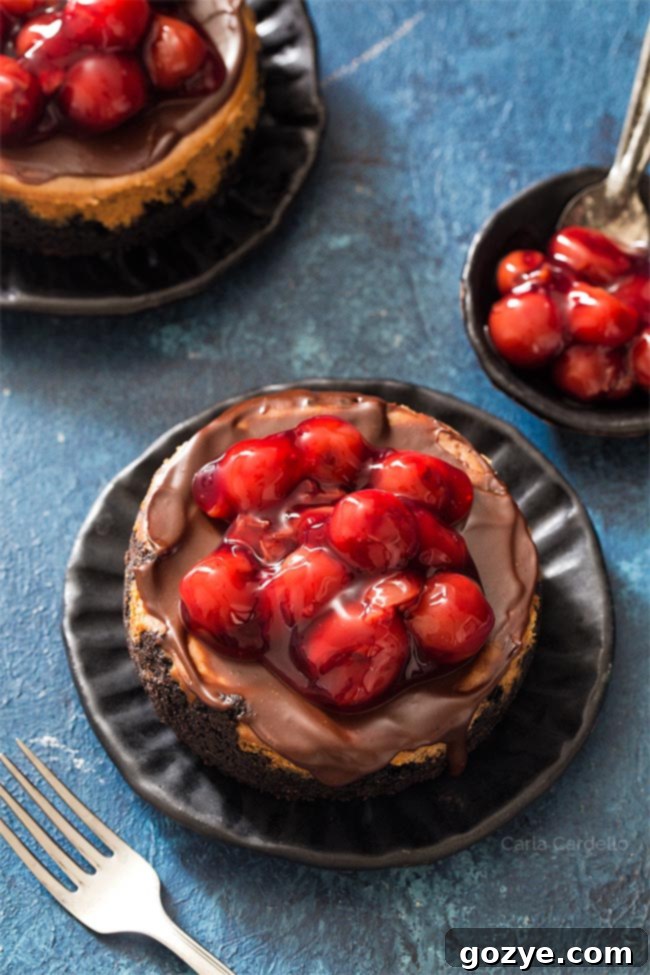
Choosing the Right Pan for Your 4-Inch Cheesecake
For these adorable mini chocolate cheesecakes, a 4-inch springform pan is absolutely essential. Unlike traditional cakes that can be inverted, delicate cheesecakes require a pan with a removable side to ensure easy, clean release without damaging their perfect structure. A springform pan allows you to simply unclip the sides and lift the cheesecake away, preserving its beautiful edges.
Many retailers offer sets of three 4-inch springform pans, which are incredibly convenient since this recipe yields two mini cheesecakes. Having an extra pan or two on hand is always a good idea for future baking adventures!
If you don’t own a 4-inch springform pan, don’t despair! You still have options for baking cheesecake for two. You can prepare these delicious treats in ramekins, bake mini chocolate cheesecakes in a standard muffin pan, or even make small-batch cheesecake bars in a loaf pan. Each method offers a unique presentation while delivering the same great flavor.
How Many Servings from a 4-Inch Cheesecake?
A 4-inch cheesecake is indeed quite small, making it ideal for individual portions. Typically, you can get 1 to 2 servings from each mini cheesecake, depending on appetite. Personally, I find a 4-inch cheesecake to be a perfect single serving. However, given that American portion sizes tend to be quite generous, the official recommendation might lean towards two servings. For a rich dessert like this chocolate cheesecake, a smaller slice can be incredibly satisfying, making it truly a dessert for two to share, or one to enjoy completely!
Crafting a 4-Inch Chocolate Cheesecake from Scratch: The Essentials
Making a delicious chocolate cheesecake from scratch involves a few straightforward, yet crucial, ingredients. Understanding the role of each component will help you achieve the perfect texture and flavor:
- Oreo Cookie Crumbs: The classic choice for a chocolate cheesecake crust. When crushing the cookies, leave the creamy filling in; it acts as a natural binder with the butter, creating a sturdy and flavorful base.
- Butter: Essential for binding the cookie crumbs together, ensuring the crust holds its shape and has a delightful crispness.
- Cream Cheese: The star of any cheesecake! Always opt for full-fat cream cheese. Low-fat or fat-free versions contain more water, which can result in a watery or less stable cheesecake after baking. Ensure it’s at room temperature for a smooth, lump-free batter.
- Granulated Sugar: Provides the necessary sweetness to balance the tanginess of the cream cheese, creating a harmonious flavor profile.
- Eggs: Act as a binder and add richness and structure to the cheesecake batter. Always use large eggs and ensure they are at room temperature to prevent lumps and ensure even mixing.
- Melted Chocolate: The source of that rich chocolate flavor! Use good quality baking chocolate (such as a chocolate bar) rather than chocolate chips, as baking chocolate melts more smoothly and incorporates better into the batter. Semi-sweet chocolate is a popular choice, but for a deeper, more intense flavor, bittersweet chocolate works wonderfully.
- Vanilla Extract: Enhances all the other flavors, adding a warm, aromatic depth to the chocolate and cream cheese.
The process begins by combining the cookie crumbs and melted butter, then pressing this mixture firmly into the bottom and slightly up the sides of your springform pans to form the crust. Next, beat the cream cheese and sugar together until the mixture is incredibly smooth and creamy, scraping down the sides of the bowl frequently to ensure everything is well incorporated.
Gently beat in the egg, being careful not to overmix, as this can incorporate too much air and lead to cracks. Finally, fold in the melted chocolate and vanilla extract, ensuring they are fully combined for a consistent flavor.
Pour the luscious batter into your prepared crusts and bake at 350°F (175°C) for approximately 25-28 minutes, or until the internal temperature reaches 150°F (65°C). This temperature ensures your cheesecake is perfectly set without being overbaked.
Is a Water Bath Necessary for Mini Cheesecakes?
For these 4-inch chocolate cheesecakes, you will be pleased to know that a water bath is not required! Water baths are typically used for larger cheesecakes to create a moist, even baking environment. This helps the center cook at the same rate as the edges, preventing the top from burning or cracking before the middle is fully set.
However, because these mini cheesecakes are so small, their compact size allows for consistent heat distribution. The middle and top bake evenly on their own, eliminating the need for the extra step and potential hassle of a water bath. This makes the baking process simpler and quicker, letting you enjoy your delicious treat even sooner!
How to Tell When Your Cheesecake is Perfectly Baked
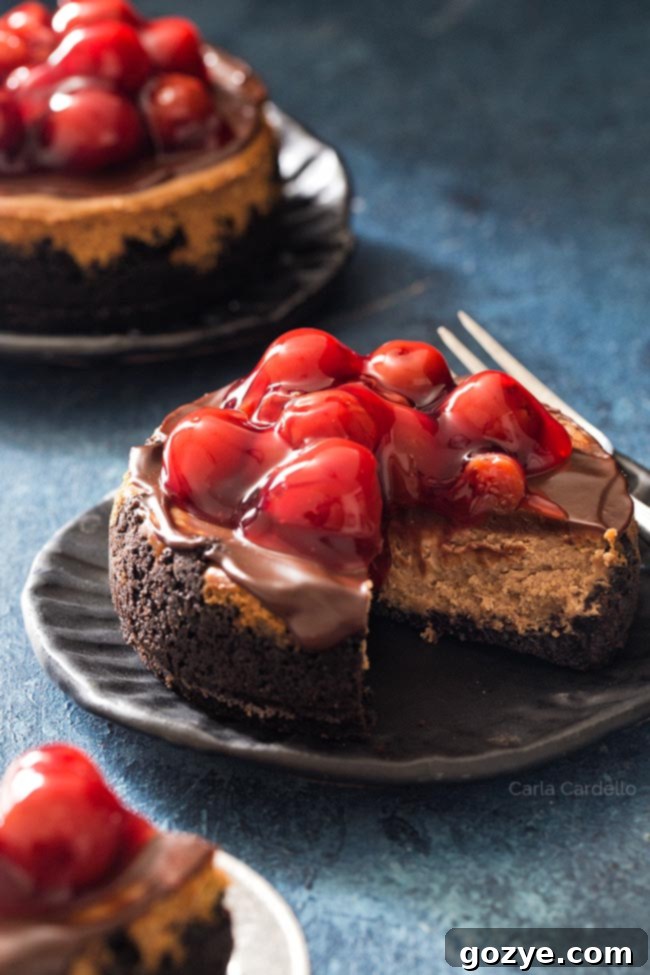
One of the trickiest aspects of cheesecake baking is knowing exactly when it’s done. Unlike a typical cake, cheesecake has a unique texture that can be deceptive. A perfectly baked cheesecake will still have a slight wiggle in the very center, even after it’s fully cooked, because it is essentially a custard. If your cheesecake doesn’t jiggle at all, it’s likely overbaked.
Here are the key indicators to look for:
- Edges: The edges of the cheesecake should appear firm and lightly browned.
- Center Jiggle: The direct middle should still have a slight, gentle jiggle when the pan is gently nudged, resembling a firm Jell-O. It shouldn’t be liquidy, but not completely solid either.
- Internal Temperature: For the most accurate assessment, use a digital thermometer. Insert it into the center of the cheesecake; a fully baked cheesecake should register an internal temperature of 150°F (65°C).
Yes, inserting a thermometer will leave a small hole in your beautiful cheesecake, but this is a minor issue that can be easily covered up with your chosen garnish. It is far better to have a tiny hole and a perfectly baked cheesecake than to risk an underbaked or overbaked one!
Can You Make a Cheesecake for One Person?
Small-batch baking often presents unique challenges, particularly when a recipe calls for an ingredient like an egg that isn’t easily halved. While this recipe yields two 4-inch cheesecakes, it can certainly be scaled down to bake a single cheesecake perfect for one person. To halve the egg, simply use one egg yolk instead of a whole egg. This simple substitution allows you to enjoy a delicious, perfectly portioned cheesecake whenever the craving strikes!
Cheesecake Storage: How Long Does It Last?
Properly stored, cheesecake can remain fresh and delicious for up to 5-7 days when kept in the refrigerator. With mini cheesecakes like these, they are often devoured much quicker, so you might not even need to worry about long-term storage!
Is It Safe to Leave Cheesecake Out Overnight?
No, it is not safe to leave cheesecake out at room temperature overnight. Cheesecake is a perishable dairy product and must be refrigerated. While it’s perfectly fine to let it cool down at room temperature for a few hours after baking, it must then be transferred to the refrigerator to prevent spoilage and bacterial growth. Always store leftover cheesecake in an airtight container in the fridge.
Decorating Your Mini Chocolate Cheesecakes
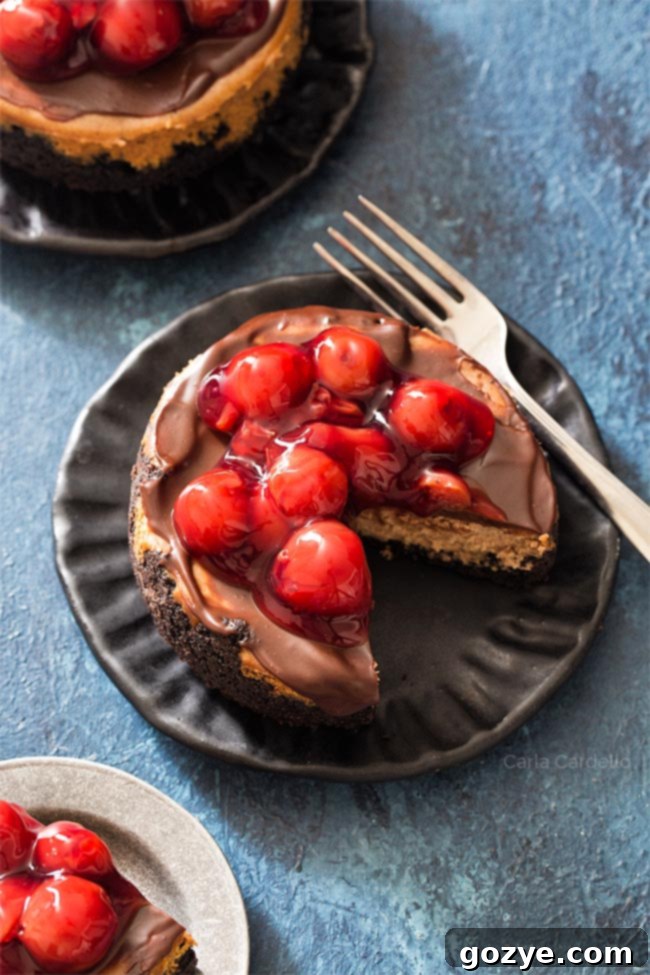
While a plain chocolate cheesecake is undeniably delicious, adding a garnish elevates it to an even more spectacular dessert. Here are some fantastic ideas for decorating your mini chocolate cheesecakes:
- Chocolate Ganache: This is my personal favorite! A simple yet elegant chocolate glaze made from heavy cream and chocolate, ganache offers a silky smooth texture and a rich, intense chocolate flavor that beautifully complements the cheesecake. Learn how to make ganache with detailed step-by-step photos.
- Cherry Pie Filling: As featured in this recipe, cherry pie filling adds a bright, fruity counterpoint to the rich chocolate. Its vibrant color and sweet-tart flavor are always a hit. Try making homemade cherry pie filling for the best results.
- Homemade Strawberry Sauce: Another excellent fruit option, a fresh strawberry sauce brings a lovely sweetness and a touch of tang.
- Chocolate Whipped Cream: For an extra layer of chocolate indulgence, top your cheesecake with a dollop of homemade chocolate whipped cream.
- Vanilla Whipped Cream: A lighter, classic option that allows the chocolate flavor of the cheesecake to truly shine.
- Peanut Butter Whipped Cream: For fans of the chocolate and peanut butter combination, this is a must-try.
- German Chocolate Cake Frosting: If you’re looking for a more elaborate and nutty topping, a small batch of German chocolate cake frosting would be divine.
If you find yourself with leftover cherry pie filling, don’t let it go to waste! I have a list of 10+ delicious Cherry Pie Filling Desserts that you can whip up.
Why Did My Cheesecake Crack? Troubleshooting Common Issues
There’s nothing more disheartening than spending time and effort baking a beautiful cheesecake, only to have it crack! Cracks are a common issue, but understanding their causes can help you prevent them in the future. Here are the main reasons why your cheesecake might crack:
- Overbeating the Batter: While a smooth cheesecake batter is the goal, overbeating introduces too much air. This excess air causes the cheesecake to puff up significantly during baking. As it cools, the trapped air escapes, causing the cheesecake to deflate unevenly and often resulting in cracks.
Solution: Only beat the batter until the ingredients are just combined and smooth. Avoid excessive beating, especially after adding the eggs. Small lumps in the cream cheese are often better than an over-aerated batter. - Overbaking the Cheesecake: It’s tempting to bake until the cheesecake looks completely firm, but overbaking leads to a dry, stiff top layer that is prone to cracking as it cools and contracts.
Solution: Use a digital thermometer to accurately gauge doneness (150°F / 65°C in the center). Rely on the jiggle test rather than baking until completely solid. - Cheesecake Sticking to the Pan: As cheesecake cools, it naturally contracts and shrinks. If the edges are stuck to the springform pan, the center will pull away, creating tension that results in tears and cracks along the sides or top.
Solution: Immediately after removing the cheesecake from the oven, carefully run a thin knife or offset spatula around the edge of the pan to loosen the cheesecake. This allows it to shrink evenly without sticking. - Opening the Oven Door Too Much: Frequent or early opening of the oven door allows heat to escape, causing drastic fluctuations in temperature. This sudden change in temperature can shock the delicate cheesecake, leading to uneven cooling and cracking.
Solution: Resist the urge to peek! Only open the oven door towards the very end of the baking time when you need to check for doneness using the temperature or jiggle test.
Why is My Cheesecake Batter Lumpy?
A lumpy cheesecake batter is often a sign that your ingredients, particularly the cream cheese and eggs, were too cold when you started mixing. Cold ingredients don’t emulsify or blend smoothly, leading to a grainy texture in your final cheesecake.
To ensure a silky-smooth batter:
- Room Temperature Ingredients are Key: Always make sure your cream cheese and eggs are at room temperature. This usually means letting them sit out for at least 1-2 hours, depending on the ambient temperature of your kitchen. They should no longer feel cold to the touch.
- Warming Up Cream Cheese: If your cream cheese is still a bit cold, you can gently microwave it (without the foil wrappers!) in short 5-10 second increments. Stir after each increment until it’s softened and no longer cold. Be extremely careful not to melt it, as melted cream cheese can affect the cheesecake’s texture.
- Warming Up Eggs: Place cold eggs in a bowl of warm (not hot) water for about 15 minutes, or until they reach room temperature.
Sometimes, even with room temperature ingredients, certain brands of cream cheese can contribute to lumpiness. Some brands contain more stabilizers, which can make them harder to achieve a perfectly smooth consistency. Generally, brands with fewer stabilizers result in a smoother cream cheese mixture.
What to Do if Your Cheesecake Batter is Still Lumpy
If, despite your best efforts, your cheesecake batter remains lumpy, unfortunately, no amount of additional beating will likely smooth it out. In fact, overbeating at this stage could introduce too much air and cause cracking. And those lumps certainly won’t magically melt during baking.
Here are a couple of last-resort solutions:
- Use a Blender: You can carefully transfer the lumpy batter to a blender and process it until smooth. Be aware that this method can incorporate a significant amount of air, which might increase the risk of cracking during baking. However, any cracks can usually be hidden with a generous topping.
- Strain the Batter: Another option is to gently press the batter through a fine-mesh strainer. This will remove the lumps, but you might lose some of the batter in the process, and it can be a bit messy. This method also minimizes air incorporation compared to a blender.
Can You Freeze Cheesecake?
Absolutely, cheesecake freezes beautifully! Whether you want to bake ahead for a busy week, prepare desserts for future cravings, or simply enjoy one mini cheesecake now and save the other for later, freezing is a fantastic option.
Here’s how to properly freeze your 4-inch chocolate cheesecake for the best results:
- Ensure Complete Cooling: This is crucial. Your cheesecake must be 100% cooled to room temperature, and then thoroughly chilled in the refrigerator for several hours or overnight, before attempting to freeze it. Freezing a warm cheesecake will lead to condensation and ice crystals.
- Remove from Pan: Once completely chilled, carefully remove the cheesecake from its springform pan (including the bottom).
- Initial Freeze: Place the uncovered cheesecakes on a baking tray or plate and freeze them until they are firm to the touch, which usually takes about 1 hour. This step prevents them from getting squashed or sticking together during wrapping.
- Wrap Properly: Once firm, wrap each cheesecake tightly in plastic wrap. Then, add another layer of protection by wrapping it in aluminum foil or placing it inside a freezer-safe plastic bag. Double-wrapping helps prevent freezer burn.
- Label and Freeze: Label the wrapped cheesecakes with the date. They can be stored in the freezer for up to 1 month for optimal freshness.
How to Thaw Frozen Cheesecake
When you’re ready to enjoy your frozen chocolate cheesecake, thawing it properly ensures it retains its delicious texture. Simply transfer the wrapped cheesecake from the freezer to the refrigerator and let it thaw overnight. Once thawed, you can garnish it as desired and serve. Enjoy!
More Small Cheesecake Recipes
If you love these mini chocolate cheesecakes, be sure to explore my other delightful mini cheesecake recipes designed for two:
- Classic 4-Inch Cheesecake
- 4-Inch Funfetti Cheesecakes
- 6-Inch Cheesecake Recipe
- Chocolate Cheesecake with Oreo Crust (6-inch)
- Peanut Butter Cheesecake
- Red Velvet Oreo Cheesecake
- Air Fryer Cheesecake
4 Inch Chocolate Cheesecake
2 mini cheesecakes
20 minutes
25 minutes
5 hours
5 hours 45 minutes
Looking to bake cheesecake for two? This 4 Inch Chocolate Cheesecake recipe makes two mini cheesecakes in springform pans.
Ingredients
- 1 ounce semisweet chocolate, chopped
- 1 cup Oreo cookie crumbs (leave filling in cookies)
- 2 tablespoons unsalted butter, melted
- 8 ounces (1 block or 8 tablespoons) full-fat cream cheese, room temperature and not cold to the touch (do not substitute fat-free)
- 1/3 cup granulated sugar
- 1 large egg, room temperature and not cold to the touch
- 1 teaspoon vanilla extract
Garnish Ideas (Pick One)
- Ganache
- Strawberry Sauce
- Cherry Pie Filling
- Chocolate Whipped Cream
- Vanilla Whipped Cream
- Peanut Butter Whipped Cream
- German Chocolate Cake Frosting
Instructions
- Preheat oven to 350°F (175°C). Wrap the outside of two 4-inch springform pans with foil*.
- In a large microwave-safe bowl, add the chopped chocolate. Microwave for 30 seconds, then stir. Repeat in 15-second increments, stirring after each, until the chocolate is completely smooth. Allow to cool for 15 minutes. Alternatively, melt the chocolate in a heatproof bowl set over a saucepan of simmering water (ensuring the bottom of the bowl does not touch the water). Stir until smooth, then remove from heat and cool for 15 minutes.
- In a large bowl, mix together the Oreo cookie crumbs and melted butter until well combined. Press this mixture firmly into the bottom and slightly up the sides of both prepared springform pans to form an even crust.
- In a separate large mixing bowl, beat together the room temperature cream cheese and granulated sugar until the mixture is light, fluffy, and super smooth, about 2-3 minutes. Scrape down the sides of the bowl as needed to ensure even mixing.
- Beat in the room temperature egg until just smooth, about 1 minute. Be careful not to overbeat the batter at this stage. Then, beat in the cooled melted chocolate and vanilla extract until fully incorporated.
- Carefully transfer the cheesecake batter evenly into the two prepared crusts. Bake for 25-28 minutes, or until the edges are set and lightly browned, the center still has a slight jiggle, and the internal temperature reaches 150°F (65°C).
- Remove the cheesecakes from the oven. Immediately and carefully run a thin knife along the inside edge of each pan to loosen the cheesecake from the sides. This helps prevent cracking as the cheesecake cools. Let the cheesecakes cool completely at room temperature for 1 hour.
- Once cooled, cover the cheesecakes and refrigerate them for at least 4 hours, or preferably overnight, to allow them to fully set. After chilling, garnish and serve as desired. Store any leftovers in an airtight container in the refrigerator for up to 5-7 days.
For the Ganache Garnish:
- Add your chosen amount of chopped chocolate (e.g., 2 oz for two cheesecakes) to a heatproof bowl.
- In a small saucepan, heat heavy cream (e.g., 2 oz for two cheesecakes) until it is hot but not boiling, just simmering around the edges. Pour the hot cream over the chocolate and let it sit undisturbed for 1 minute. Stir gently until the mixture is completely smooth and glossy. If the chocolate isn’t fully melting, place the bowl over a pan of simmering water (again, do not let the bottom touch the water) and continue stirring until smooth. Alternatively, for very small amounts, you can use a microwave in short bursts.
- Once the cheesecakes are chilled and ready, remove the pan sides. Immediately pour the warm chocolate ganache evenly over the top of each cheesecake and spread gently to coat. Refrigerate for another 15 minutes, or until the ganache has set, before serving.
Notes
*To make only one cheesecake, halve the recipe and use 1 egg yolk instead of a whole egg.
Enjoyed this recipe? Be sure to check out my other Cheesecake Recipes for Two.
Want to bake this in a different pan? Explore my mini chocolate cheesecakes (muffin pan) and 6-inch chocolate cheesecake recipes.
Recommended Products
As an Amazon Associate and member of other affiliate programs, I earn from qualifying purchases.
- 4 Inch Springform Pan Set
Did you make this recipe?
Let me know what you think! Rate the recipe above, leave a comment below, and/or share a photo on Instagram using #HITKrecipes
