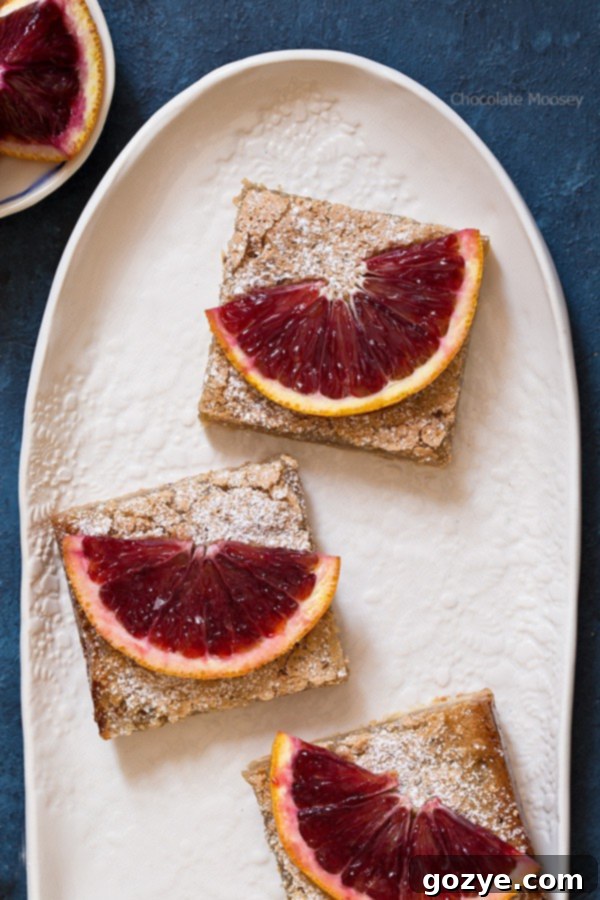
Irresistible Small Batch Blood Orange Bars: A Seasonal Citrus Delight
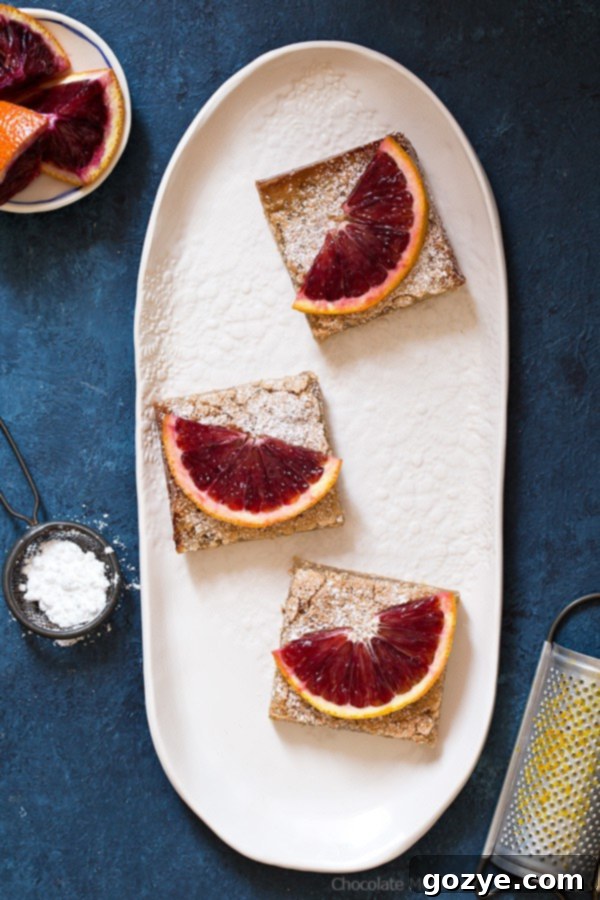
As the winter chill begins to fade and the days slowly lengthen, a vibrant ray of sunshine appears in our produce aisles: the captivating blood orange. These Small Batch Blood Orange Bars, baked conveniently in a loaf pan, are a sophisticated and utterly delicious twist on the beloved classic lemon bars. They boast a melt-in-your-mouth buttery shortbread crust that provides the perfect foundation for a luscious, creamy orange filling. Don’t let the fleeting blood orange season pass you by without experiencing this delightful dessert!
My Unexpected Love Affair with Citrus
My relationship with citrus fruits has always been a bit of a curious journey. While I appreciate the zest and juice of navel oranges in cooking and baking, I’m not typically one to snack on them straight. Clementines, however, are a different story – their easy-to-peel nature and sweet segments make them an irresistible quick bite. And then there’s lemon, undeniably one of my all-time favorite flavors, bringing brightness to everything from desserts to savory dishes. Limes often feel a bit “eh” to me, and I’m certainly not a fan of lemon-lime soda. Grapefruit, on the other hand, finds a special place on my breakfast table during its peak season. But once I catch a glimpse of those stunning blood oranges? That’s when my enthusiasm truly ignites.
What makes blood oranges so uniquely special? They offer a fascinating flavor profile that sets them apart from their common orange cousins. Slightly more bitter, yet often less acidic than a standard orange, they also possess a distinct sweetness with an intriguing hint of raspberry. This complex flavor, combined with their striking internal color, makes them a culinary treasure. Their season typically spans from December to May, though the exact timing depends on the specific variety you’re seeking. The particular kind I favor, the Moro, is usually only available until March, so you can bet that when blood oranges first appear in stores, I make sure to stock up!
The Magic of Blood Orange Bars: A Twist on Tradition
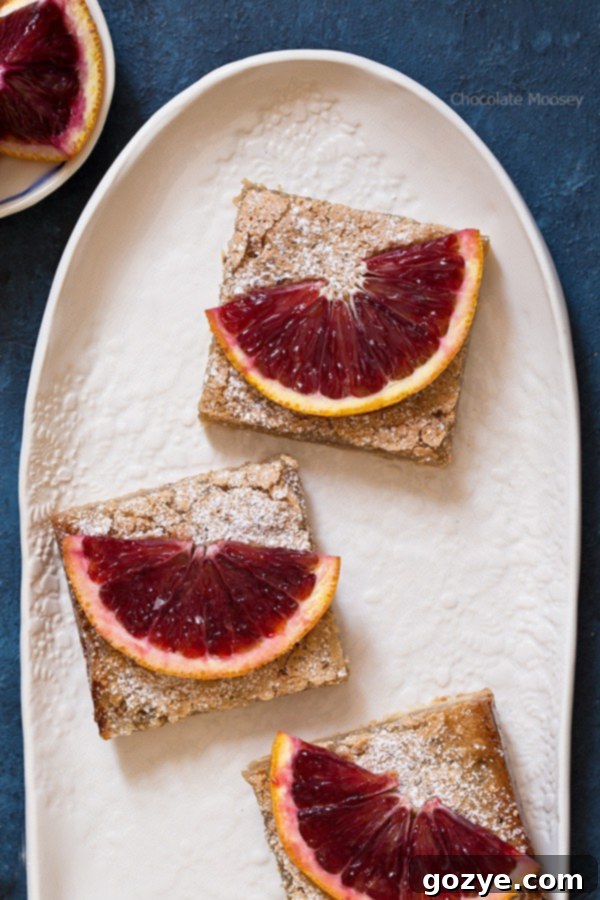
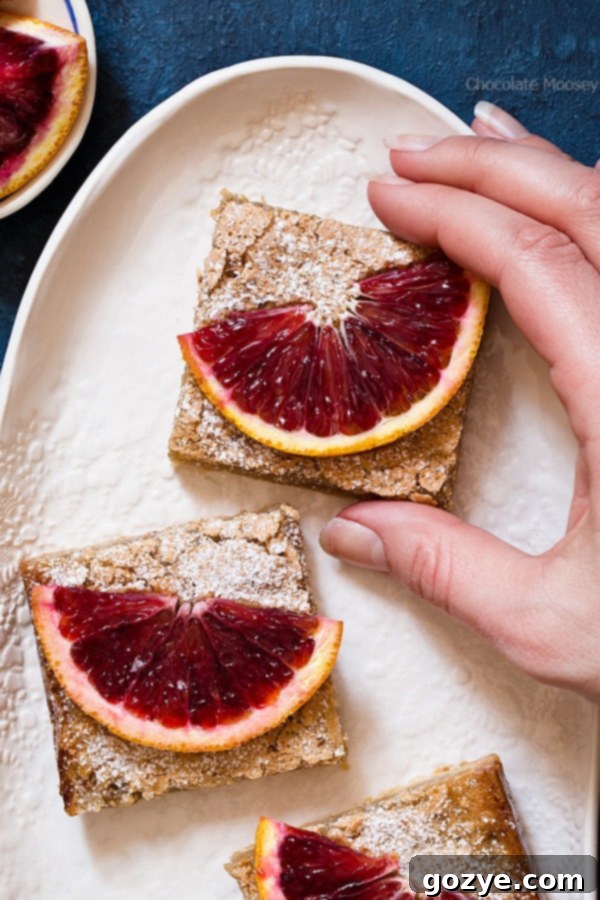
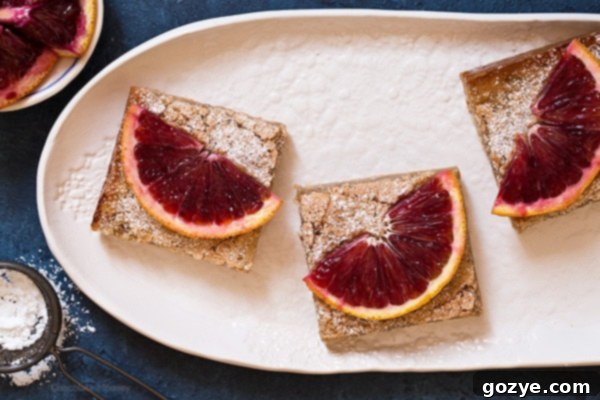
Beyond simply enjoying them as a snack, I absolutely adore baking with blood oranges. These Blood Orange Bars are a prime example of their versatility and how they can elevate a classic dessert. They take inspiration from the much-loved lemon bar, but with a vibrant, seasonal twist. Each bar features a wonderfully tender, melt-in-your-mouth buttery crust that crumbles delicately with every bite. Nestled atop this perfect base is a soft, jelly-like orange filling that bursts with the unique flavor of blood oranges. As a charming characteristic, the top of the filling often develops natural, beautiful cracks when cut, lending these bars a delightful, rustic appearance. For an elegant finish, they are traditionally dusted with a delicate veil of powdered sugar, enhancing their visual appeal.
It’s worth noting a common observation: the vibrant red hue of the blood orange juice does tend to mellow and bake off during the cooking process. While the bars may not retain that deep ruby red color you see in the raw fruit, I can unequivocally promise you that they are still packed full of an incredibly rich and nuanced flavor. The essence of the blood orange shines through beautifully, making these bars an unforgettable treat.
A Bahamian Discovery: My First Blood Orange Encounter
My very first introduction to the exquisite blood orange was during a college trip to the Bahamas. I was enrolled in an oceanography class, which, believe it or not, led me to a geological expedition on a rather remote island. This island was home to probably no more than a thousand residents, and our department was deeply involved in research. My role, I suppose, was to “help” – mostly by carrying equipment and observing. During one of our hikes across the island, we stumbled upon several blood orange trees. Naturally, we stopped to sample the local bounty. I remember being intrigued by the unusual color, but I didn’t truly appreciate them until several months later, when I spotted them again during my inaugural visit to Whole Foods. That’s when the memory of that unique flavor clicked, and my fascination truly began.
Understanding Blood Orange Varieties: The Moro Experience
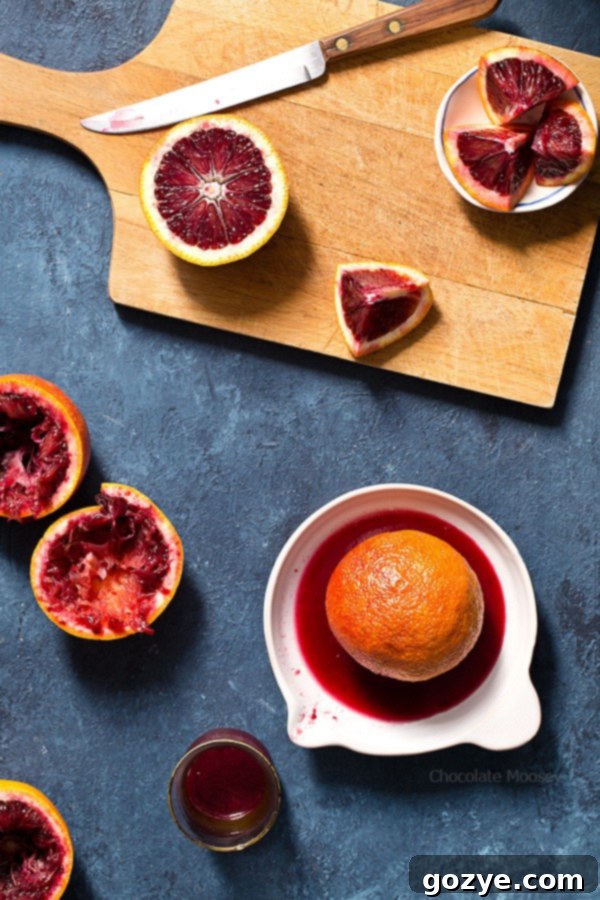
There isn’t just one type of blood orange; several varieties offer different nuances in color, flavor, and availability. The deep red, almost burgundy color that most people associate with blood oranges is characteristic of the Moro variety. These are typically available from December to March, making them a winter delight. Moro blood oranges usually feature a reddish-orange peel, though this isn’t always a foolproof indicator. Because they are often imported, especially in regions where they aren’t grown locally, it’s wise to look for a “Moro” sticker on the fruit. This label helps ensure that you’re getting the ruby-red interior you desire. Other varieties, such as Tarocco and Sanguinello, also offer a fantastic taste but might have a less intense or more mottled red color inside. While equally delicious, for that iconic deep red hue, Moro is your best bet.
A Word of Caution: The Messy Beauty of Blood Oranges
A friendly word of warning for those new to blood oranges: they can be quite messy! The moment you begin slicing and juicing them, prepare for a burst of vibrant red liquid. The rich anthocyanin pigments that give blood oranges their distinctive color can also stain. You might find your kitchen countertop resembling a crime scene – albeit a delicious one! To protect your clothes, wearing an apron is highly recommended. And don’t expect your hands to remain pristine; the juice has a knack for getting everywhere. The key to minimizing potential stains is to wipe up any spills immediately while the juice is still wet. A quick clean-up will save you from any lingering red marks on your surfaces.
Mastering Your Small Batch Blood Orange Bars: Tips for Success
Creating these delightful blood orange bars is a straightforward process, but a few key tips can ensure your success and elevate the final product. From selecting the right ingredients to mastering the baking technique, these insights will help you achieve perfect bars every time.
Choosing the Best Blood Oranges
- **Peak Season:** As mentioned, aim for Moro varieties from December to March for the most vibrant color and classic flavor.
- **Feel and Weight:** Select oranges that feel heavy for their size, indicating juiciness. They should also be firm with no soft spots.
- **Zest and Juice:** You’ll need both for this recipe. One to two medium blood oranges should yield enough juice and zest for the filling.
Perfecting the Crust
- **Cold Butter is Key:** For a truly melt-in-your-mouth, flaky shortbread crust, ensure your butter is very cold. This prevents it from fully incorporating into the flour too quickly, creating pockets that steam during baking and result in a tender texture.
- **Food Processor vs. By Hand:** A food processor makes quick work of cutting the butter into the flour, yielding a fine, powdery mixture. If you don’t have one, use a pastry blender or your fingertips, working quickly to avoid warming the butter.
- **Don’t Overwork:** Overworking the dough can lead to a tough crust. Pulse just until the mixture resembles coarse meal.
- **Even Pressing:** Press the mixture firmly and evenly into the loaf pan. This ensures a consistent thickness and prevents the filling from seeping underneath.
Crafting the Creamy Filling
- **Room Temperature Eggs:** Using room temperature eggs helps them combine more smoothly and evenly with the sugar, resulting in a silkier, more uniform filling.
- **Gentle Whisking:** When whisking the eggs and sugar, aim for combining rather than incorporating too much air. Excess air can cause the filling to puff up excessively in the oven and then deflate.
- **Fresh Juice and Zest:** Always use freshly squeezed blood orange juice and freshly zested peel for the best, brightest flavor. Bottled juice simply won’t compare.
Baking and Cooling
- **Parchment Paper Slings:** Lining your loaf pan with parchment paper, leaving an overhang on the sides, is crucial for easy removal of the bars once baked. Don’t skip this step!
- **Doneness Test:** The crust should be golden brown at the edges. For the filling, it should be set and mostly firm when gently touched, with a slight wiggle in the center. It will continue to set as it cools.
- **Cooling and Chilling:** Allowing the bars to cool completely in the pan, then on a wire rack to room temperature, is important. But the real magic happens in the refrigerator. Chilling for at least 2 hours, or even overnight, allows the filling to fully firm up, making the bars easier to cut into clean squares and enhancing their overall texture.
Serving and Storage
- **Dusting:** A final dusting of powdered sugar just before serving adds a beautiful aesthetic touch and a hint of extra sweetness.
- **Storage:** Store blood orange bars in an airtight container in the refrigerator for up to 3-4 days. They are best served chilled.
- **Make Ahead:** These bars are excellent for making ahead, as they require chilling. Prepare them a day in advance for effortless entertaining or a planned treat.
Small Batch Blood Orange Bars
8 squares
30 minutes
50 minutes
2 hours
3 hours 20 minutes
These Small Batch Blood Orange Bars, baked in a loaf pan, offer a delightful twist on traditional lemon bars. They feature a buttery, melt-in-your-mouth crust perfectly complemented by a creamy, tangy blood orange filling – a truly irresistible seasonal treat.
Ingredients
For the Crust:
- 3/4 cup all-purpose flour
- 1/4 cup powdered sugar
- 1/4 teaspoon salt
- 6 tablespoons cold unsalted butter, cut into 6 pieces
For the Orange Filling:
- 1 whole egg, room temperature
- 1 egg yolk, room temperature
- 1/2 cup granulated sugar
- 1 tablespoon powdered sugar plus more for dusting
- 1 tablespoon all-purpose flour
- 1/4 teaspoon baking powder
- 1 teaspoon blood orange zest
- 3 tablespoons freshly squeezed blood orange juice (from 1-2 oranges)
Instructions
- Preheat your oven to 350°F (175°C). Lightly grease a 9×5-inch loaf pan, then line it with parchment paper, leaving an overhang on the long sides to easily lift the bars later.
- In the bowl of a large food processor, combine the all-purpose flour, 1/4 cup powdered sugar, and salt. Add the cold, cubed unsalted butter. Pulse the mixture until the butter is finely cut into the flour, resembling dry, powdery crumbs. Be careful not to over-process; resist the urge to add any liquid.
- Transfer the crumbly mixture to the prepared loaf pan and press it evenly and firmly into the bottom. Bake for 20-25 minutes, or until the edges are beautifully golden brown.
- While the crust is baking, prepare the filling: In a large bowl, whisk together the room temperature whole egg, egg yolk, granulated sugar, and 1 tablespoon powdered sugar until the sugars dissolve and the mixture appears pale yellow and smooth. Try to avoid whisking in too much air. Gently whisk in the 1 tablespoon all-purpose flour and baking powder, then stir in the fresh blood orange zest and juice until just combined.
- Once the crust has finished baking, reduce the oven temperature to 325°F (160°C). Immediately pour the prepared blood orange filling over the hot crust. Carefully return the pan to the oven and bake for another 20-25 minutes, or until the filling is set and the top is lightly golden brown. The center may have a slight wiggle, but the top should feel solid when gently touched.
- Allow the bars to cool in the pan for 30 minutes. Then, using the parchment paper overhang, carefully lift the bars out of the pan and transfer them to a wire rack to cool completely to room temperature.
- Once fully cooled, dust the blood orange bars generously with additional powdered sugar. For the best texture and clean cuts, refrigerate for at least 2 hours (preferably longer, even overnight) before slicing into squares. Enjoy your homemade seasonal treat!
Recommended Products
As an Amazon Associate and member of other affiliate programs, I earn from qualifying purchases.
- 9×5 Loaf Pan
Did you make this recipe?
Let me know what you think! Rate the recipe above, leave a comment below, and/or share a photo on Instagram using #HITKrecipes
Source: Adapted from Betty Crocker
Photos and recipe updated 2/15/17
