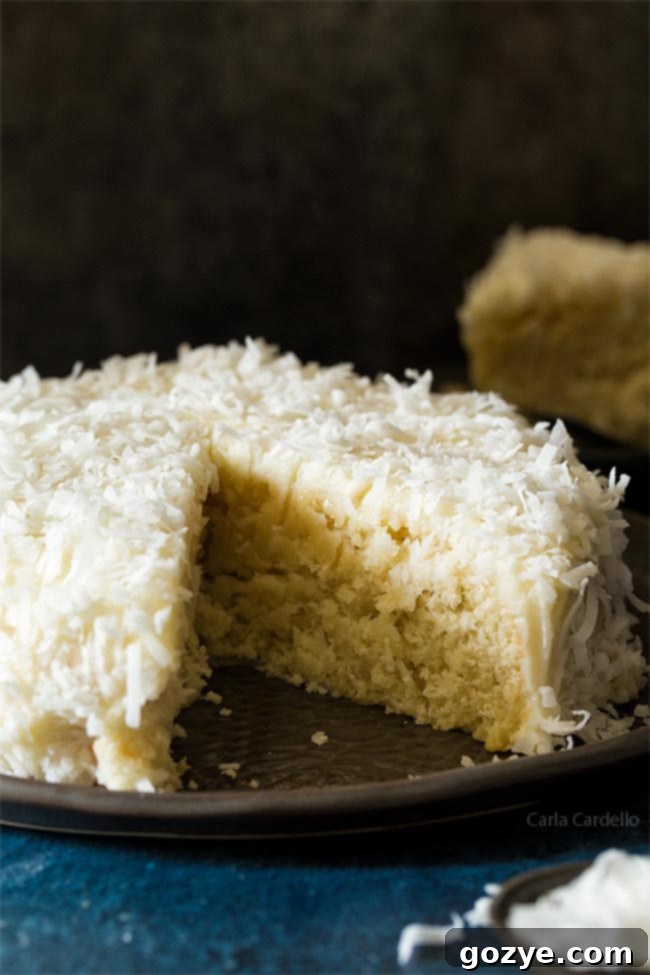
Delicious 6-Inch Small Coconut Cake Recipe: Perfect for Two, Made from Scratch
Indulge in the heavenly taste of a moist and flavorful coconut cake, perfectly sized for two! This exquisite 6-inch Small Coconut Cake recipe is made entirely from scratch, featuring the rich essence of coconut milk and extract, crowned with a homemade, creamy coconut frosting. It’s the ideal dessert for a special occasion or simply to treat yourself and a loved one.
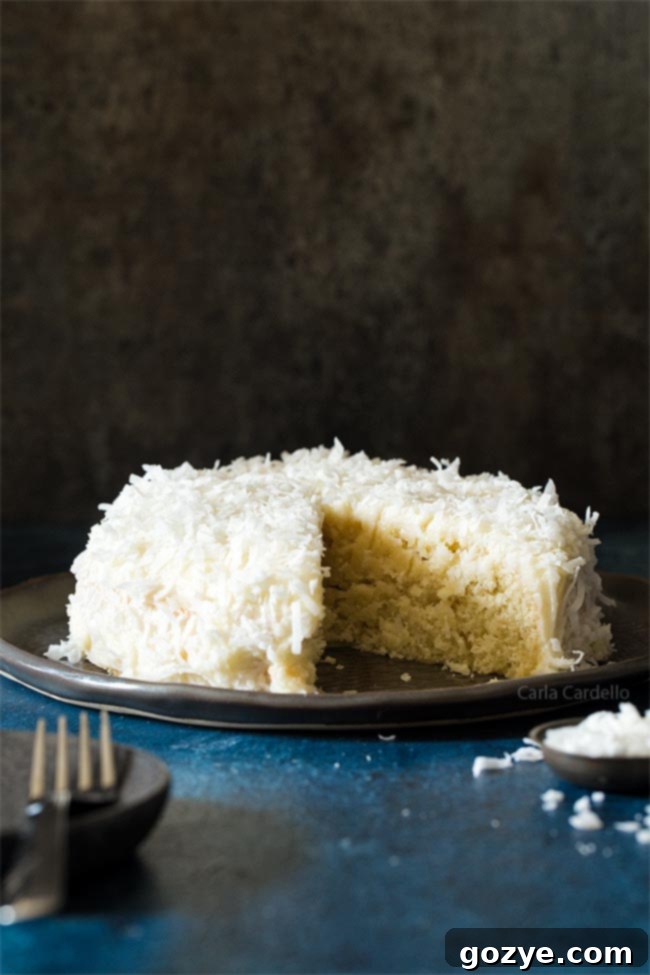
Baking can be a wonderful escape, even when life gets busy. For the past two months, I’ve been deeply immersed in a demanding client project, which unfortunately meant less time for my beloved blog. However, amidst the flurry of deadlines, I found solace in the kitchen, dedicating moments to perfect this incredible Small Coconut Cake recipe. It wasn’t just a distraction; it became a personal mission to craft the ultimate coconut dessert, rigorously testing it three times to ensure every detail was just right.
The inspiration for this delightful creation came from a very special request: my dad’s birthday. A true coconut enthusiast, he annually asks for a coconut-flavored treat to celebrate his special day. While he often opts for coconut pie, this year, his heart was set on a cake. The challenge? I didn’t want to bake a massive cake, as it was primarily for a small family celebration. So, I took a beloved base recipe, meticulously scaled it down, and transformed it into this exquisite Small Coconut Cake Recipe. Fun fact: the batter for this cake is the very same one I use for my popular coconut cupcakes, guaranteeing a consistent, delicious result every time.
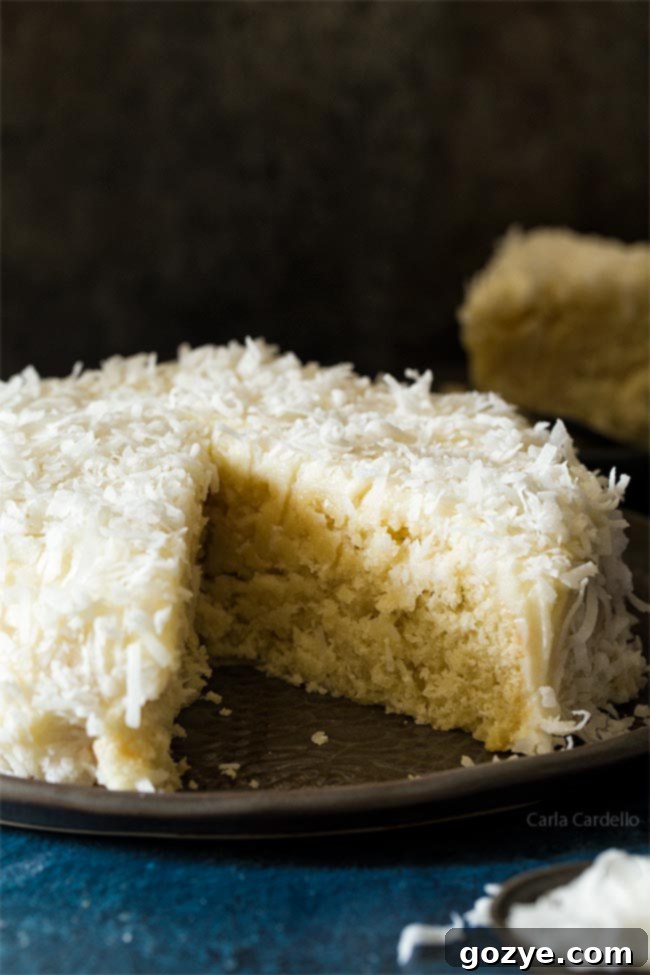
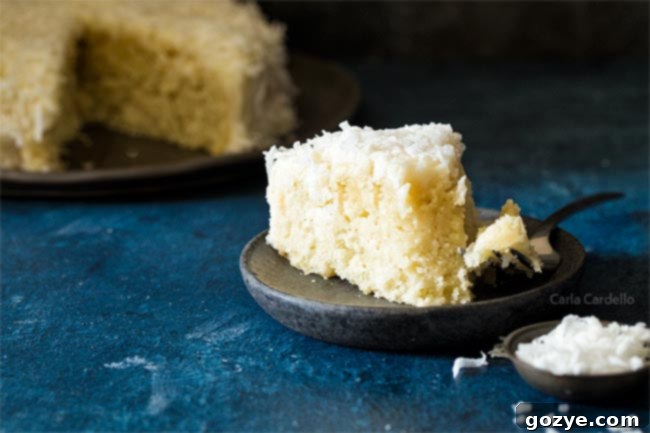
This isn’t just any coconut cake; it’s a celebration of coconut in its finest forms. Crafted as a perfect 6-inch cake, it’s infused with the deep, creamy flavor of full-fat canned coconut milk, boasts textural intrigue from finely shredded coconut woven throughout the batter, and is elevated with a hint of pure coconut extract. This trifecta of coconut ingredients ensures an intensely satisfying and authentic flavor experience in every bite. To complete this masterpiece, I adorned it with a luscious, homemade coconut frosting and a sprinkle of additional shredded coconut, creating a truly irresistible dessert that looks as good as it tastes.
Understanding Canned Coconut Milk: Your Key Ingredient
Before we dive into the delightful details of baking this cake, let’s talk about one of its most crucial ingredients: canned coconut milk. This isn’t just any milk; it’s a rich, creamy, and flavorful component that sets this coconut cake apart. When you’re at the grocery store, you’ll typically find it in the Asian food aisle, though it might also appear in the Mexican or baking sections, depending on your store’s layout.
It’s vital to choose the right kind. Look specifically for a label that states “coconut milk.” Do not confuse it with “cream of coconut,” which is often sweetened and used for cocktails, or “coconut water,” which is a thin, hydrating beverage. Furthermore, always opt for the full-fat version, not “lite” or “reduced-fat.” The higher fat content in regular canned coconut milk is essential for the cake’s richness, moisture, and overall texture. The “lite” versions simply won’t provide the same luxurious mouthfeel or robust flavor that this recipe requires.
It’s also important to distinguish canned coconut milk from the coconut milk found in the dairy aisle, often sold in cartons. These carton versions are typically much thinner, designed as a dairy milk alternative for drinking, and will not yield the same results in baking. They lack the necessary fat and consistency for a moist, tender cake.
Once you’ve got your can of full-fat coconut milk, proper preparation is key. Upon opening, you’ll usually notice a thick, solid layer of coconut cream at the top, with the thinner liquid underneath. For baking, these two components need to be uniformly combined. You can either give the sealed can a very vigorous shake before opening, or, for best results, scoop the contents into a large bowl or measuring cup and whisk or stir it thoroughly until it transforms into a smooth, homogenous, and pourable liquid, much like regular dairy milk. This ensures an even distribution of fat and flavor throughout your cake batter, guaranteeing a perfect texture.
Creative Uses for Leftover Coconut Milk
It’s quite common to have a bit of canned coconut milk leftover after making your delicious 6-inch coconut cake, and you certainly don’t want to waste a drop of this versatile ingredient! The good news is that leftover coconut milk can be a fantastic addition to a variety of other recipes, adding a creamy texture and subtle tropical flavor. Beyond just baking, it’s wonderful in both sweet and savory dishes.
For more inspiration, explore my collection of recipes using coconut milk. You can whip up a comforting toasted coconut hot chocolate for a cozy evening, or start your day with light and fluffy dairy-free coconut milk pancakes. On warmer days, refreshing coconut popsicles are always a hit. From curries and soups to smoothies and other baked goods, the possibilities are endless for making the most of your remaining coconut milk.
Demystifying Coconut Extract: A Flavor Powerhouse
Another unsung hero in achieving that vibrant, unmistakable coconut flavor in both this cake and its frosting is coconut extract. If you’re wondering what it is exactly, think of it as the essence of coconut concentrated into a liquid form. It’s quite similar in concept to making homemade vanilla extract, but instead of soaking vanilla beans, coconut meat is steeped in an alcohol base. This process extracts and intensifies the natural flavors of coconut, creating a potent liquid that can dramatically boost the taste profile of your recipes.
The beauty of coconut extract lies in its ability to deliver a powerful punch of coconut flavor without altering the texture or consistency of your batter or frosting. While shredded coconut provides texture and a mild flavor, and coconut milk contributes creaminess and a foundational taste, the extract acts as a concentrated flavor enhancer, ensuring that the delicious coconut notes truly shine through, even after the baking process.
The Indispensable Role of Coconut Extract in Baking
I completely understand the hesitation. The last thing any home baker wants is to purchase a specialty ingredient only to have it sit in the pantry, unused after a single recipe. However, in the realm of coconut desserts, coconut extract is truly an invaluable secret weapon. The natural coconut flavor from canned coconut milk, while present, can be quite subtle, especially once it undergoes the heat of baking. This is where the extract becomes essential; it amplifies that delicate flavor, transforming it into a bold, undeniable coconut experience.
When it comes to achieving an authentic and pronounced coconut flavor, there really isn’t a direct substitute for coconut extract. Without it, your cake might still be delicious, but it won’t have that deep, aromatic coconut profile that makes this recipe so special. It’s the ingredient that ensures your cake truly tastes like a coconut celebration.
And for those concerned about single-use ingredients, rest assured, coconut extract is more versatile than you might think! I have a whole collection of recipes using coconut extract, showcasing its ability to elevate various treats. From my chewy coconut lime meltaway cookie bars to rich double chocolate coconut cookies, you’ll find plenty of opportunities to use up that bottle and infuse your baking with wonderful tropical notes.
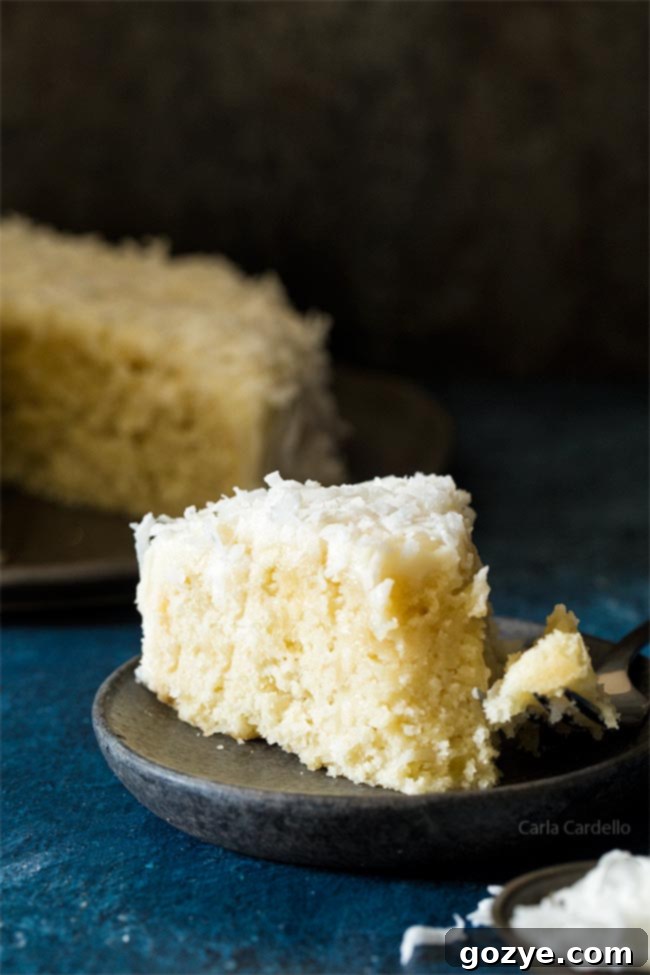
The Essential Tool: Your 6-Inch Round Cake Pan
To successfully create this perfectly portioned small coconut cake, an essential piece of equipment is a 6-inch round cake pan (affiliate link). This specific size is what makes this recipe ideal for two, yielding a compact yet elegant dessert without excess leftovers. Using a larger pan would mean adjusting the recipe significantly or ending up with a very thin cake. Investing in a 6-inch pan opens up a world of possibilities for small-batch baking, perfect for intimate gatherings, smaller households, or when you simply want a reasonable serving size of a decadent treat.
If you’re having trouble locating one, don’t despair! Many well-stocked kitchenware stores, craft stores with a baking section, or online retailers will carry them. They are a staple for any baker looking to master the art of smaller cakes and layered desserts. This pan will be a valuable addition to your baking arsenal, used for many other delightful creations beyond this coconut cake.
Mastering Your From-Scratch Coconut Cake: Step-by-Step
Baking a cake from scratch can seem daunting, but this small coconut cake recipe is surprisingly straightforward, yielding incredibly satisfying results. Like many classic cake recipes, you’ll begin by creaming together the fat and sugar until the mixture is light, fluffy, and pale. This crucial step incorporates air, which contributes to the cake’s tender crumb. Next, the egg and both coconut and vanilla extracts are beaten in, adding richness and layers of flavor, while binding the ingredients together.
The method for combining the dry ingredients with the coconut milk is particularly important for achieving the perfect cake texture. Rather than adding all the wet or dry ingredients at once, we use an alternating method. This involves adding the dry ingredients (flour, cornstarch, baking powder, and salt) in three additions, separated by two additions of the prepared coconut milk. It’s vital to begin and end with the dry ingredients. Adding the milk all at once can overwhelm the batter, leading to a broken emulsion and a less stable mixture. Conversely, dumping all the dry ingredients in at once can thicken the batter excessively and lead to overmixing, which develops too much gluten, resulting in a tough, chewy cake rather than a tender one.
By carefully alternating the additions and mixing just until combined after each addition, you maintain a balanced batter consistency and prevent overworking the gluten. Finally, fold in the shredded coconut for added texture and flavor. Once your beautifully prepared batter is ready, gently transfer it to your greased and parchment-lined 6-inch round cake pan. Bake until a toothpick inserted into the center comes out with only a few moist crumbs, indicating a perfectly baked, moist interior. Allow it to cool properly before frosting to prevent the frosting from melting and sliding off.
To Toast or Not To Toast: Your Coconut Preference
During the development of this cake, a significant debate brewed in my kitchen: should I toast the shredded coconut? It’s a valid question, as toasting coconut undoubtedly brings out a deeper, more intensified nutty flavor and a beautiful golden-brown color, adding an extra layer of complexity to any dish. In many of my recipes featuring coconut, I would almost certainly opt for toasting it to enhance its aromatic qualities.
However, for this specific small coconut cake, my vision was for a pristine, white cake with a clean, bright coconut flavor profile, complemented by the delicate appearance of un-toasted coconut. I wanted the pure, sweet essence of coconut to shine through without the added warmth of a toasted note.
Ultimately, the decision is entirely up to your personal preference! If you adore that deeper, nutty toasted flavor, it’s incredibly easy to achieve. Simply spread your shredded coconut in a single, even layer on a baking sheet. Bake it in a preheated oven at 350°F (175°C) for approximately 5-10 minutes, keeping a very close eye on it, as coconut can go from perfectly golden to burnt in a matter of seconds. Stir it occasionally to ensure even toasting, and remove it from the oven as soon as it reaches your desired golden hue. Whether toasted or natural, the shredded coconut will add a lovely texture and flavor to your cake.
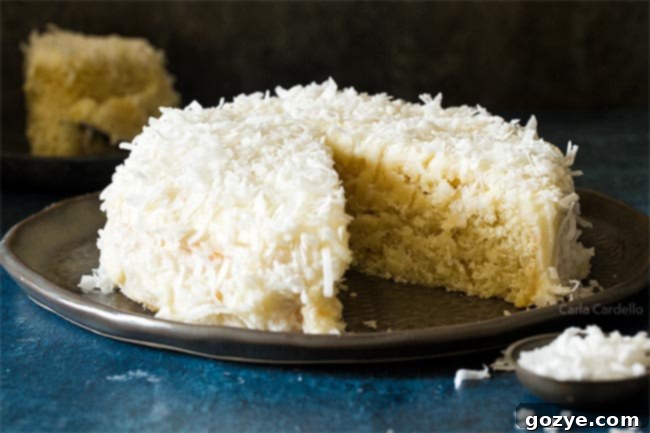
Storing Your Coconut Cake: To Refrigerate or Not?
A common question I receive about this and other frosted cakes is whether refrigeration is necessary. When it comes to this particular coconut cake, because its homemade frosting contains a substantial amount of powdered sugar, it acts as a natural preservative. This means it is generally safe to store the cake at room temperature for a good 2-3 days, provided your kitchen isn’t excessively warm. The sugar content helps to stabilize the frosting and inhibit bacterial growth, making it a perfectly viable option for short-term storage.
However, the butter in the frosting does have a melting point. If your kitchen or ambient temperature is quite warm, especially during summer months, the frosting can become too soft, potentially melting and sliding off the cake. In such cases, refrigeration is advisable to maintain the cake’s structural integrity and aesthetic appeal. In cooler seasons, I confidently leave my cakes on the counter, but once the temperatures rise, into the fridge they go! If you do refrigerate, remember to bring the cake back to room temperature for about 30 minutes to an hour before serving, as this allows the cake and frosting to soften to their ideal texture and flavor.
Choosing the Perfect Frosting for Your Coconut Cake
What could possibly be a better companion for a luscious coconut cake than a rich and creamy coconut frosting? For this very cake, I developed and published my dedicated small batch coconut frosting recipe. It’s meticulously formulated to yield just enough frosting to beautifully cover a 6-inch cake, ensuring no precious leftovers go to waste and providing the perfect finishing touch with its intensified coconut flavor.
However, if you’re feeling adventurous and wish to explore different flavor combinations, this versatile coconut cake base pairs wonderfully with a variety of frostings. For a delightful citrusy twist, consider my lemon buttercream frosting, creating a bright and zesty lemon coconut cake. If you’re a fan of berries, either a tangy strawberry cream cheese frosting or a sweet strawberry buttercream would transform it into a fantastic strawberry coconut cake. For another berry option, my raspberry cream cheese frosting offers a lovely balance of tartness and creaminess. The possibilities are truly endless, allowing you to customize your cake to suit any craving or occasion. For a comprehensive guide to all my small-batch frosting options, I’ve compiled a full list of my small batch frosting recipes, ensuring you’ll find the perfect match for any small cake creation.
Explore More Small Cake Recipes
If you’ve fallen in love with the charm and convenience of baking smaller cakes, you’re in luck! I’ve curated an extensive 6-Inch Cake Recipes guide, filled with delightful options perfect for two or a small gathering. These recipes are designed to minimize waste and maximize joy, making baking approachable and rewarding. Some of my personal favorites include:
- Small Yellow Cake: A classic, buttery favorite, perfect for any occasion.
- Small Vanilla Cake recipe: The quintessential vanilla cake, tender and rich.
- Small Strawberry Cake: Bursting with fresh strawberry flavor, a seasonal delight.
- Small Lemon Cake recipe: Zesty and bright, a refreshing treat.
- Small Carrot Cake recipe: Moist and spiced, a comforting classic.
- Lemon Raspberry Cake: A harmonious blend of tart lemon and sweet raspberries.
- Small Coffee Cake recipe: Perfect for breakfast or brunch with a delicious crumb topping.
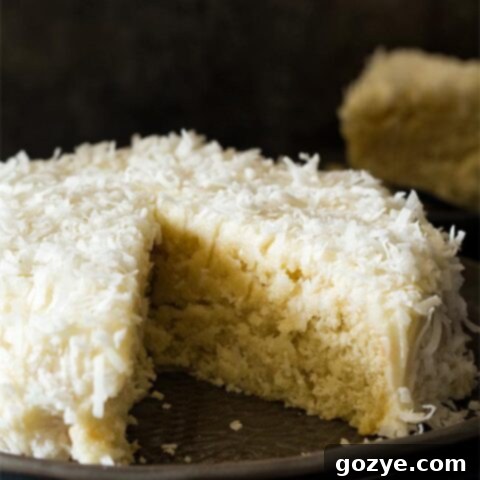
Small Coconut Cake Recipe
4-6 servings
20 minutes
35 minutes
55 minutes
This 6-inch Small Coconut Cake recipe, made with rich coconut milk, is perfect for two. Baked from scratch and adorned with a homemade coconut frosting, it’s a delightful tropical treat for any occasion.
Ingredients
- 3/4 cup + 2 tablespoons all-purpose flour
- 2 tablespoons cornstarch
- 1/2 teaspoon baking powder
- 1/2 teaspoon salt
- 1/2 cup granulated sugar
- 1/4 cup (4 tablespoons) unsalted butter, softened
- 1 egg, room temperature
- 1 teaspoon coconut extract
- 1/4 teaspoon vanilla extract
- 1/2 cup canned coconut milk (see Note about measuring properly)
- 1/2 cup sweetened shredded coconut
- Small Batch Coconut Frosting (get recipe here)
Instructions
- Preheat oven to 350°F (175°C). Lightly grease one 6×2-inch round cake pan with butter or baking spray, then line the bottom with parchment paper to prevent sticking. This ensures easy removal and a perfectly shaped cake.
- In a medium bowl, sift together the all-purpose flour and cornstarch. Sifting helps to aerate the flour and remove any lumps, contributing to a lighter cake texture. Then, stir in the baking powder and salt until well combined.
- In a large mixing bowl, using an electric mixer, beat together the granulated sugar and softened unsalted butter until the mixture is light, fluffy, and pale in color. This creaming process usually takes about 1-2 minutes and is crucial for incorporating air into the batter, leading to a tender cake.
- Beat in the room temperature egg, coconut extract, and vanilla extract until just combined. Ensure the egg is fully incorporated before proceeding to the next step.
- Add the flour mixture alternately with the prepared canned coconut milk (which should be a smooth, pourable liquid, similar to dairy milk – please refer to the Notes section below for proper measuring). Begin and end with the dry ingredients, adding the flour in 3 additions and the milk in 2 additions. Mix on low speed just until combined after each addition; do not overmix. Gently stir in the sweetened shredded coconut by hand.
- Transfer the cake batter evenly into the prepared 6-inch round cake pan. Bake for 30-35 minutes, or until a wooden toothpick inserted into the center of the cake comes out with only a few moist crumbs attached (no wet batter). This indicates the cake is fully cooked. Allow the cake to cool in the pan for about 15 minutes before running a knife carefully along the edge to loosen it. Invert the cake onto a wire cooling rack, remove the parchment paper, and let it cool completely right-side-up.
- Once the cake is fully cooled to room temperature, frost generously with the Small Batch Coconut Frosting (get the recipe here). For an extra touch, sprinkle additional shredded coconut on top or around the sides.
Notes
- Measuring Canned Coconut Milk: For accurate measurement, shake the can of full-fat coconut milk very well before opening. Pour the contents into a bowl and stir the solid cream and liquid thoroughly until completely smooth and pourable, resembling regular milk in consistency. Then, measure out the required amount (1/2 cup) and save any remaining coconut milk for future use. For ideas on how to utilize leftovers, explore my recipes using coconut milk.
- Using Leftover or Refrigerated Coconut Milk: If you are using leftover coconut milk that has been stored in the refrigerator, it will likely be very thick or solid. For best results in this cake, it needs to be at room temperature and smooth. If it’s too thick, gently microwave it in 10-second increments, stirring after each, until it becomes a smooth, pourable liquid. Ensure it cools down to room temperature before adding to the batter.
- Frosting Variations: While the homemade coconut frosting is highly recommended, you can certainly pair this cake with a different frosting to customize its flavor profile. Explore my full list of small batch frosting recipes to find your perfect match, whether you prefer lemon, strawberry, or another delightful flavor.
- Exploring More Small Cakes: If you loved making this perfectly sized cake, be sure to check out my comprehensive guide to 6-inch cake recipes. It features a wonderful array of flavors, including chocolate, vanilla, lemon, carrot, and more, all scaled for smaller celebrations or desserts for two.
Recommended Products
As an Amazon Associate and member of other affiliate programs, I earn from qualifying purchases.
- Offset Spatula
- 6 Inch Cake Pan
Did you make this recipe?
Let me know what you think! Rate the recipe above, leave a comment below, and/or share a photo on Instagram using #HITKrecipes
