Easy & Decadent: Your Perfect One Layer Chocolate Cake (8 Inch) Recipe
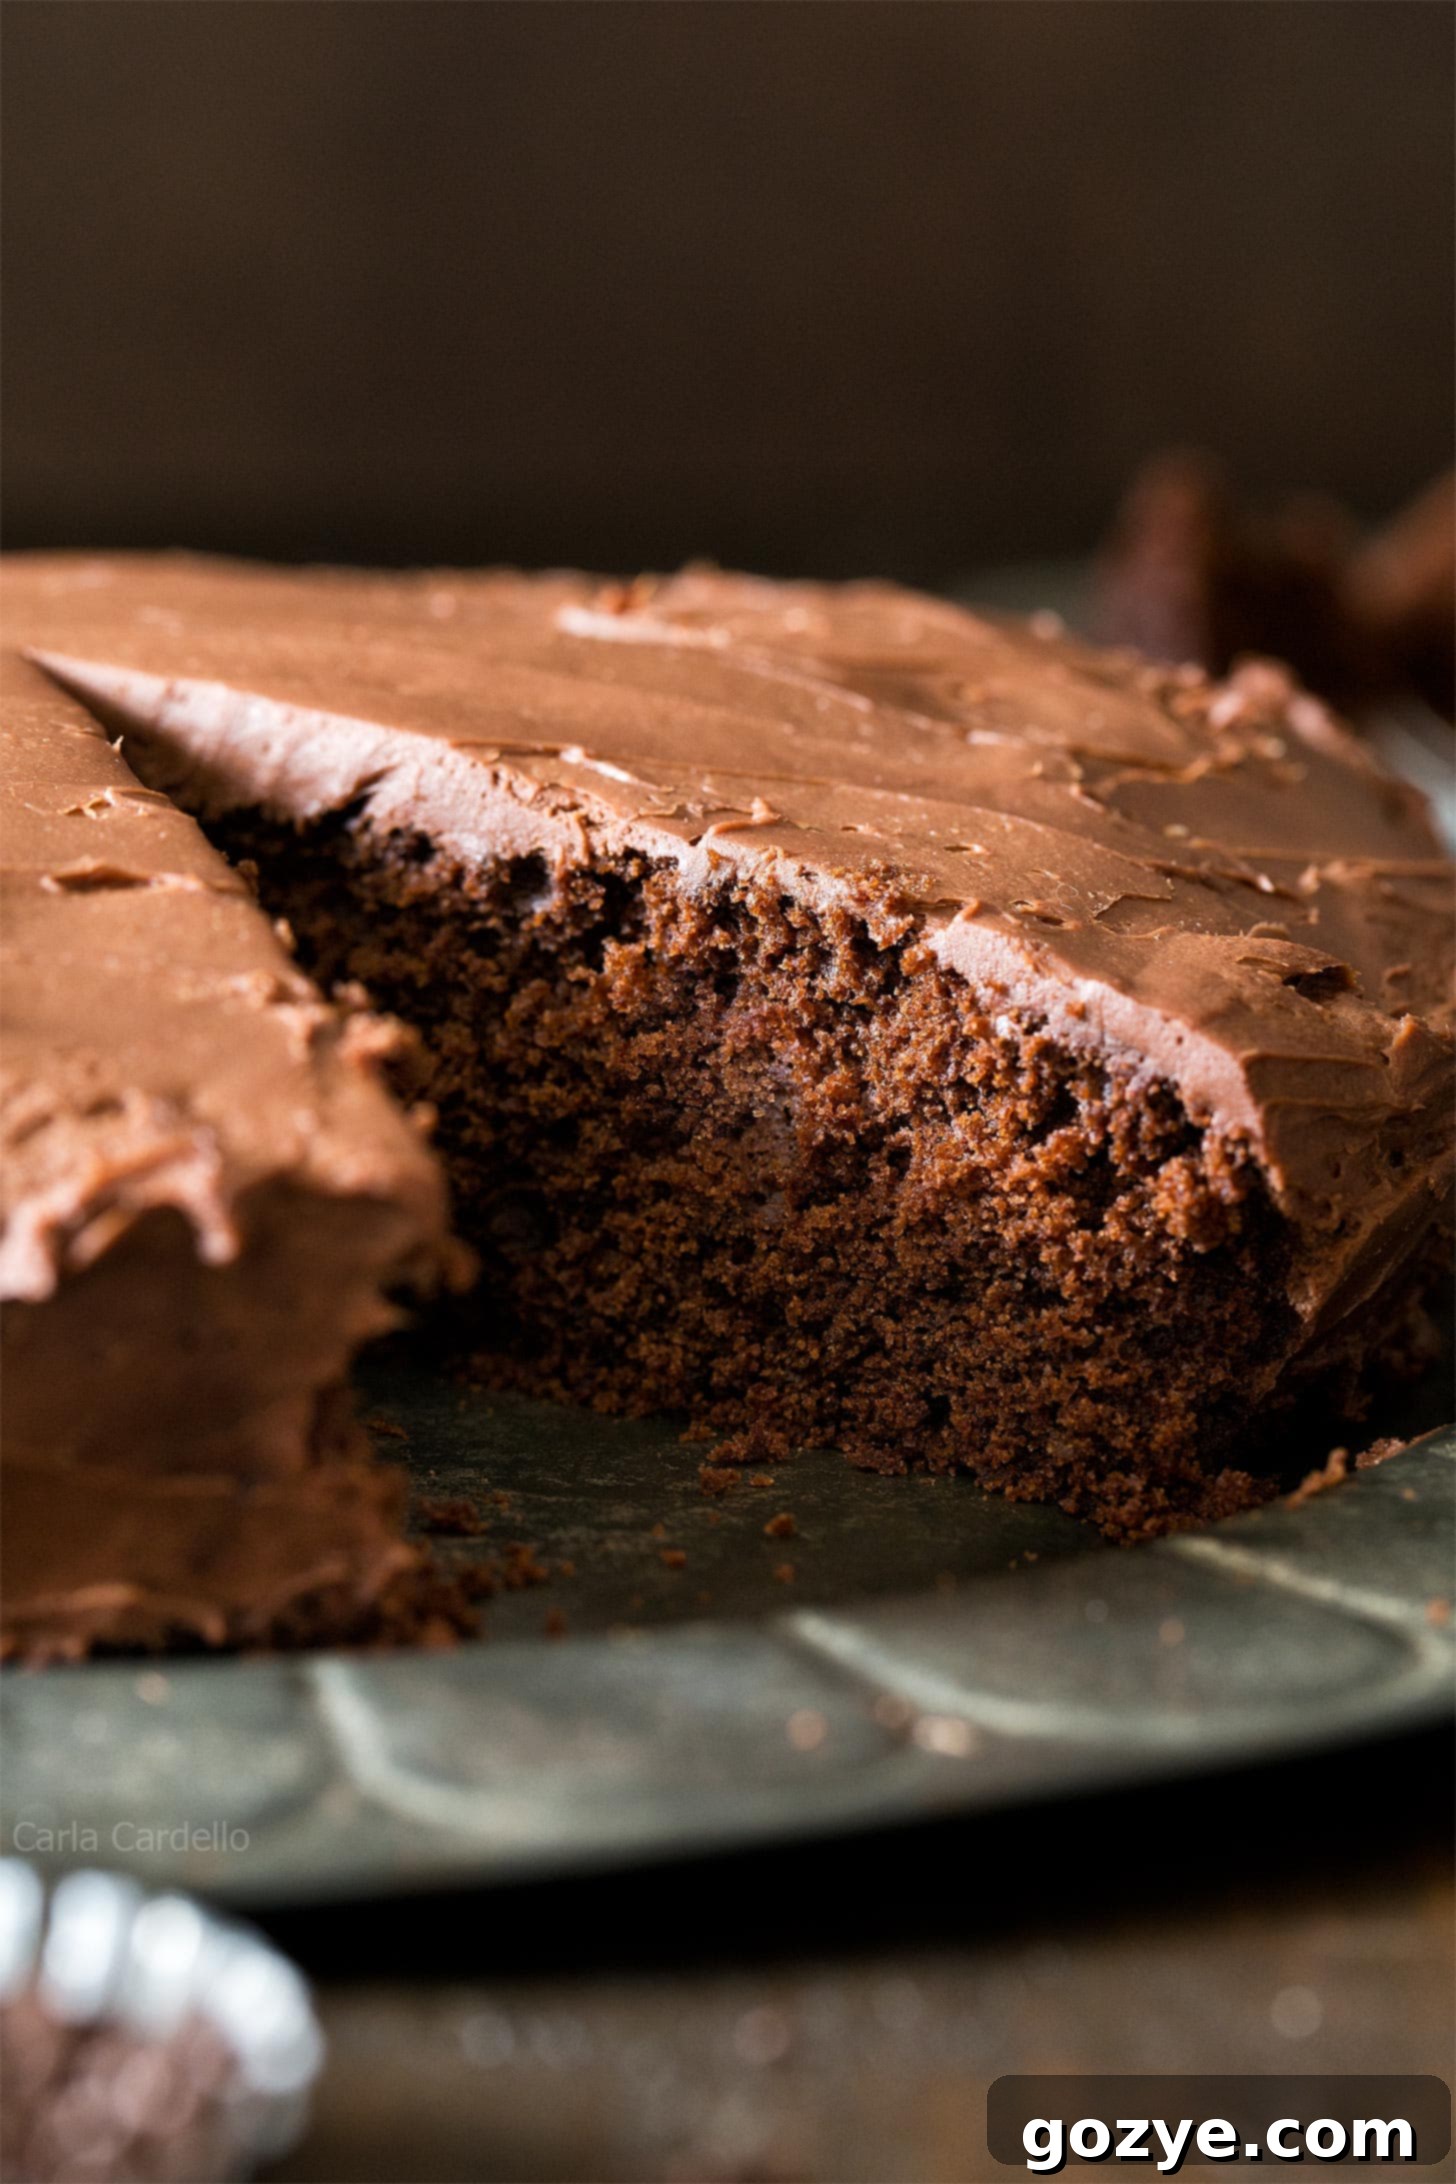
Are you craving a rich, moist, and utterly delicious chocolate cake but don’t want the fuss of baking multiple layers? Look no further! This incredible One Layer Chocolate Cake from scratch is your answer. It’s a decadent single-layer chocolate cake, made without a cake mix, specifically designed to be baked in an 8-inch pan. Perfect for celebrating birthdays, anniversaries, or simply satisfying that chocolate craving, this recipe delivers on flavor and simplicity.
For years, I’ve been known for my small 6-inch cake recipes, which were a rarity when I first started sharing them. Back then, it was hard to find diverse flavors for smaller cakes. Now, you can find classics like my Small Vanilla Cake recipe and Small Red Velvet Cake, alongside more adventurous options such as the Small Carrot Cake recipe and Lemon Raspberry Cake.
Despite the popularity of my smaller bakes, one of the most frequently asked questions I receive is how to adapt my beloved Small Chocolate Cake recipe into an 8-inch version. It’s clear that sometimes, even for small households, you need a little more cake to share with family and friends for those special occasions and personal milestones. That’s precisely where this One Layer Chocolate Cake truly shines.
Why Choose a Single Layer Chocolate Cake?
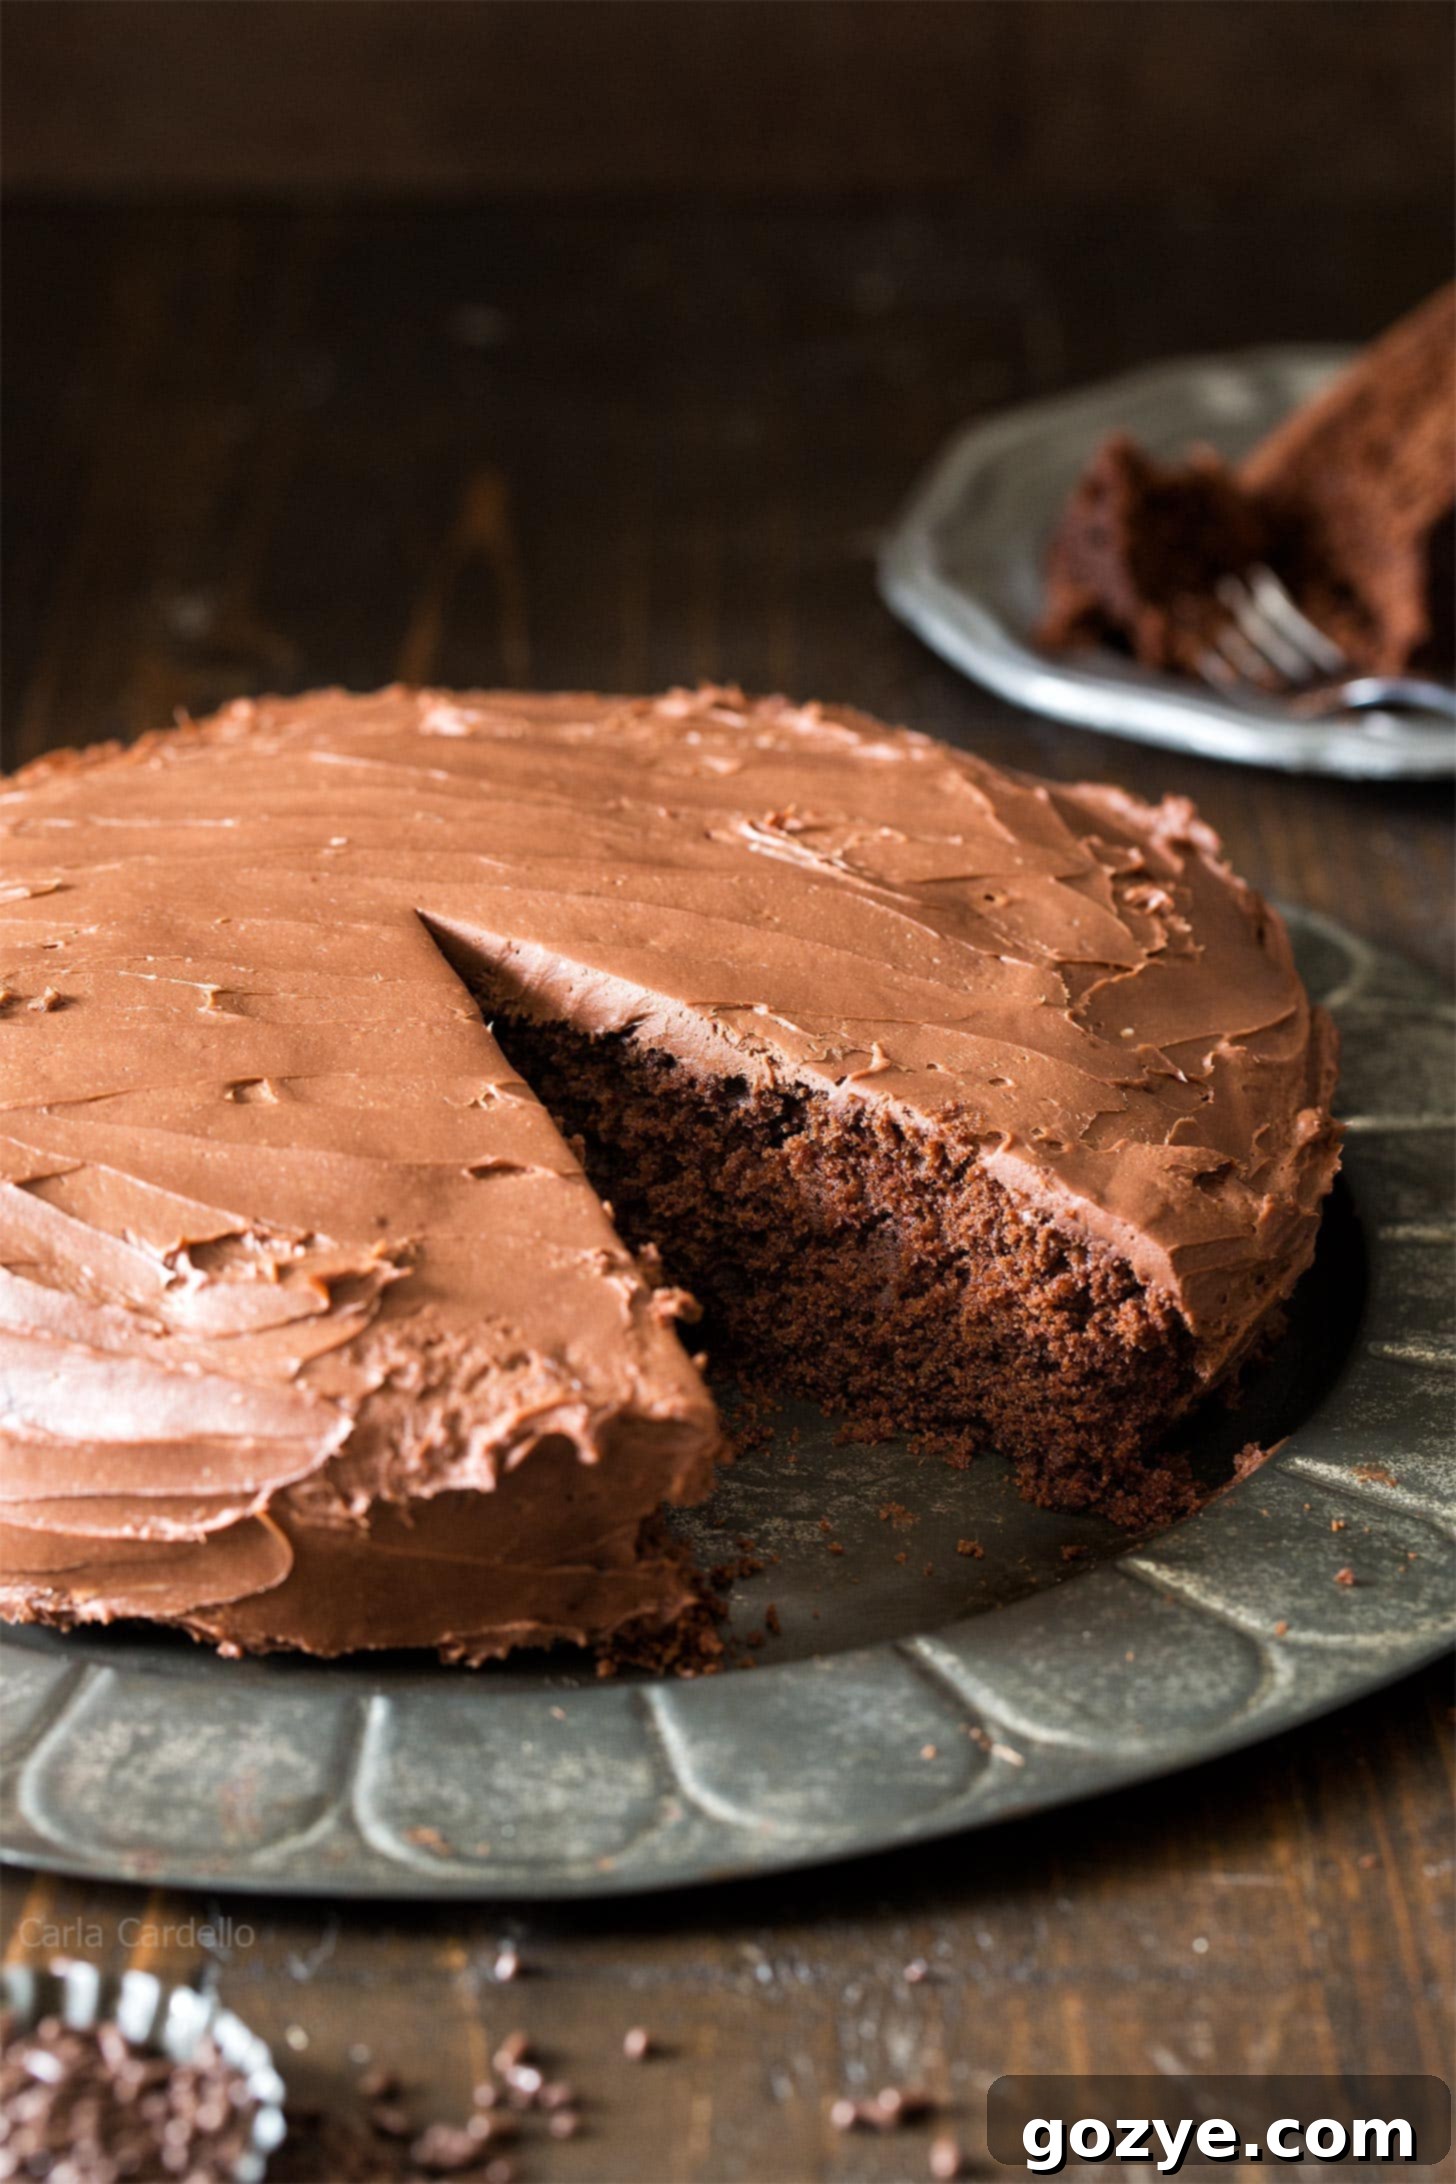
At first, I was a little hesitant to stray from my focus on recipes for two. However, I realized that most chocolate cake recipes out there lean towards elaborate multiple layers, which can be time-consuming and intimidating for many home bakers. A single-layer chocolate cake offers a fantastic alternative that’s still perfectly acceptable for smaller households or anyone looking for a simpler yet equally satisfying dessert.
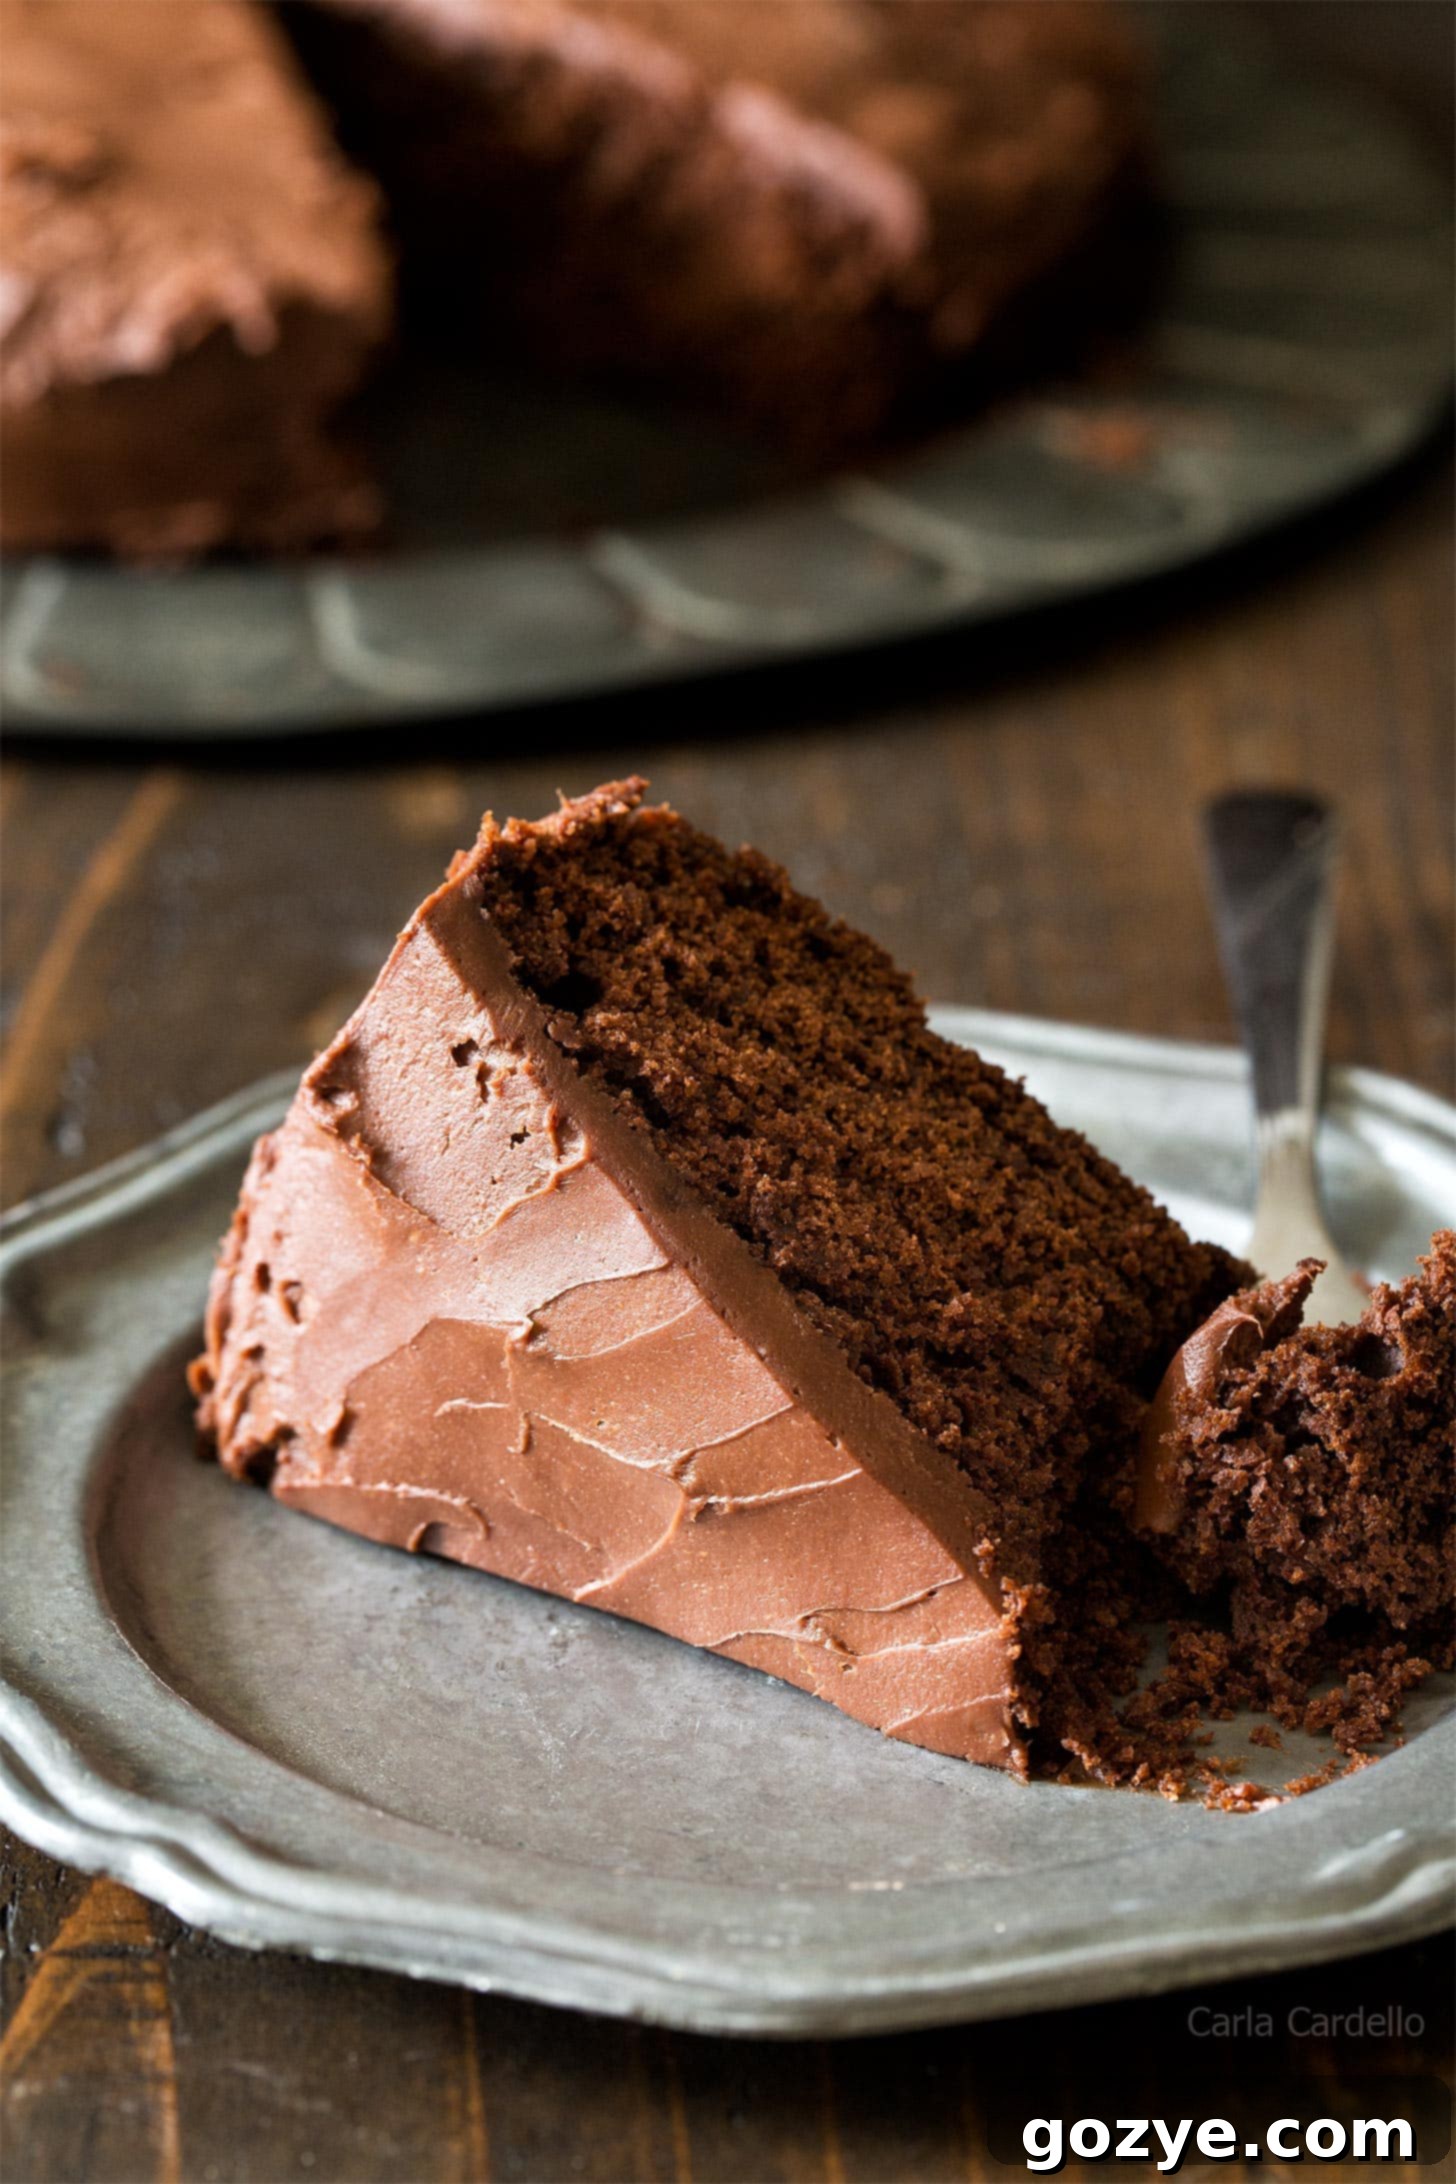
This recipe is a rich and tender one-layer chocolate cake, crafted with a harmonious blend of both semisweet chocolate and cocoa powder to ensure a deep, complex chocolate flavor. The best part? It achieves incredible moisture without relying on sour cream, a common ingredient in many moist cake recipes. I designed this specifically so you wouldn’t have to open a brand new container of sour cream just for a tablespoon or two!
And, of course, no chocolate cake is truly complete without a luscious frosting. For this recipe, I initially used my tangy Chocolate Cream Cheese Frosting, which perfectly balances the cake’s decadent richness. However, if you’re a true chocoholic yearning for an even more intense chocolate experience, my Small Batch Chocolate Frosting is an excellent choice for a deeply rich, chocolaty dessert. The beauty of a single layer cake is its versatility in decoration, allowing you to easily customize it to your taste.
Essential Ingredients for Your Moist 8-Inch Chocolate Cake
To create the most irresistibly moist and flavorful 8-inch chocolate cake, selecting the right ingredients is key. Here’s a detailed look at what you’ll need and why each component is vital:
- Semisweet chocolate: This baking chocolate, derived from ground cocoa nibs, contains both cocoa solids and cocoa butter. Look for a good quality semisweet chocolate with around 55% cacao content. Its presence adds a luxurious richness and a nuanced depth of flavor that cocoa powder alone cannot achieve, contributing significantly to the cake’s overall decadence and moisture.
- All-purpose flour: The backbone of most baked goods, all-purpose flour provides the necessary structure for your cake. Ensure you measure it correctly (using the spoon and level method) to avoid a dry or tough cake.
- Unsweetened cocoa powder: Beyond the baking chocolate, cocoa powder is crucial for intensifying the deep chocolate flavor. It ensures that every bite is bursting with that rich, dark chocolate taste we all love.
- Baking soda: As a leavening agent, baking soda is responsible for giving your cake its lovely rise and tender crumb. It reacts with acidic ingredients like buttermilk to create carbon dioxide, making the cake light and airy.
- Espresso powder: This might seem unusual, but adding a small amount of espresso powder truly elevates the chocolate flavor, making it taste more intensely chocolaty without adding a noticeable coffee taste. Think of it as a secret ingredient that brings out the best in the chocolate.
- Salt: Often overlooked, salt plays a critical role in enhancing all the other flavors in your cake, preventing it from tasting bland and bringing out the sweetness and richness of the chocolate.
- Unsalted butter: Not only does butter contribute significantly to the cake’s flavor, but its fat content is also essential for creating a wonderfully tender and moist crumb texture. Always use softened, unsalted butter for best results, and avoid substituting margarine or low-fat alternatives, as they will compromise the texture and taste.
- Granulated sugar: This provides essential sweetness to the cake, balancing the bitterness of the chocolate and contributing to its overall moistness.
- Brown sugar: The molasses content in brown sugar makes a noticeable difference in the cake’s moisture level, imparting a subtle caramel-like note and keeping the cake incredibly soft compared to using only granulated sugar. Ensure your brown sugar is soft and moist, not hard and crumbly.
- Large egg: The egg acts as a binder, adds richness, and contributes to the cake’s structure. Using a room temperature egg is vital for proper emulsification with other ingredients, leading to a lighter, more evenly risen batter.
- Vanilla extract: Much like salt and espresso powder, vanilla extract is a powerful flavor enhancer that complements and deepens the chocolate notes, adding a comforting aroma and taste.
- Buttermilk: The acidity in buttermilk is essential for activating the baking soda, leading to a proper rise. Furthermore, its fat content (even though it’s technically low-fat) helps maintain the cake’s moist texture. If you don’t have buttermilk, you can easily create a substitute by adding 1 teaspoon of lemon juice or white vinegar to whole milk and letting it sit for 5-10 minutes until it slightly curdles. It’s crucial to use whole milk for this substitute, as skim or low-fat milk won’t provide the necessary fat for a truly moist cake.
- Hot coffee: As previously mentioned, coffee is a phenomenal secret weapon for enhancing chocolate flavor. Using hot coffee helps bloom the cocoa powder, further intensifying its taste. If coffee isn’t your preference, you can substitute it with hot water or even beer for a different depth of flavor.
How to Achieve a Super Moist Chocolate Cake (No Sour Cream Needed!)
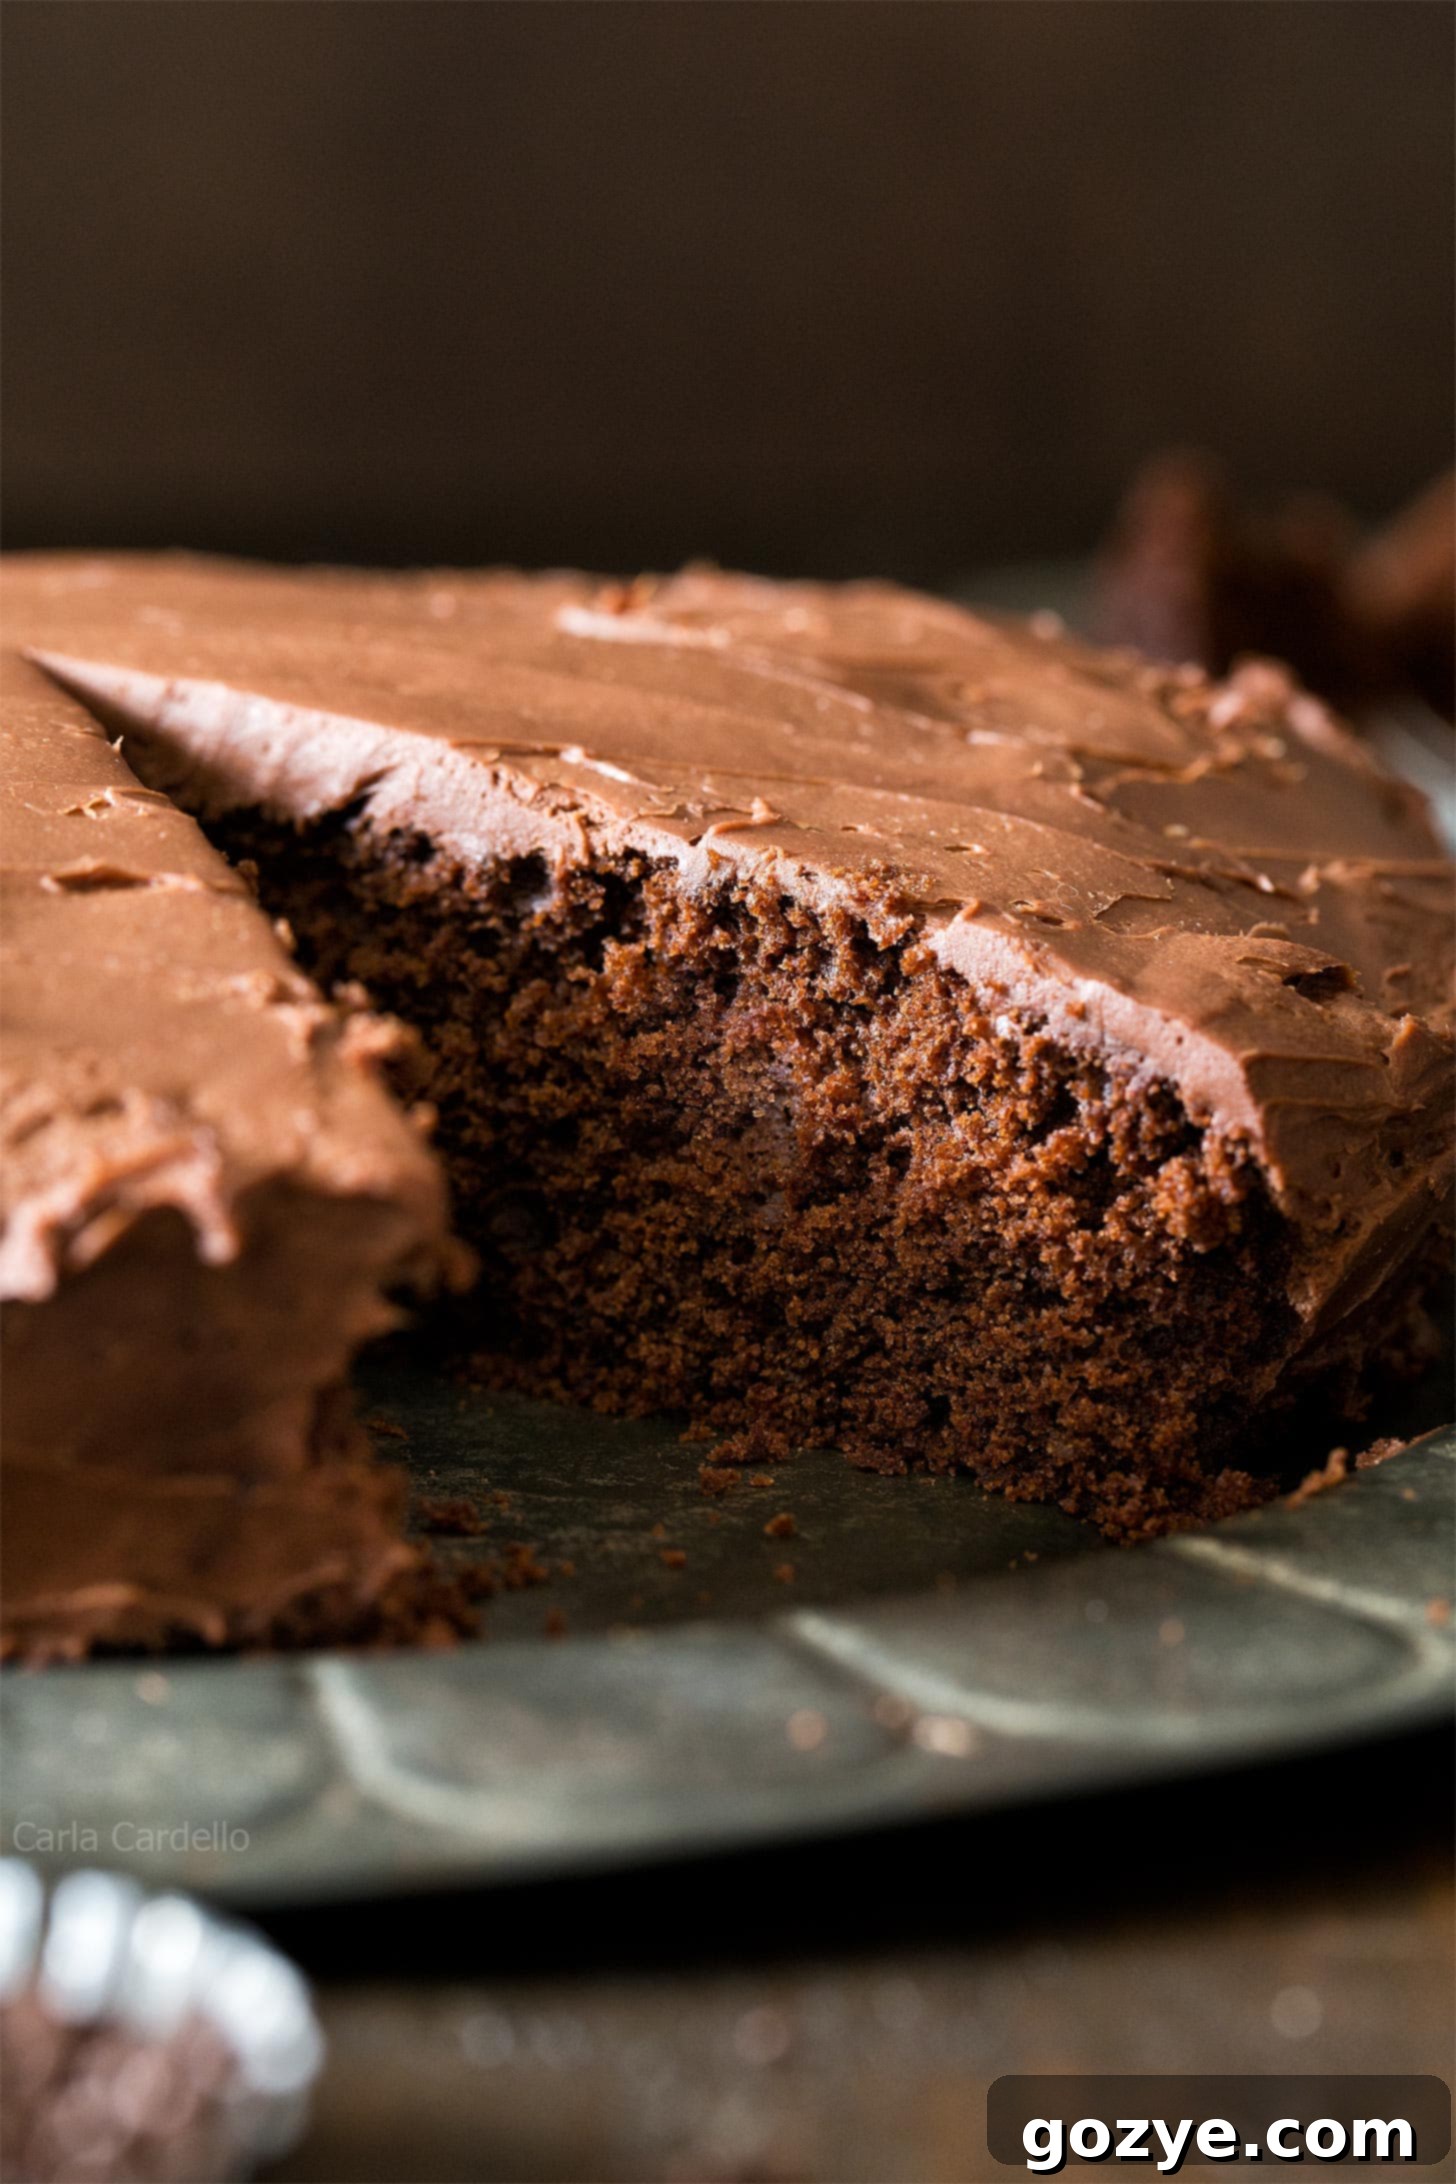
One of the most common questions is how to ensure a chocolate cake is moist without relying on sour cream, a frequent ingredient in many moist cake recipes. My secret lies in a carefully balanced combination of ingredients and techniques. I achieve this delightful moisture by incorporating baking chocolate (which contains cocoa butter), brown sugar (for its molasses content), a generous amount of butter for fat, and buttermilk (or whole milk with vinegar for its fat and acidity). It’s paramount not to skimp on the fat in this recipe; every bit contributes to that wonderfully tender and moist crumb we all desire. Following the ingredient ratios precisely will guarantee a cake that’s far from dry!
Understanding Espresso Powder: Your Chocolate Cake’s Secret Weapon
Espresso powder is a highly concentrated form of instant coffee crystals. Unlike regular instant coffee, it’s much stronger and designed to dissolve quickly. Its primary role in this recipe isn’t to make your cake taste like coffee, but rather to act as a profound flavor enhancer for chocolate. Think of it similarly to how a pinch of salt makes other flavors pop – espresso powder makes chocolate taste more intensely chocolaty and rich, without a distinct coffee flavor of its own. You’ll only truly notice its absence if you omit it, as the chocolate flavor won’t be as vibrant.
You can typically find espresso powder in the baking aisle, the coffee section, or sometimes in the international foods section (specifically Italian) of larger grocery stores. If it’s unavailable, you can substitute with instant coffee, though the enhancing effect on the chocolate won’t be as potent. While your single layer chocolate cake will still bake successfully without espresso powder, please be aware that its chocolate notes will not be as deep and pronounced as intended. For the ultimate chocolate experience, I highly recommend including it!
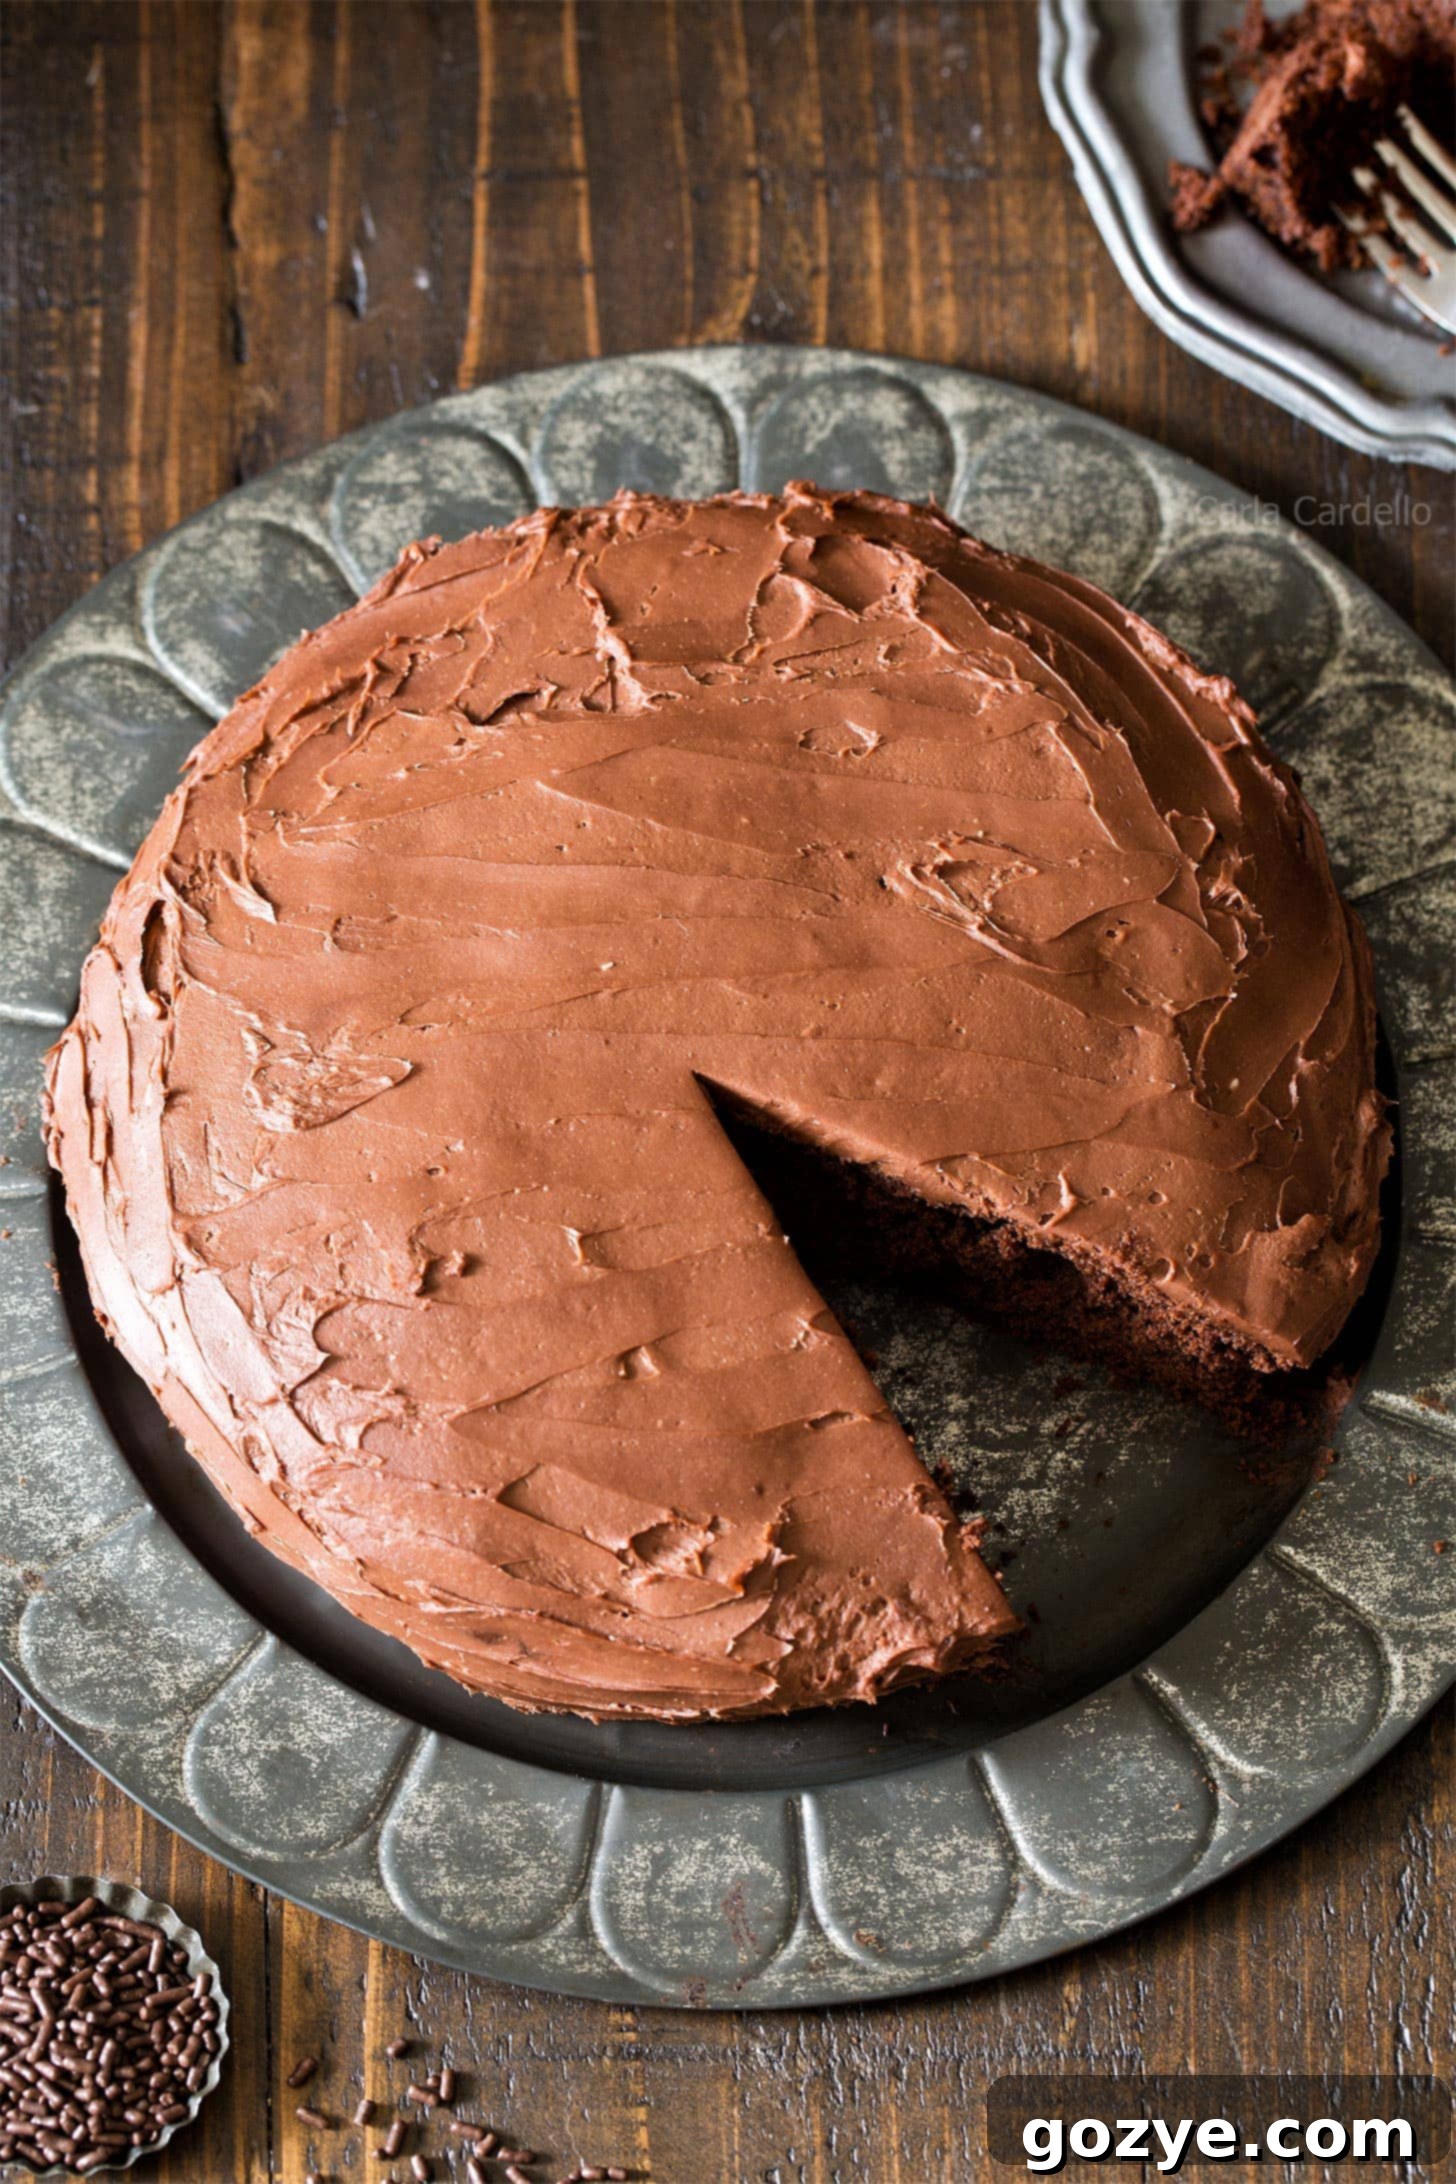
Step-by-Step Guide: How to Make Your Perfect Single Layer Chocolate Cake
Creating this delightful one layer chocolate cake from scratch is simpler than you might think. Follow these detailed steps for a perfect bake every time:
- Prepare Your Pan & Oven: Begin by preheating your oven to 350°F (175°C). Lightly grease an 8-inch round cake pan and line the bottom with parchment paper. This ensures your cake will release easily after baking.
- Melt the Chocolate: Chop your semisweet chocolate finely. You can melt it gently over a double boiler (a heatproof bowl set over a simmering pot of water, ensuring the bowl doesn’t touch the water) or in the microwave. If using the microwave, heat in 30-second intervals, stirring well after each, until smooth and fully melted. Let the melted chocolate cool slightly for about 10 minutes before incorporating it into the batter. This prevents it from scrambling the eggs or melting the butter.
- Combine Dry Ingredients: In a medium bowl, sift together the all-purpose flour and unsweetened cocoa powder. Sifting helps remove lumps and aerates the flour, leading to a lighter cake. Then, stir in the baking soda, espresso powder, and salt until well combined. Set aside.
- Cream Butter & Sugars: In a large mixing bowl, using a stand mixer with the paddle attachment or a hand mixer on medium-high speed, beat together the softened unsalted butter, granulated sugar, and packed brown sugar. Continue beating for about 1 minute, or until the mixture is light, fluffy, and creamy. This step incorporates air, which is crucial for a tender crumb and good rise.
- Add Wet Ingredients: Scrape down the sides of the bowl to ensure everything is incorporated. Then, beat in the room temperature large egg, vanilla extract, and the slightly cooled melted chocolate until just combined. Be careful not to overmix.
- Alternate Dry & Wet: With your mixer on the lowest speed possible, begin adding the dry ingredient mixture alternately with the buttermilk and hot coffee. Start and end with the dry ingredients, adding the flour mixture in three additions and the liquid in two. For example: dry, liquid, dry, liquid, dry. As soon as the last addition of flour is about 90% incorporated, stop the mixer. Finish mixing the batter by hand with a rubber spatula. This technique is crucial to avoid overmixing, which can develop gluten and lead to a tough, dry cake.
- Bake to Perfection: Pour the prepared batter evenly into your lined 8-inch cake pan. Bake for 30-35 minutes, or until a wooden toothpick inserted into the center of the cake comes out with a few moist crumbs attached, but no wet batter. Avoid overbaking, as this is the quickest way to a dry cake!
- Cooling: Once baked, let the cake cool in the pan for about 15 minutes. Then, carefully run a thin knife around the edges to loosen it, invert it onto a wire cooling rack, and remove the parchment paper. Flip it right-side up to cool completely before frosting. A fully cooled cake is essential for proper frosting application.
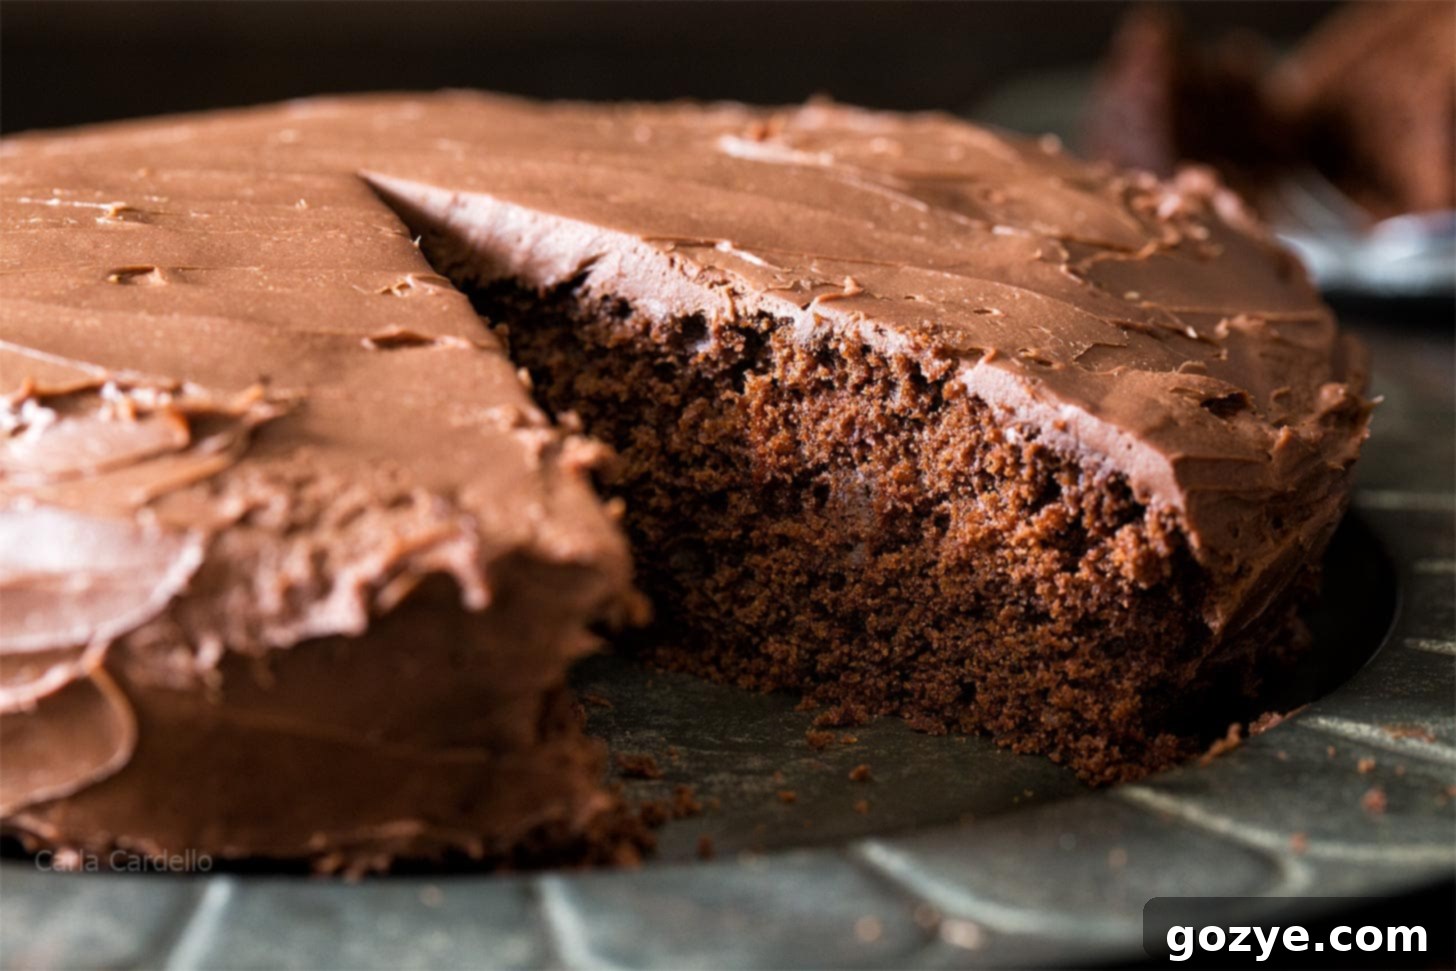
Decorating Your One Layer Chocolate Cake Masterpiece
A cake simply isn’t complete without frosting! The beauty of a single layer chocolate cake is that it’s incredibly versatile and easy to decorate. Since it doesn’t require stacking multiple layers, you can focus on a simple, elegant finish or get creative with toppings. Many of my small batch frosting recipes are perfect for this 8-inch cake, as they provide just enough frosting without leaving you with excessive leftovers.
Are you a dedicated chocoholic? You can completely cover this cake in a luxurious easy chocolate ganache for an intensely rich and glossy finish. If you adore the classic combination of chocolate and peanut butter, consider decorating with my creamy Peanut Butter Frosting, a delightful Peanut Butter Cream Cheese Frosting, or even a dollop of homemade peanut butter whipped cream for a lighter touch.
To brighten things up and add a touch of freshness, you can also opt for fruit-infused frostings and fresh fruit garnishes. My Strawberry Cream Cheese Frosting, Raspberry Cream Cheese Frosting, or a vibrant Strawberry Buttercream would all be wonderful choices, perhaps topped with some fresh berries. Don’t forget classic chocolate shavings, sprinkles, or even a simple dusting of cocoa powder for an elegant touch!
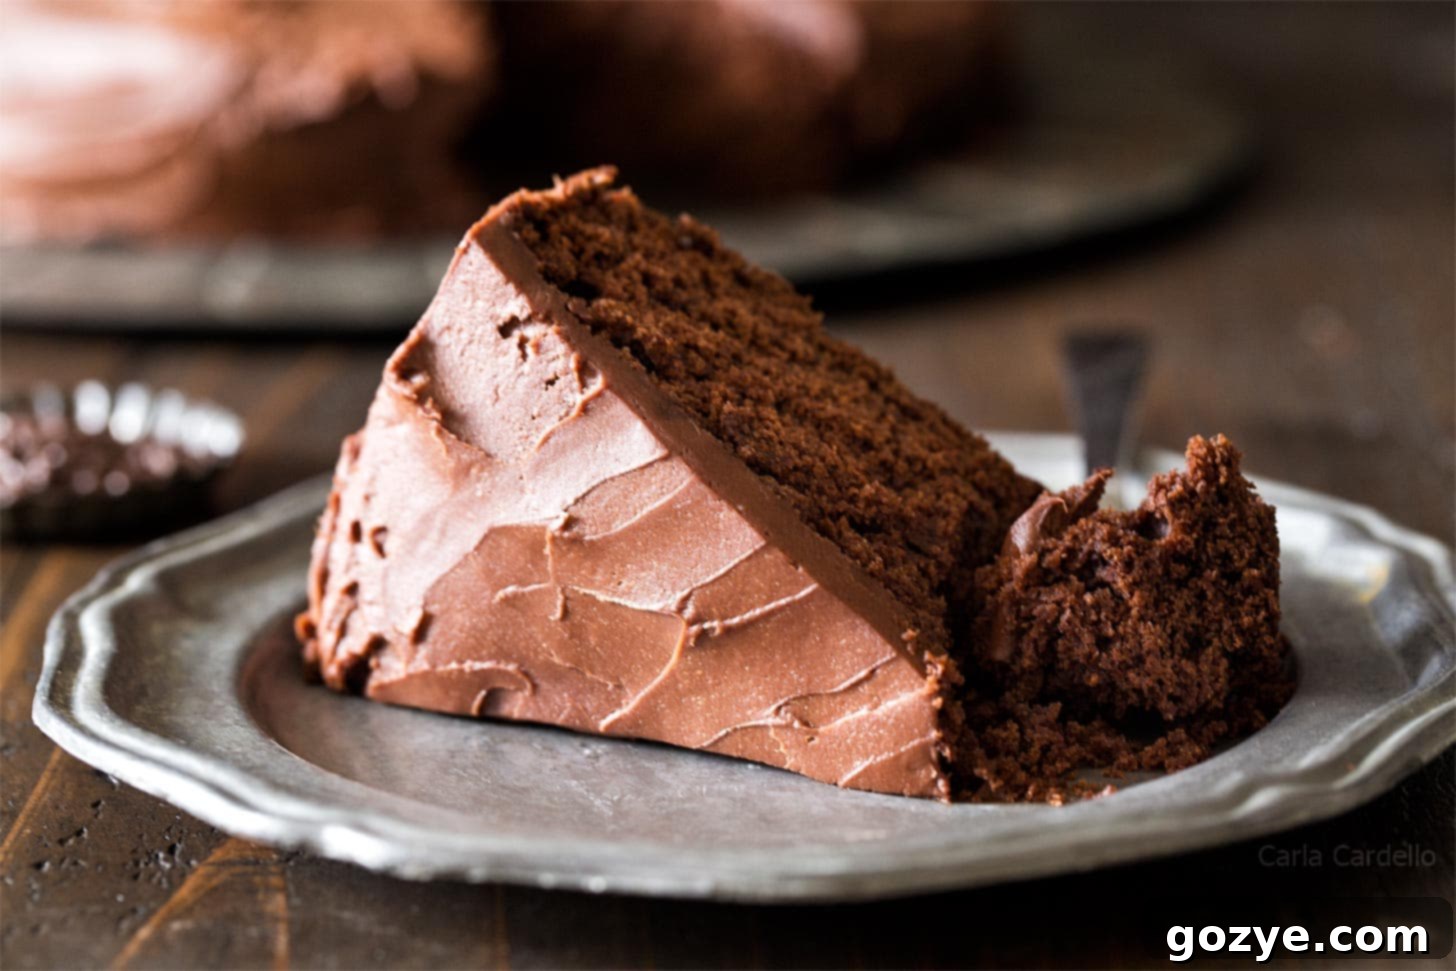
Storing Your Single Layer Chocolate Cake for Optimal Freshness
Proper storage is crucial to keep your delicious chocolate cake fresh and moist for as long as possible. The storage method largely depends on the type of frosting you use.
- For Room Temperature-Safe Frostings: If you’ve used a buttercream frosting (such as classic American buttercream or my Small Batch Chocolate Frosting), your frosted chocolate cake can typically be stored, covered, at room temperature for up to 3 days. Ensure it’s in an airtight container to prevent it from drying out.
- For Perishable Frostings: If your cake is frosted with a cream cheese frosting, whipped cream, or ganache, or if your kitchen is particularly warm, it’s best to refrigerate the cake. Store it in an airtight container in the refrigerator for up to 1 week.
Regardless of the frosting type, if your cake has been refrigerated, I highly recommend letting it sit at room temperature for about 15-30 minutes before serving. This allows the cake and frosting to soften slightly, bringing out the full depth of flavors and ensuring the most enjoyable texture. Eating it cold can diminish the taste experience.
Troubleshooting: Why is My Chocolate Cake Dry and Crumbly?
I’ve meticulously tested this one layer chocolate cake recipe multiple times to ensure it’s consistently moist and tender. However, baking can sometimes be unpredictable, and you might encounter issues. If your cake turns out dry or crumbly, here are some common culprits and how to prevent them:
- Overbaking: This is the most common reason for a dry cake. Oven temperatures can vary, so always use an oven thermometer to ensure you’re baking at a true 350°F (175°C). Start checking for doneness a few minutes before the recipe time, and rely on the toothpick test (it should come out with moist crumbs, not wet batter) rather than just the clock.
- Too Much Flour or Cocoa Powder: Incorrectly measuring dry ingredients can drastically alter a cake’s moisture. Flour is especially prone to being over-measured if scooped directly from the bag. Learn how to measure flour using the spoon and level method to ensure accuracy.
- Brown Sugar Isn’t Fresh: If your brown sugar is hard, dry, or crumbly, it won’t contribute the same moisture to the batter. Always use soft and moist brown sugar. If yours is hard, you can soften it by placing it in a bag with a slice of bread or a damp paper towel overnight, or microwave it for a few seconds.
- Not Enough Fat: The fat in butter, baking chocolate, and whole milk/buttermilk is crucial for a moist cake. I’ve ensured there’s ample fat in this recipe as written, so please do not adjust any of the ingredients or substitute with skim or low-fat milk. Adhering to the specified fat content is key.
- Overmixing: Once you add the flour to the wet ingredients, it’s vital to mix gently and only until just combined. Overmixing develops the gluten in the flour, leading to a tough, dense, and ultimately dry cake after baking. Finish mixing by hand with a spatula to prevent this.
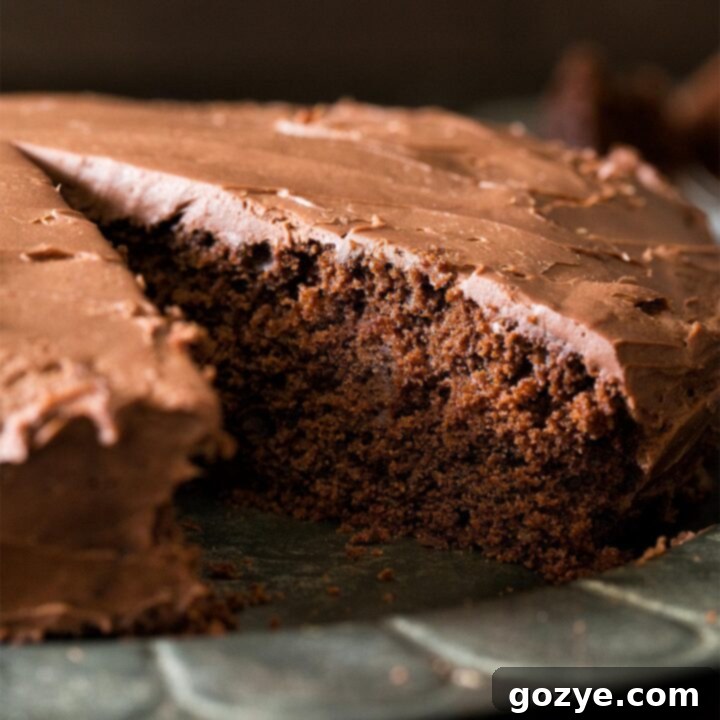
One Layer Chocolate Cake (8 Inch)
6-8 servings
20 minutes
35 minutes
55 minutes
This One Layer Chocolate Cake from scratch is a moist and decadent single layer chocolate cake made without cake mix. Baked in an 8 inch pan then decorated with a chocolate frosting to celebrate birthdays, anniversaries, and more. It’s the perfect easy dessert for any occasion.
Ingredients
- 1 ounce semisweet chocolate, chopped
- ¾ cup all-purpose flour (using the spoon and level method)
- ⅓ cup unsweetened cocoa powder
- ¼ + ⅛ teaspoon baking soda
- ¼ teaspoon espresso powder
- ¼ teaspoon table salt
- ½ cup (4 ounces or 8 tablespoons) unsalted butter, softened
- ⅓ cup granulated sugar
- ⅓ cup packed brown sugar (soft and moist, not dry and crumbly)
- 1 large egg, room temperature
- 1 teaspoon vanilla extract
- ¼ cup buttermilk, room temperature (or substitute whole milk with 1 teaspoon vinegar added. Do not use skim or low fat.)
- 2 tablespoons hot coffee (or substitute beer or hot water)
Pick One To Decorate
- Peanut Butter Cream Cheese Frosting
- Chocolate Cream Cheese Frosting
- Peanut Butter Buttercream
- Chocolate Buttercream
- Full List Of Frosting Recipes
Instructions
- Preheat oven to 350°F (175°C). Lightly grease one 8-inch round cake pan then line the bottom with parchment paper. This preparation ensures your cake won’t stick and will release cleanly.
- Add about an inch of water to a small saucepan and bring to a simmer. Turn off the heat and place a heatproof bowl over top (creating a double boiler setup). Add the chopped chocolate to the bowl and melt until smooth, stirring occasionally. Once melted, remove from the heat and allow to cool for about 10 minutes.
Alternatively, add chopped chocolate to a microwave-safe bowl. Microwave for 30 seconds, stir, then continue microwaving in 15-second increments, stirring after each, until the chocolate is completely melted and smooth. Let it cool slightly before use.
- In a medium bowl, sift together the all-purpose flour and unsweetened cocoa powder. This step removes any lumps and aerates the dry ingredients. Then, stir in the baking soda, espresso powder, and salt until they are uniformly combined. Set aside.
- In a large mixing bowl (using a stand mixer with the paddle attachment or a hand mixer), beat together the softened butter, granulated sugar, and packed brown sugar on medium-high speed. Continue beating for about 1 minute, or until the mixture becomes light, fluffy, and creamy. This aeration is key for a tender cake crumb.
- Scrape down the sides of the bowl with a spatula to ensure all ingredients are incorporated. Then, beat in the room temperature egg, vanilla extract, and the slightly cooled melted chocolate until just combined. Do not overmix at this stage.
- On the lowest speed possible, gradually add the dry ingredient mixture alternately with the buttermilk and hot coffee. Add the flour mixture in 3 additions and the liquid in 2 additions, always beginning and ending with the dry ingredients (dry, liquid, dry, liquid, dry).
Once the flour is about 90% incorporated, stop the mixer. Switch to a rubber spatula and finish folding in the remaining dry ingredients by hand. This prevents overmixing, which can lead to a tough cake.
- Transfer the smooth batter evenly into the prepared 8-inch cake pan. Bake for 30-35 minutes, or until a wooden toothpick inserted into the center of the cake comes out with a few moist crumbs attached (but no wet batter). Avoid overbaking. Cool the cake in the pan for about 15 minutes before running a knife along the edge to loosen it. Invert it carefully onto a wire cooling rack, remove the parchment paper, and then flip it right-side up to cool completely.
- Once the cake is fully cooled, decorate it with your frosting of choice. Cover and store the frosted cake at room temperature for up to 3 days if using a buttercream frosting. For frostings like cream cheese, whipped cream, or ganache, or if your kitchen is warm, refrigerate the cake in an airtight container for up to 1 week. For the best flavor and texture, allow any refrigerated cake to sit at room temperature for 15-30 minutes before serving.
Notes
- Loved this recipe and want more delicious small-batch ideas? Check out my recipe for Small Batch Chocolate Cupcakes and my classic 6 Inch Chocolate Cake for Two.
Recommended Products
As an Amazon Associate and member of other affiliate programs, I earn from qualifying purchases.
- 8 Inch Cake Pan
Did you make this recipe?
Let me know what you think! Rate the recipe above, leave a comment below, and/or share a photo on Instagram using #HITKrecipes
