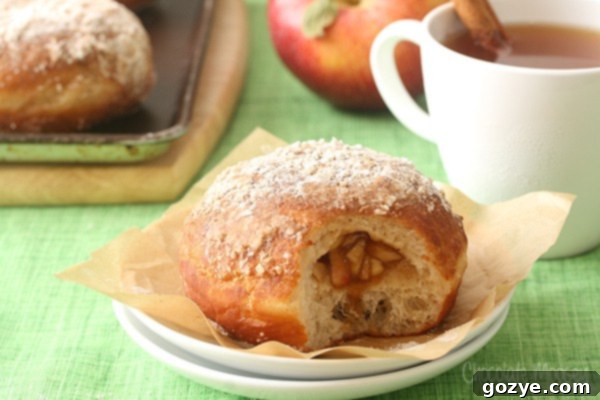
Homemade Small Batch Apple Pie Filled Doughnuts: Your Guide to Perfect Fried Delight
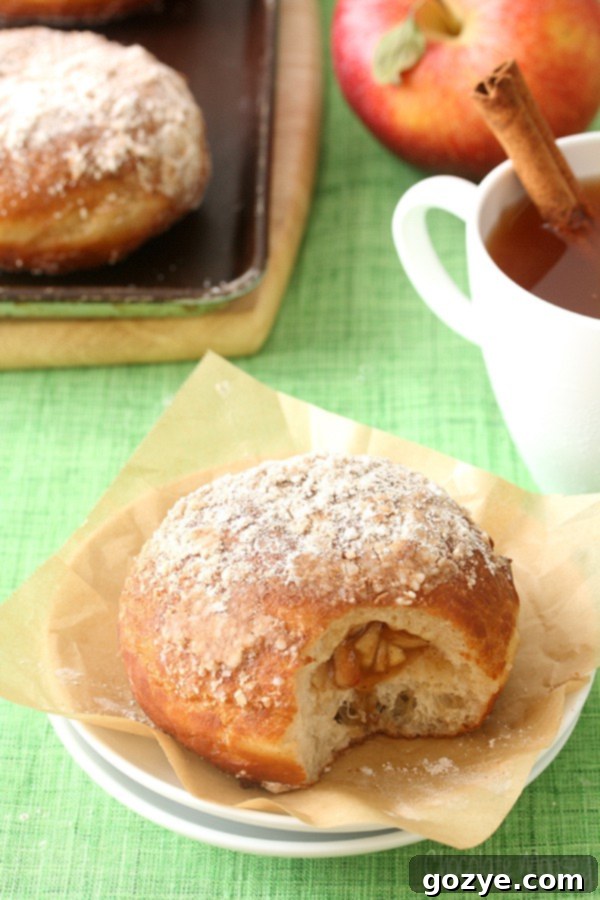
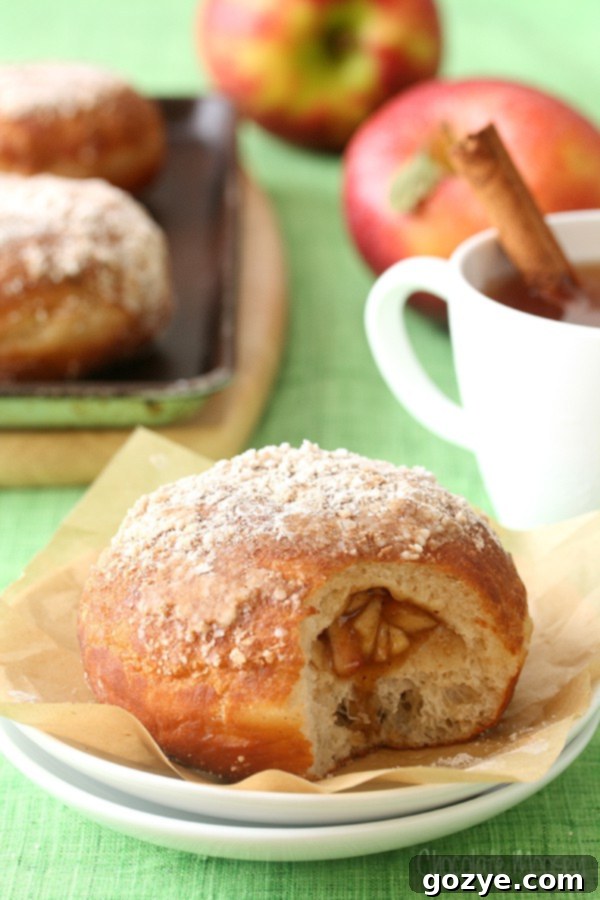
Prepare for a truly special treat that captures the essence of apple season: these incredible Small Batch Apple Pie Filled Doughnuts. Imagine sinking your teeth into a perfectly fried yeast doughnut, soft and pillowy, bursting with warm, spiced apple pie filling, and finished with a delicate dusting of cinnamon and powdered sugar. This recipe isn’t just about making doughnuts; it’s about creating a memorable experience in your kitchen, delivering a comforting dessert that truly earns the “doughnut of the season” award.
The Irresistible Allure of Homemade Doughnuts
There’s something uniquely satisfying about homemade doughnuts that store-bought versions simply can’t match. The aroma of yeast dough rising, the sizzle of oil as they fry, and the pure joy of biting into a fresh, warm pastry are unparalleled. While the process of making yeast doughnuts might seem daunting at first, I promise you, it’s incredibly rewarding. This recipe is specifically designed for a small batch of six, making it approachable for home bakers who want to enjoy fresh doughnuts without an overwhelming quantity.
My journey to these delightful apple pie filled doughnuts was born from a simple desire: it was apple season, and I craved doughnuts. But not just any apple doughnuts. I noticed most recipes either used apple cider in the dough or simply topped them with apple pie filling. My vision was clear: I wanted the delectable filling *inside* the doughnut, a delightful surprise with every bite. This unique approach presented a fun challenge, and after a couple of attempts, I successfully brought this dream to life. The result is a doughnut that truly celebrates the flavors of autumn.
Mastering the Yeast Dough: Patience is Key
If you’re new to making doughnuts, don’t let the idea of yeast dough intimidate you. It’s a forgiving process that primarily requires patience. The key steps involve allowing the dough to rest and rise twice. This resting period is crucial for developing the dough’s texture and flavor, resulting in light, airy doughnuts. While it adds to the overall preparation time, approximately an hour and a half for rising, this hands-off time allows the yeast to do its magic. Trust me, the wait is absolutely worth it for the pillowy perfection you’ll achieve. The dough should be soft, elastic, and just slightly sticky – a sign that it’s ready to transform into something magical.
The Art of Stuffing: A Pre-Frying Triumph
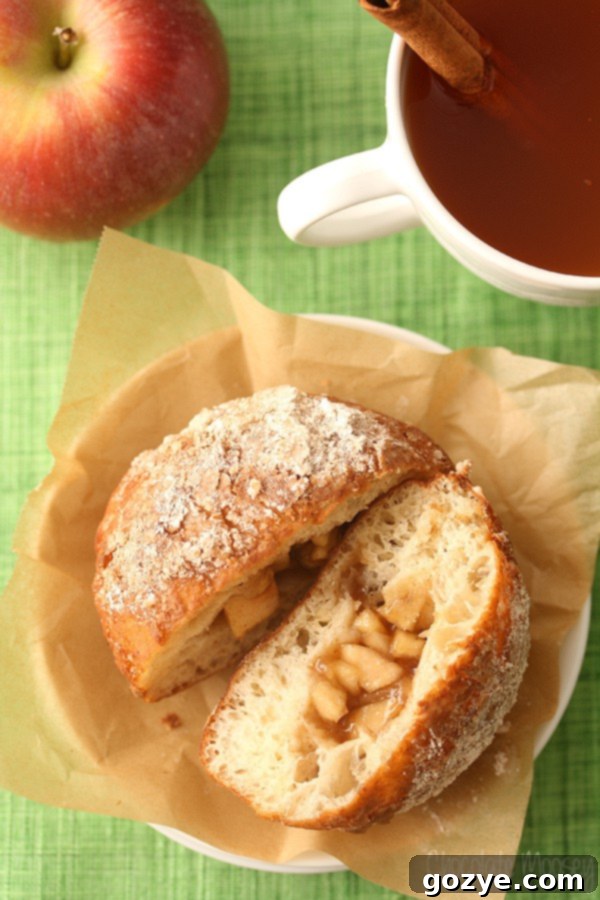
One of the biggest hurdles in creating these apple-filled beauties was figuring out how to get a chunky filling like apple pie into the doughnut. Traditional methods for filled doughnuts often involve piping smooth creams or jellies into the cooked pastry. However, apple pie filling, with its delightful fruit chunks, would easily clog a piping bag. I had to think outside the box.
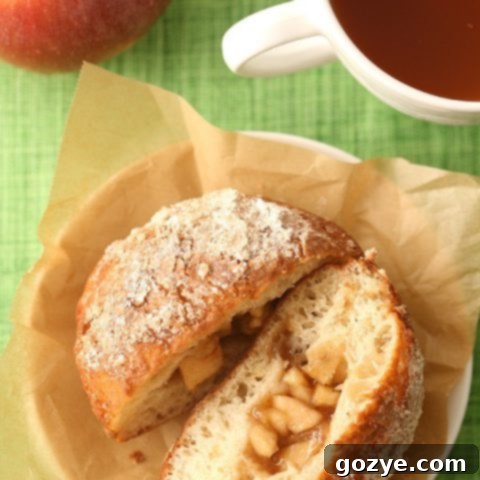
My solution was a bit of a risk: stuffing the doughnuts *before* frying. This involved placing the apple pie filling between two circles of dough and carefully sealing them together. I admit, there was a moment of doubt – would the filling seep out? Would it disintegrate in the hot oil? To my immense relief and delight, the method worked perfectly. The dough sealed around the filling, creating a perfect little package that puffed up beautifully during frying, keeping all that delicious apple goodness securely inside.
Baked vs. Fried: Why Frying Wins for These Doughnuts
Initially, I tried to avoid frying. I’ve successfully made baked doughnuts before – my vanilla bean doughnuts and carrot cake doughnuts are testaments to that. I even had a bookmarked recipe for cream-filled baked doughnuts, which led me to believe I could adapt it. The idea was simple: bake the doughnuts, then cut a slit and stuff them. However, sometimes a baker’s instinct just tells you when something isn’t quite right.
When my first tray of baked, unfilled dough came out of the oven, I was immediately skeptical. A taste confirmed my fears: it was more like a sweet biscuit than a doughnut. The texture lacked the signature chewiness and tender crumb that makes a fried yeast doughnut so irresistible. No amount of apple pie filling or cinnamon sugar could transform that biscuit-like base into the doughnut I envisioned. It was a crucial learning moment, solidifying my decision to embrace the fryer. For these truly authentic, soft, and satisfying filled doughnuts, frying was the only way to go, and it required a completely new, yeast-based dough recipe.
Frying with Confidence: Tips for Golden Perfection
Frying at home might sound intimidating, but with the right tools and a little knowledge, it’s easily manageable. I usually rely on my deep fryer (this one, to be exact – an Amazon affiliate link), which excels at regulating oil temperature. However, on this particular day, impatience got the better of me as it took forever to heat up. So, I switched to a deep pot on the stove, a perfectly viable alternative for home frying.
The most critical tool for successful frying is a reliable digital thermometer (I have this one – an Amazon affiliate link). Maintaining the oil temperature between 350°F and 355°F is paramount. If the oil is too hot, your doughnuts will brown too quickly on the outside, leaving the inside raw. If it’s too cold, they’ll absorb excess oil, becoming greasy and heavy instead of light and fluffy. It’s a delicate balance! If the temperature climbs too high, remove the pot from the heat and let it cool slightly before continuing. Likewise, if it drops too low, give it a moment to reheat before adding more doughnuts. Fry a few at a time to avoid overcrowding and ensure even cooking.
The Finishing Touch and Enjoyment
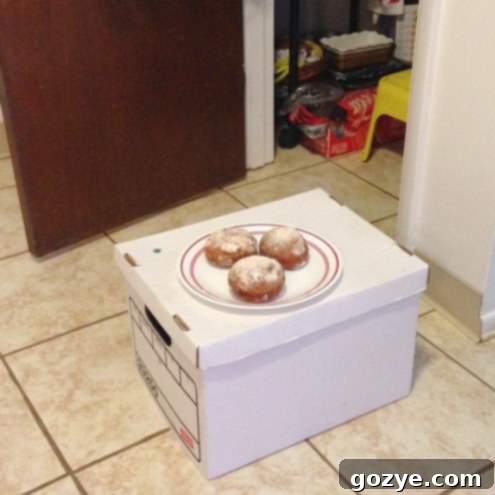
Once your doughnuts are beautifully golden brown, carefully remove them with a slotted spoon and let them drain briefly on paper towels to catch any excess oil. The next step is crucial for flavor: immediately toss them in the cinnamon sugar mixture while they’re still warm. This ensures the sweet, spiced coating adheres perfectly, adding another layer of irresistible taste and texture.
While frying can sometimes leave an unwelcome oil smell in the kitchen, the delightful aroma of fresh doughnuts completely transformed my apartment’s scent that evening. It was a welcome change, filling the air with the comforting fragrance of cinnamon and sweet pastry – a small price to pay for such a delicious reward!
These homemade small batch apple pie filled doughnuts are best enjoyed fresh, ideally on the same day they’re made. The texture and warmth are simply unparalleled. If you happen to have any leftovers, store them in an airtight container for up to two days, but I doubt they’ll last that long!
Explore More Fillings and Pairings
While apple pie filling is a star, this recipe is incredibly versatile. Don’t want to make apple? Easily substitute with peach pie filling or cherry pie filling for a different fruity experience. You can even experiment with other jams or preserves. For more inspiration, check out my full list of recipes using apple pie filling.
Equipment You May Need:
Small Batch Filled Doughnuts
6 donuts
30 minutes
20 minutes
1 hour 30 minutes
2 hours 20 minutes
This award-winning Small Batch Filled Doughnuts recipe features tender, fried yeast doughnuts generously stuffed with your favorite fruit pie filling, then finished with a delicate dusting of cinnamon and powdered sugar. Perfect for a cozy treat!
Ingredients
- 1/3 cup warm water (110F-115F)
- 1 package active dry yeast (0.25 ounces)
- 2 tablespoons unsalted butter, melted and cooled
- 1/3 cup warm milk (110F-115F)
- 1/3 cup granulated sugar
- 1 egg, room temperature and lightly beaten with a fork
- 1 teaspoon salt
- 1/2 teaspoon vanilla extract
- 2 3/4 cups all-purpose flour (plus more for stickiness)
- 1/4 cup powdered sugar
- 1 teaspoon ground cinnamon
- Vegetable oil, for frying
Filling Of Choice (Pick One)
- 1/4 cup apple pie filling (get recipe here)
- 1/4 cup cherry pie filling (get recipe here)
- 1/4 cup peach pie filling (get recipe here)
- 1/4 cup blueberry jam (get recipe here)
Instructions
- In a large mixing bowl, mix together the warm water and yeast. Let sit for 5 minutes until foamy.
- After 5 minutes, add the melted butter, warm milk, sugar, egg, salt, cinnamon, nutmeg, vanilla, and 1 1/4 cups flour. With the paddle attachment on a stand mixer or a regular hand mixer, beat on low speed until everything is combined (the dough will be wet and loose).
- Add another 1 1/2 cups flour and beat until the dough is soft and elastic. It should be slightly sticky but if it’s too sticky (sometimes due to the weather), add up to an additional 4 tablespoons flour.
If using a stand mixer, switch to a dough hook and beat for 4-6 minutes or until the dough pulls away from the sides of the bowl.
If not, knead the dough by hand on a lightly floured surface for 4-6 minutes until the dough is smooth, holds its shape, and an indented hole fills back up quickly.
- Place the dough in a lightly-oiled bowl and cover with a towel. Let the dough rise in a draft-free warm area until doubled in size, about 1 hour.
At this point if you’re not making the doughnuts right away, seal the bowl with plastic wrap (touching the dough surface) and refrigerate for up to 2 days. Bring to room temperature before continuing.
- When the dough is ready, roll out the dough on a lightly floured surface to 1/4-inch thickness. Using a 3-inch round cookie cutter, cut out as many circles as possible and place on a lightly floured cookie tray. Gather up the dough scraps and repeat until the dough is gone. You should have 12 circles.
- Place some of the filling in the middle of one dough circle, roughly 2 teaspoons (do not overfill or it’ll leak). Dip a pastry brush in room temperature water and brush the edges of the dough. Add a plain circle on top, pressing the edges together firmly with your fingers to seal**. Repeat with the remaining dough. You should end up with 6 filled doughnuts.
- Cover with a towel and let rest in a draft-free warm area until doubled in size, about 30 minutes. This second rise is crucial for light, airy doughnuts.
- In a shallow plate or bowl, mix together the powdered sugar and cinnamon for your coating.
- Heat 3 inches of vegetable oil in a deep pot or deep fryer to 350F. Line a few paper plates or a baking sheet with paper towels for draining.
- Once hot, carefully place a few doughnuts at a time into the oil (do not overcrowd the pot!). Fry until lightly golden brown on the bottom, about 1-2 minutes. Flip and repeat on the other side, another 1-2 minutes, until both sides are golden and the doughnuts are cooked through.
- Using a slotted spoon, remove each doughnut and transfer it to the paper towels to drain briefly. Immediately toss each one with the cinnamon sugar mixture while still warm.
- Repeat until all of the doughnuts are fried and coated.
Doughnuts are truly best eaten the same day but can be stored in an airtight container for up to 2 days. Reheat briefly in a microwave for a fresh-like experience.
Recommended Products
As an Amazon Associate and member of other affiliate programs, I earn from qualifying purchases.
- Deep Fryer
- Digital Thermometer
Did you make this recipe?
Let me know what you think! Rate the recipe above, leave a comment below, and/or share a photo on Instagram using #HITKrecipes
Source: Adapted from A Baker’s Field Guide to Doughnuts
Craving more delightful doughnuts and pastries? Explore these tempting recipes:
Double Lemon Glazed Doughnuts
Carrot Cake Baked Doughnuts
Apple Cider Cinnamon Rolls
Apple Pie Turnovers
