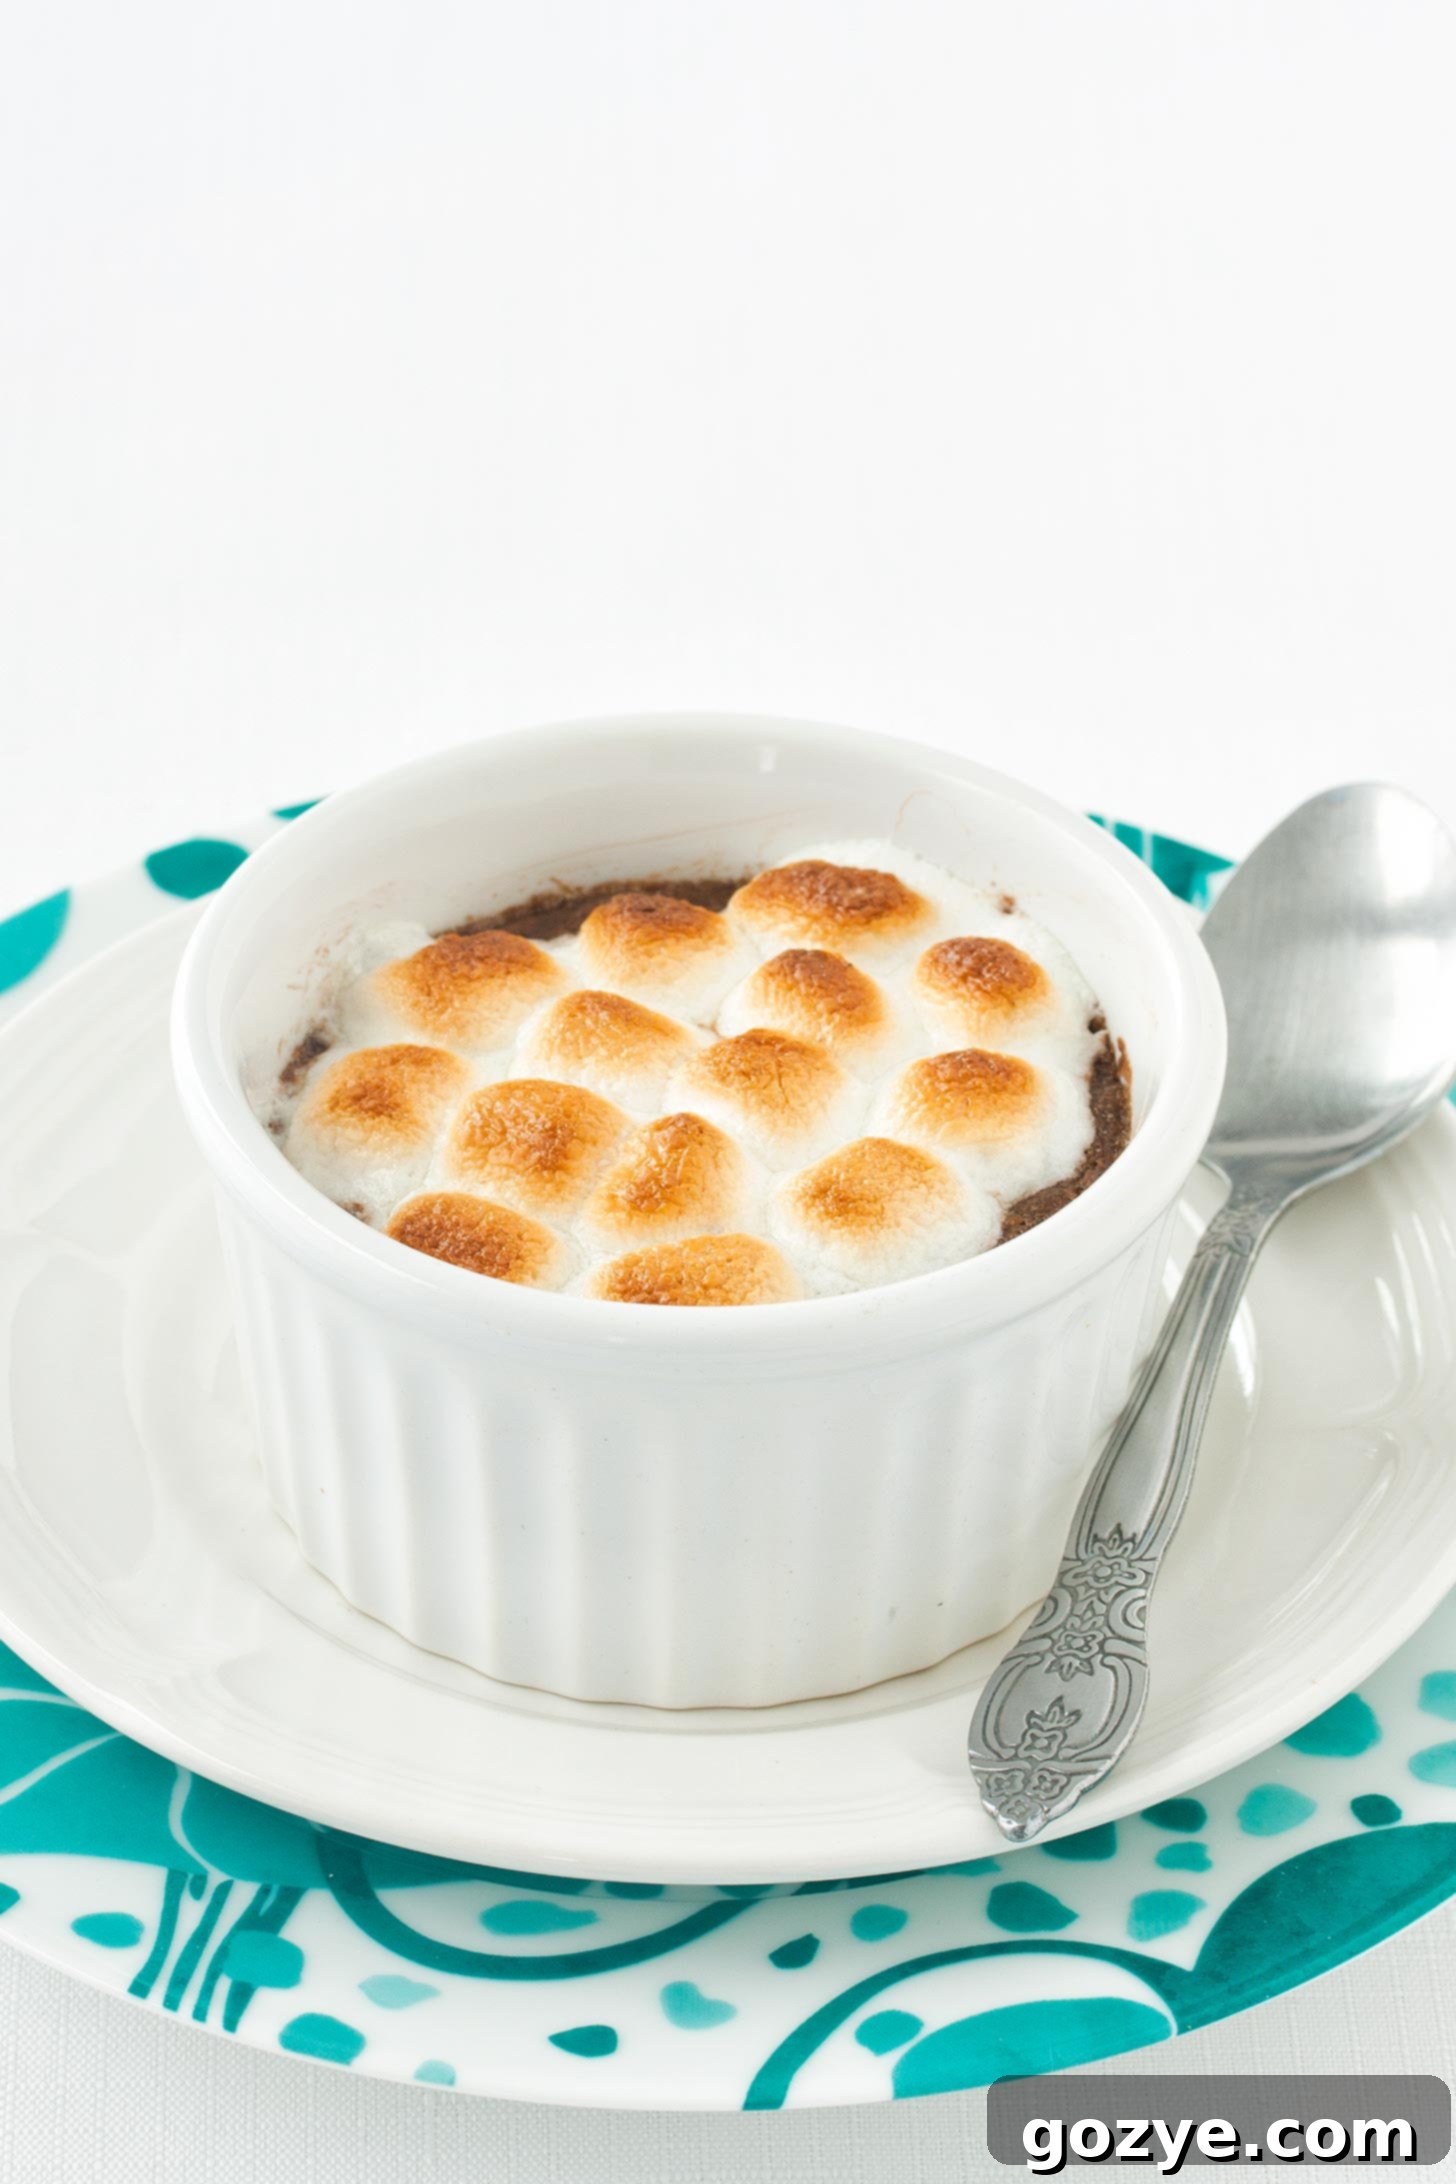
Decadent Fudgy Single Serve Brownie: Your Ultimate Ramekin Treat for One
Imagine a rich, warm, and intensely chocolatey brownie, perfectly fudgy, with a slight crisp edge, made just for you. This fudgy Single Serve Brownie, baked to perfection in a ramekin, is not just a dessert; it’s a moment of pure, unadulterated indulgence. It delivers all the decadence you crave in a brownie without the temptation of an entire pan, making portion control effortless and your sweet tooth perfectly satisfied.
For many of us who love to bake, the biggest challenge isn’t the baking itself, but the aftermath: a kitchen full of delicious treats and the inherent struggle for portion control. Whether you’re baking for a large family or just for yourself, having a whole pan of brownies sitting on the counter can be a true test of willpower. How do we enjoy our passion for baking without overindulging? The answer often lies in smart strategies like mindful eating and, crucially, embracing small batch and single-serve recipes.
I’ve found that specializing in recipes for two or even just one person is a game-changer. Instead of facing a colossal dessert, I can whip up a single serve chocolate chip cookie or a petite cake, allowing me to enjoy a homemade treat without the excess. This approach makes it incredibly easy to manage portions, satisfy cravings, and avoid unnecessary food waste, which is a win-win in any kitchen.
But then there are those specific moments. The sudden, undeniable craving for a warm, gooey brownie. It strikes you, usually late in the evening or on a quiet weekend afternoon. You want something sweet, right now, but you absolutely do not want the mess of baking a full batch or the leftover goodies lingering for days, whispering your name from the pantry. This is precisely where the magic of a single-serve dessert, like this incredible Single Serve Brownie, truly shines.
This isn’t just any brownie; it’s a perfectly crafted ramekin brownie designed for one. It’s incredibly fudgy, intensely rich, and utterly decadent – everything you desire in a gourmet brownie, but scaled down to a personal, guilt-free indulgence. Say goodbye to the dilemma of a whole loaf pan of small batch brownies, because with this recipe, temptation is elegantly minimized.
This recipe builds upon the principles of my brownies for two, meticulously scaled down to deliver an equally satisfying experience in a single serving. It’s tailored to ensure that you get that perfect brownie fix without being overwhelmed by leftovers or the urge to overeat. Unlike some quicker alternatives, like my microwave brownie, this one is baked in the oven. While microwave desserts are fantastic in a pinch, an oven-baked brownie offers a superior experience – that true essence of a fudgy center, those delightful ooey-gooey textures, and the slight, irresistible crispness along the edges that only an oven can achieve.
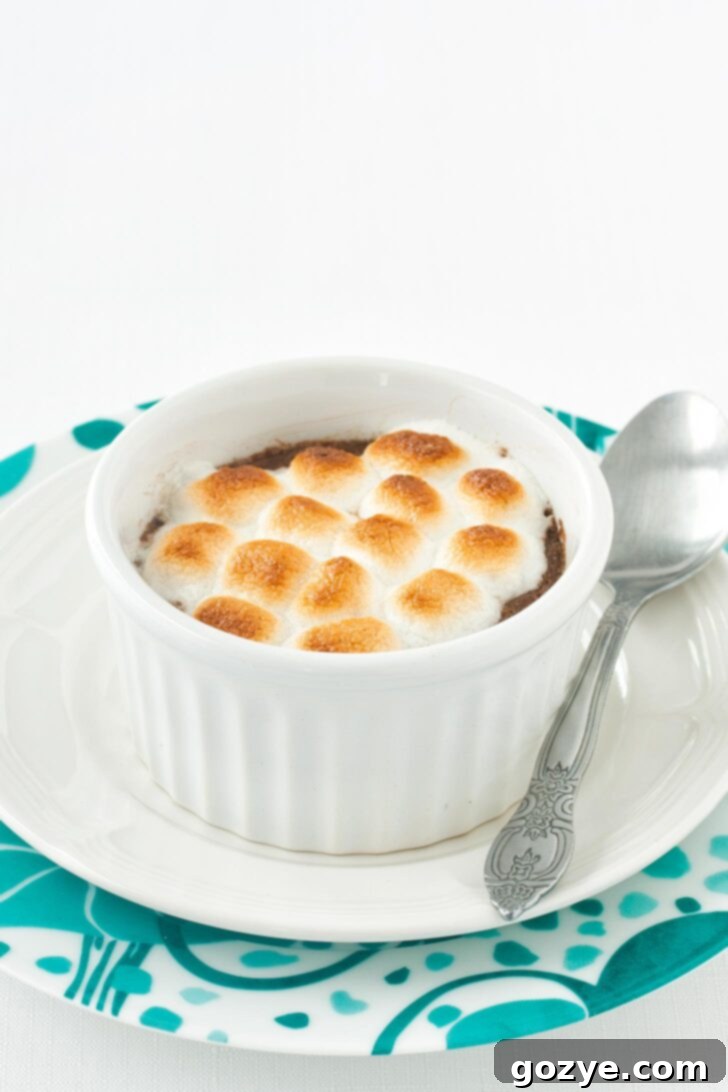
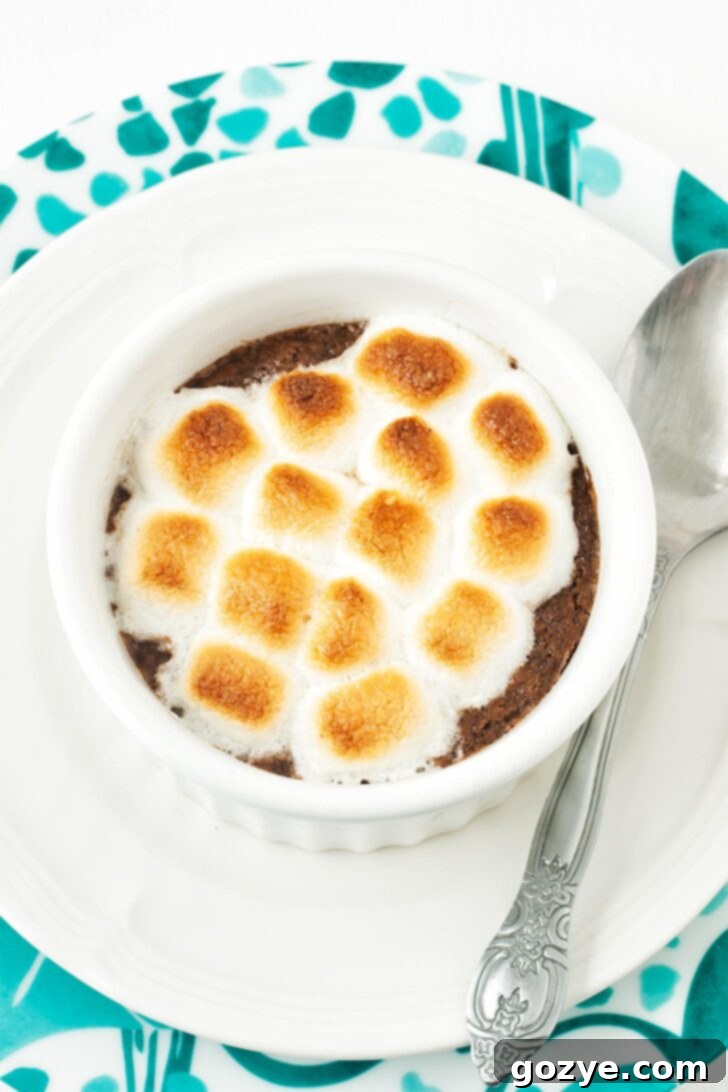
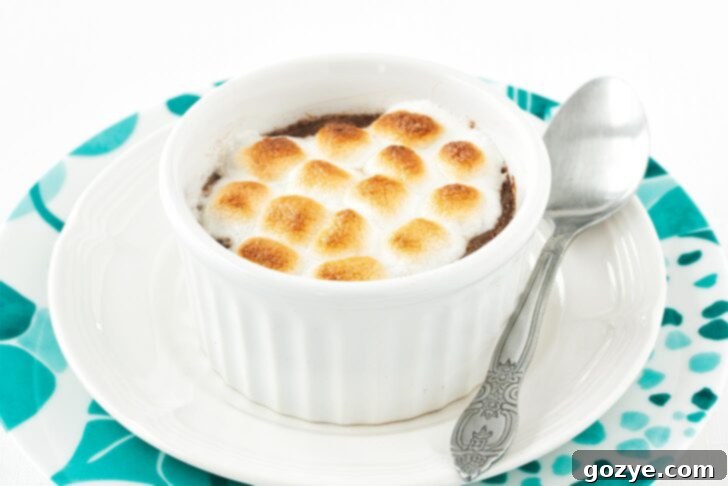
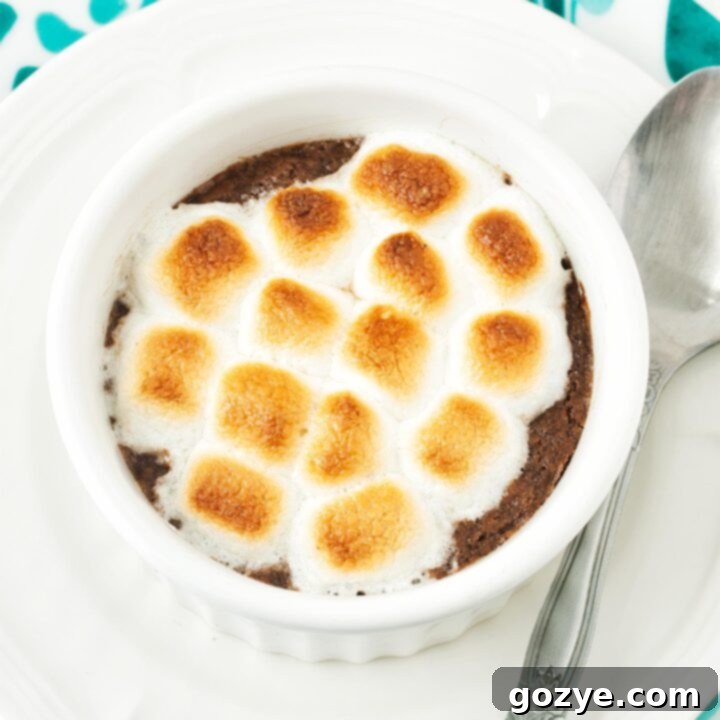
To elevate my single-serve brownie, I often top it with toasted marshmallows, mimicking the nostalgic flavors of s’mores. However, the possibilities are endless! A generous scoop of creamy vanilla bean ice cream, a dollop of fluffy peanut butter whipped cream, or even a sprinkle of sea salt can transform this simple treat into a gourmet delight. This recipe is your canvas for personalized dessert perfection.
Why Choose a Single Serve Brownie? The Benefits of Baking for One
In a world often geared towards larger portions and family-sized meals, the concept of a single-serve dessert might seem niche, but its benefits are profound. Opting for a single-serve brownie isn’t just about satisfying a craving; it’s a mindful approach to enjoying treats. For individuals living alone, couples who prefer different desserts, or anyone looking to practice better portion control, this recipe is a godsend.
Firstly, it eliminates waste. How many times have you baked a full pan of brownies, only for half of them to go stale or, worse, to be eaten out of obligation rather than genuine enjoyment? A single-serve brownie ensures that every delicious bite is cherished, and there are no leftovers to tempt you later or end up in the bin. This efficiency also means you save on ingredients, making it an economical choice.
Secondly, it’s incredibly quick. From mixing the batter to having a warm, gooey brownie in hand, the entire process is surprisingly fast. This makes it the perfect solution for those spontaneous cravings when you want a homemade treat without dedicating an hour or more to baking and cleaning up. It’s instant gratification with a homemade touch.
Finally, and perhaps most importantly, it offers unparalleled portion control. In an age where healthy eating and mindful consumption are priorities, a dessert for one removes the guesswork. You know exactly what you’re getting, allowing you to indulge responsibly and enjoy your treat without any lingering guilt. It’s about enjoying dessert on your terms, whenever the mood strikes.
Selecting the Perfect Ramekin for Your Single Serve Brownie
The foundation of your one-serve brownie masterpiece is the right vessel: a 6-ounce ramekin. This specific size is ideal because it provides the perfect depth and diameter for the brownie to bake evenly, resulting in that coveted fudgy center and slightly crispy top. You can easily find 6-ounce ramekins online at retailers like Amazon (affiliate link), at local thrift stores, or in the kitchenware section of any large department store.
While a 6-ounce ramekin is highly recommended for optimal results, you might be tempted to use a different size. Please be aware that if you opt for a larger or smaller ramekin, it will significantly affect the bake time. A smaller ramekin might bake faster and risk being dry, while a larger one could spread too thin or take much longer to cook through. Sticking to the recommended size ensures consistent results and the perfect texture every time. After savoring your delicious single serving brownie, don’t forget to explore my other delightful Ramekin Dessert Recipes for more individual treats.
Essential Ingredients for Your Fudgy Single Serve Brownie
Crafting the perfect brownie from scratch is easier than you think, especially when you understand the role each ingredient plays. Here’s a detailed look at what you’ll need to create your luxurious brownie for one:
- Semi-sweet chocolate: This is the heart of your brownie. Using good quality semi-sweet chocolate, finely chopped, is crucial for achieving that intensely chocolatey and wonderfully fudgy texture. It melts smoothly and contributes significantly to the brownie’s deep flavor profile.
- Butter: Butter is the primary fat in this recipe, essential for creating a rich, moist, and tender brownie. I recommend unsalted butter so you can control the salt content precisely, but if using salted butter, simply omit the added salt in the recipe. Ensure it’s softened for easier melting with the chocolate.
- Granulated Sugar: Sugar does more than just add sweetness; it’s a key player in the brownie’s texture. It helps create those desirable crinkly tops and contributes to the fudginess by dissolving into the batter and keeping it moist.
- Unsweetened Cocoa Powder: For an extra boost of rich chocolate flavor, unsweetened natural cocoa powder is indispensable. It deepens the color and enhances the overall chocolate experience without adding unnecessary sweetness.
- Large Egg Yolk: This is where the magic of “fudgy” truly comes from. Using just an egg yolk, rather than a whole egg, adds incredible richness, binds the ingredients, and provides moisture without making the brownie too cake-like. It’s key to that dense, gooey texture.
- Vanilla Extract: A touch of vanilla extract is a secret weapon in chocolate desserts. It doesn’t just add its own flavor; it remarkably enhances and brightens the chocolate notes, making them even more pronounced and delicious.
- All-Purpose Flour: Just a small amount of flour is needed to provide structure to the brownie, holding it all together without making it dry or overly cakey. The goal is fudgy, not fluffy, so precise measurement is important.
- Table Salt: Don’t underestimate the power of a pinch of salt. It balances the sweetness of the sugar and intensely brings out the complex flavors of the chocolate, preventing your brownie from tasting bland. If you’re using salted butter, you can omit this.
Creative Uses for Leftover Egg Whites
Since this recipe brilliantly utilizes only an egg yolk, you’ll find yourself with a leftover egg white. Don’t let it go to waste! Egg whites are versatile and can be used in a variety of delicious ways. Check out my collection of recipes using leftover egg whites, from light and airy meringues to healthy breakfast scrambles, ensuring nothing goes unused in your kitchen.
Crafting Your Single Serve Brownie: A Step-by-Step Guide
Forget the box mixes! Making homemade brownie batter from scratch is surprisingly simple and takes mere minutes. The rich, authentic flavor of a homemade brownie is incomparable. Here’s how to create your perfect ramekin brownie:
- Prepare Your Oven and Ramekin: Begin by preheating your oven to 350°F (175°C). While the oven heats, lightly grease your 6-ounce ceramic ramekin to ensure your brownie releases easily after baking. This small step prevents sticking and makes serving a breeze.
- Melt Butter and Chocolate: In a medium microwave-safe bowl, combine the finely chopped semi-sweet chocolate and softened butter. Microwave on high for about 30 seconds. Stir well. If the mixture isn’t completely smooth, microwave in additional 10-second increments, stirring after each, until fully melted and glossy. Alternatively, you can melt them together gently in a small saucepan over low heat on the stovetop, stirring constantly to prevent scorching.
- Whisk in Wet Ingredients: To the melted chocolate and butter mixture, add the granulated sugar and unsweetened cocoa powder. Whisk vigorously until well combined. Then, whisk in the room temperature egg yolk and vanilla extract. The mixture might appear a little grainy at this stage due to the sugar, but keep whisking thoroughly until it starts to look smooth and homogenous. This ensures all ingredients are well incorporated for a consistent texture.
- Fold in Dry Ingredients: Switch to a rubber spatula. Gently fold in the all-purpose flour and table salt (if using). Mix until just combined. Be careful not to overmix, as this can develop the gluten in the flour too much, leading to a tougher, cake-like brownie instead of a fudgy one. The key is to mix until no streaks of dry flour remain.
- Transfer and Bake: Pour the brownie batter into your prepared 6-ounce ramekin. If you’re adding any fun mix-ins, like a peanut butter cup in the middle or chocolate chips, now is the time! For a peanut butter cup, spread half the batter, place the cup, then cover with the remaining batter. Place the ramekin on a baking sheet (to catch any potential overflow and for easier handling) and bake in the preheated oven for 18-20 minutes. The brownie is done when the top looks set and no longer wet, and the edges are gently bubbling. A toothpick inserted into the center should come out with moist crumbs, not wet batter.
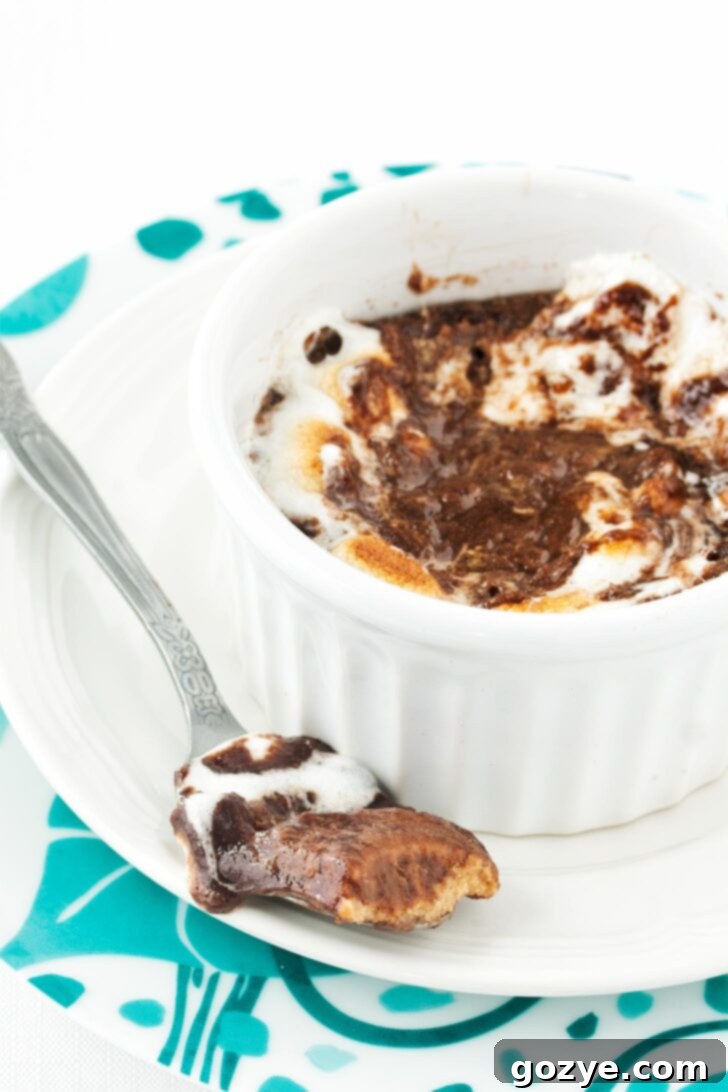
- Cool and Serve: Once baked, remove the ramekin from the oven and let it cool on a wire rack for about 15 minutes. This cooling period is crucial – it prevents you from burning your tongue on the hot chocolate and allows the brownie to set slightly, enhancing its gooey warmth. Serve immediately for that irresistible, melt-in-your-mouth gooey texture. If you prefer a more traditional, firm brownie texture, allow it to cool completely at room temperature. This will give the middle a chance to firm up, making it the perfect single brownie for slicing or eating with a spoon.
Single Serve Brownie FAQ
Absolutely! Customizing your brownie with your favorite mix-ins is highly encouraged. I love sticking a mini peanut butter cup in the middle for an extra gooey surprise, then toasting some mini marshmallows on top for a s’mores-like experience. Other fantastic options include walnuts, pecans, different kinds of chocolate chips (milk, dark, white), or even a swirl of caramel sauce before baking. Get creative!
Your brownie for one is undoubtedly best enjoyed the day it’s made, especially when it’s still slightly warm and gooey. However, if you happen to have any left (which is rare with a single serving!), you can store it covered at room temperature for up to 2 days. For optimal freshness, a quick reheat in the microwave for 10-15 seconds can bring back some of its delightful warmth and gooeyness.
Yes, you certainly can! This recipe is incredibly adaptable. To make brownies for two, simply double all the ingredients and use two separate 6-ounce ramekins. The baking time should remain approximately the same, but always keep an eye on them as oven temperatures can vary. It’s a fantastic way to share a special treat or to have one for now and one for later!
For the most decadent and fudgy single-serve brownie, I highly recommend using high-quality semi-sweet chocolate. This could be in the form of finely chopped baking chocolate bars or good quality semi-sweet chocolate chips. The better the chocolate, the richer and more complex the flavor of your brownie will be. Avoid using milk chocolate as the primary chocolate, as it tends to be sweeter and can result in a less intense chocolate flavor.
The crinkly top on a brownie is often a sign of properly dissolved sugar and a good ratio of ingredients. Ensure you whisk the sugar thoroughly into the melted butter and chocolate mixture. Sometimes, under-mixing at this stage can prevent the sugar from fully dissolving, impacting the final texture. Also, make sure your oven temperature is accurate; a slightly higher initial temperature can help form that beautiful crust.
Explore More Delightful Single Serving Desserts
If you’ve fallen in love with the convenience and deliciousness of this single-serve brownie, you’re in for a treat! The world of single-serving desserts is vast and wonderful, offering perfectly portioned delights for any craving. Here are some of my other favorite recipes for one, designed to satisfy your sweet tooth without excess:
- Microwave Chocolate Chip Cookie: A warm, gooey chocolate chip cookie in minutes, perfect for an instant treat.
- Microwave Peanut Butter Cookie: Rich and peanut buttery, this cookie is another quick and satisfying microwave marvel.
- Microwave Sugar Cookie: A soft and sweet sugar cookie, ready to enjoy whenever the craving strikes.
- Single Serving Sugar Cookie: A deeper, more indulgent sugar cookie experience, with an egg-free option!
- Chocolate Peanut Butter Mug Cake: The ultimate comfort dessert, combining two classic flavors in a fluffy, individual cake.
For a comprehensive list of all my individual sweet treats, be sure to check out my full Single Serve Desserts recipe list. You’ll discover a world of perfectly portioned indulgence awaiting you!
Single Serve Brownie: Fudgy Ramekin Recipe
1 serving
10 minutes
20 minutes
30 minutes
Indulge in this incredibly fudgy and rich Single Serve Brownie, perfectly baked in a ramekin for a decadent treat that’s just for one. No more temptations from a whole pan!
Ingredients
- 1 ounce (about 28g) good quality semi-sweet chocolate, finely chopped
- 1 tablespoon (14g) unsalted butter, softened
- 2 tablespoons (25g) granulated sugar
- 1 teaspoon (3g) unsweetened cocoa powder
- 1 large egg yolk, room temperature
- 1/2 teaspoon vanilla extract
- 1 tablespoon + 1 1/2 teaspoons (about 12g) all-purpose flour
- 1/8 teaspoon table salt (omit if using salted butter)
- Optional Mix-ins: 1 tablespoon semisweet chocolate chips or 1 mini peanut butter cup
- Optional Topping: 2 tablespoons mini marshmallows
Instructions
- Preheat your oven to 350°F (175°C). Lightly grease one 6-ounce ceramic ramekin and set aside.
- In a medium microwave-safe bowl, combine the finely chopped semi-sweet chocolate and softened butter. Microwave on high for approximately 30 seconds. Stir well until smooth. If not fully melted, microwave in additional 10-second bursts, stirring in between, until completely combined and glossy.
Alternatively, melt the chocolate and butter together in a small saucepan over very low heat on the stovetop, stirring constantly.
- To the melted chocolate mixture, whisk in the granulated sugar and cocoa powder until well incorporated. Then, add the egg yolk and vanilla extract, whisking vigorously until the mixture is smooth and evenly combined. It might appear slightly grainy initially, but continue whisking until uniform.
- Switch to a rubber spatula. Gently fold in the all-purpose flour and table salt (if using). Mix until just combined, being careful not to overmix, as this can lead to a tougher brownie. If adding chocolate chips or other mix-ins, stir them in now.
- Transfer the brownie batter to your prepared 6-ounce ramekin. If incorporating a mini peanut butter cup, spread half of the batter into the ramekin, place the peanut butter cup in the center, and then cover it with the remaining batter.
- Bake for 18-20 minutes, or until the top of the brownie looks set and no longer wet, and the edges are slightly bubbling. A toothpick inserted into the center should come out with moist crumbs, not wet batter.
- Optional Topping: If adding mini marshmallows, carefully remove the ramekin from the oven, arrange the marshmallows on top of the baked brownie, and turn on your oven’s broiler. Broil for 1-2 minutes, watching carefully, until the marshmallows are golden brown and toasted to your liking.
- Allow the brownie to cool in the ramekin on a wire rack for at least 15 minutes before serving. This cooling time is essential for the brownie to set and prevents you from burning your tongue. For an intensely gooey texture, enjoy it warm. For a firmer, more traditional brownie texture, allow it to cool completely at room temperature.
Notes
- For an extra indulgent twist, serve your warm single-serve brownie with a scoop of vanilla ice cream, a dollop of whipped cream, or a drizzle of chocolate sauce.
- If you don’t have semi-sweet chocolate, dark chocolate (70% cocoa) can be used for a more intense, less sweet brownie. Adjust sugar slightly to taste if preferred.
- Make sure your egg yolk is at room temperature; this helps it emulsify better with the other ingredients, leading to a smoother batter and a more uniform brownie.
- Loved this recipe? Be sure to explore my Single Serve Chocolate Chip Cookie and other delightful Ramekin Dessert Recipes for more individual treats.
- Looking for other brownie variations? Check out my Microwave Brownie for super quick cravings, Brownies For Two for sharing, and Small Batch Fudge Brownies for slightly larger gatherings.
Recommended Products
As an Amazon Associate and member of other affiliate programs, I earn from qualifying purchases.
- 6 ounce Ramekins
Did you make this recipe?
Let me know what you think! Rate the recipe above, leave a comment below, and/or share a photo on Instagram using #HITKrecipes
Originally published on February 13, 2014, and lovingly updated for enhanced clarity and deliciousness.
