Irresistible Mini Lava Cakes for Two: Your Ultimate Guide to Molten Chocolate Perfection
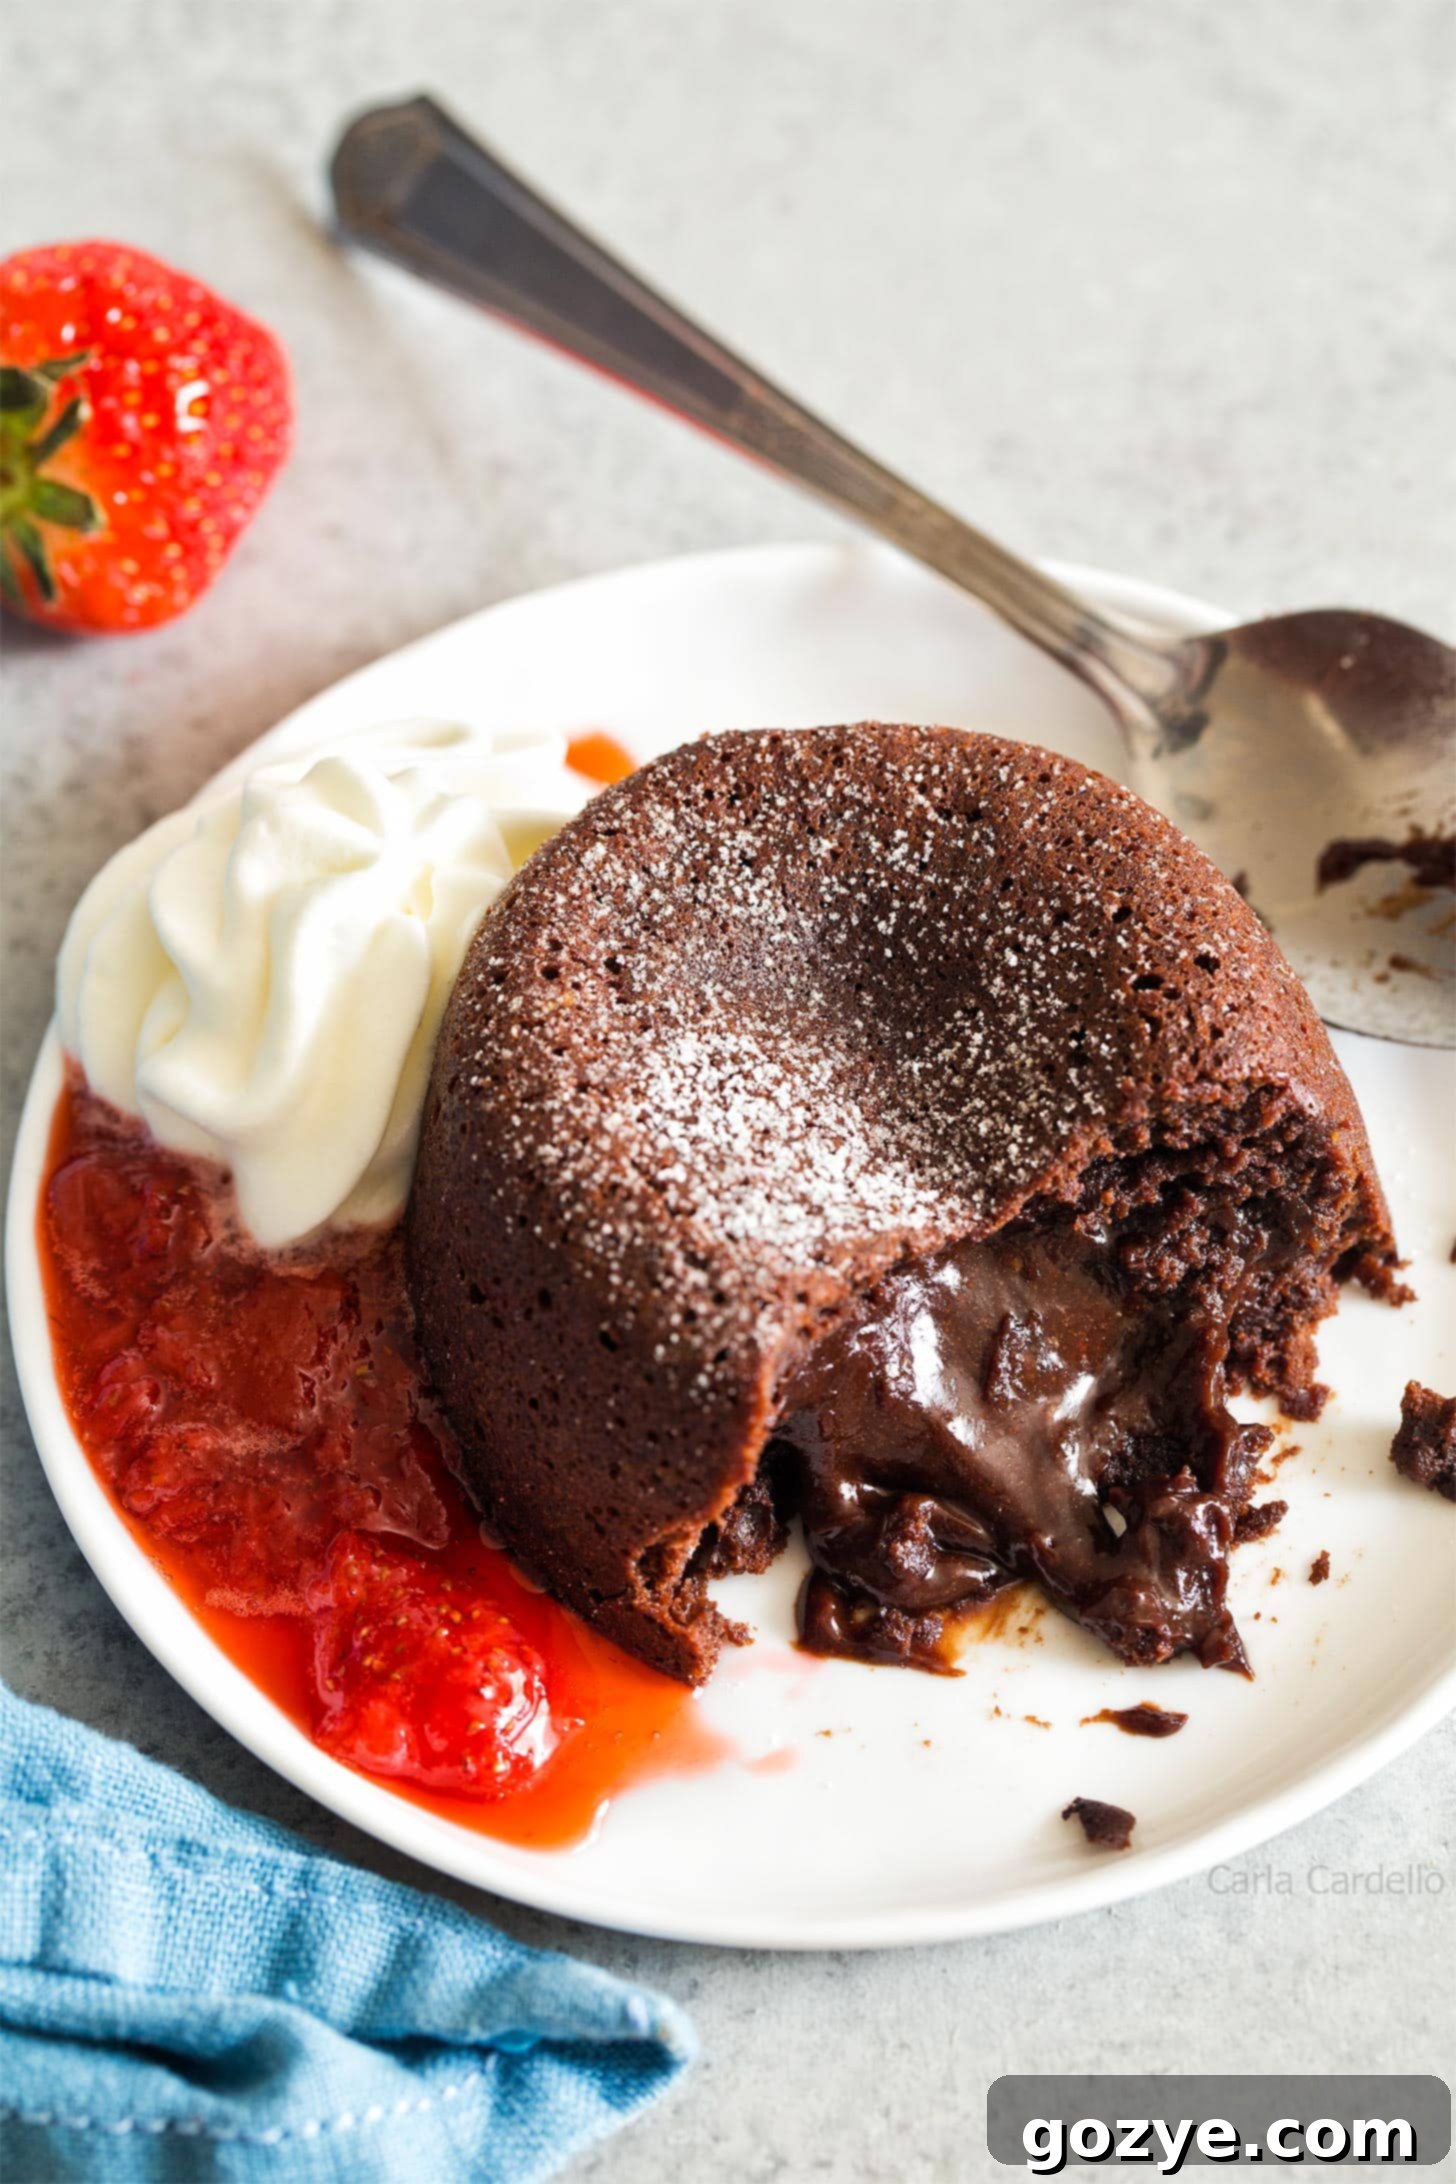
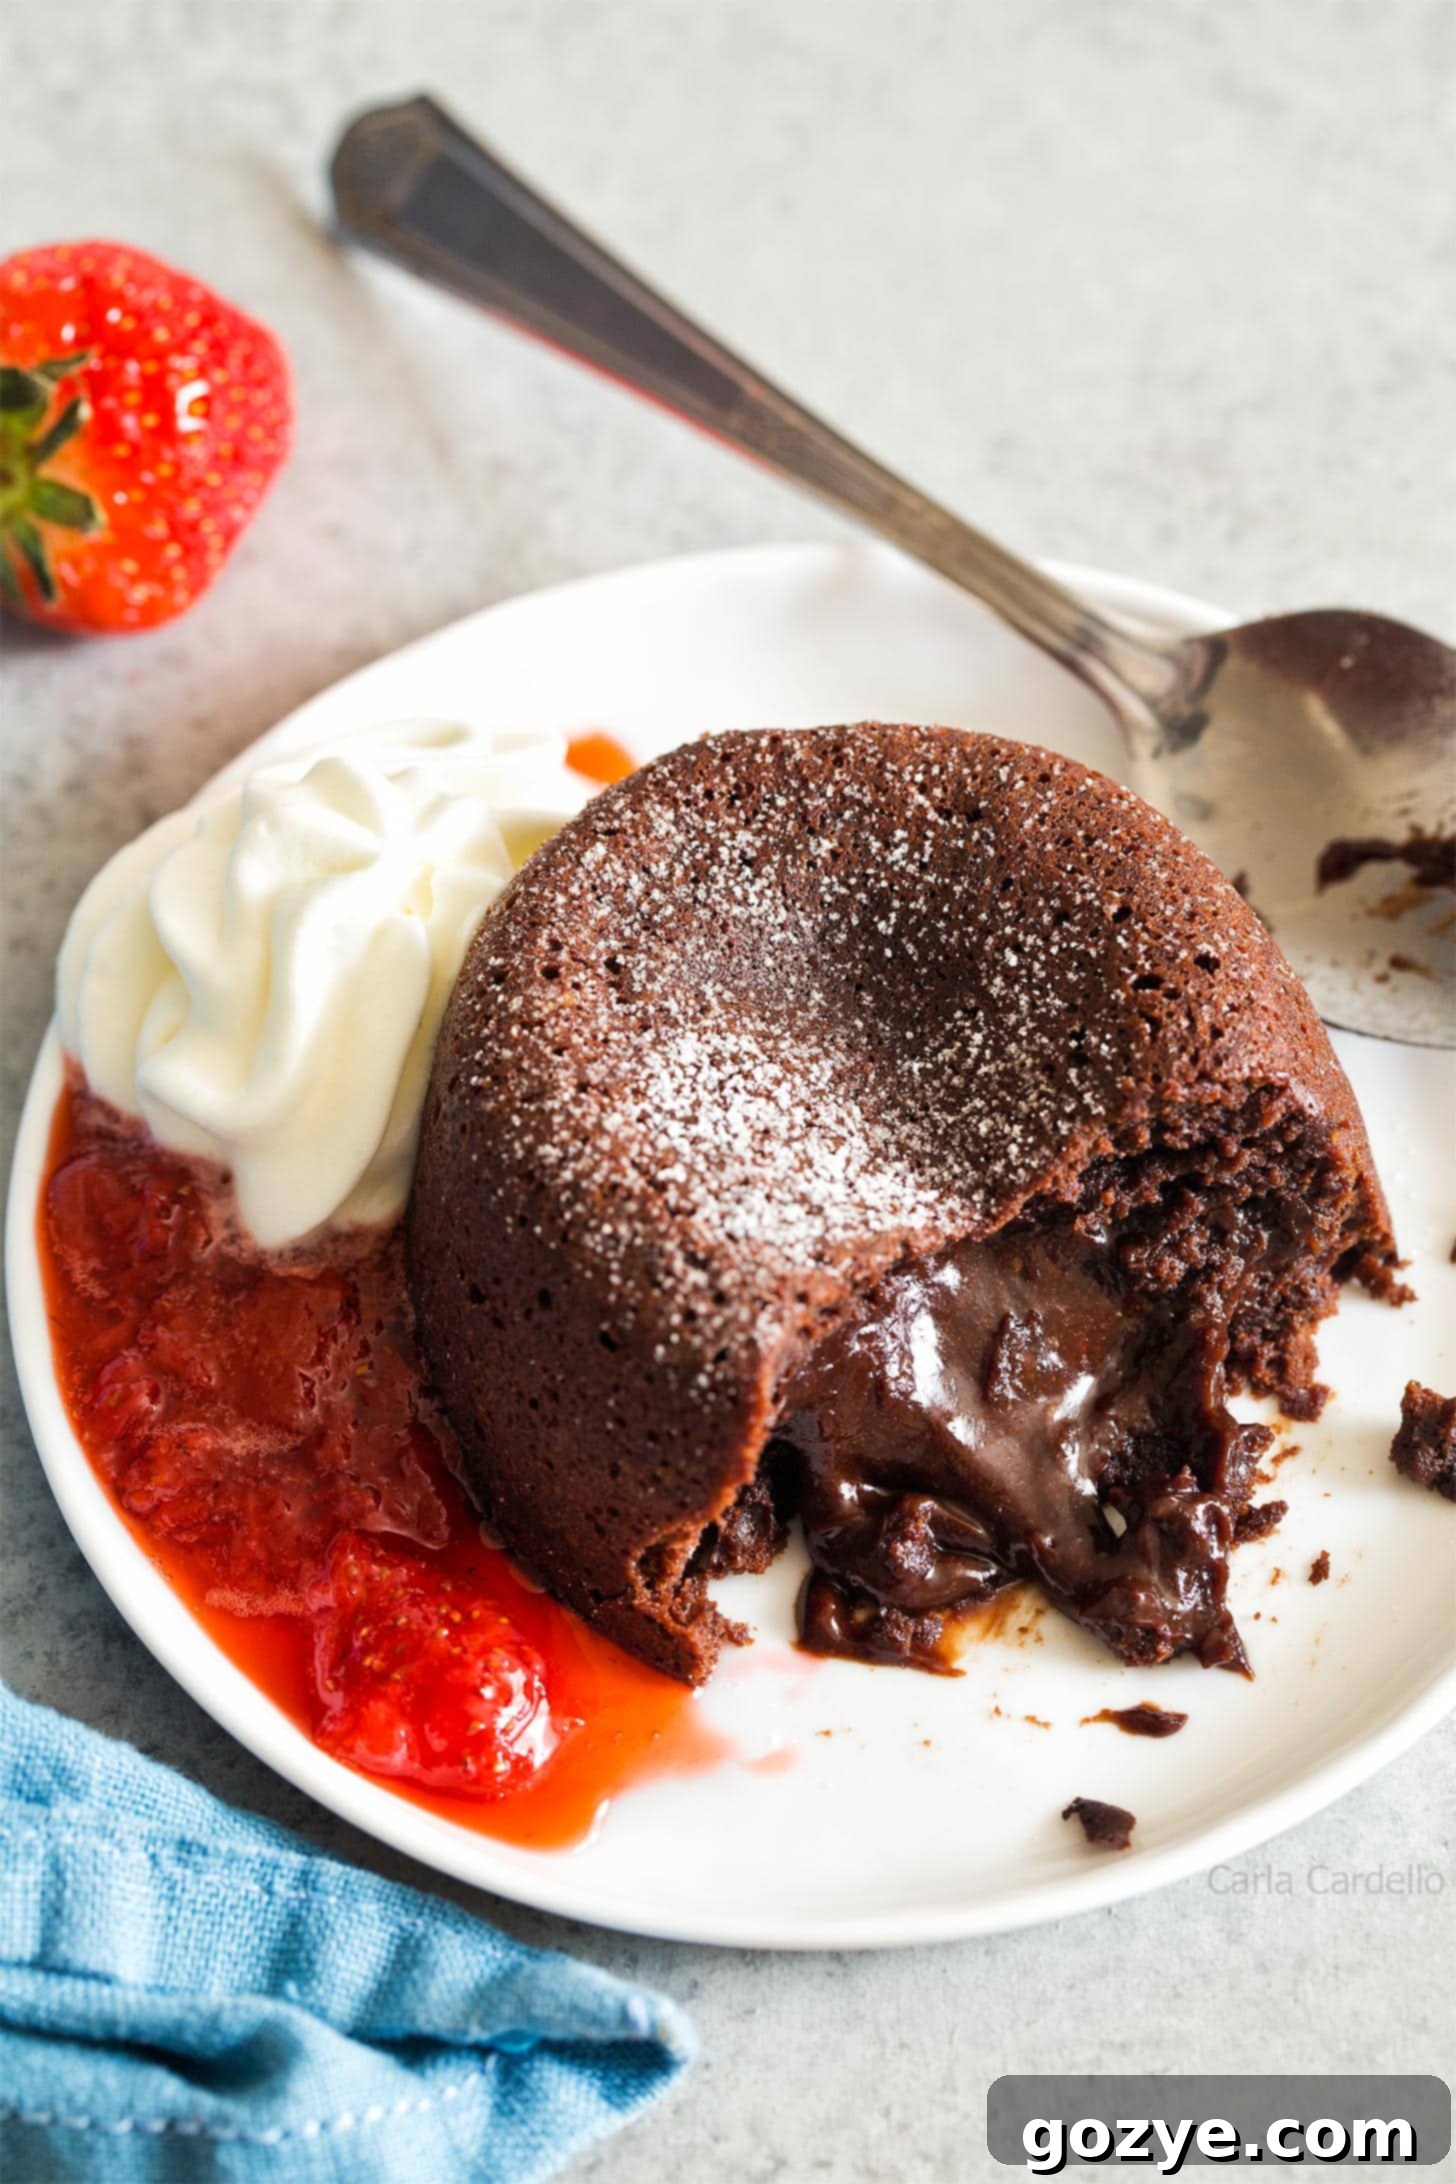
Mini Lava Cakes, also known as molten chocolate cakes, are the epitome of decadent desserts. Imagine a rich, individual chocolate cake with a perfectly baked exterior and a luscious, warm, gooey chocolate center that oozes out with every spoon. Baked to perfection in two ramekins, these mini masterpieces are often dusted with powdered sugar and crowned with a dollop of whipped cream, making them the ultimate romantic dessert for two, ideal for a cozy date night at home.
As special occasions like Valentine’s Day approach, or really, any evening you want to make a little extra special, it’s time to start considering truly memorable romantic desserts. While my popular Small Chocolate Cake recipe and Small Red Velvet Cake recipe are beloved choices, sometimes you crave a dessert that offers just two servings – no leftovers, no temptation, just pure, unadulterated enjoyment shared between two people. That’s where these exquisite mini molten chocolate cakes shine.
The Magic Behind Molten Chocolate Cakes: What Makes Them Ooze?
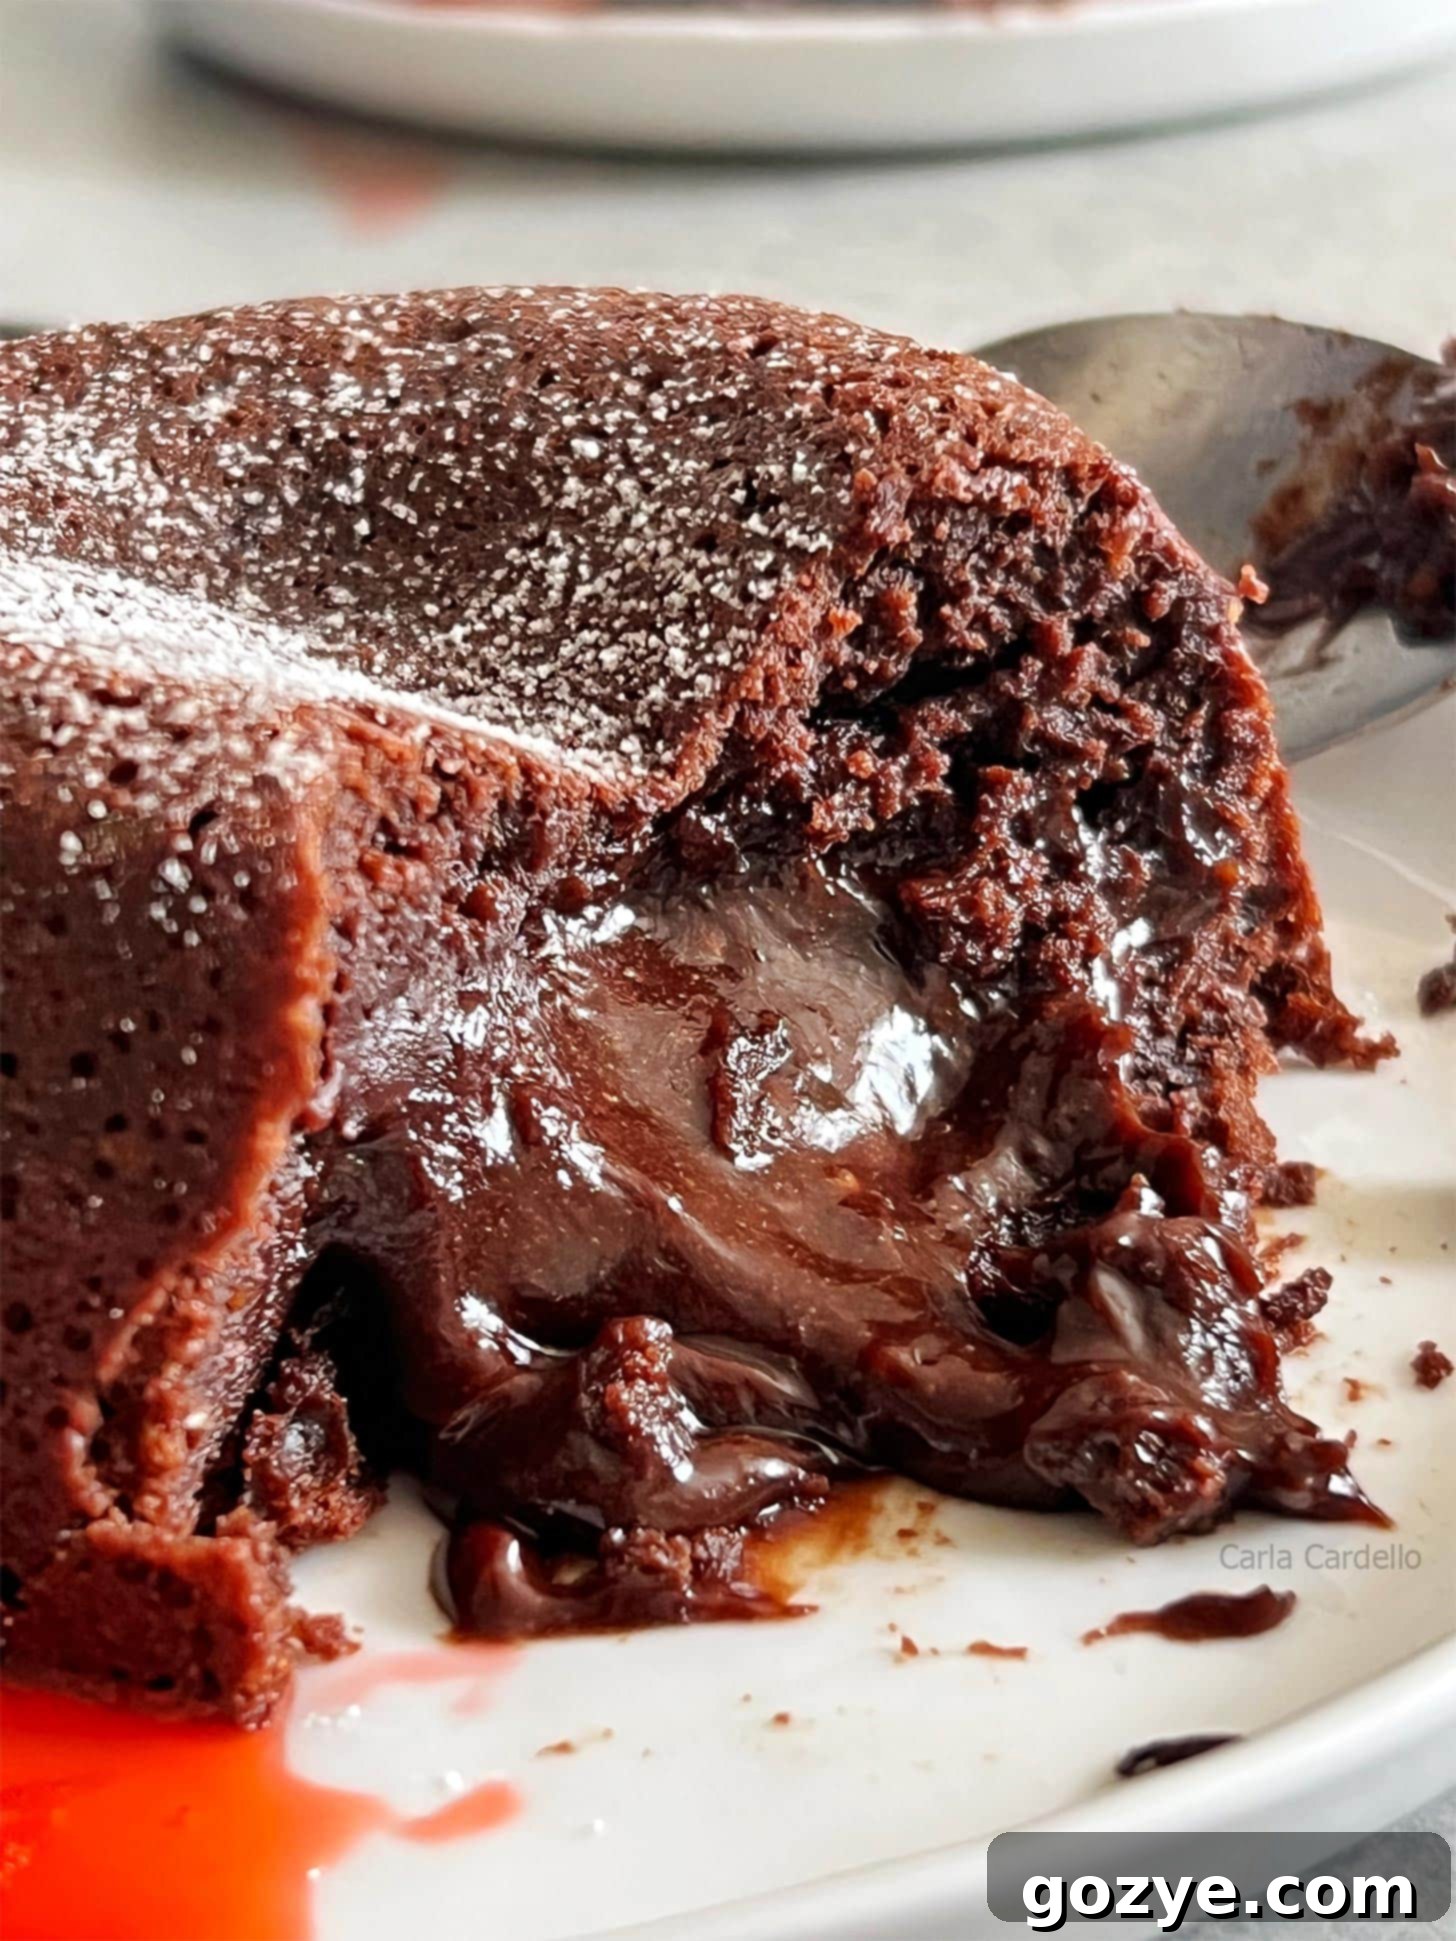
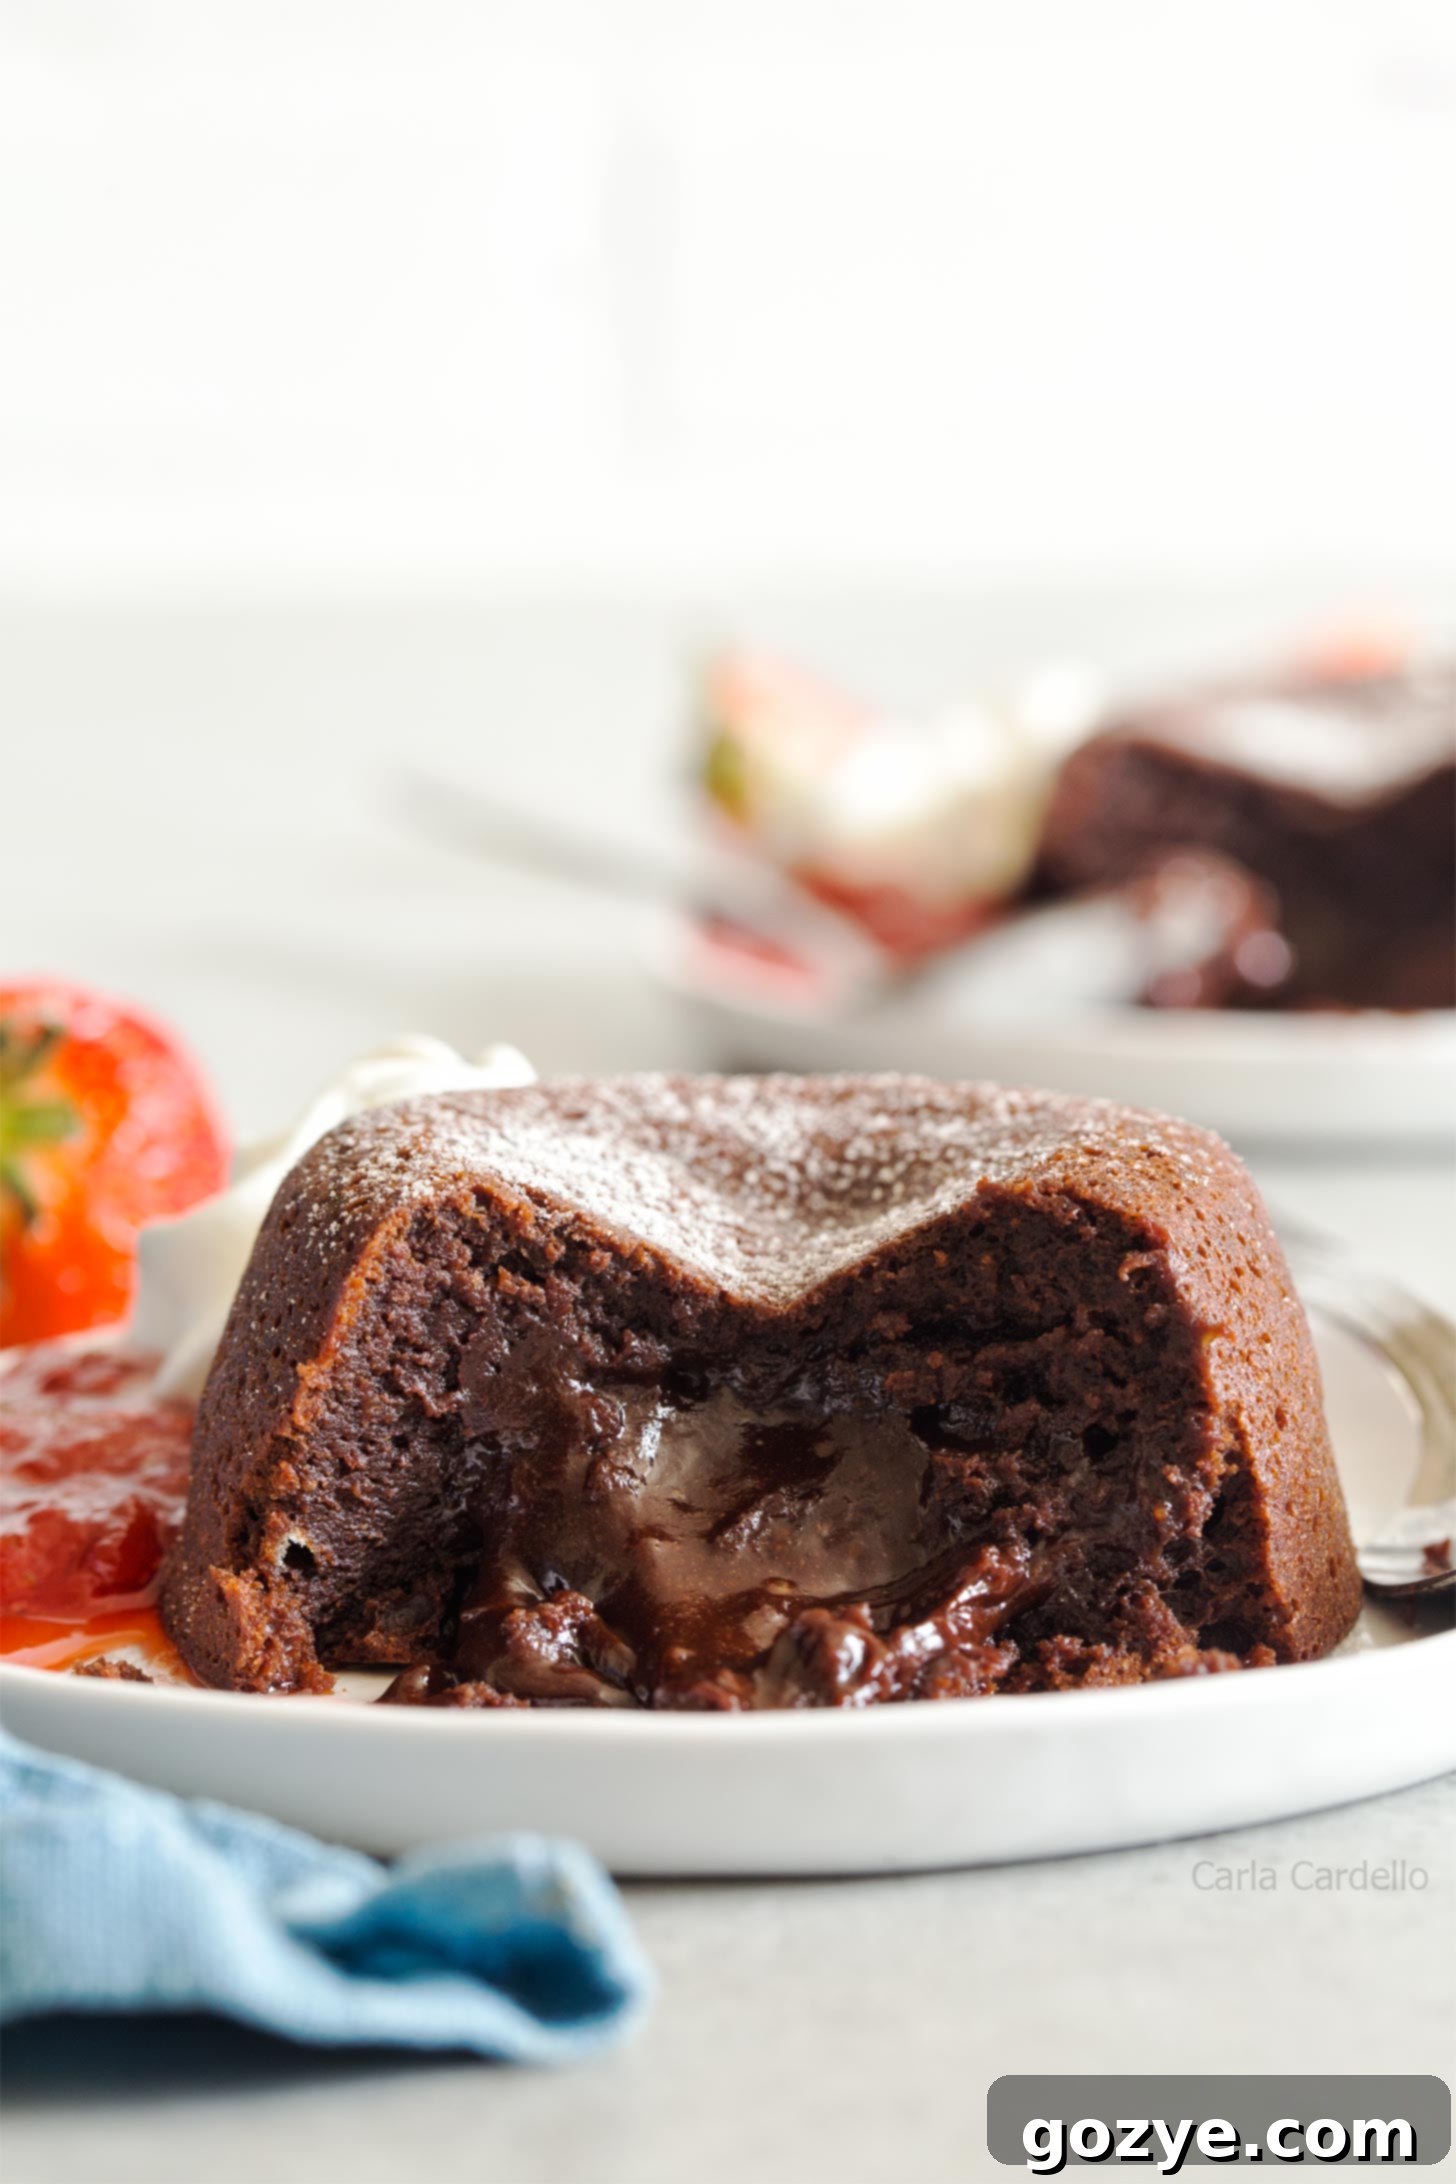
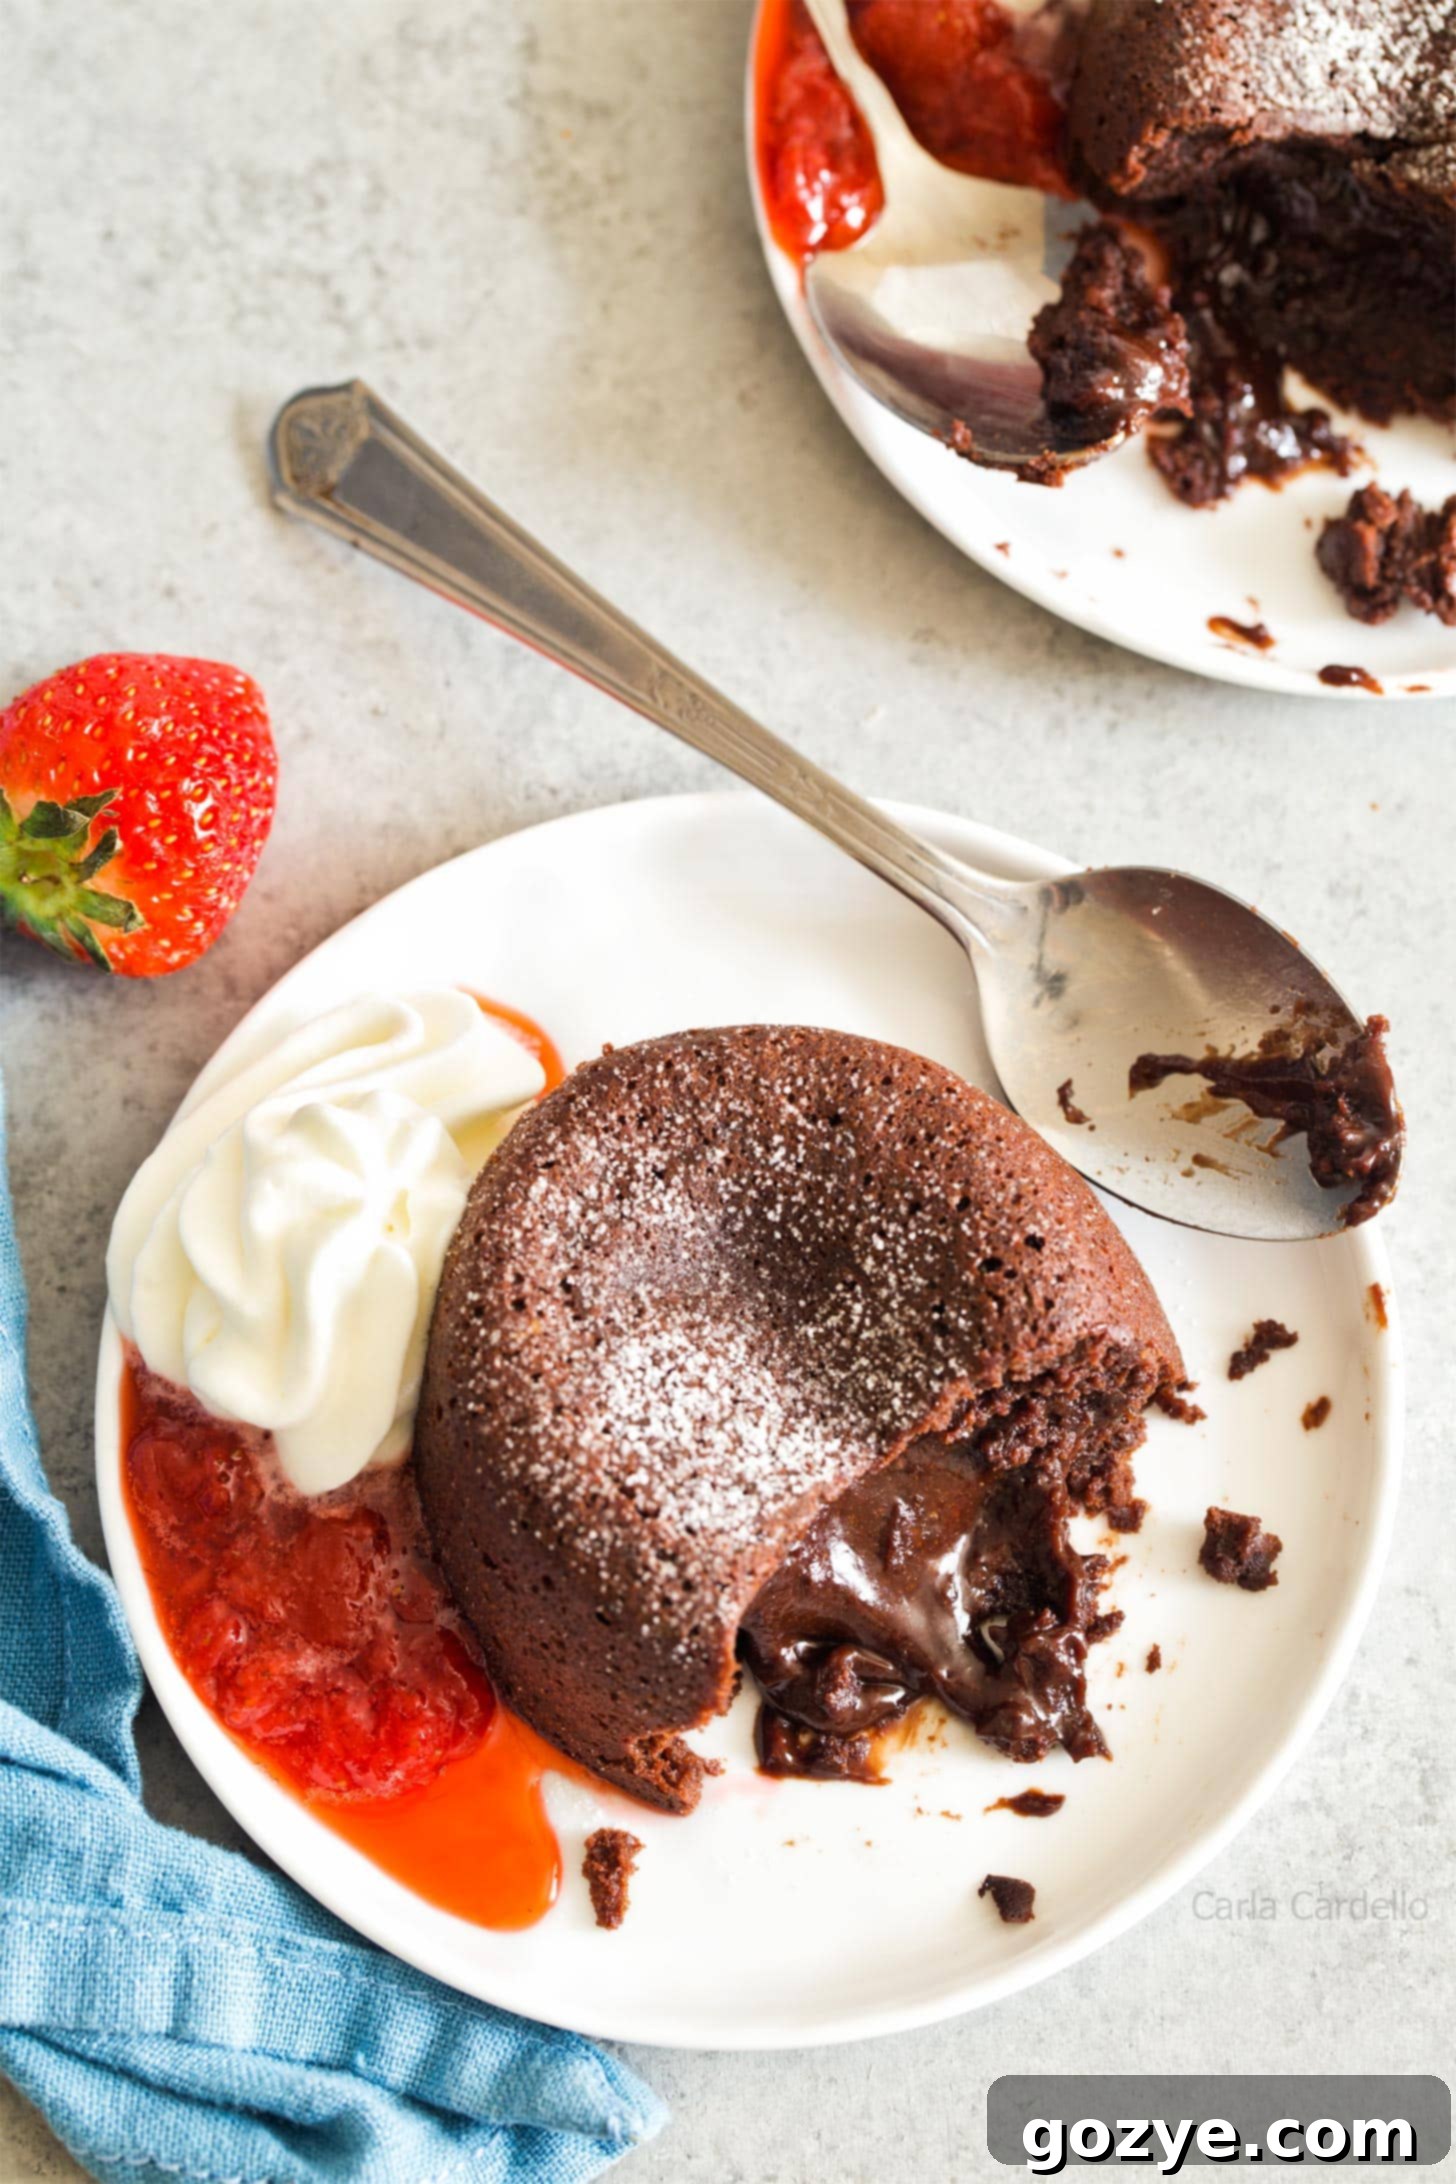
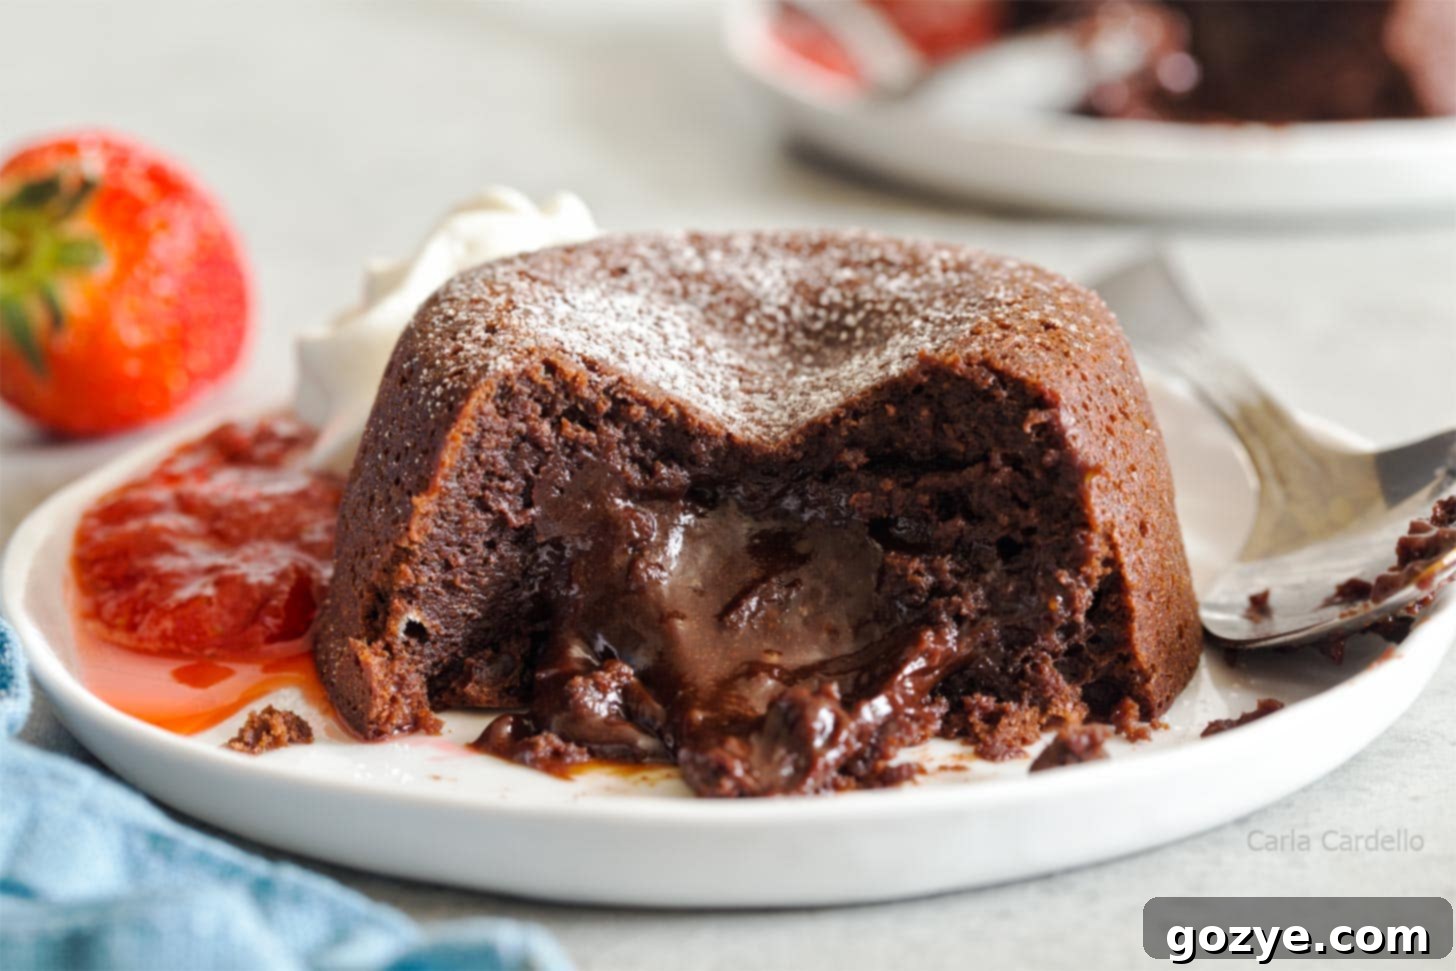
A true culinary delight, the molten lava cake is celebrated for its incredibly rich, deeply chocolatey flavor profile, perfectly complemented by its signature gooey, fudgy center. The moment you gently break into its crust with a spoon, a river of warm, melted chocolate elegantly flows onto the plate, much like volcanic lava – hence its captivating name. This magical liquid center is intentionally achieved by carefully underbaking the cake. It’s precisely this delicate balance that makes them so beloved: a dessert that’s both sumptuously rich and incredibly moist, akin to a chocolate cake with a velvety sauce baked directly into its heart.
The luscious, thick consistency of the center often reminds me of my Thick Hot Chocolate, offering that same comforting, creamy indulgence. After extensive testing and refining, I am thrilled to share with you what I believe is the absolute best Mini Lava Cake recipe you can effortlessly create in your own home. It’s truly one of the best chocolate desserts I’ve had in a long time, leaving me to wonder why I waited so long to perfect them. After all, who can resist an ooey-gooey, warm chocolate middle?
With just a handful of ingredients you likely already have in your pantry and approximately 30 minutes of your time, these delightful Lava Mini Cakes can be yours to enjoy right now, transforming an ordinary evening into an extraordinary culinary experience.
Essential Ingredients for Decadent Mini Lava Cakes
Crafting these exquisite mini molten lava cakes requires only a few simple, high-quality ingredients. You’ll be pleased to find that most of these are likely staples in your kitchen right now:
- Unsalted Butter: This provides the necessary fat for a rich flavor and moist texture in your cake. If you opt for salted butter, remember to omit the added salt from the recipe to prevent your cakes from becoming overly salty.
- Baking Chocolate: For a deeply intense chocolate flavor, I recommend using bittersweet chocolate. However, if you prefer a milder, slightly sweeter profile, semisweet chocolate works wonderfully too. The quality of your chocolate will significantly impact the final taste, so choose wisely!
- Egg and Egg Yolk: Yes, both are essential! The whole egg contributes to the cake’s structure and richness, while the extra egg yolk adds unparalleled richness and helps achieve that incredibly fudgy, gooey center without making the cake too moist. Don’t waste that leftover egg white! Check out my post on what to do with egg whites. I particularly love using them for my Egg White Cookies.
- Granulated Sugar: While these cakes are rich, a small amount of sugar is crucial to balance the intense bitterness of the dark chocolate, enhancing its natural sweetness and complexity.
- Espresso Powder: This is an optional but highly recommended ingredient. A touch of espresso powder doesn’t make your cakes taste like coffee, but rather intensifies and deepens the chocolate flavor, making it even more pronounced and luxurious.
- Salt: A pinch of salt is vital for seasoning. It enhances all the other flavors and prevents the cakes from tasting bland. As mentioned, skip this if you’re using salted butter.
- All-Purpose Flour: Just one tablespoon of flour is needed to provide the essential structure for the cake, ensuring it holds together beautifully after baking without falling apart.
- Vanilla Extract: Absolutely non-negotiable! Vanilla is a flavor booster for chocolate. Without it, your cakes will lack depth and taste flat. Use good quality pure vanilla extract for the best results.
Really want to get romantic and impress? Elevate your dessert experience by making my vibrant red velvet lava cakes, perfectly paired with a cloud of homemade cream cheese whipped cream!
The Right Tools: Ramekins vs. Muffin Pans for Mini Lava Cakes
While some recipes suggest making mini chocolate lava cakes in a muffin pan, I have found that using ramekins yields a superior result. Ramekins produce a larger, more substantial individual cake, enhancing the luxurious experience. However, through extensive testing, I’ve learned that the size and even the thickness of your ramekins can significantly impact the baking process.
Personally, I own four 6-ounce ramekins, some of which are narrower and deeper with thin ceramic walls (measuring about 5.75 fluid ounces), while others are exactly 6 fluid ounces with thicker ceramic walls. While both sizes perfectly held the batter, the slightly smaller, thinner-walled ramekins consistently baked a little faster than their slightly larger, thicker-walled counterparts. This subtle difference is crucial for mini lava cakes, where every minute counts.
Bake them even a minute too long, and your molten center might become more fudgy than liquid. Similarly, glass ramekins, which don’t conduct heat as efficiently as ceramic, may require an extra minute or two of baking time. The more familiar you become with your specific ramekins, the better you’ll understand their baking performance.
Always follow the visual cues provided in the recipe. When in doubt, it’s always better to remove your lava cakes a minute too early rather than a minute too late to preserve that iconic molten center.
Can I make Mini Lava Cakes in a muffin pan?
Absolutely! If you don’t have ramekins on hand, this recipe can be adapted to make 4 mini cakes in a standard 12-cup muffin pan. Because these will be smaller, you’ll likely only need to bake them for a shorter duration, typically around 6-8 minutes. Keep a close eye on them to ensure they don’t overbake!
Mastering the Art of Baking Mini Lava Cakes: Step-by-Step
Creating your own delicious lava mini cakes is surprisingly straightforward. Follow these steps for perfect results every time:
- Prepare Your Ramekins: Begin by lightly greasing two 6-ounce ramekins. This crucial step ensures that your beautifully baked cakes will effortlessly slide out onto the plate without sticking or breaking, preserving their elegant presentation.
- Melt Chocolate and Butter: Combine your chopped chocolate and butter in a heatproof bowl. You can melt them together either over a small saucepan of simmering water (creating a double boiler effect) or, more conveniently, in a microwave. If using a microwave, heat in 30-second intervals, stirring well after each, until the mixture is completely smooth and glossy. Allow it to cool slightly while you prepare the egg mixture.
- Beat Eggs and Sugar: In a large mixing bowl, beat the whole egg, egg yolk, and granulated sugar together on high speed. Continue beating for about 2-3 minutes until the mixture thickens considerably, becomes pale yellow in color, and develops a foamy texture. This aeration is key to a light cake structure.
- Incorporate Wet Ingredients: Reduce the mixer speed to low. Carefully add the slightly cooled melted chocolate mixture, vanilla extract, optional espresso powder (for enhanced chocolate flavor), and salt. Gently mix until just combined, being careful not to overmix.
- Fold in the Flour: Switch from the mixer to a rubber spatula. Gently fold in the all-purpose flour by hand. Folding ensures you don’t overbeat the batter, which can lead to a tougher cake. Mix until no streaks of flour remain, but stop as soon as it’s incorporated.
- Bake to Perfection: Divide the batter evenly between your two prepared ramekins. Bake in a preheated oven at 450°F (230°C) for approximately 8-10 minutes. The cakes are ready when the edges and most of the top are firm to the touch, but the centers still feel soft and jiggly. Remember, baking time can vary based on your oven and ramekins.
- Serve Immediately: Once baked, let the cakes cool in their ramekins for just 1 minute. Then, carefully invert and unmold each cake onto individual serving plates. Serve these molten delights immediately with your chosen garnishes before the warm, gooey centers have a chance to cool and solidify.
The Secret to a Perfect Oozy Center: Baking Temperature Explained
Achieving that iconic molten center in your mini lava cakes hinges critically on the baking temperature and duration. You’ll want to bake these individual molten chocolate cakes at a high temperature of 450°F (230°C) for a precise window of roughly 8-10 minutes.
When I first embarked on testing this recipe, I initially started at 400°F. While this temperature would be perfectly fine for a standard cake, it simply didn’t deliver the desired molten interior. The cakes were delicious, but the center was more fudgy than liquid. The revelation came when I realized the temperature wasn’t high enough. The secret lies in the intense heat of 450°F. This high temperature allows the exterior of the cake to set rapidly, creating a firm crust and structure, while simultaneously ensuring that the very center remains wonderfully underbaked and gloriously molten.
Because precision is paramount, I cannot stress enough the importance of using an oven thermometer. Most home ovens are not perfectly calibrated, and a difference of even 25 degrees can significantly alter the outcome of these delicate desserts. An accurate oven temperature is your best friend in guaranteeing that perfect, irresistible oozy chocolate core.
Elevate Your Dessert: Best Toppings for Mini Lava Cakes
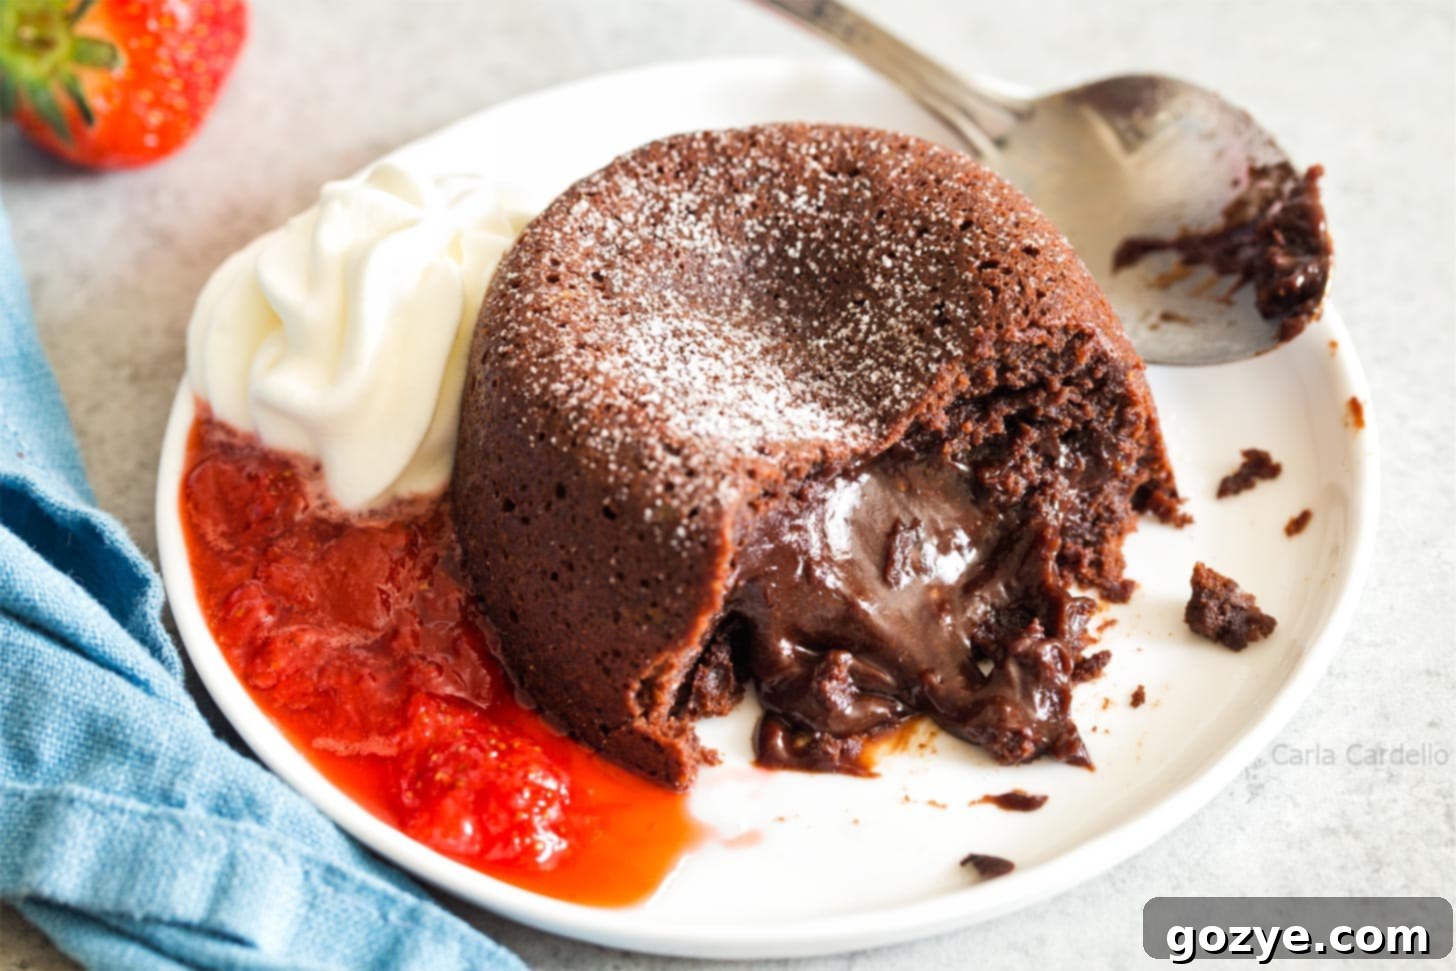
Because these individual lava cakes are inherently rich and incredibly decadent, pairing them with the right accompaniments can elevate the entire dessert experience. I highly recommend serving them with a generous swirl of light and airy homemade whipped cream or, for an extra tangy sweetness, a luxurious cream cheese whipped cream. A vibrant, fresh strawberry sauce drizzled over the top adds a beautiful contrast in both color and flavor.
For those who adore the classic combination of chocolate and peanut butter, these molten cakes are divine when served with a dollop of creamy peanut butter whipped cream. If you’re a true chocolate connoisseur and crave a double dose of cocoa bliss, pair them with a rich chocolate whipped cream.
To playfully mimic the flavors of chocolate-covered strawberries, consider topping your lava cakes with a delicate strawberry whipped cream. Another fantastic option for a hot and cold dessert experience is a scoop of creamy vanilla bean ice cream, which provides a cooling counterpoint to the warm, molten chocolate.
Don’t have the time or energy to prepare elaborate garnishes? No problem! The simplest yet elegantly satisfying way to finish your lava cakes for two is with a light dusting of powdered sugar. It adds a touch of sweetness and a beautiful visual appeal, making your dessert feel effortlessly gourmet.
Planning Ahead: Making and Storing Your Lava Cakes
If you’re planning a romantic dinner, perhaps serving your lava cakes for two after a delightful caprese steak dinner as part of an easy date night recipe, you might appreciate a little extra help in the kitchen to streamline the process.
How To Make Lava Mini Cakes Ahead Of Time
You can prepare your individual lava cakes in advance by simply filling your ramekins with the cake batter, covering them tightly, and refrigerating them for up to 24 hours. When you’re ready to bake, remove the ramekins from the fridge and let them sit at room temperature while your oven preheats. Then, bake them as directed in the recipe. Keep in mind that if the batter is still quite cold, you may need to add an extra minute or two to the baking time to achieve the perfect molten center.
However, it’s generally challenging to bake these cakes completely ahead of time and then reheat them. The delicate nature of their molten core means that reheating significantly risks overcooking the center, which would unfortunately result in no mini molten lava cakes at all. For the best experience, baking them fresh is always recommended.
How To Store Lava Mini Cakes
Did you indulge in a large dinner and feel too full for a second cake? Or perhaps you’re single and want to savor your second lava cake for another day. Whatever the reason, storing your leftover cake is simple. Place your baked mini lava cakes in an airtight container at room temperature, where they will remain delicious for up to 3 days.
Of course, the magic of the molten middle will no longer be present once the cake has cooled completely. However, the cooled center transforms into a wonderfully dense, fudgy, and intensely chocolatey treat, almost like a rich chocolate truffle. If you wish to warm it slightly, you can microwave your cake for a brief 10-15 seconds. This won’t bring back the molten core, but it will soften the chocolate and enhance its decadent flavor.
More Ramekin Dessert Recipes to Explore
Craving more delightful individual desserts? Explore my other fantastic Ramekin Dessert Recipes, perfect for portion control and personalized indulgence. Here are some of my favorites:
- Brownies For Two
- Cheesecake For Two
- Air Fryer Cheesecake
- Peach Cobbler For Two
- Single Serve Brownie
- Single Serving Chocolate Chip Cookie
- Lemon Creme Brulee from Foxes Love Lemons
Mini Lava Cakes For Two
2 servings
15 minutes
10 minutes
25 minutes
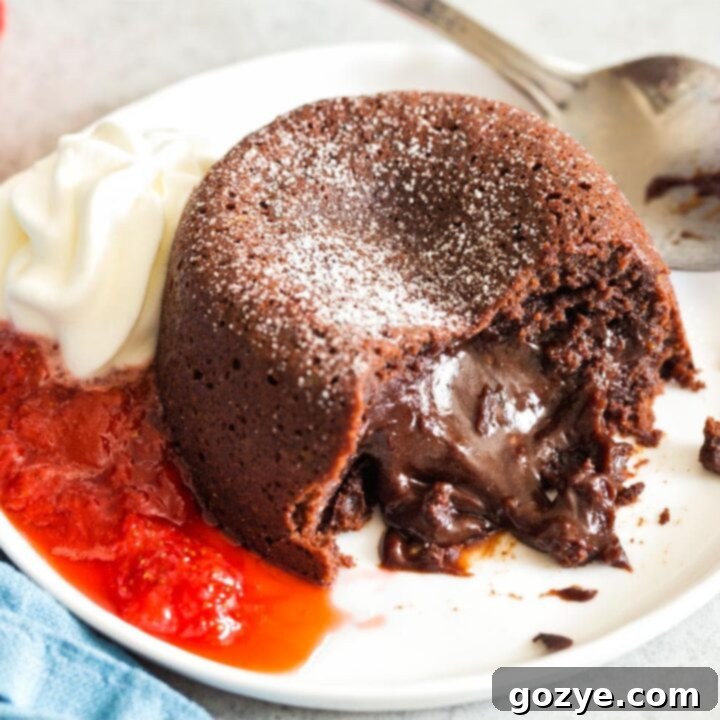
These Mini Lava Cakes are the ultimate romantic dessert for two. Rich and decadent, these molten chocolate cakes are baked in individual ramekins, revealing a warm, gooey chocolate center when broken open. Serve them with a dusting of powdered sugar and fresh whipped cream for an unforgettable date night treat at home.
Ingredients
- 1/4 cup (2 ounces or 4 tablespoons) unsalted butter, cut into 4 pieces
- 3 ounces bittersweet chocolate, chopped
- 1 large egg, room temperature
- 1 egg yolk, room temperature
- 2 tablespoons granulated sugar
- 1 teaspoon vanilla extract
- 1/2 teaspoon espresso powder (optional but makes the cakes taste extra chocolatey)
- 1/8 teaspoon table salt (omit if using salted butter)
- 1 tablespoon all-purpose flour
- Whipped cream and strawberry sauce, for serving
Instructions
- Preheat oven to 450°F (230°C). Lightly grease two 6-ounce ceramic ramekins thoroughly to ensure easy unmolding.
- Add about an inch of water to a small saucepan and bring to a gentle simmer over medium heat. Turn off the heat and place a heatproof bowl (make sure it doesn’t touch the water) over the saucepan. Add the butter and chopped chocolate to the bowl and stir occasionally until fully melted and smooth. Remove from the heat and allow to cool slightly while you prepare the remaining batter components.
Alternatively, you can microwave the butter and chocolate in a large microwave-safe bowl. Microwave for 30 seconds, stir, then continue to microwave in 15-second increments, stirring after each, until the mixture is fully melted and smooth.
- In a large mixing bowl (using a stand mixer with a paddle attachment or a hand mixer on high speed), beat the large egg, egg yolk, and granulated sugar until the mixture is visibly thickened, pale in color, and foamy. This usually takes about 2-3 minutes of beating on high speed.
- Reduce the mixer speed to low. Carefully pour in the slightly cooled melted chocolate mixture, vanilla extract, espresso powder (if using), and salt. Mix gently until just combined, being careful not to overmix.
- Switch to a rubber spatula. Gently fold in the all-purpose flour by hand until no dry streaks of flour remain. Avoid overmixing to keep the cake tender.
- Evenly divide the batter between the two prepared ramekins. Bake for 8-10 minutes, or until the edges and the top of the cakes appear firm, but the very center still remains soft and jiggly when gently shaken.
If you prefer your cakes less gooey in the center, or if you are using glass ramekins (which conduct heat differently), you may need to bake them for an additional 1-2 minutes. Always err on the side of underbaking for a truly molten center.
- Once baked, let the cakes cool in their ramekins for just 1 minute. Then, very carefully invert each ramekin onto an individual serving plate and unmold the cakes. Serve immediately with your desired toppings, such as whipped cream and strawberry sauce, ensuring you enjoy them while the centers are still warm and molten.
Notes
- It’s extremely important that your oven temperature is accurate for these cakes, as the high heat is crucial for setting the exterior quickly while the center remains molten. I highly recommend using an oven thermometer to verify your oven is a proper 450°F (230°C).
- To prepare the batter ahead of time, simply transfer the prepared batter to the ramekins, cover them tightly with plastic wrap, and refrigerate for up to 24 hours. When you’re ready to bake, let the ramekins sit at room temperature while your oven preheats. Then, bake as directed. You might need an extra 1-2 minutes of baking time if the batter is still quite cold from the refrigerator.
- No ramekins? No problem! This recipe is adaptable and will make 4 smaller mini cakes when baked in a standard 12-cup muffin pan. Due to their smaller size, they will bake faster, so you’ll likely only need to bake them for 6-8 minutes. Keep a close watch!
- Since this recipe uses an egg yolk, don’t let that leftover egg white go to waste! Check out my helpful guide on What To Do With Egg Whites for creative ideas and recipes.
- If you enjoyed these decadent Mini Lava Cakes, be sure to explore some of my other popular chocolate and individual dessert recipes, including my vibrant Red Velvet Lava Cakes, crowd-pleasing Brownies For Two, and my comforting Small Chocolate Cake recipe.
Recommended Products
As an Amazon Associate and member of other affiliate programs, I earn from qualifying purchases.
- 6 ounce Ramekins
Did you make this recipe?
Let me know what you think! Rate the recipe above, leave a comment below, and/or share a photo on Instagram using #HITKrecipes
This irresistible recipe is adapted from a classic by Jean-Georges Vongerichten via Food and Wine.
