Easy Small Batch Lemon Bars in a Loaf Pan: The Ultimate Lemon Dessert for Two
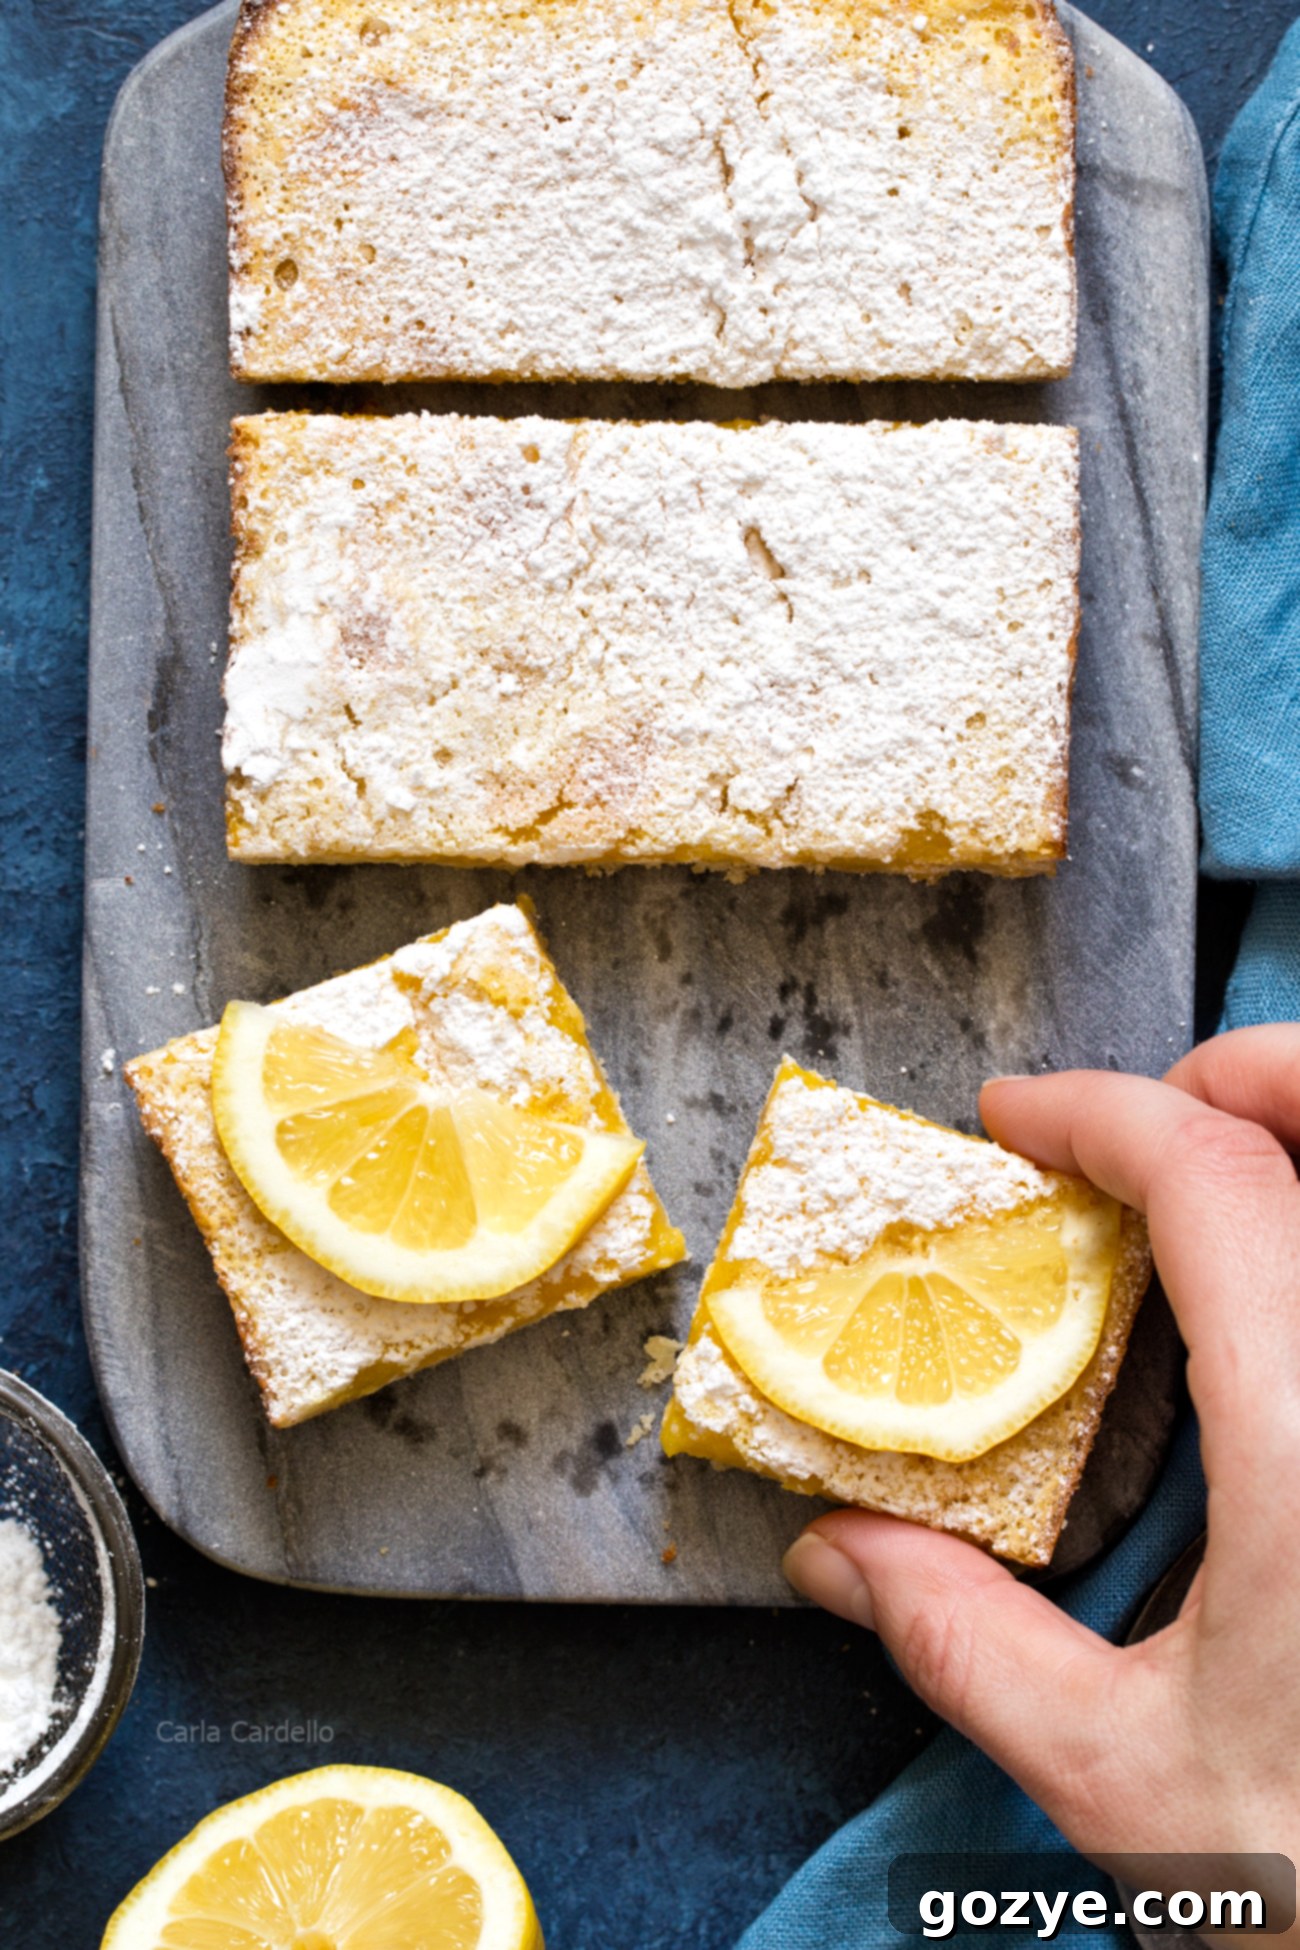
There’s something undeniably delightful about a bright, zesty lemon dessert. While grand baking projects have their place, sometimes you crave that burst of citrus goodness without the commitment of a full-sized pan. Enter these incredible Small Batch Lemon Bars, perfectly portioned for two (or a small gathering) and baked conveniently in a standard loaf pan! Imagine a luxurious, melt-in-your-mouth shortbread crust topped with a thick, wonderfully tart lemon filling, all finished with a delicate dusting of powdered sugar. This recipe isn’t just easy; it’s a revelation for anyone who loves fresh, homemade treats without the excess.

My love for small-batch baking runs deep, from rich fudge brownies to chewy chocolate chip cookie bars. But when a craving for something bright and citrusy hits, only lemon will do. While mini lemon meringue pies are certainly charming, they can be a bit time-consuming. That’s why I poured my energy into perfecting a simpler yet equally satisfying lemon dessert: the humble lemon bar, scaled down for ultimate convenience.
Why Choose Small Batch Lemon Bars?
Baking for one or two people has numerous advantages. First and foremost, it means less waste. You get to enjoy freshly baked goods without a mountain of leftovers that might go stale. It also allows for more frequent baking, letting you indulge your sweet tooth more often with diverse treats. These loaf pan lemon bars are the epitome of this philosophy. They offer that delightful balance of sweet and tart, a crisp crust, and a smooth filling, all in manageable portions. No more feeling guilty about a giant pan of dessert sitting on the counter!
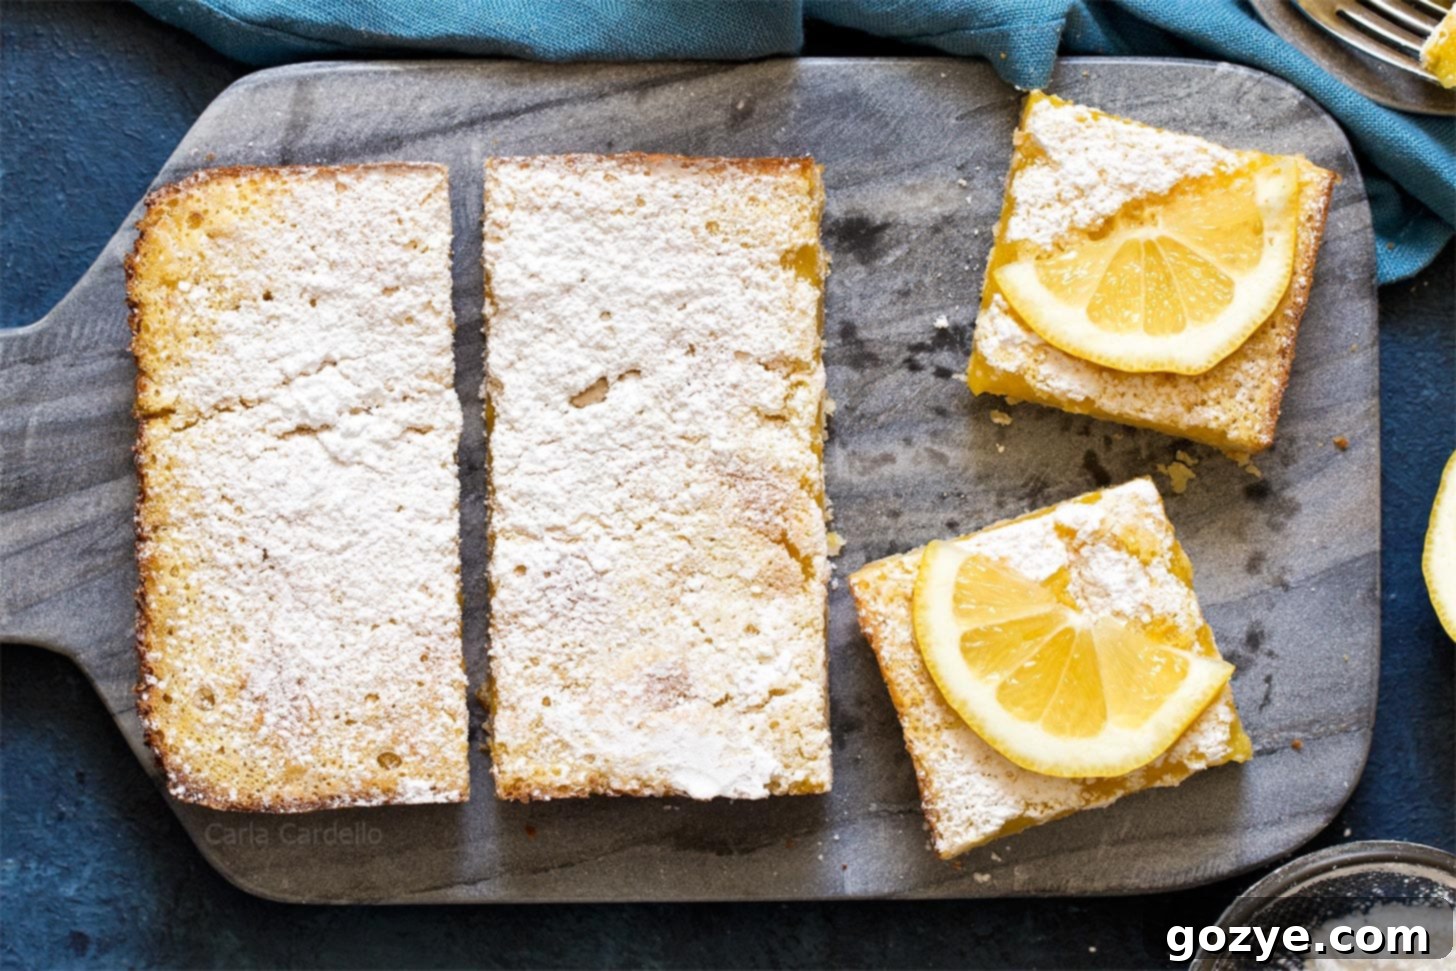
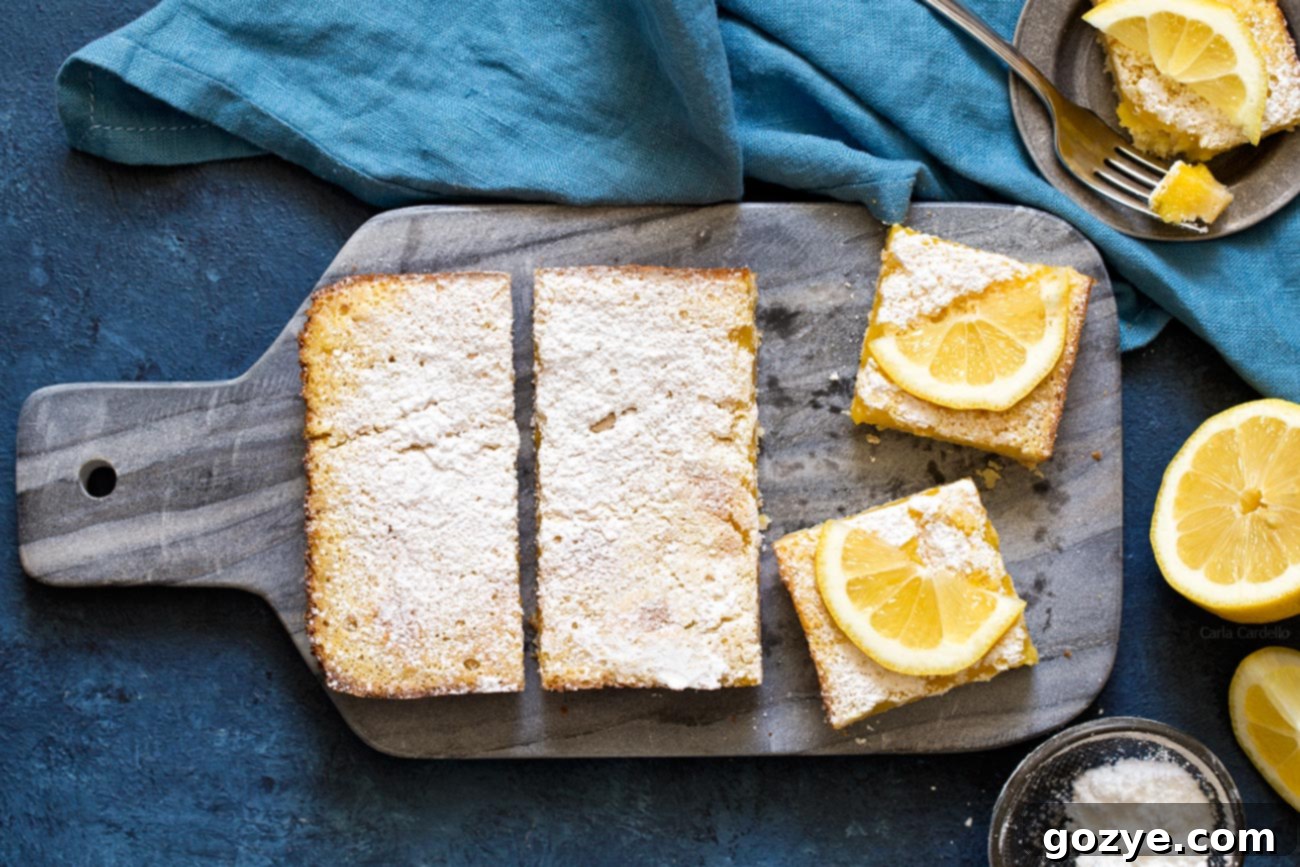
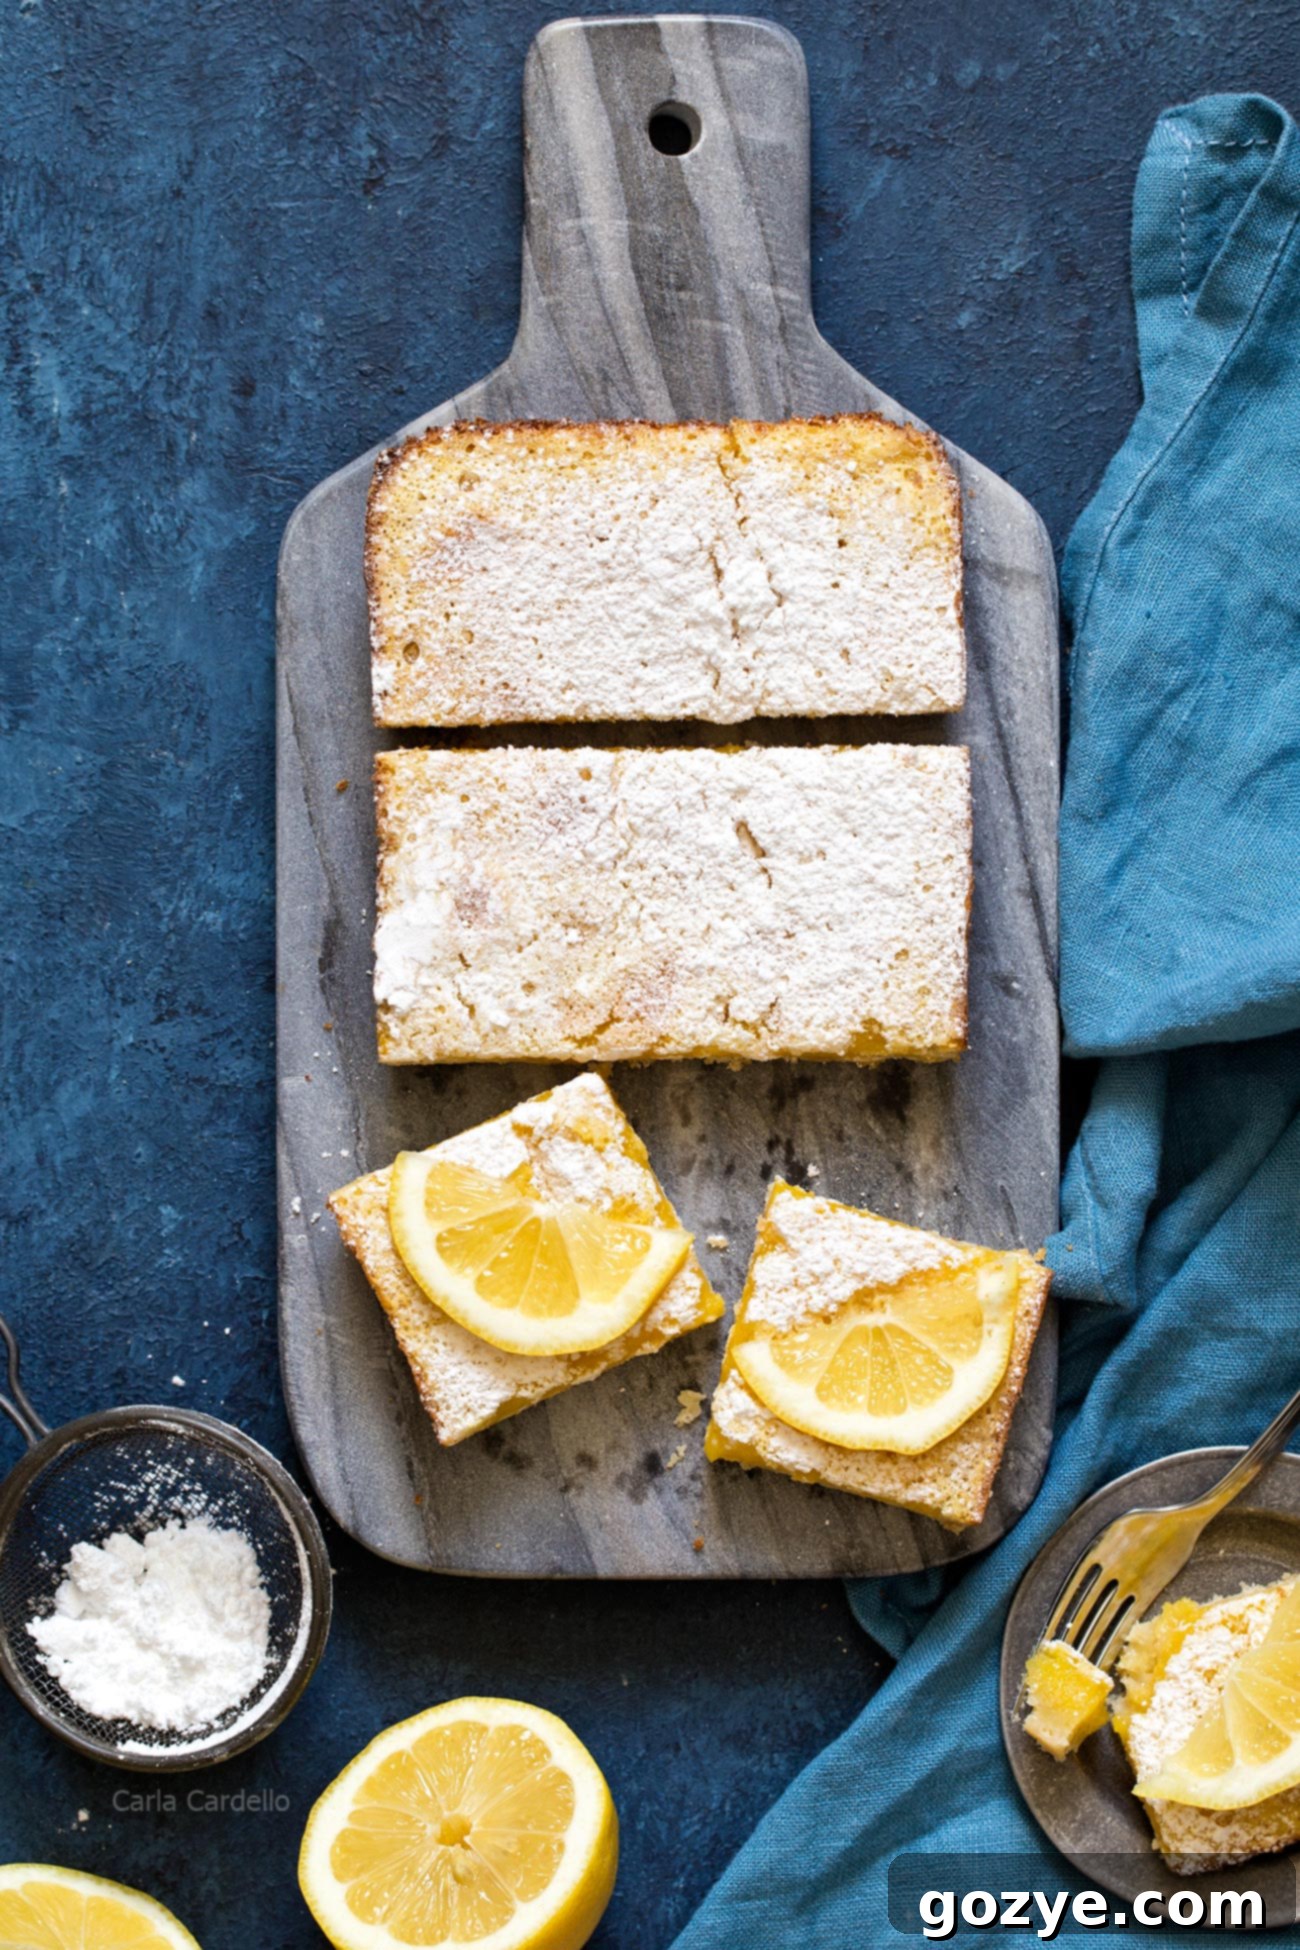
This recipe yields four generous lemon bars or eight smaller squares, making it ideal for sharing with a loved one or saving a few for later. They are wonderfully delicate, making them easier to handle and serve as individual mini bars rather than large, unwieldy rectangles. Of course, the beauty of baking in a loaf pan is that you can always adjust the cut size to your preference – whether you prefer a dainty square or a more substantial slice.
The Journey to Perfection: Crafting the Best Loaf Pan Lemon Bars
Creating what appears to be a simple recipe can often be a surprisingly complex journey. For these lemon bars for two, I embarked on a rigorous testing process, losing count of the batches I made – perhaps six or even more! Each round presented a new challenge:
- Was the shortbread crust too thick, dominating the lemon flavor?
- Or was it too thin, struggling to hold the luscious filling?
- Did the lemon filling achieve the perfect set, or was it too runny?
- Did the filling meld seamlessly with the crust, or did it seep through?
- Was the crust browning too quickly, or not enough to achieve that golden perfection?
Each variable required careful adjustment and re-evaluation. But through perseverance, I finally cracked the code, resulting in these consistently perfect small batch lemon bars that are both simple to make and utterly delicious. The result is a foolproof recipe that takes the guesswork out of baking, allowing you to enjoy the process and the delightful outcome.
Essential Ingredients for Your Small Batch Lemon Bars
To whip up these delightful lemon bars from scratch, you’ll need a handful of common pantry staples, each playing a crucial role in creating the perfect texture and flavor:
- All-Purpose Flour: This versatile ingredient is the structural backbone of both the crust and the filling. In the shortbread, it provides body and tenderness, while in the filling, it acts as a subtle thickener, preventing it from being too runny.
- Powdered Sugar (Confectioners’ Sugar): Used in the crust, powdered sugar, which often contains a touch of cornstarch, contributes to a delicate, tender, and melt-in-your-mouth shortbread. Its fine texture also ensures a smooth dough. It’s also essential for that beautiful, traditional dusting on top.
- Salt: A pinch of salt is a flavor enhancer, balancing the sweetness and brightening the overall taste of both the crust and the filling, preventing them from tasting bland.
- Cold Unsalted Butter: The secret to an amazing shortbread crust lies in cold butter. When cut into the flour, cold butter creates pockets that, when baked, release steam and result in a wonderfully flaky and tender texture. Using unsalted butter gives you control over the salt content. Avoid margarine, as it can alter the texture and flavor significantly.
- Egg and Extra Egg Yolk (Room Temperature): The whole egg helps set the filling, while the additional egg yolk contributes to an incredibly creamy, rich, and smooth lemon curd. Bringing them to room temperature ensures they incorporate smoothly into the mixture, resulting in a more homogenous filling. Skipping the extra egg white prevents the filling from becoming too watery.
- Granulated Sugar: This is the primary sweetener for the lemon filling, balancing the tartness of the lemon juice. It also plays a critical role with the eggs in helping the filling set properly as it bakes.
- Baking Powder: A small amount of baking powder in the filling helps it achieve a slight lift and a tender, almost soufflé-like texture, working in conjunction with the eggs.
- Fresh Lemon Zest and Juice: The stars of the show! For authentic, vibrant lemon flavor, both the zest (which contains aromatic oils) and the freshly squeezed juice are indispensable. The juice from one standard lemon typically yields about 2 tablespoons. Since this recipe calls for 3 tablespoons, you’ll need approximately 1 to 1½ medium-sized lemons to achieve that perfectly balanced tartness.
Creative Uses for Leftover Egg Whites
As this recipe calls for an extra egg yolk to achieve that perfect creamy lemon filling, you’ll find yourself with a leftover egg white. Don’t let it go to waste! There are countless delicious ways to utilize it. I’ve compiled a list of fantastic recipes using leftover egg whites that you might enjoy, from meringues to omelets, ensuring nothing from your kitchen goes to waste.
How to Make Your Small Batch Lemon Bars: A Step-by-Step Guide
Through extensive experimentation, I discovered a unique two-temperature baking method that yields the absolute best results for these mini lemon bars. Starting with a slightly higher temperature for the crust, then immediately adding the filling and reducing the heat, creates a perfect seal, preventing the filling from seeping into the crust and ensuring even baking. Baking the entire dessert at a single temperature often resulted in either an over-browned crust or an under-baked filling. This optimized approach guarantees a golden crust and a perfectly set, vibrant lemon top every time.
Here’s how to master these delightful lemon bars for two:
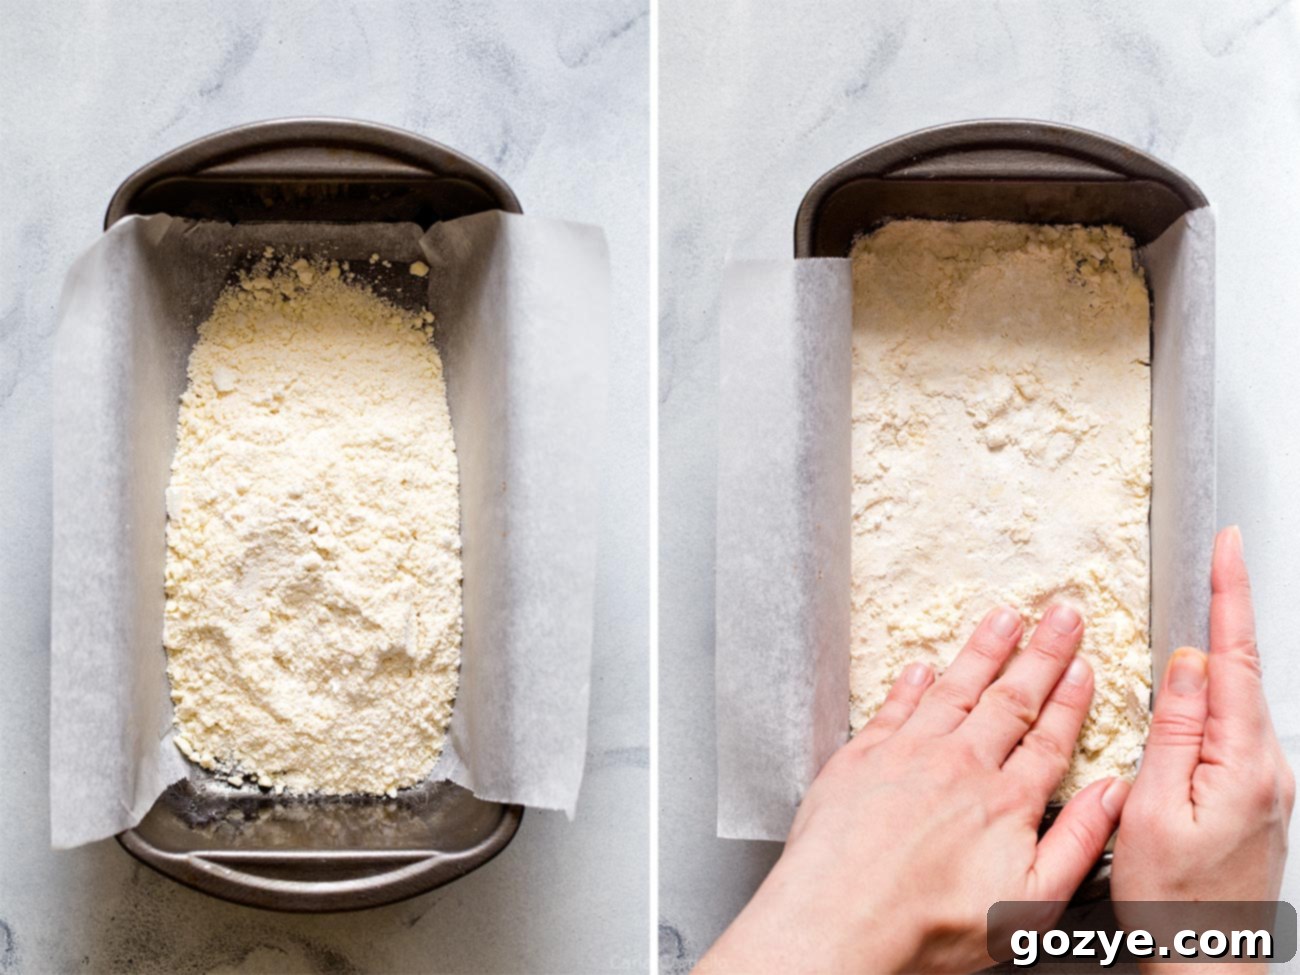
- Prepare the Shortbread Crust: In the bowl of a large food processor, combine the all-purpose flour, powdered sugar, and salt. Add the cold unsalted butter (cut into small pieces). Pulse until the butter is finely cut into the flour mixture, resembling coarse meal, then continue pulsing until a cohesive dough forms. It will seem dry and powdery at first, but resist the urge to add any liquid; the butter will eventually bind it. If you don’t have a food processor, you can easily make the dough by hand using a pastry blender or your fingertips in a large bowl.
- Pre-Bake the Crust: Transfer the dough mixture to your lightly greased and parchment-lined 9×5 loaf pan. Pat it evenly into the bottom of the pan to create a firm, consistent layer. Bake this crust in a preheated oven at 350°F (175°C) for approximately 20-25 minutes, or until the edges are beautifully golden brown.
- Prepare the Zesty Lemon Filling: While the crust is baking, prepare your filling. In a large mixing bowl, whisk together the room-temperature whole egg, egg yolk, granulated sugar, and 1 tablespoon of powdered sugar until the sugars are dissolved, and the mixture appears pale yellow and slightly thickened. Be mindful not to whisk too much air into it, as this can affect the filling’s final texture. Then, gently whisk in the 1 tablespoon of all-purpose flour, baking powder, fresh lemon zest, and fresh lemon juice until just combined. The filling will be quite runny at this stage.
- Combine and Bake: As soon as the crust finishes its initial bake, immediately reduce your oven temperature to 325°F (160°C). Give the prepared lemon filling one final quick whisk, then carefully and immediately pour it over the hot, pre-baked shortbread crust still in the loaf pan. This crucial step creates a seal, helping to prevent the crust from becoming soggy.
- Final Bake and Cool: Return the loaf pan to the oven and bake for another 20-25 minutes. The lemon bars are done when the filling is set and lightly golden brown, although it may still have a slight wiggle in the very center when gently touched (the top should feel solid). Allow the lemon bars to cool in the pan for at least 30 minutes before carefully lifting them out using the parchment paper overhang and transferring them to a wire rack to cool completely to room temperature.
- Chill and Serve: Once cooled, generously dust the top of the lemon bars with additional powdered sugar. This adds a lovely finish and an extra touch of sweetness. Refrigerate for at least 2 hours before serving. Chilling is essential not only for making clean cuts easier but also for allowing the flavors to fully develop and the filling to firm up to its ideal consistency. If you can wait overnight, the flavors will be even more pronounced!
Proper Storage for Your Delicious Lemon Bars
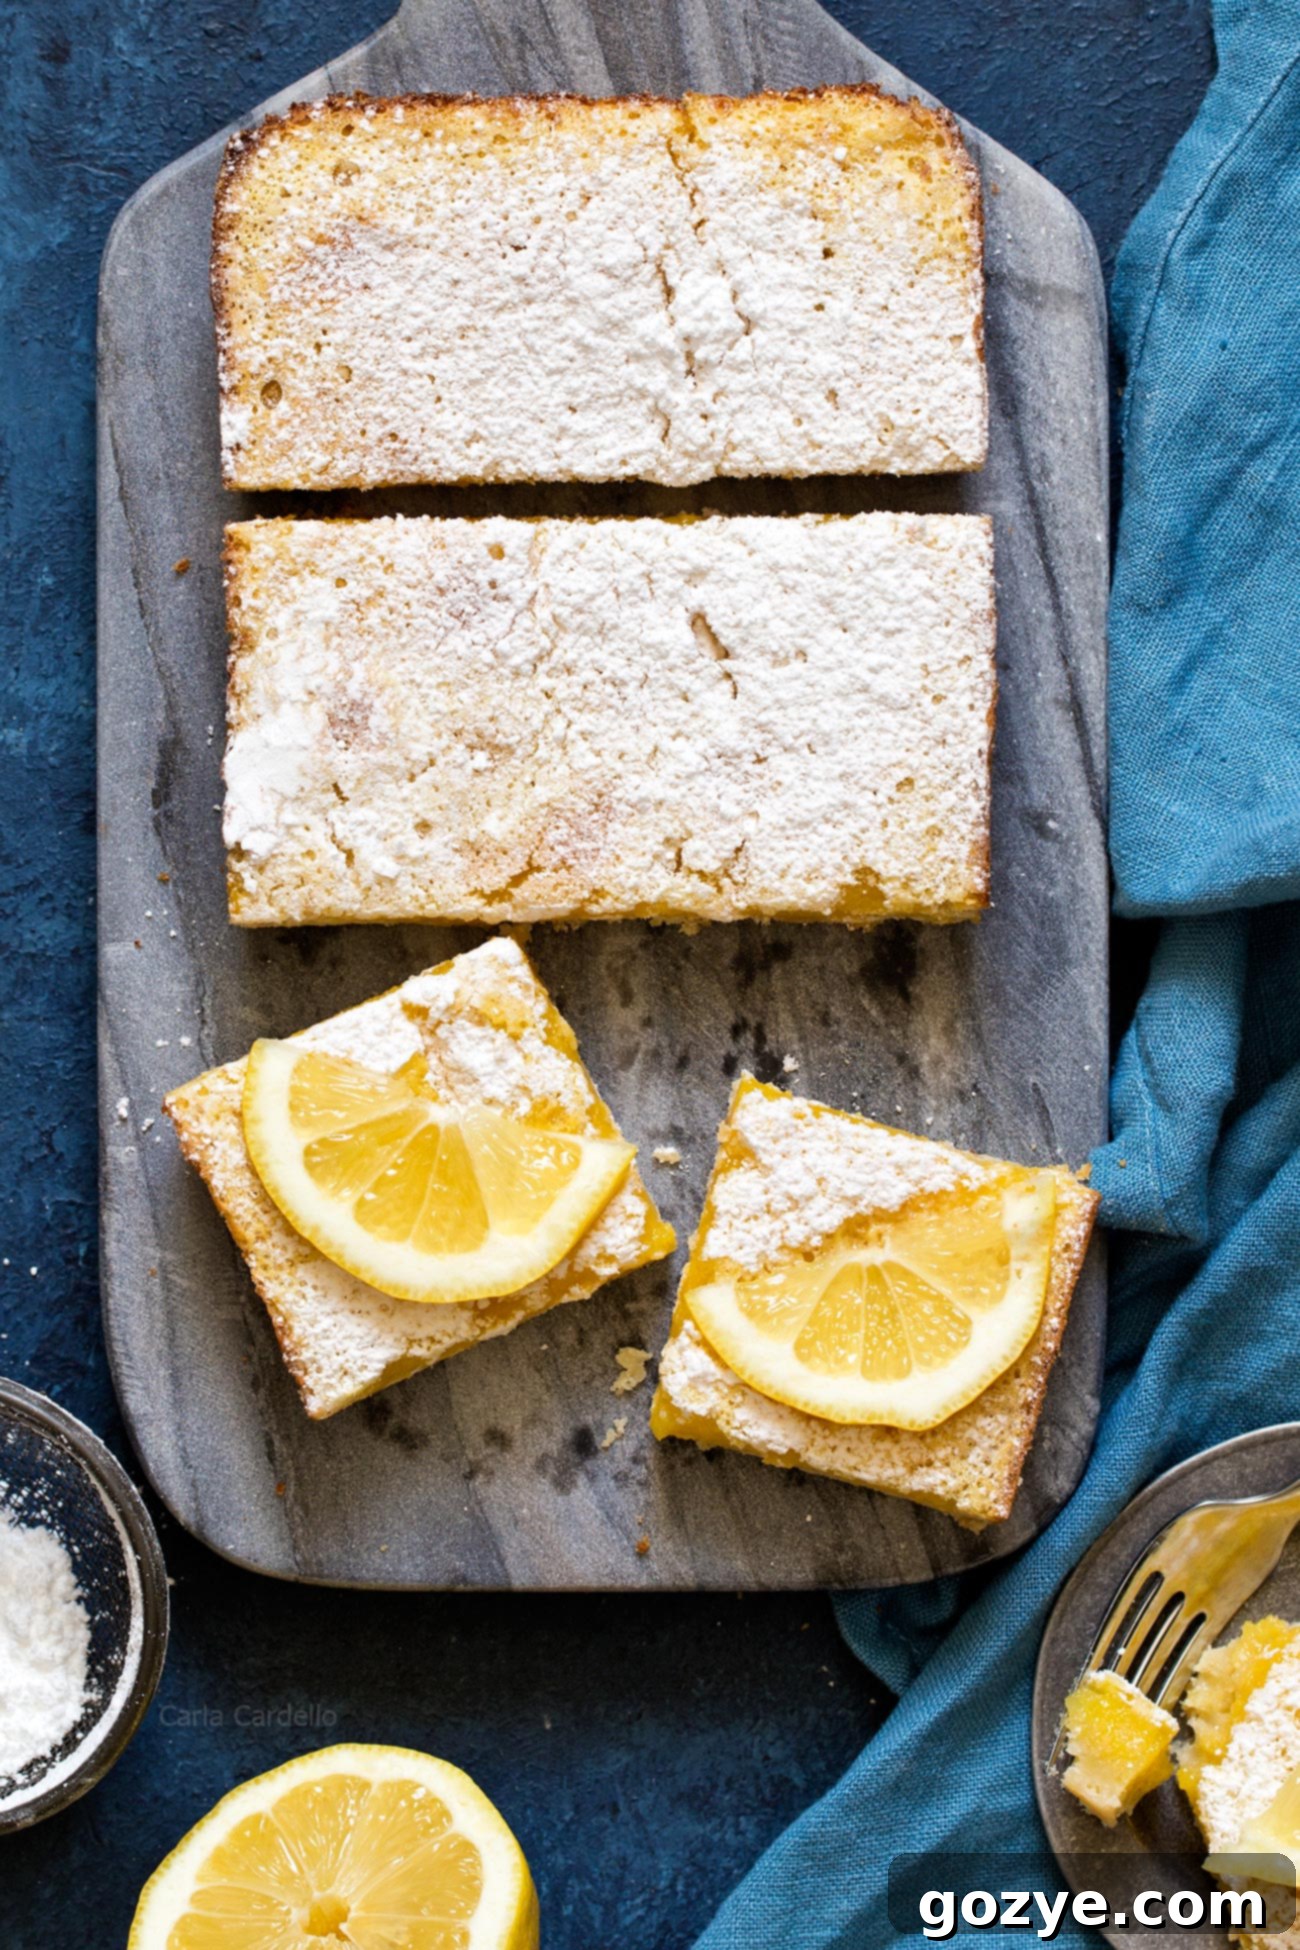
The cooling process is often the most challenging part of making lemon bars, mainly due to the overwhelming temptation to dive into them immediately! However, patience is truly a virtue here. Refrigerating your small batch lemon bars for at least 2 hours is crucial. This not only makes them significantly easier to cut into neat squares but also allows the vibrant lemon flavor to fully meld and deepen, resulting in a more complex and satisfying taste. If you can resist and chill them overnight, the texture and flavor will be even more exquisite.
To store your freshly baked lemon bars, simply place them in an airtight container and refrigerate them. They will maintain their deliciousness and fresh taste for up to 1 week, ready to be enjoyed whenever a citrus craving strikes.
Can You Freeze Small Batch Lemon Bars?
Even though these small batch lemon bars don’t make a huge quantity, you might still find yourself with a few leftovers or simply want to prepare some in advance for future enjoyment. The good news is, these lemon bars freeze exceptionally well! You can store them in the freezer for up to 4 months without a significant loss in quality or flavor.
For the best freezing results, I highly recommend placing the cut lemon squares uncovered on a baking tray and freezing them for about an hour until they are firm. This initial freeze prevents them from sticking together. Once firm, individually wrap each square tightly in plastic wrap, then transfer them to a freezer-safe plastic bag or an airtight container. This double-layer protection helps prevent freezer burn and keeps them fresh.
When you’re ready to enjoy a frozen lemon bar, simply thaw it overnight in the refrigerator. If you’re in a hurry, you can also let it sit at room temperature for about 30 minutes until defrosted and ready to eat. They’ll taste just as good as if they were freshly baked!
Explore More Loaf Pan Recipes!
Loved the convenience and deliciousness of these lemon bars in a loaf pan? The loaf pan is a surprisingly versatile baking tool, perfect for smaller portions and creative desserts. If you enjoyed this recipe, you might also like to explore some of my other favorite loaf pan creations:
- Delicate Angel Food Cake In A Loaf Pan
- Creamy Loaf Pan Cheesecake with a Strawberry Swirl
- Crunchy Small Batch Rice Krispie Treats
- Hearty Lasagna For Two (yes, savory too!)
Discover the joy of small-batch cooking and baking!

Small Batch Lemon Bars
8 squares
30 minutes
50 minutes
2 hours
3 hours 20 minutes
The best lemon bars now baked in a loaf pan! Small Batch Lemon Bars with a melt in your mouth shortbread crust, a thick tart lemon filling, and a dusting of powdered sugar on top.
Ingredients
- 3/4 cup all-purpose flour
- 1/4 cup powdered sugar
- 1/4 teaspoon salt
- 6 tablespoons cold unsalted butter, cut into 6 pieces
Lemon Filling
- 1 whole egg, room temperature
- 1 egg yolk, room temperature
- 1/2 cup granulated sugar
- 1 tablespoon powdered sugar plus more for dusting
- 1 tablespoon all-purpose flour
- 1/4 teaspoon baking powder
- 1 teaspoon lemon zest
- 3 tablespoons fresh lemon juice (from 1-2 lemons)
Instructions
- Preheat oven to 350F (175°C). Lightly grease a 9×5 loaf pan then line with parchment paper, leaving an overhang on the longer sides for easy removal.
- In the bowl of a large food processor, add the flour, 1/4 cup powdered sugar, and salt. Add the cold butter pieces and pulse until the butter is finely cut into the flour, resembling coarse crumbs. Continue pulsing until a dough forms, about 1-2 minutes. The mixture will seem very powdery at first, but with continued pulsing, it will come together. Resist adding any liquid. Alternatively, you can combine the ingredients in a bowl and use a pastry blender or your fingertips to work the butter into the flour until a dough forms.
- Transfer the shortbread dough mixture to the prepared loaf pan and press it evenly and firmly into the bottom to form the crust. Bake for 20-25 minutes, or until the edges are golden brown.
- Meanwhile, prepare the lemon filling: In a large bowl, whisk together the whole egg, egg yolk, granulated sugar, and 1 tablespoon powdered sugar until the sugars are completely dissolved and the mixture appears pale yellow and slightly thickened. Try to avoid incorporating too much air while whisking. Next, whisk in the 1 tablespoon all-purpose flour and baking powder, followed by the fresh lemon zest and lemon juice until just combined. The filling will be quite runny.
- Once the crust has finished baking, immediately reduce the oven temperature to 325°F (160°C). Give the lemon filling one last quick whisk (it will still be runny), then carefully and immediately pour it over the hot crust in the loaf pan. Place the pan back into the preheated oven. Bake for an additional 20-25 minutes, or until the filling is set and the top is lightly golden brown. The center may still have a slight gentle wiggle, but the surface should appear firm when lightly touched.
- Cool the lemon bars in the pan for 30 minutes. Then, carefully use the parchment paper overhang to lift the entire bar out of the pan and transfer it to a wire rack. Allow it to cool completely to room temperature. This gradual cooling is essential for the filling to fully set and for easy cutting.
- Once completely cool, generously dust the top with additional powdered sugar for a beautiful finish. For best results in slicing and flavor development, refrigerate the lemon bars for at least 2 hours (or ideally overnight) before cutting them into squares. Store any leftover lemon bars in an airtight container in the refrigerator for up to 1 week.
Notes
- Since this recipe uses an extra egg yolk, be sure to check out my collection of recipes using leftover egg whites to make sure nothing goes to waste!
- If you enjoyed the small-batch convenience of this recipe, you’ll love my other scaled-down treats like Small Batch Fudge Brownies and Small Batch Chocolate Chip Cookie Bars.
Recommended Products
As an Amazon Associate and member of other affiliate programs, I earn from qualifying purchases.
- 9×5 Loaf Pan
Did you make this recipe?
Let me know what you think! Rate the recipe above, leave a comment below, and/or share a photo on Instagram using #HITKrecipes
First published March 5, 2018. Updated and re-optimized for a better baking experience.
