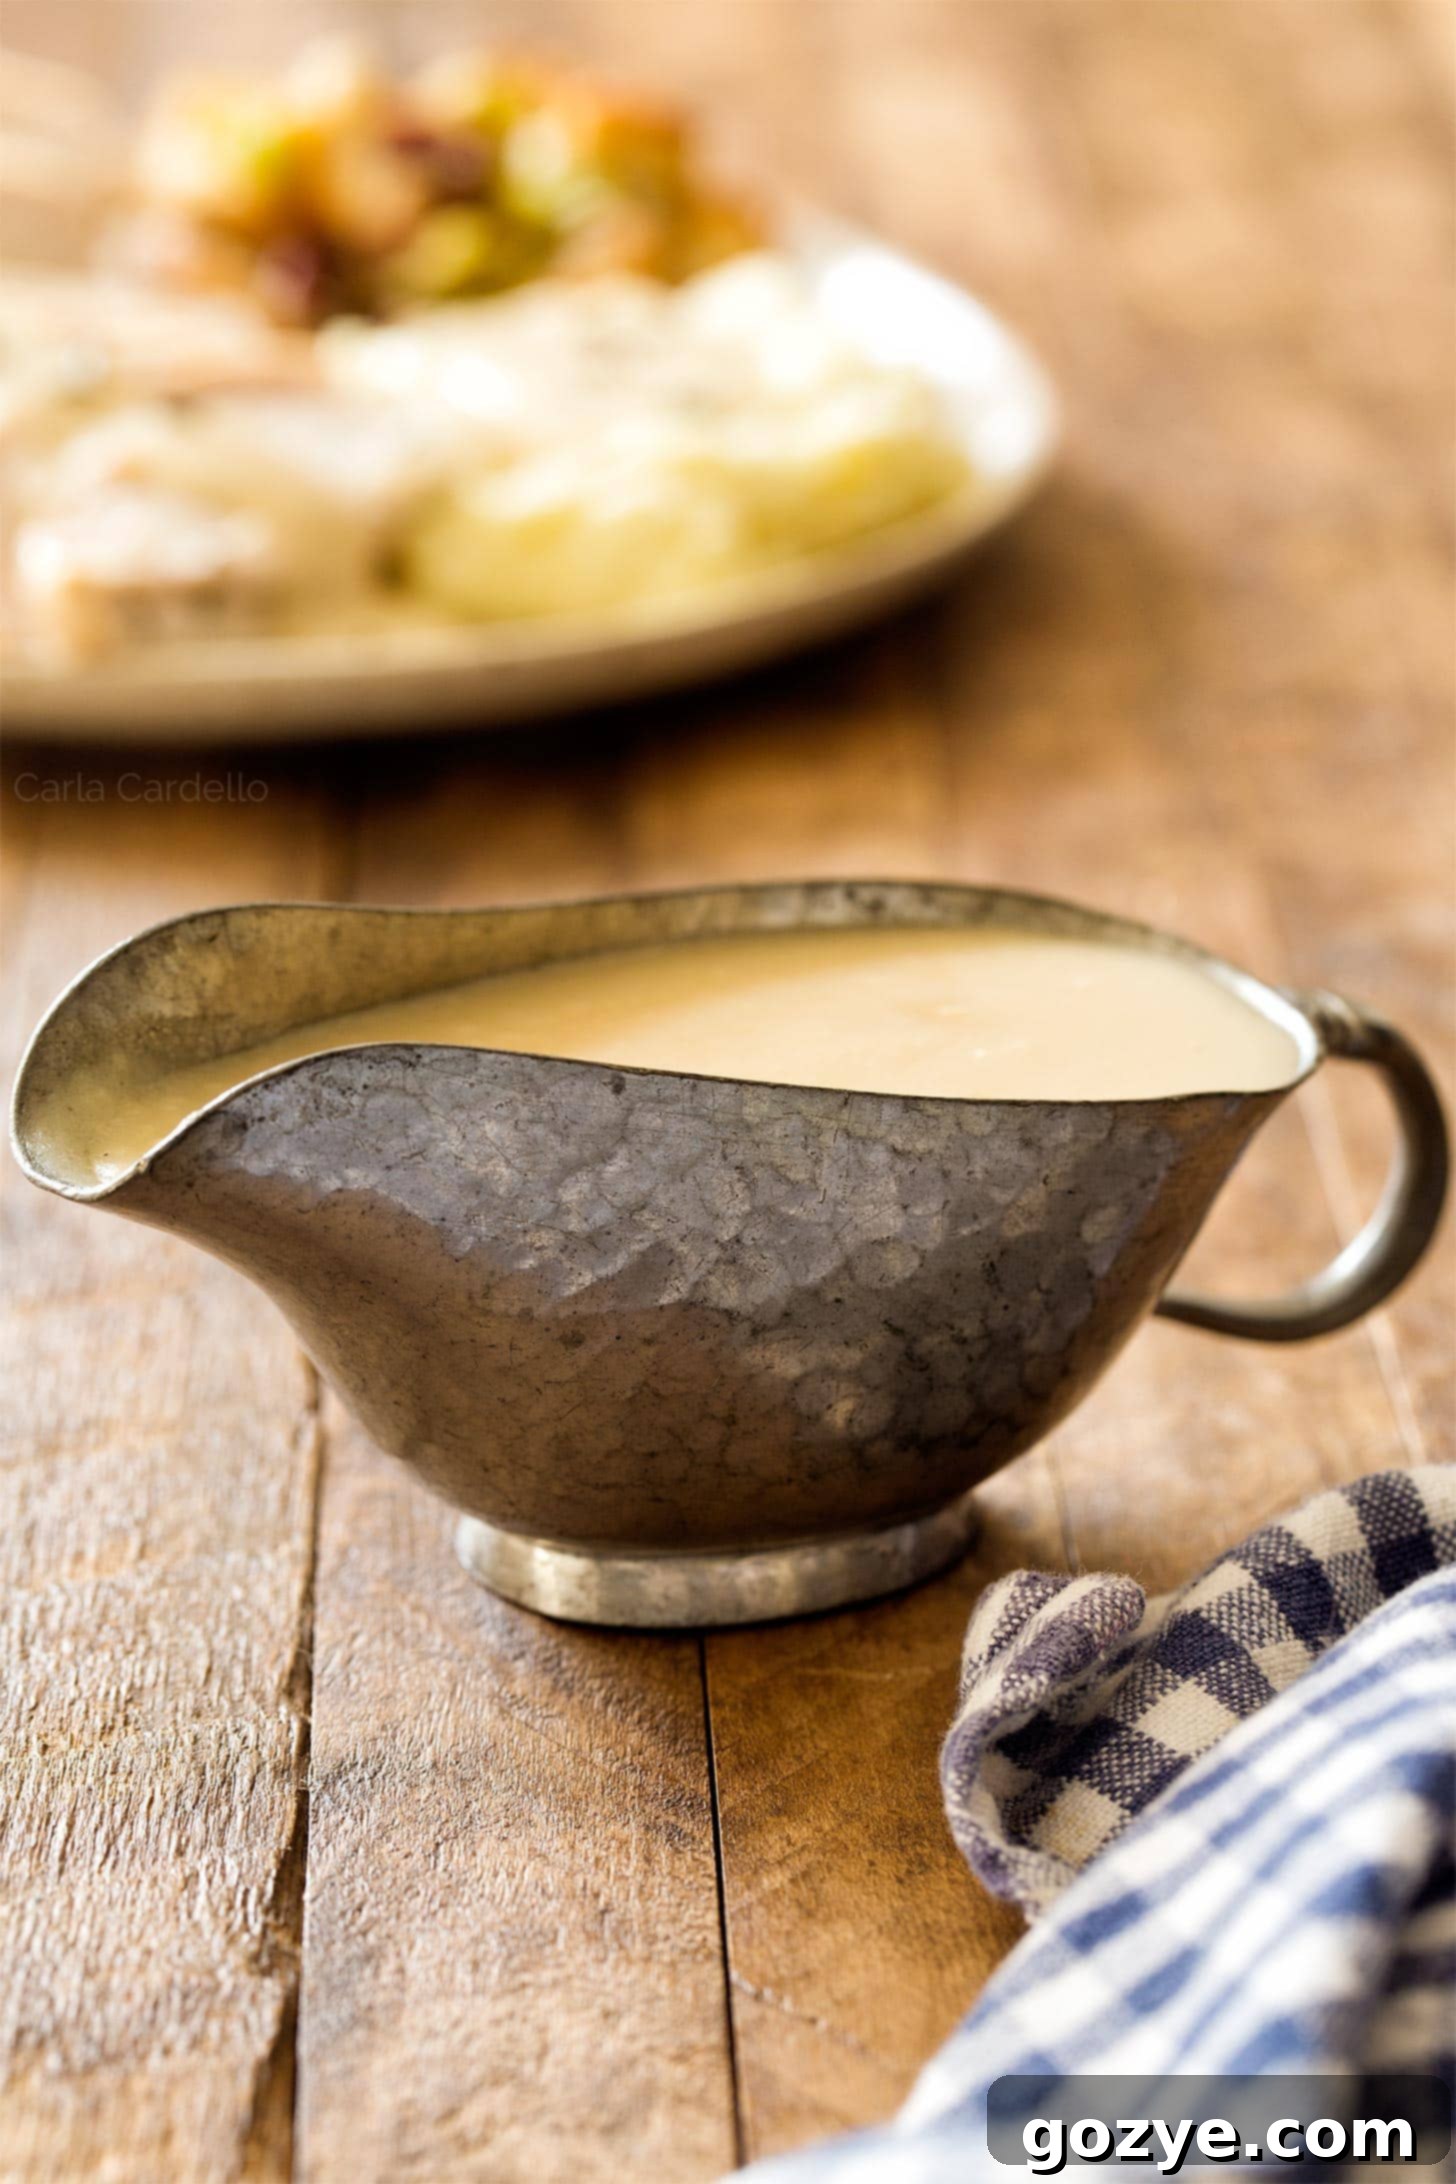
The Ultimate Homemade Turkey Gravy from Drippings: A Thanksgiving Essential
Homemade turkey gravy crafted directly from pan drippings is the quintessential rich and flavorful sauce, a culinary triumph made from the succulent fat and savory juices of your roasted turkey, combined with turkey or chicken broth and a thickening agent like flour. It’s not just a condiment; it’s the liquid gold that elevates every bite of your Thanksgiving turkey, infuses your mashed potatoes with unparalleled richness, and ties your stuffing together into a cohesive, delicious masterpiece. This guide will walk you through creating a gravy that will be the star of your holiday table.
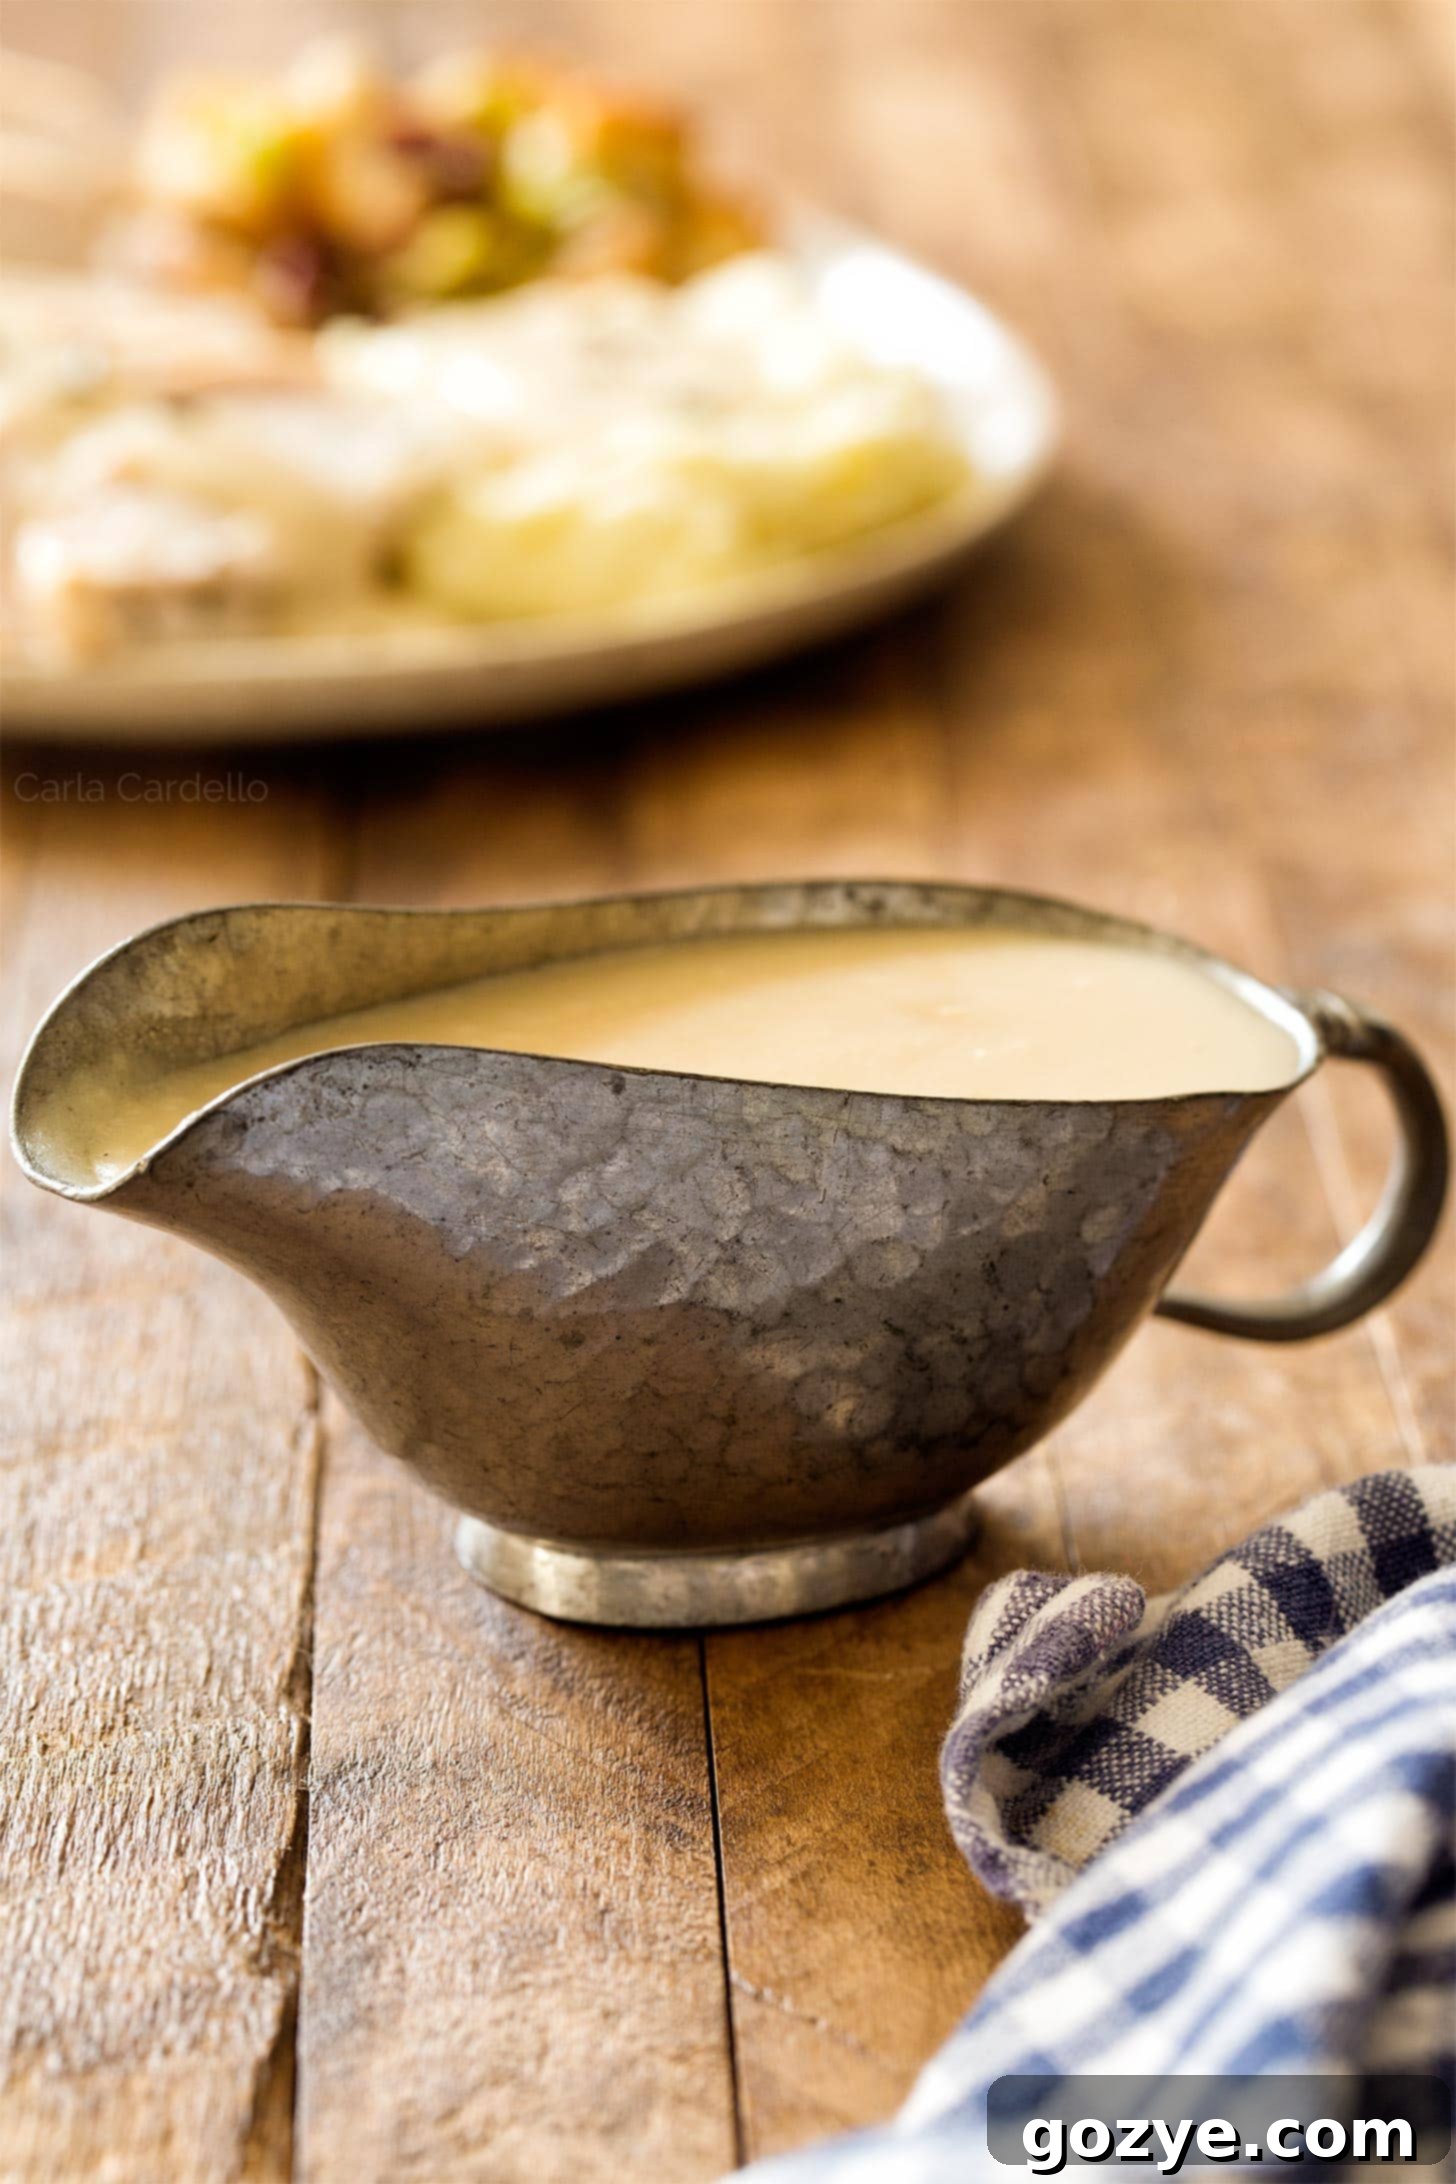
As the holiday season approaches, particularly with Thanksgiving just around the corner, one recipe stands paramount, often overlooked in its foundational importance: homemade turkey gravy from drippings. This isn’t just any gravy; it’s the soulful, savory essence of your roasted turkey, captured and transformed into a velvety smooth sauce that is utterly indispensable for your holiday feast.
Indeed, homemade turkey gravy serves as the very foundation of every memorable Thanksgiving meal. It’s the unifying force that brings all the diverse flavors of your holiday spread into perfect harmony. Imagine the rich, roasted flavors of turkey infused into a warm, pourable sauce – it’s a game-changer.
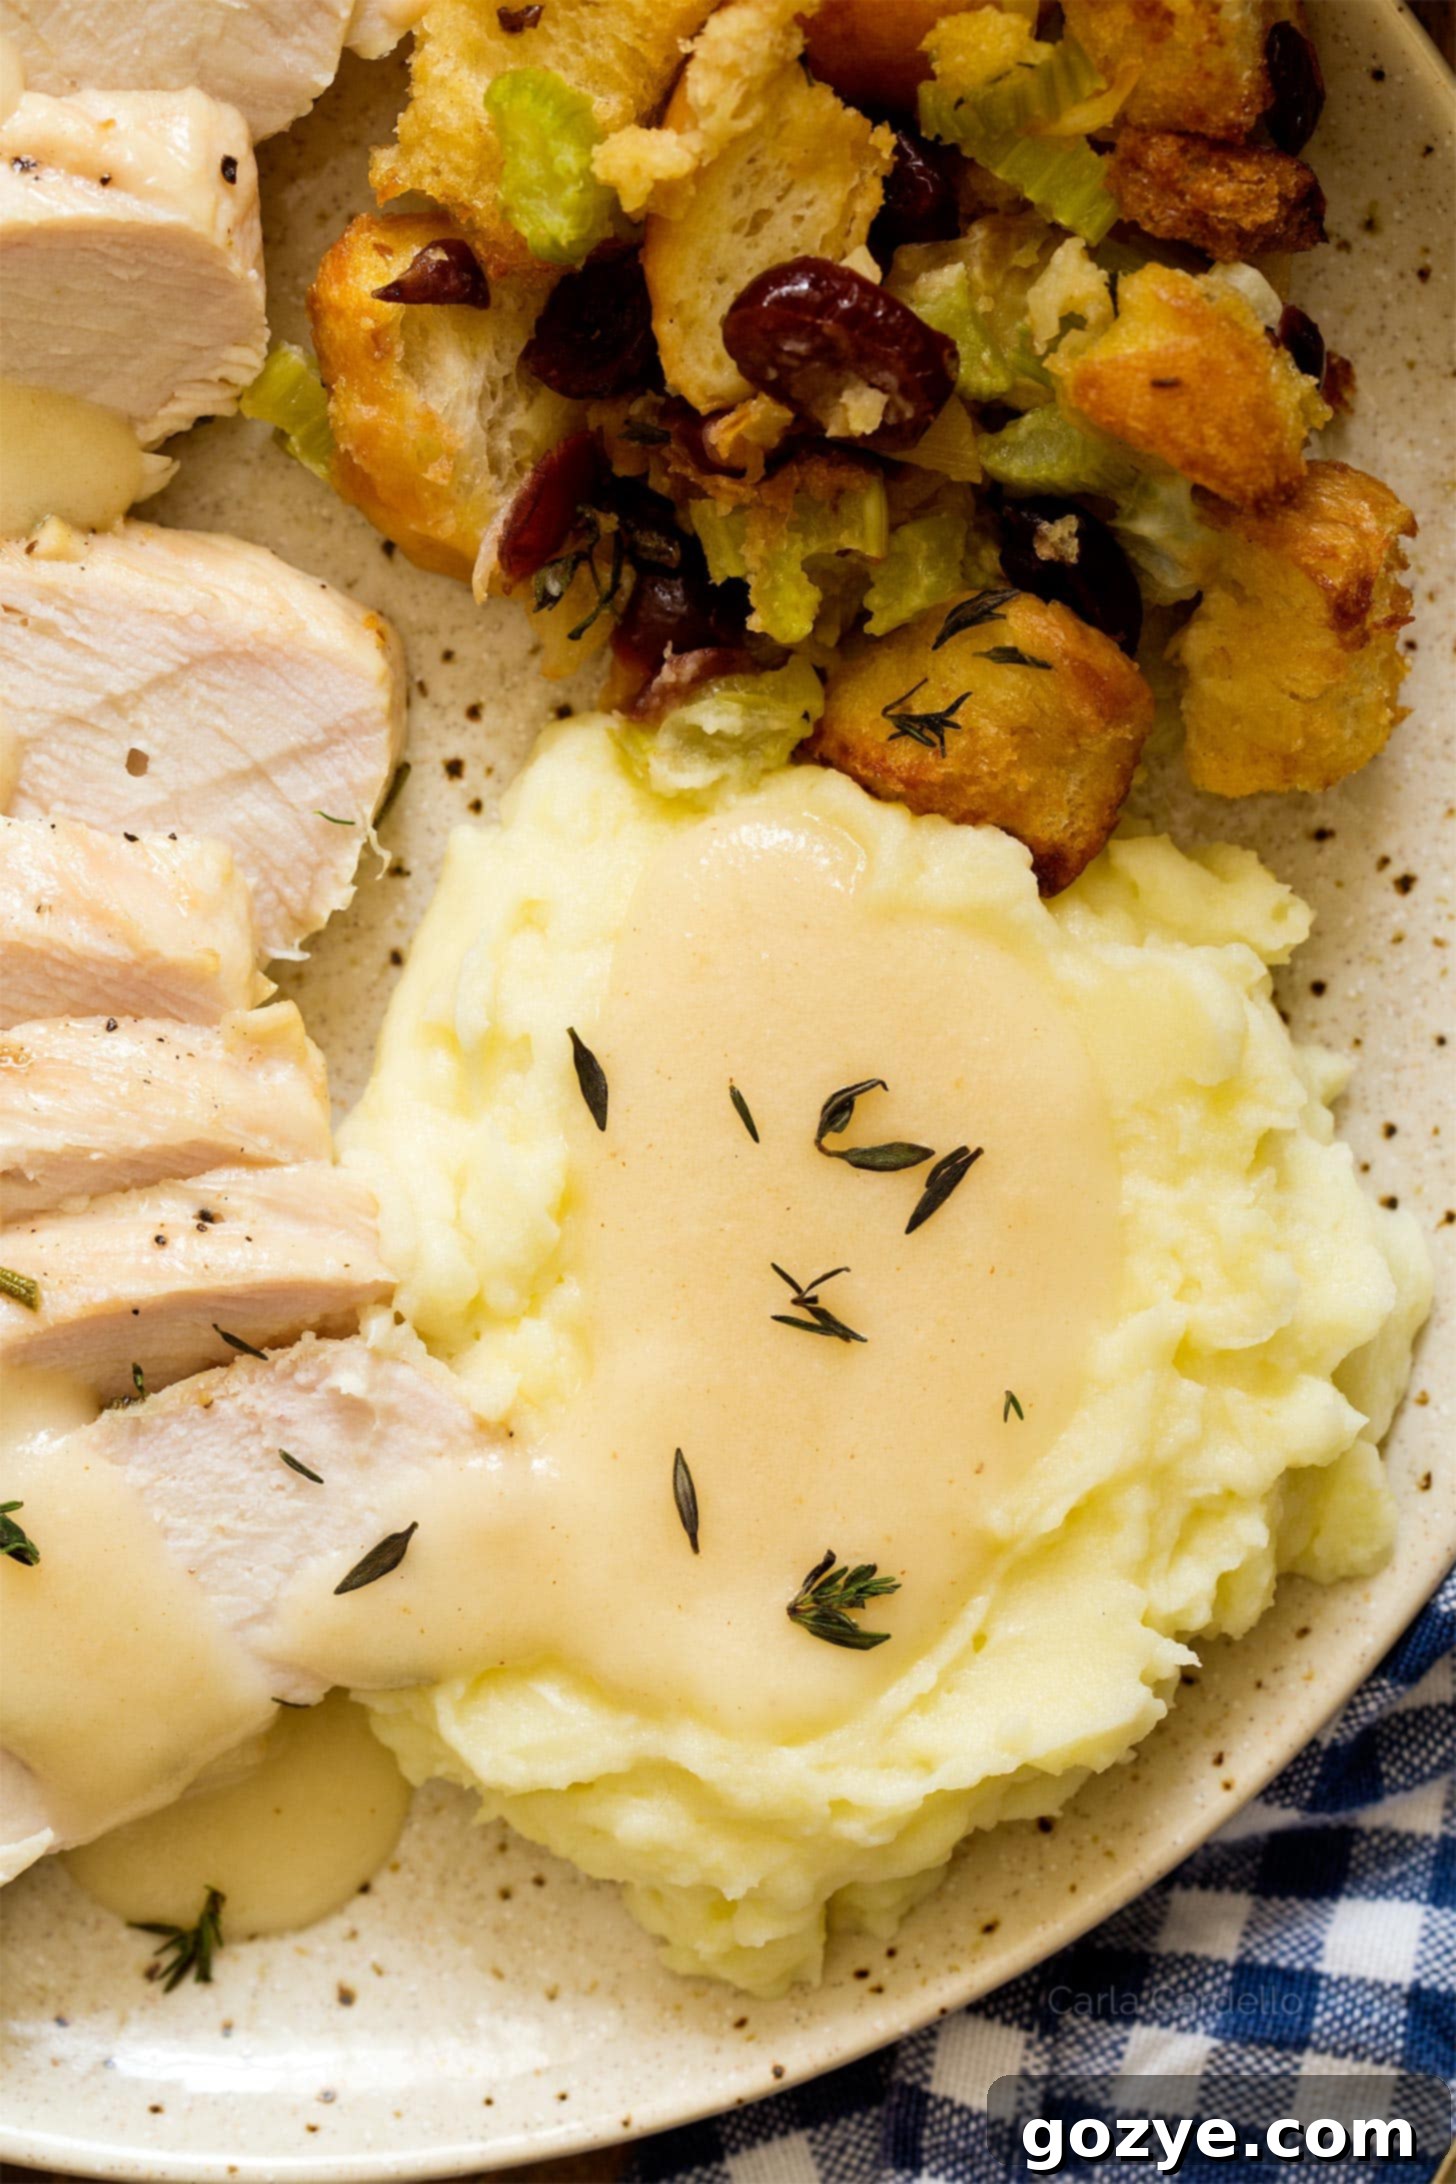
Honestly, what doesn’t taste infinitely better when drenched in a generous pour of luscious gravy?! From perfectly creamy mashed potatoes for two to savory cranberry stuffing, and of course, your tender stuffed turkey breast, gravy is the ultimate enhancer. It adds moisture, depth, and a comforting warmth that epitomizes holiday dining.
So, what exactly are these magical “drippings” we speak of? Drippings are the invaluable natural juices, rendered fat, and caramelized bits that accumulate at the bottom of your roasting pan after your turkey has been perfectly cooked. These precious remnants are brimming with an incredible depth of flavor – the very essence of your roasted bird. They are quite literally begging to be transformed into a sublime pan gravy.
Under no circumstances should you consider discarding these drippings. To do so would be to waste an unbelievable concentration of savory flavor. And beyond the culinary crime of flavor waste, nobody wants to waste food, especially during the holidays.
By harnessing these rich turkey drippings, you can effortlessly craft an easy, profoundly rich, and spectacularly flavorful sauce that seamlessly ties your entire holiday meal together. It’s the secret ingredient that transforms a good meal into an unforgettable feast.
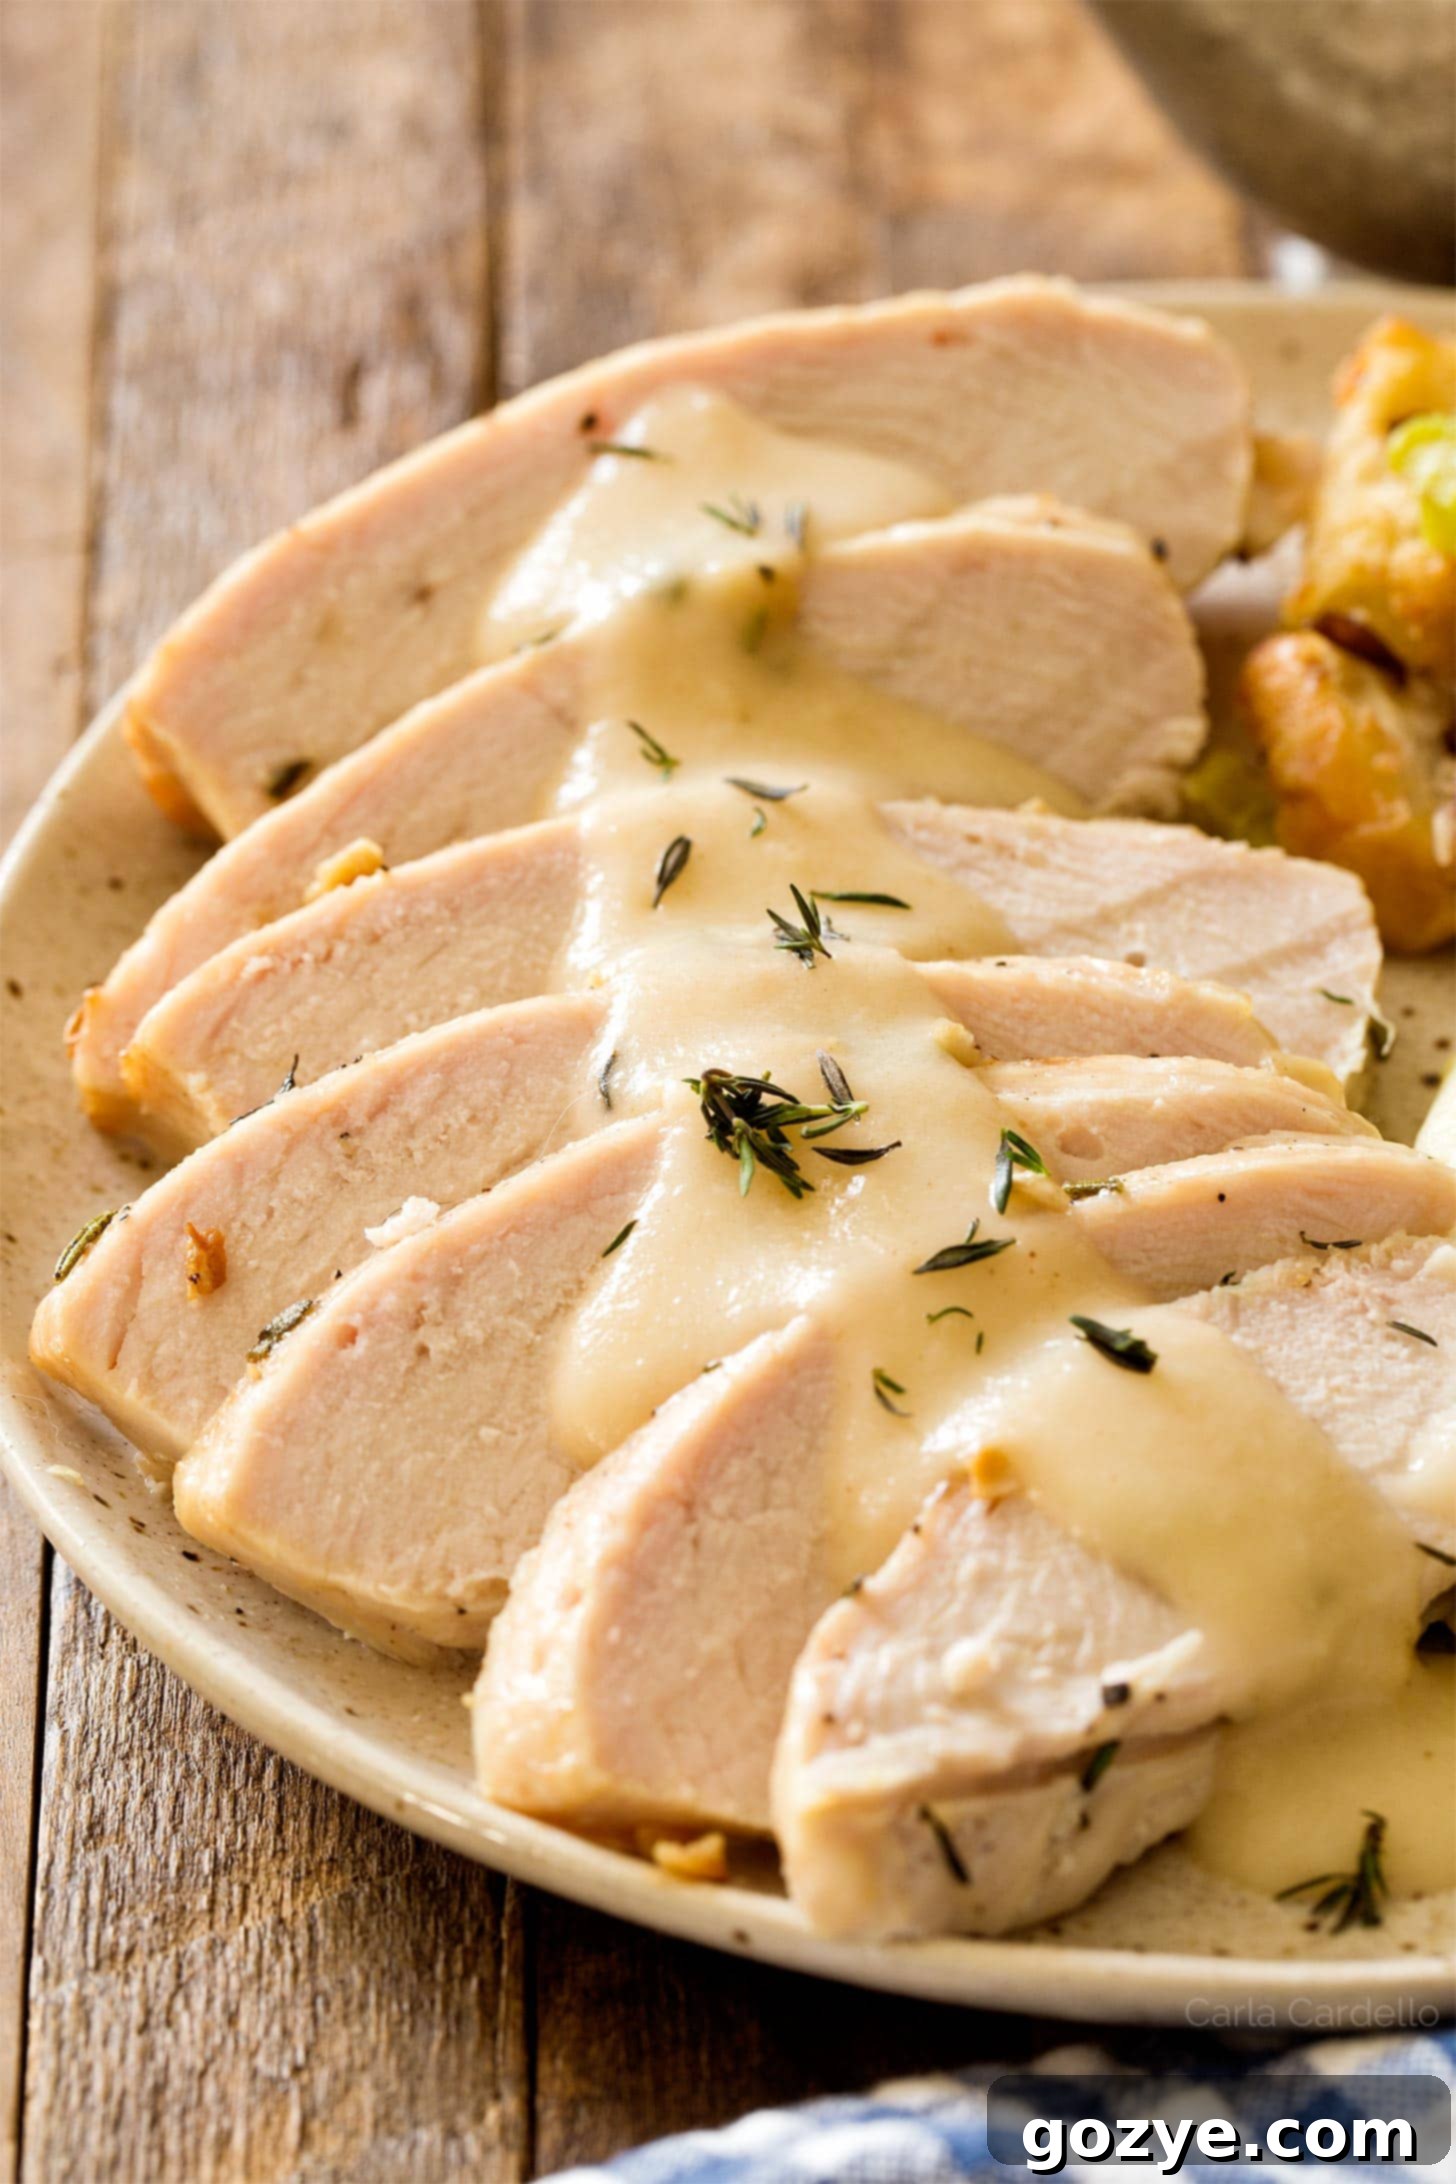
Whether you’re planning an intimate Thanksgiving dinner for two, featuring a smaller cut like a turkey tenderloin, or orchestrating a grand feast with a whole roasted turkey for your extended family, this straightforward turkey gravy recipe promises to become your new best friend at the holiday table. Its versatility and irresistible taste make it a must-have.
Essential Ingredients For Turkey Gravy From Drippings
Crafting the perfect turkey gravy from drippings requires a few key components that work in harmony to create its signature rich and savory profile. Gather the following ingredients, ensuring they are ready for the transformation:
- Drippings: These are the star of the show – the highly flavorful juices, rendered fat, and browned bits left behind in your roasting pan after your turkey is perfectly cooked. They provide the deep, roasted turkey flavor that store-bought gravies simply cannot replicate. The more drippings, the more intense the flavor.
- Butter: An unsalted butter is your friend here. It serves a crucial role, providing additional fat if your drippings yield less than needed, helping to create a robust roux, and adding a silky richness to the finished gravy.
- Broth or Stock: Ideally, you’ll want to use turkey broth or stock to enhance the turkey flavor profile. However, if turkey stock is elusive, high-quality chicken broth or stock is an excellent and readily available alternative. Opt for low-sodium versions if you prefer to control the salt content precisely.
- All-Purpose Flour: This common pantry staple is used to create a roux, which is essential for thickening the gravy and giving it a smooth, glossy texture. It binds with the fat to form a paste that then absorbs the liquid. (See notes for a gluten-free alternative).
- Salt: Critical for seasoning, salt brings out and balances all the other flavors. Taste your gravy as you go and adjust the salt level. If your gravy tastes bland or “flat,” a pinch more salt is often the solution. Kosher salt is generally preferred for its milder flavor and easier dissolving properties.
- Milk: A touch of whole milk (or even a splash of half-and-half or heavy cream) is an optional but highly recommended addition. It contributes a subtle creaminess and lightens the color of the gravy, adding to its luxurious mouthfeel without overpowering the turkey flavor.
What if I can’t find turkey stock at the store?
I distinctly remember an instance last weekend, while browsing the soup aisle, overhearing a couple exclaim in frustration, “I can’t find turkey broth anywhere! Now what do we do?!” This is a very common predicament during the holidays.
Indeed, commercially available turkey stock isn’t always as common or as readily stocked as chicken broth. But don’t despair! Your best options are either to embark on the rewarding journey of making homemade turkey stock from your turkey neck and giblets (if you have them) or simply opt for good quality chicken broth. Many people find chicken broth works beautifully and the difference is barely noticeable once combined with the potent turkey drippings.
There is absolutely nothing wrong with using chicken broth – it’s a perfectly acceptable and delicious substitute!
Step-by-Step Guide: How To Make Gravy From Turkey Drippings
Creating homemade turkey gravy from drippings is a straightforward process that yields incredibly delicious results. Follow these simple steps for a perfect sauce every time:
- Melt Fat from Drippings and Butter in the Roasting Pan: Begin by placing your roasting pan (after carefully removing the turkey and any rack) directly over two burners on your stovetop set to medium heat. If you’ve separated your fat (as described below), add the appropriate amount back into the pan. If you don’t have enough turkey fat from the drippings, supplement with unsalted butter until you reach the desired quantity. Allow the fat and butter to melt, then, using a wooden spoon or spatula, actively scrape up all the delicious brown bits (known as “fond”) stuck to the bottom of the pan. These bits are packed with intense flavor and are crucial for a rich gravy.
- Stir in Flour to Form a Roux: Once the fat is melted and shimmering, gradually sprinkle in the all-purpose flour. Continuously whisk or stir vigorously to combine the flour with the melted fat, creating a smooth paste known as a roux. Continue to cook the roux for about 1 minute, or until it achieves a light golden-brown color and a slightly nutty aroma. This step is important to cook out the raw flour taste and develop flavor.
- Slowly Whisk in Broth and Bring to a Boil: Begin slowly pouring in the turkey or chicken broth, a little at a time, while continuously whisking to prevent lumps. The mixture will initially be very thick, but as you add more broth and whisk, it will smooth out. Continue adding broth until it’s all incorporated. Increase the heat slightly and bring the gravy to a gentle boil, still whisking occasionally. Once boiling, reduce the heat to a simmer and cook for 2-3 minutes, or until the gravy begins to thicken to your desired consistency. Remember, it will thicken further as it cools.
- Stir in Milk and Season to Taste: Remove the gravy from the heat. Stir in the whole milk (or cream) to add a touch of richness and smooth texture. Now is the crucial moment for tasting. Add salt, preferably kosher salt, a little at a time, stirring well after each addition, until the flavor is perfectly balanced and robust. You might also want to add a pinch of freshly ground black pepper. Serve immediately, or keep warm until ready to serve.
Can I make gravy without drippings if I don’t have any?
Absolutely! There are certainly situations where you might find yourself without pan drippings – perhaps you’re making gravy ahead of time and don’t want to wait for the meat to roast, or you simply didn’t roast a turkey or other meat. In such cases, you can still create a wonderfully flavorful gravy!
While the drippings add an unparalleled depth, a delicious gravy can still be made using just butter, flour, and broth (and perhaps a few aromatics like onions or herbs for extra flavor). To learn how to master this technique, refer to my dedicated gravy without drippings recipe for a comprehensive guide.
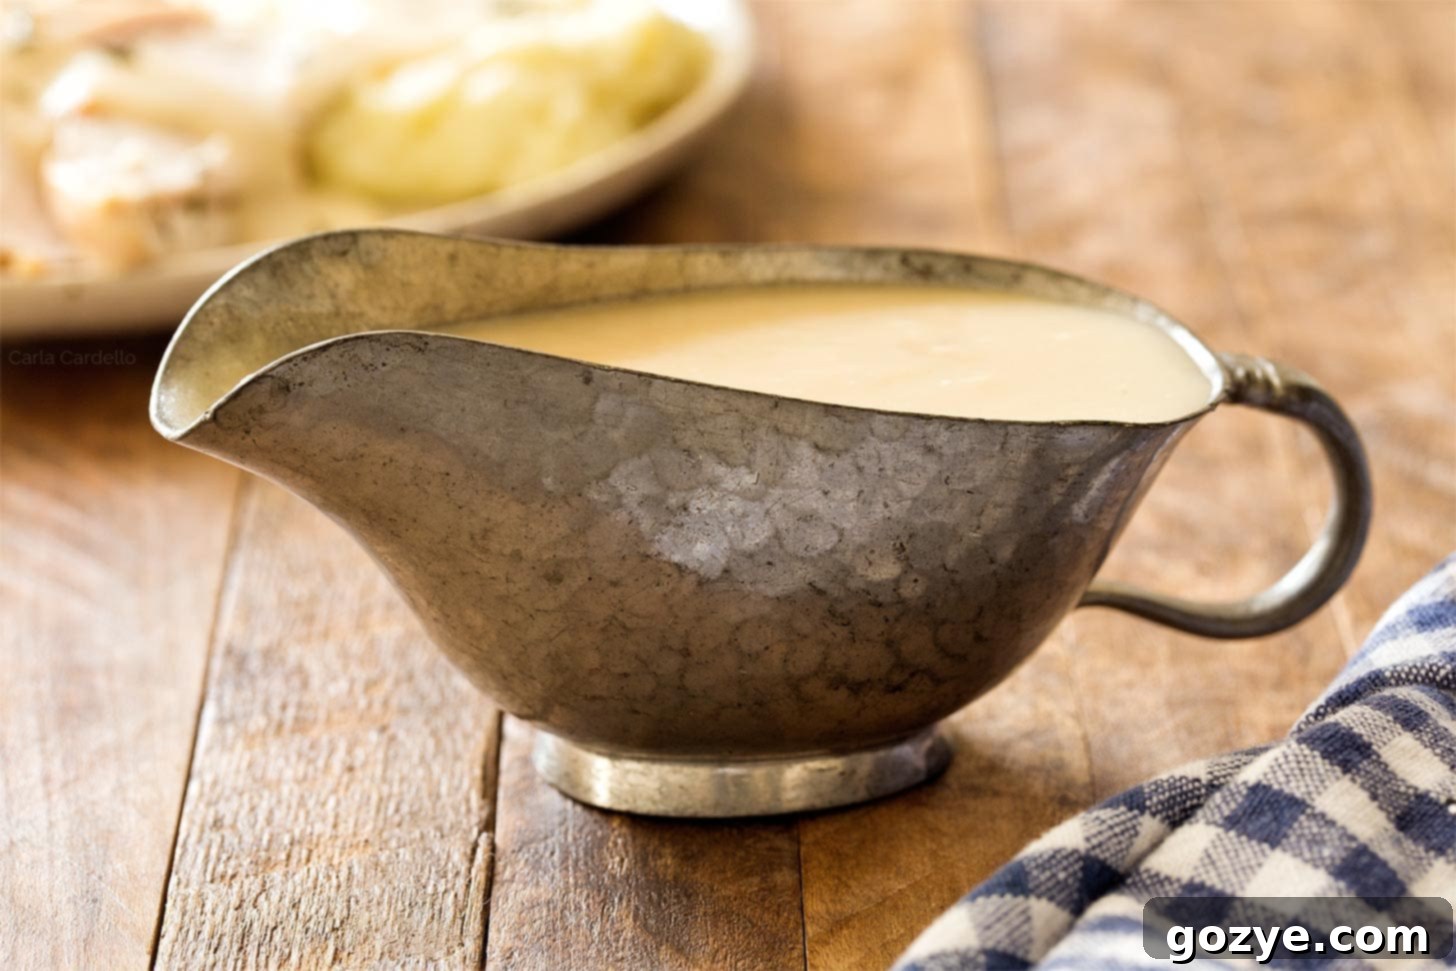
How To Store and Reheat Turkey Gravy
Have leftover gravy after your glorious meal? Don’t let a single drop go to waste! Proper storage ensures you can enjoy its deliciousness for days to come. Transfer any leftover gravy into an airtight container or a sealed jar. It will keep beautifully in the refrigerator for up to 5 days. When you’re ready to reheat it, you’ll likely notice it has thickened considerably. To restore its smooth, pourable consistency, gently reheat it on the stovetop over low heat, whisking in a splash or two of turkey or chicken broth until it reaches your desired texture. Avoid boiling it vigorously, as this can affect its texture.
Mastering Fat Separation from Drippings
When you’re roasting a large cut of meat, especially a whole turkey, you’ll often end up with a substantial amount of drippings. For the best gravy, it’s wise to separate the fat from the concentrated liquid juices (known as turkey stock or defatted drippings) first. This allows you to control the fat content of your gravy, ensuring it’s rich but not overly greasy.
The easiest way to do this is by carefully transferring all the drippings from the roasting pan into a heat-proof measuring cup or a specialized fat separator. Let it sit undisturbed for about 15-20 minutes. During this time, the fat, being less dense, will naturally rise to the top, forming a distinct layer.
Once the layers have separated, you can use a large spoon to carefully skim off the clear, yellow layer of fat from the top. The concentrated, flavorful turkey stock will remain at the bottom.
If you have the luxury of time, and particularly if you roasted your turkey the day before, you can let the drippings sit in the refrigerator overnight. The cold will cause the fat to solidify completely, making it incredibly easy to lift off in a solid disc, leaving behind a pristine, gelled turkey stock. This is arguably the simplest method.
Once you’ve separated the fat, measure out the required amount of fat for your gravy base (usually about 2 tablespoons for a standard recipe) and add it to your pan. If the skimmed fat isn’t enough, supplement with unsalted butter until you reach the total amount called for in the recipe. The remaining defatted turkey stock can then be used as part of your liquid (broth) component.
However, if you’re preparing a smaller holiday dinner, such as a turkey tenderloin or a bone-in turkey breast, you might only be left with a modest amount of drippings – perhaps just a tablespoon or two. In these scenarios, the fat separation step is often unnecessary. I typically don’t bother; I simply add all the drippings directly to the pan along with any additional butter needed to form the roux. The smaller quantity means the fat won’t make the gravy overly greasy.
Can I double or adjust this gravy recipe for a larger turkey?
This particular recipe, as initially formulated on this blog, often caters to smaller cuts of meat like stuffed turkey breast or turkey tenderloin, which typically yield a modest amount of drippings – generally around 1-2 tablespoons. This quantity is perfect for smaller gatherings or everyday meals.
However, if you’re roasting a full-sized turkey, you’ll undoubtedly have a significantly larger volume of drippings. In this case, you will absolutely need to adjust (or double, triple, or even quadruple) the recipe accordingly to accommodate the increased amount of flavor-packed drippings and to ensure you have enough gravy for everyone.
The most straightforward way to scale this recipe is to first measure the total volume of usable drippings you have (after separating the fat, as described above). Once you know your total drippings quantity, you can easily scale all other ingredients proportionally. For instance, if the original recipe calls for 2 tablespoons of fat/drippings and you find yourself with 8 tablespoons (which is equivalent to 1/2 cup) of drippings from your whole turkey, you would simply multiply all the ingredient quantities in the recipe by 4. This ensures that the ratios of fat, flour, and liquid remain balanced, resulting in a perfectly thick and flavorful gravy.
How To Make Gluten Free Turkey Gravy
Sometimes, for dietary reasons or personal preference, you might prefer not to make turkey gravy with traditional all-purpose flour. This is especially important for accommodating food allergies or sensitivities on Thanksgiving Day.
Fortunately, you can easily create a delicious gluten-free turkey gravy using cornstarch as your thickening agent. However, the process is slightly different from the flour-based roux method.
Instead of creating a roux directly in the fat, you’ll need to make a “slurry.” A slurry is a mixture of equal parts cornstarch and cold water (or cold broth). This crucial step ensures that your gravy will be wonderfully smooth and completely free of lumps. If you were to add dry cornstarch directly to hot liquid, just as you would with flour, you would almost certainly end up with undesirable lumps.
Once you’ve melted your fat (drippings and/or butter) in the pan, stir the cornstarch slurry into the hot fat. Immediately follow this by stirring in the broth. Bring the mixture to a boil while whisking continuously. As soon as the gravy begins to boil, you will notice it rapidly thickening to a luscious consistency. Cook for about 1 minute after it starts boiling to ensure the cornstarch is fully cooked and the thickening is complete. Taste and adjust seasoning as needed.
Turkey Gravy From Drippings FAQ
Yes, absolutely! Making your gravy up to 2 days in advance is a fantastic way to reduce stress on Thanksgiving Day. Simply prepare the gravy as directed, let it cool completely, then store it in an airtight container in the refrigerator. When you’re ready to serve, reheat it gently on the stovetop over low heat, whisking frequently. You’ll likely find it has thickened considerably overnight, so be prepared to whisk in a little extra turkey or chicken broth, one tablespoon at a time, until it returns to a smooth, pourable consistency.
Lumpy gravy is usually a result of not whisking vigorously enough while slowly incorporating the broth into the roux. Don’t worry, it’s easily fixable! The quickest and most effective method is to use an immersion blender (also known as a stick blender) directly in the saucepan. Blend until smooth. If you don’t have an immersion blender, a fine-mesh strainer is your next best friend. Simply pour the lumpy gravy through the strainer into another pot, using the back of a spoon or a whisk to press any remaining solids through. Discard any lumps left behind.
If your gravy turns out too thin, there are a couple of easy solutions. The simplest way to naturally thicken gravy is to continue cooking it over medium-low heat. As it simmers, the liquid will reduce, and the gravy will thicken. This method also concentrates the flavors further. If you’re in a hurry and need a quicker fix, create a quick slurry: mix equal parts cornstarch and cold water (or cold broth) in a small bowl until smooth. Slowly whisk this slurry into your simmering gravy, allowing it to come to a gentle boil for about 1 minute, until it thickens to your desired consistency. Remember to taste and adjust seasonings after thickening.
What To Serve With This Irresistible Turkey Gravy
Now that you’ve mastered the art of making the most delicious homemade turkey gravy, you’ll need the perfect accompaniments for your holiday spread! This rich, savory gravy complements a wide array of Thanksgiving and holiday dishes. Still planning your festive menu? Explore these beloved Thanksgiving recipes that are absolutely divine when generously smothered in your homemade turkey gravy:
- Stuffed Cornish Hen: A fantastic option if you’re not planning a whole turkey this year, but still crave that festive poultry experience.
- Easy Cheesy Stovetop Scalloped Potatoes: Creamy, cheesy potatoes are a match made in heaven with a drizzle of rich gravy.
- Garlic Parmesan Au Gratin Potatoes For Two: A luxurious side dish, perfectly portioned, that truly shines with a savory gravy.
- Homemade Cranberry Sauce (Small Batch): The tartness of cranberry sauce offers a delightful contrast to the richness of the gravy.
- Green Bean Casserole Without Mushroom Soup: A fresher take on a classic, which benefits immensely from the moistening and flavorful addition of gravy.
- Sweet Potato Casserole For Two: While often sweet, a touch of savory gravy can surprisingly complement the earthiness of sweet potatoes.
- Small Pumpkin Pie: Not for the gravy, of course, but a crucial component for a complete Thanksgiving dessert!
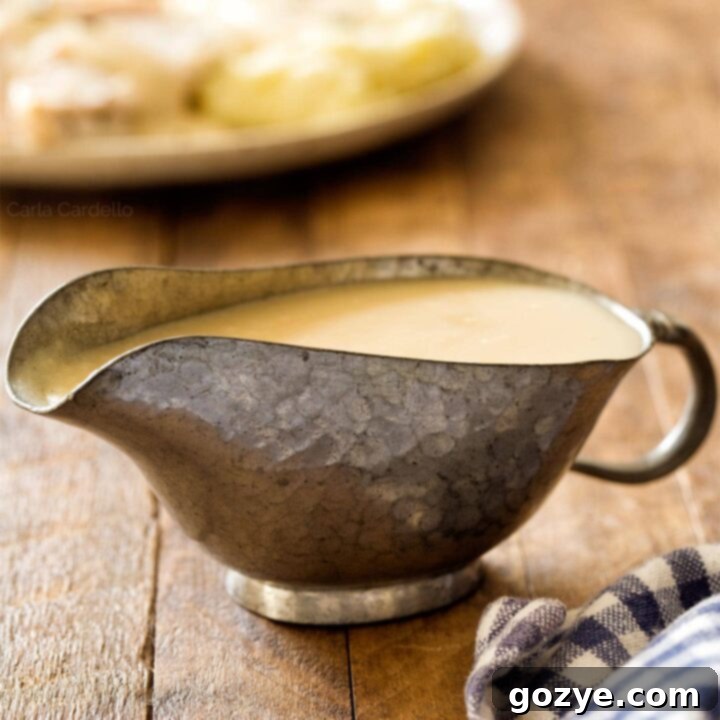
Turkey Gravy From Drippings
1 cup
15 minutes
10 minutes
25 minutes
Homemade turkey gravy from drippings is a rich and flavorful sauce to pour over your Thanksgiving turkey, mashed potatoes, and stuffing!
Ingredients
- Pan drippings from turkey breast
- Up to 2 tablespoons unsalted butter
- 2 tablespoons all-purpose flour* (see Note to substitute cornstarch)
- Up to 1 cup turkey or chicken broth/stock
- 1 tablespoon whole milk
- Salt, to taste (preferably kosher)
Instructions
- Transfer drippings from the bottom of your roasting pan into a measuring cup and refrigerate 15 minutes. The fat should float to the top.
- Skim fat off the top and place back into the roasting pan. For bone-in turkey breast, you should have 2 tablespoons fat. If you don’t have enough, add enough butter to equal 2 tablespoons total fat.
If you’re roasting a whole turkey, you’ll have more drippings so you’ll need to adjust the ingredients accordingly. The steps are still the same.
- Add enough broth to the liquid drippings to equal 1 cup.
- On the stovetop over medium heat, melt the fat and butter directly in the roasting pan (or clean saucepan), scraping up any brown bits left in the pan.
- Stir in the flour to form a roux (paste) and cook for 1 minute or until lightly brown.
- Slowly whisk in the broth mixture and cook until thickened, about 2-3 minutes. It’ll thicken after it cools so you may want to pull from the heat before it finishes.
- Remove from the heat and stir in the milk. Taste and adjust for salt.
Gravy will thicken as it cools, so you may need to reheat and thin it out with more broth until smooth and pourable again.
Refrigerate leftover gravy for up to 5 days. Reheat and add more broth to thin it out.
Notes
- For a gluten-free gravy, stir together 1 tablespoon cornstarch and 1 tablespoon water in a small bowl then add to the melted fat in the pan.
- Need drippings? Make my Stuffed Turkey Breast then come back and make this gravy.
- Don’t want drippings? Check out Gravy Without Drippings and Mushroom Gravy.
- Planning your holiday menu? Check out Thanksgiving Dinner For Two for recipe pairings.
Recommended Products
As an Amazon Associate and member of other affiliate programs, I earn from qualifying purchases.
- Roasting Pan with Rack
Did you make this recipe?
Let me know what you think! Rate the recipe above, leave a comment below, and/or share a photo on Instagram using #HITKrecipes
