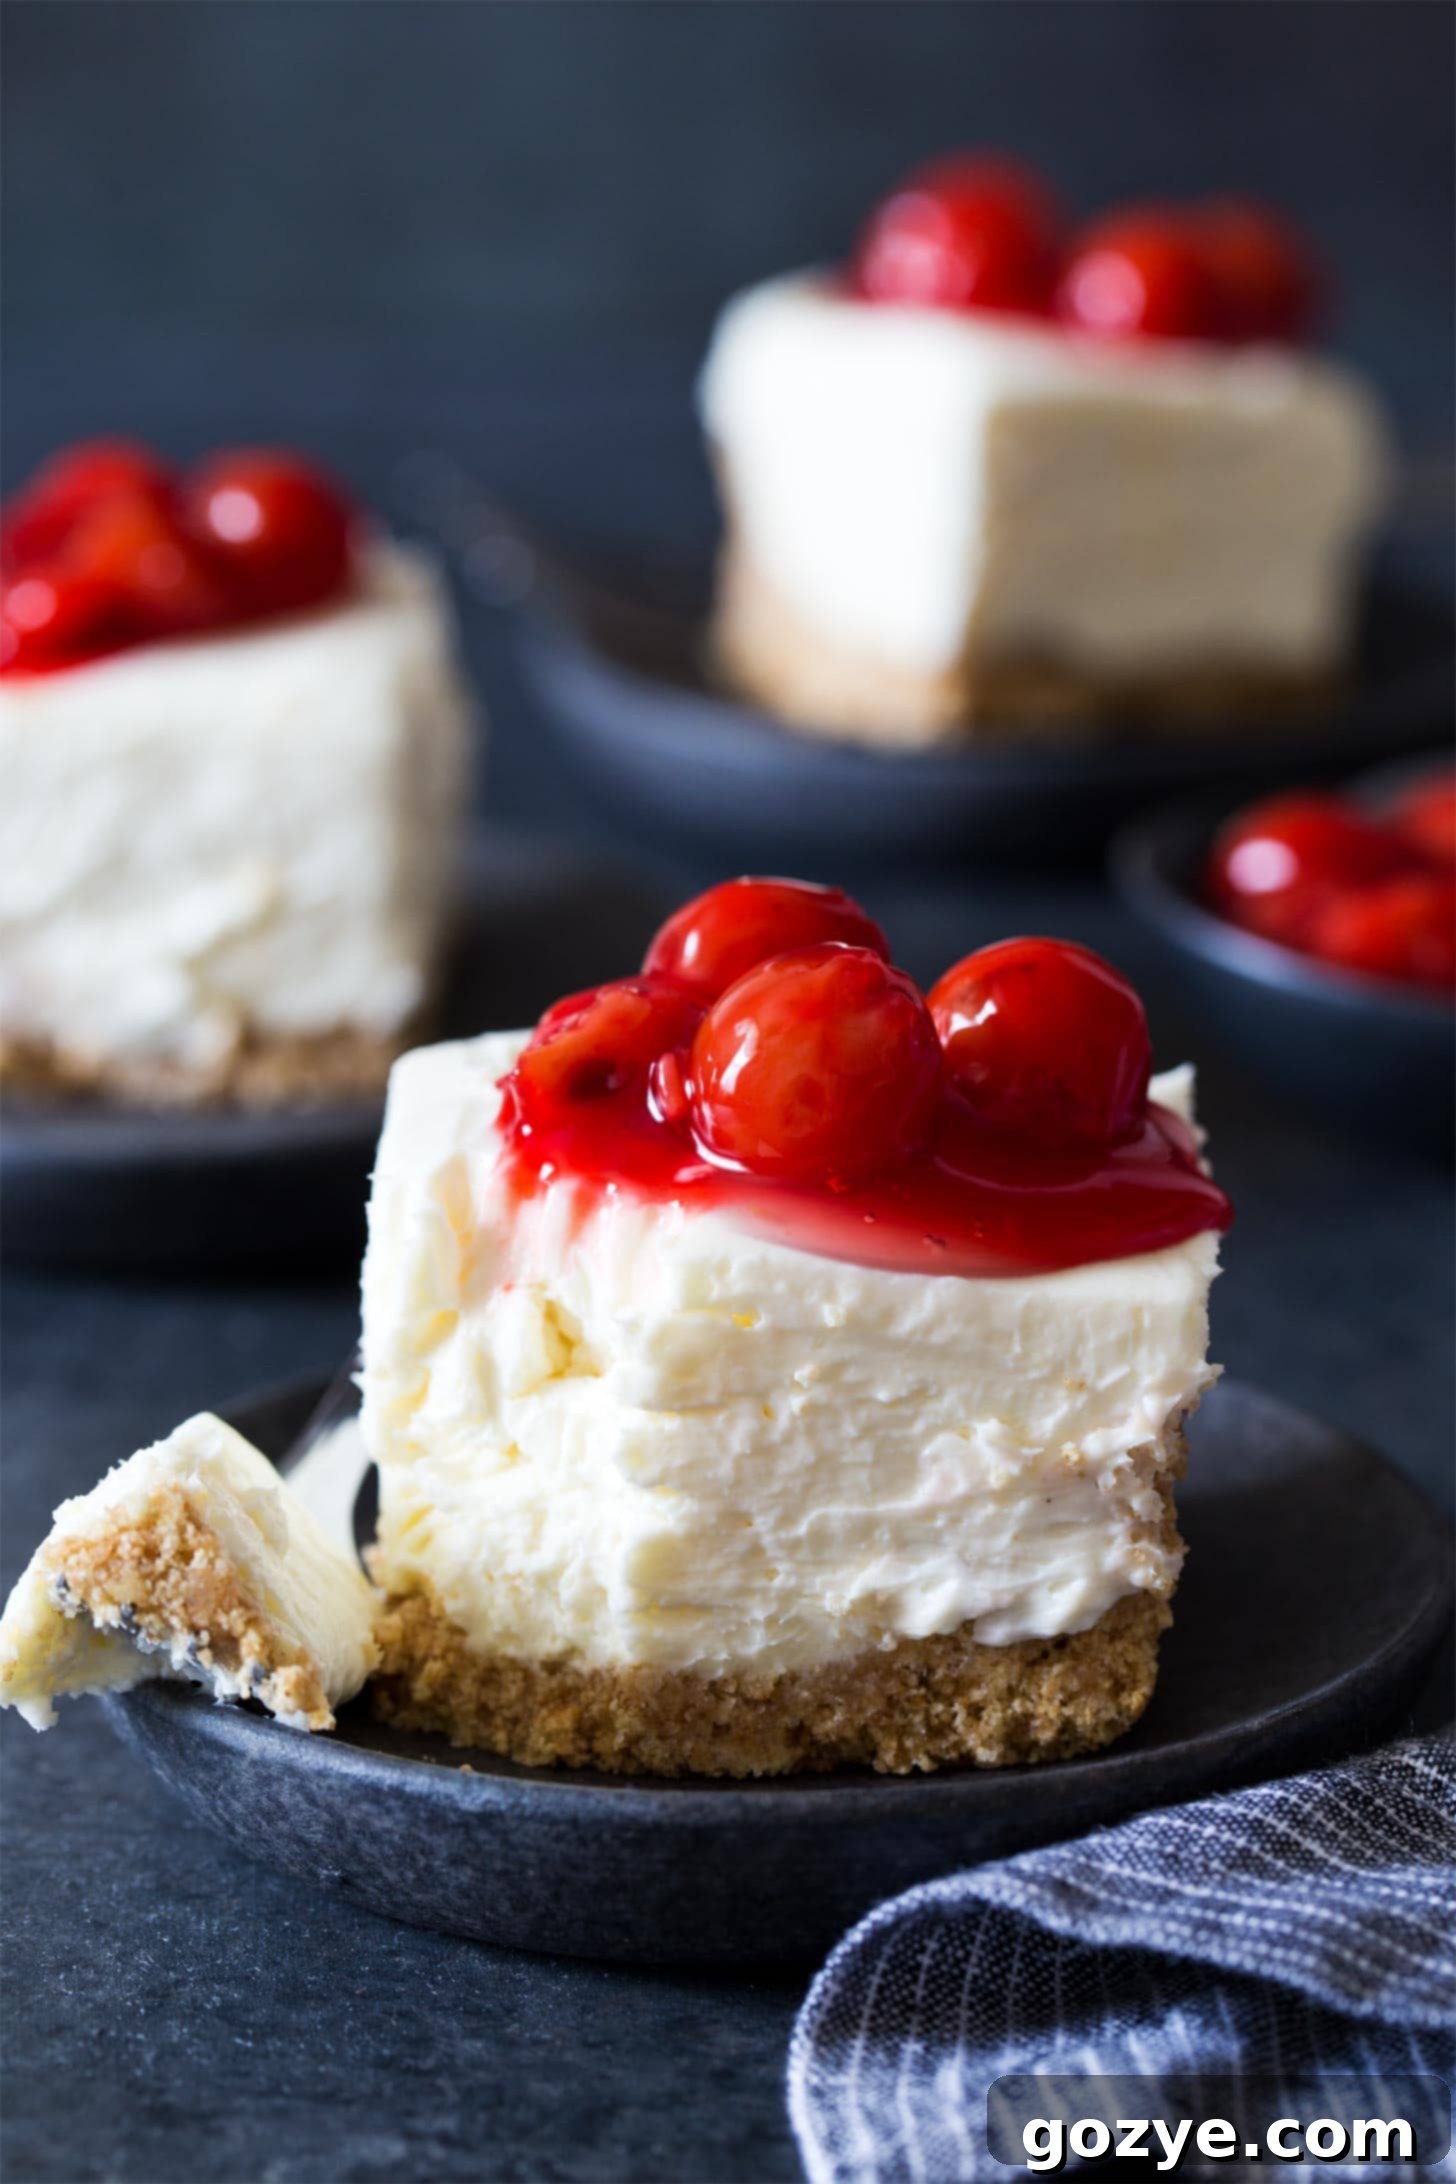
Irresistible No-Bake Cheesecake Bars: Your Go-To Recipe for Effortless Creamy Dessert
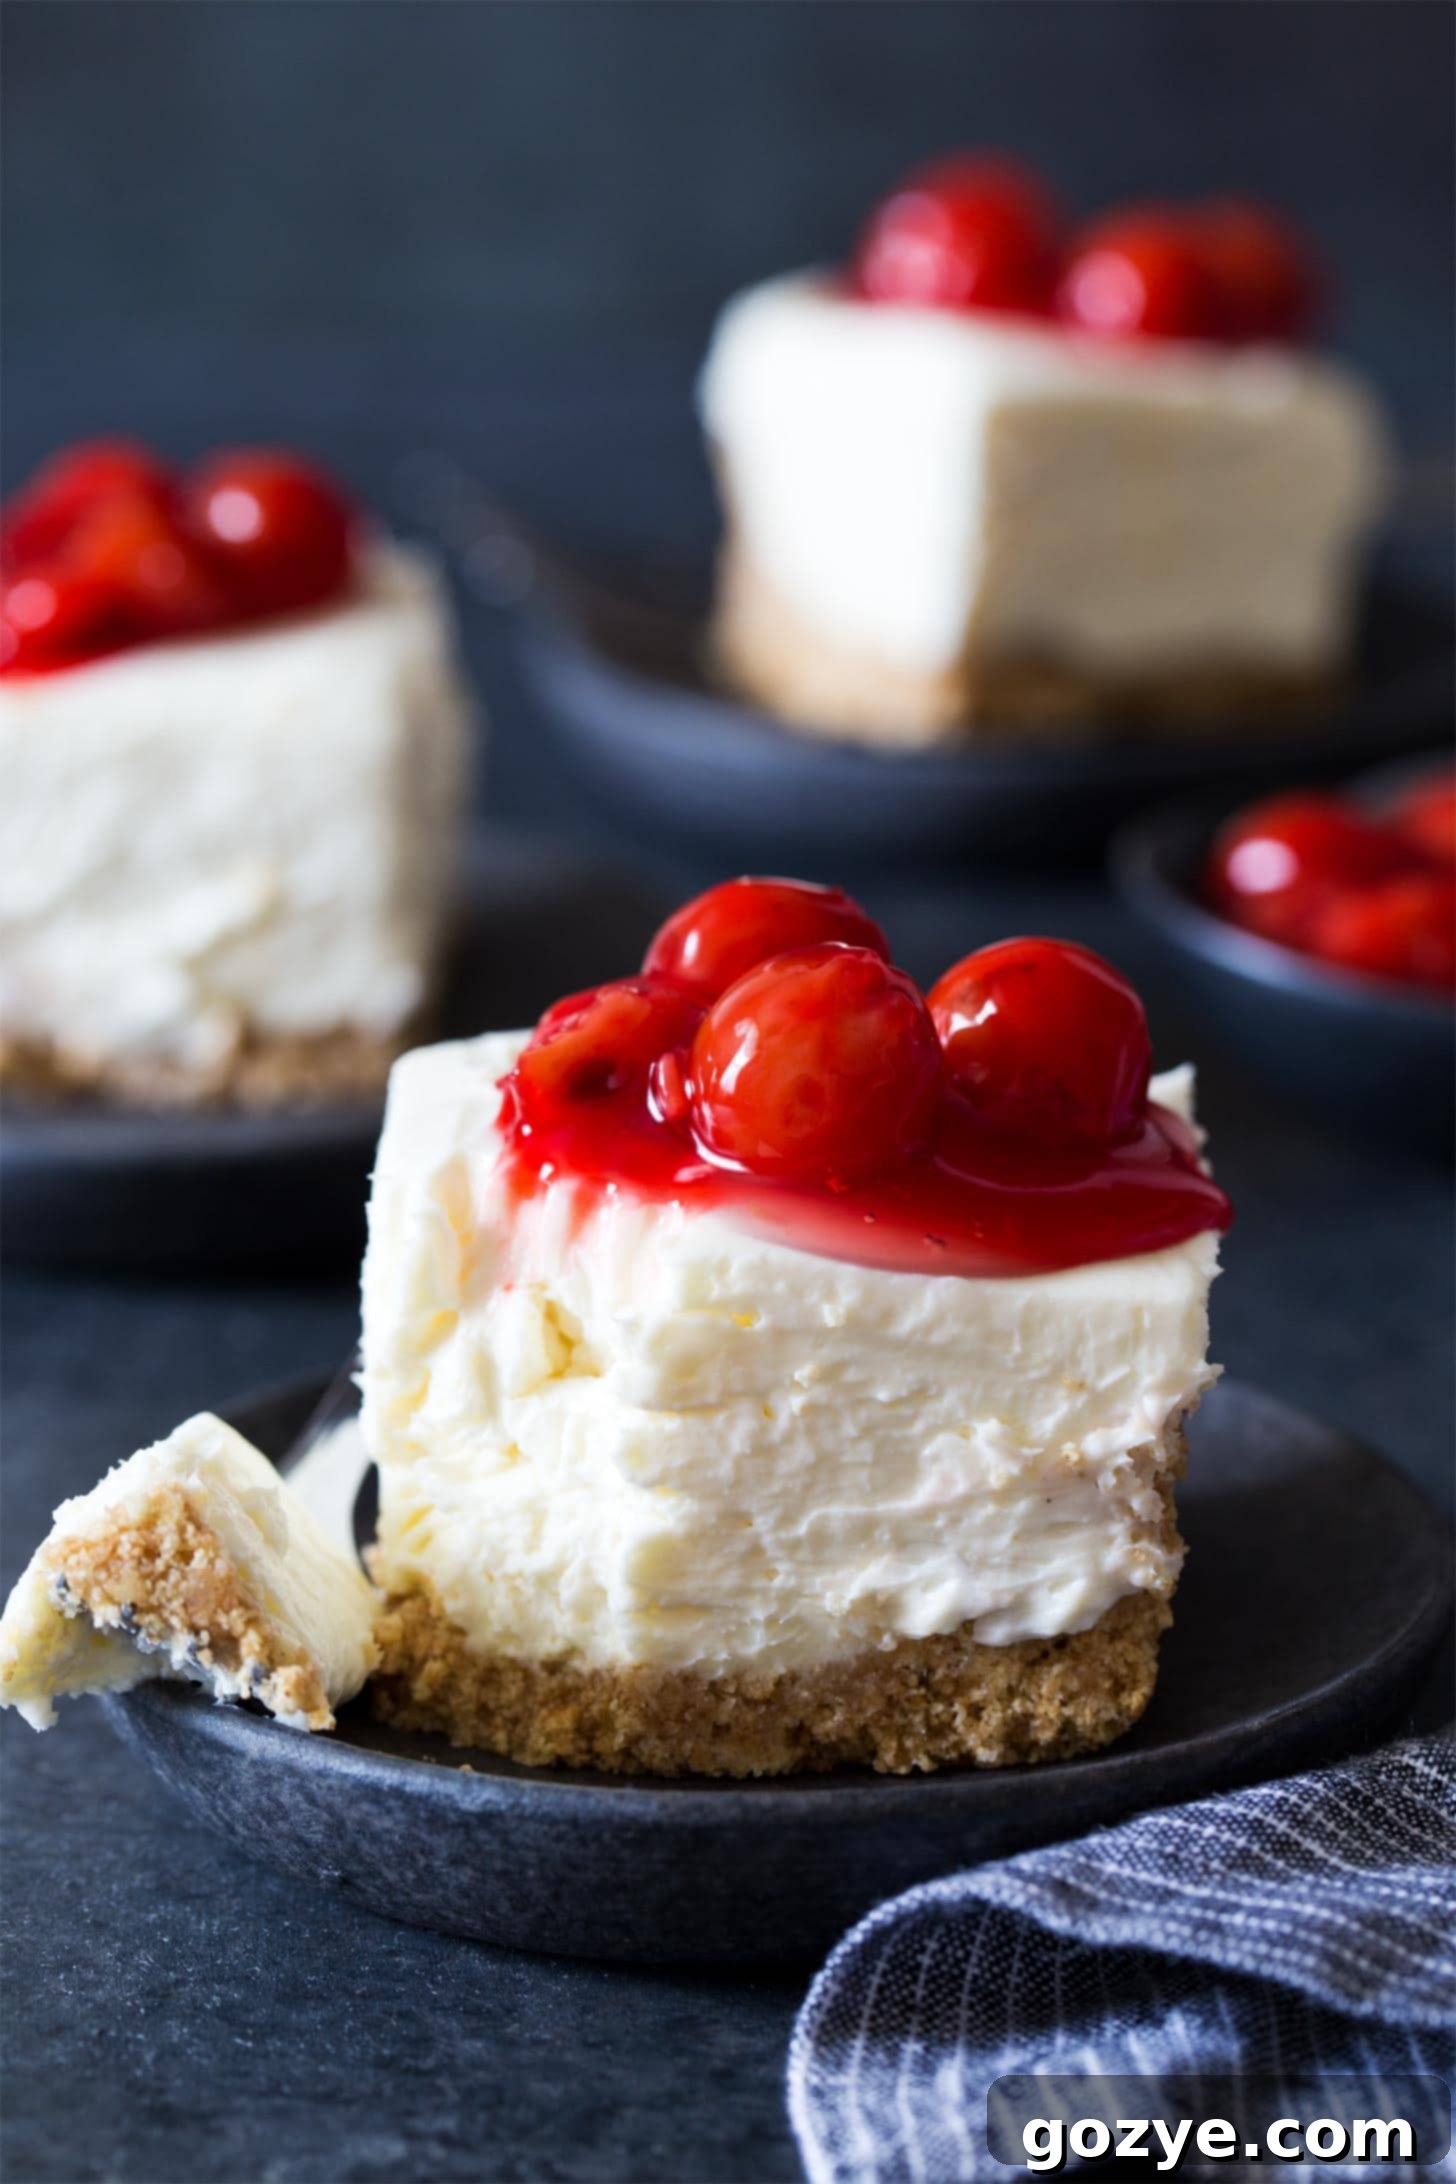
Say goodbye to turning on the oven, especially during those warm days, and say hello to the easiest, most delicious dessert you’ll ever make: No-Bake Cheesecake Bars! These delightful squares are a dream come true for anyone craving rich, creamy cheesecake without the hassle of baking. Featuring a perfectly buttery graham cracker crust and a wonderfully tangy cream cheese filling, they offer a refreshing twist on a classic. And the best part? They’re made without Cool Whip, ensuring a pure, authentic cheesecake experience. Serve them simply, or elevate them with a vibrant cherry pie filling or a dollop of fresh whipped cream.
It’s that time of year again when my apartment transforms into a sauna, forcing me to rely heavily on the air conditioning. Living in an upstairs apartment means hot air naturally gravitates upwards, making any internal heat source a serious contributor to discomfort. My gas oven, in particular, acts like an inferno, raising the indoor temperature by several degrees every time it’s used. While a bit of warmth might be welcome in the depths of winter, it’s certainly not what anyone wants when summer arrives!
This is precisely why, once the warmer weather firmly settles in, my oven becomes a forbidden zone. I only turn it on if it’s absolutely essential, perhaps for a special occasion like baking my mini cherry pies during peak cherry season. Otherwise, I’m constantly seeking delicious alternatives that don’t involve heating up my kitchen. When I recently revisited and updated my loaf pan cheesecake recipe, it struck me: I was missing a dedicated recipe for classic No-Bake Cheesecake Bars!
Although I do have no-bake pumpkin cheesecake bars, what I envisioned was a recipe for traditional, plain no-bake cheesecake in bar form, similar to my popular no-bake mini cheesecakes but designed for a standard baking pan. This recipe fills that void perfectly! These no-bake cheesecake bars are everything you could wish for in a cheesecake: incredibly rich, wonderfully creamy, and delightfully tangy, all resting upon a firm, buttery graham cracker crust.
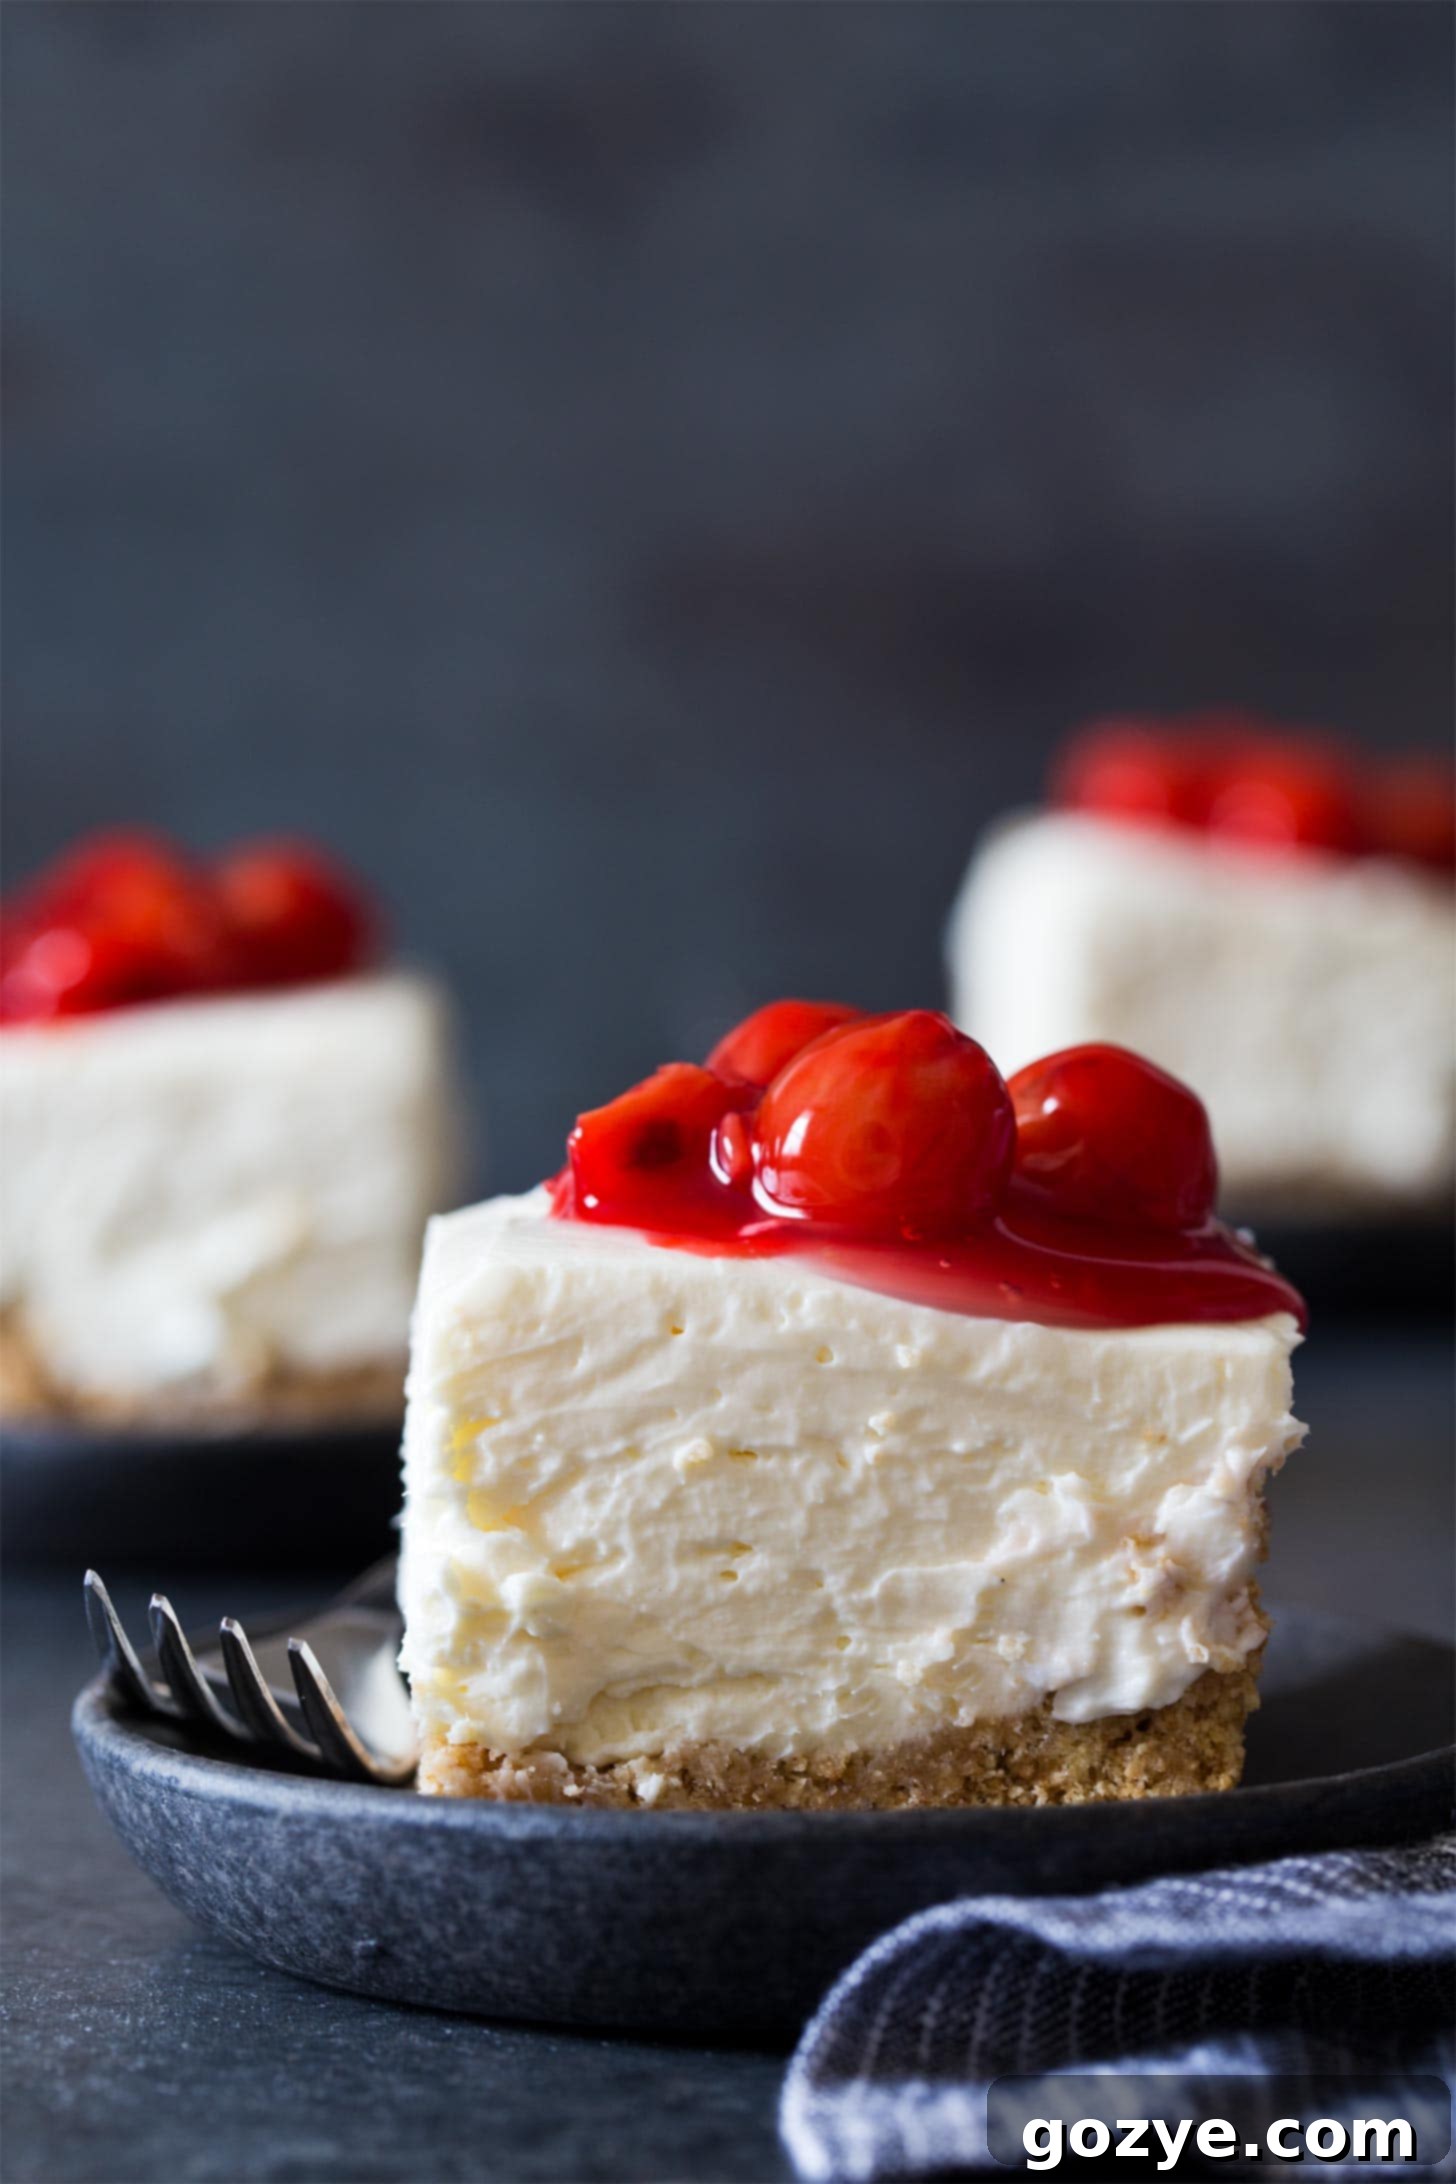
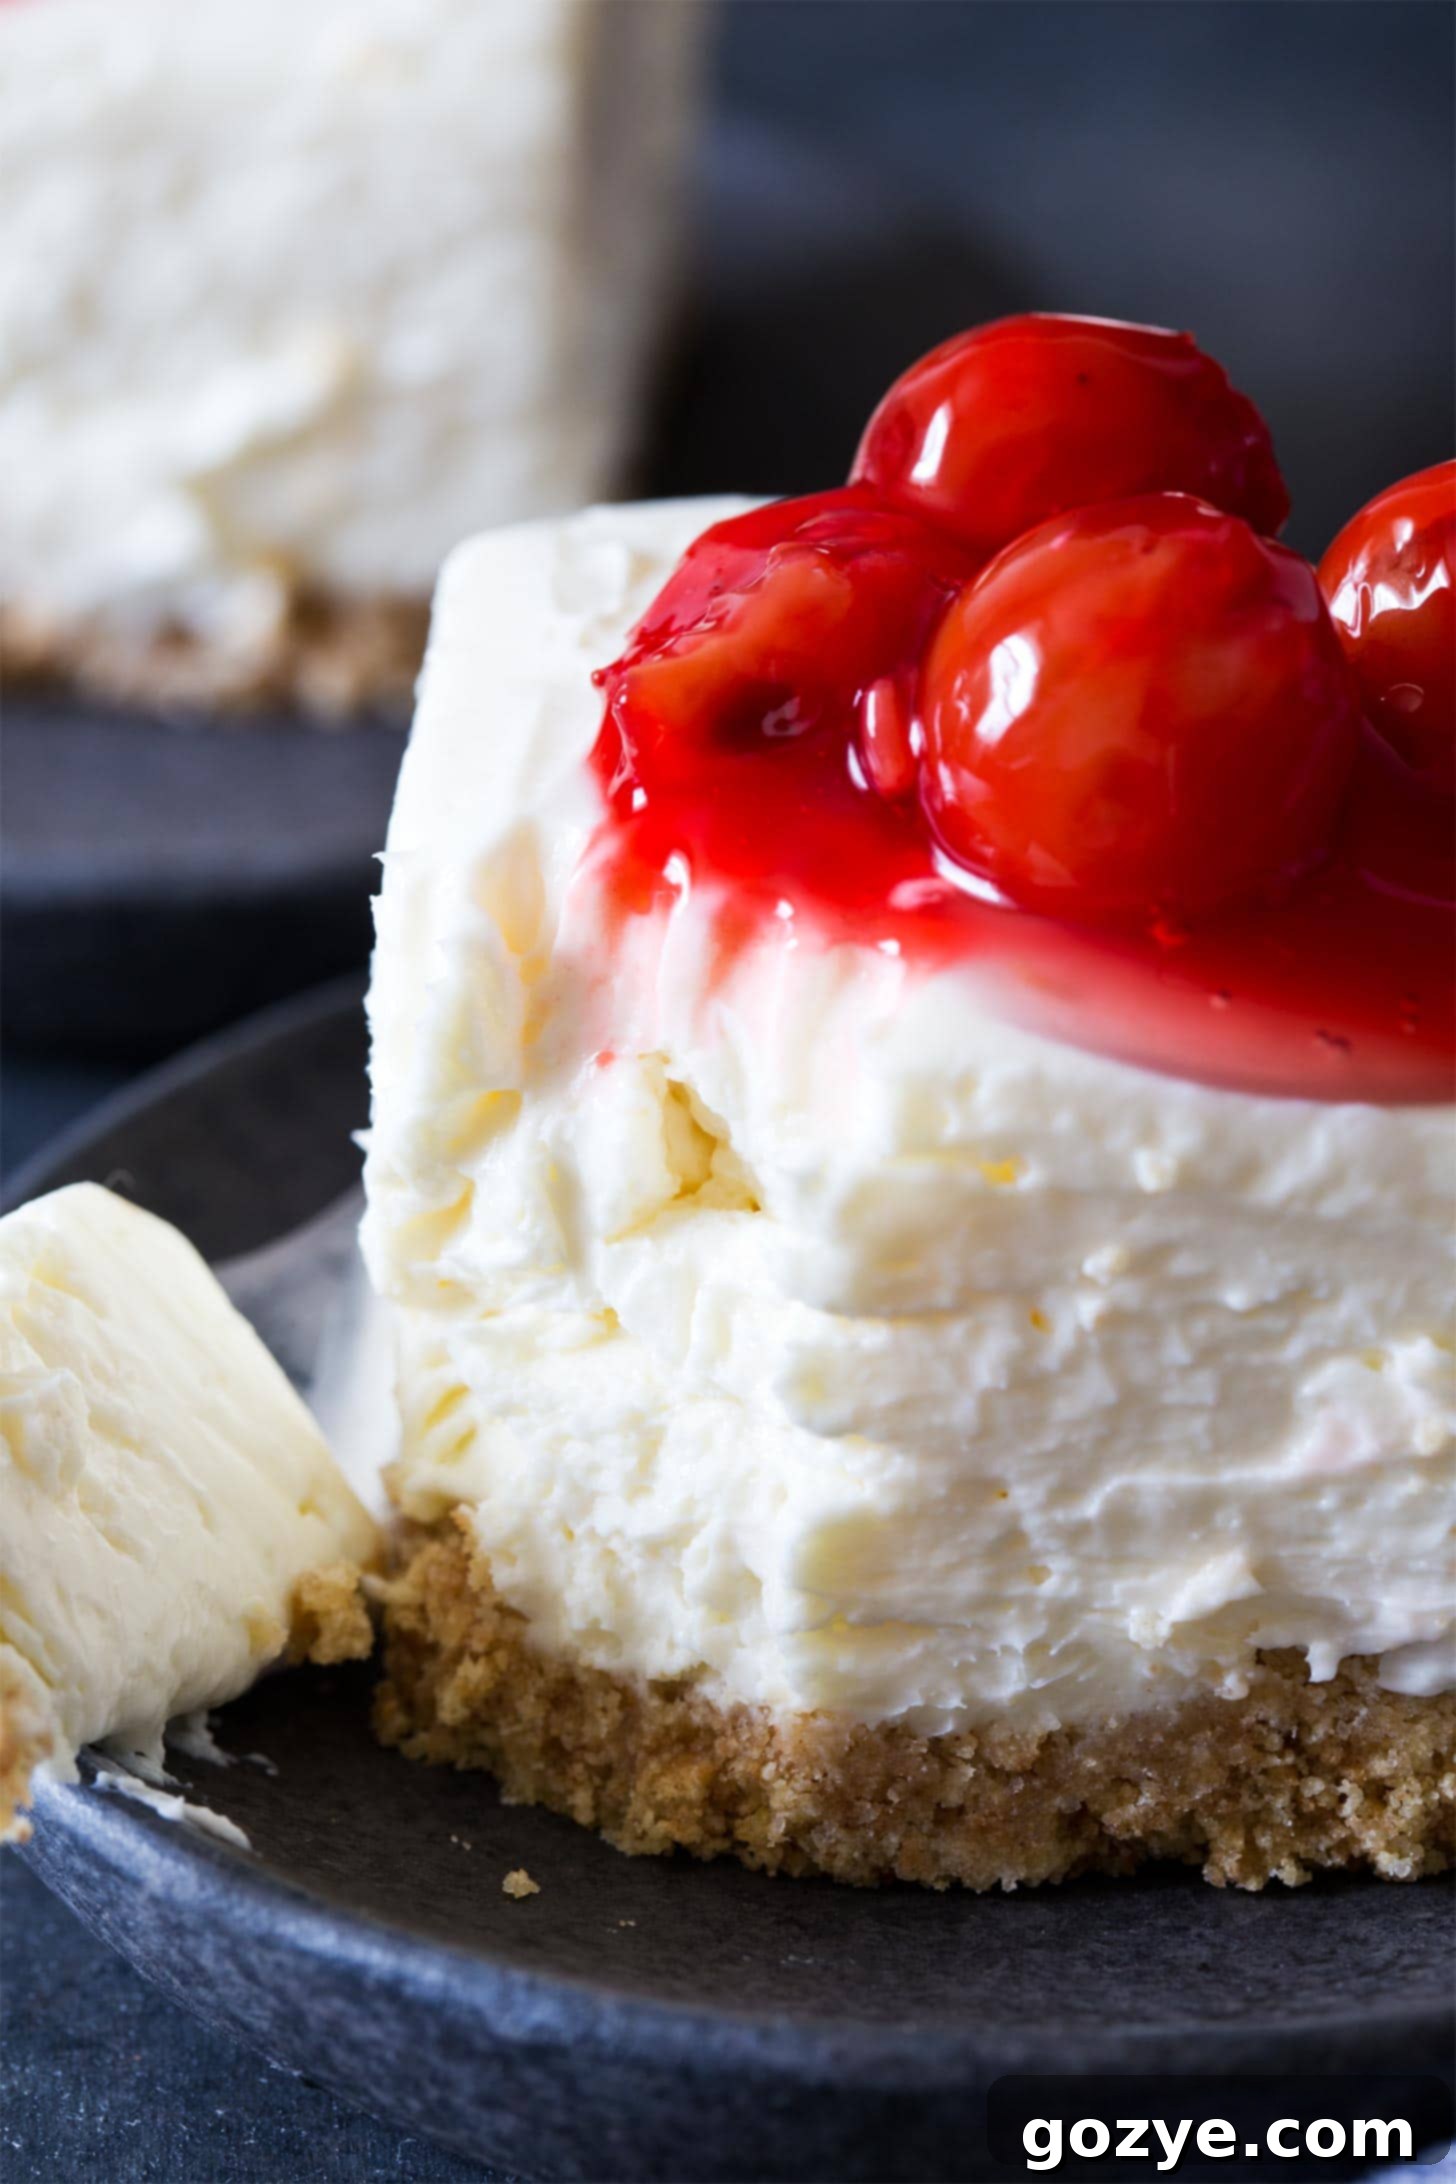
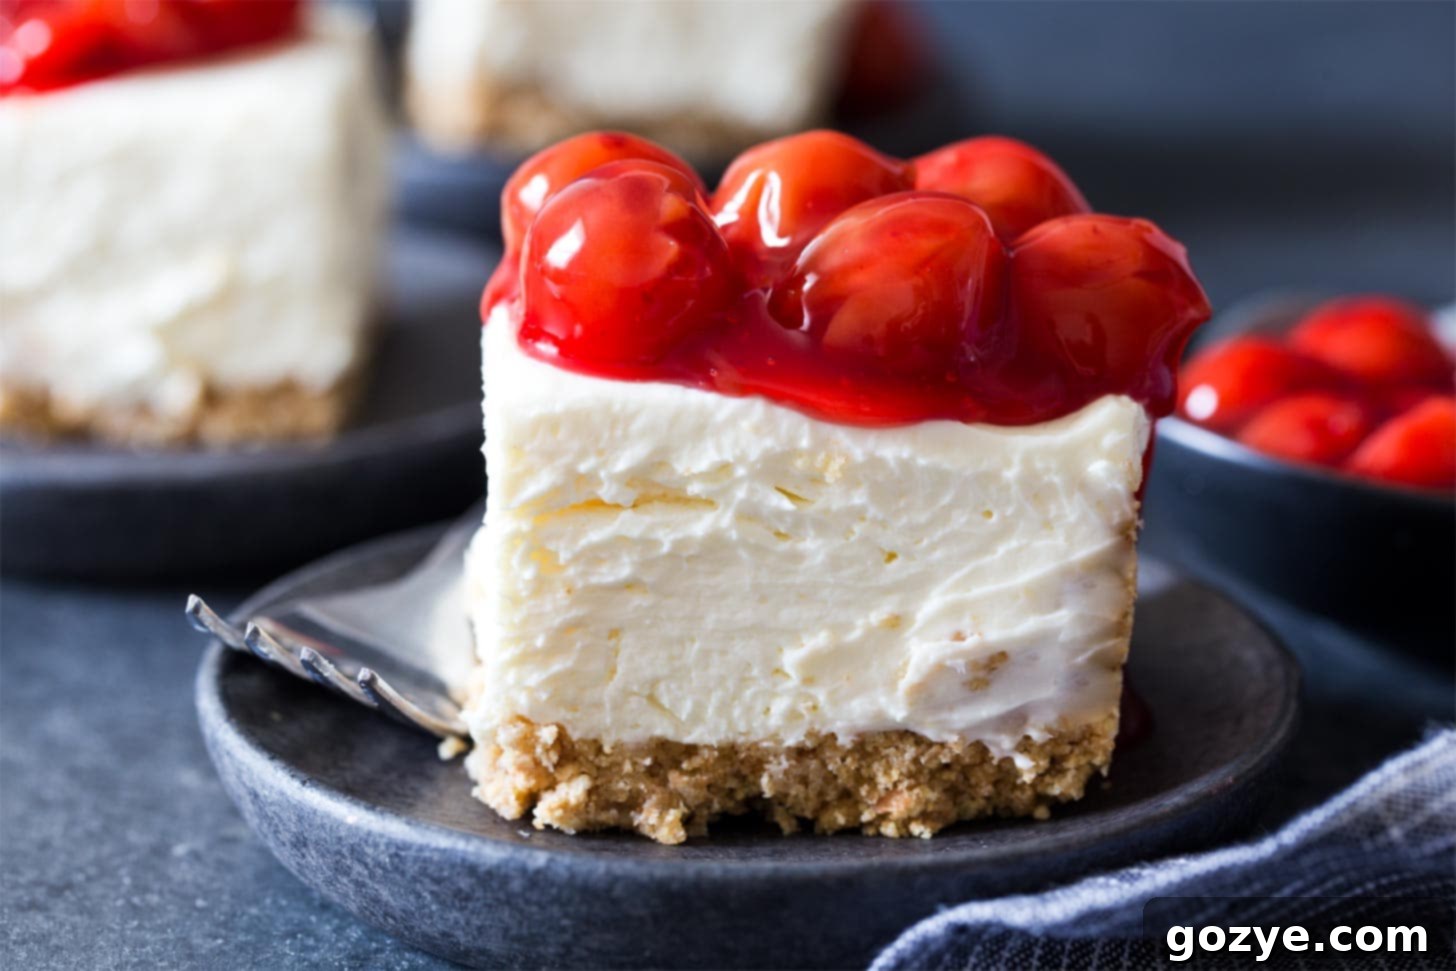
One of the great things about this no-bake cheesecake bar recipe is its adaptability regarding pan sizes. You can choose to make them in either a 9×5 loaf pan (as beautifully pictured throughout this article) or an 8×8 square pan. If you opt for the loaf pan, your cheesecake bars will be noticeably thicker and feature a more pronounced side crust. The 8×8 pan will yield thinner, more numerous bars. Regardless of your choice, the ingredient amounts remain the same, as demonstrated with my popular no-bake Biscoff cheesecake. For an extra touch of indulgence, I often top these bars with luscious cherry pie filling. My choice depends on the season; I’ll happily make it from scratch with freshly picked cherries in the summer, or reach for a high-quality canned cherry pie filling during other times of the year. Of course, the possibilities for garnishing are endless – feel free to explore other fruit fillings or a simple, elegant dollop of whipped cream.
Essential Ingredients for Your No-Bake Cheesecake Bars
Crafting these delectable no-bake cheesecake bars requires a handful of simple, readily available ingredients. Each plays a crucial role in creating the perfect texture and flavor profile:
- Graham cracker crumbs: The foundation of our crust. While traditional graham cracker crumbs provide that classic, comforting flavor, don’t hesitate to experiment! Crushed Oreos make a fantastic chocolate crust, or consider Biscoff cookies for a spiced, caramel note. If you’re using whole graham crackers, you can easily crush them in a food processor or a Ziploc bag with a rolling pin.
- Butter: Melted butter is essential for binding the crust ingredients together, ensuring it holds its shape perfectly and adds a rich, satisfying flavor. If you choose an Oreo crust, you’ll need slightly less butter as the creamy filling within the cookies contributes to the binding process.
- Granulated sugar: A touch of granulated sugar sweetens the graham cracker crust, balancing its earthy notes. If you opt for an Oreo crust, you can typically omit this sugar, as Oreos are already quite sweet.
- Salt: A tiny pinch of salt in the crust is a flavor enhancer. It cleverly highlights and amplifies the other flavors, particularly the richness of the butter, especially if you’re using unsalted butter.
- Heavy cream: This is the secret to a perfectly thick and stable no-bake filling without the need for eggs or processed ingredients like Cool Whip. When whipped to stiff peaks, it provides an airy, luxurious texture and helps the cheesecake set beautifully. Ensure your heavy cream is very cold for best whipping results.
- Cream cheese: The star of any cheesecake! For optimal results, always use a block of full-fat cream cheese. It’s crucial that the cream cheese is at room temperature – not cold to the touch – which ensures it beats smoothly without any lumps. Low-fat or fat-free versions contain more water and can lead to a watery, unstable filling.
- Powdered sugar: Also known as confectioners’ sugar, this ingredient serves multiple purposes. It sweetens the filling, balancing the tanginess of the cream cheese, and its fine texture (often containing cornstarch) also helps to stabilize the no-bake filling, contributing to its firm set.
- Vanilla extract: A must-have flavor enhancer that adds a warm, aromatic depth to the creamy cheesecake filling, complementing the tanginess of the cream cheese beautifully.
Simple Steps to Create Your No-Bake Cheesecake Bars
Making these no-bake cheesecake bars is surprisingly straightforward, involving just a few key steps. Follow these instructions for a perfect, creamy dessert every time:
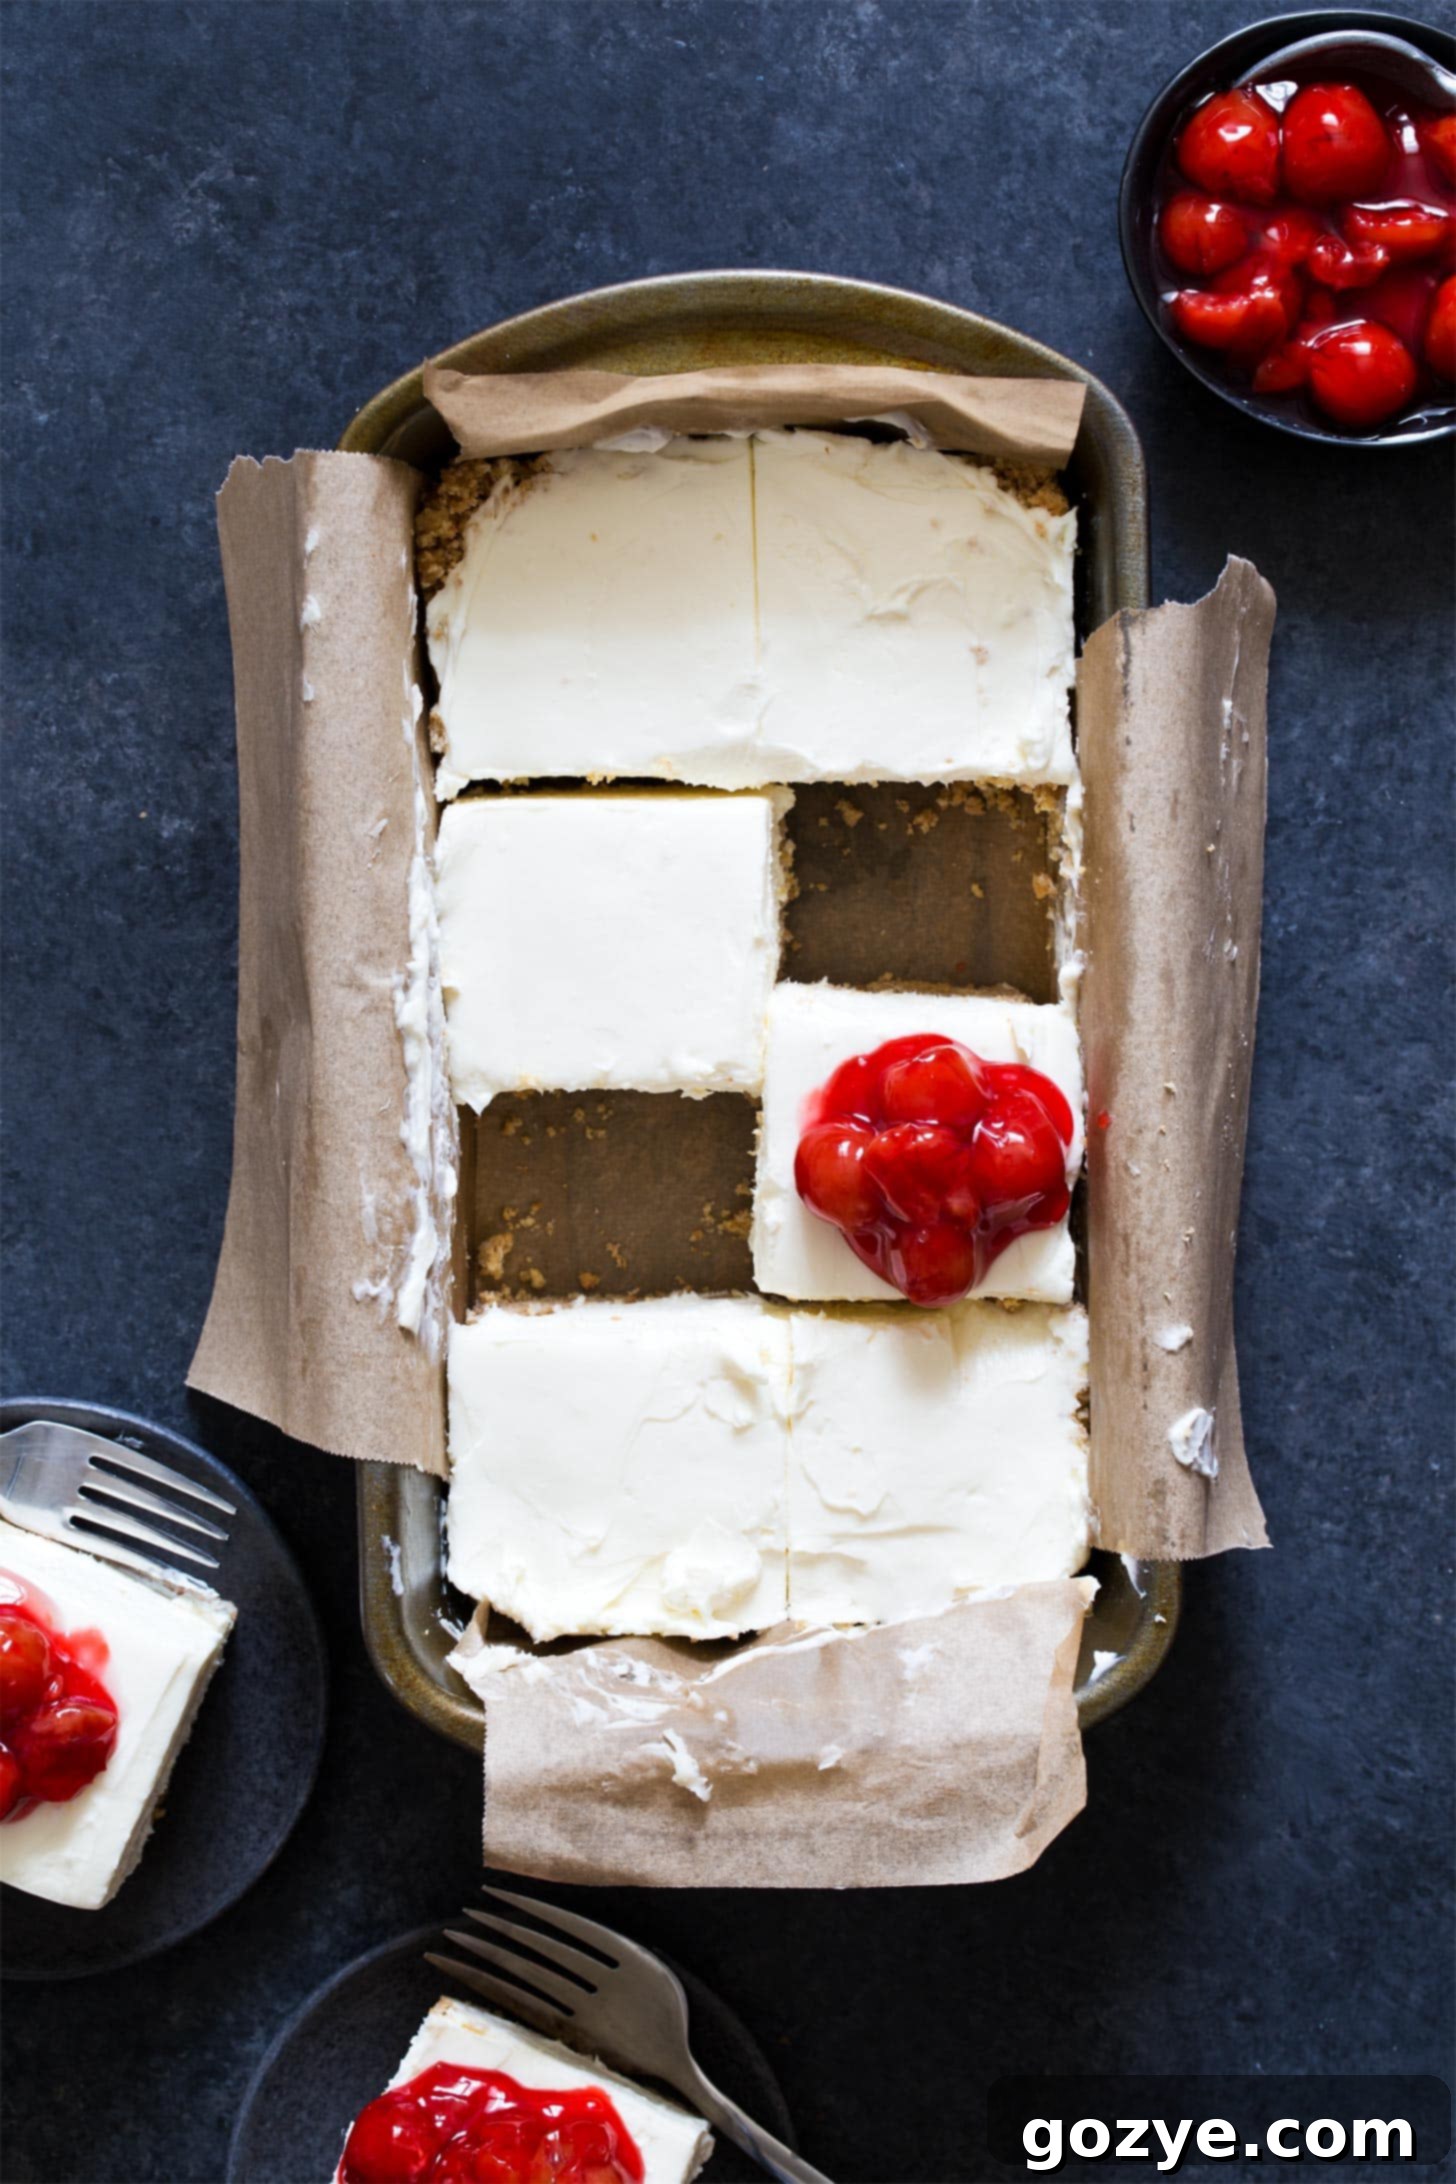
- Prepare your pan: Before you begin, line your chosen 9×5 loaf pan or 8×8 square pan with parchment paper. Make sure to leave an overhang on the sides – these will act as convenient handles, allowing you to easily lift the entire cheesecake out of the pan for clean slicing.
- Craft the crust: In a medium bowl, combine the graham cracker crumbs, melted butter, granulated sugar, and salt. Mix thoroughly until the crumbs are evenly moistened and resemble wet sand. Press this mixture firmly into the bottom and slightly up the sides of your prepared pan. Use the bottom of a glass or a flat measuring cup to get an even, compact layer. Place the crust in the refrigerator to chill while you prepare the filling; this helps it set.
- Whip the heavy cream: In a large, very clean mixing bowl (preferably chilled, along with the whisk attachment if using a stand mixer), pour the cold heavy cream. Beat on medium-high speed for approximately 3-4 minutes, or until stiff peaks form. Stiff peaks mean that when you lift the beaters, the peaks of whipped cream will stand upright and not collapse. Gently transfer the whipped cream to another bowl and keep it cold in the refrigerator until needed. This step is crucial for the cheesecake’s airy texture.
- Prepare the cream cheese mixture: Using the same mixing bowl (no need to wash it!), beat together the room temperature cream cheese, powdered sugar (sifted for best results to avoid lumps), and vanilla extract. Beat on medium speed for about 1-2 minutes, or until the mixture is completely smooth, creamy, and free of any lumps.
- Gently fold in the whipped cream: Scrape down the sides of the bowl to ensure everything is incorporated. Now, carefully fold the chilled whipped cream into the cream cheese mixture by hand. Use a rubber spatula and a gentle, upward motion to combine the two mixtures without deflating the whipped cream. This folding technique is essential for maintaining the light and airy texture of the cheesecake. Learn more about how to fold whipped cream from The Kitchn.
- Assemble and chill: Spread the creamy filling evenly over your chilled graham cracker crust, smoothing the top as much as possible with your spatula. Once assembled, place the pan back into the refrigerator to chill for a minimum of 4 hours. For the best, firmest results that are easiest to slice, chilling overnight is highly recommended.
- Serve and store: Once thoroughly chilled, use the parchment paper overhangs to lift the cheesecake out of the pan. Slice into bars and serve as desired with your favorite toppings. Any leftover no-bake cheesecake bars should be stored in an airtight container in the refrigerator for up to 5 days.
Elevate Your Dessert: Creative Ways to Garnish No-Bake Cheesecake Bars
For many, the most exciting part of making cheesecake bars is undoubtedly the endless possibilities for toppings and garnishes! These additions not only enhance the flavor but also allow for beautiful presentation.
As mentioned earlier, I love using a vibrant cherry pie filling, whether it’s homemade with fresh cherries or a good quality canned option. However, don’t limit yourself! The world of fruit fillings is vast and delicious:
- Berry Goodness: Try a rich blueberry pie filling or a simple, sweet strawberry sauce for a burst of fresh flavor.
- Stone Fruit Delights: A luscious peach pie filling offers a summery touch, while an aromatic apple pie filling brings comforting, autumnal vibes.
Beyond fruit, whipped cream is always a classic and elegant choice. You can go traditional with homemade whipped cream, or explore exciting flavor variations:
- Chocolate Lover’s Dream: Indulge with chocolate whipped cream.
- Nutty & Sweet: A dollop of peanut butter whipped cream adds a unique twist.
- Fruity & Fresh: Light and airy strawberry whipped cream is perfect for spring and summer.
- Seasonal Warmth: For a cozy feel, try maple whipped cream.
- Double the Cream Cheese: For an extra tangy kick, opt for cream cheese whipped cream.
Don’t be afraid to get creative! Fresh berries, chocolate shavings, a drizzle of caramel or chocolate sauce, a sprinkle of toasted nuts, or even some festive sprinkles can all transform your no-bake cheesecake bars into a gourmet treat. The key is to choose toppings that you love and that complement the creamy, tangy base of the cheesecake.
Explore More No-Bake Cheesecake Creations
If you fell in love with these easy no-bake cream cheese bars, you’ll be thrilled to discover these other fantastic no-bake cheesecake recipes, perfect for any occasion when you want a delicious dessert without turning on the oven:
- No-Bake Cheesecake Cups: Individual portions for easy serving.
- No-Bake Blueberry Cheesecake: A vibrant, fruity pie perfect for summer.
- No-Bake Peach Cheesecake: Sweet peaches layered with creamy goodness.
- No-Bake Apple Butter Cheesecake: A comforting, spiced option.
- No-Bake Caramel Apple Cheesecake: A delightful blend of sweet and tart.
No Bake Cheesecake Bars
8-12 bars
30 minutes
4 hours
4 hours 30 minutes
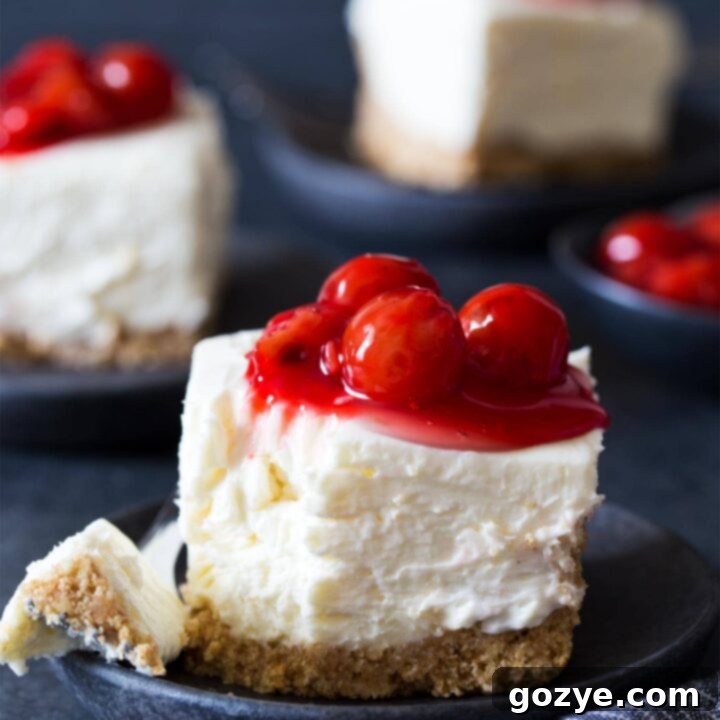
No need to turn on the oven when you can make No Bake Cheesecake Bars for dessert! They’re rich and creamy cheesecake squares with a buttery graham cracker crust and a tangy cream cheese filling. Made without Cool Whip, top with cherry pie filling or whipped cream to serve.
Ingredients
- 1 + 1/2 cups graham cracker crumbs*
- 6 tablespoons unsalted butter, melted
- 1 tablespoon granulated sugar
- Pinch of table salt (omit if using salted butter)
- 1/2 cup heavy whipping cream, cold
- 16 ounces cream cheese (2 blocks) full-fat cream cheese, room temperature and not cold to the touch (do not sub fat free)
- 1 cup powdered sugar, sifted
- 1 teaspoon vanilla extract
Instructions
- Line a 9×5 loaf pan or 8×8 square pan with parchment paper, leaving extra on the sides for handles.
- In a large bowl, mix together graham cracker crumbs, melted butter, granulated sugar, and salt. Pat into the bottom and up the sides of your pan. Chill while you make the filling.
- In a large mixing bowl on medium-high speed (with whisk attachment if using stand mixer), beat the heavy cream until it thickens and stiff peaks form, roughly 3-4 minutes (when you pull the beaters up, peaks will form and not fall over). Transfer to another bowl and keep cold in the refrigerator.
- In the same mixing bowl (no need to clean bowl – switch to paddle if using stand mixer), beat together the cream cheese, powdered sugar, and vanilla until smooth and creamy, about 1-2 minutes.
- Scrape down the bowl then fold in the whipped cream by hand until fully incorporated.
- Spread filling evenly into the crust. Refrigerate at least 4 hours or overnight before serving.
Refrigerate leftovers in an airtight container for up to 5 days.
Notes
- *If you’re making an Oreo cookie crust instead, reduce the butter to 4 tablespoons as the cookie filling will also help with binding.
- Serve your cheesecake with cherry pie filling, blueberry pie filling, strawberry sauce, or homemade whipped cream.
Recommended Products
As an Amazon Associate and member of other affiliate programs, I earn from qualifying purchases.
- 9×5 Loaf Pan
- 8×8 Square Pan
Did you make this recipe?
Let me know what you think! Rate the recipe above, leave a comment below, and/or share a photo on Instagram using #HITKrecipes
