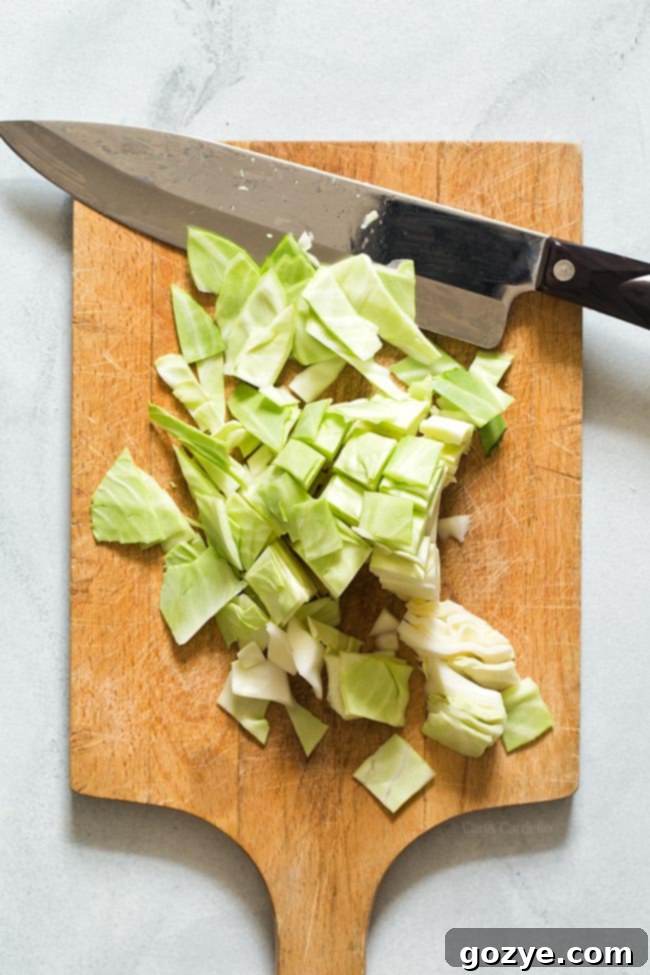
Master the Art of Cutting Cabbage: A Step-by-Step Guide to Perfect Squares for Your Favorite Recipes
Cabbage, a versatile and nutrient-rich vegetable, is a staple in many kitchens worldwide. From hearty stews and comforting soups to crunchy slaws and savory side dishes, its unique flavor and texture make it an indispensable ingredient. However, many home cooks find themselves intimidated by the prospect of tackling a whole head of cabbage, especially when precise cuts are needed. The good news is, learning how to cut cabbage into neat, even squares is far simpler than you might imagine, and it can significantly enhance your cooking experience.
This comprehensive guide will walk you through the process of cutting cabbage into perfect squares, complete with step-by-step photos to ensure clarity and confidence. Whether you’re preparing classic comfort foods like Haluski, a traditional Corned Beef and Cabbage dinner, or a warming Stuffed Cabbage Soup, mastering this fundamental cutting technique will elevate your culinary skills. We’ll focus primarily on green cabbage, the most common variety for these dishes, but the same method applies beautifully to red cabbage too.
For many, the biggest challenge with cabbage isn’t just the cutting; it’s also the sheer size of a typical head. Even the “smallest” heads often weigh around two pounds, which can be a lot for a single meal or smaller households. This guide will not only teach you the technique but also offer practical tips for managing larger quantities, including how to chop ahead of time for ultimate convenience.
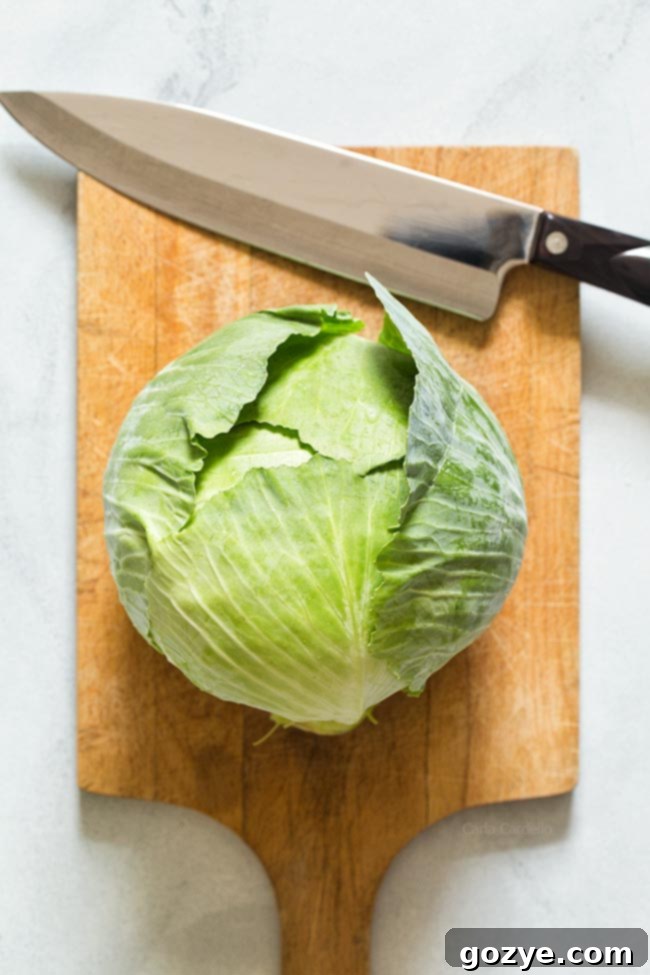
While this might not be your typical recipe post, I’ve found that questions about how to properly chop cabbage are incredibly common. It’s a vegetable I absolutely adore eating, but I understand the initial hurdle of purchasing a large head and then figuring out the best way to cut it. The process, though not immediately intuitive, becomes incredibly straightforward once you know where to make those initial cuts, especially when aiming for uniform squares.
Unlike some vegetables, where a rough chop suffices, certain dishes truly benefit from consistently sized pieces of cabbage. Squares ensure even cooking, a more pleasing presentation, and a balanced texture in every bite. This visual guide, filled with detailed photos, is designed to demystify the process and make you a confident cabbage-cutter in no time.
Prepping Cabbage: A Time-Saving Strategy
One of the best ways to streamline your cooking process, especially when dealing with a vegetable as substantial as cabbage, is to prepare it in advance. I often find myself cutting an entire head of cabbage in one go, then portioning the chopped cabbage into 3-4 separate serving containers. These can be refrigerated, ready to be pulled out and used throughout the week, or even up to two weeks, depending on how fresh your cabbage is and how well it’s stored. This simple meal prep hack transforms weeknight cooking, turning what could be a chore into a quick “grab and dump” situation.
The benefits of pre-chopping extend beyond just saving time on a busy evening. It also ensures you’re more likely to use up the whole head of cabbage, minimizing food waste. No more half-wilted cabbage lingering in your fridge! Plus, having fresh, ready-to-use vegetables on hand encourages healthier eating habits, as you’re less likely to opt for less nutritious, more convenient alternatives.
As a bonus tip, consider applying this same strategy to other frequently used vegetables, like onions. Chopping a week’s worth of onions at once can be a game-changer, especially for those recipes that start with sautéed aromatics. Just remember to store them in airtight containers to prevent odor transfer in your refrigerator.
Essential Tools and Safety Tips for Cutting Cabbage
Before you begin, ensure you have the right tools for the job. A sharp knife is paramount – not only does it make the cutting process easier and more efficient, but it’s also significantly safer than a dull knife, which can slip and cause accidents. A sturdy cutting board is equally important; place a damp paper towel or non-slip mat underneath it to prevent it from sliding on your countertop.
Safety First!
- Always use a sharp knife.
- Keep your fingers curled inward, away from the blade, using the “claw” grip.
- Ensure your cutting board is stable and doesn’t slip.
- Take your time; there’s no rush when it comes to knife safety.
- If you’re new to knife skills, consider watching a few basic knife safety videos to build confidence.
Now, let’s get to the main event: transforming a whole head of cabbage into perfectly sized squares.
How To Cut Cabbage into Squares: A Step-by-Step Visual Guide
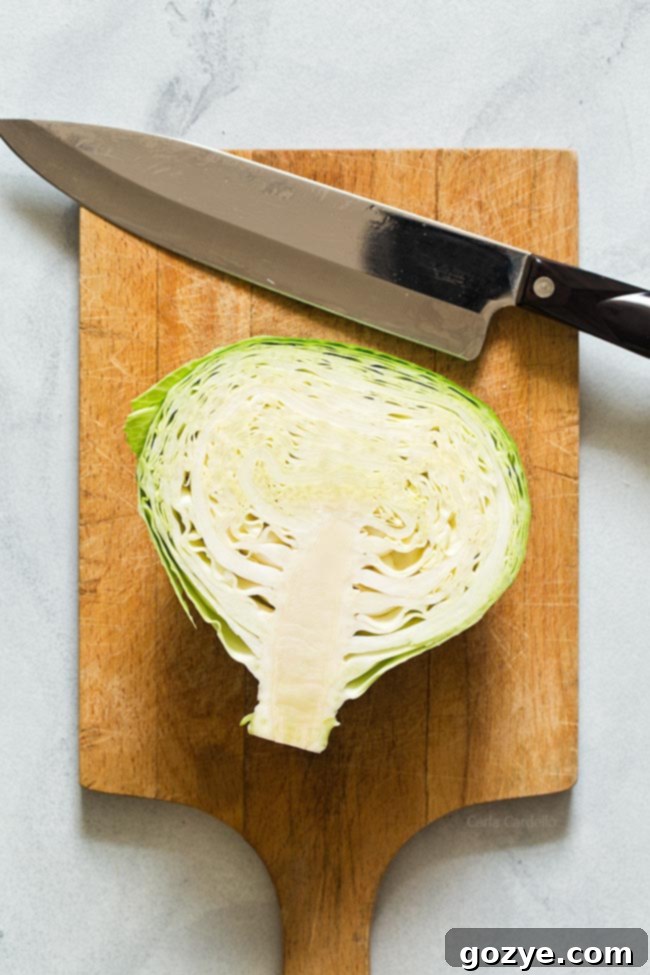
Step 1: Slice the Cabbage in Half
The first crucial step is to prepare your whole head of cabbage. Start by placing it on your stable cutting board. Using your sharp chef’s knife, carefully cut the cabbage straight down the middle, right through its core. You want to split it into two roughly equal halves. This initial cut creates a stable base for the subsequent steps and makes the large vegetable much more manageable. Ensure your knife goes all the way through the tough core for a clean split.
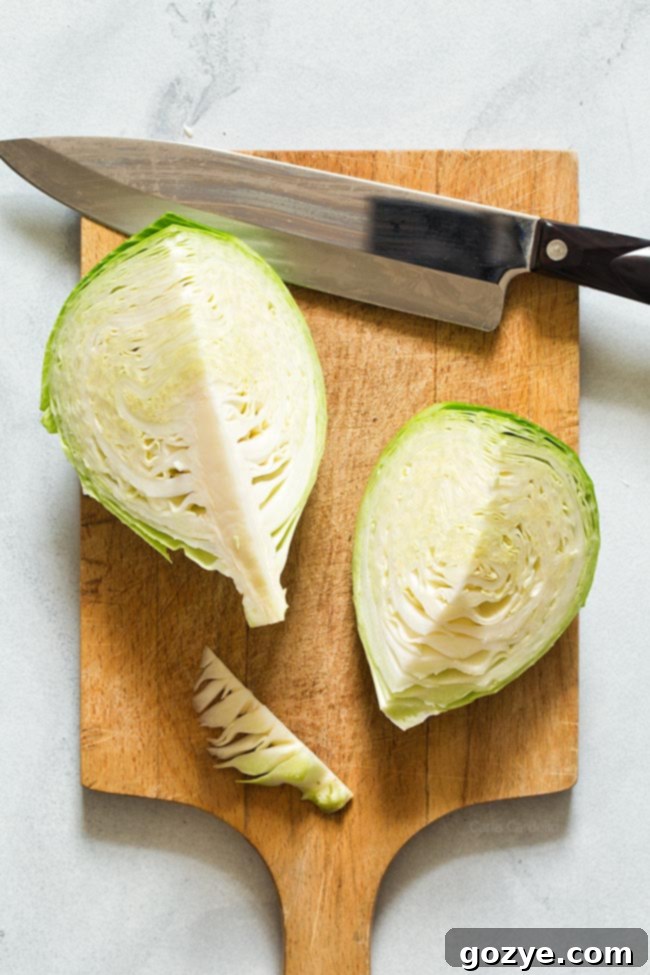
Step 2: Quarter Each Cabbage Half
With your two halves, place one cut-side down on the cutting board. This flat surface provides excellent stability, preventing the cabbage from rocking as you cut. Now, make another cut down the middle of this half, effectively dividing it into two quarters. Repeat this process with the other cabbage half. By the end of this step, you should have four distinct cabbage quarters. These smaller sections are much easier to handle and prepare for coring and dicing.
Step 3: Remove the Core
Each of your four cabbage quarters will have a triangular, dense, and fibrous stem section at its base, known as the core. This part is typically tough and unpleasant to eat, so it’s best to remove it. To do this, locate the core on each quarter. With the quarter resting on its flat side (or on its cut side if easier for stability), make two diagonal cuts that meet at a point, effectively removing the core in a triangular wedge. You want to cut out as much of the hard, white core as possible without losing too much of the tender cabbage leaves. Be mindful of your knife angle to ensure a clean removal. Some people find it easier to place the quarter upright on its cut base for this step, slicing downwards from the top towards the core.
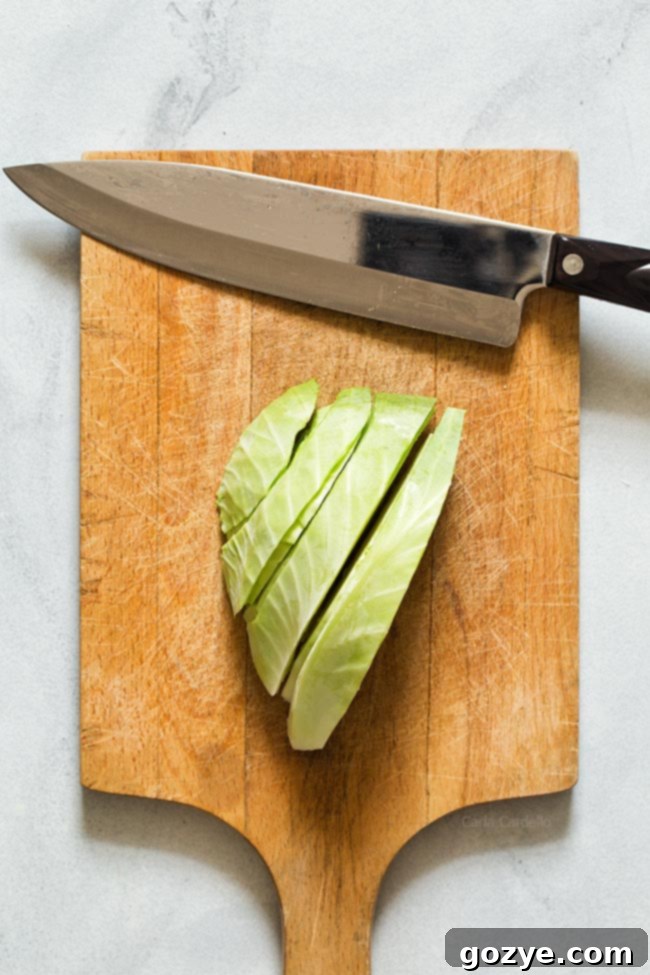
Step 4: Slice the Quarters
Now that the core is removed and you have stable, manageable quarters, it’s time to start slicing. Take one cabbage quarter and place it flat side down on your cutting board. This orientation is crucial as it keeps the leaves together and prevents them from scattering. Begin slicing the cabbage quarter crosswise into strips. The thickness of your slices will determine the size of your final squares, so aim for consistency based on your recipe’s requirements. For most dishes like Haluski or Corned Beef and Cabbage, slices about ½ to 1 inch thick work wonderfully, providing a substantial bite without being overly chunky.
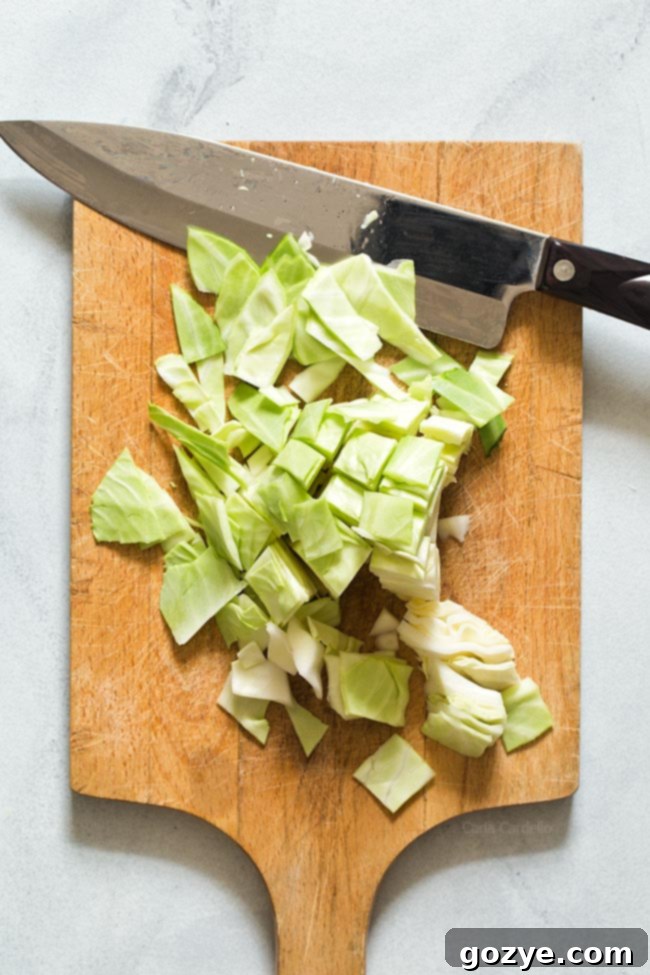
Step 5: Dice the Slices into Squares
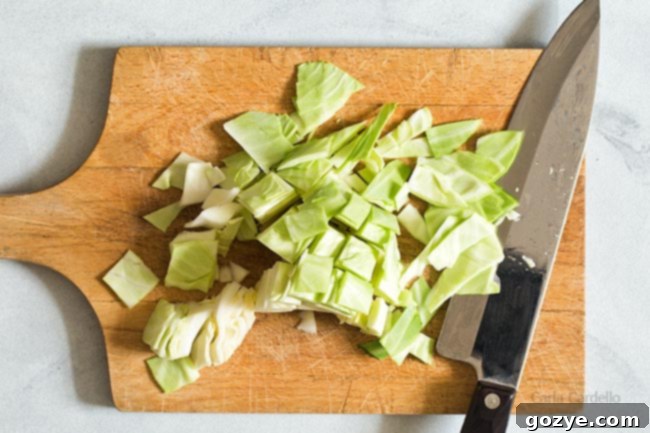
Finally, gather your sliced cabbage strips together. Rotate them 90 degrees so you can cut across them. Now, simply cut across the strips at intervals similar to your initial slice thickness. This process is very much like dicing other vegetables, such as carrots or potatoes. As you cut across the slices, the cabbage will break apart into uniform squares (or at least as square as the natural shape of cabbage allows!). Again, maintain consistency in your cuts to ensure even cooking and a beautiful presentation. You’ll quickly see your entire head of cabbage transformed into a pile of perfectly chopped squares, ready for your next culinary creation.
Maximize Your Chopped Cabbage: Storage and Recipe Inspiration
Now that you’ve mastered the art of cutting cabbage into perfect squares and have a substantial amount ready to go, let’s talk about how to keep it fresh and what delicious meals you can create. Proper storage is key to making your prepped cabbage last, while having a list of inspiring recipes ensures none of your hard work goes to waste.
Storing Freshly Cut Cabbage
To keep your chopped cabbage fresh and crisp for as long as possible, follow these simple storage tips:
- Airtight Containers: Transfer the cut cabbage into airtight containers or resealable plastic bags. This prevents moisture loss and keeps it from absorbing odors from other foods in your refrigerator.
- Add a Paper Towel: For extra freshness, place a dry paper towel inside the container with the cabbage. It will absorb any excess moisture, helping to prevent spoilage.
- Refrigerate Promptly: Store the containers in the coldest part of your refrigerator.
- Shelf Life: Properly stored, chopped cabbage can last anywhere from 5-7 days, and sometimes even up to 10 days, allowing you ample time to use it in various dishes throughout the week.
Delicious Recipes for Your Cabbage Squares
With your perfectly cut cabbage squares, you’re now ready to dive into a world of flavorful recipes. This cut is particularly ideal for dishes where you want the cabbage to soften and meld with other ingredients, providing a satisfying texture without being stringy or difficult to eat.
- Haluski (Cabbage and Noodles): This classic Eastern European comfort food is perhaps one of the best uses for cabbage squares. The uniform pieces caramelize beautifully alongside onions and noodles, creating a dish that’s both simple and incredibly satisfying. The squares ensure that each bite of this rustic dish has a balanced ratio of cabbage and pasta.
- Corned Beef and Cabbage: A St. Patrick’s Day staple, or a hearty meal any time of year. Using cabbage squares in this dish ensures that the cabbage cooks down perfectly alongside the corned beef, absorbing all the delicious flavors of the broth without becoming mushy. The substantial pieces hold up well to longer cooking times.
- Stuffed Cabbage Soup: If you love the flavors of traditional stuffed cabbage rolls but want a quicker, easier way to enjoy them, this soup is for you. Cabbage squares are essential here, as they mimic the texture of the cabbage leaves in the rolled version, allowing them to soften and infuse the rich broth with their distinct flavor.
- Sautéed Cabbage: A simple yet flavorful side dish. Quickly sauté your cabbage squares with a little butter or oil, garlic, and a pinch of salt and pepper. They’ll soften slightly while retaining a pleasant bite.
- Cabbage Stir-Fry: Add your cabbage squares to your favorite stir-fry for added crunch and nutrition. They absorb sauces wonderfully and cook relatively quickly.
Conclusion: Embrace the Versatility of Cabbage
Learning how to properly cut cabbage into squares is a fundamental skill that opens up a world of culinary possibilities. It transforms a potentially daunting task into a simple, enjoyable part of meal preparation. By following these easy steps, you’ll not only save time in the kitchen but also enhance the consistency, texture, and visual appeal of your favorite cabbage-based dishes.
So, next time you see a beautiful, fresh head of cabbage at the market, don’t shy away. Grab it with confidence, knowing you now possess the skills to effortlessly turn it into perfectly uniform squares, ready for any recipe you desire. Happy chopping, and even happier cooking!
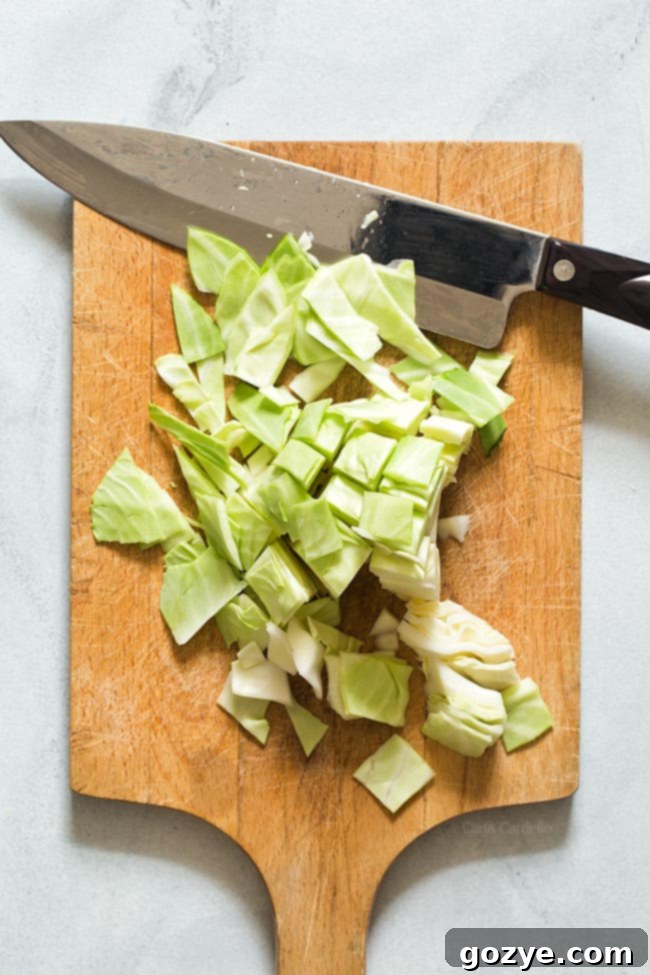
How To Cut Cabbage
1 cabbage
15 minutes
15 minutes
Learn how to cut cabbage into squares with step by step photos for recipes like Haluski and Corned Beef and Cabbage.
Ingredients
- 1 head green cabbage
Instructions
- Cut the cabbage down the middle, splitting it into two equal halves.
- Place each half flat side down and cut down the
middle. You should now have 4 quarters. - Locate the stem for each quarter. This is called the core.
Cut off the core because you don’t want to eat this part - Place each quarter flat side down. Cut it into slices.
- Cut the slices into squares, much like you would
with dicing a carrot.
Notes
- Now that you cut your cabbage, you’re ready for dinner! Check out my recipes for haluski, stove top corned beef and cabbage, and stuffed cabbage soup.
Did you make this recipe?
Let me know what you think! Rate the recipe above, leave a comment below, and/or share a photo on Instagram using #HITKrecipes
Originally published March 9, 2020
