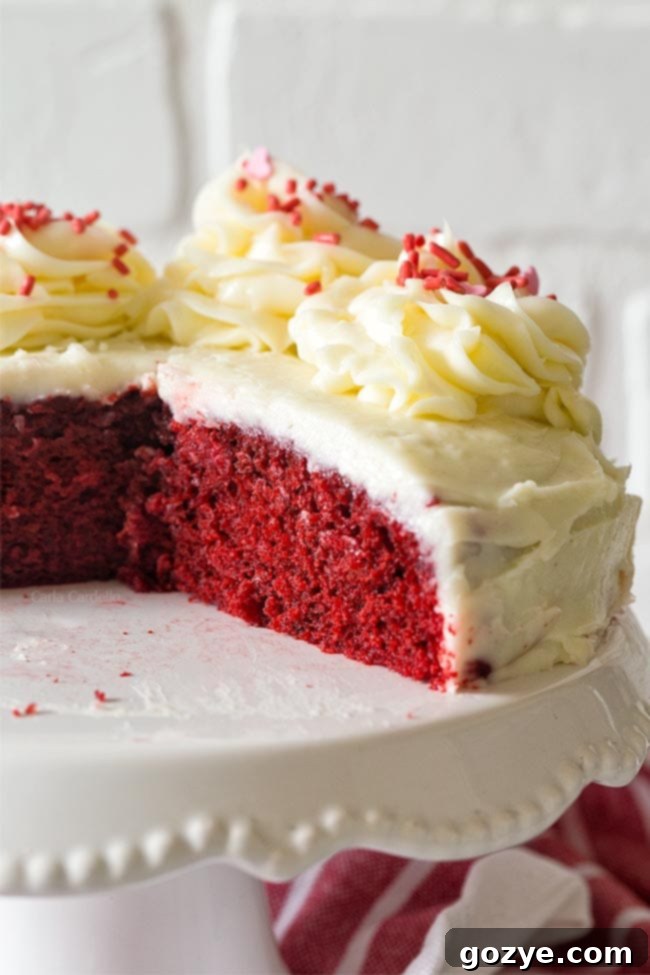
Homemade Small Red Velvet Cake Recipe: A Moist 6-Inch Delight for Two
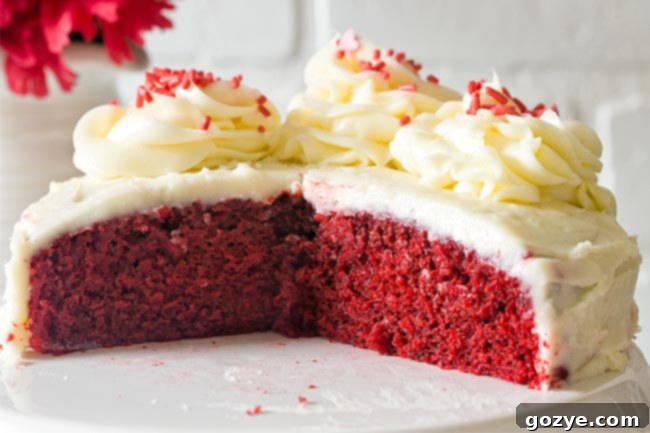
There’s something uniquely charming about a homemade small cake. Perfect for intimate celebrations or simply indulging a craving without an overwhelming amount of leftovers, a 6-inch cake offers just the right balance. Among the pantheon of classic desserts, the Red Velvet Cake holds a special place, celebrated for its striking color, tender crumb, and distinctive flavor profile. This particular recipe for a Homemade Small Red Velvet Cake delivers a truly moist and delicious experience, crafted entirely from scratch without relying on a cake mix. When adorned with a rich, tangy cream cheese frosting, you achieve that iconic, irresistible combination that has delighted dessert lovers for generations.
My journey with red velvet wasn’t always a smooth one. For years, I found myself wary of anything labeled “red velvet.” My skepticism stemmed from a particularly disappointing encounter with a red velvet flavored latte from a well-known national coffee chain. Instead of the promised decadent taste, all I could detect was an artificial, chemical tang that completely turned me off. Despite my best efforts to sip through it, determined not to waste my coffee and money, I eventually had to concede defeat and discard the rest. This unfortunate experience colored my perception of red velvet for quite some time.
However, over the years, I slowly began to warm up to the real deal. My new rule became simple: red velvet must be an actual baked good. This commitment led me to explore and create delicious recipes like my Small Batch Red Velvet Cupcakes, Red Velvet Sugar Cookies, Red Velvet Lava Cakes, and Red Velvet Bars. These experiences reaffirmed that when done right, red velvet is a truly magnificent dessert, free from any artificial “flavoring” that mimics the real thing. This shift in perspective made it inevitable that a dedicated Small Red Velvet Cake recipe would join my collection of 6-inch cake recipes.
With Valentine’s Day often just around the corner, or any occasion that calls for a touch of romance and sweetness, there’s no better time to share this exceptional Small Red Velvet Cake recipe. This isn’t just any red velvet cake; it’s a 6-inch masterpiece that I proudly stand behind, guaranteed to be free from any artificial chemical taste that once soured my opinion. Its vibrant red hue makes it an ideal dessert for romantic occasions, perfectly sized for a delightful dessert for two, with perhaps a slice or two left over for an extra treat.
But don’t let its romantic appeal limit its use! This easy, single-layer red velvet cake is versatile enough for any celebration. Serve it for birthdays, anniversaries, or even patriotic holidays like the 4th of July – just add a scattering of fresh blueberries on top for a stunning red, white, and blue dessert! It’s also the ultimate sweet ending after a romantic dinner for two at home, making any evening feel a little more special. Let’s dive into creating this delightful cake.
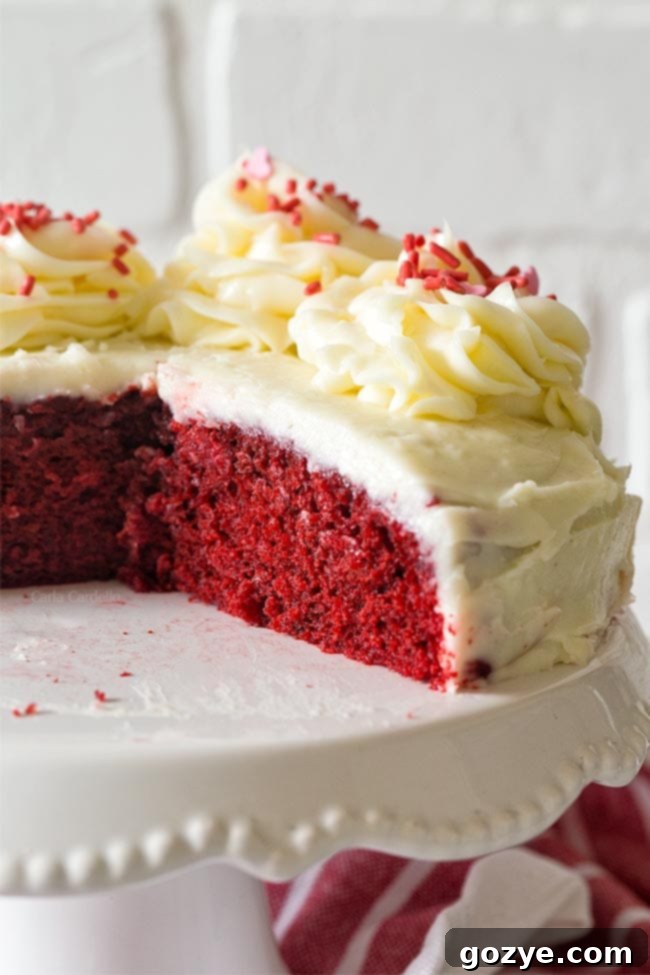
What is Red Velvet Cake? Exploring its Unique Character
When researching and testing various red velvet cake recipes, I quickly realized that not all red velvet cakes are created equal. Some relied solely on butter, others on oil, and many combined both. The amount of cocoa powder varied wildly, from a generous quantity to just a mere tablespoon. I even encountered a recipe that used only egg whites!
So, let’s clarify: exactly what defines a red velvet cake? It’s much more than just a small vanilla cake with red food coloring, yet it’s not simply a chocolate cake with minimal cocoa. At its heart, red velvet cake is a subtle chocolate cake, characterized by a distinctive tang from buttermilk and vinegar, with its iconic color dramatically enhanced by red food coloring. The interplay between these ingredients is key to its unique flavor and texture.
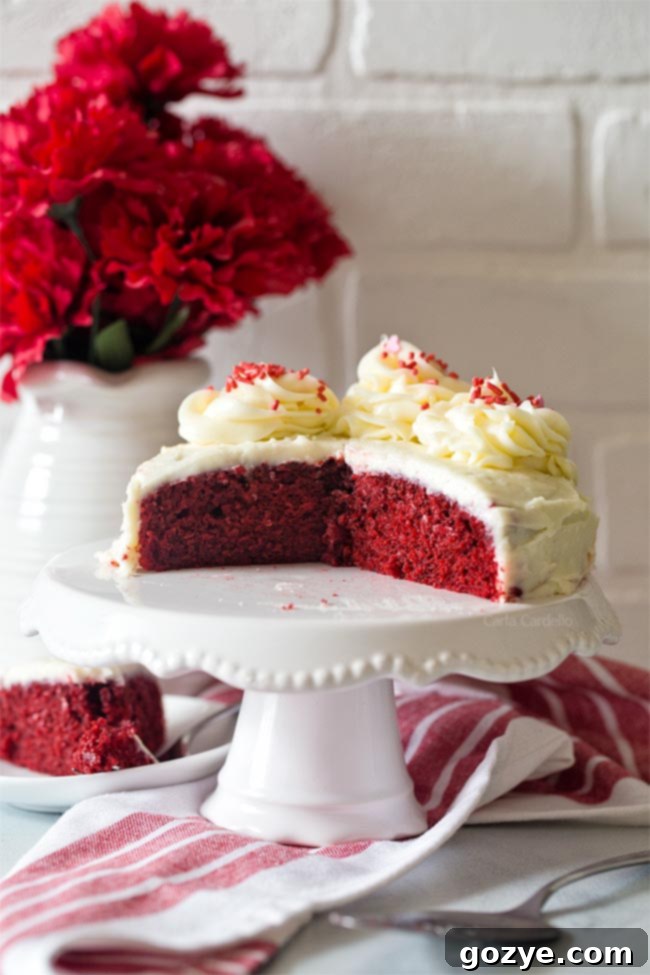
The Difference Between Chocolate Cake and Red Velvet Cake
The primary distinction between a classic chocolate cake and a red velvet cake lies in the proportion and type of chocolate used. Traditional chocolate cakes, like my small chocolate cake recipe, aim for a deep, rich chocolate flavor. This is typically achieved through a combination of melted chocolate and a generous amount of cocoa powder, resulting in a dark brown crumb that wouldn’t allow red food coloring to truly shine.
Conversely, red velvet cake utilizes only a small amount of unsweetened cocoa powder. This allows for a very subtle chocolate hint, which is then balanced by the tang of buttermilk and vinegar. Crucially, this limited cocoa content also ensures that the vibrant red food coloring can truly pop, creating the cake’s signature scarlet hue. It’s important to remember that red velvet cake is not intended to be a deeply rich chocolate dessert; its charm lies in its balanced, nuanced flavor and striking appearance.
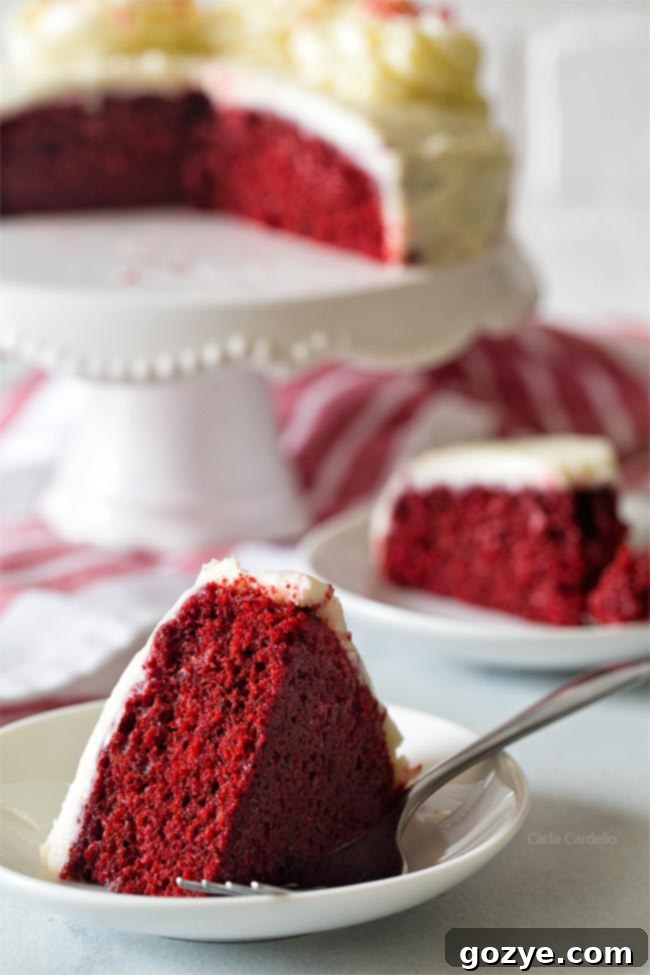
Essential Ingredients for Your Small Red Velvet Cake
To create this irresistible 6-inch red velvet cake from scratch, you’ll need a carefully selected list of ingredients, each playing a vital role in achieving that perfect moist crumb and classic flavor:
- All-Purpose Flour: I opt for all-purpose flour because it’s a staple in most home pantries, making this recipe accessible. For the best results, it’s crucial to measure your flour correctly using the spoon and level method, rather than scooping directly from the bag, which can compact the flour and lead to a dry cake. You can learn more about how to measure flour accurately.
- Cornstarch: Since we’re not using delicate cake flour, a touch of cornstarch helps to tenderize the cake and mimic the lower protein content of cake flour, resulting in a softer crumb. If you happen to have cake flour on hand, you can substitute the all-purpose flour and cornstarch with an equal total amount of cake flour.
- Unsweetened Cocoa Powder: This is where the “chocolate” in red velvet comes from. As mentioned, the amount is subtle, providing a hint of chocolate without overpowering the other flavors. Ensure you’re using natural unsweetened cocoa powder, as Dutch-processed cocoa reacts differently with the leavening agents.
- Baking Soda: This powerful leavening agent is essential for creating the cake’s light and airy texture. It reacts with the acidic buttermilk and vinegar in the recipe, producing carbon dioxide gas that helps the cake rise beautifully.
- Salt: A small amount of salt is critical for balancing the sweetness and enhancing all the other flavors in the cake, preventing it from tasting bland.
- Granulated Sugar: Provides the necessary sweetness and contributes to the cake’s moistness and tender texture.
- Vegetable Oil: Using a neutral-flavored oil, such as vegetable or canola oil, is paramount for red velvet cake. Unlike butter, which has a strong flavor, oil allows the tangy notes of buttermilk and the subtle cocoa to truly shine. It also plays a key role in keeping the cake wonderfully moist and tender over several days.
- Large Egg: A single large egg, ideally at room temperature, acts as a binder, adds structure, richness, and helps with emulsification, contributing to a smooth batter and tender crumb.
- Red Food Coloring: While the reaction between cocoa, buttermilk, and vinegar can create a reddish hue, the vibrant, iconic red of a true red velvet cake is achieved with food coloring. I typically use liquid food coloring, added drop by drop. If using gel or paste coloring, you’ll need a smaller amount as they are much more concentrated. Don’t be shy; the color will bake out slightly, so make your batter a little brighter than your desired final shade.
- Vanilla Extract: A classic flavor enhancer that complements the subtle chocolate and tangy notes, adding depth and warmth to the cake.
- White Distilled Vinegar: This is a crucial acidic component that reacts with the baking soda, aiding in leavening and contributing to the distinct tangy flavor profile of red velvet. It also plays a role in enhancing the red color.
- Buttermilk: Another cornerstone of red velvet cake, buttermilk provides a creamy texture and its acidity activates the baking soda, ensuring a proper rise and tender crumb. The tangy flavor is also characteristic of red velvet. No buttermilk? No problem! You can easily make a substitute by adding 1 teaspoon of lemon juice or white vinegar to a 1/4 cup of regular milk, stirring, and letting it sit for 5 minutes until it slightly curdles.
It’s the precise chemical reaction among the cocoa powder, buttermilk, vinegar, and baking soda that historically contributed to red velvet’s natural deep maroon color, a hue we now often enhance with food coloring for maximum visual impact. If you ever encounter a red velvet recipe that omits these key acidic ingredients, it’s best to steer clear, as it won’t yield an authentic red velvet experience.
Buying A 6 Inch Cake Pan: Your Essential Tool
To successfully bake this small red velvet cake recipe, having the right equipment is key. Specifically, you’ll need a 6-inch round cake pan. These pans are perfectly sized for smaller batches, making them ideal for desserts for two or small family gatherings.
A standard 6 x 2 inch round cake pan typically has a volume of about 3 cups and is designed to comfortably hold around 2 cups of batter, allowing ample room for the cake to rise without overflowing. You can easily purchase one online from Amazon or find it in the cake decorating aisle of your local craft or kitchen supply store.
If you happen to have a 6-inch springform pan instead, consider trying my Red Velvet Oreo Cheesecake for another delightful dessert! But for this recipe, a regular round cake pan is what you’re after.
How To Make Small Red Velvet Cake From Scratch: Step-by-Step
Crafting this homemade red velvet cake for two is a straightforward process. Follow these steps for a perfectly moist and flavorful result:
- Prepare Your Dry Ingredients: In a medium bowl, carefully sift together the all-purpose flour and cornstarch. Sifting ensures there are no lumps and helps aerate the flour. Then, whisk in your cocoa powder, baking soda, and salt until well combined. Set aside.
- Cream Wet Ingredients: In a large mixing bowl, using an electric mixer, beat together the vegetable oil and granulated sugar until the mixture is thoroughly moistened and smooth, which should take about one minute.
- Add Flavor and Color: Beat in your large egg, red food coloring, vanilla extract, and white distilled vinegar. Mix until everything is fully incorporated and the batter achieves a vibrant, even red color. Don’t forget to scrape down the sides of your bowl with a spatula to ensure all ingredients are mixed evenly.
- Combine Wet and Dry Alternately: Gradually add the dry ingredients to the wet mixture, alternating with the buttermilk. Start and end with the dry ingredients. This typically means adding the flour mixture in three additions and the buttermilk in two. Mix on low speed until just combined after each addition; avoid overmixing, which can lead to a tough cake.
- Prepare for Baking: Pour the beautifully colored batter evenly into your prepared 6-inch cake pan, which should be lightly greased and lined with parchment paper on the bottom.
- Bake to Perfection: Bake in a preheated oven at 350°F (175°C) for approximately 20-25 minutes. To check for doneness, insert a toothpick into the center of the cake. It should come out with a few moist crumbs attached, but no wet batter. Allow the cake to cool in the pan for about 15 minutes before running a knife along the edges to loosen it. Then, invert it onto a wire rack to cool completely right-side-up.
Allowing the cake to cool completely before frosting is crucial for a smooth, even application of your cream cheese frosting.
Servings In A 6 Inch Cake: Perfectly Sized
The serving size of any cake can be quite subjective, especially if you’re only looking for a small bite! However, for a 6-inch cake, you can generally expect to yield between 4 to 6 generous slices, making it ideal for 4-6 servings. This size is perfect for a small family gathering or a few days of dessert for a couple.
If you prefer smaller portions or are serving a larger group with other desserts, you can carefully slice your mini red velvet cake into up to 8 smaller wedges. Ultimately, how many servings you get from your 6-inch cake is entirely up to your preferred slice size and how much you wish to indulge!
How To Decorate A Small Red Velvet Cake: Classic & Creative Ideas
The traditional and most beloved way to finish a 6-inch red velvet cake is with a rich and tangy Small Batch Cream Cheese Frosting. This specific frosting recipe is designed to yield just enough to beautifully frost a 6-inch cake without leaving you with excess. The cream cheese provides a delightful contrast to the subtle sweetness of the cake, making for a truly classic combination.
If you prefer a frosting that’s less intensely sweet, you might consider serving your red velvet cake with a delicate cream cheese whipped cream. This lighter option offers a similar tangy note but with a much airier texture.
While cream cheese frosting is traditional, don’t feel limited! You can also experiment with other frostings to suit your taste. A Small Batch Buttercream could add a different kind of richness, or for the chocolate lovers, a Small Batch Chocolate Frosting would create a decadent twist. No matter your choice, ensure the cake is completely cooled before frosting for the best results.
Storing Your Red Velvet Cake
Once frosted, this Small Red Velvet Cake, especially with cream cheese frosting, is best stored in an airtight container in the refrigerator. Cream cheese frosting should always be refrigerated. For optimal flavor and texture, allow the cake to sit at room temperature for 15-30 minutes before serving. This brings the cake to a perfect eating temperature, allowing the flavors to fully develop and the crumb to soften slightly.
More Small Cake Recipes for Your Craving
If you’ve enjoyed baking this 6-inch red velvet cake and are craving more perfectly portioned desserts, be sure to check out my other favorite small cake recipes:
- Small Yellow Cake
- Small Birthday Cake (Funfetti)
- Small Carrot Cake recipe
- Small Strawberry Cake
- Small German Chocolate Cake
- Lemon Raspberry Cake
Small Red Velvet Cake
4-6 servings
20 minutes
23 minutes
43 minutes
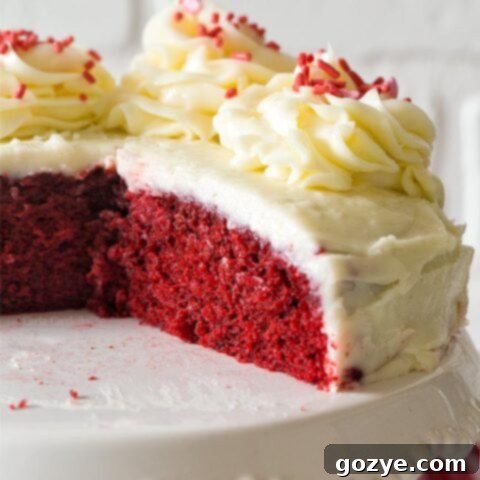
Homemade Small Red Velvet Cake recipe is a moist and delicious 6 inch red chocolate cake from scratch without cake mix. Decorate with cream cheese frosting for a classic combination.
Ingredients
- 1/2 cup all-purpose flour
- 1 tablespoon cornstarch
- 1 tablespoon unsweetened cocoa powder
- 1/4 teaspoon baking soda
- 1/4 teaspoon table salt
- 1/2 cup granulated sugar
- 1/4 cup vegetable or canola oil
- 1 large egg, room temperature
- 2 teaspoons red food coloring (I used McCormick brand)
- 1 teaspoon vanilla extract
- 1/2 teaspoon white distilled vinegar
- 1/4 cup buttermilk (or substitute whole milk with 1 teaspoon lemon juice added)
- Small Batch Cream Cheese Frosting (get recipe here)
Instructions
- Preheat oven to 350F (175°C). Lightly grease one 6-inch round cake pan then line the bottom with parchment paper.
- In a medium bowl, sift together the flour and cornstarch then whisk in cocoa powder, baking soda, and salt.
- In a large mixing bowl, beat together the sugar and oil until moistened and smooth, about 1 minute.
- Beat in the egg, food coloring, vanilla, and vinegar until fully incorporated and the batter is a vibrant red.
- Add the flour mixture alternately with the buttermilk, adding the flour in 3 additions and the milk in 2 additions (begin and end with dry ingredients). Mix on low speed until just combined after each addition.
- Transfer the batter to the prepared 6-inch pan. Bake for 20-23 minutes or until a toothpick inserted in the middle comes out with a few crumbs (no wet batter). Cool for about 15 minutes in the pan, then run a knife along the edge to loosen, and invert onto a cooling rack. Cool right-side-up completely.
- Once completely cool, top with Small Batch Cream Cheese Frosting (get recipe here).
To store frosted cake, refrigerate in an airtight container. For the best flavor and texture, let it sit at room temperature for 15-30 minutes before serving.
Notes
- Enjoyed this recipe? Check out my full list of 6 inch cake recipes including chocolate, yellow, and strawberry.
- Don’t have a 6 inch pan? You can easily convert this recipe to make Small Batch Red Velvet Cupcakes instead.
Recommended Products
As an Amazon Associate and member of other affiliate programs, I earn from qualifying purchases.
- 6 Inch Cake Pan
Did you make this recipe?
Let me know what you think! Rate the recipe above, leave a comment below, and/or share a photo on Instagram using #HITKrecipes
First published on February 6, 2020
