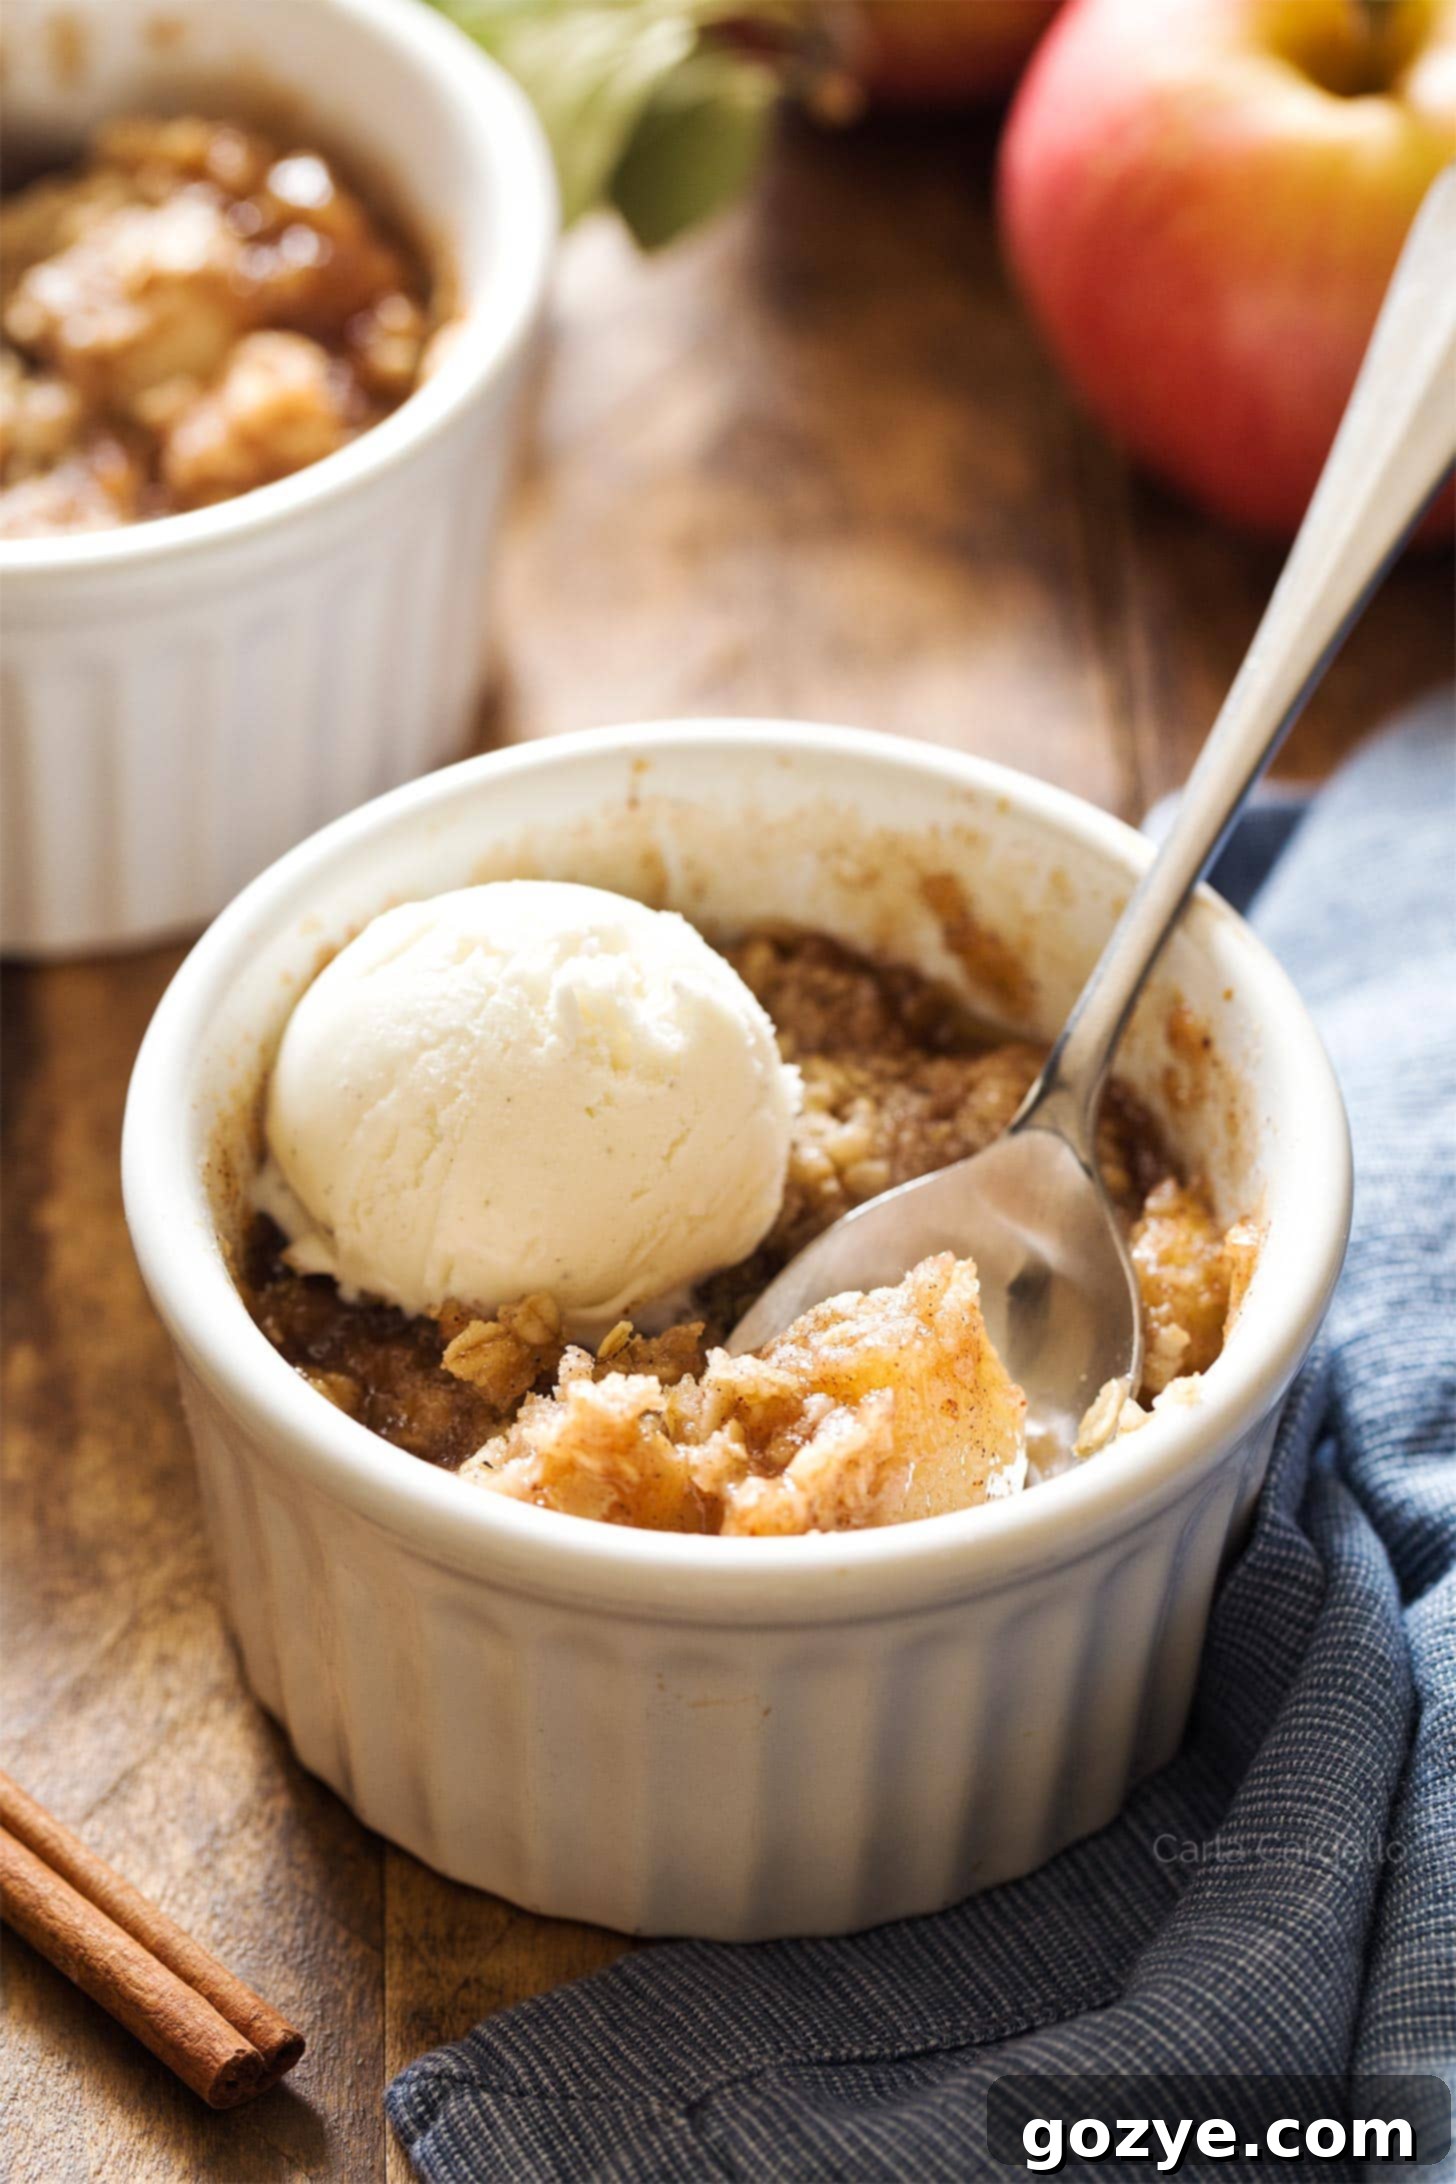
Ultimate Apple Crisp For Two: Your Go-To Small Batch Fall Dessert Recipe
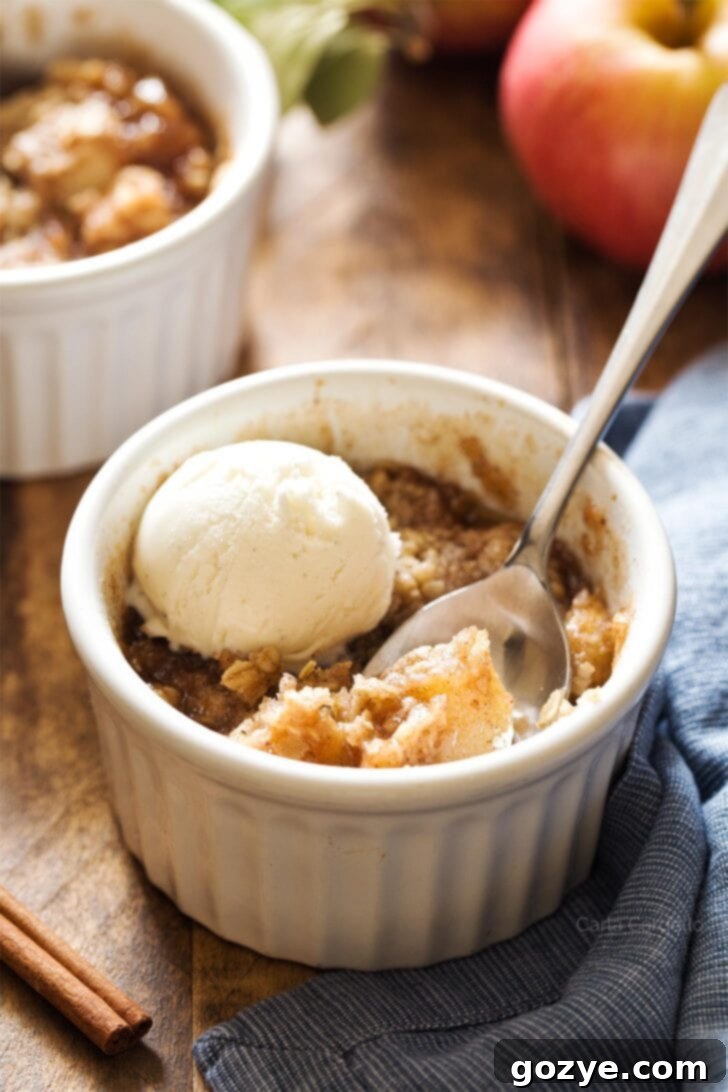
Imagine your kitchen filled with the warm, inviting aromas of autumn – that’s exactly what you’ll get when you bake up this delightful, warm, and bubbly Apple Crisp For Two. Featuring a perfectly golden, buttery streusel topping and best served with a scoop of creamy vanilla ice cream, this recipe is pure fall bliss! Designed for two individual ramekins, it’s incredibly easy to scale up for an 8×8 pan if you’re serving a larger crowd.
Every autumn, a cherished tradition takes my dad and me to our local orchard for a day of apple picking. It’s a ritual we’ve upheld for years, even after a summer injury once had my dad hobbling along. This year, however, we might have gotten a little carried away, returning home with a generous half-bushel! We mistakenly thought the smaller bag wouldn’t be enough, proving once again that our “eyes were bigger than our stomachs,” as the saying goes.
This abundance of apples means my kitchen is about to become an apple-baking paradise. Get ready for a delicious parade of mini apple pies, a decadent caramel apple cheesecake dip, classic apple turnovers, and, of course, multiple batches of this irresistible Apple Crisp For Two.
Much like my beloved cranberry apple crisp and the comforting pear crisp, this individual apple crisp embodies the essence of a perfect fall fruit dessert. It masterfully blends the natural sweetness of crisp apples with a golden, crunchy, and utterly buttery streusel topping. It’s the ultimate comfort food and an ideal dessert, especially if you’re not a fan of pumpkin and are planning a cozy Thanksgiving For Two celebration.
My passion lies in small batch baking, and this recipe perfectly aligns with that philosophy. It conveniently yields two individual ramekins, making it perfect for sharing with a loved one. Or, if you prefer, enjoy one now and save the other for later – it freezes beautifully! This recipe offers ultimate flexibility and ensures you always have a fresh, warm dessert at hand without overwhelming your kitchen with leftovers.
What Exactly Is a Crisp? Understanding This Classic Fall Dessert
At its heart, a crisp is a baked fruit dessert crowned with a delicious, crumbly streusel topping. What sets a crisp apart from its close cousin, the crumble, is the inclusion of oats in its topping. These oats are key to achieving that signature crispy texture that gives the dessert its name. A crumble, on the other hand, typically features a streusel topping made solely from flour, sugar, and butter, resulting in a softer, more cake-like crumb.
This mini apple crisp is particularly appealing because it’s one of the simplest desserts to assemble. Unlike some fruit desserts that require pre-cooking the filling, you can simply toss the apple mixture together and bake, saving you time and effort without compromising on flavor or texture. It’s a fuss-free dessert that delivers maximum deliciousness with minimal fuss.
Essential Ingredients For The Perfect Apple Crisp For Two
Crafting your delicious individual apple crisp requires a carefully selected list of ingredients that work in harmony to create that unforgettable fall flavor and texture. Here’s a closer look at what you’ll need and why each component is important:
- Apple: The star of the show! For baking, I highly recommend using sweet-tart varieties that hold their shape well, such as Gala, Jonagold, Fuji, Honeycrisp, or Golden Delicious. These apples offer a balanced flavor and tender texture once baked. While many apple varieties work, try to avoid Red Delicious (which tends to be mealy) or those strictly for snacking if you want the best texture.
- Sugar (Granulated & Brown): Granulated sugar helps sweeten the apple filling, enhancing the fruit’s natural sugars. Brown sugar, used in the streusel, contributes a deeper, molasses-rich sweetness and a wonderful chewiness to the topping.
- Cornstarch: This is your secret weapon for a perfectly thickened fruit filling. As the apples cook and release their juices, cornstarch prevents the crisp from becoming watery, ensuring a luscious, spoonable consistency.
- Lemon Juice: A splash of lemon juice does more than just prevent the apples from browning. It adds a crucial touch of acidity that brightens the flavors of the fruit and balances the sweetness, making the crisp taste fresh and vibrant.
- Vanilla Extract: Often considered the “salt of baking,” vanilla doesn’t just add its own delightful flavor; it enhances and deepens all the other flavors in your dessert. Always opt for pure vanilla extract for the best results.
- Cinnamon and Nutmeg: These are the quintessential warm spices of autumn, perfectly complementing the sweetness of apples. Their aromatic notes elevate the crisp from good to truly exceptional, creating that cozy, inviting scent.
- Salt (Pinch): A small amount of salt in both the filling and the streusel might seem counterintuitive, but it’s essential. It doesn’t make the dessert salty; instead, it balances the sweetness, making the flavors pop and preventing the crisp from tasting one-dimensionally sweet.
- All-Purpose Flour: In the streusel, flour acts as the primary binding agent, creating the structure for the crumbly topping when combined with butter and oats.
- Oats (Rolled or Quick-Cooking): The defining ingredient of a crisp! Oats add a delightful chewiness, nutty flavor, and, most importantly, that signature crispy texture to the streusel. Make sure to use rolled oats or quick-cooking oats. Steel-cut oats are too tough for this application, and instant oatmeal packets often contain added sugars and flavors that aren’t suitable.
- Unsalted Butter (Cold): Cold butter is crucial for achieving that wonderfully crumbly, flaky streusel. When cut into small pieces and worked into the dry ingredients, it creates pockets that melt and release steam during baking, resulting in a rich, crisp topping.
Choosing the Best Baking Dish For Individual Apple Crisp
For truly individual portions of your small batch apple crisp, I highly recommend using two 6-ounce ramekins (affiliate link). These versatile ceramic dishes are a must-have if you frequently bake for one or two people, as they’re perfect for creating perfectly portioned desserts that bake evenly and look charming when served. If you love the idea of single-serving treats, be sure to explore my comprehensive list of Ramekin Dessert Recipes.
But don’t worry if you don’t have ramekins! This recipe is adaptable. You can easily bake the entire apple crisp mixture in a single 1-quart casserole dish (affiliate link) for a slightly larger, shared portion. Alternatively, if you’re feeding a small family or want more leftovers, simply double the recipe and bake it in an 8×8-inch pan. This flexibility ensures that no matter your equipment, you can still enjoy this delicious fall dessert.
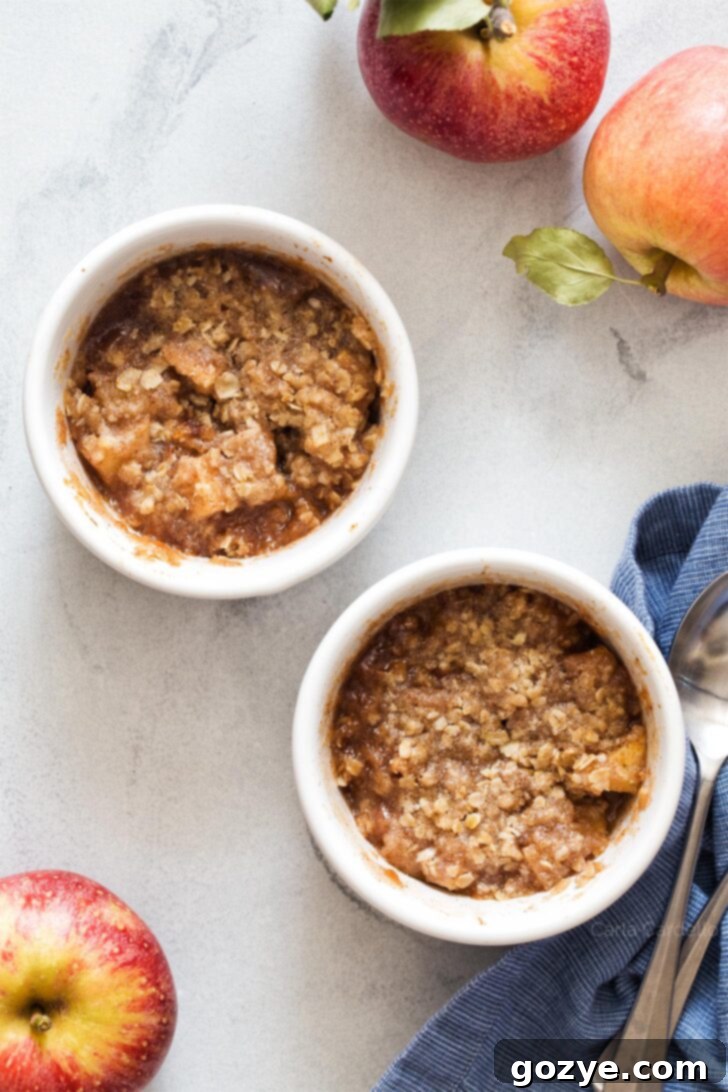
Step-by-Step Guide: How To Make Apple Crisp For Two
Making your individual ramekin apple crisp is wonderfully straightforward, promising a warm, comforting dessert with minimal effort. Here’s a detailed guide to walk you through each simple step:
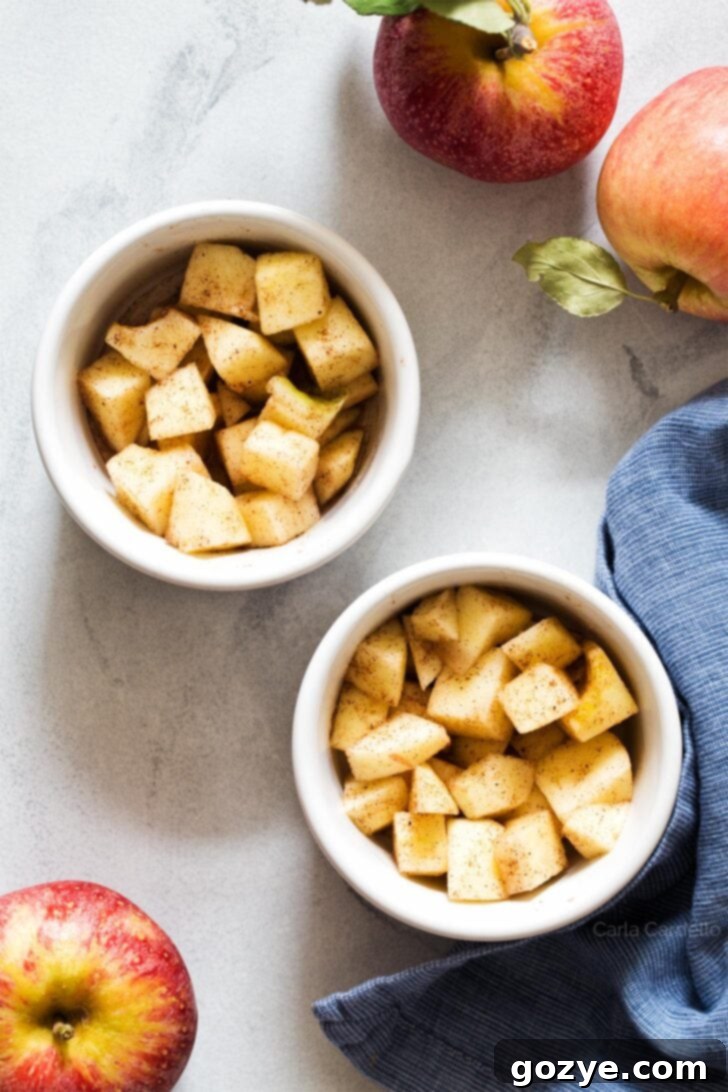
- Prepare the Apple Filling: In a medium-sized bowl, combine your diced apples with granulated sugar, fresh lemon juice, cornstarch, vanilla extract, ground cinnamon, ground nutmeg, and a pinch of salt. Toss everything together gently until the apples are evenly coated. This ensures every piece of apple is infused with flavor and the juices will thicken properly. Once mixed, divide this aromatic apple mixture evenly between your two prepared 6-ounce ramekins.
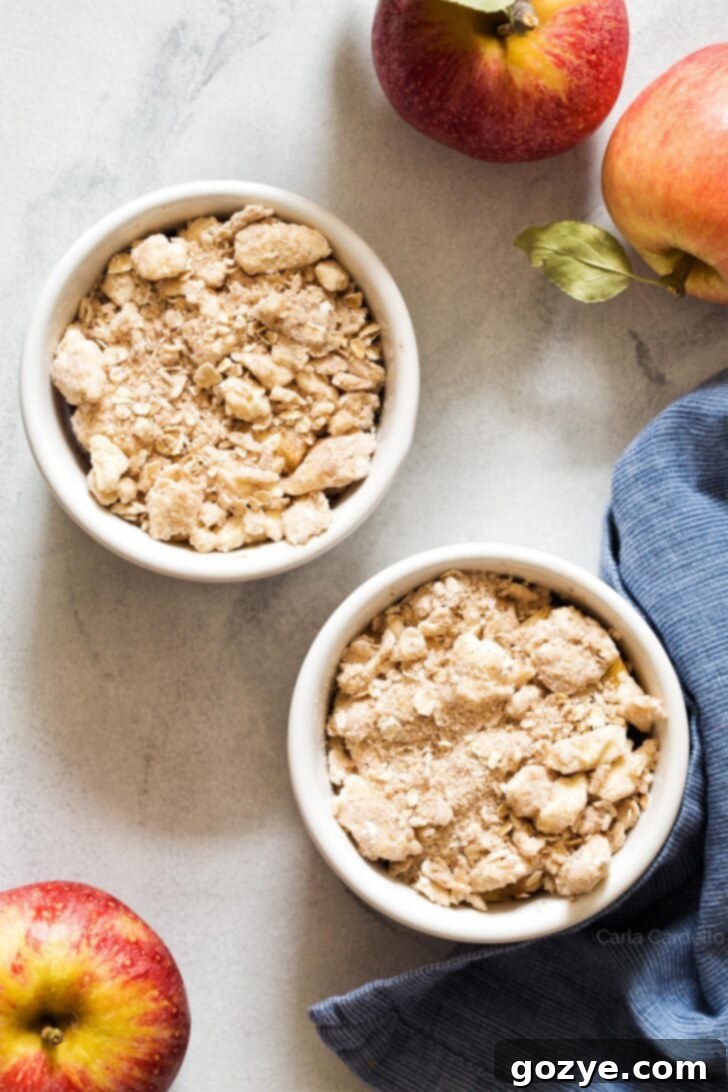
- Craft the Buttery Streusel Topping: In a separate medium bowl, whisk together the dry ingredients for your streusel: brown sugar, all-purpose flour, rolled or quick oats, ground cinnamon, ground nutmeg, and a pinch of salt. Next, add the cold, cubed unsalted butter. Using a pastry blender or two forks, “cut” the butter into the dry ingredients. Continue until the mixture resembles coarse crumbs with some pea-sized butter pieces still visible. Be careful not to overmix; lumps are good! Evenly sprinkle this crumbly streusel mixture over the apple filling in both ramekins.
- Bake to Golden Perfection: Place the ramekins on a baking sheet (to catch any potential overflow) and bake in a preheated oven at 350°F (175°C) for 25-30 minutes. You’ll know your apple crisps are ready when the topping is beautifully golden brown, the filling is visibly bubbly around the edges, and the apples underneath are tender when pierced with a fork. Allow them to cool for about 10-15 minutes before serving; this allows the filling to set slightly and prevents burns.
How To Serve Your Perfect Apple Crisp For Two
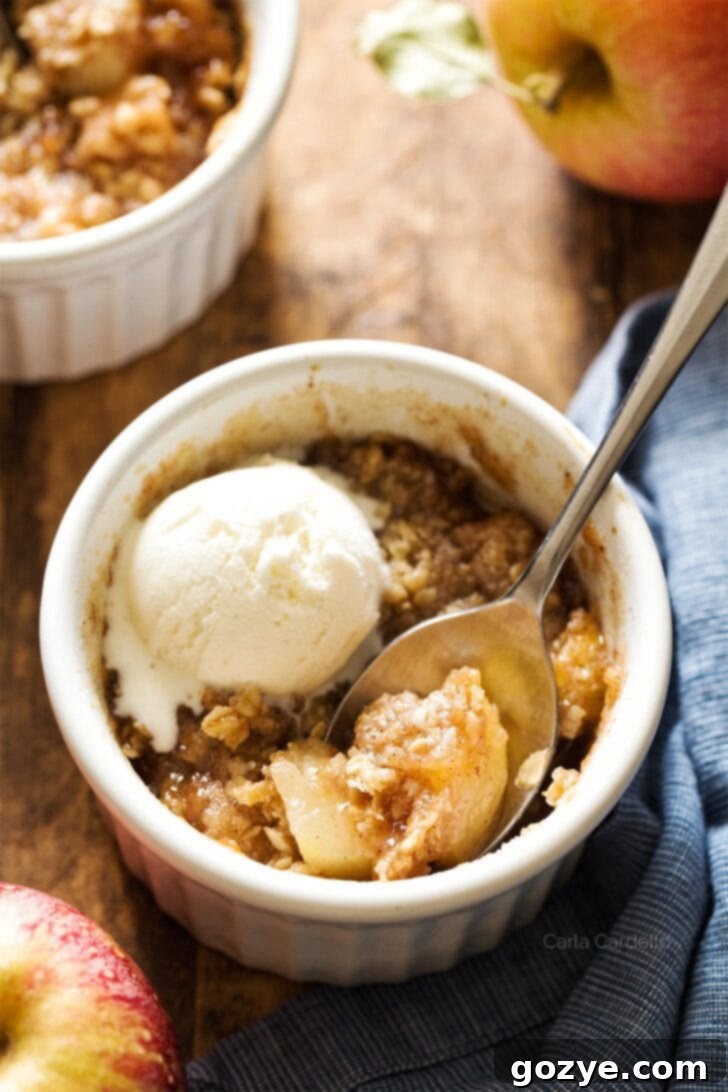
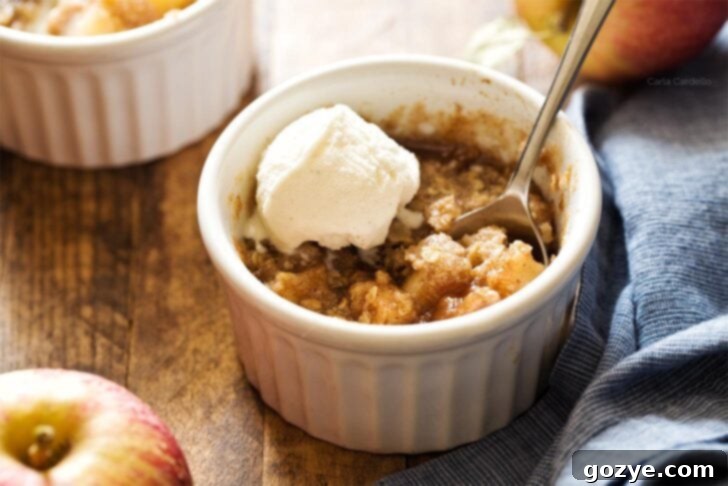
While delicious on its own, a warm apple crisp truly shines when paired with the right accompaniments. The best way to serve your small apple crisp is fresh from the oven, still warm and inviting. A generous scoop of creamy vanilla bean ice cream melting into the warm, spiced apples and crunchy streusel is an absolute classic pairing that can’t be beaten. Alternatively, a dollop of fluffy homemade whipped cream offers a lighter, airy contrast.
For those who adore the flavor combination of caramel and apple, take your dessert to the next level! Drizzle some rich homemade caramel sauce over your vanilla ice cream for an indulgent caramel apple sundae experience. You could also sprinkle a few chopped toasted pecans or walnuts for an extra layer of crunch and nutty flavor. Don’t be afraid to experiment with other ice cream flavors like cinnamon, butter pecan, or even a hint of maple for an extra fall touch!
Planning Ahead: How To Make Apple Crisp Ahead Of Time
One of the fantastic aspects of this apple crisp recipe is its versatility when it comes to preparation. You can easily make your individual apple desserts up to 2 days ahead of time, which is perfect for entertaining or simply making your weeknight dessert a breeze. Here are two convenient methods for preparing your crisp in advance:
- Assemble and Refrigerate Unbaked: You can fully assemble the crisps (both the apple filling and the streusel topping in the ramekins) but hold off on baking. Cover each ramekin tightly with plastic wrap and refrigerate for up to 2 days. When you’re ready to bake, simply remove them from the fridge, allow them to sit at room temperature for about 15-20 minutes while your oven preheats, then bake as directed. You might need to add an extra 5-10 minutes to the bake time since they’re starting from a colder temperature.
- Bake, Cool, and Refrigerate: Alternatively, you can fully bake the apple crisps, let them cool completely to room temperature, and then cover each ramekin securely with plastic wrap. Refrigerate for up to 2 days. To reheat, simply place the crisps in a preheated oven at 350°F (175°C) for 10-15 minutes, or until they are warmed through and the streusel topping regains some of its crispness.
For even quicker assembly on baking day, you can also make just the streusel topping ahead of time. Prepare the streusel, then store it in an airtight container in the refrigerator for up to a week, or freeze it for even longer. When you’re ready to bake, simply sprinkle the chilled streusel over your fresh apple filling and proceed with the baking instructions.
Storing Your Delicious Apple Crisp For Two
Proper storage ensures your apple crisp remains delightful for as long as possible. If you plan on enjoying your ramekin apple crisp on the same day it’s baked, you can comfortably leave it at room temperature for several hours. The warm temperatures and melty ice cream are best enjoyed fresh!
However, for any leftovers or crisps made in advance, refrigeration is key to maintaining freshness and food safety. Once cooled completely, wrap each ramekin tightly with plastic wrap to prevent it from drying out or absorbing other odors from your fridge. Stored this way, your apple crisp will remain delicious for up to 2-3 days. To reheat, follow the instructions above for baked crisps to bring them back to their warm, bubbly glory.
Apple Crisp FAQ: Your Questions Answered
While it’s not strictly required, I personally prefer peeling apples for apple crisp. The peel can sometimes become tough or chewy during baking, detracting from the otherwise tender texture of the fruit. Peeling ensures a consistently smooth and pleasant mouthfeel.
Absolutely! If you’re looking for an even quicker shortcut, you can certainly substitute fresh apples with pre-made apple pie filling. Just spoon your desired amount of filling into the ramekins, add your streusel on top, and bake until bubbly and golden. This is a great time-saver!
Yes, this recipe doubles beautifully! If you need more servings, simply double all the ingredients. Instead of two ramekins, you can bake the doubled recipe in an 8×8-inch pan. The baking time will be slightly longer, typically around 30-35 minutes, or until the topping is golden and the apples are tender.
Yes, apple crisp freezes wonderfully, making it perfect for meal prepping desserts! Allow the crisp to cool completely after baking. Then, wrap each ramekin tightly with a double layer of aluminum foil, ensuring no air can get in. Freeze for up to 3 months. To reheat, thaw the frozen crisp in the refrigerator overnight. Once thawed, reheat it in a preheated oven at 350°F (175°C) for 10-15 minutes, or until it’s heated through and bubbly again.
Yes, you can adapt this recipe to be gluten-free! Simply substitute the all-purpose flour in the streusel topping with a gluten-free all-purpose flour blend (one that contains xanthan gum works best). Ensure your oats are certified gluten-free, as conventional oats can sometimes be cross-contaminated. The rest of the ingredients are naturally gluten-free.
Absolutely! This crisp recipe is incredibly versatile. You can easily swap out apples for other firm fruits like pears, peaches, or even a mix of berries (strawberries, blueberries, raspberries). Just be mindful that some fruits may release more liquid, so you might need a tiny bit more cornstarch if using very juicy fruits.
More Delicious Fruit Dessert Recipes For Two
If you’ve fallen in love with the comforting simplicity of this apple crisp and are looking for more delightful fruit desserts scaled for two, you’re in luck! Whether your craving leans towards another crisp, a cozy cobbler, or a tangy crumble, here are some more small-batch fruit dessert recipes that are perfect for sharing:
- Raspberry Almond Crisp For Two: A vibrant and tangy crisp featuring juicy raspberries and the nutty crunch of almonds in the streusel.
- Blueberry Cobbler For Two: Enjoy a warm, bubbly blueberry filling topped with fluffy, golden biscuit-like dumplings – pure summer comfort in a small batch.
- Peach Cobbler For Two: Sweet, ripe peaches baked under a tender, cake-like topping, perfect for a cozy dessert any time of year.
- Strawberry Shortcake Cobbler: A delightful twist on two classics, combining fresh strawberries with a tender cobbler topping, enhanced with honey whipped cream.

Apple Crisp For Two
2 servings
20 minutes
25 minutes
45 minutes
Fill your home with the inviting scent of fall with this warm, bubbly Apple Crisp For Two! Featuring tender apples, a rich buttery streusel, and best served with creamy vanilla ice cream, it’s the perfect cozy dessert for any autumn evening.
Ingredients
- 1 large baking apple, peeled and diced into 1/2 inch pieces (roughly 1 cup – can use Gala, Jonagold, Fuji, Honeycrisp or Golden Delicious)
- 1 tablespoon granulated sugar
- 1 teaspoon lemon juice
- 1 teaspoon cornstarch
- 1/2 teaspoon vanilla extract
- 1/4 teaspoon ground cinnamon
- 1/8 teaspoon ground nutmeg
- 1/8 teaspoon table salt
Streusel Topping
- 2 tablespoons packed light brown sugar
- 2 tablespoons all-purpose flour
- 2 tablespoons rolled or quick oats (do not use steel cut oats or instant oatmeal packets)
- 1/4 teaspoon ground cinnamon
- 1/8 teaspoon ground nutmeg
- Pinch of table salt
- 3 tablespoons unsalted butter, very cold and cut into 6 small pieces
Instructions
- Preheat your oven to 350°F (175°C). Ensure you have two 6-ounce ramekins ready for baking.
- In a medium bowl, combine the diced apple, granulated sugar, fresh lemon juice, cornstarch, vanilla extract, ground cinnamon, ground nutmeg, and salt. Stir everything together thoroughly until the apples are well coated. Divide this mixture evenly between your two prepared ramekins.
- For the Streusel Topping: In a separate medium bowl, whisk together the brown sugar, all-purpose flour, oats, ground cinnamon, ground nutmeg, and a pinch of salt. Add the cold, cubed butter. Using a pastry blender or two forks, cut the butter into the dry ingredients until coarse crumbs form. Avoid overmixing; some pea-sized pieces of butter are desirable. Sprinkle this streusel mixture evenly over the apple filling in both ramekins.
- Place the ramekins on a baking sheet and bake for 25-30 minutes, or until the topping is golden brown, the filling is bubbly around the edges, and the apples are tender when pierced with a fork. Allow the crisps to cool for about 15 minutes before serving. This cooling time allows the filling to set slightly. Serve warm or at room temperature, ideally with a scoop of vanilla ice cream or a dollop of whipped cream.
Store any leftovers, covered tightly, in the refrigerator for up to 2 days.
Notes
- Don’t have individual ramekins? You can easily bake both servings in a small 1-quart casserole dish.
- This recipe can effortlessly be doubled! If you wish to make a larger batch, simply double all ingredients and bake in an 8×8-inch pan for approximately 30-35 minutes, or until the apples are fork-tender and the topping is golden.
- Looking for more delightful small-batch fruit desserts? Explore our recipes for Pear Walnut Crisps, Cranberry Apple Crisp, and Raspberry Almond Crisp.
Recommended Products
As an Amazon Associate and member of other affiliate programs, I earn from qualifying purchases.
- 6 ounce Ramekins
Did you make this recipe?
We’d love to hear from you! Rate the recipe above to share your thoughts, leave a comment below with any tips or questions, and/or share a photo of your delicious creation on Instagram using the hashtag #HITKrecipes.
