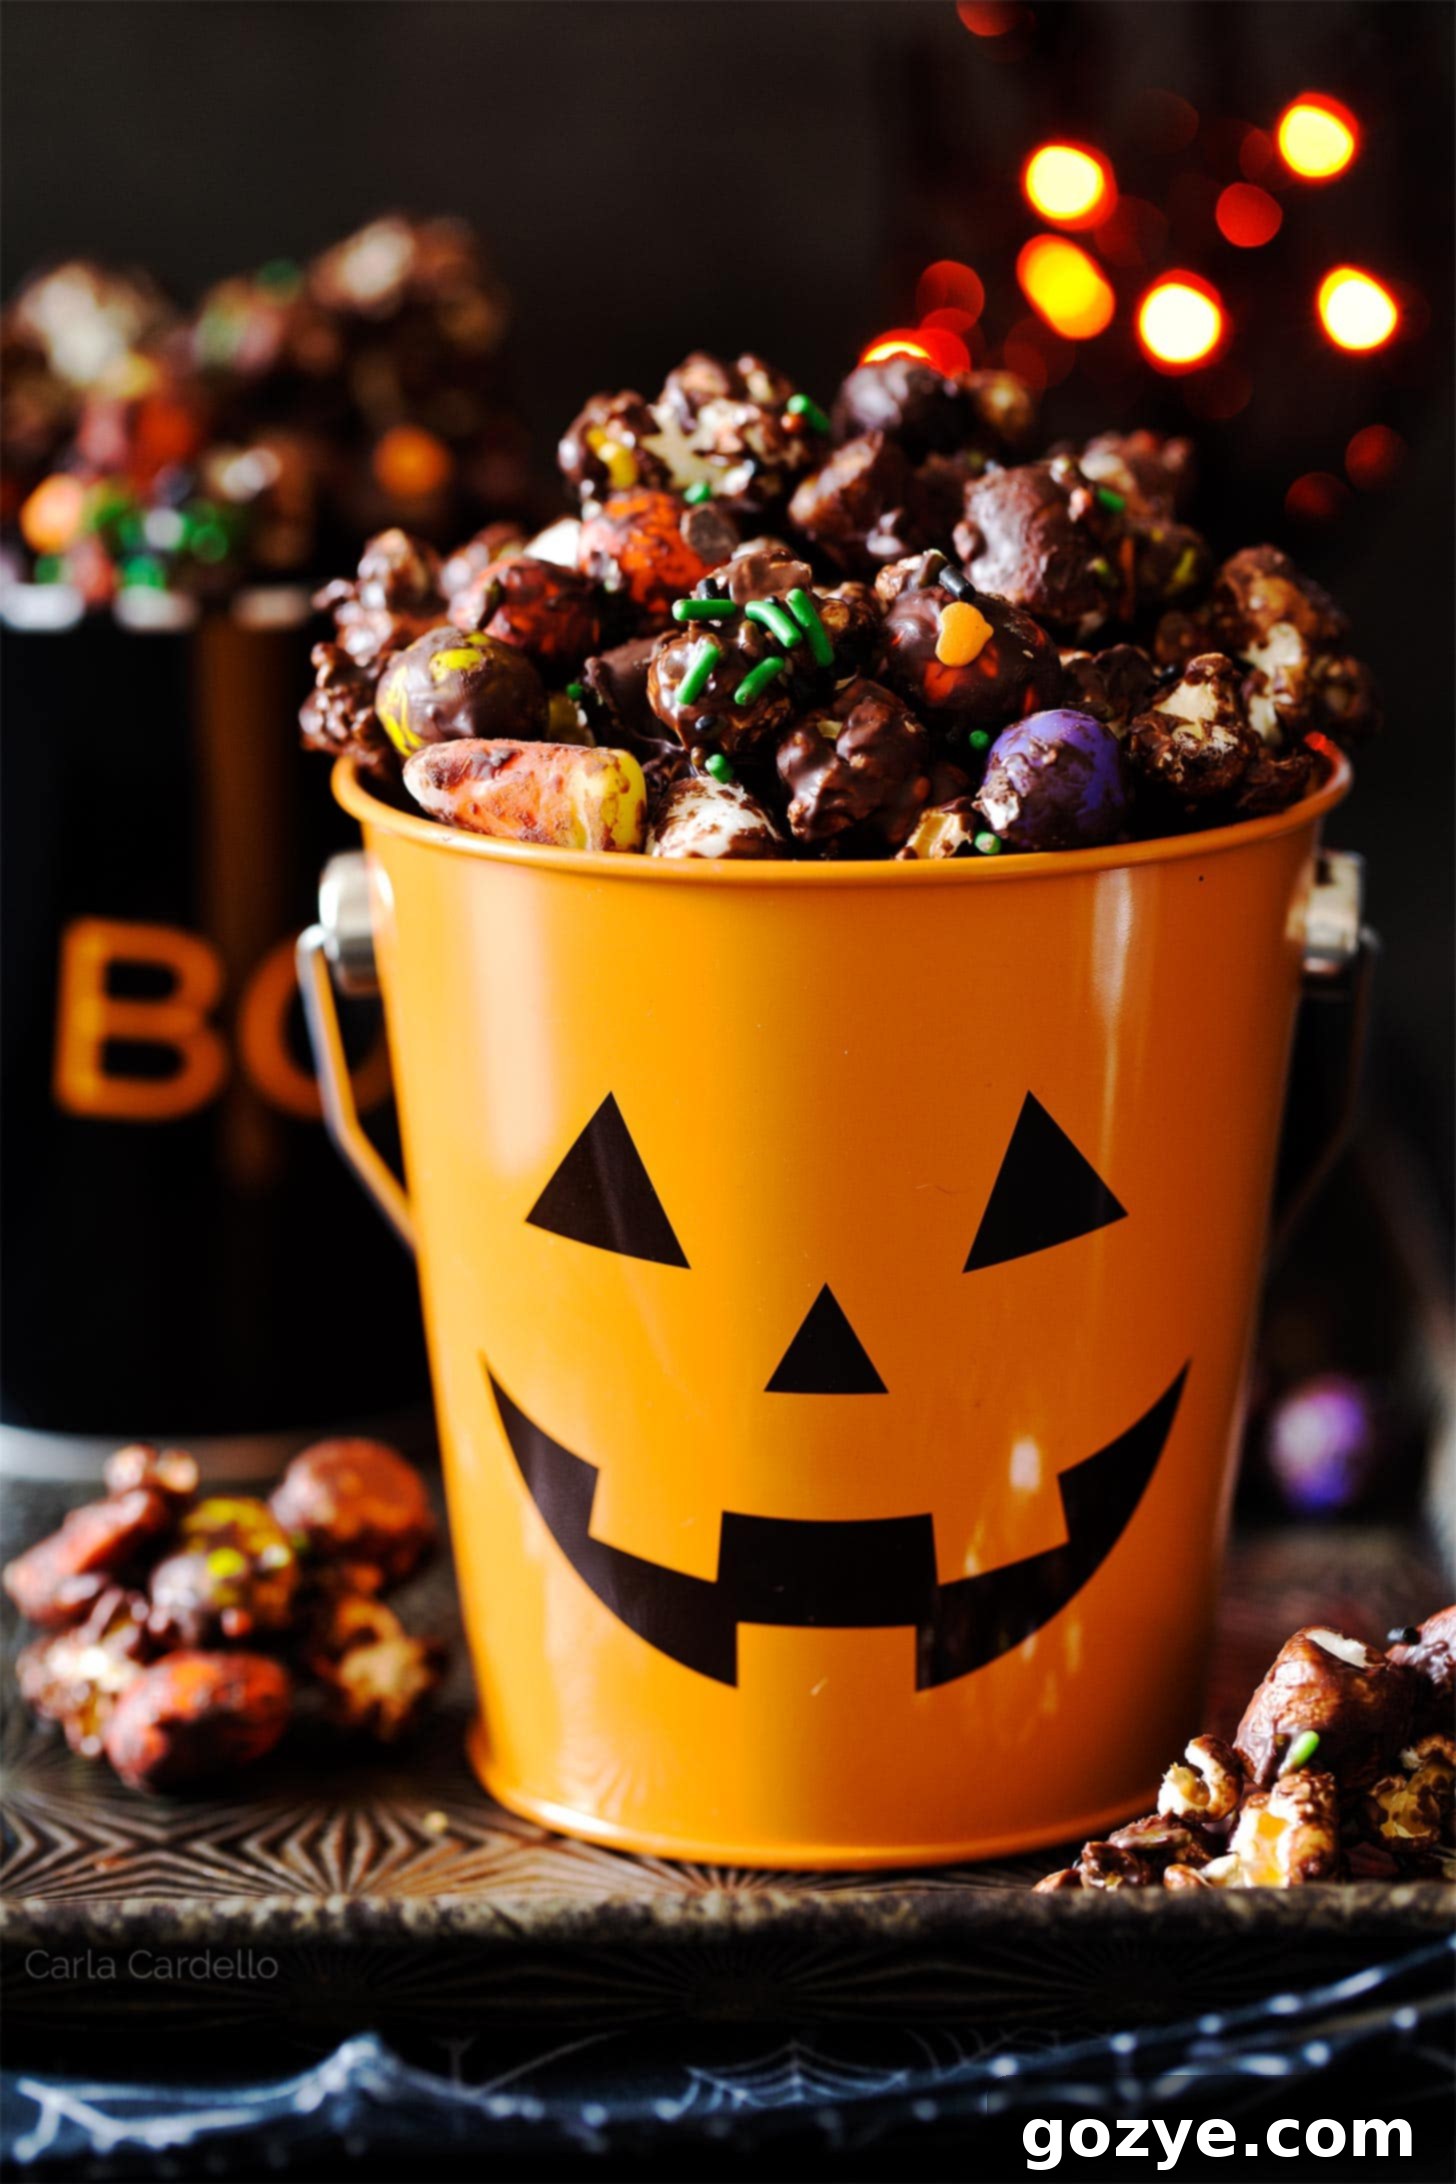
Spooktacular Halloween Popcorn: The Ultimate Sweet & Salty Party Treat
This Halloween popcorn recipe transforms ordinary popcorn into a dazzling, chocolate-covered delight, featuring festive candy corn, crunchy peanut M&Ms, and fluffy mini marshmallows. It’s the perfect blend of sweet and salty, creating a truly spooktacular snack for any Halloween gathering or cozy movie night.
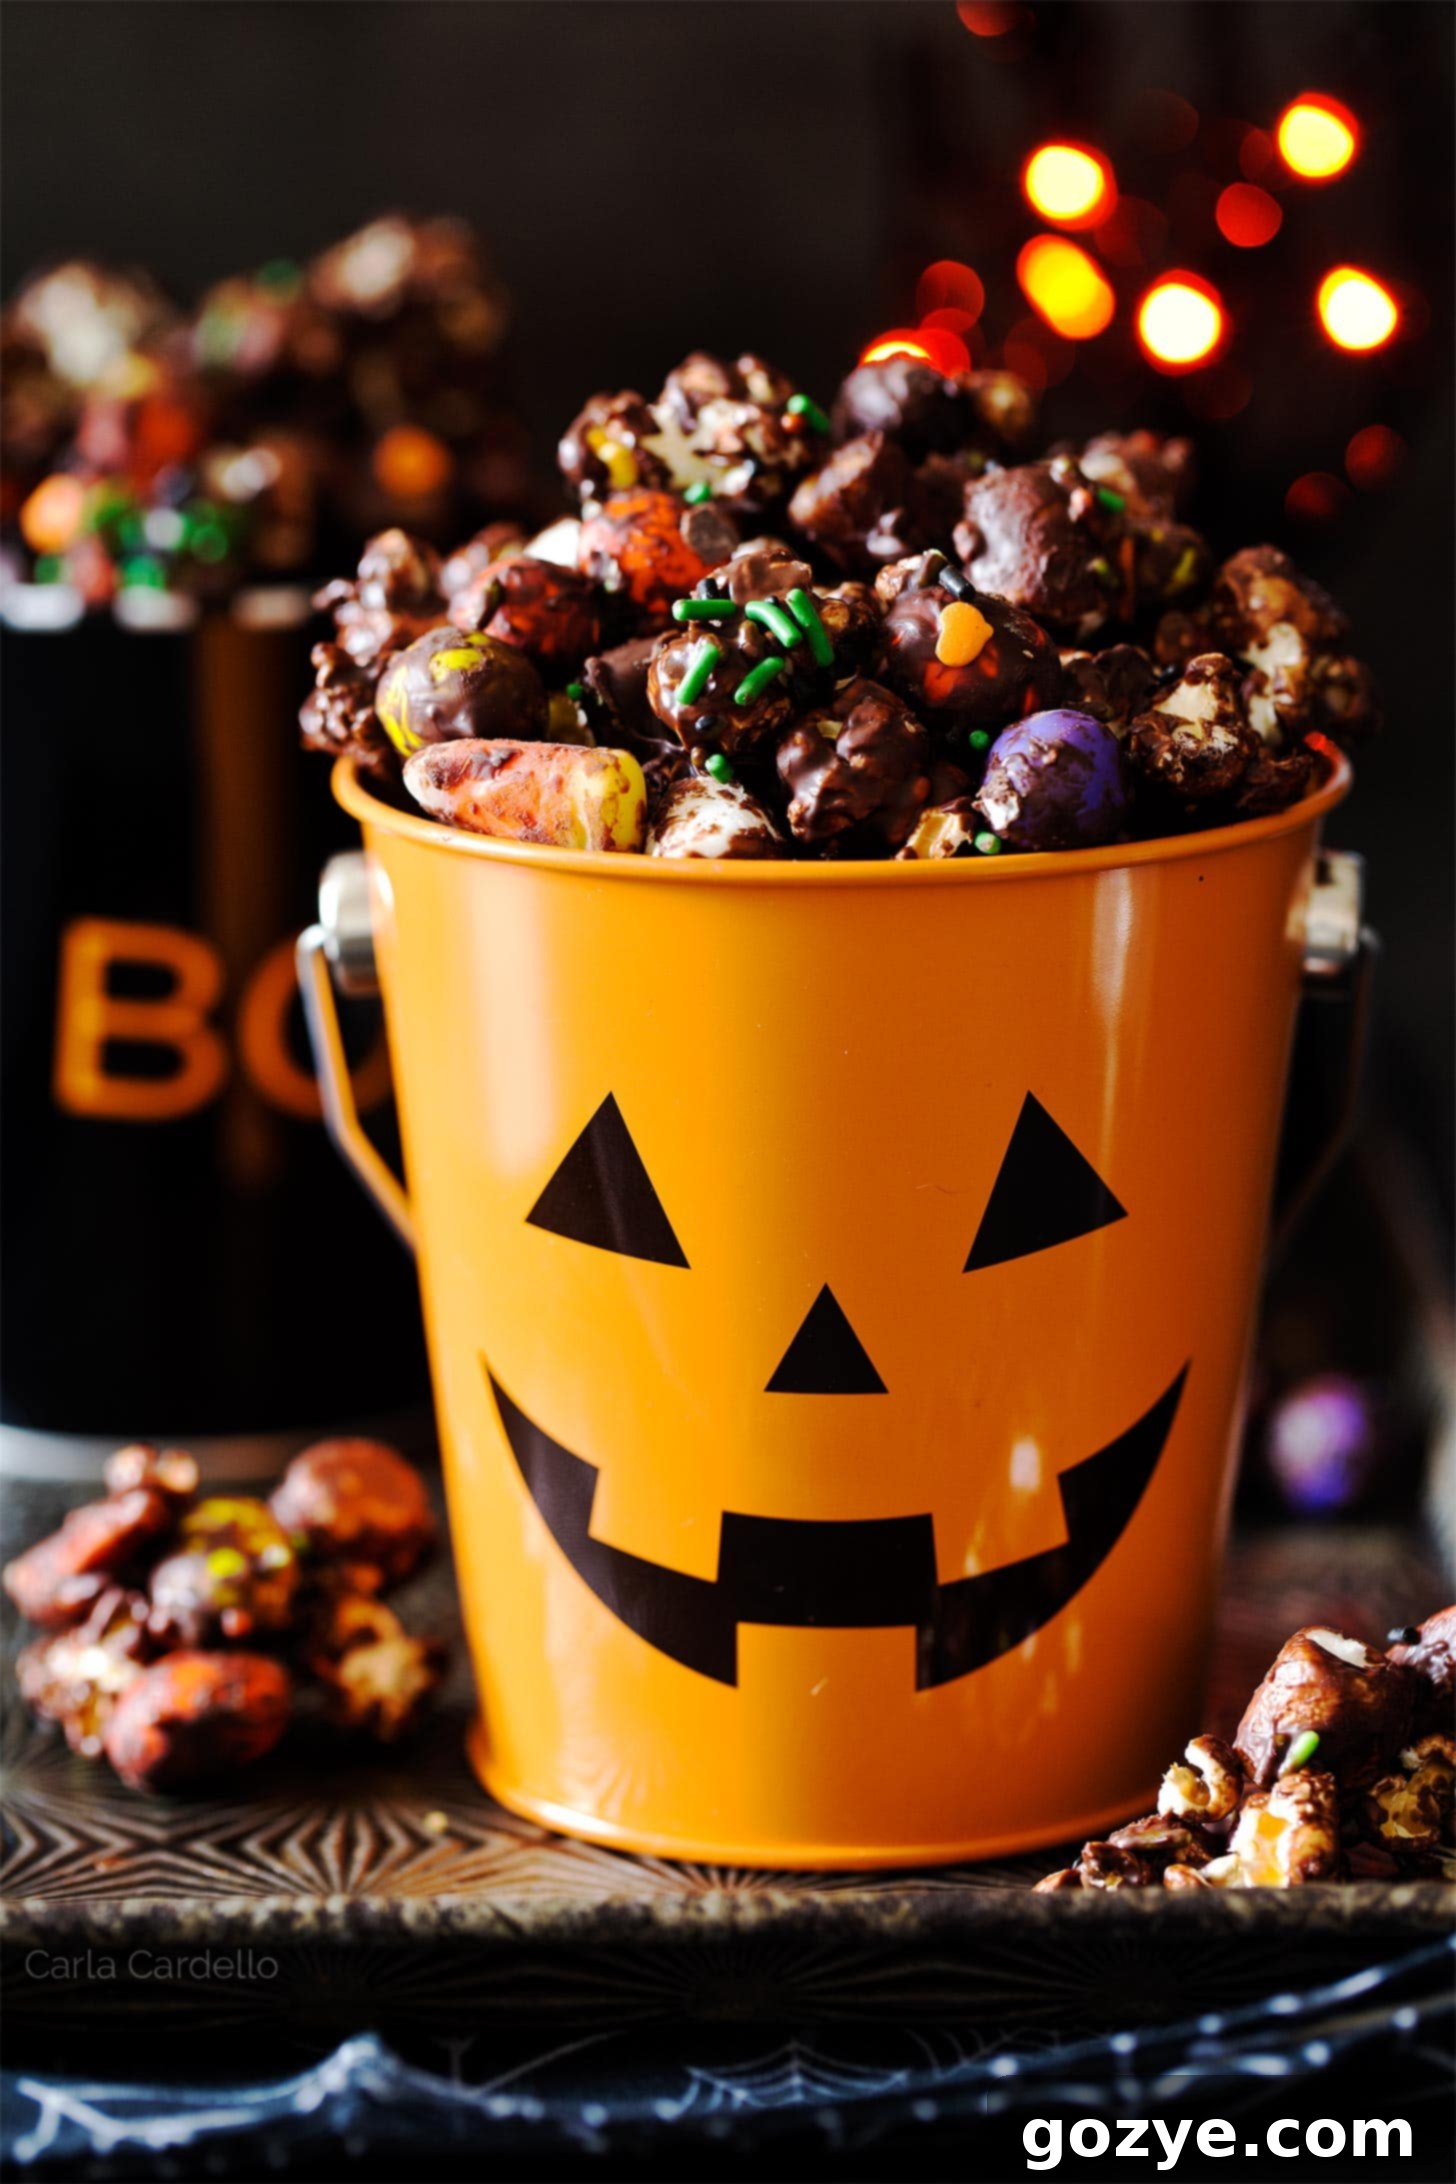
With October finally here, the crisp air and festive decorations signal that Halloween is truly just around the corner! It’s always a challenge to resist the allure of orange and black until the calendar officially flips to October 1st, especially when stores begin showcasing spooky decor and holiday cheer months in advance. But now that the season is upon us, it’s time to embrace all things autumnal and, of course, delightfully eerie.
Just last week, my home transformed with all my favorite Halloween decorations, including a fantastic new wreath I snagged on clearance last year – it felt great to finally display it! One of the things I adore most about holiday preparations, especially when it comes to baking and snacking, is the sheer joy of festiveness. From adorable sprinkles and themed cupcake liners to unique party toppers and seasonal candies, every detail adds to the magic.
However, as a single-person household, I often find myself facing a dilemma: most holiday recipes are crafted for large families or big parties, leaving me with an abundance of treats. While I love attending gatherings (especially if they promise delicious Halloween deviled eggs!), hosting isn’t something my friends and I typically do. This year, I decided that wouldn’t stop me from indulging in some frightfully fun Halloween snacks!
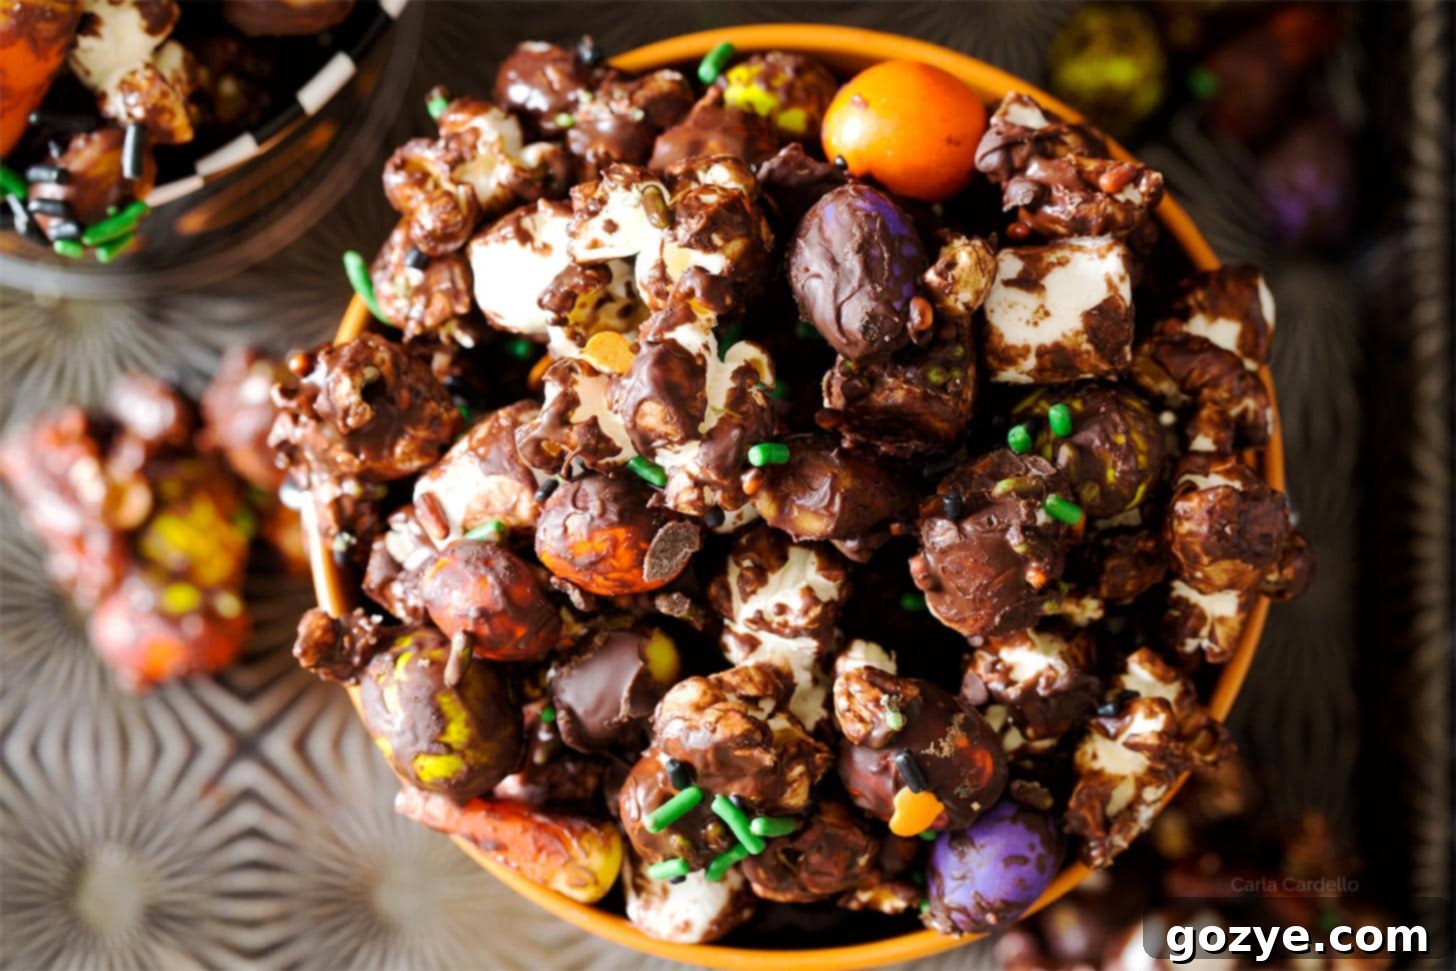
That’s why I created this irresistible Halloween Popcorn. It’s a delightful concoction of perfectly popped corn, vibrant candy corn, savory peanut M&Ms, and soft mini marshmallows, all generously coated in rich melted chocolate and finished with a scattering of festive sprinkles. This sweet and salty popcorn mix is a fantastic twist on my beloved chocolate covered popcorn and Christmas popcorn, designed specifically for the spooky season.
At first glance, it might seem like a sugar overload, but the magic lies in the balance. The inherent saltiness of the popcorn and the peanuts in the M&Ms brilliantly cuts through the sweetness, creating a perfectly harmonious flavor profile that keeps you coming back for more. This Halloween popcorn mix is designed to yield roughly 2-4 servings, making it ideal for a personal treat or a small gathering. However, if you’re planning a bigger bash or preparing cute treat bags for trick-or-treaters or party favors, you can effortlessly double or even triple the recipe without any hassle.
Not only is this recipe incredibly delicious, but it’s also remarkably simple to prepare, especially when compared to the fuss of making traditional popcorn balls. There’s no sticky shaping involved – just a simple mix, a quick chill, and voilà! You’ll be ready to enjoy this delightful snack while curled up with your favorite Halloween movies, savoring every sweet and salty bite.
Essential Ingredients for Your Halloween Popcorn Mix
Crafting this festive Halloween popcorn requires just a few key ingredients. Each component plays a vital role in achieving that perfect sweet and salty balance and a delightful mix of textures. Here’s what you’ll need to gather:
- Popcorn: The foundation of our snack! Whether you prefer popping your own stovetop popcorn for that fresh, authentic taste, or opt for the convenience of microwave popcorn, the key is to ensure it’s generously salted. This saltiness is crucial for creating a delicious contrast to the sweet candy and chocolate, preventing the snack from becoming cloyingly sweet.
- Candy Corn: An iconic symbol of Halloween, candy corn adds a distinctive chewiness, a burst of classic holiday flavor, and those unmistakable orange, yellow, and white hues that scream “Halloween!”
- Peanut M&Ms: I specifically chose peanut M&Ms for their satisfying crunch and the added savory saltiness that roasted peanuts bring. The nuts contribute another layer of texture and depth of flavor. If you opt for plain M&Ms, consider adding some chopped peanuts or pretzels to maintain that important salty counterpoint.
- Mini Marshmallows: These little puffs of sweetness introduce a wonderful soft, chewy texture that complements the crunch of the popcorn and M&Ms. They also taste incredibly delicious when coated in chocolate, adding a gooey element once slightly warmed.
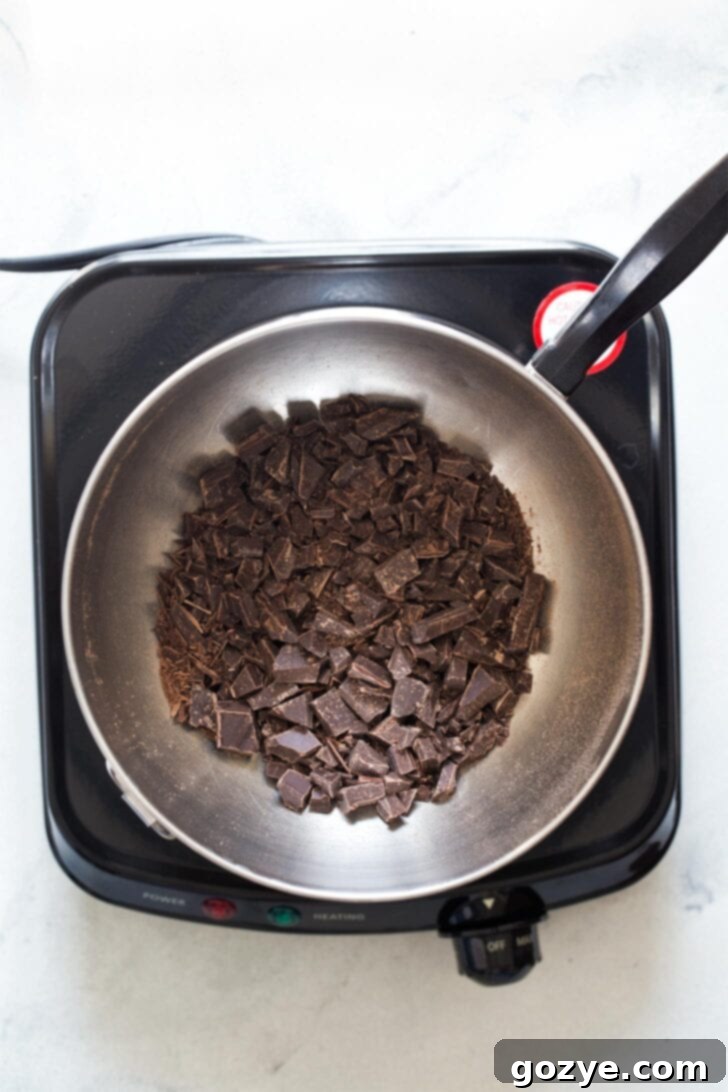
- Baking Chocolate: For the best melting and coating experience, choose a good quality semisweet or dark chocolate. These varieties melt smoothly and provide a rich chocolatey flavor that isn’t overly sweet, further contributing to the overall balance of the snack. Chocolate chips or a baking bar, finely chopped, will work perfectly.
- Festive Sprinkles (Optional but Recommended): To truly elevate the Halloween theme, don’t forget a generous scattering of orange, black, purple, or ghost-shaped sprinkles! They add a fun visual appeal and a tiny bit of extra crunch.
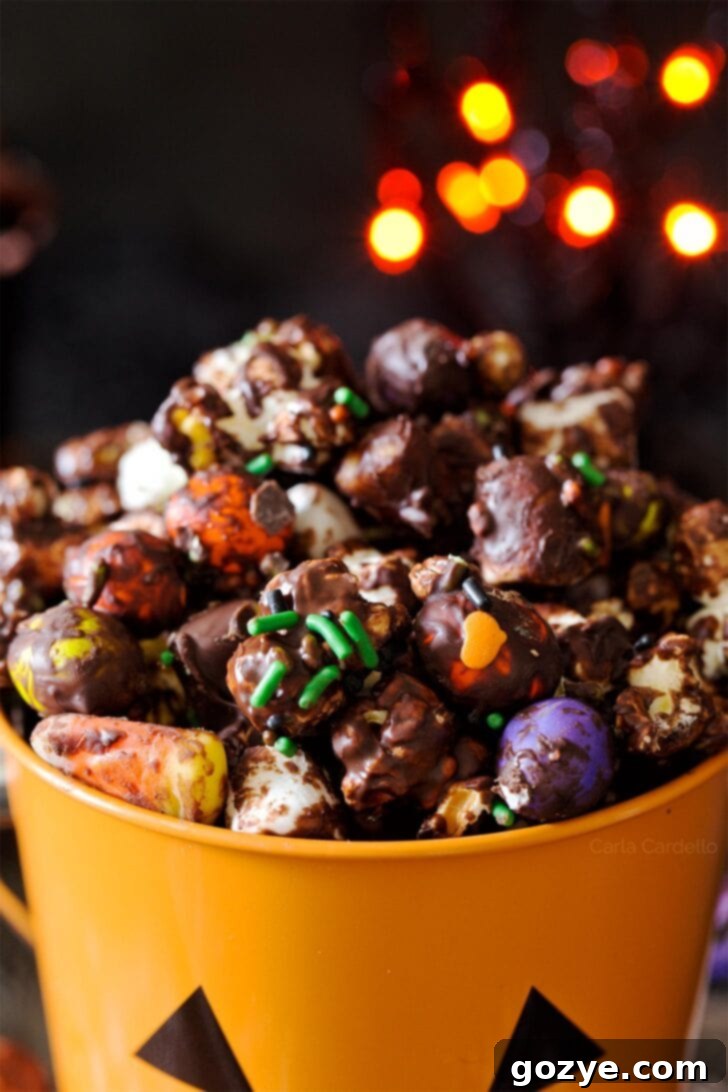
Allergy-Friendly Options: What if I’m allergic to peanuts?
No problem at all! For a delicious and completely peanut-free Halloween popcorn mix, simply substitute regular M&Ms for the peanut variety. To ensure you still get that vital salty kick to balance the sweetness, add about 1/2 cup of finely chopped pretzels. They’ll provide a similar satisfying crunch and saltiness, making sure your snack remains perfectly balanced and utterly enjoyable for everyone.
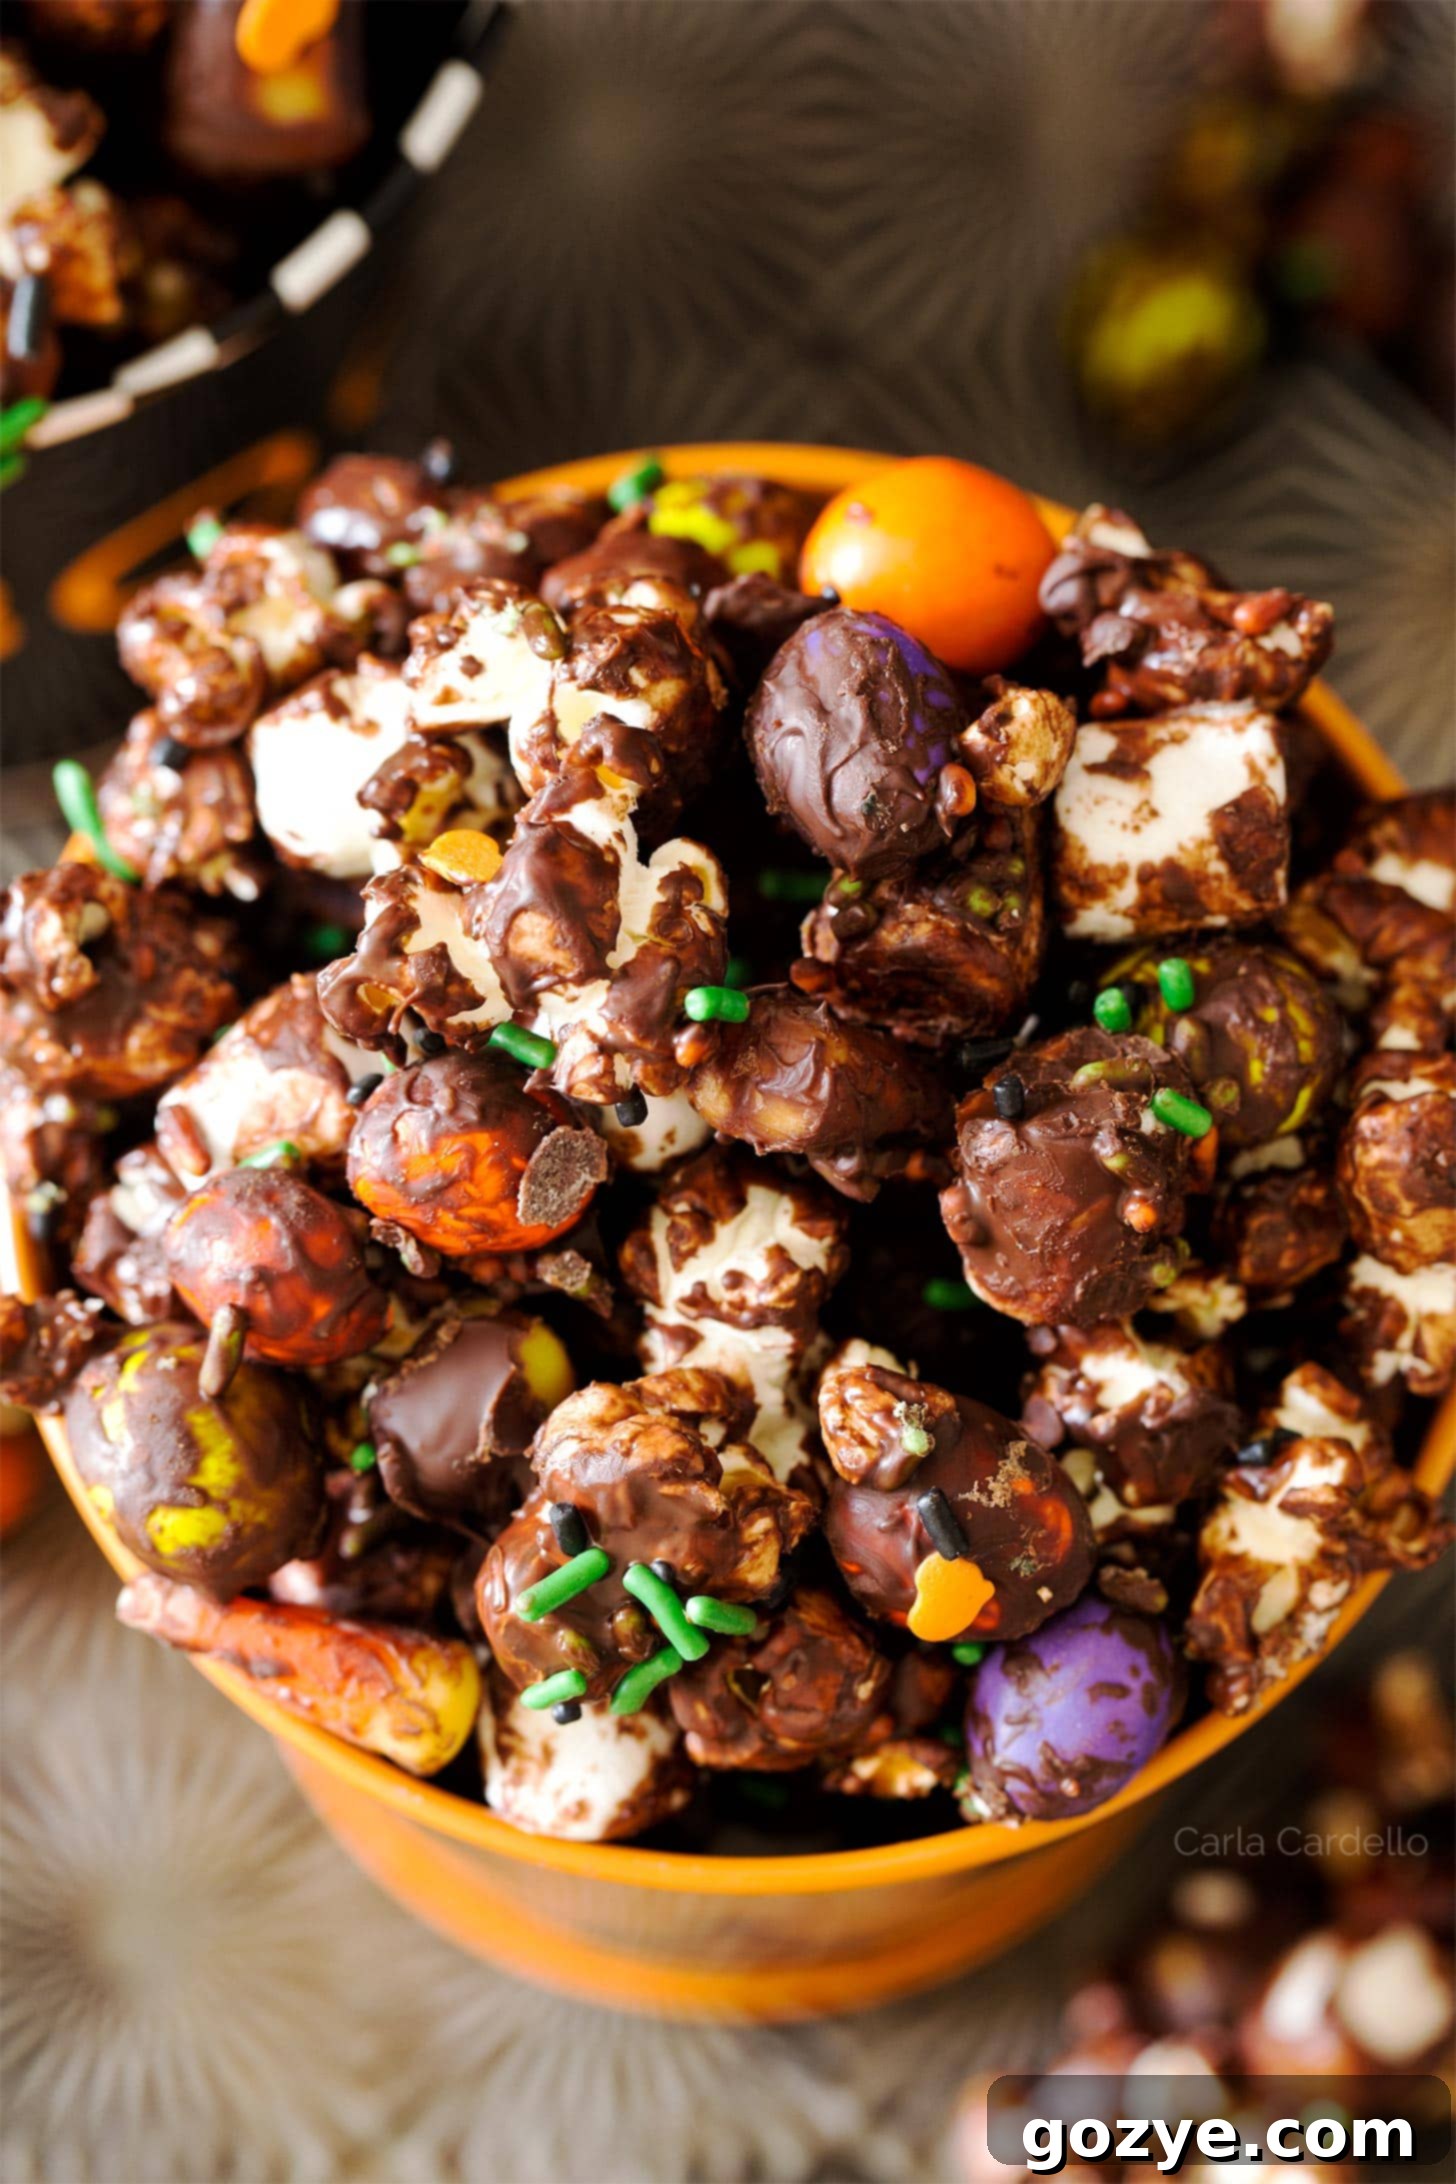
Simple Steps to Make Your Spooky Halloween Popcorn
Creating this Halloween popcorn mix is a straightforward process that yields impressive results. The key is to have all your ingredients pre-measured and ready before you begin, as you’ll want to work quickly while the chocolate is still warm and pliable. This ensures all your delicious additions get a generous coating!
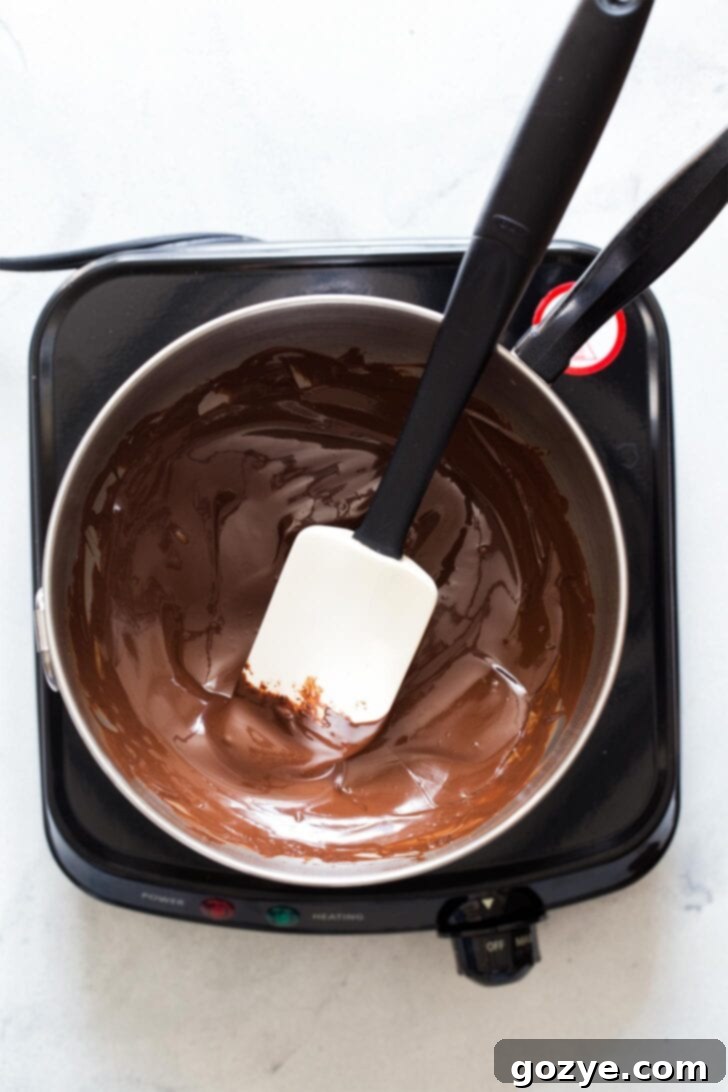
Step 1: Melt the Chocolate with Care. Begin by preparing a double boiler. Fill a medium-sized saucepan with about an inch or two of water and bring it to a gentle simmer over medium heat. Once simmering, reduce the heat to low. Place your chopped semisweet or dark chocolate into a heatproof bowl that is larger than the opening of your saucepan. Carefully set this bowl over the simmering water, ensuring the bottom of the bowl does not touch the water itself – the steam rising from the water is what gently and evenly melts the chocolate. Stir the chocolate frequently with a rubber spatula until it is completely smooth and free of any lumps. This method prevents the chocolate from scorching or seizing.
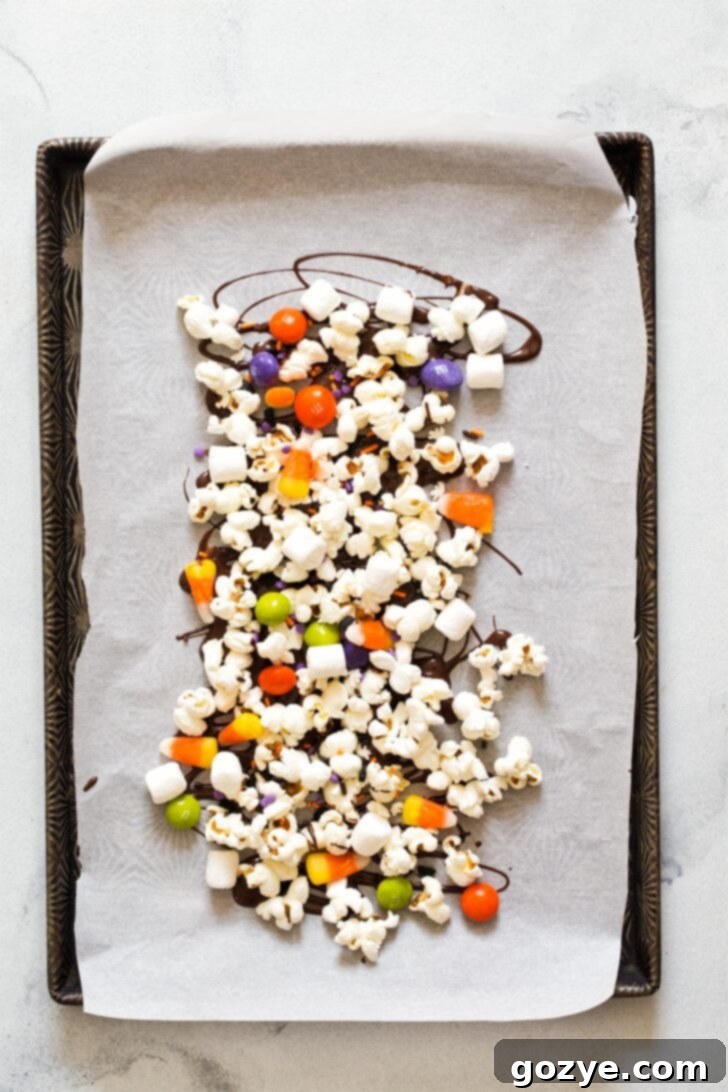
Step 2: Layer and Mix the First Half. Line a large baking tray with parchment paper or a silicone baking mat; this will prevent sticking and make for easy cleanup. Once your chocolate is melted, drizzle approximately half of it evenly over the prepared baking tray. Immediately, while the chocolate is still wet, spread out half of your popped popcorn, half of the candy corn, half of the peanut M&Ms, half of the mini marshmallows, and a scattering of your festive sprinkles onto the chocolate layer. Gently press these ingredients into the chocolate to help them adhere.
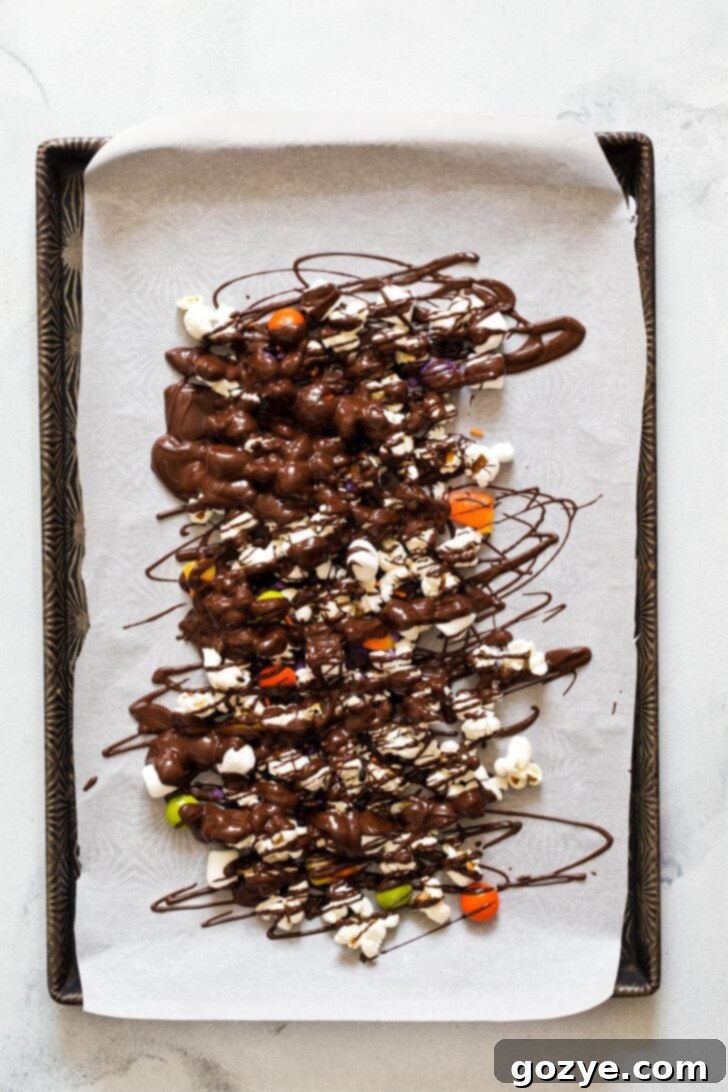
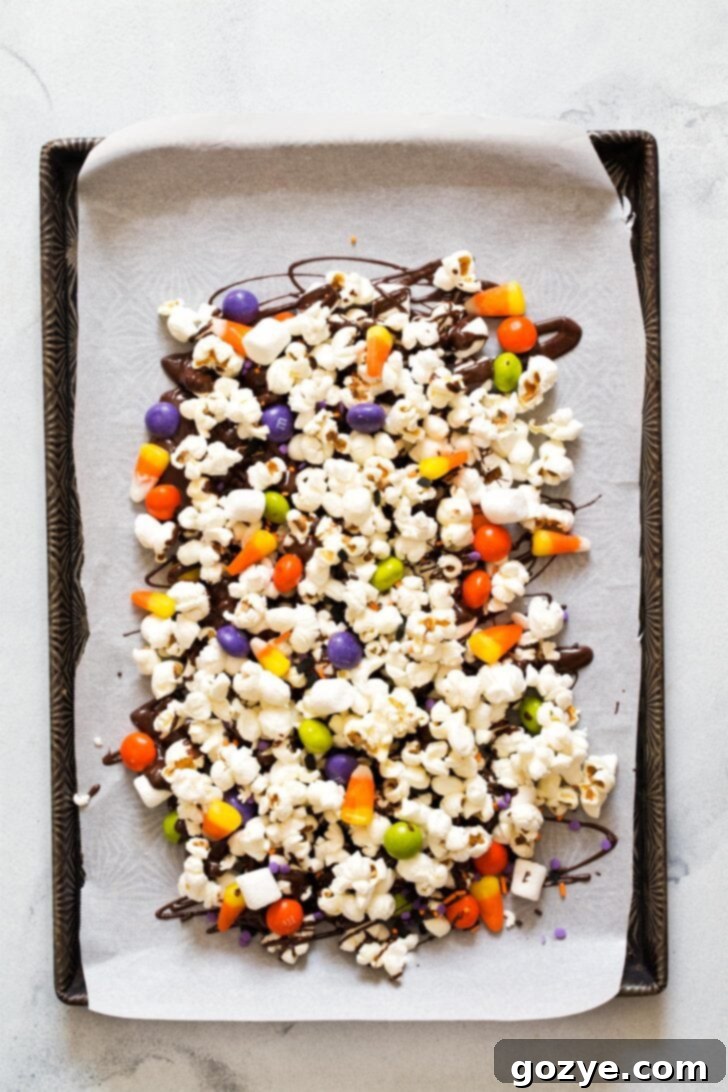
Step 3: Add the Remaining Layers. Drizzle the remaining melted chocolate over the first layer of popcorn and candies. Then, quickly add the rest of the popcorn, candy corn, M&Ms, marshmallows, and sprinkles on top. You can gently toss or fold the mixture on the tray with a spatula to ensure everything is well-coated. Alternatively, if you prefer a more uniform coating from the start, you can combine all your popcorn, candy corn, M&Ms, and marshmallows in a large mixing bowl, pour all the melted chocolate over them, and stir quickly with a rubber spatula until everything is evenly coated, then spread onto the parchment-lined tray.
Step 4: Chill and Serve. Once everything is assembled, transfer the baking tray to the refrigerator. Allow the popcorn mix to chill for approximately 30 minutes, or until the chocolate has completely hardened. Once firm, break the festive popcorn into bite-sized pieces or larger clusters, depending on your preference. Serve immediately and enjoy your spooky, sweet, and salty creation!
Storing Your Halloween Popcorn for Lasting Freshness
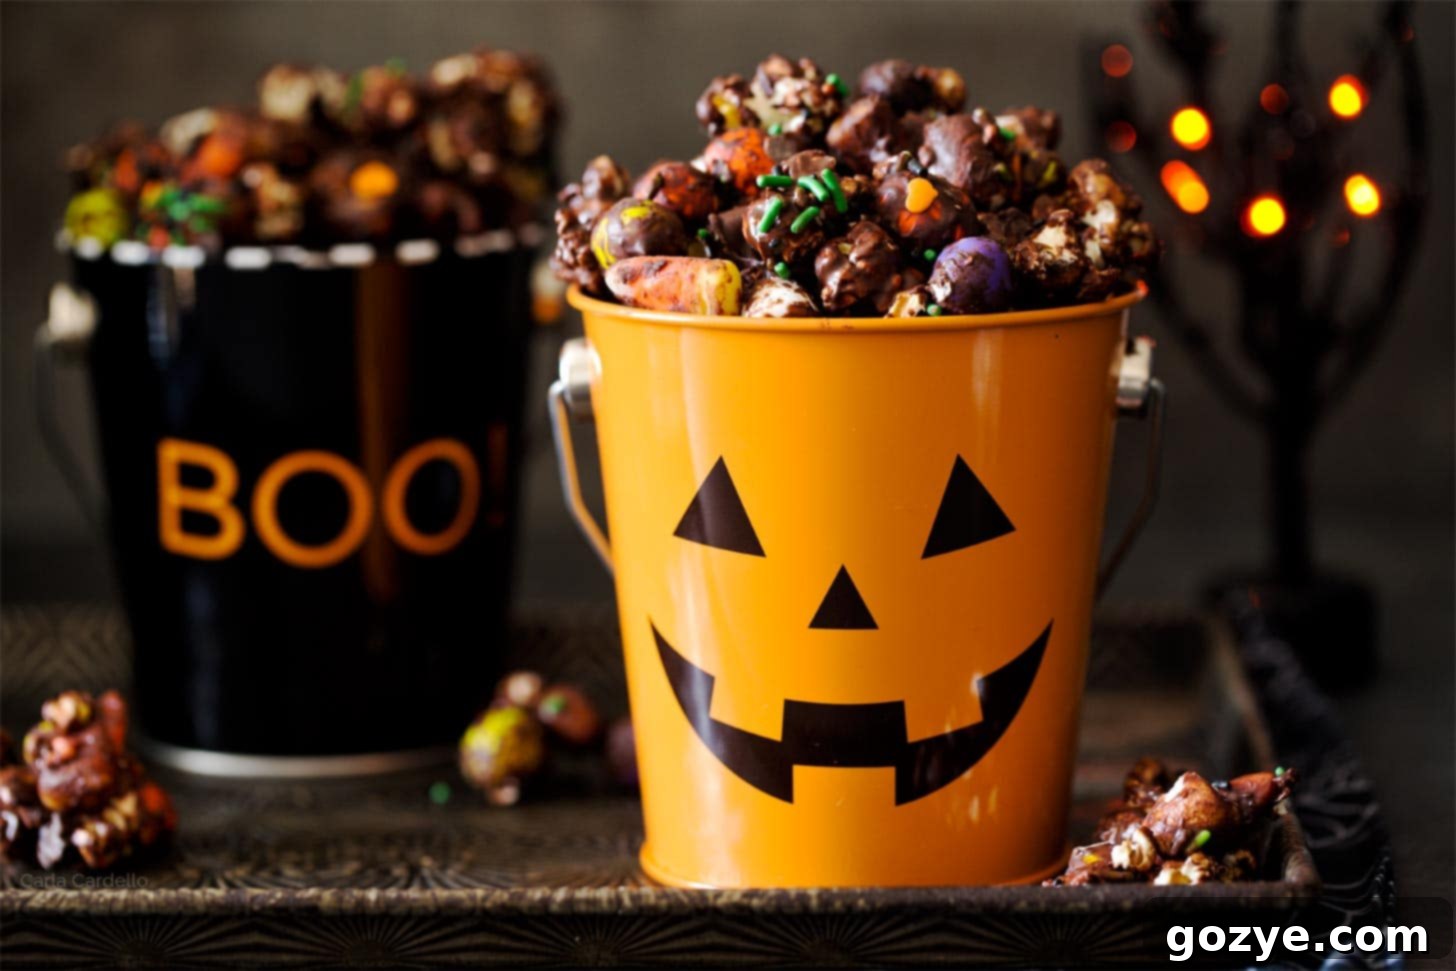
This chocolate-covered Halloween popcorn is truly at its best when enjoyed on the same day it’s made, as popcorn can start to lose its crispness over time. However, if you find yourself with leftovers (which is rare!), you can store it to enjoy for a little longer. Place the popcorn mix in an airtight container at room temperature, and it will remain fresh and delicious for up to 2 days.
While you can refrigerate it if your chocolate starts to get too soft or if you live in a very warm climate, be aware that storing popcorn in the fridge can sometimes accelerate the process of it becoming a bit stale or chewy, losing some of its initial crisp texture. For the best experience, try to consume it within the recommended timeframe!
Halloween Popcorn FAQ
Absolutely! Microwave popcorn is a perfectly acceptable and convenient option. Just make sure to choose a plain or lightly buttered variety with salt. If it’s only lightly salted, you might want to sprinkle a little extra salt over your popped corn before adding the chocolate to ensure that crucial sweet and salty balance is achieved.
While this festive popcorn tastes best when enjoyed fresh on the day it’s prepared, you can certainly make it up to 1 day ahead of your event. Just remember to store it in an airtight container at room temperature to maintain its quality.
Yes, this recipe is incredibly forgiving and easy to scale up! You can effortlessly double or even triple this Halloween popcorn mix if you’re hosting a larger party, planning to fill treat bags, or simply want more to munch on. Just ensure you have larger baking trays and enough space in your refrigerator for chilling.
Of course! Feel free to customize this popcorn mix to your heart’s content. You can experiment with white chocolate (perhaps colored orange or green with food coloring), milk chocolate, or even a mix. For candies, try chopped Kit Kats, Reese’s Pieces, sprinkles of crushed Oreos, or even mini candy bars. Just remember to consider the sweet-to-salty ratio and adjust any added salt if necessary.
The best way to ensure even coating is to work quickly! Once the chocolate is melted, don’t let it cool too much. When layering on the baking sheet, spread the popcorn and candies quickly and gently press them into the chocolate. If using the large bowl method, stir vigorously but gently enough not to crush the popcorn. Having your ingredients pre-measured and ready is key!
More Spooktacular Halloween Treats to Try
If you’re looking to expand your repertoire of cute and delicious Halloween recipes, you’re in luck! Here are some other fantastic ideas to make your spooky season even sweeter:
- Rice Krispie Pumpkins: Adorable and incredibly fun to make, these classic treats get a festive makeover.
- Halloween Truffles: Elegant yet spooky, these rich truffles are perfect for a more sophisticated Halloween spread.
- Apple Cider Sangria (aka Halloween Sangria): A refreshing and boozy beverage that’s perfect for adult gatherings.
- Halloween Bark from Foxes Love Lemons: Another easy and customizable chocolate treat, perfect for adding more color to your dessert table.
Halloween Popcorn
2-4 servings
15 minutes
5 minutes
30 minutes
50 minutes
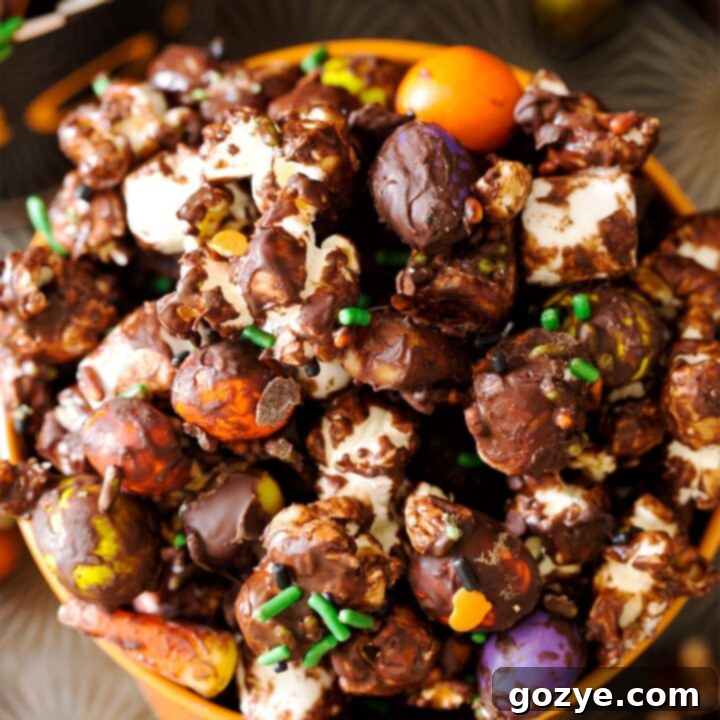
This Halloween popcorn is a delightful chocolate-covered mix featuring festive candy corn, crunchy peanut M&Ms, and soft mini marshmallows, creating a truly spooktacular sweet and salty treat perfect for any party.
Ingredients
- 4 ounces semisweet chocolate, chopped
- 3 cups salted popcorn (learn how to make stovetop popcorn)
- 1/2 cup candy corn
- 1/2 cup peanut M&Ms
- 1/2 cup mini marshmallows
- Sprinkles, for decorating
Instructions
- Prepare your ingredients: Have your popcorn popped and salted, chocolate chopped, and all other candies measured out and ready.
- Melt the chocolate: Fill a medium pan with about an inch of water and bring to a simmer. Reduce heat to low. Place chopped chocolate in a heatproof bowl (larger than the pan) over the simmering water, ensuring the bowl does not touch the water. Stir with a rubber spatula until completely melted and smooth.
- First layer: Drizzle about half of the melted chocolate onto a baking tray lined with parchment paper. Quickly spread half of the popcorn, candy corn, M&Ms, marshmallows, and sprinkles over the chocolate, gently pressing to adhere.
- Second layer & finish: Drizzle the remaining chocolate on top. Immediately add the remaining popcorn, candy corn, M&Ms, marshmallows, and sprinkles. Alternatively, you can combine all popcorn and candy ingredients in a large bowl, pour all the melted chocolate over them, and stir quickly to coat before spreading onto the baking tray.
- Chill: Refrigerate the baking tray until the chocolate has fully hardened, which typically takes about 30 minutes.
- Serve: Once firm, break the chocolate-covered popcorn mix into bite-sized pieces or larger clusters and serve immediately. This Halloween popcorn is best enjoyed the day it’s made but can be stored in an airtight container at room temperature for up to 2 days. Refrigerating can make popcorn lose its crispness faster, but it’s an option if chocolate becomes too soft in warm environments.
Notes
- Peanut-free option: If you or your guests have peanut allergies, simply use regular M&Ms and add 1/2 cup of chopped pretzels to the mix. The pretzels will provide a similar satisfying crunch and essential saltiness to balance the sweetness.
- More Halloween fun: For other delightful spooky treats, be sure to check out my Rice Krispie Pumpkins and rich Halloween Truffles.
- Explore other popcorn mixes: Enjoyed this recipe? You might also love my festive Christmas Popcorn and classic chocolate covered popcorn.
Recommended Products
As an Amazon Associate and member of other affiliate programs, I earn from qualifying purchases.
- Dutch Oven
Did you make this recipe?
Let me know what you think! Rate the recipe above, leave a comment below, and/or share a photo on Instagram using #HITKrecipes
First published October 11, 2012. Last updated for freshness and clarity.
