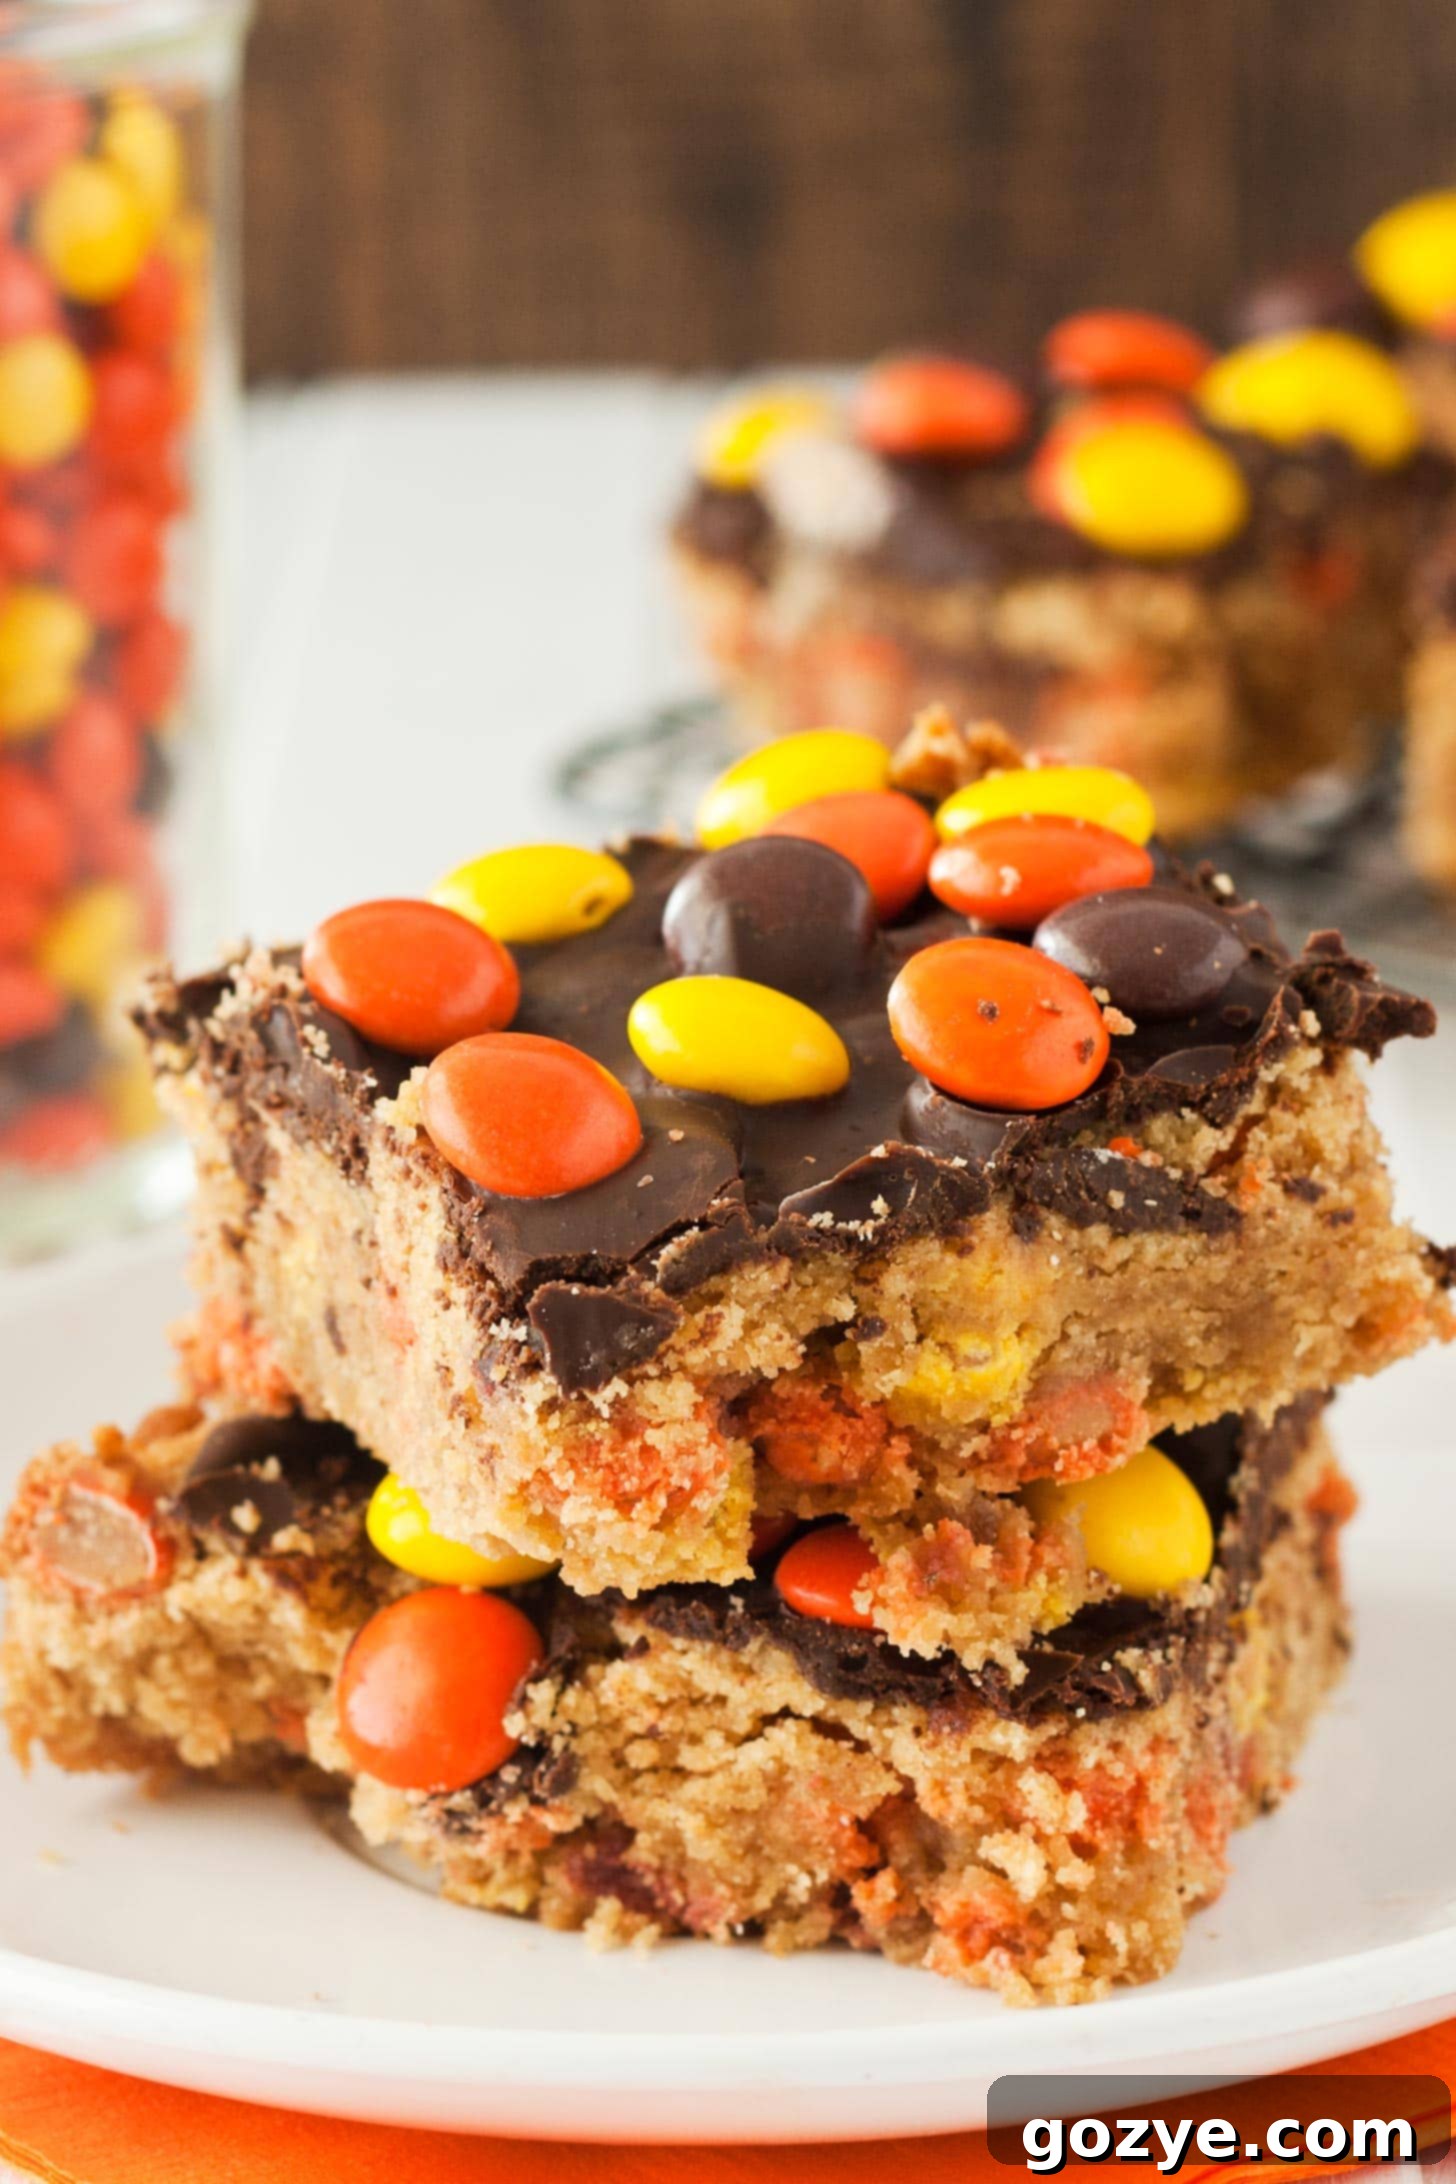
Best Easy Peanut Butter Blondies: Chewy & Fudgy Bars (No Mixer Required!)
Imagine a dessert so simple to create, yet so universally adored that everyone demands the recipe. That’s the magic of these Peanut Butter Blondies! Rich, chewy, and bursting with the beloved sweet and salty flavor of peanut butter, these bars are an absolute dream for any baker, from novice to expert. What makes them truly special? They’re incredibly easy to bake in your standard 8×8 pan, and here’s the best part – no stand mixer or hand mixer is required! You’ll achieve perfectly fudgy, deeply satisfying blondie bars with minimal effort, making them an ideal treat for any occasion.
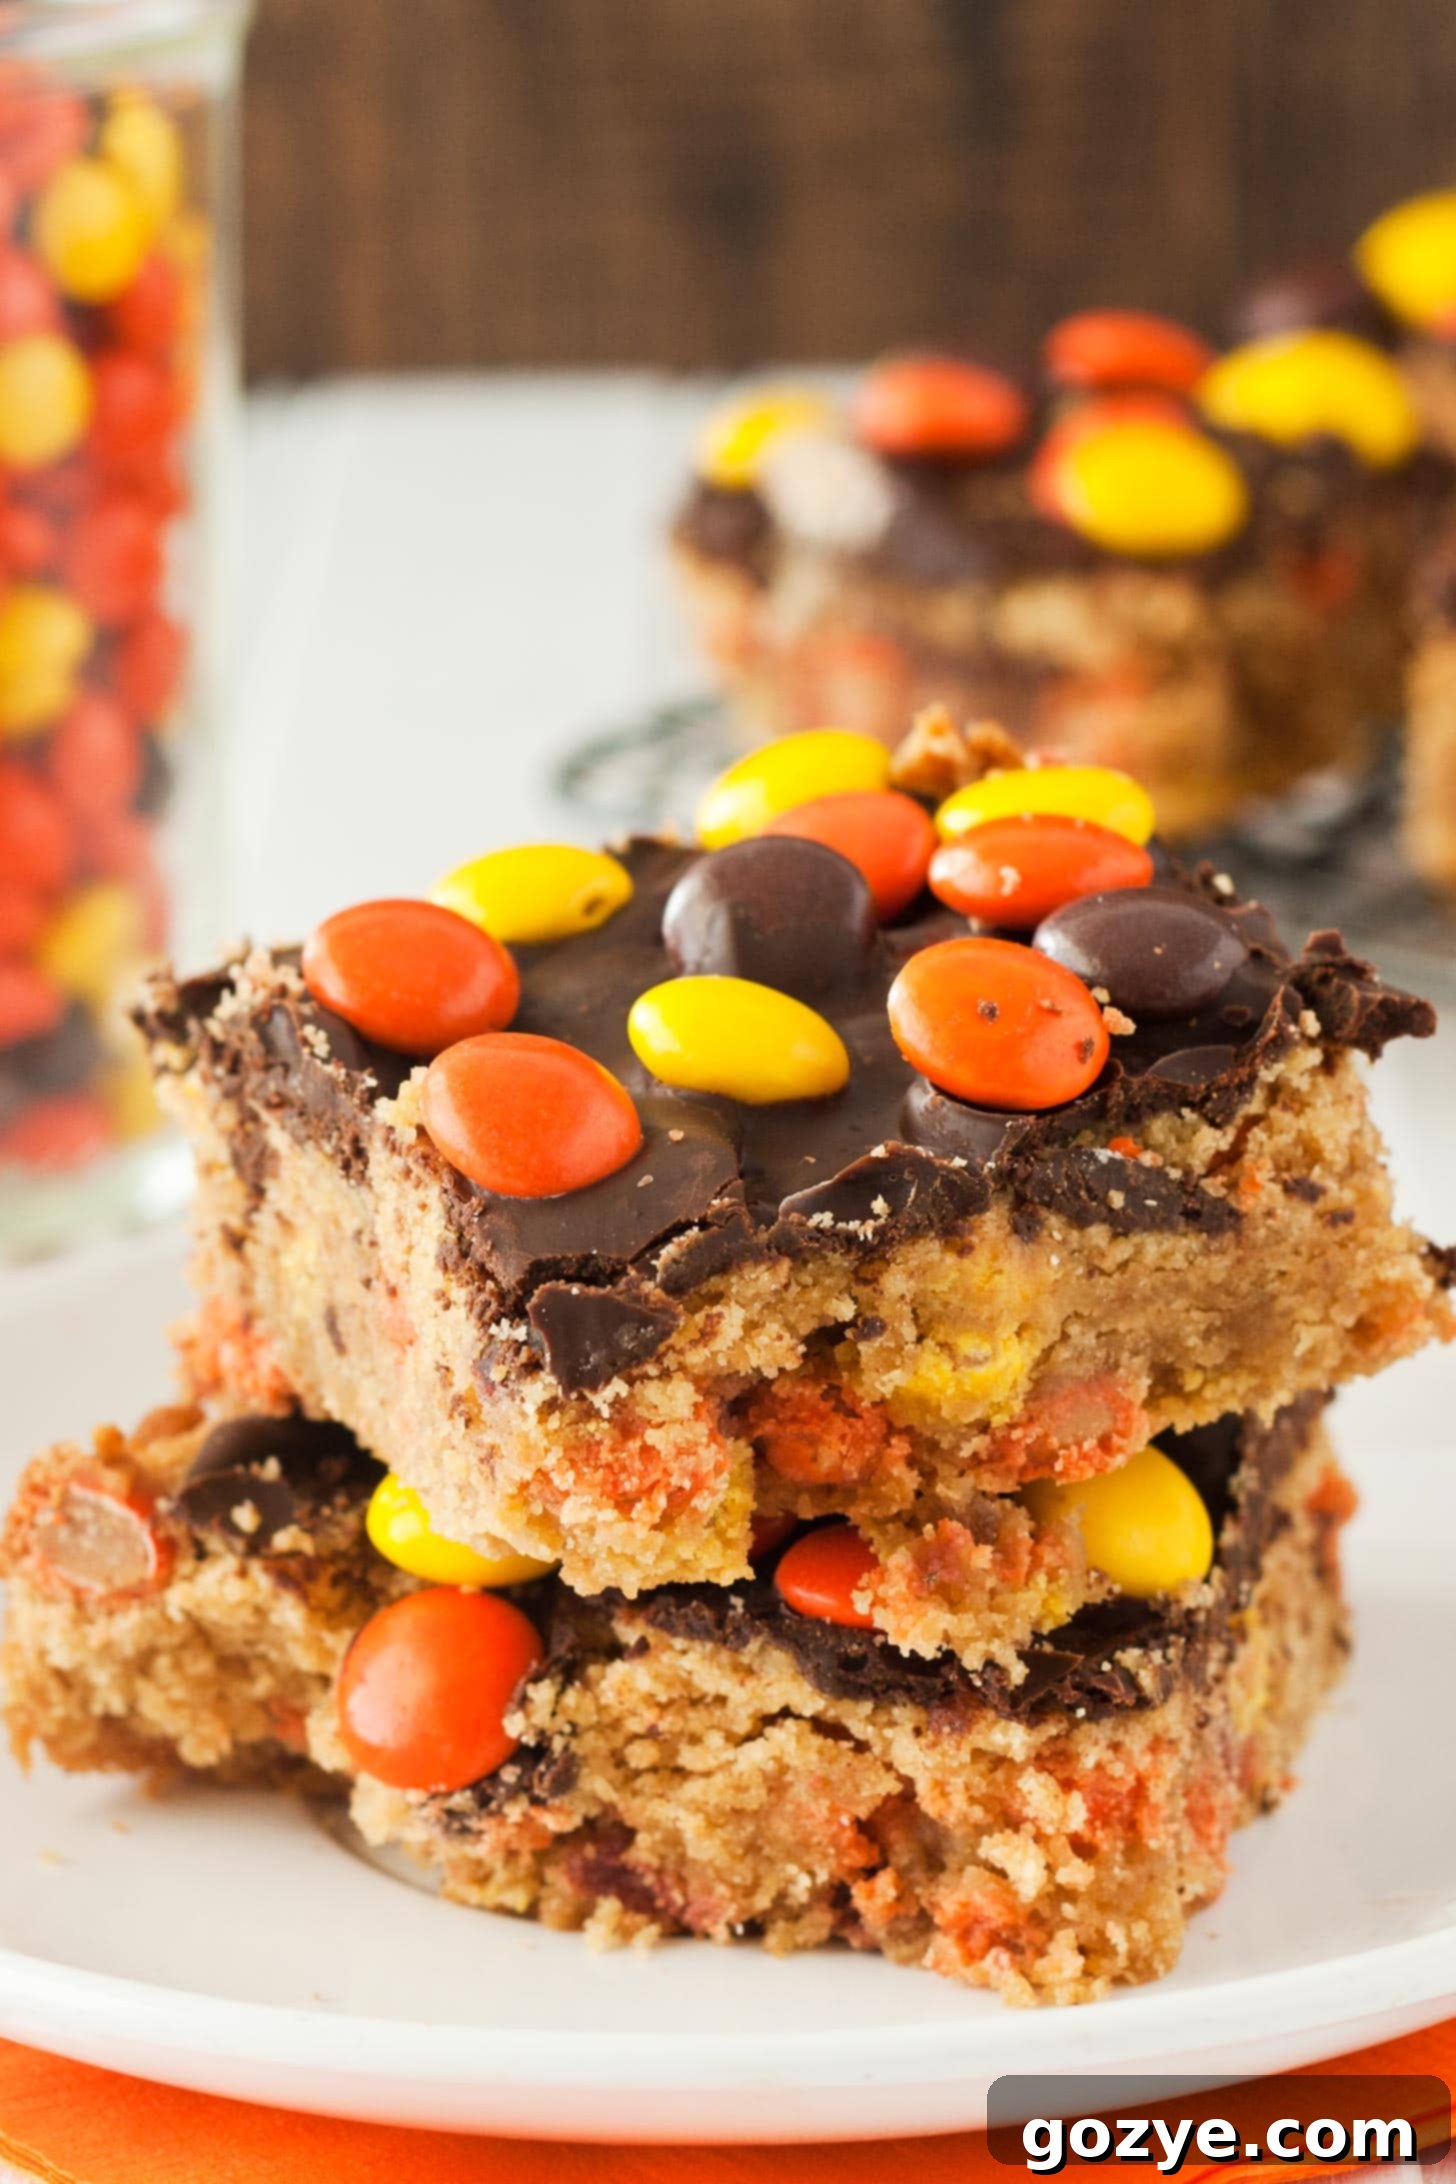
Every bite of these decadent peanut butter blondies delivers a delightful combination of chewy texture and deep caramel-butterscotch notes, beautifully complemented by the nutty richness of peanut butter. They are truly one of those recipes that feel effortlessly gourmet. Whether you bake them as is for a pure, sweet, and salty indulgence or decide to elevate them with a fudgy layer of chocolate and your favorite toppings, these blondies are guaranteed to be a crowd-pleaser.
The simplicity of this peanut butter blondie recipe is genuinely unmatched. Much like creating my favorite small batch brownies, the entire batter comes together in a single pot on the stovetop. You simply melt the butter and peanut butter, whisk in the remaining wet ingredients, and then stir in the dry ones. No creaming butter and sugar, no complicated steps – just pure, straightforward baking joy. This “one-pot” method not only saves you time but also minimizes cleanup, making these blondies a perfect choice for spontaneous baking cravings or last-minute dessert needs.
I recall whipping up a batch of these peanut butter blondie bars on the same day I had a group meeting. I made them in the early afternoon, allowed them to cool, and by evening, they were ready to be shared as a much-anticipated dessert. The rave reviews were instant, proving that sometimes, the simplest recipes are indeed the most impactful.
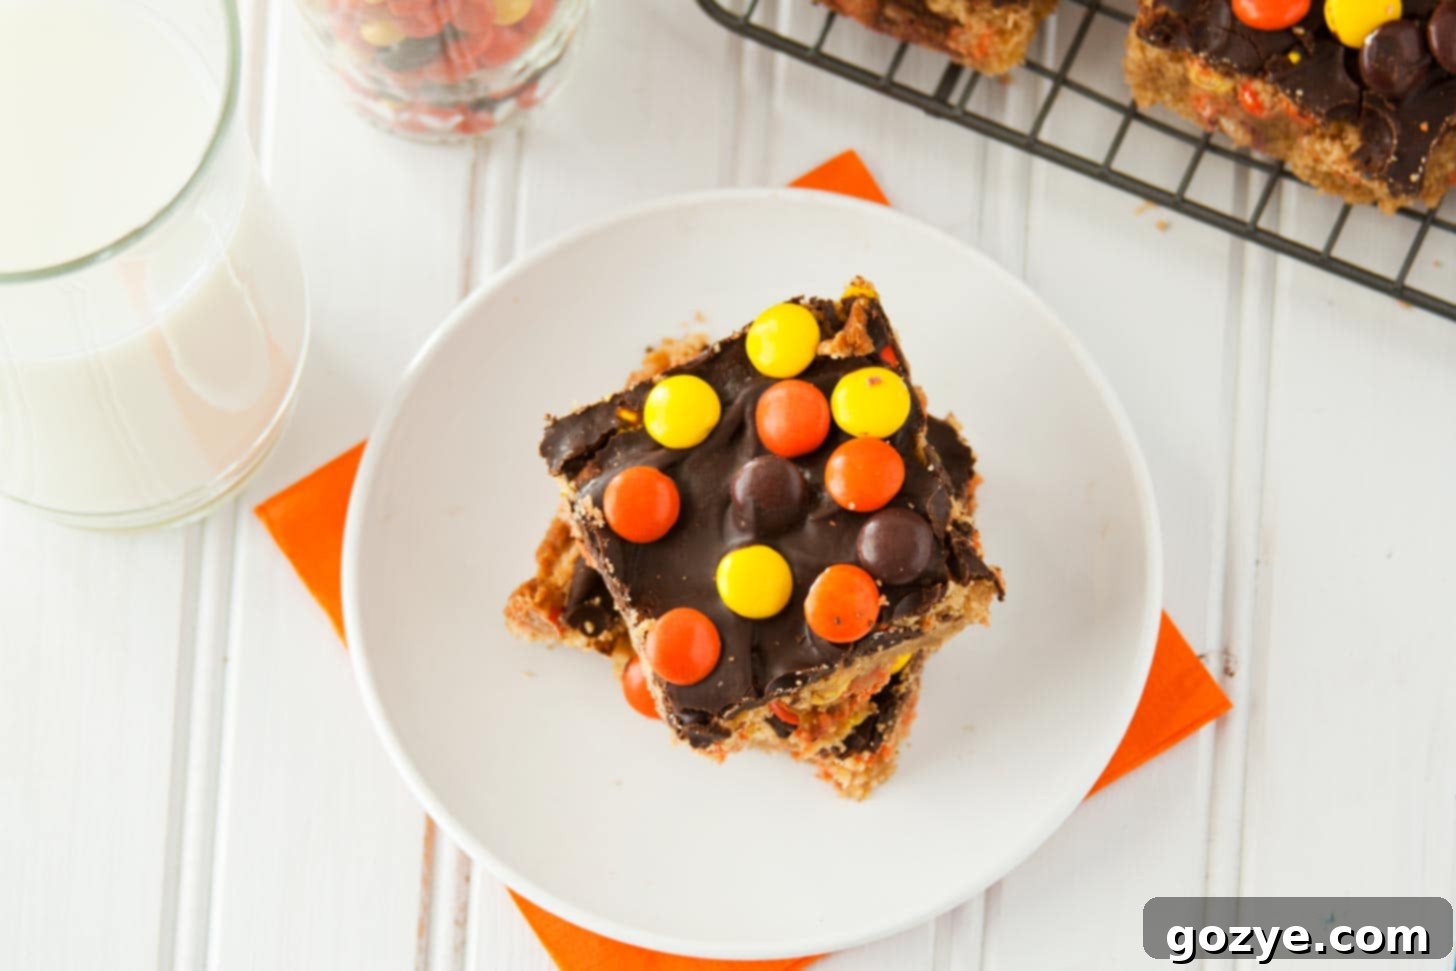
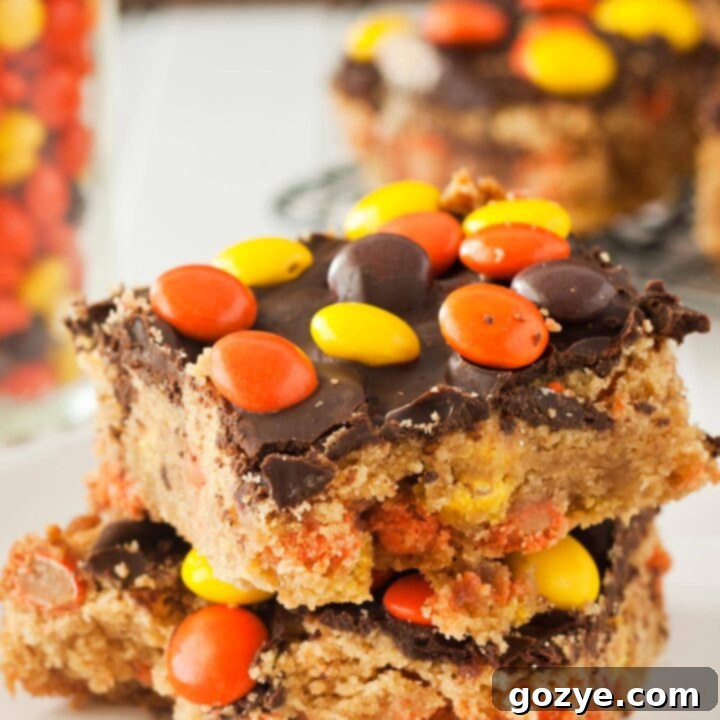
While the pictures showcase these as delightful chocolate peanut butter blondies, adorned with a thin layer of chocolate and vibrant Reese’s Pieces candy, their versatility is a key highlight. You can effortlessly skip the chocolate topping and serve them plain, letting the pure peanut butter flavor shine through. Alternatively, customize them with a variety of mix-ins such as chopped peanuts for extra crunch, creamy peanut butter cups, or various chocolate chips – think classic semisweet, luxurious white chocolate, or even more peanut butter chips for an ultimate peanut butter experience. The possibilities are endless, allowing you to tailor these easy blondies to your exact preference.
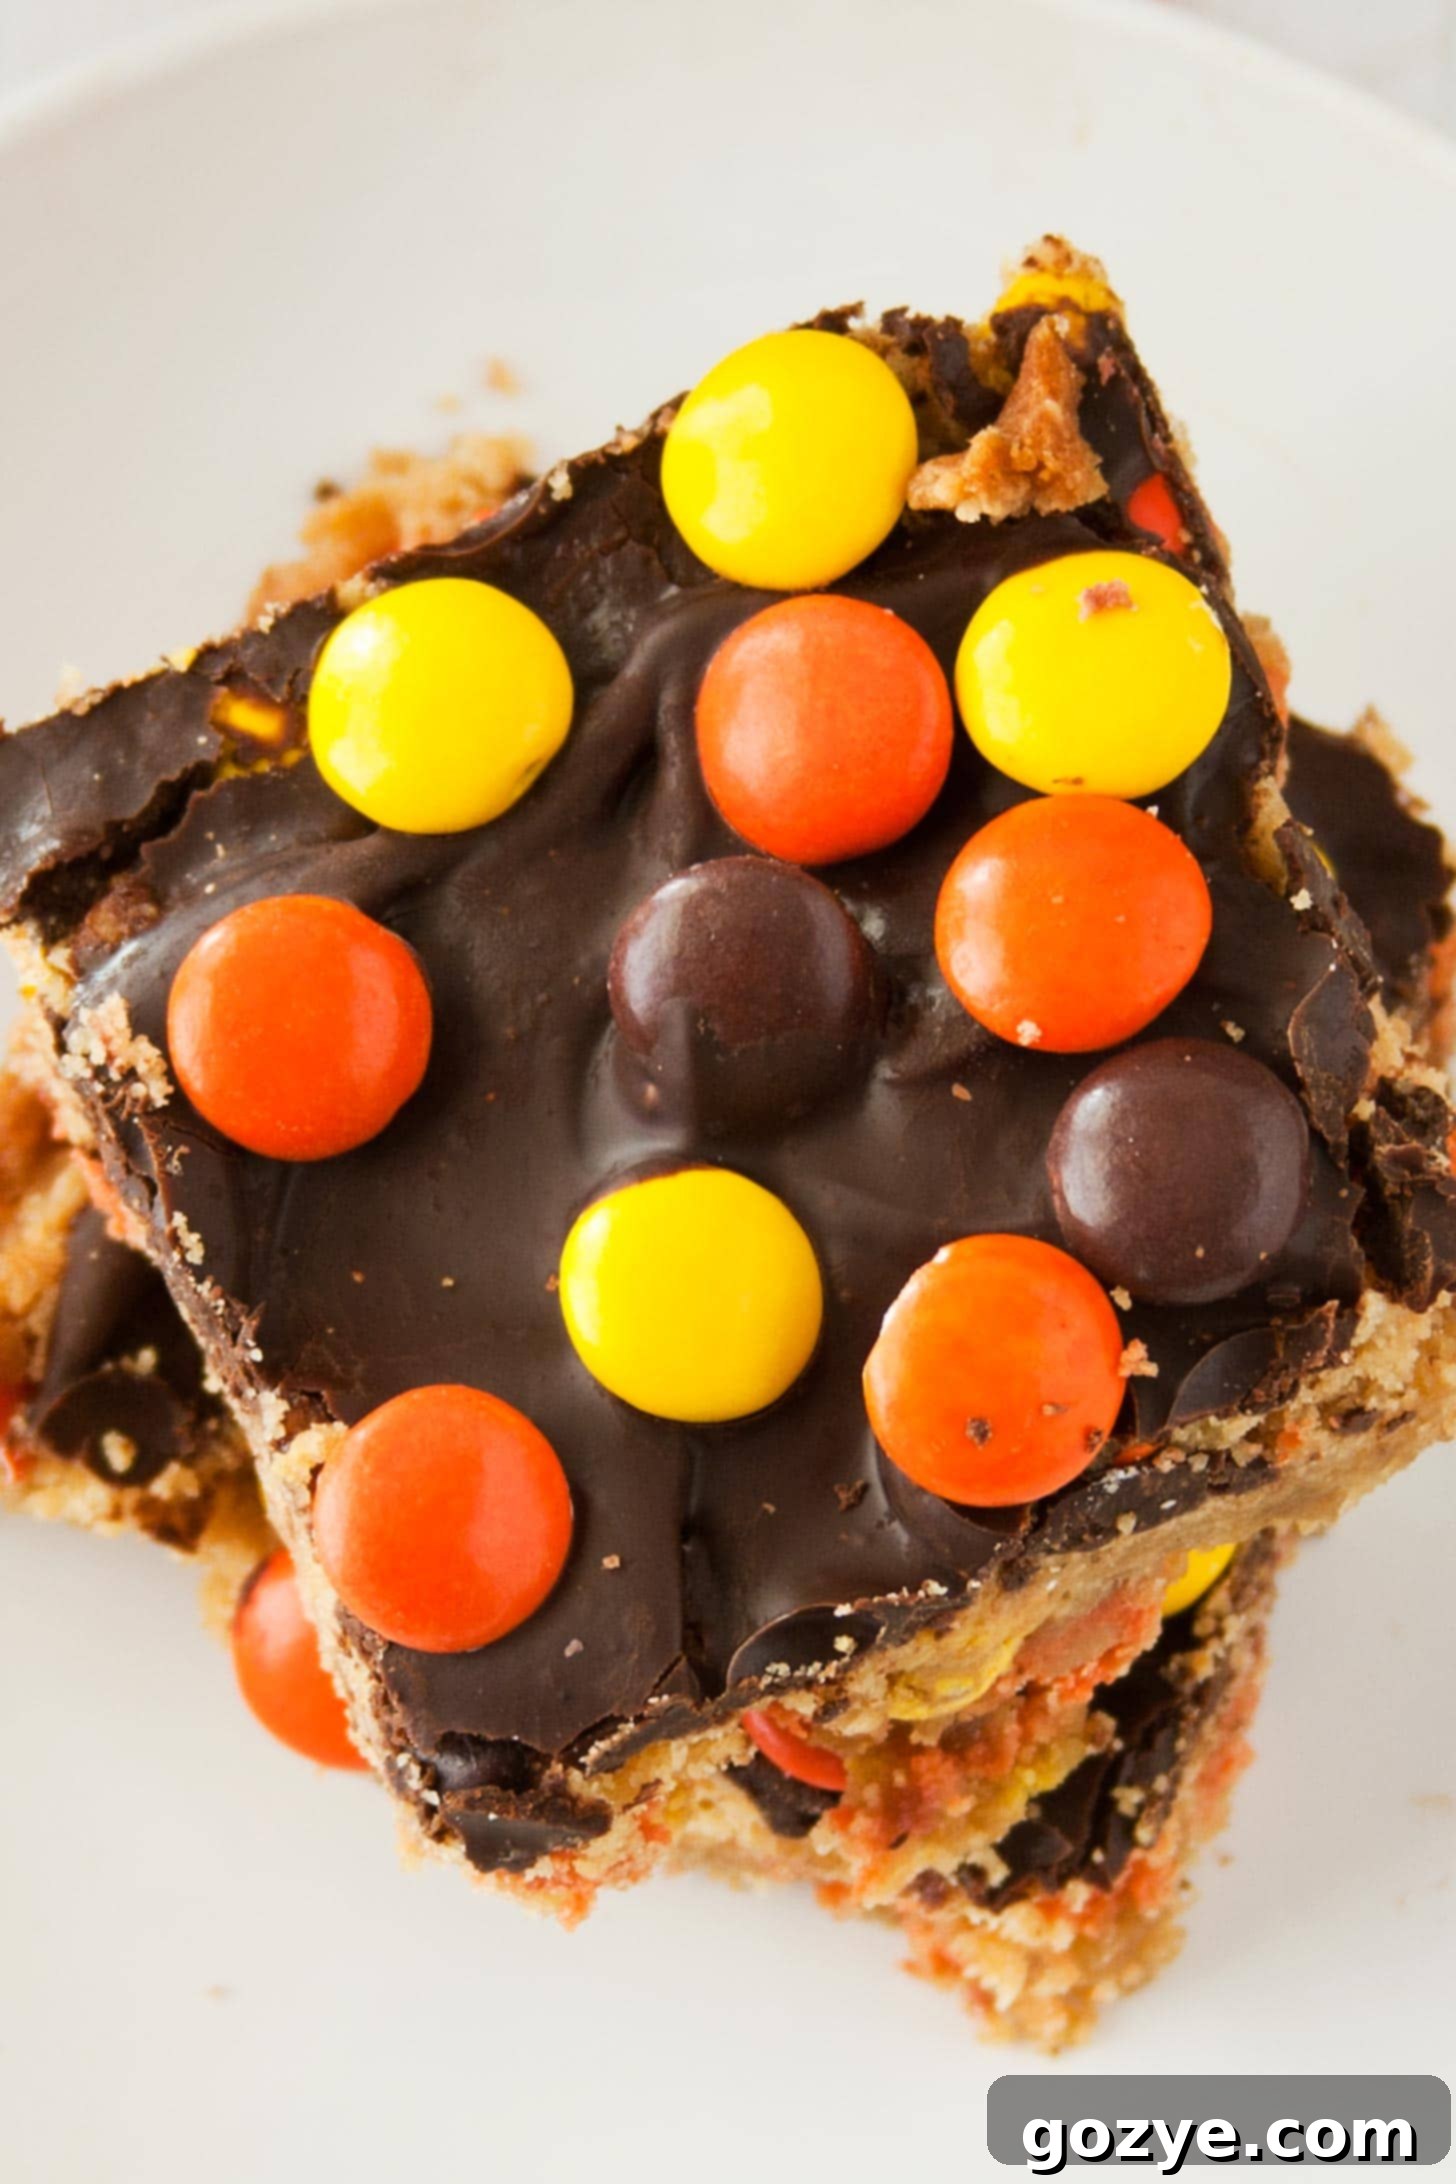
What Exactly is a Blondie? Understanding This Chewy Dessert Bar
Often described as the “blonde cousin” to brownies, a blondie is a rich, chewy dessert bar that earns its distinct caramel and butterscotch flavor from brown sugar rather than chocolate. Unlike brownies, which rely on cocoa for their deep, dark essence, blondies celebrate the nuanced notes of caramelized sugar, butter, and vanilla. They boast a wonderfully dense and gooey texture, striking a perfect balance between a cookie and a fudge.
These bars offer a unique textural experience, differing slightly from my peanut butter cookie bars. While both are delightful, blondies are generally more dense and possess a signature gooeyness that sets them apart. Just like brownies, blondies are incredibly adaptable, lending themselves to numerous flavor variations. You might have encountered delightful creations like banana blondies infused with fruit and nuts, or festive gingerbread blondies perfect for the holidays.
For this particular recipe, I chose peanut butter as the star flavor, simply because it’s one of my all-time favorites. The combination of its creamy, nutty profile with the sweet, caramel undertones of a classic blondie base is truly a match made in heaven. And, as many peanut butter enthusiasts know, pairing it with chocolate elevates the experience to an entirely new level of deliciousness.
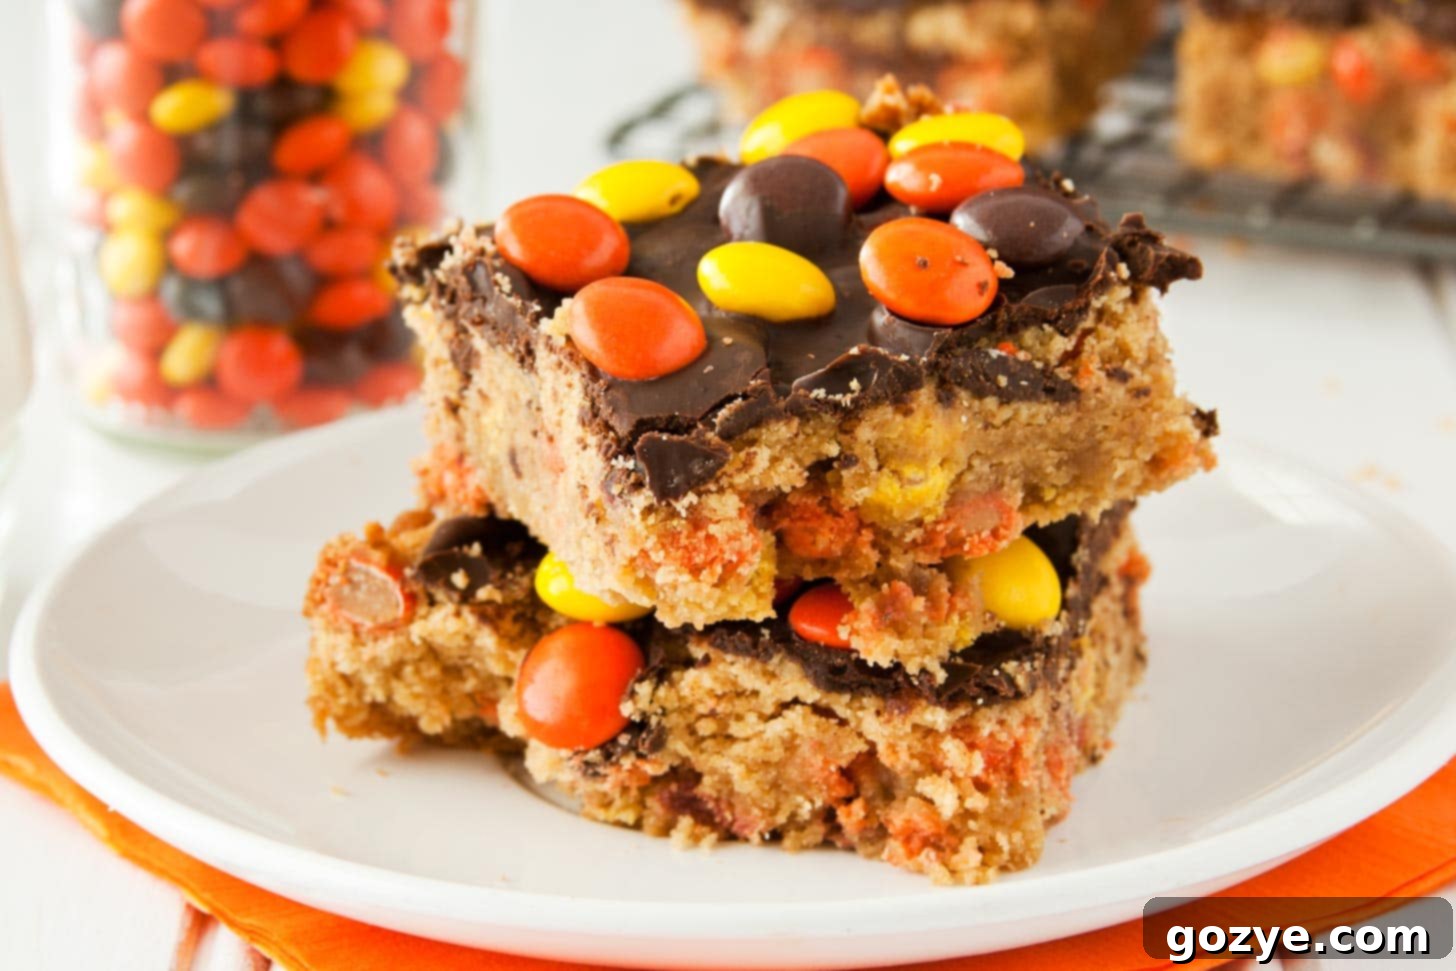
Essential Ingredients for Your Perfect Peanut Butter Blondies
One of the many joys of baking these peanut butter blondie bars is that they call for simple, everyday pantry staples. You likely have most, if not all, of these ingredients on hand, meaning you can whip up a batch of these delectable treats at a moment’s notice!
- Unsalted Butter: Melted butter is the secret weapon for achieving that signature rich, fudgy, and chewy texture in blondies. There’s no need to wait for it to soften at room temperature, which is a fantastic time-saver! Using unsalted butter gives you control over the final salt content of your blondies.
- Creamy Processed Peanut Butter: This is a crucial distinction. For the best results – moist, perfectly textured blondies – opt for a creamy processed peanut butter (like Jif or Skippy). Natural peanut butter, with its tendency to separate oils and denser consistency, can lead to a drier, more crumbly blondie.
- Packed Brown Sugar: More than just a sweetener, brown sugar is vital for two reasons: it adds incredible moisture to the batter, and it develops those deep, complex caramel and butterscotch flavors that granulated sugar simply cannot replicate. Make sure it’s soft and moist for the best results.
- Large Egg: The egg plays multiple roles, contributing essential moisture to the batter while also acting as a binding agent. It’s also key in helping to achieve that wonderfully chewy texture that defines a great blondie. Room temperature eggs mix more evenly into the batter.
- Vanilla Extract: While seemingly a small detail, a good quality vanilla extract significantly enhances the flavor profile of the blondies, especially when paired with peanut butter. I’ve bumped up the amount slightly in this recipe as it really makes the peanut butter shine.
- All-Purpose Flour: The structural backbone of the blondies, all-purpose flour brings the dough together. Be sure to measure it correctly using the spoon-and-level method to avoid dense or dry blondies.
- Baking Powder: Often a point of discussion in blondie recipes, I’ve found that a touch of baking powder dramatically improves the texture of these peanut butter blondies. While some prefer a very dense, thin bar, the baking powder here creates a slightly softer, thicker blondie without making it cakey.
- Table Salt: Even with salty peanut butter, a small amount of added salt is essential. It balances the sweetness, amplifies the other flavors, and prevents the blondies from tasting bland.
- Mix-ins (Optional): Get creative here! The blondies pictured feature Reese’s Pieces candy, adding a delightful crunch and color. Other fantastic options include various chocolate chips (semisweet, milk chocolate, white chocolate, or even peanut butter chips), chopped peanuts, or even pretzels for an extra salty, crunchy twist.
- Baking Chocolate (for Glaze): If you opt for the optional fudgy chocolate glaze, use a good quality semisweet baking chocolate, ideally around 55% cacao. This melts smoothly and provides a rich, balanced chocolate flavor that complements the peanut butter beautifully.
To Add Baking Powder or Not? The Blondie Debate
The inclusion of baking powder is often a point of contention when baking blondies. In my small batch brownies, for instance, I typically omit baking powder because I aim for an incredibly dense, fudgy consistency, and baking powder can sometimes lead to a cakier result.
However, when I initially made these peanut butter blondies following a similar no-baking-powder approach, I found them to be excessively dense and notably thin – almost too rich without enough lift. After some experimentation, I decided to test a batch with a modest amount of baking powder, and the results were transformative.
The baking powder yielded blondies that were noticeably softer and thicker, achieving a perfect balance without venturing into “cakey” territory. They retained their desirable chewiness and fudgy core but had a more appealing texture and height. Personally, I would choose blondies with baking powder every single time for this recipe. That said, if your preference is for an ultra-dense, very thin blondie, then this is one instance where you could consider leaving it out. But for a more satisfying, classic blondie texture, the baking powder makes all the difference.
Effortless Steps: How To Make These Amazing Peanut Butter Blondies
Ready to whip up your batch of one-pan peanut butter blondies? Leave that mixer in the cupboard – all you’ll need is a saucepan and a whisk (or a rubber spatula)!
- Prepare Your Pan & Oven: Start by preheating your oven to 350°F (175°C). Line an 8×8 inch square baking pan with parchment paper, leaving an overhang on two sides to easily lift the blondies out later. This crucial step prevents sticking and makes removal and cutting a breeze.
- Melt Together: In a large, heavy-bottomed saucepan over low heat, gently melt the unsalted butter and creamy peanut butter together. Stir constantly until the mixture is smooth and fully combined. Remove from heat immediately to prevent scorching.
- Whisk in Wet Ingredients: To the warm butter and peanut butter mixture, add the brown sugar, large egg, and vanilla extract. Whisk vigorously until the mixture is smooth, glossy, and well incorporated. Ensure no lumps of brown sugar remain.
- Stir in Dry Ingredients & Mix-ins: Switch to a sturdy rubber spatula. Add the all-purpose flour, baking powder, and table salt to the wet mixture. Stir gently until just combined. Be careful not to overmix, as this can lead to tough blondies. Once the dough forms, gently fold in your chosen mix-ins, such as Reese’s Pieces, chocolate chips, or chopped peanuts, distributing them evenly.
- Bake to Perfection: Spread the blondie batter evenly into your prepared 8×8 inch pan. Bake for 25-28 minutes. You’ll know they’re done when the edges begin to pull away slightly from the sides of the pan, the center no longer looks wet (though it may still wiggle a little), and a toothpick inserted into the center comes out with a few moist crumbs attached, but no wet batter. Avoid overbaking, as this will result in dry blondies instead of fudgy ones.
- Cool Completely: Once baked, remove the pan from the oven and let the blondies cool completely in the pan on a wire rack. Cooling is vital for achieving the perfect fudgy texture and ensuring clean slices.
- Optional Chocolate Glaze (if desired): If you’re adding the chocolate glaze, prepare it once the blondies are completely cool. Add about an inch of water to a small saucepan and bring it to a simmer. Turn off the heat. Place a heatproof bowl over the saucepan (creating a double boiler) and add the chopped semisweet chocolate. Stir gently until the chocolate is fully melted and smooth. Spread this melted chocolate in a thin, even layer over the cooled blondies. Immediately sprinkle with additional Reese’s Pieces candy or chopped peanuts, if using. Allow the chocolate glaze to set and harden completely before cutting the blondies into squares. This can be sped up by placing the pan in the refrigerator for about 15-30 minutes.
Store any leftover blondies in an airtight container at room temperature for up to 5 days to maintain their freshness and chewiness.
Tips for Achieving Perfect Peanut Butter Blondies Every Time
- Measure Flour Correctly: Always use the spoon-and-level method. Spoon flour into your measuring cup and then level off the top with a straight edge. Don’t scoop directly from the bag, as this compacts the flour and leads to too much flour, resulting in dry blondies.
- Do Not Overmix: Once you add the flour, mix only until just combined. Overmixing develops the gluten in the flour, making your blondies tough instead of tender and chewy.
- Do Not Overbake: This is perhaps the most crucial tip for fudgy blondies. They might look slightly underdone in the center when you pull them out, but remember they will continue to set as they cool. A toothpick test with moist crumbs is your best indicator.
- Cool Completely: Patience is key! Cutting into warm blondies will result in crumbly, messy squares. Allow them to cool fully (and for the chocolate glaze to set, if using) for clean, perfect slices and that ideal fudgy texture.
How To Freeze Blondies for Future Indulgence
If you find yourself with extra blondies (a rare occurrence!) or want to prep a batch for later, freezing them is a fantastic option.
To freeze blondies, first ensure they are completely cooled. Cut the blondies into individual squares. Place these cut blondies in a single layer on a parchment-lined cookie sheet or plate, making sure they don’t touch. Freeze for at least 1 hour, or until they are firm. This initial freeze prevents them from sticking together when stored in bulk. Once firm, wrap each blondie individually in plastic wrap, then aluminum foil to prevent freezer burn. Finally, place the individually wrapped blondies into a freezer-safe bag or airtight container. They can be frozen for up to 3 months. To enjoy, simply thaw them at room temperature for a few hours or gently warm them in the microwave for a few seconds.
More Irresistible Peanut Butter Dessert Recipes
If you’re a devoted peanut butter fanatic like me, you’ll be thrilled to explore these other delicious dessert recipes that feature our favorite nutty ingredient:
- Small Batch Peanut Butter Brownies: A fudgy twist with a creamy peanut butter swirl.
- Small Batch Peanut Butter Cookies: Perfect for when you crave just a few classic, chewy peanut butter cookies.
- Chocolate Peanut Butter Mug Cake: An instant single-serving dessert for those intense cravings.
- Peanut Butter Whipped Cream: An amazing topping for any dessert or even fruit!
- Microwave Peanut Butter Cookie: A quick and easy cookie fix in minutes.
These easy peanut butter blondies are more than just a dessert; they are a delightful testament to simple ingredients coming together to create something truly extraordinary. Their chewy, fudgy texture, combined with the classic sweet and salty allure of peanut butter, makes them an instant favorite for any occasion. Give this no-mixer recipe a try, and prepare to impress everyone with your effortless baking prowess!
Peanut Butter Blondies
12-16 bars
15 minutes
25 minutes
40 minutes
Rich, chewy Peanut Butter Blondies are SO easy to bake in your 8×8 pan with no mixer required! Bake as is for a sweet and salty nutty treat or decorate with a fudgy layer of chocolate.
Ingredients
- 1/2 cup (4 ounces or 8 tablespoons) unsalted butter
- 1/2 cup creamy processed peanut butter (not natural)
- 1 cup packed brown sugar (soft and moist, not dry and crumbly)
- 1 large egg, room temperature
- 1 teaspoon vanilla extract
- 1 cup all-purpose flour
- 1/2 teaspoon baking powder
- 1/4 teaspoon table salt
- 1/2 cup Reese’s Pieces candy, chocolate chips (semisweet, white, or peanut butter), or chopped peanuts
Optional Chocolate Glaze
- 4 ounces semisweet chocolate, chopped
- 1/4 cup Reese’s Pieces candy or chopped peanuts
Instructions
- Preheat oven to 350°F (175°C). Line an 8×8 inch square baking pan with parchment paper, leaving an overhang on two sides to easily lift the blondies out later.
- In a large saucepan, melt the butter and peanut butter together over low heat, stirring until smooth and fully combined. Remove from heat.
- Whisk in the brown sugar, egg, and vanilla extract until the mixture is smooth and well incorporated.
- Switch to a rubber spatula and gently stir in the all-purpose flour, baking powder, and salt until just combined. Do not overmix. Once a dough forms, fold in your desired mix-ins (Reese’s Pieces, chocolate chips, or chopped peanuts).
- Spread the batter evenly into the prepared 8×8 inch pan. Bake for 25-28 minutes or until the edges pull away from the sides, the center no longer looks wet (it may wiggle slightly), and a toothpick inserted into the center comes out with only a few moist crumbs (no wet batter). Cool completely in the pan on a wire rack before cutting.
Store in an airtight container at room temperature for up to 5 days.
Optional Chocolate Glaze
- Add about an inch of water to a small saucepan and bring to a simmer. Turn off the heat and place a heatproof bowl over top (creating a double boiler). Add the chopped semisweet chocolate and stir gently until melted and smooth.
- Spread the melted chocolate in a thin, even layer on top of the completely cooled blondies. Immediately top with additional candy or nuts, if desired. Let the chocolate glaze harden completely at room temperature or in the refrigerator before cutting into squares.
Notes
- Enjoyed this recipe? For more delicious chewy bar recipes, check out my Banana Blondies and festive Gingerbread Blondies.
- For the best fudgy texture, avoid overbaking. The blondies will continue to set as they cool.
- Measure flour by spooning it into the measuring cup and leveling it off, rather than scooping directly.
- These blondies freeze beautifully. See the section above for detailed freezing instructions.
Recommended Products
As an Amazon Associate and member of other affiliate programs, I earn from qualifying purchases.
- 8×8 Square Pan
- Offset Spatula
Did you make this recipe?
Let me know what you think! Rate the recipe above, leave a comment below, and/or share a photo on Instagram using #HITKrecipes
First published April 18, 2013
