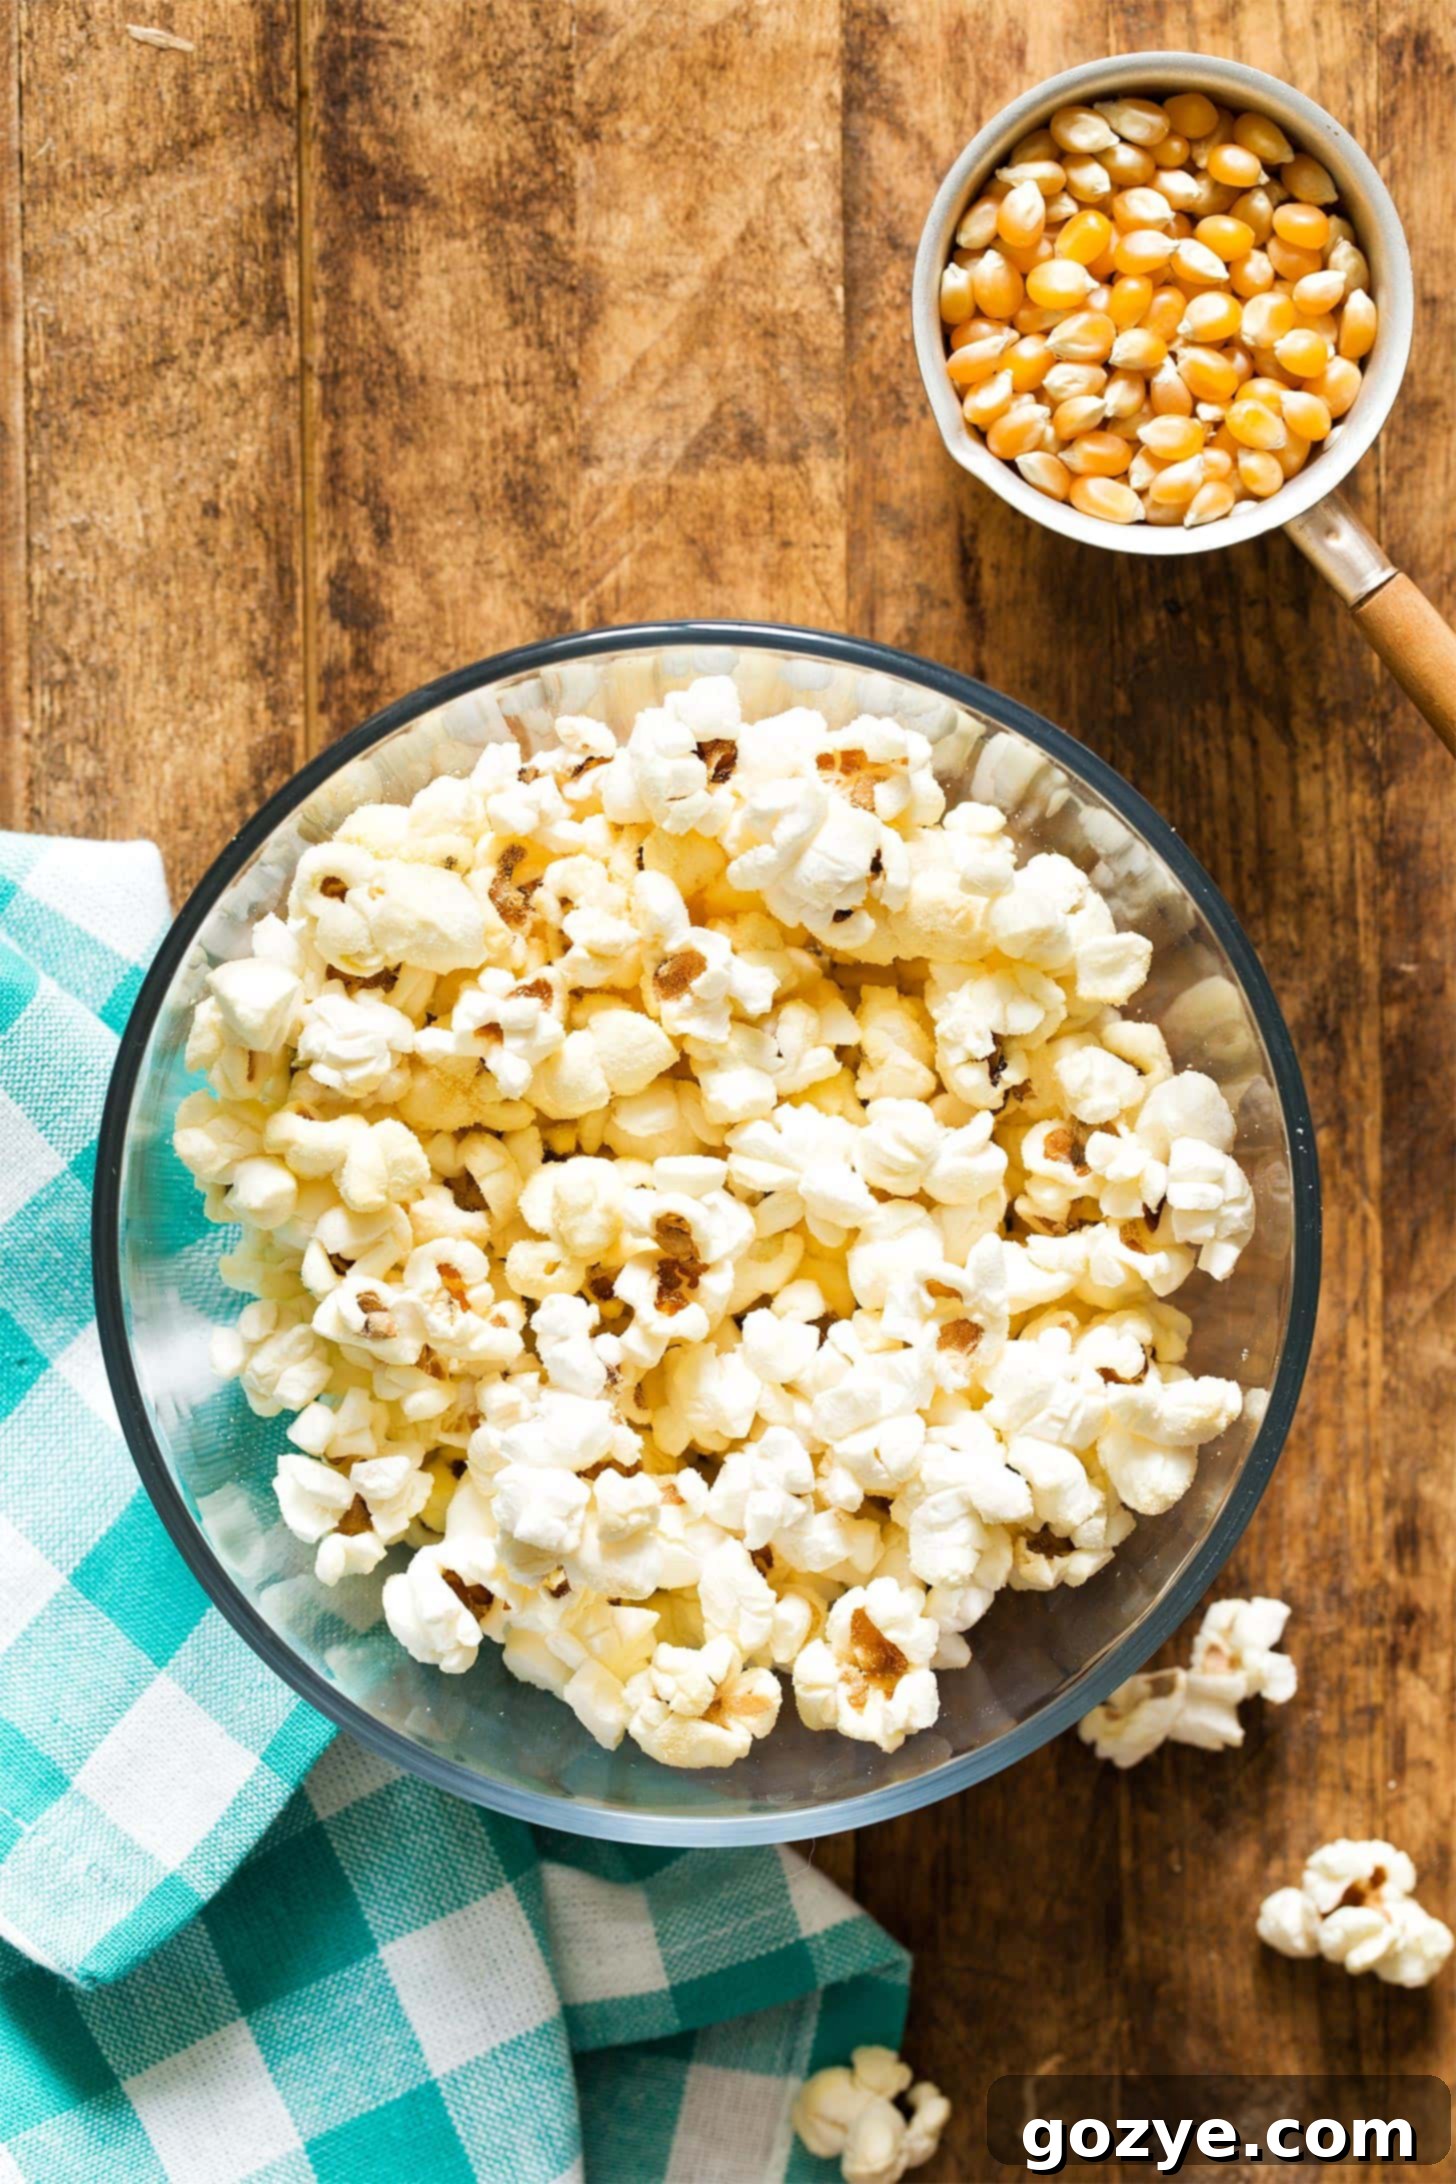
Mastering Stovetop Popcorn: Easy Steps for the Ultimate Homemade Snack
Unlock the secret to perfectly popped Stovetop Popcorn and elevate your snack game forever! This guide will show you how to create a delicious small batch of popcorn for two, ready in under 10 minutes, and completely customizable with any flavor your heart desires. Say goodbye to microwave popcorn and hello to fresh, crispy homemade goodness!
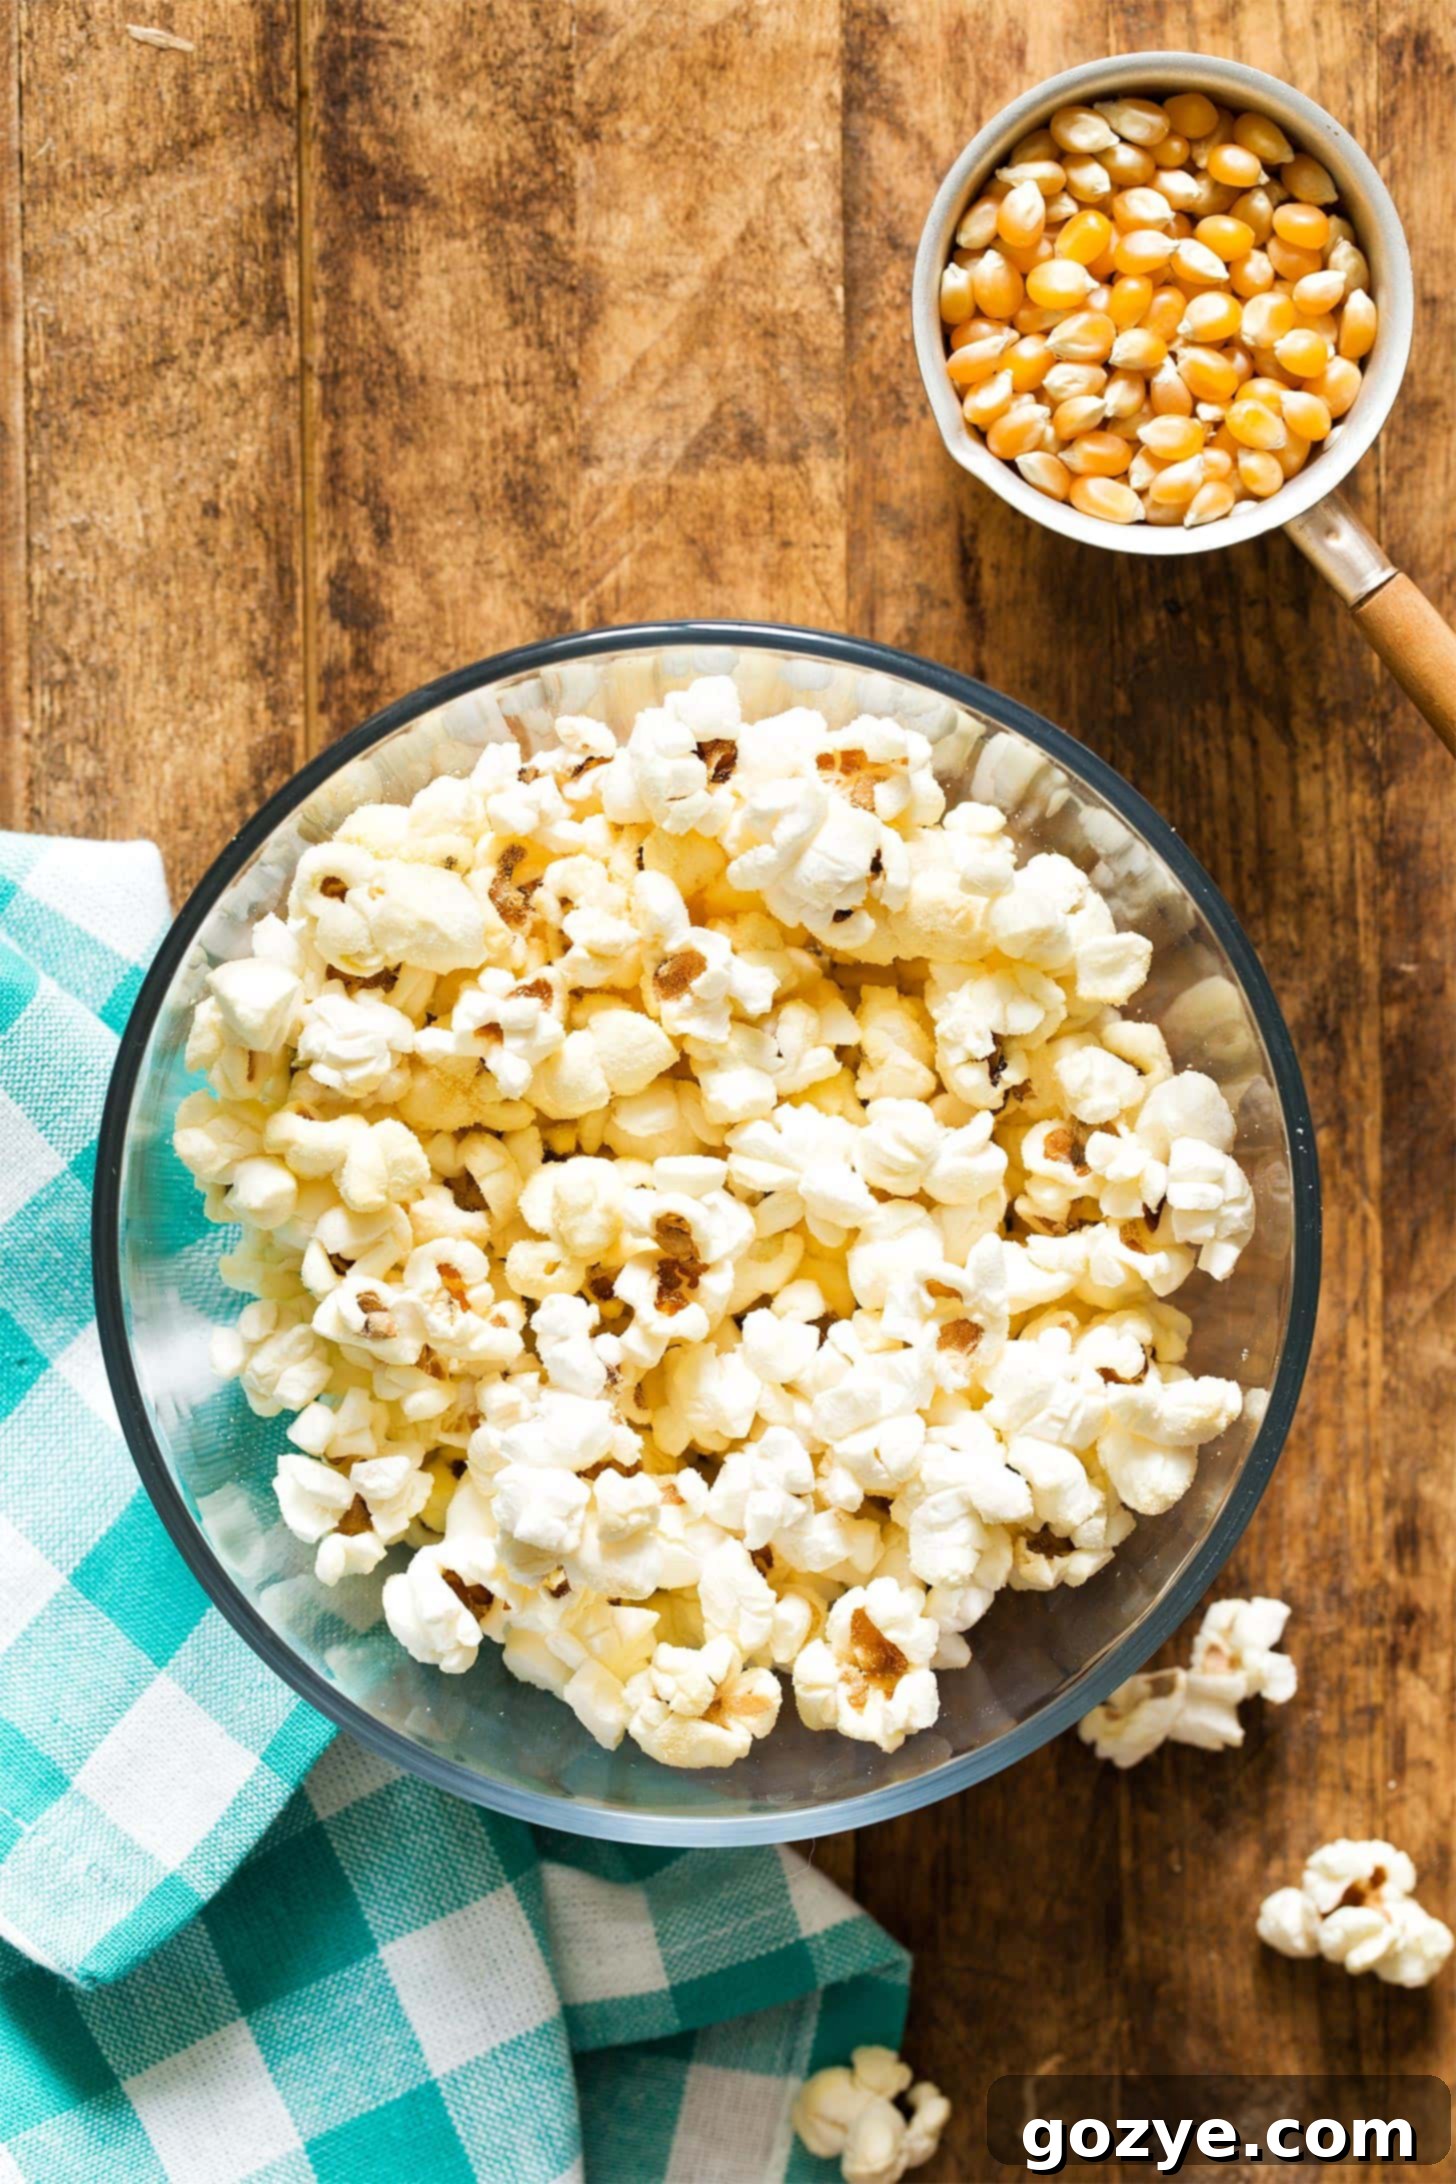
If you’re anything like me, you have a serious weakness for snacks. Whether it’s the tangy crunch of homemade salt and vinegar chips, the comforting layers of Italian nachos, or the smoky zest of barbecue potato chips, I find it incredibly hard to resist a good snack. This often means I have to exercise immense self-control at the grocery store, knowing that if I buy unhealthy treats, they probably won’t last long once I get home.
But what happens when the craving strikes while you’re unwinding at home, perhaps catching up on your favorite show? Sometimes I can fight it off, but most evenings, the call of a savory crunch is just too strong. That’s precisely when I turn to a trusty bowl of homemade Stovetop Popcorn. It’s a game-changer – a wholesome, satisfying snack that’s ready in about 10 minutes, making it the perfect compromise between healthy eating and instant gratification.
There’s something uniquely satisfying about preparing food from scratch, and popcorn is no exception. The slight effort involved in making it and the subsequent clean-up provides just enough friction to help me truly decide if that snack craving is legitimate. More often than not, the answer is a resounding yes, because the reward of fresh, perfectly popped popcorn is absolutely worth it.
My journey to mastering stovetop popcorn began years ago when I was studying abroad in Ireland. Our student flat lacked a microwave, forcing us to rely on the stove and oven for all our cooking needs. It was there that my flatmate introduced me to the incredibly simple method of making popcorn on the stove. All it required was a large pot with a lid and three basic ingredients. Seventeen years later, I’m still using that same tried-and-true method, and I’m here to tell you, once you try it, you’ll never go back to those pre-packaged microwave bags again!
The best part about making your own popcorn? The endless possibilities for customization. Once you’ve mastered the basic technique, the only challenging decision will be choosing your favorite flavor combination. Get ready to transform movie nights, snack times, and casual gatherings with this simple yet superior homemade treat.
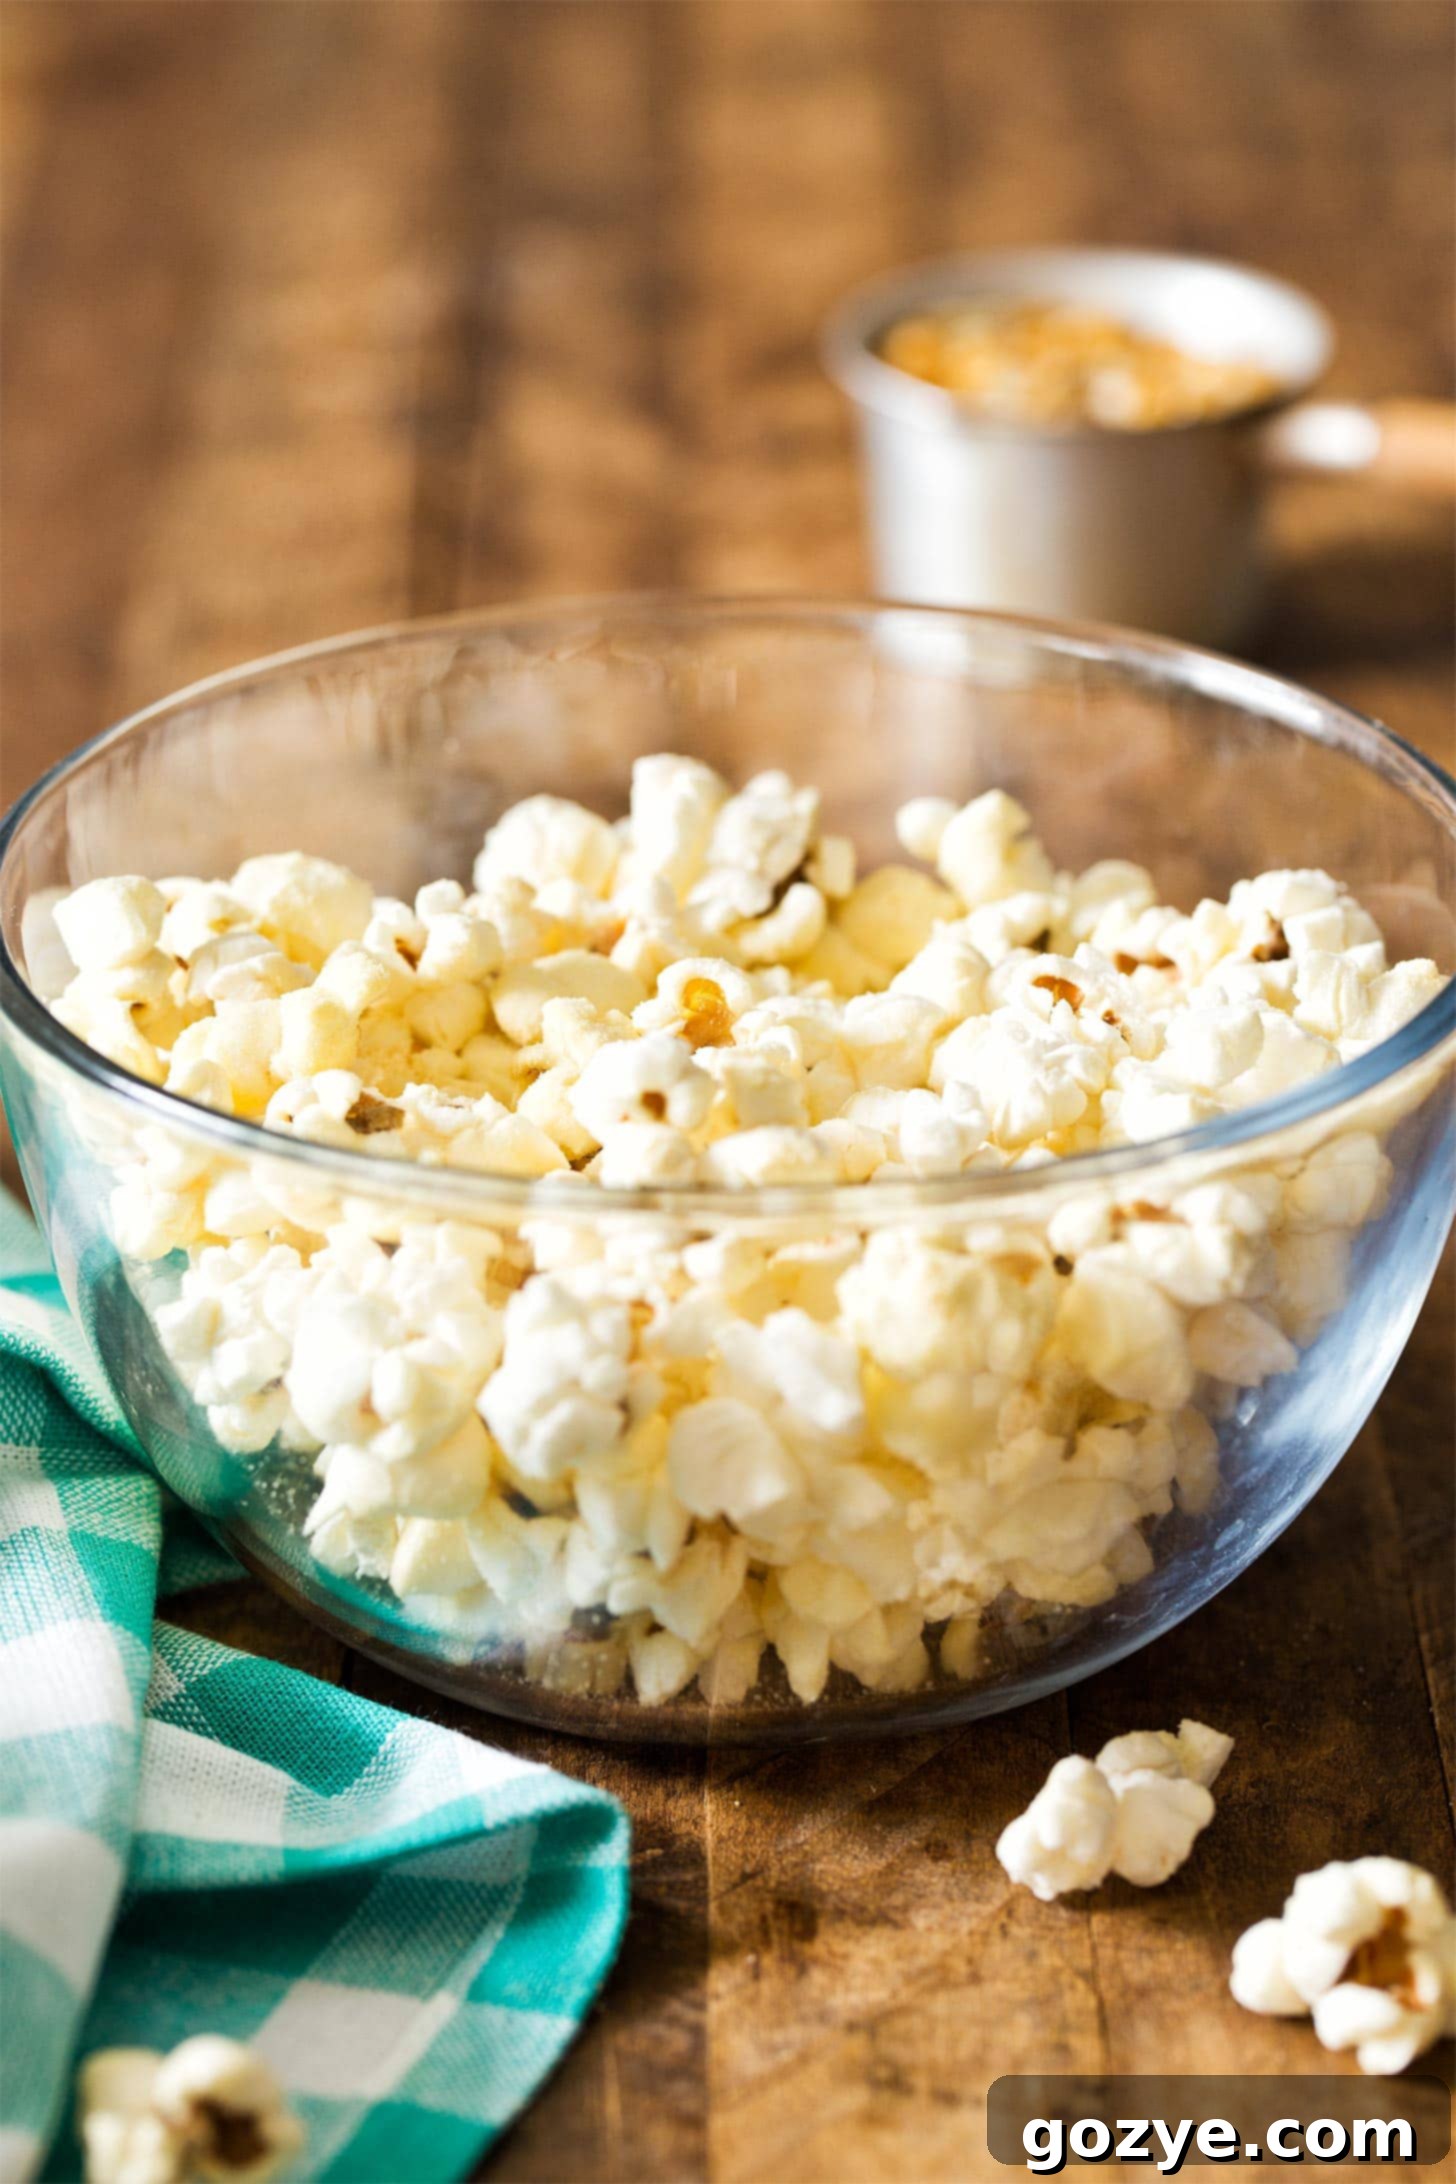
Essential Ingredients for Perfect Stovetop Popcorn
Making delicious homemade popcorn on your stove requires just three fundamental ingredients. Simplicity is key, but choosing the right type of each ingredient can make all the difference in achieving that perfect, crispy pop.
- Vegetable Oil (or other high smoke point oil): The type of oil you use is crucial for successful stovetop popping. You need an oil with a high smoke point to prevent it from burning before your kernels have a chance to pop. Excellent choices include vegetable oil, canola oil, or even coconut oil, which imparts a subtle, pleasant flavor. Avoid using oils with a low smoke point like extra virgin olive oil, as they will likely burn and impart an unpleasant taste to your popcorn. Butter should also be avoided for the initial popping, as it burns easily.
- Popcorn Kernels: While your standard yellow kernels (often labeled “butterfly” type) found in most grocery stores are perfect for this recipe, don’t hesitate to explore other varieties. White kernels offer a slightly more tender texture, while “mushroom” kernels are round and sturdy, ideal for coating with caramel or chocolate. The method for popping remains consistent regardless of the kernel type. Ensure your kernels are fresh for the best popping rate and crispiness.
- Salt and Your Favorite Seasonings: This is where the magic of customization truly comes alive! The beauty of homemade popcorn is the complete control you have over its flavor profile. Start with a pinch of fine-grained salt, which adheres better than coarse salt. Beyond that, the options are limitless. If you’re managing your sodium intake, you can adjust the salt level accordingly, making this a much healthier option than many store-bought alternatives.
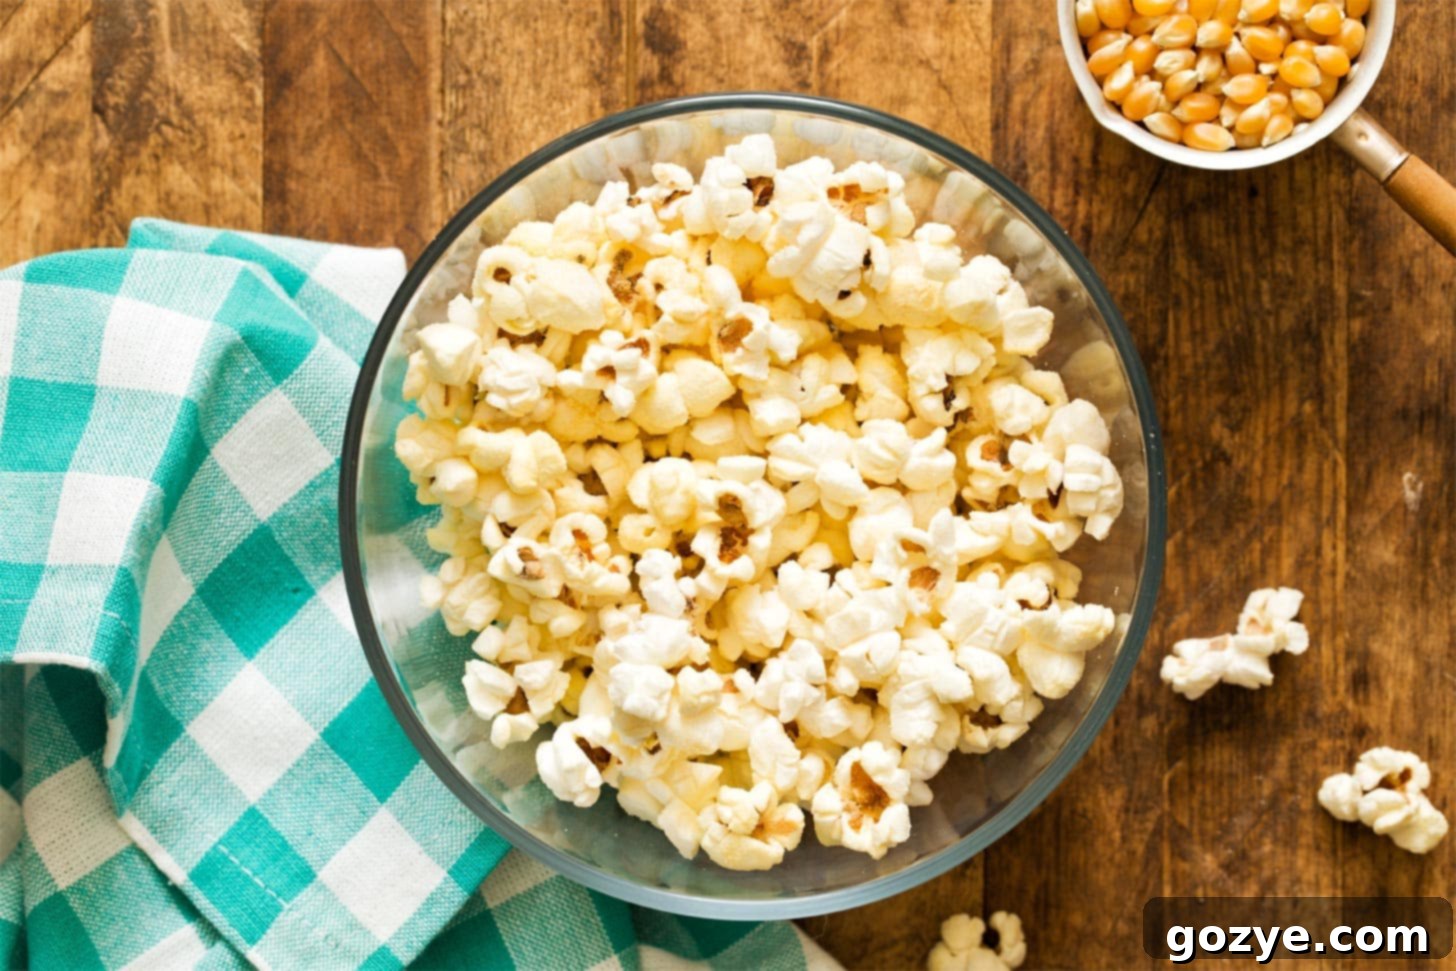
Step-by-Step Guide: How To Make Stovetop Popcorn
Making popcorn on the stove is surprisingly simple, yet yields results far superior to any microwave bag. Follow these easy steps for perfectly popped, fluffy kernels every time:
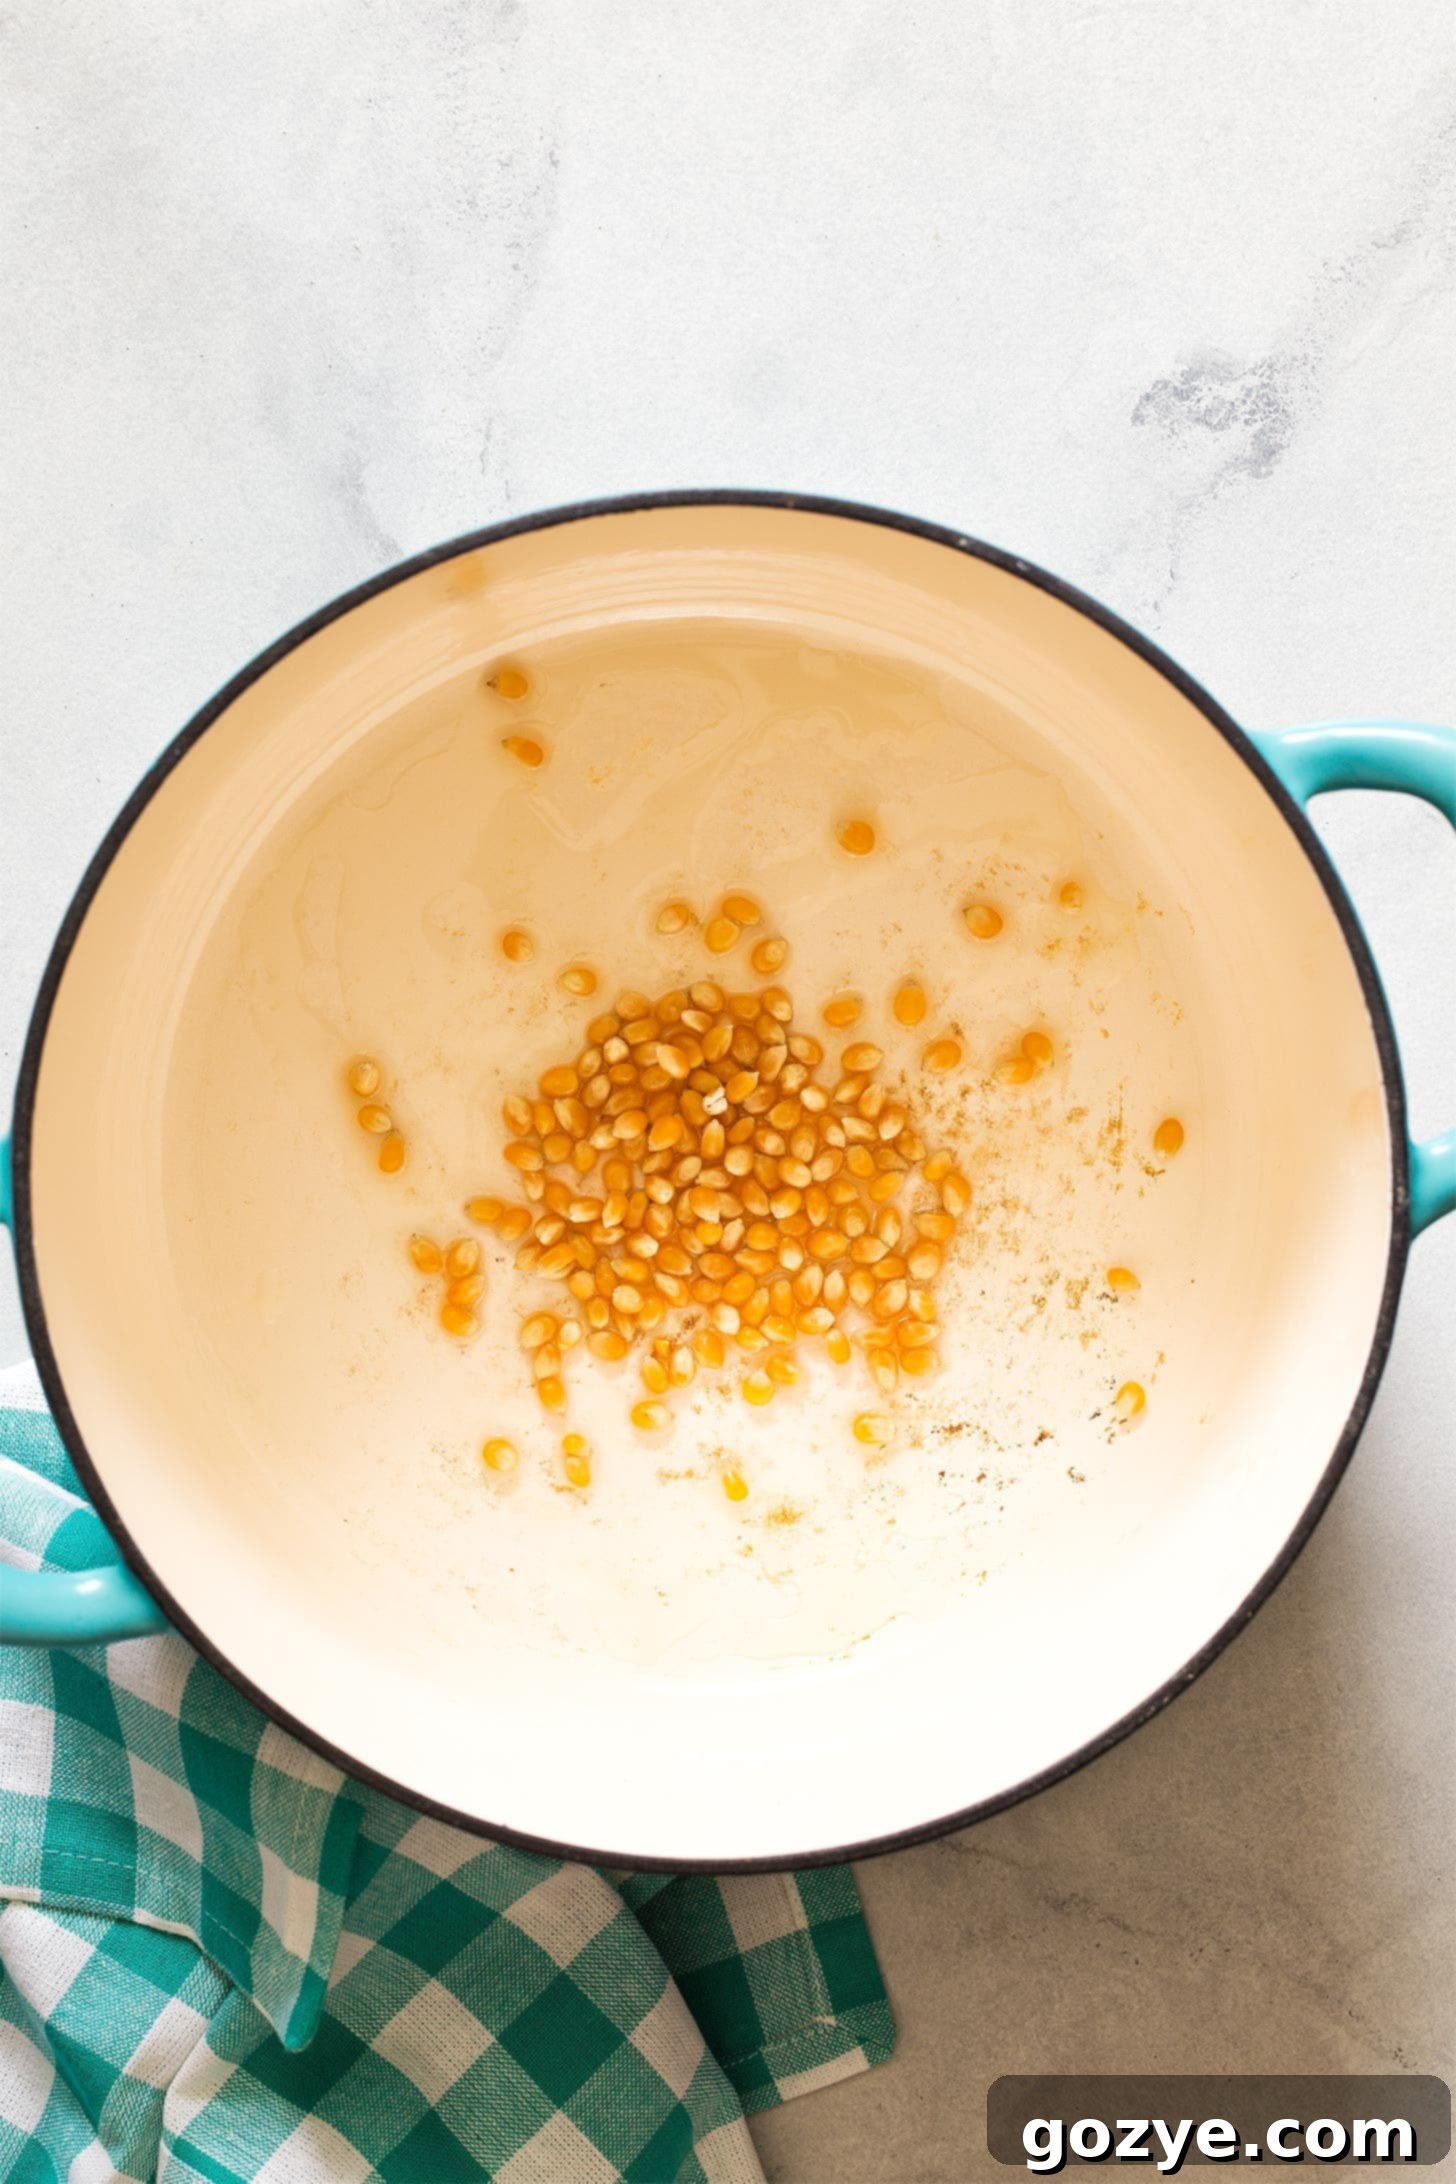
1. Prepare Your Pot and Kernels: Begin by selecting a large, heavy-bottomed pot or Dutch oven (a 5-6 quart pot works well for most batches). Pour your chosen high-smoke-point oil into the pot, followed by the unpopped popcorn kernels. Give the pot a good shake to ensure all the kernels are evenly coated in oil. This initial coating helps them heat uniformly and pop more efficiently.
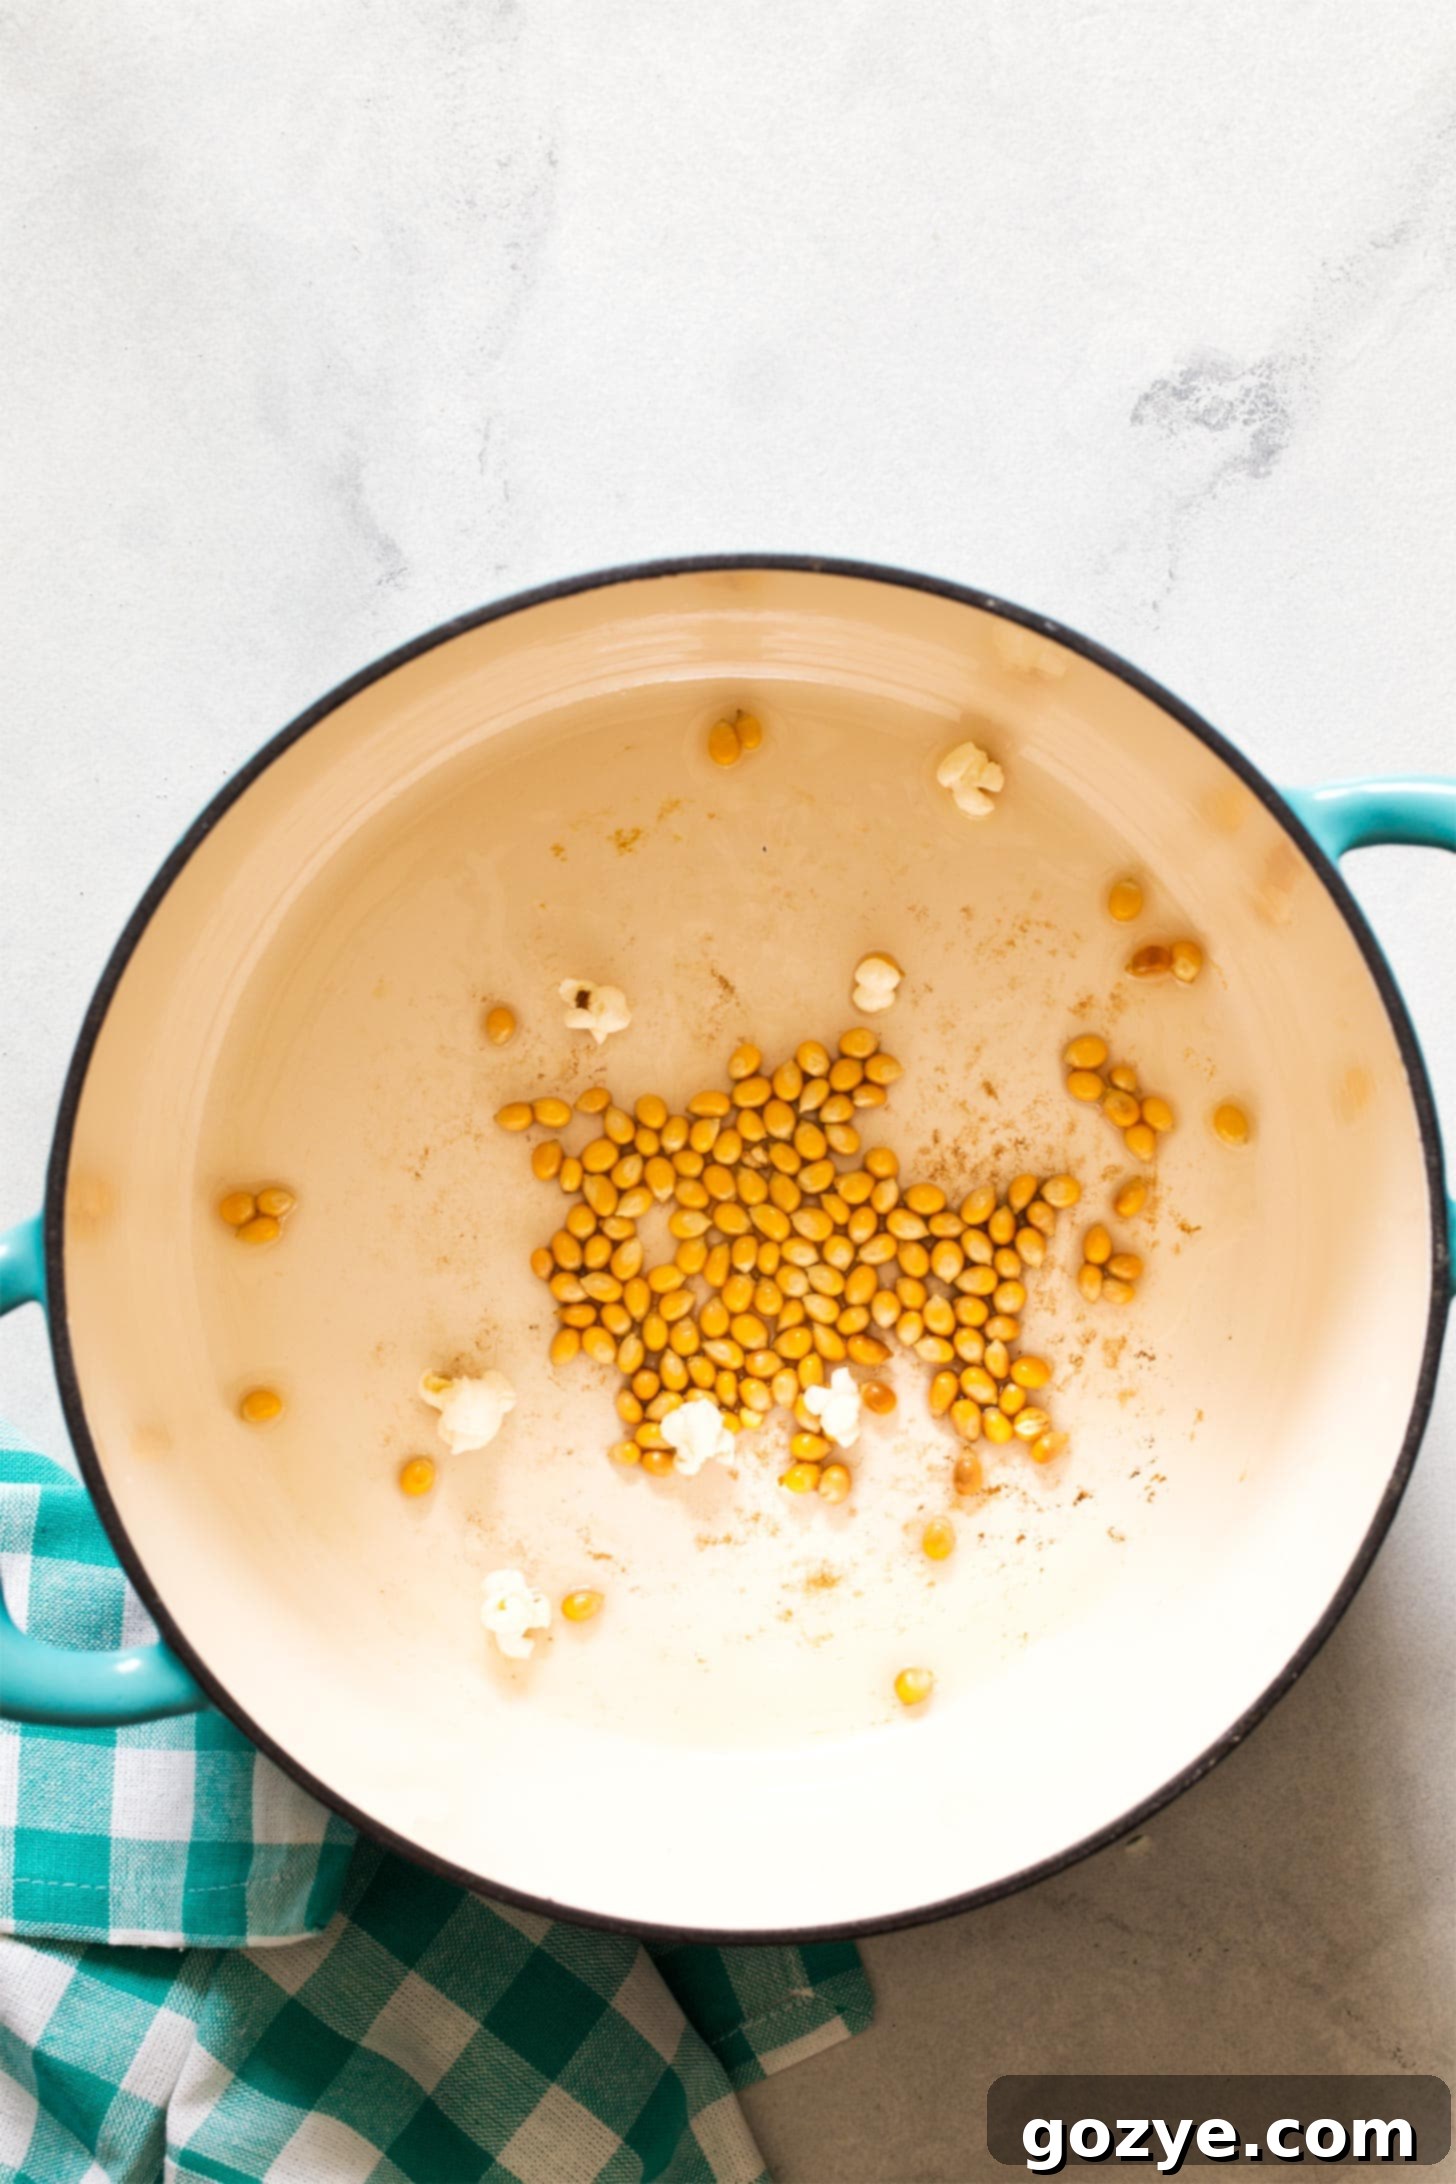
2. Heat and Test Pop: Place the pot over medium heat. Do not cover it yet. The key here is to bring the oil and kernels up to the right temperature. As the pot heats, give it a gentle shake every 30 seconds or so to keep the kernels moving and prevent them from scorching. Listen carefully for the sound of one or two kernels popping. These “test poppers” indicate that your oil and pot have reached the ideal temperature for popping. Once you hear these first pops, you’re ready for the next step.
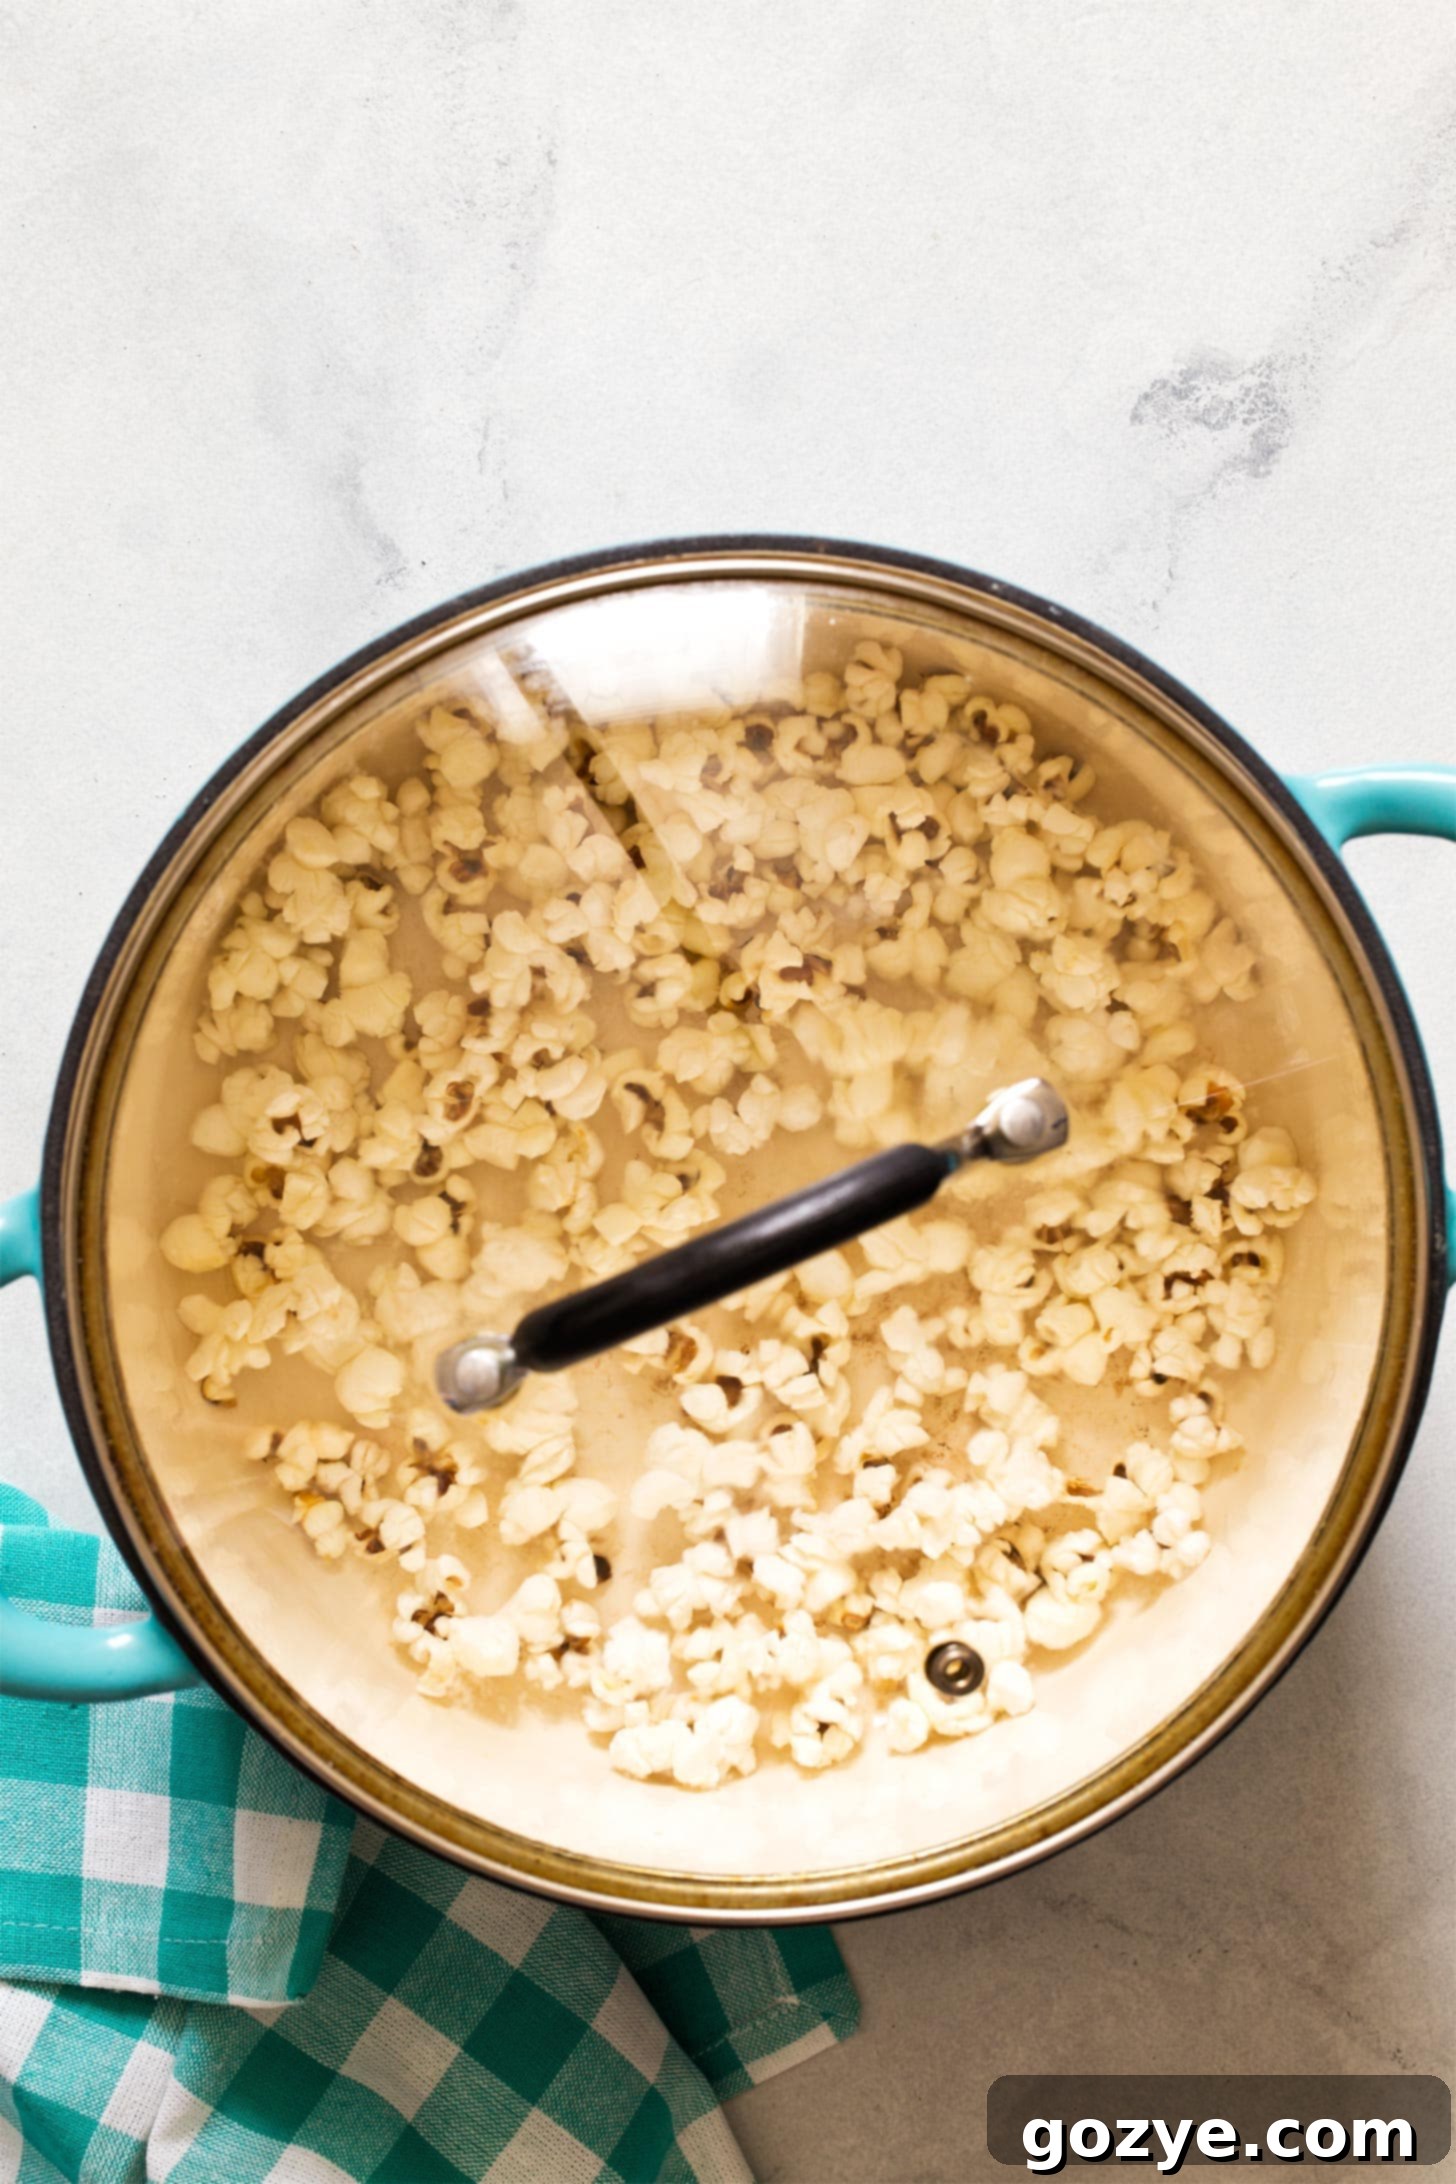
3. Cover and Continue Popping: Immediately after hearing the first few pops, remove the pot from the heat briefly (about 30 seconds) and then add the lid, ensuring it fits snugly. Return the pot to the medium heat. This short break allows all the kernels to reach a similar temperature, leading to more uniform popping and fewer unpopped kernels. Continue shaking the pot gently and frequently to ensure even heat distribution and prevent burning. Once the popping becomes rapid, reduce the heat to low. Keep the lid on, allowing the kernels to finish popping until the sounds of popping slow down significantly to several seconds between pops. At this point, turn off the heat and let the pot sit for one minute with the lid on. This minute allows any stubborn late poppers to burst and ensures maximum yield.
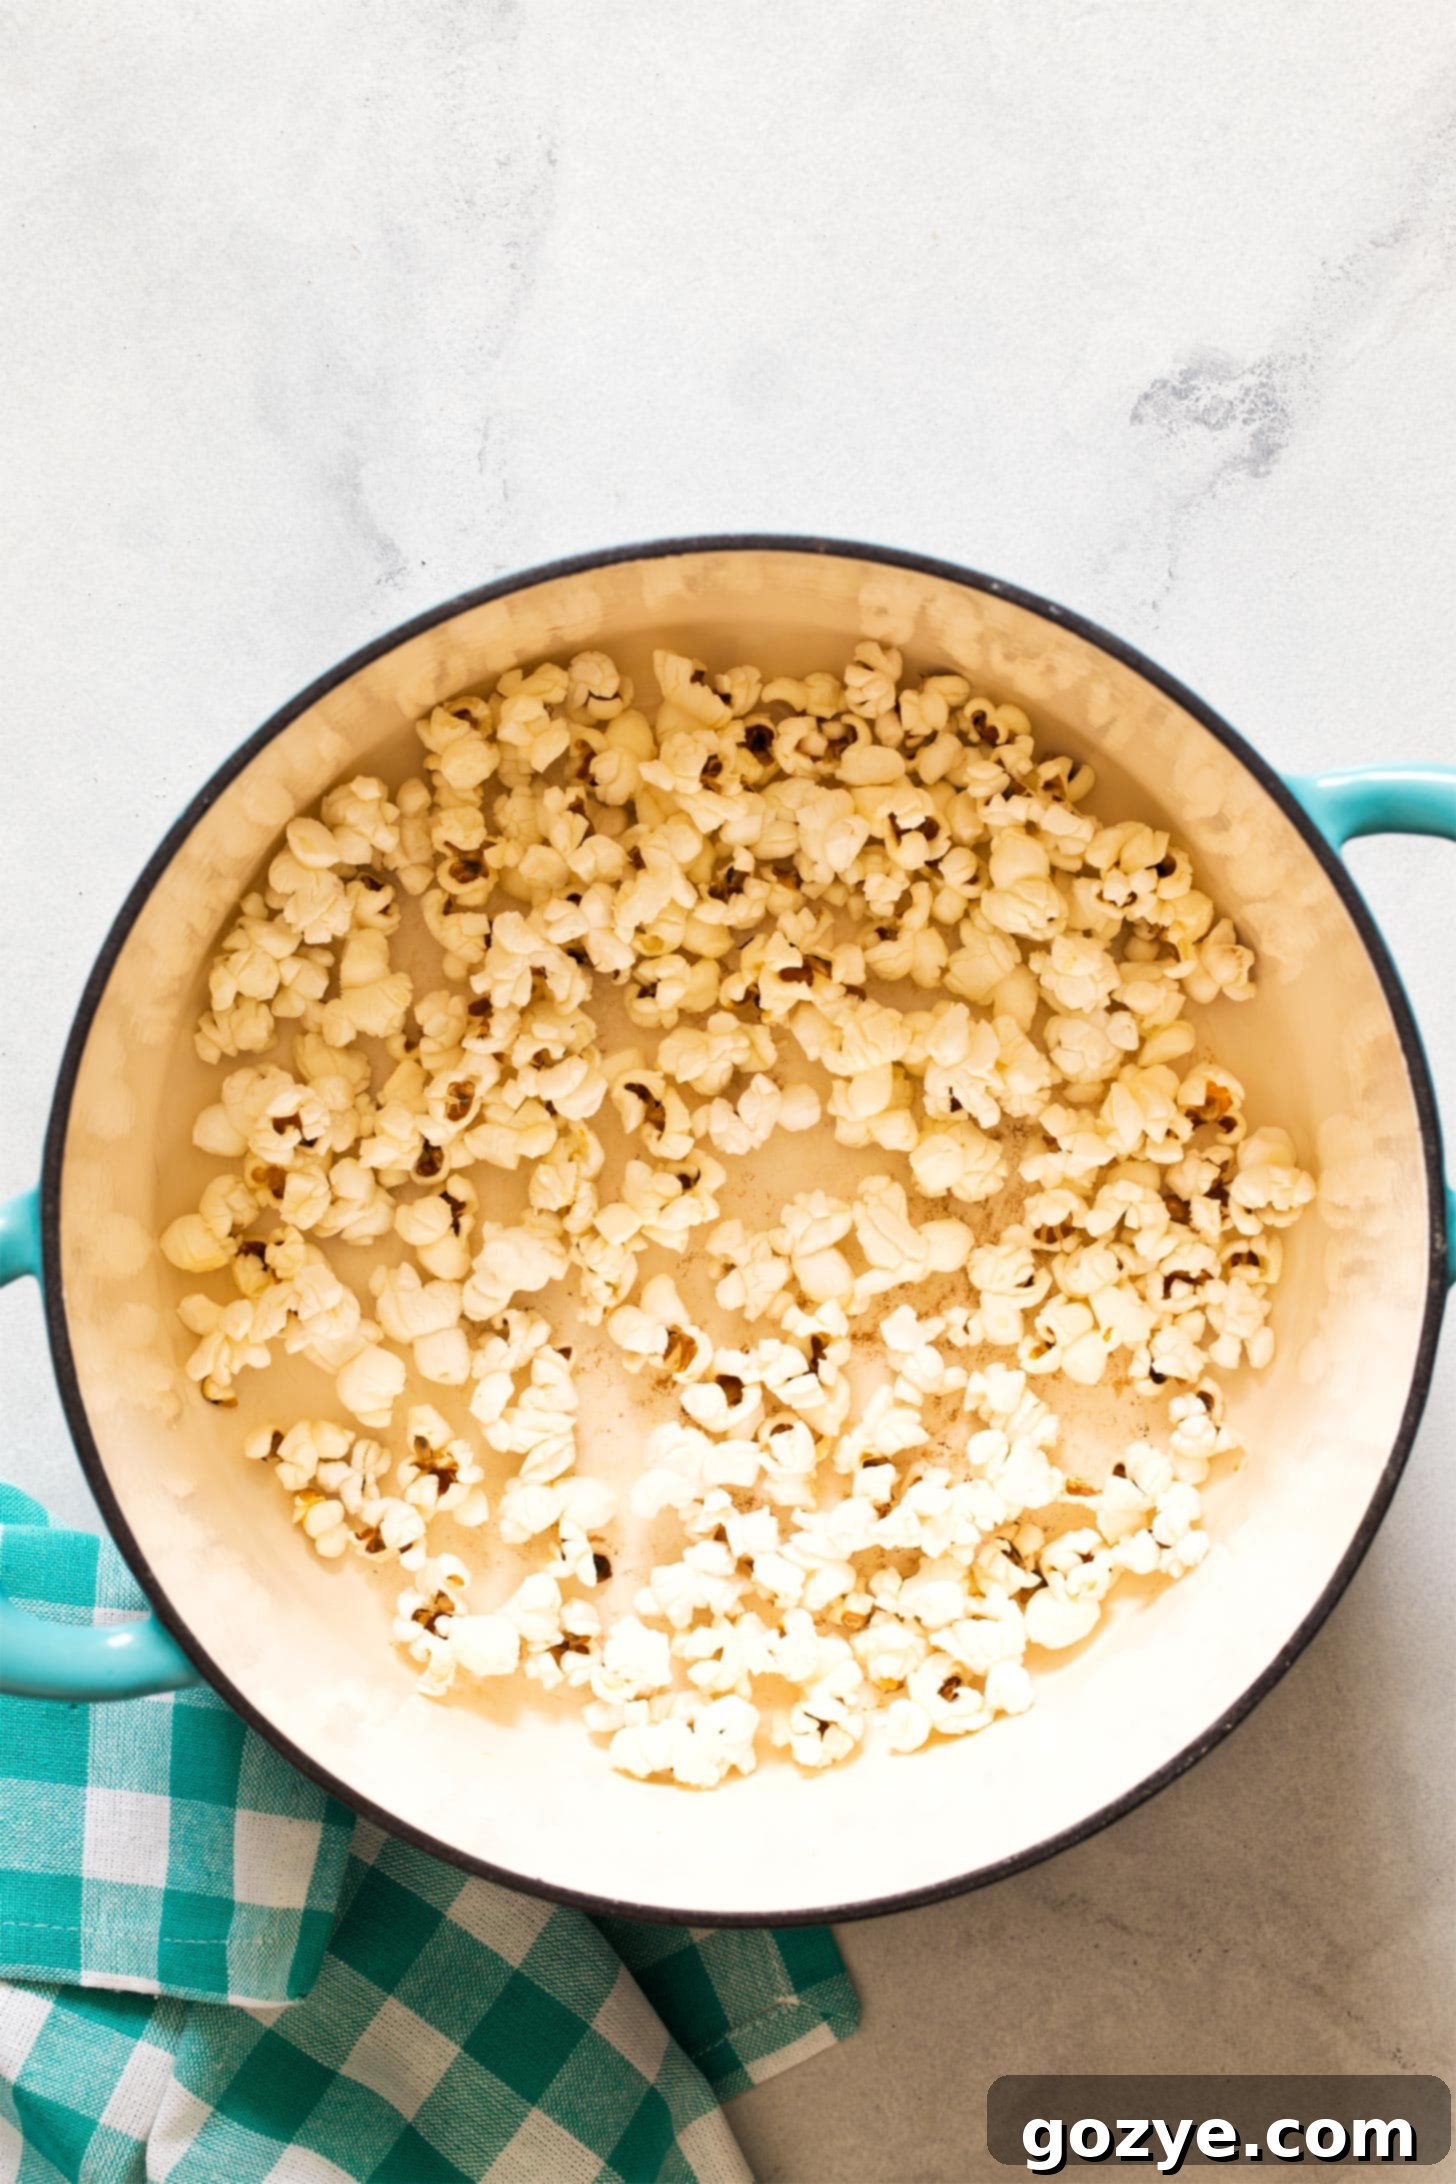
4. Season and Serve: Carefully remove the lid (beware of steam!) and transfer your freshly popped popcorn into a large serving bowl. Take a moment to sift through the popcorn and remove any unpopped kernels or hard-to-eat pieces. Now comes the fun part – seasoning! Add your desired salt and any other flavors you’d like (see our recommendations below). Toss gently to ensure even coating. For best results, stovetop popcorn is always best enjoyed immediately after it’s made. If you happen to have leftovers, store them in an airtight container at room temperature for up to two days, though it may lose some of its crispness.
Expert Tips For Making The Best Stovetop Popcorn
Achieving consistently perfect popcorn is an art, but these simple tips will help you master it every time:
- Invest in a Good, Heavy-Bottomed Pot: The quality of your pot significantly impacts the outcome. Cheap, thin-bottomed pots don’t distribute heat evenly, which can lead to burnt kernels in some spots and unpopped ones in others. A heavy-bottomed pot or Dutch oven ensures even heat distribution, resulting in a more uniform and satisfying pop.
- Cook on Medium Heat (or Medium-Low): It’s tempting to crank up the heat to make popcorn faster, but resist the urge! High heat will cause the oil to smoke and burn the kernels before they can properly pop, leading to a bitter, unpleasant taste. Medium heat allows the kernels to gradually come to temperature, ensuring a fluffy pop without scorching.
- Allow Steam to Escape for Crispiness: Steam is the enemy of crispy popcorn. If trapped in the pot, it will re-condense and make your freshly popped kernels chewy and soft. If your pot lid doesn’t have a small vent hole, simply leave the lid slightly ajar during the popping process. This small gap allows the steam to escape while still containing the popping kernels.
- Use Fresh Kernels: Popcorn kernels can dry out over time, leading to a lower pop rate and smaller, tougher pieces. Store your kernels in an airtight container in a cool, dark place to maintain their freshness.
- Don’t Overcrowd the Pot: Resist the temptation to make a giant batch in one go. Overcrowding the pot lowers the temperature and prevents kernels from heating evenly, resulting in many unpopped kernels and a less fluffy outcome. Stick to the recommended 2-3 tablespoons of kernels for a standard pot to ensure ample space for popping.
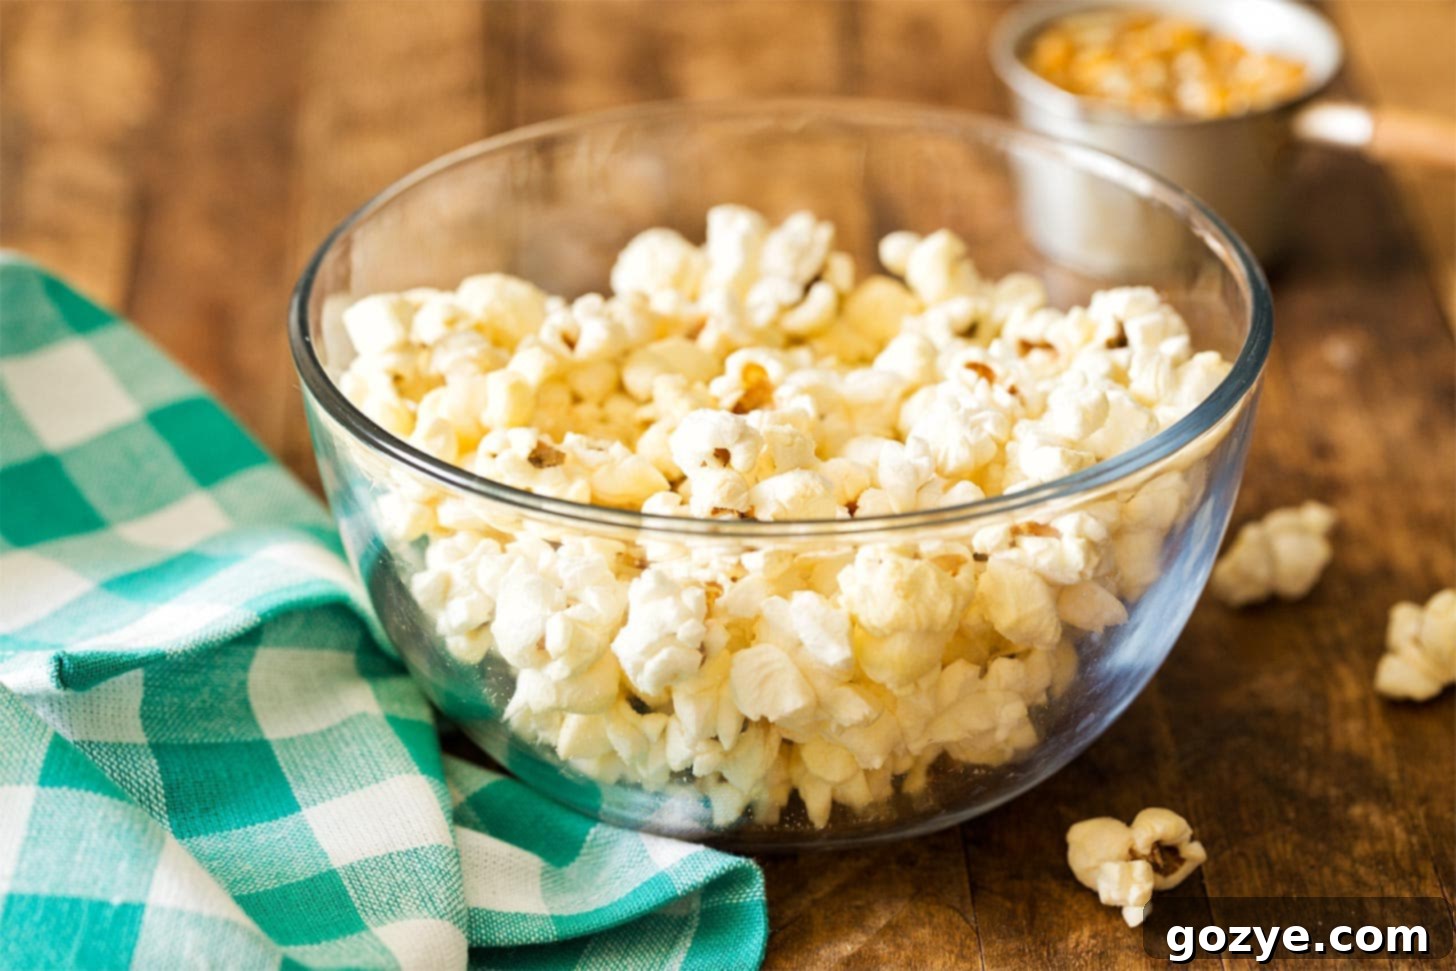
Beyond Salt: Recommended Popcorn Flavors to Try
Now that you’ve mastered the art of perfectly popped small batch popcorn, it’s time to unleash your creativity with flavor! While a simple sprinkle of salt is always a classic, the possibilities for customization are truly endless. You can find excellent pre-made popcorn seasonings at most grocery stores, or you can venture into making your own unique blends. Here are some fantastic ideas to get you started, from savory and spicy to sweet and indulgent:
- Tangy & Zesty: Substitute your favorite potato chips with a bowl of homemade salt and vinegar popcorn. The perfect blend of sour and salty.
- Spicy & Savory: Kick up the heat by tossing your popcorn with fajita seasoning for a Tex-Mex twist, or indulge in the cheesy goodness of spicy cheese popcorn for a satisfying bite.
- Classically Sweet: For those with a sweet tooth, transform your popcorn into a decadent treat with gooey caramel popcorn or rich peanut butter popcorn.
- Chocolate Lover’s Delight: Combine two beloved snacks by adding chocolate! Try a decadent chocolate covered popcorn or the campfire-inspired flavors of smores popcorn.
- Festive Fun: Get into the holiday spirit with themed popcorn! Make it spooky for Halloween with Halloween popcorn, or embrace the festive cheer with Christmas gingerbread popcorn.
- Simple Seasoning Blends: Beyond these recipes, consider simple additions like nutritional yeast for a “cheesy” flavor, garlic powder and parmesan, or cinnamon sugar for a quick sweet treat.
Stovetop Popcorn FAQ
For the best results and to prevent burning, always use an oil with a high smoke point. Excellent choices include vegetable oil, canola oil, and coconut oil. These oils can withstand the heat required for popping without imparting a burnt flavor.
Chewy popcorn is typically caused by steam getting trapped inside the pot during the popping process. To ensure crispy popcorn, either use a pot lid that has a small vent hole, or simply leave your lid slightly ajar to allow the steam to escape as the kernels pop.
It is generally best practice to add butter and any desired seasonings *after* all of the popcorn has finished popping. Adding them too early, especially butter, can cause them to burn due to the high heat required for popping, resulting in an undesirable taste. Seasoning at the end also allows for more even coating.
To reduce unpopped kernels, ensure your kernels are fresh, use a heavy-bottomed pot for even heat distribution, and utilize the “test pop” method described in the instructions. This ensures the oil and pot reach the optimal temperature before adding all the kernels. Also, don’t overcrowd the pot, allowing ample space for each kernel to pop.
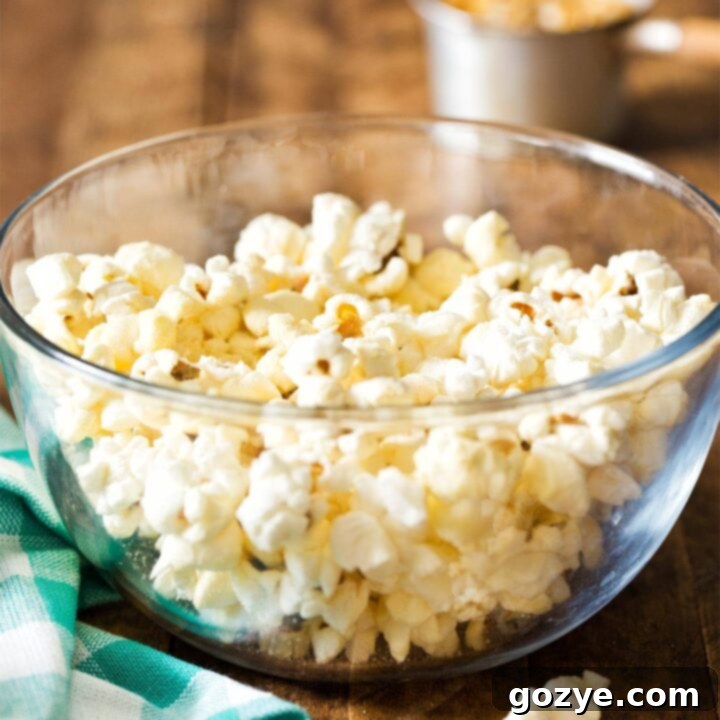
Classic Stovetop Popcorn Recipe
3 cups (serves 1-2)
5 minutes
5 minutes
10 minutes
Learn how to effortlessly make perfectly popped Stovetop Popcorn for a delightful homemade snack. This small batch recipe is quick, easy, and infinitely better than anything from a microwave bag!
Ingredients
- 1 tablespoon high smoke point oil (such as vegetable, canola, or coconut oil)
- 2 tablespoons unpopped popcorn kernels
- Salt and desired seasonings, to taste
Instructions for Popping
- Pour the oil into a Dutch oven or a similar wide, heavy-bottomed pot. Add the popcorn kernels and shake the pan vigorously until all kernels are thoroughly coated with oil.
- Place the pot over medium heat. Continuously shake the pan every so often to keep the kernels moving and ensure even heating. Listen closely for the first 1-2 kernels to pop – this indicates the oil has reached the perfect temperature.
- Once you hear the initial pops, immediately remove the pot from the heat for about 30 seconds (this helps all kernels reach the optimal temperature). Then, place the lid securely on the pot and return it to medium-low heat. Continue shaking periodically. Once the rapid popping sound slows significantly (to several seconds between pops), turn off the heat and let the pot sit for 1 minute to allow any remaining kernels to pop.
*Tip: If your pot lid does not have a vent hole, leave it slightly ajar to allow steam to escape, which will prevent chewy popcorn and ensure crispiness.*
- Carefully transfer the hot popcorn into a large serving bowl. Sift through to remove any unpopped kernels. Add your desired amount of salt and any other seasonings, then toss gently to ensure an even coating.
*Best enjoyed fresh! Store any leftovers in an airtight container for up to 2 days, though crispiness may diminish.*
Recipe Notes & Flavor Ideas
Elevate your popcorn with these flavor suggestions:
- For a tangy kick, swap chips for salt and vinegar popcorn.
- Add some spice with fajita seasoning or creamy, zesty spicy cheese popcorn.
- Indulge in classic sweets like homemade caramel popcorn or rich peanut butter popcorn.
- Combine with chocolate for a delightful treat: try chocolate covered popcorn or the nostalgic smores caramel popcorn.
- Make it holiday-ready with spooky Halloween popcorn or festive Christmas gingerbread popcorn.
Recommended Products
As an Amazon Associate and member of other affiliate programs, I earn from qualifying purchases.
- Quality Dutch Oven
Did you make this recipe?
I’d love to hear your thoughts! Please rate the recipe above, share your feedback in the comments below, and don’t forget to post a photo on Instagram using #HITKrecipes.
Armed with this comprehensive guide, you are now ready to transform your snacking habits and impress friends and family with the irresistible taste of homemade stovetop popcorn. It’s a simple pleasure that delivers immense satisfaction, proving that the best snacks are often the ones you make yourself. So grab your pot, your kernels, and get ready to pop your way to a perfect snack experience!
