Perfectly Roasted Butternut Squash: Your Ultimate Guide for Halves & Cubes
Welcome to winter squash season! There’s no better time to master the art of how to roast butternut squash to perfection in your oven. Whether you’re preparing tender butternut squash halves to elevate your favorite recipes or delightful butternut squash cubes to serve as a comforting side dish, roasting is hands down one of the easiest and most rewarding cooking methods. This comprehensive guide will walk you through every step, ensuring you achieve delicious results every time.
Every autumn, a cherished tradition of mine involves visiting a local apple orchard. Beyond the crisp apples, their fall festival is a vibrant showcase of winter squash galore, marking the official start of butternut squash season. It’s my absolute favorite fall vegetable, and as the leaves change, my mind immediately begins brainstorming new and exciting ways to incorporate it into my meals.
But before diving into specific butternut squash recipes, it’s essential to master the foundational skill of preparing and cooking this versatile squash. Many recipes might call for “cooked butternut squash” without detailing the actual cooking process, leaving home cooks wondering where to begin. That’s precisely why this tutorial exists!
While working on my upcoming butternut squash lasagna recipe (perfect for Thanksgiving!), I realized the importance of a dedicated guide on how to roast butternut squash, complete with tips for roasting the seeds (a delightful snack coming soon!). Much like my popular how to cut cabbage tutorial, this guide is packed with step-by-step photos to ensure your success.
The roasting technique we’ll explore here is incredibly versatile and can be applied to various winter squash varieties, not just butternut! Think acorn squash, spaghetti squash, or even delicata squash. The principles remain largely the same, making it a valuable skill for any home cook. In fact, this method is quite similar to preparing my stuffed butternut squash, just without the filling component.
The beauty of roasted butternut squash is its versatility. You don’t always need to incorporate it into a secondary recipe. Simply roast it with a drizzle of olive oil and a dash of your favorite seasonings, and it transforms into an effortless and nutritious fall side dish. It pairs beautifully with dishes like turkey tenderloin or even a decadent stuffed Cornish hen, making it an ideal addition to your Thanksgiving for two or any cozy autumn meal.
What is Butternut Squash?
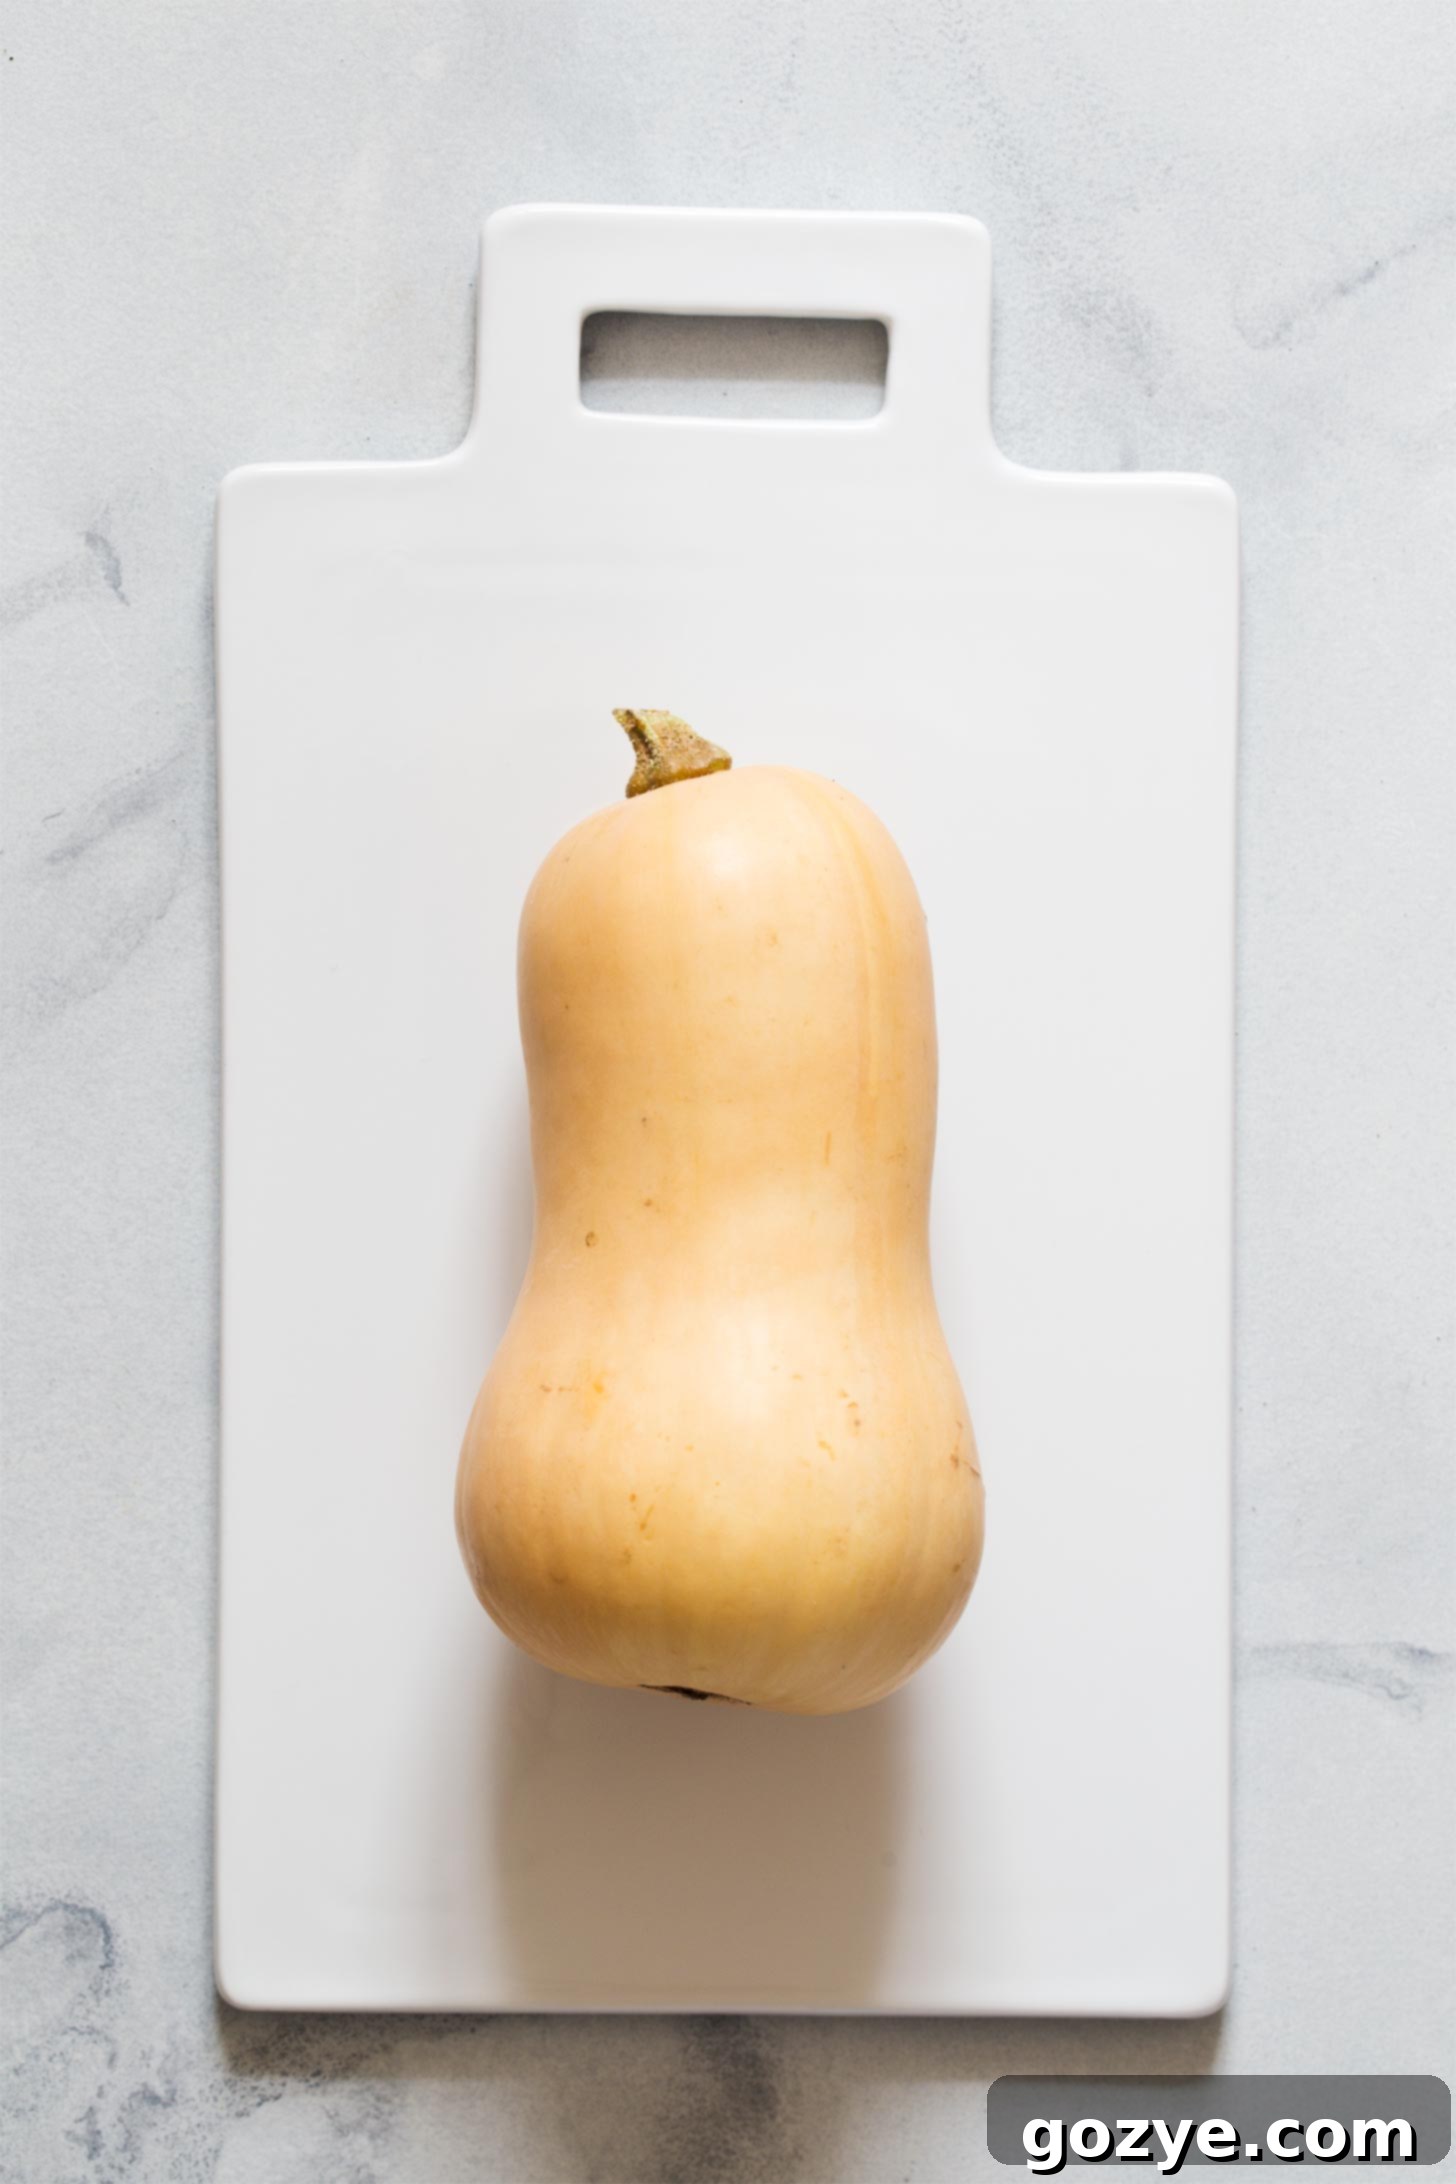
Butternut squash is a beloved member of the winter squash family, recognized for its distinctive bottle-like shape with a long, slender neck and a bulbous base. When cooked, its vibrant orange flesh offers a wonderfully sweet and nutty flavor profile, reminiscent of sweet potato or even pumpkin. It’s often used interchangeably with canned pumpkin in recipes like small pumpkin pie or pumpkin mac and cheese.
Unlike some other squash varieties, the tan-colored outer skin of butternut squash is not typically eaten. The rich orange interior is where all the flavor and nutrients lie. Beyond its delicious taste, butternut squash is packed with essential vitamins and minerals, including high levels of Vitamin A, Vitamin C, and potassium, making it a fantastic addition to a healthy diet.
Essential Ingredients for Roasted Butternut Squash
One of the many joys of roasting butternut squash is its simplicity, requiring only a handful of basic ingredients to bring out its natural sweetness and depth of flavor. Here’s what you’ll need:
- Butternut Squash: The star of our show! Any size or shape of butternut squash will work. Keep in mind that larger squash will naturally require a longer baking time. This method is also adaptable for other winter squash varieties such as acorn, delicata, or even spaghetti squash, making it a truly versatile technique.
- Olive Oil: A good quality olive oil can truly elevate the flavor of your roasted squash, contributing to a beautiful golden-brown exterior and a tender interior. Since you’re not using many other ingredients, the quality of your oil can make a difference. However, if budget is a concern, a neutral-flavored vegetable oil like canola or grapeseed will also work effectively, though you might want to compensate with a bit more seasoning.
- Salt: Salt is crucial for enhancing the inherent sweetness of the squash. I highly recommend using kosher or sea salt for their coarser texture and clean flavor, which allows for better control during seasoning. Fine table salt can also be used, but you might need slightly less due to its higher density.
- Other Seasonings (Optional): This is where you can truly customize your roasted butternut squash to suit your palate or complement your meal.
- Savory Options: For a savory profile, consider adding garlic powder, onion powder, smoked paprika, cumin, or a touch of black pepper. A pinch of dried thyme or sage also pairs wonderfully with butternut squash. You could even use a prepared blend like fajita seasoning for an unexpected twist.
- Sweet Options: To highlight the squash’s natural sweetness, a sprinkle of cinnamon, nutmeg, a dash of maple syrup, or brown sugar can be delightful, especially if you plan to use it in desserts or breakfast dishes.
Recommended Equipment:
While minimal, having the right tools can make preparing butternut squash much easier and safer:
- Large, Sharp Chef’s Knife: Essential for safely cutting through the tough squash skin.
- Vegetable Peeler: For removing the skin if you’re dicing the squash. A Y-peeler often works best.
- Large Spoon or Ice Cream Scoop: Perfect for scooping out seeds and fibrous strands.
- Large Baking Sheet: To ensure the squash roasts evenly without overcrowding.
- Parchment Paper or Silicone Mat: Highly recommended for easy cleanup and to prevent sticking.
Do I Need to Peel Butternut Squash Before Roasting?
This is a common question, and the answer often depends on how you plan to serve your squash.
The skin on butternut squash is indeed inedible and quite tough, so you won’t be eating it directly. However, whether you need to peel it *before* cooking is another matter.
If you’re roasting butternut squash halves: You generally do not need to peel it ahead of time. Once the squash is cooked and tender, the vibrant orange flesh can be easily scooped out of the skin with a spoon. This method saves you a significant amount of prep time and effort, as peeling a raw butternut squash can be challenging.
If you’re roasting butternut squash cubes (or any diced form): In this case, yes, you absolutely need to peel the squash before cutting it into cubes. Attempting to peel small cubes would be incredibly difficult and inefficient. Peeling the whole squash first, before dicing, makes the preparation process much smoother and ensures every bite of your roasted cubes is tender and edible.
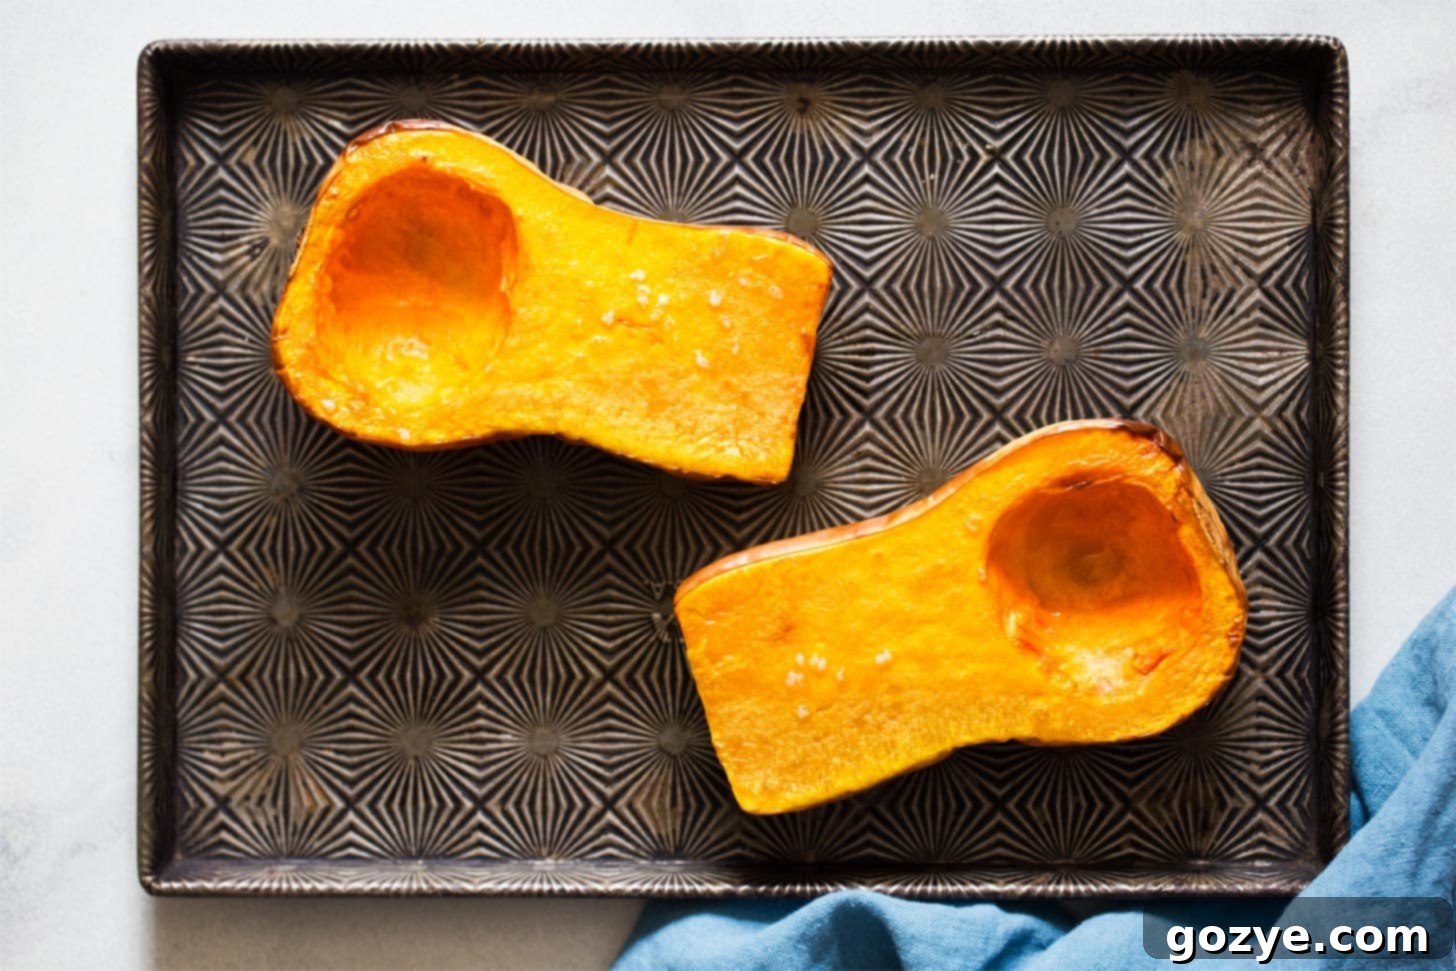
How To Roast Butternut Squash Halves
There are two primary methods for preparing oven-roasted butternut squash: as halves or as cubes. Both result in tender, delicious squash, but their preparation differs slightly. Let’s start with roasting butternut squash halves, a method particularly suited for using the squash in purees, mashes, or as a base for stuffed recipes.
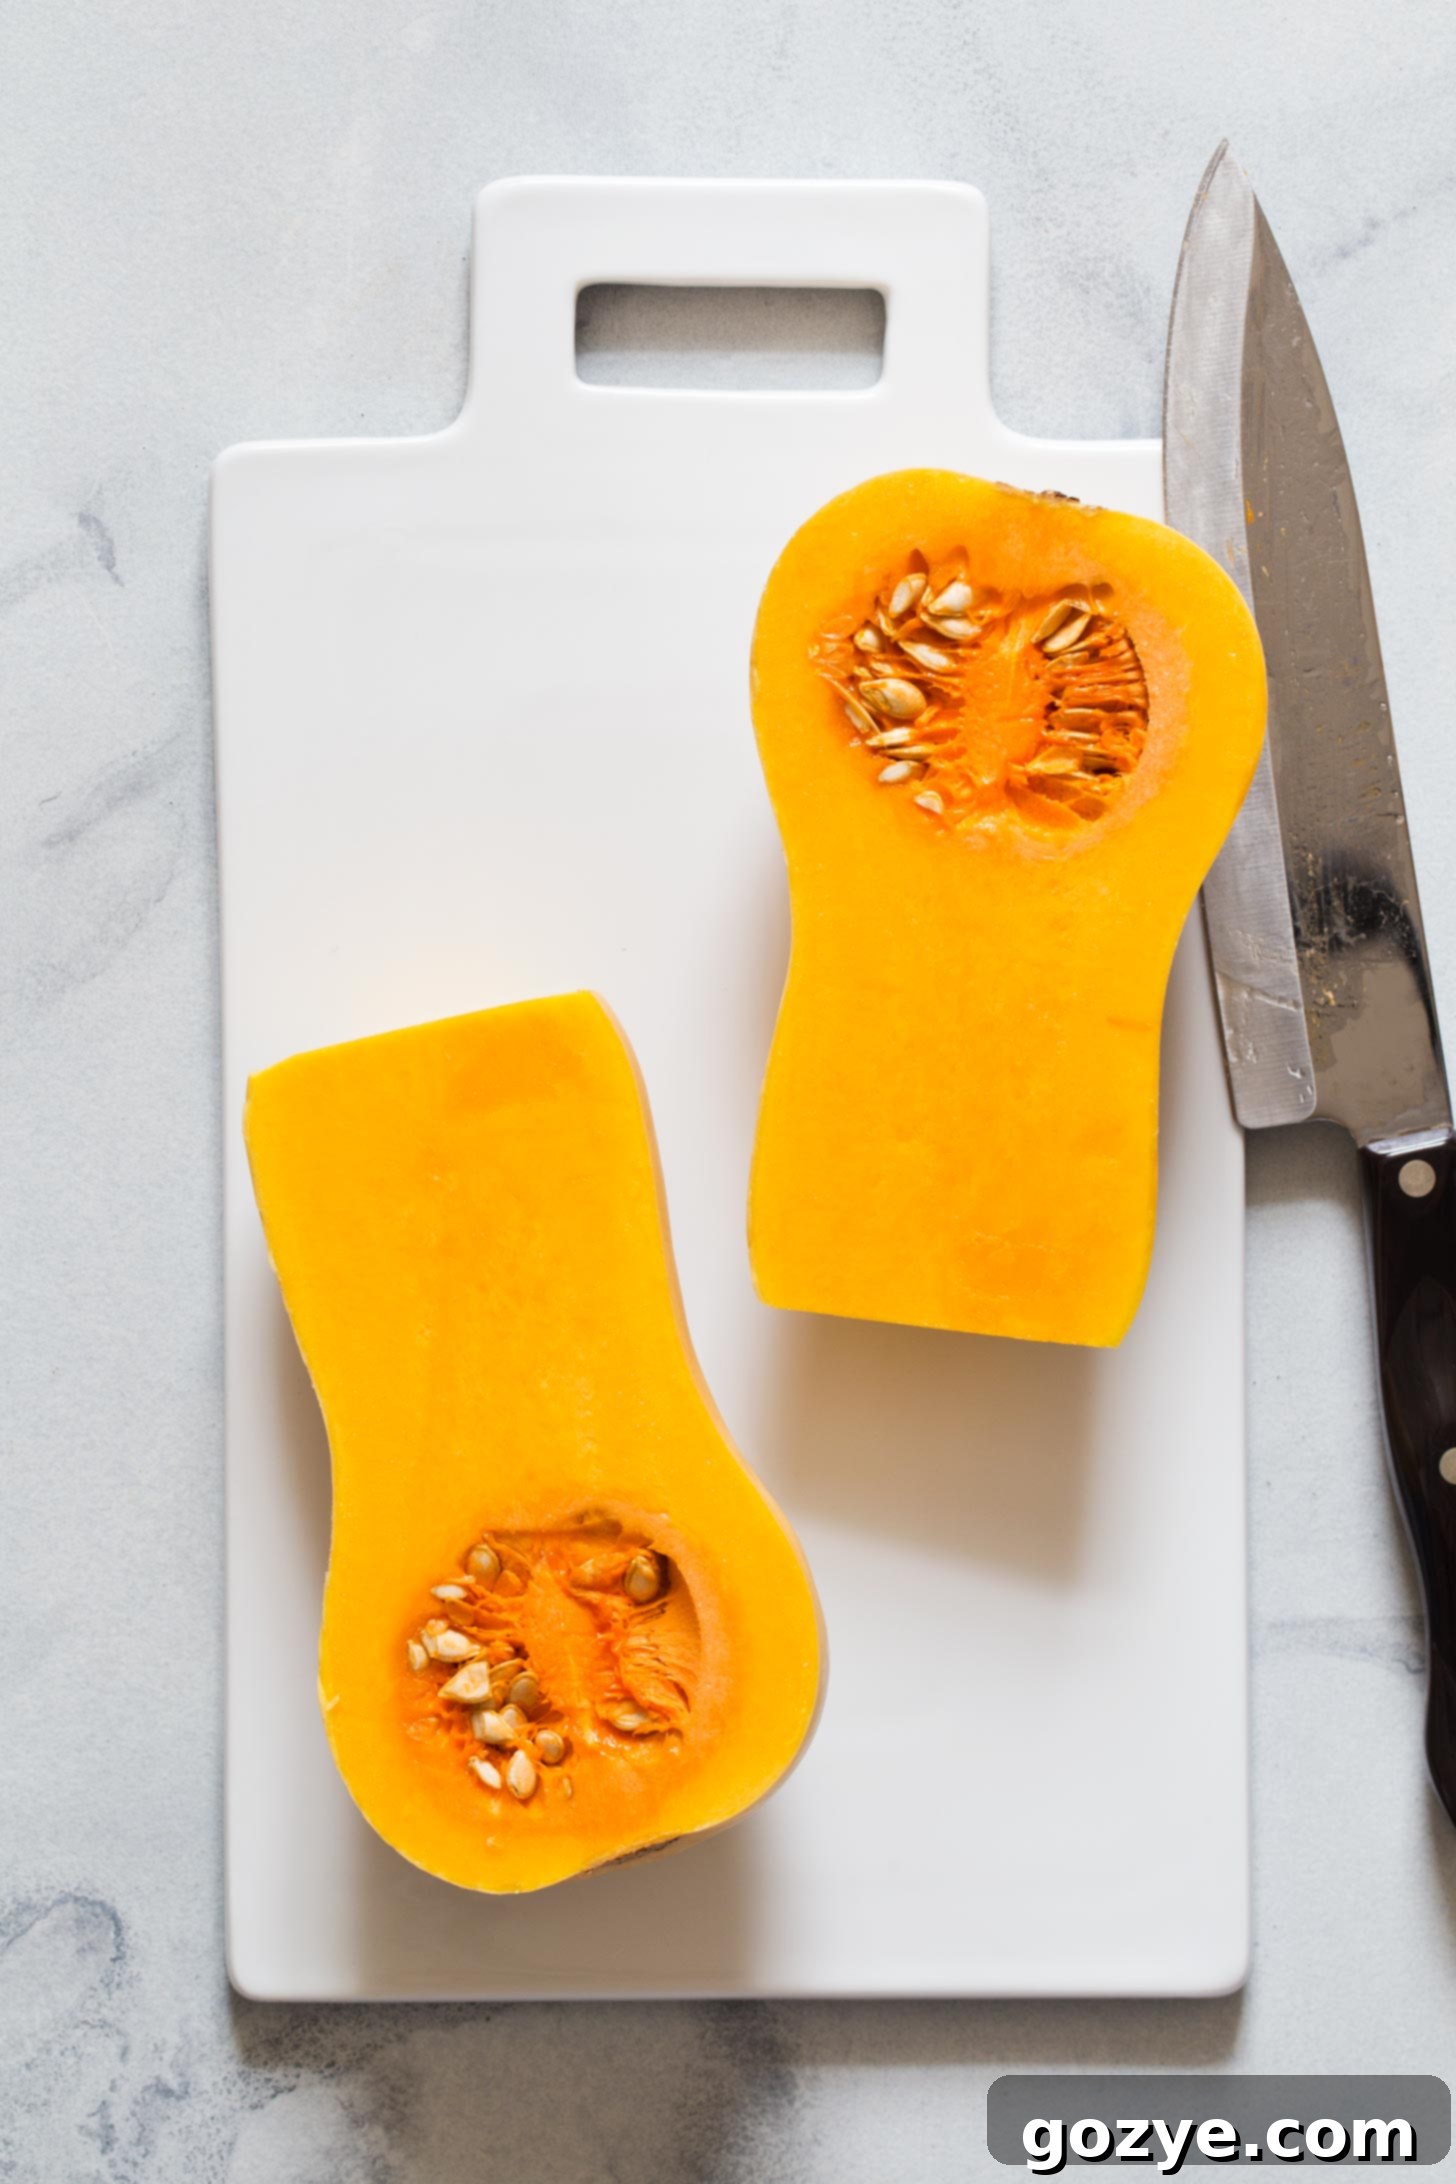
1. Prepare the Squash: Start by washing the exterior of your butternut squash. Using a large, sharp, sturdy chef’s knife, carefully cut off both ends of the squash. Then, stand the squash upright on its flatter end and carefully cut it vertically down the middle, from the stem to the base. Butternut squash can be quite firm, so always use caution and a stable surface.
Tip: Softening Tough Squash: If you find the squash too tough to cut through, a trick is to prick it all over with a fork, then microwave it for 2-3 minutes. This will soften the skin and flesh just enough to make cutting much easier and safer.
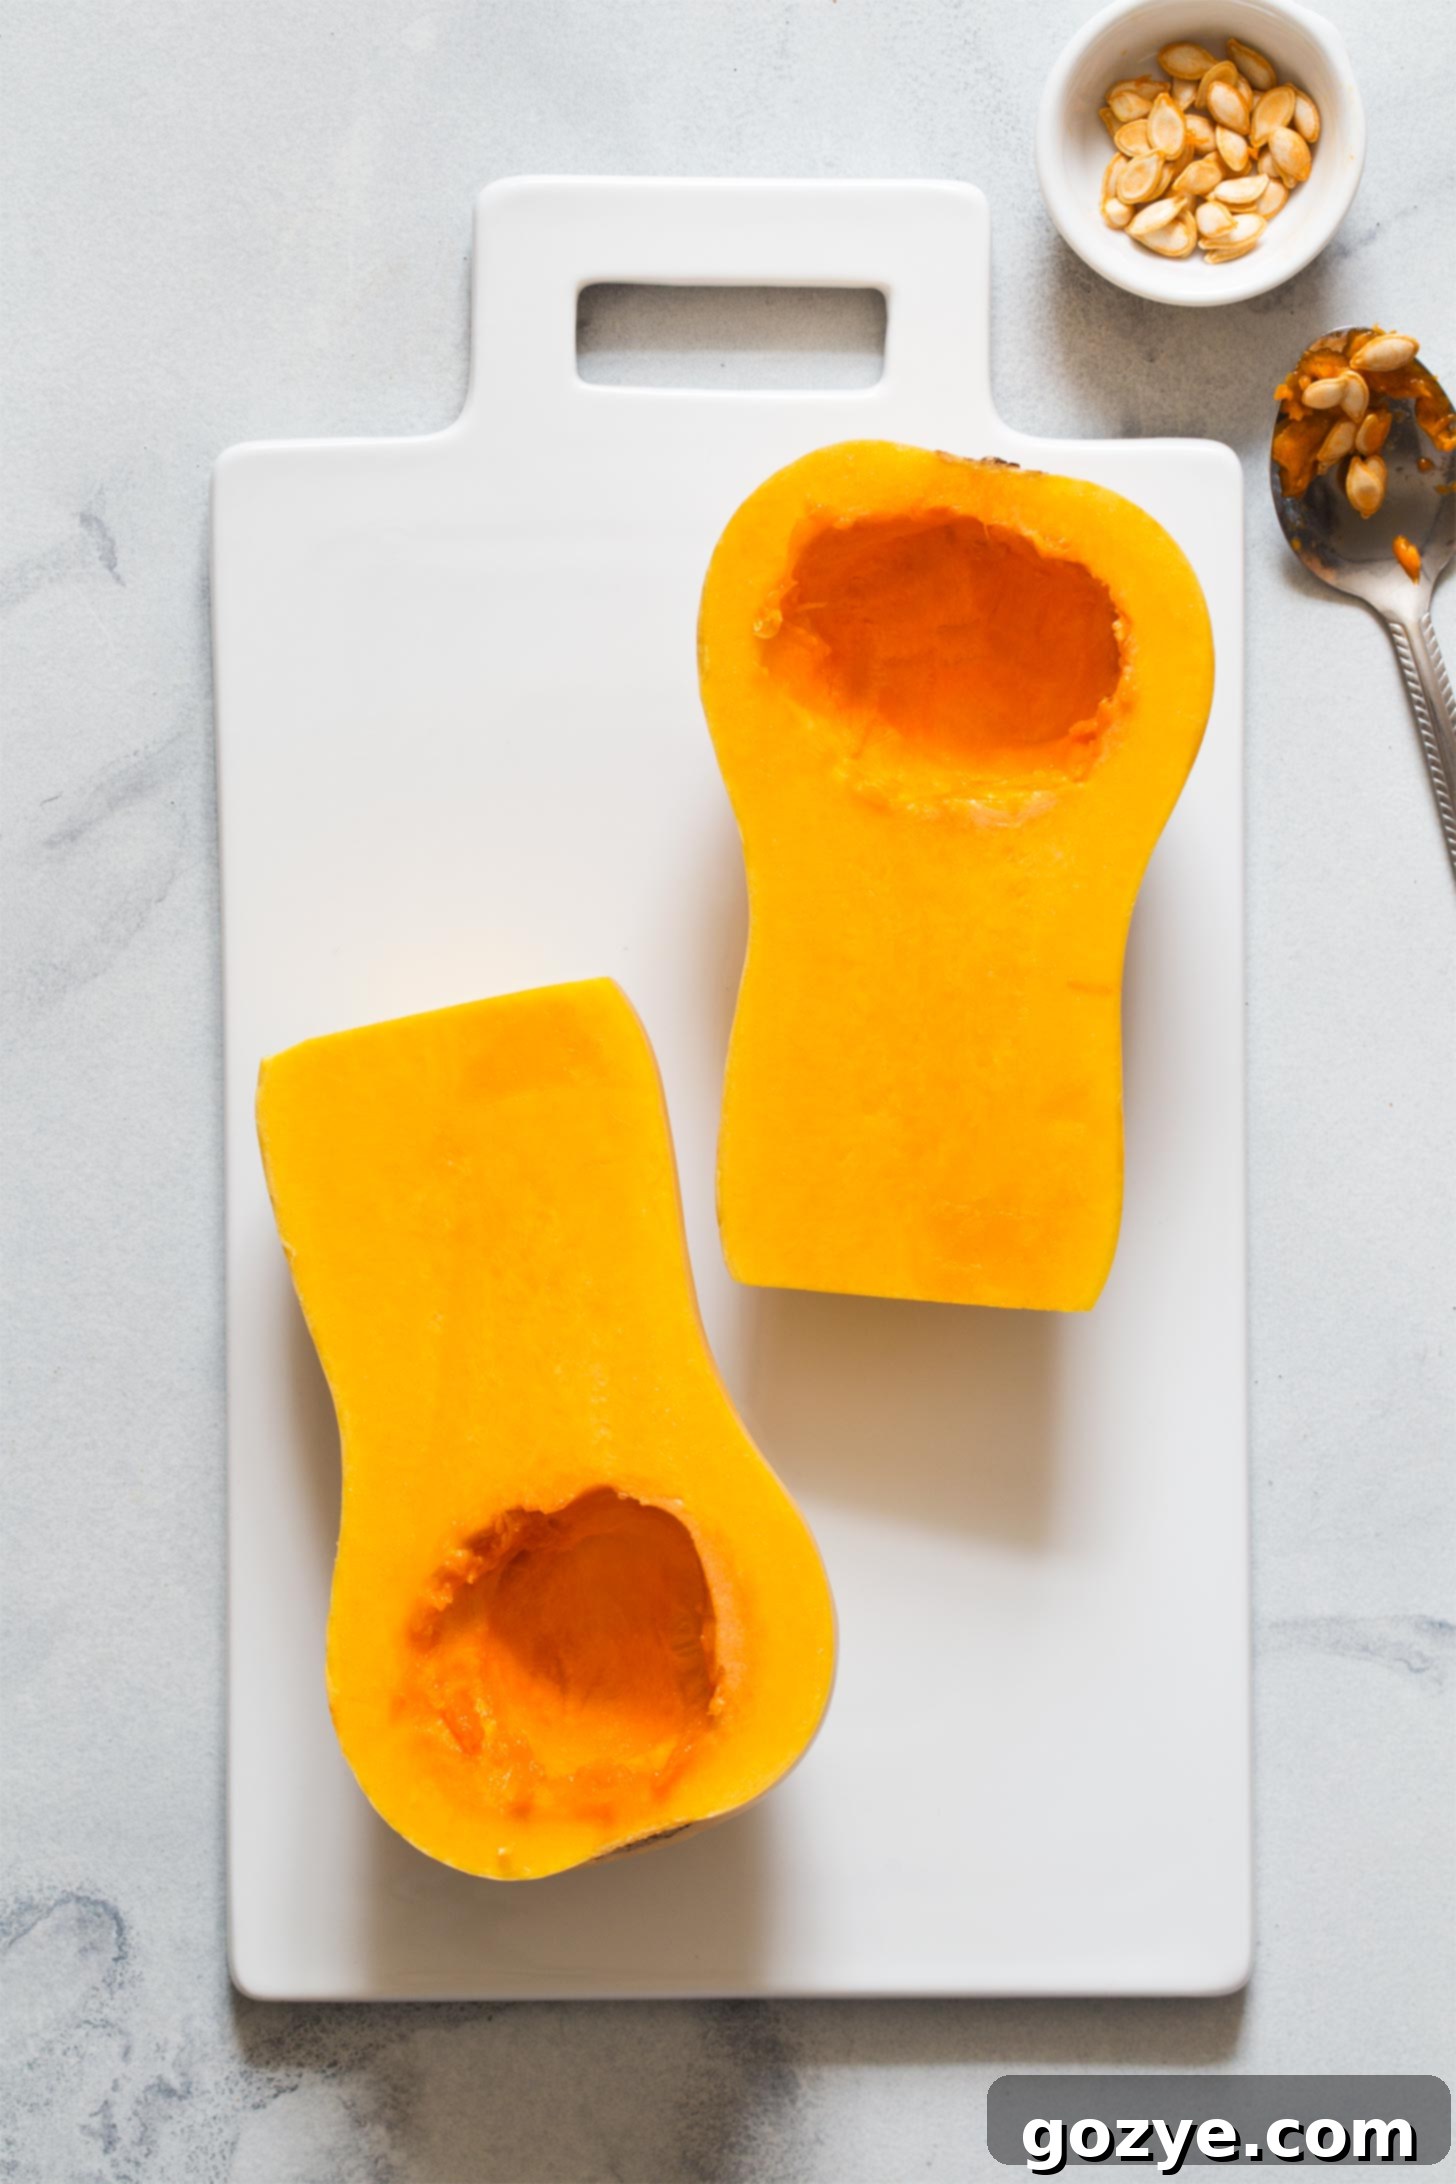
2. Scoop Out Seeds: Once cut, you’ll see the seeds and fibrous strands in the bulbous cavity. Use a spoon or an ice cream scoop to thoroughly scoop out all the seeds and stringy bits. You can save these seeds for roasting later (they make a fantastic snack!), or discard them.
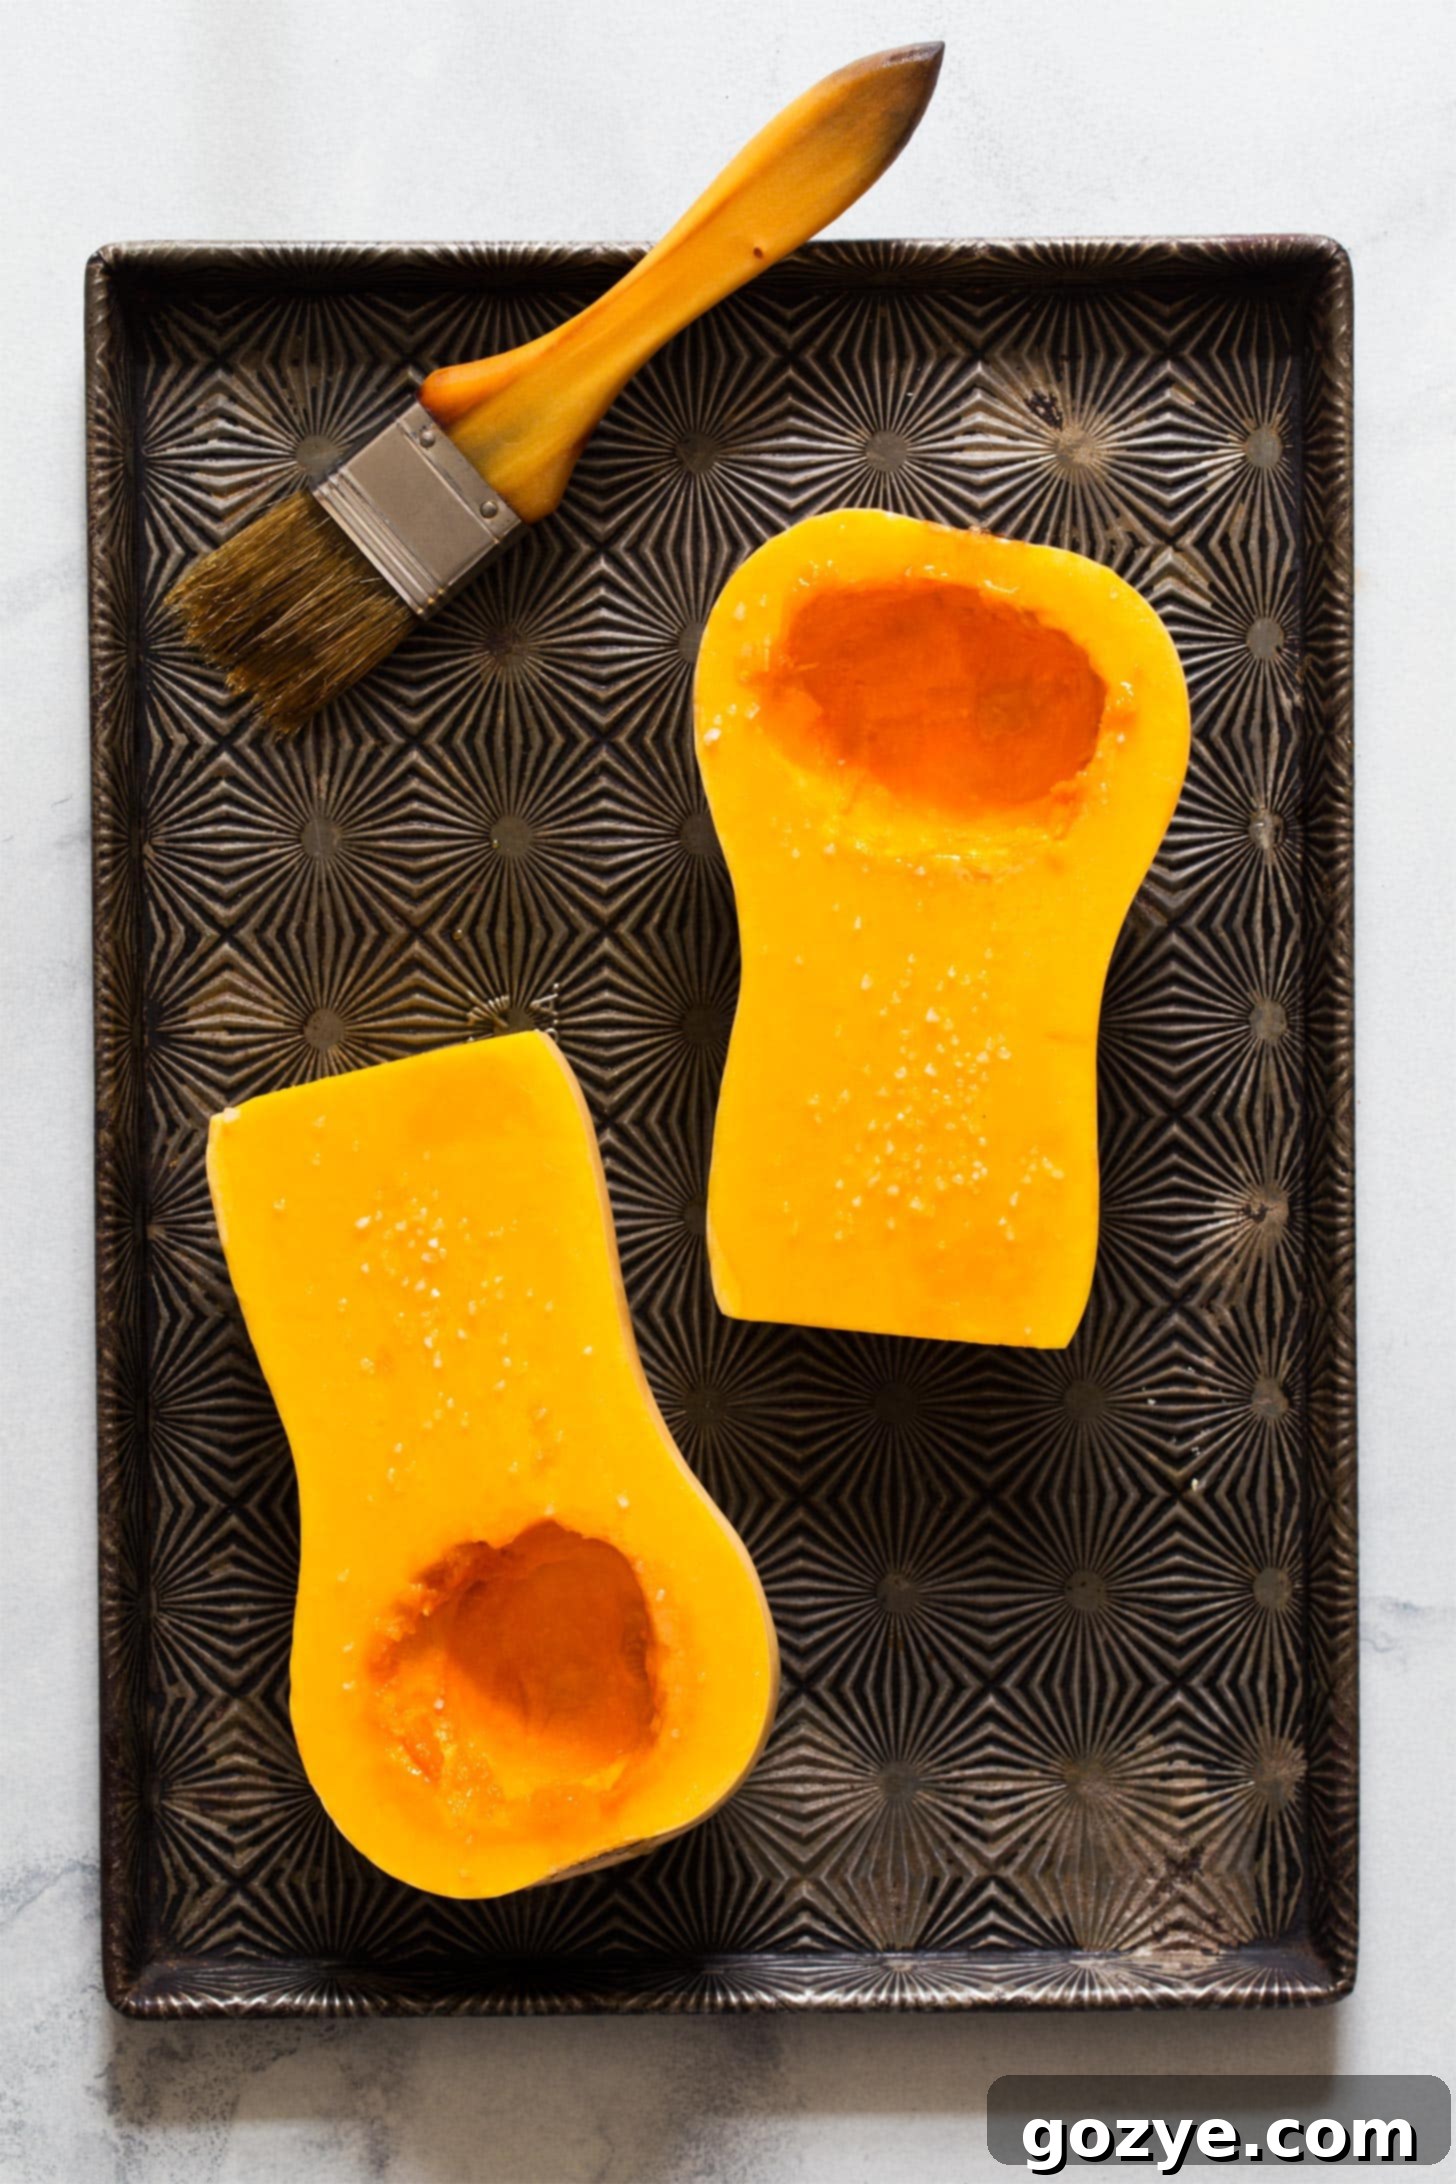
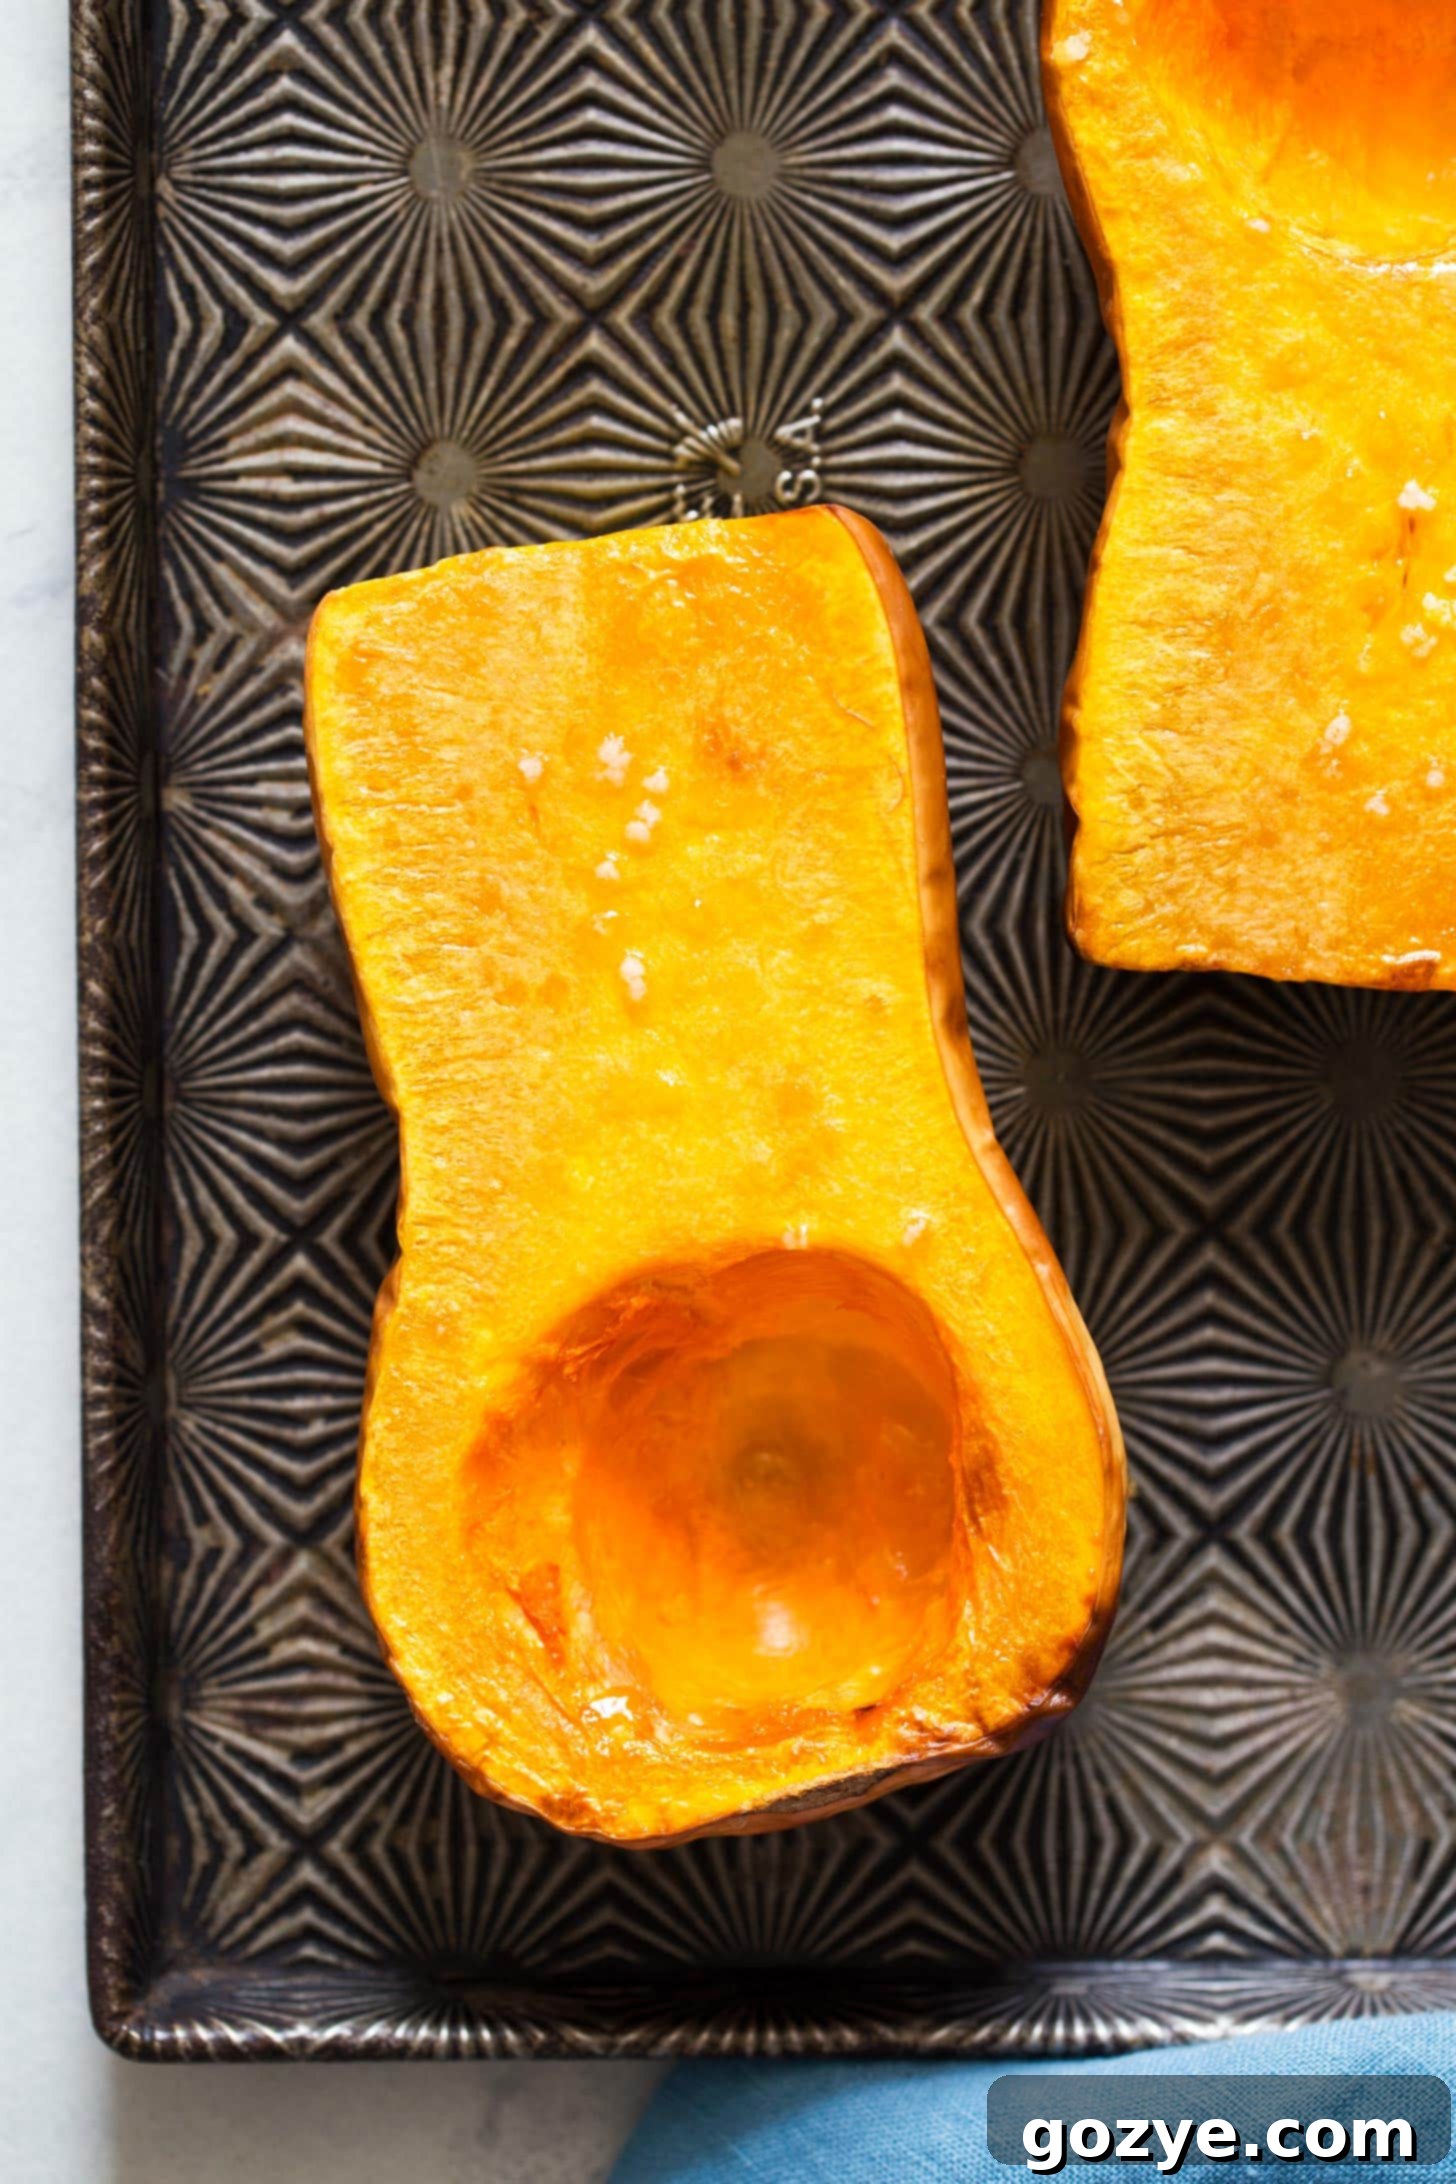
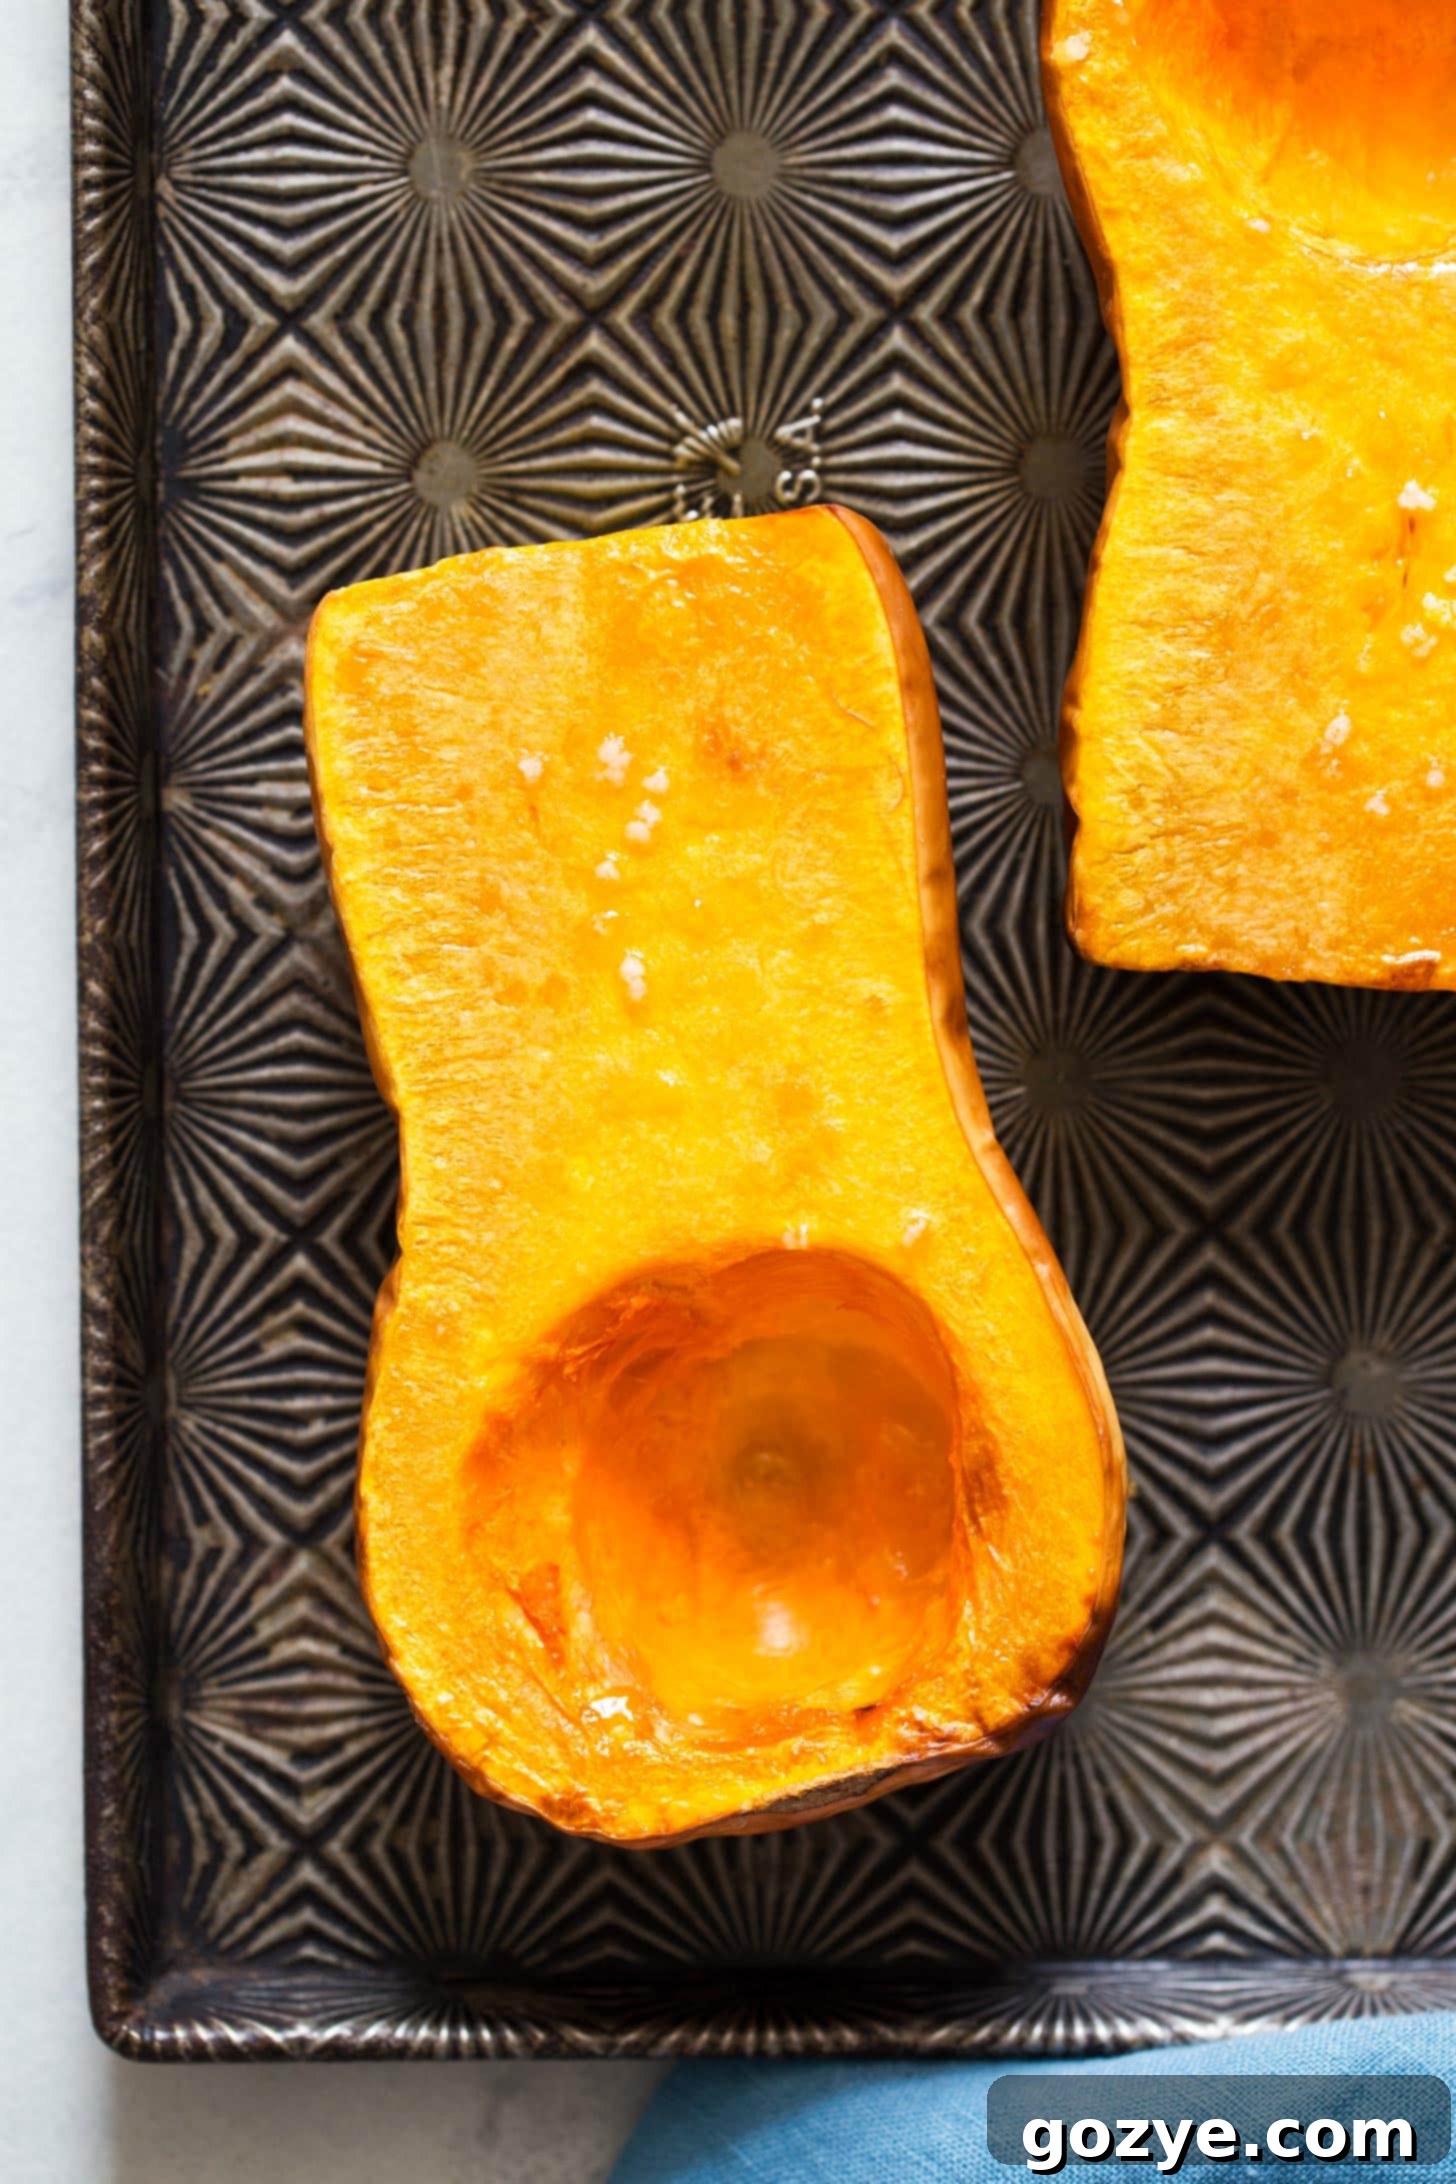
3. Season: Place each butternut squash half, cut-side up, on a baking sheet lined with parchment paper. Drizzle or brush a generous amount of olive oil over the cut surfaces. Then, sprinkle evenly with salt and any other desired seasonings (e.g., black pepper, garlic powder, or a hint of cinnamon and nutmeg for a sweeter profile).
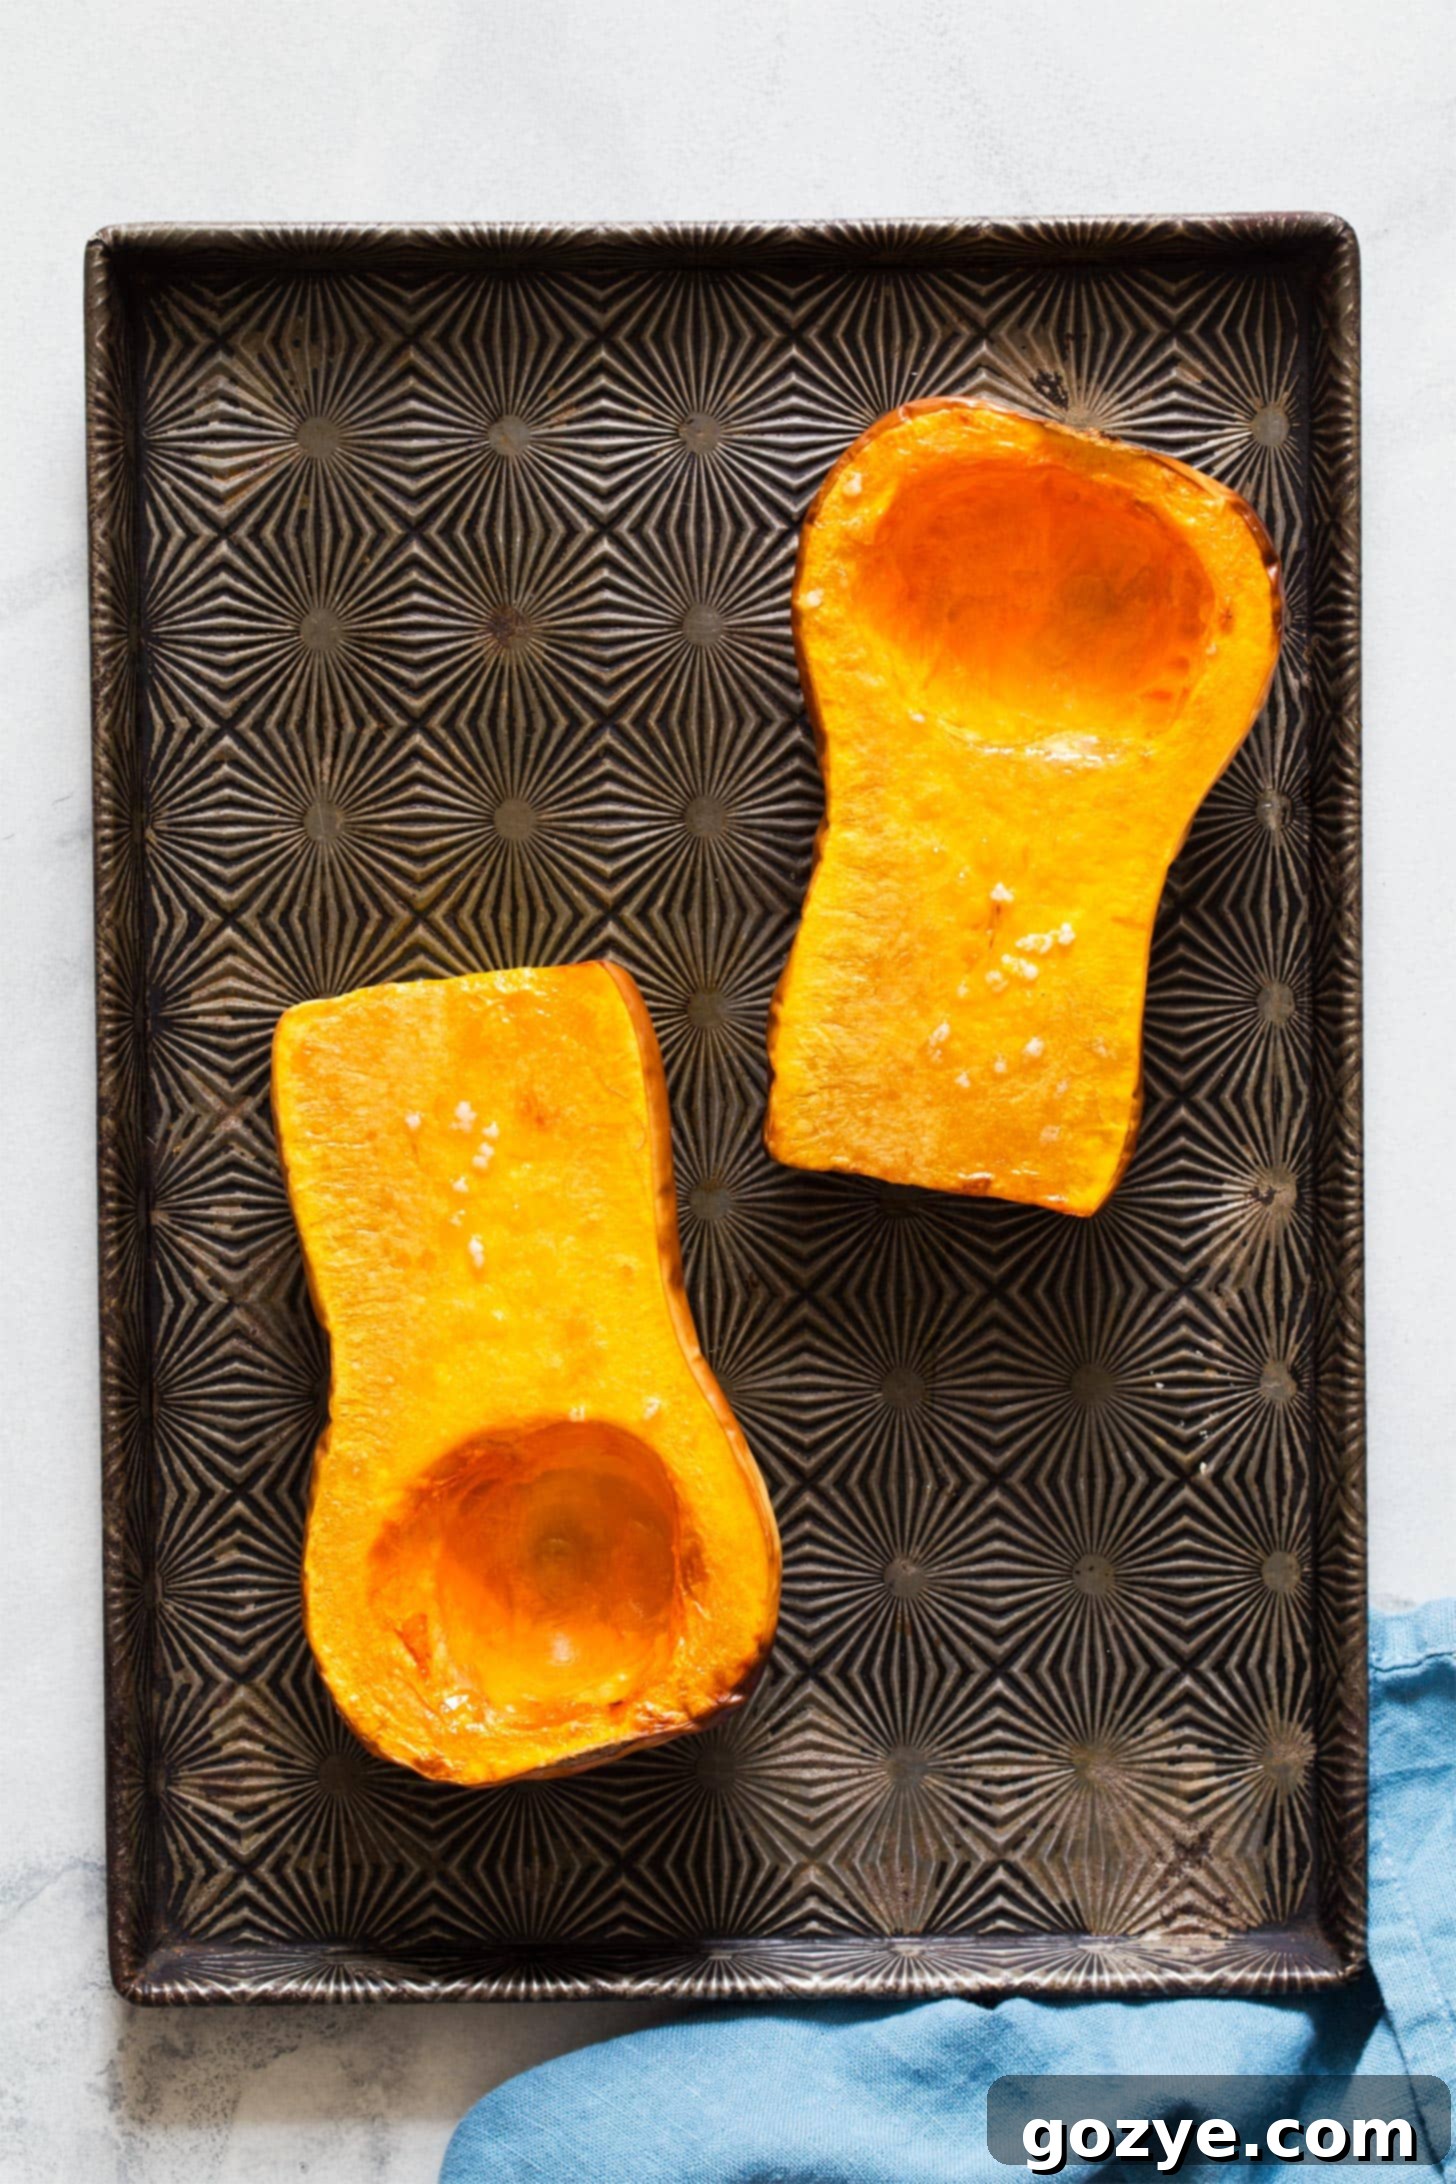
4. Bake: Preheat your oven to 400°F (200°C). Bake the squash halves for 30-45 minutes, or until they are completely soft and fork-tender. The exact baking time will vary depending on the size and thickness of your squash. A very large squash may even need up to an hour. You want the flesh to be easily pierced with a fork and slightly caramelized around the edges.
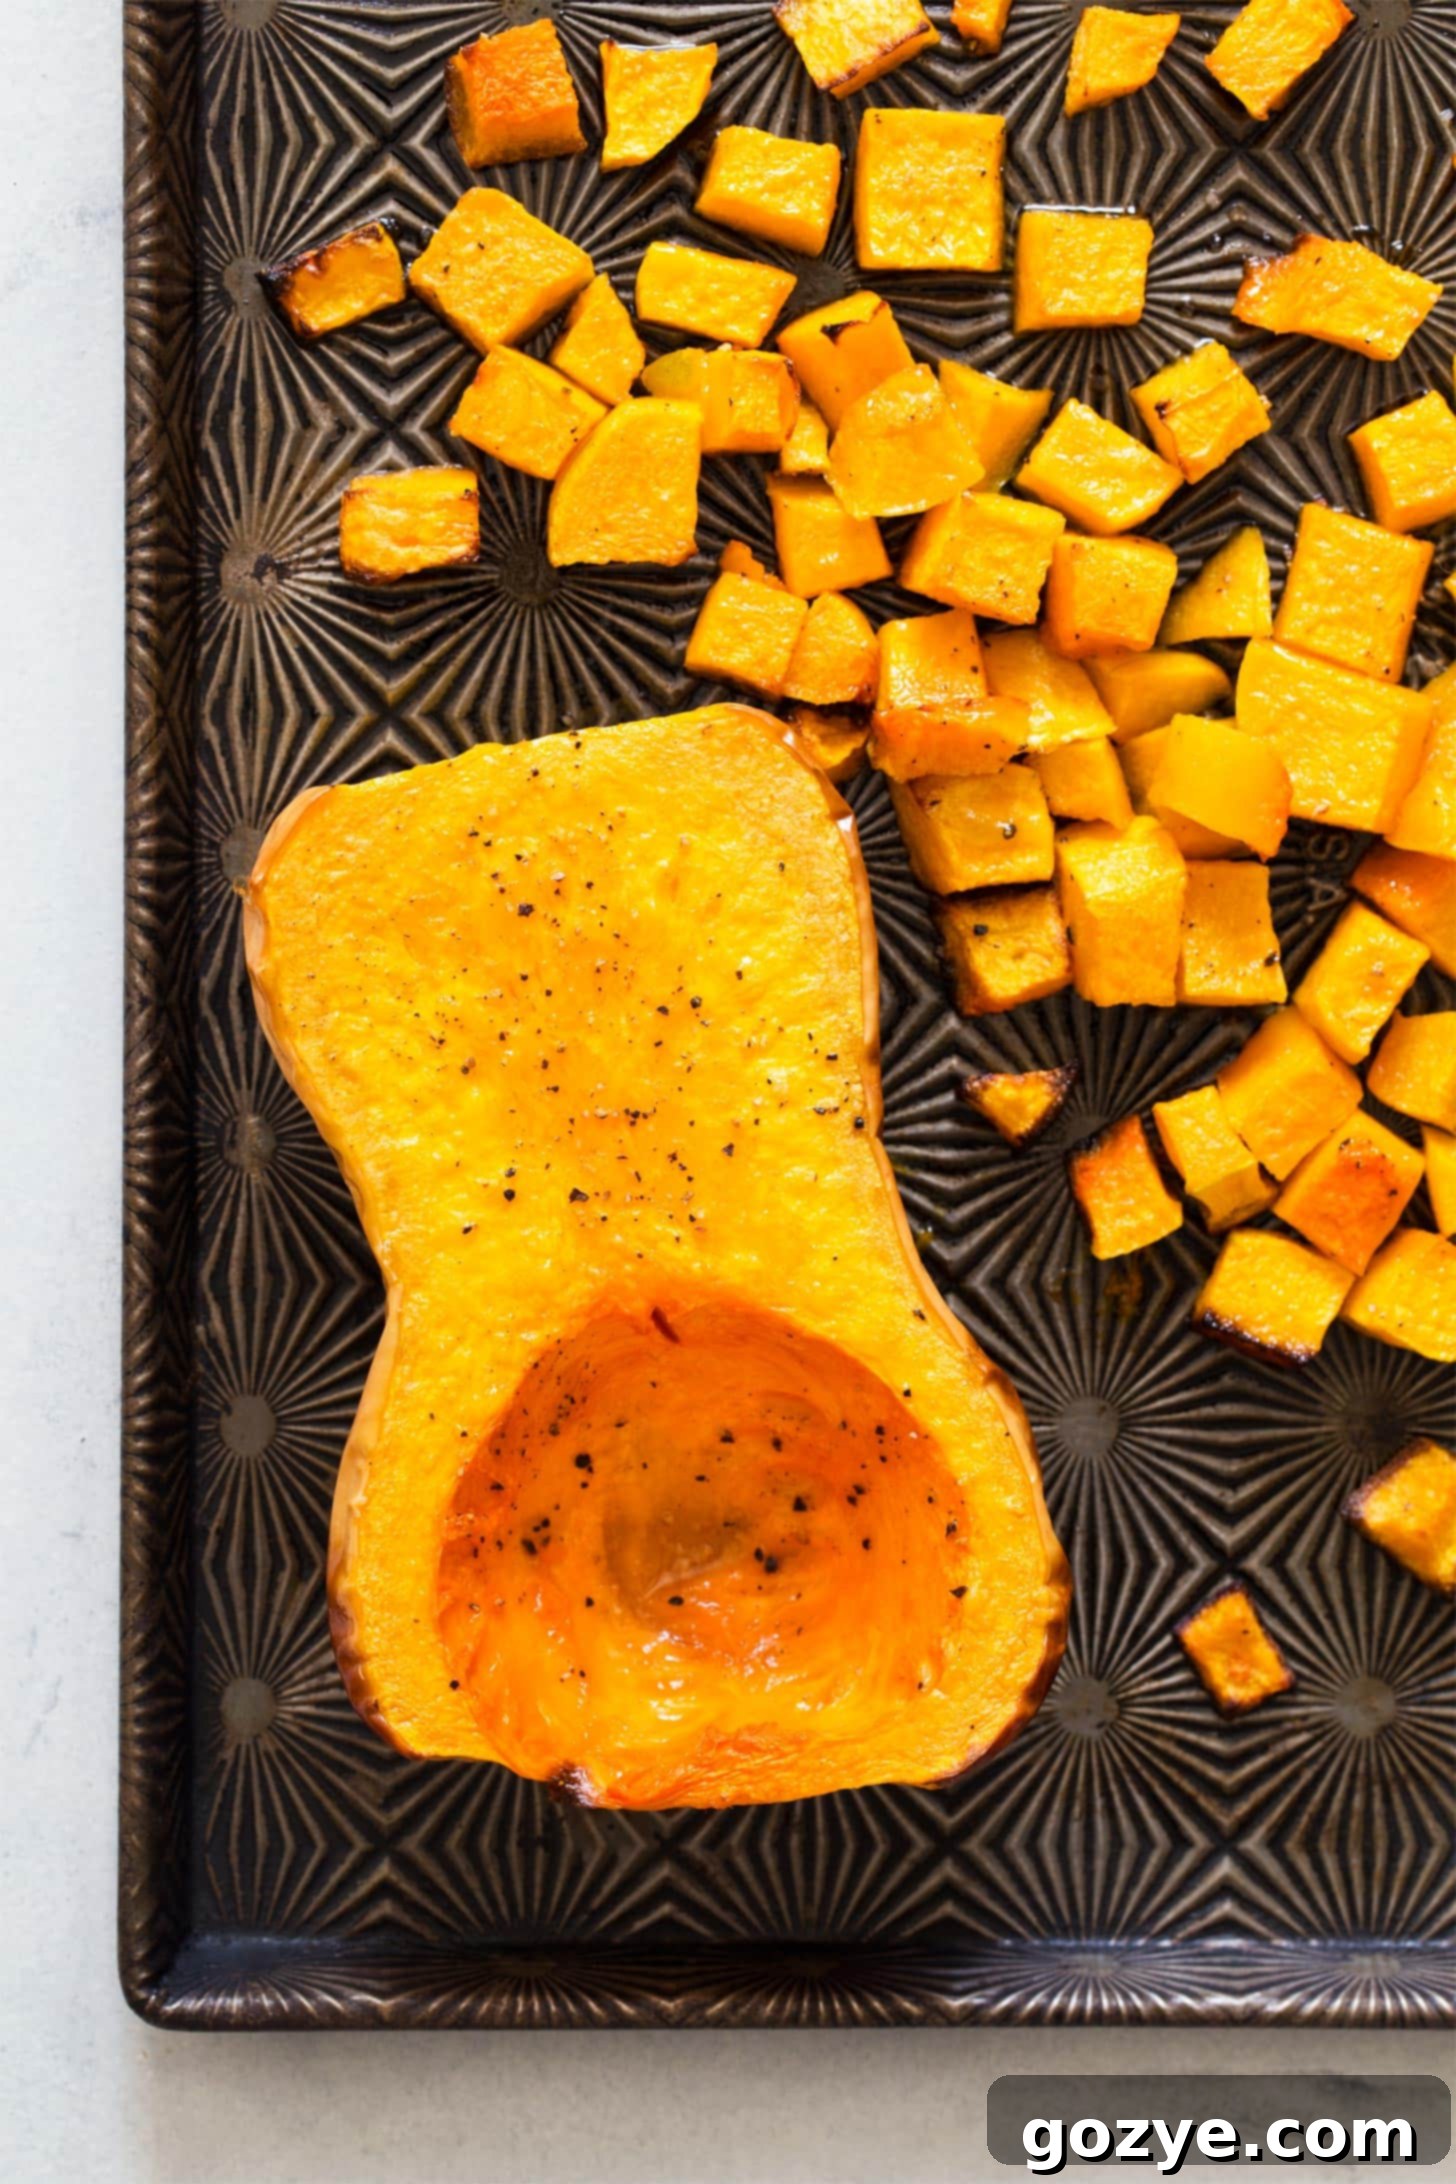
5. Cool and Serve: Once cooked, remove the squash from the oven and let it cool slightly. At this point, you can either scoop out the tender flesh to use in another recipe (like purees for soup or pies) or serve it as is, perhaps with a pat of butter or a drizzle of maple syrup. Leftover roasted halves can be refrigerated for up to 4 days.
How To Roast Butternut Squash Cubes
Roasting butternut squash cubes is a fantastic way to create a versatile side dish or an ingredient for salads and grain bowls. The preparation is similar to halves but includes a crucial extra step: peeling.

1. Peel the Squash: Since you’ll be eating the entire cube, it’s essential to peel the squash first. This is much easier to do with the squash whole before you start cutting it. Use a sturdy vegetable peeler (a Y-peeler works wonderfully) to remove the tough outer skin. Be firm, as the skin can be quite resistant. You may need to trim a thin slice from the top and bottom to create a flat, stable surface.
2. Cut and Deseed: Once peeled, carefully cut the squash in half vertically, from top to bottom. Use a spoon or ice cream scoop to remove all the seeds and stringy bits from the cavity. As with the halves, you can save the seeds for roasting.
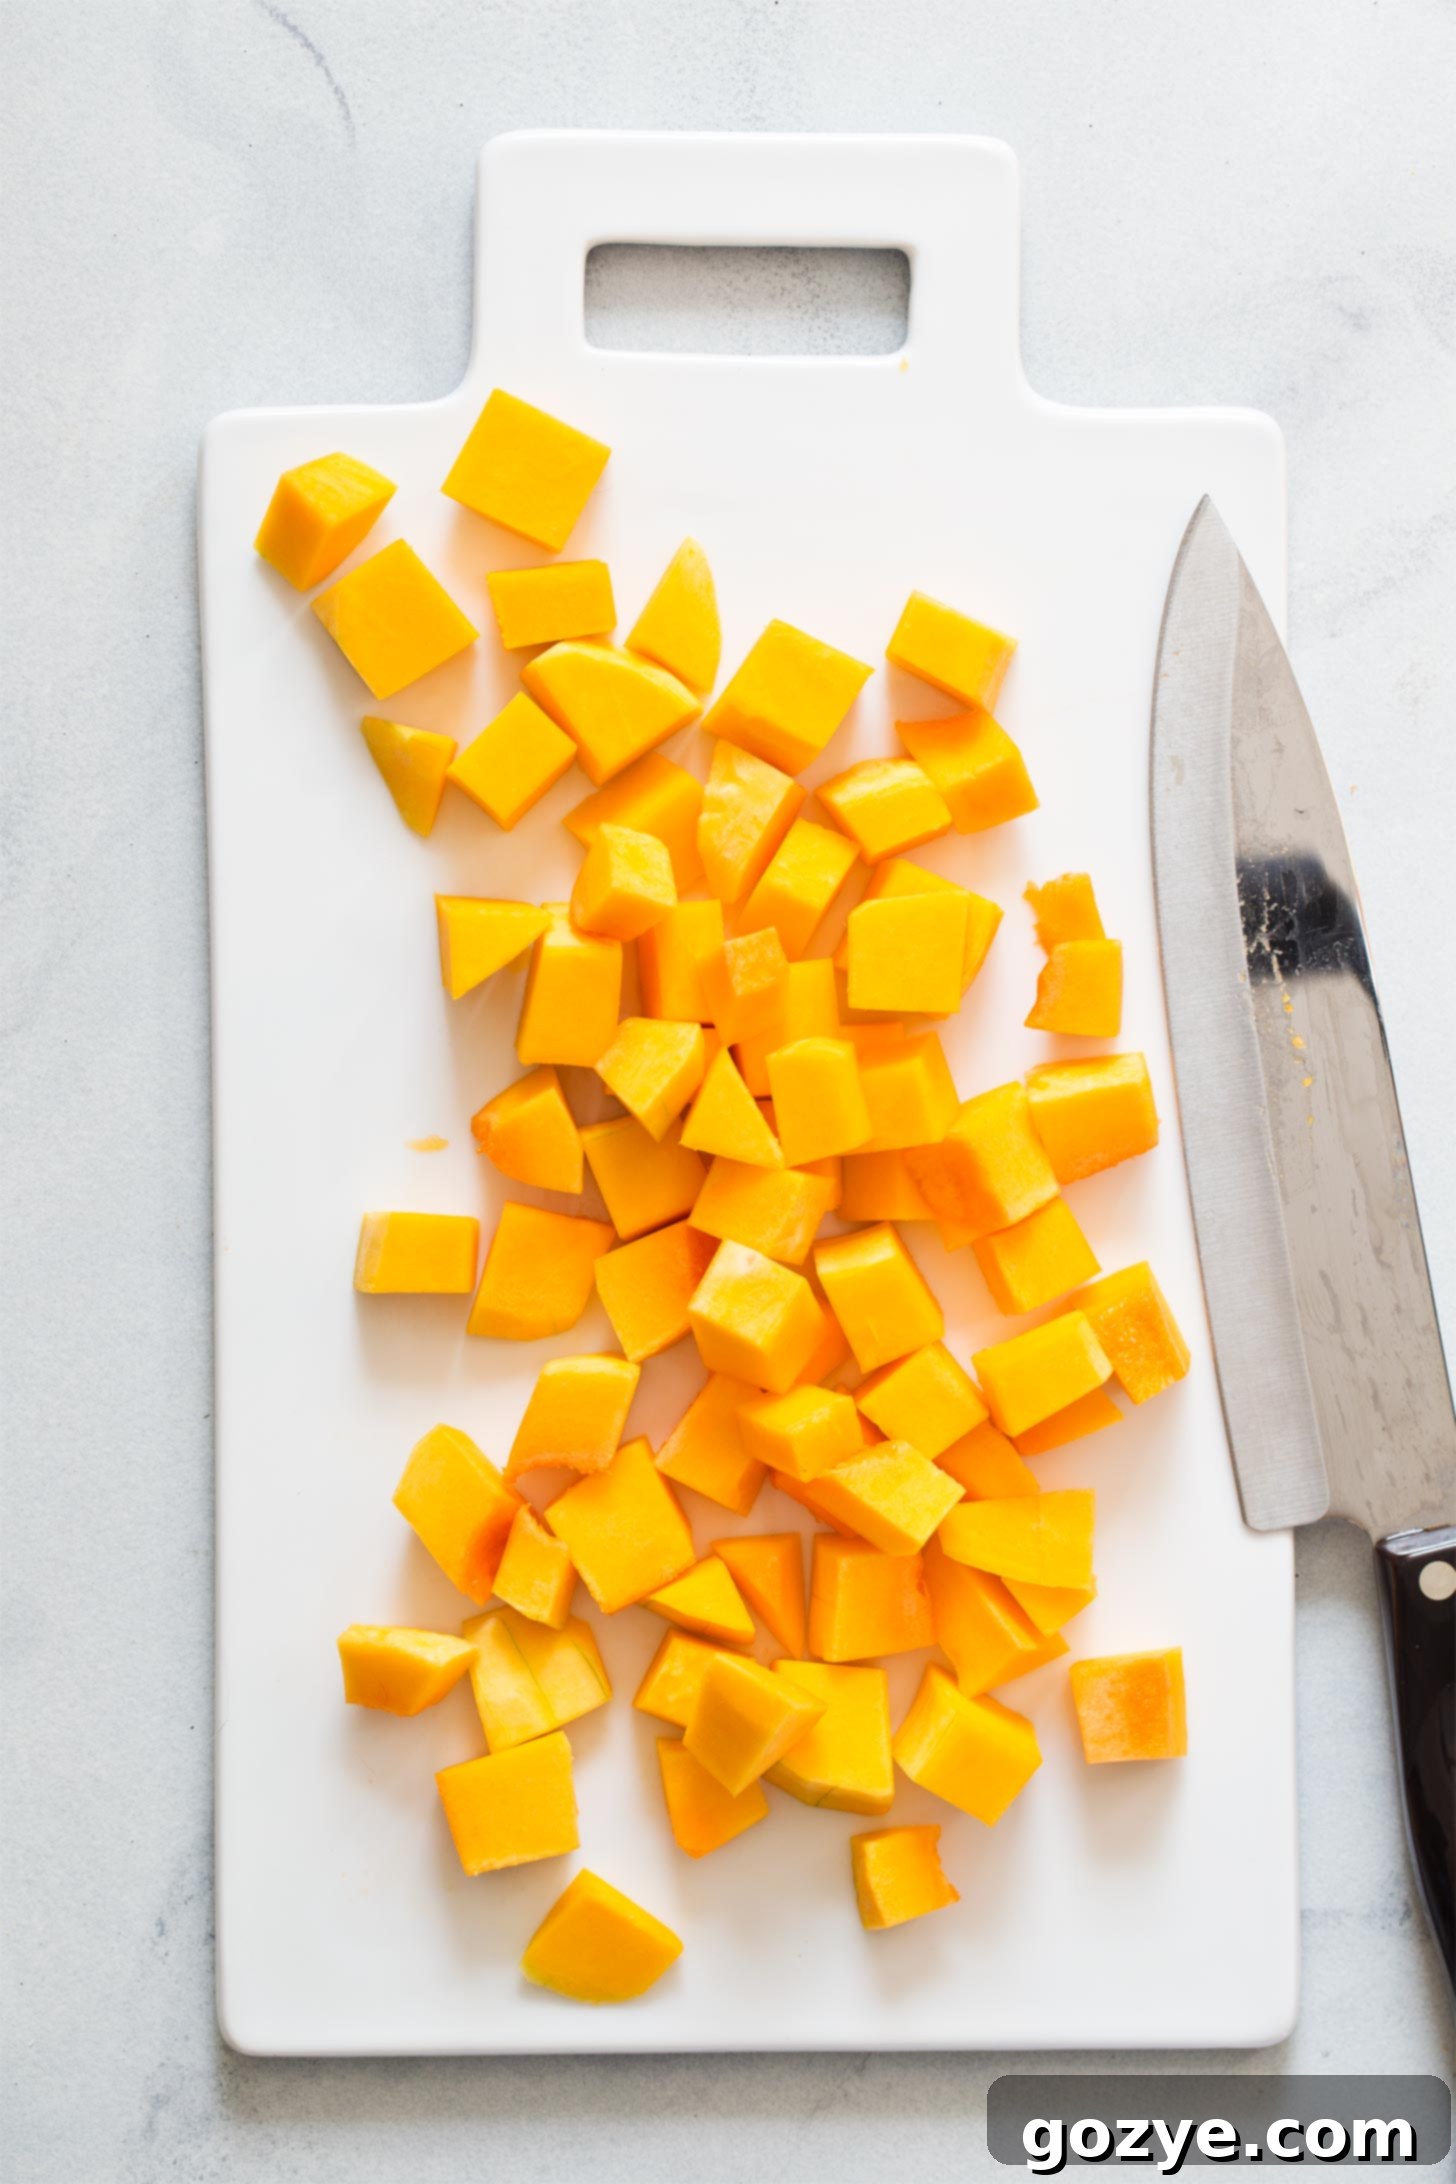
3. Dice into Cubes: Take each squash half and carefully slice it into roughly 1-inch thick pieces, then dice these pieces into 1-inch cubes. It’s okay if they’re not perfectly square, especially around the former seed cavity. The goal is to make them as close to the same size as possible to ensure even cooking. Uniform cubes will roast more consistently, preventing some pieces from becoming mushy while others are still hard.
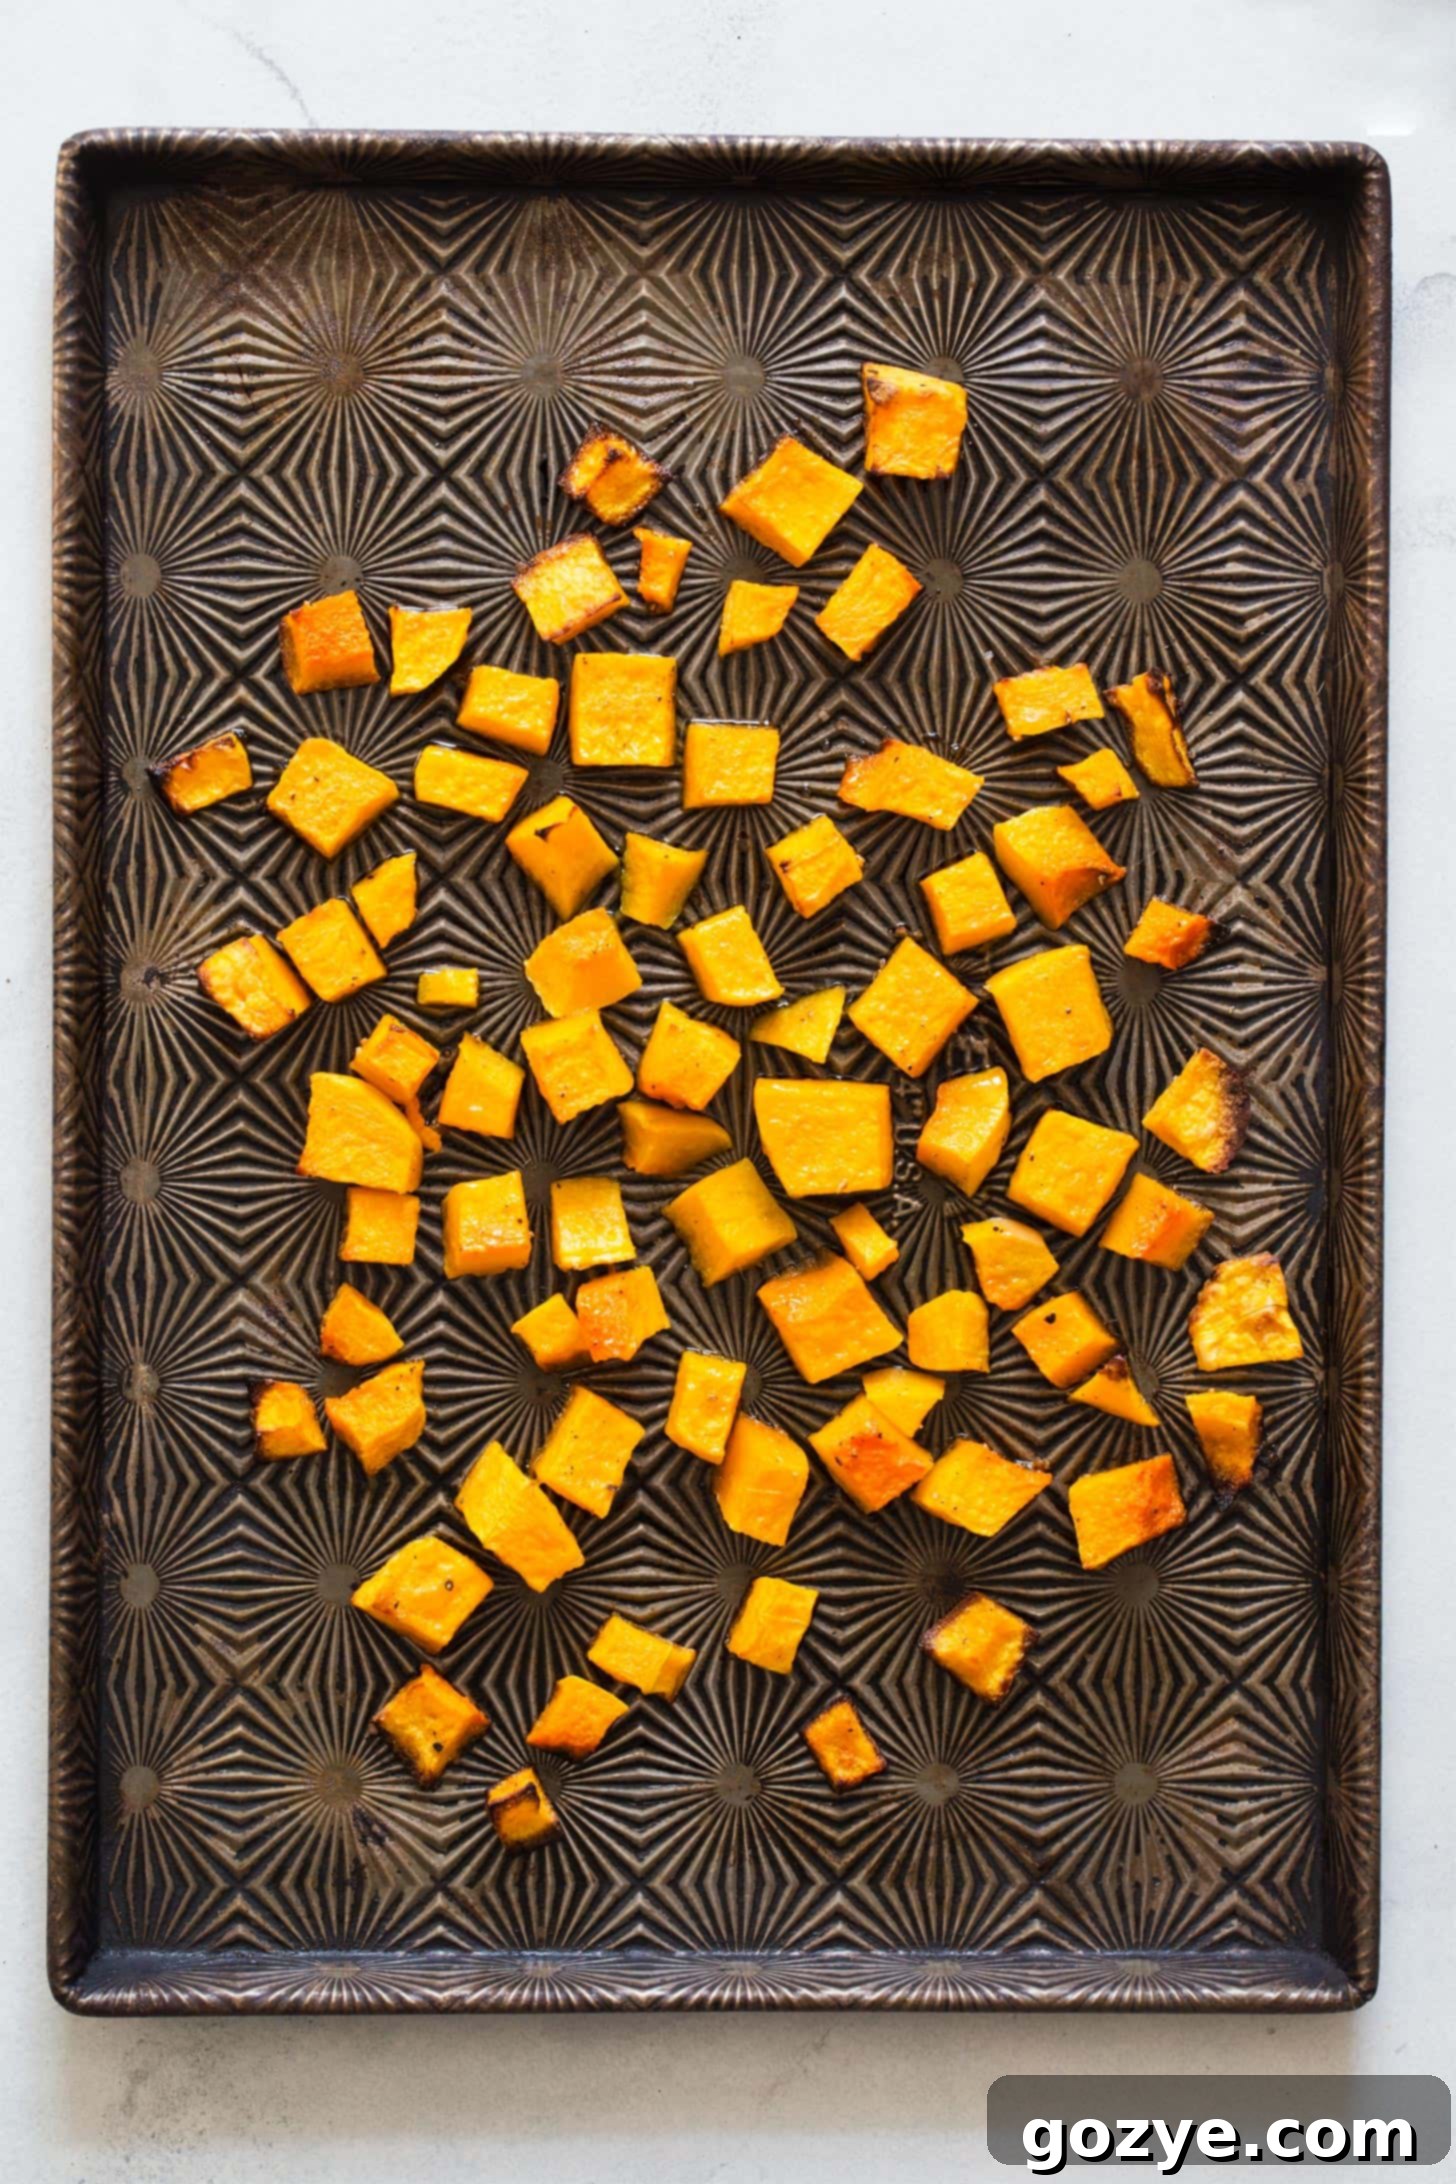
4. Season and Arrange: Place the diced butternut squash into a large bowl. Drizzle generously with olive oil, then sprinkle with salt and any other desired seasonings. Toss everything together thoroughly to ensure each cube is lightly coated. Spread the seasoned squash cubes in a single layer on a baking sheet lined with parchment paper. Avoid overcrowding the pan, as this can steam the squash instead of roasting it, preventing that lovely caramelization. If necessary, use two baking sheets.
5. Bake: Preheat your oven to 400°F (200°C). Bake for 30-45 minutes, stirring the cubes halfway through for even browning. The squash is done when it’s soft, fork-tender, and has a beautiful golden-brown caramelization on the edges.
Regardless of whether you choose halves or cubes, allow the roasted squash to cool completely before storing. Leftover baked squash can be refrigerated in an airtight container for up to 4 days, making it perfect for meal prep throughout the week. You can also freeze roasted butternut squash for longer storage. Simply spread the cooled squash on a baking sheet and freeze until solid, then transfer to a freezer-safe bag or container for up to 3 months. Reheat from frozen in the oven or microwave.
Butternut Squash Recipes to Try
So you’ve successfully roasted a pan of tender, flavorful butternut squash. Now what? While it’s delicious enough to enjoy straight from the pan with a fork, roasted butternut squash is also an incredibly versatile ingredient that can elevate numerous dishes. If you’re looking to transform your roasted squash into something new and exciting, here are some deliciously comforting butternut squash recipes to inspire you:
- Butternut Squash Alfredo: Creamy and comforting, this pasta dish is a fantastic way to incorporate roasted squash into a hearty meal.
- Butternut Squash Crumble: A unique twist on a classic dessert or a sweet side, perfect for fall.
- Butternut Squash Noodles by Foxes Love Lemons: A lighter, vibrant alternative to traditional pasta, bursting with flavor.
- Instant Pot Butternut Squash Soup by Foxes Love Lemons: A quick and easy way to enjoy the creamy goodness of butternut squash in soup form.
- Butternut Squash Enchiladas by Two Peas and Their Pod: A hearty and flavorful vegetarian main course that’s sure to impress.

How To Roast Butternut Squash
1 whole squash
15 minutes
45 minutes
1 hour
Now that it’s winter squash season, it’s time to learn how to roast butternut squash perfectly in the oven! Whether you are baking butternut squash halves to use in another recipe or as butternut squash cubes to serve as a comforting side dish, it’s one of the easiest methods you can do.
Ingredients
- 1 medium butternut squash (approx. 2-3 lbs)
- 2-3 tablespoons olive oil, for brushing
- 1/2 teaspoon kosher or sea salt, to taste
- Other seasonings such as garlic powder, onion powder, black pepper, or fajita seasoning (optional)
Instructions
- Preheat oven to 400°F (200°C). Line a large baking sheet with parchment paper for easier cleanup.
For butternut squash halves
- Wash the squash, then carefully cut off both ends. Using a sturdy chef’s knife, cut the squash vertically down the middle.
If the squash is too hard to cut, prick it all over with a fork and microwave for 2-3 minutes to soften it slightly.
- Use a spoon or ice cream scoop to remove the seeds and fibrous strands from both halves. You can save the seeds for roasting or discard them.
- Place each half cut-side up on the prepared baking sheet. Drizzle or brush generously with olive oil, then sprinkle evenly with salt and any desired seasonings.
- Bake for 30-45 minutes, or until the squash is completely soft and fork-tender. Cooking time will vary based on the size of your squash.
For butternut squash cubes
- First, peel the entire squash using a sturdy vegetable peeler. This is much easier before cutting the squash. Then, cut the peeled squash in half vertically.
- Scoop out all the seeds and fibrous material. Save the seeds for roasting later or discard.
- Dice each squash half into roughly 1-inch cubes. Try to make the cubes as uniform in size as possible for even cooking.
- Transfer the cubes to a large bowl. Toss with olive oil, salt, and any desired seasonings until evenly coated. Spread the seasoned cubes in a single layer on the prepared baking sheet, ensuring not to overcrowd the pan.
- Bake for 30-45 minutes, stirring halfway through, until the cubes are soft, fork-tender, and lightly caramelized.
Cool completely. Serve immediately as a side dish, or use as directed in another recipe. Leftover roasted squash can be stored in an airtight container in the refrigerator for up to 4 days. You can also freeze cooled roasted squash for longer storage.
Notes
- Roasted butternut squash makes an excellent side dish. Serve it alongside roasted meats like turkey tenderloin, chicken, pork, or even a festive stuffed Cornish hen.
- Beyond a side, roasted butternut squash is a versatile ingredient. Mash it for a creamy puree, add it to salads, stir it into pasta dishes, or blend it into soups.
- For more recipe inspiration, explore options like Butternut Squash Alfredo and Stuffed Butternut Squash.
- Experiment with different spice blends. Sweet options include cinnamon and a touch of maple syrup, while savory choices can be rosemary, thyme, or a pinch of chili flakes for heat.
Did you make this recipe?
Let me know what you think! Rate the recipe above, leave a comment below, and/or share a photo on Instagram using #HITKrecipes
