Delicious & Healthy Roasted Butternut Squash Seeds: Your Ultimate Snack Guide
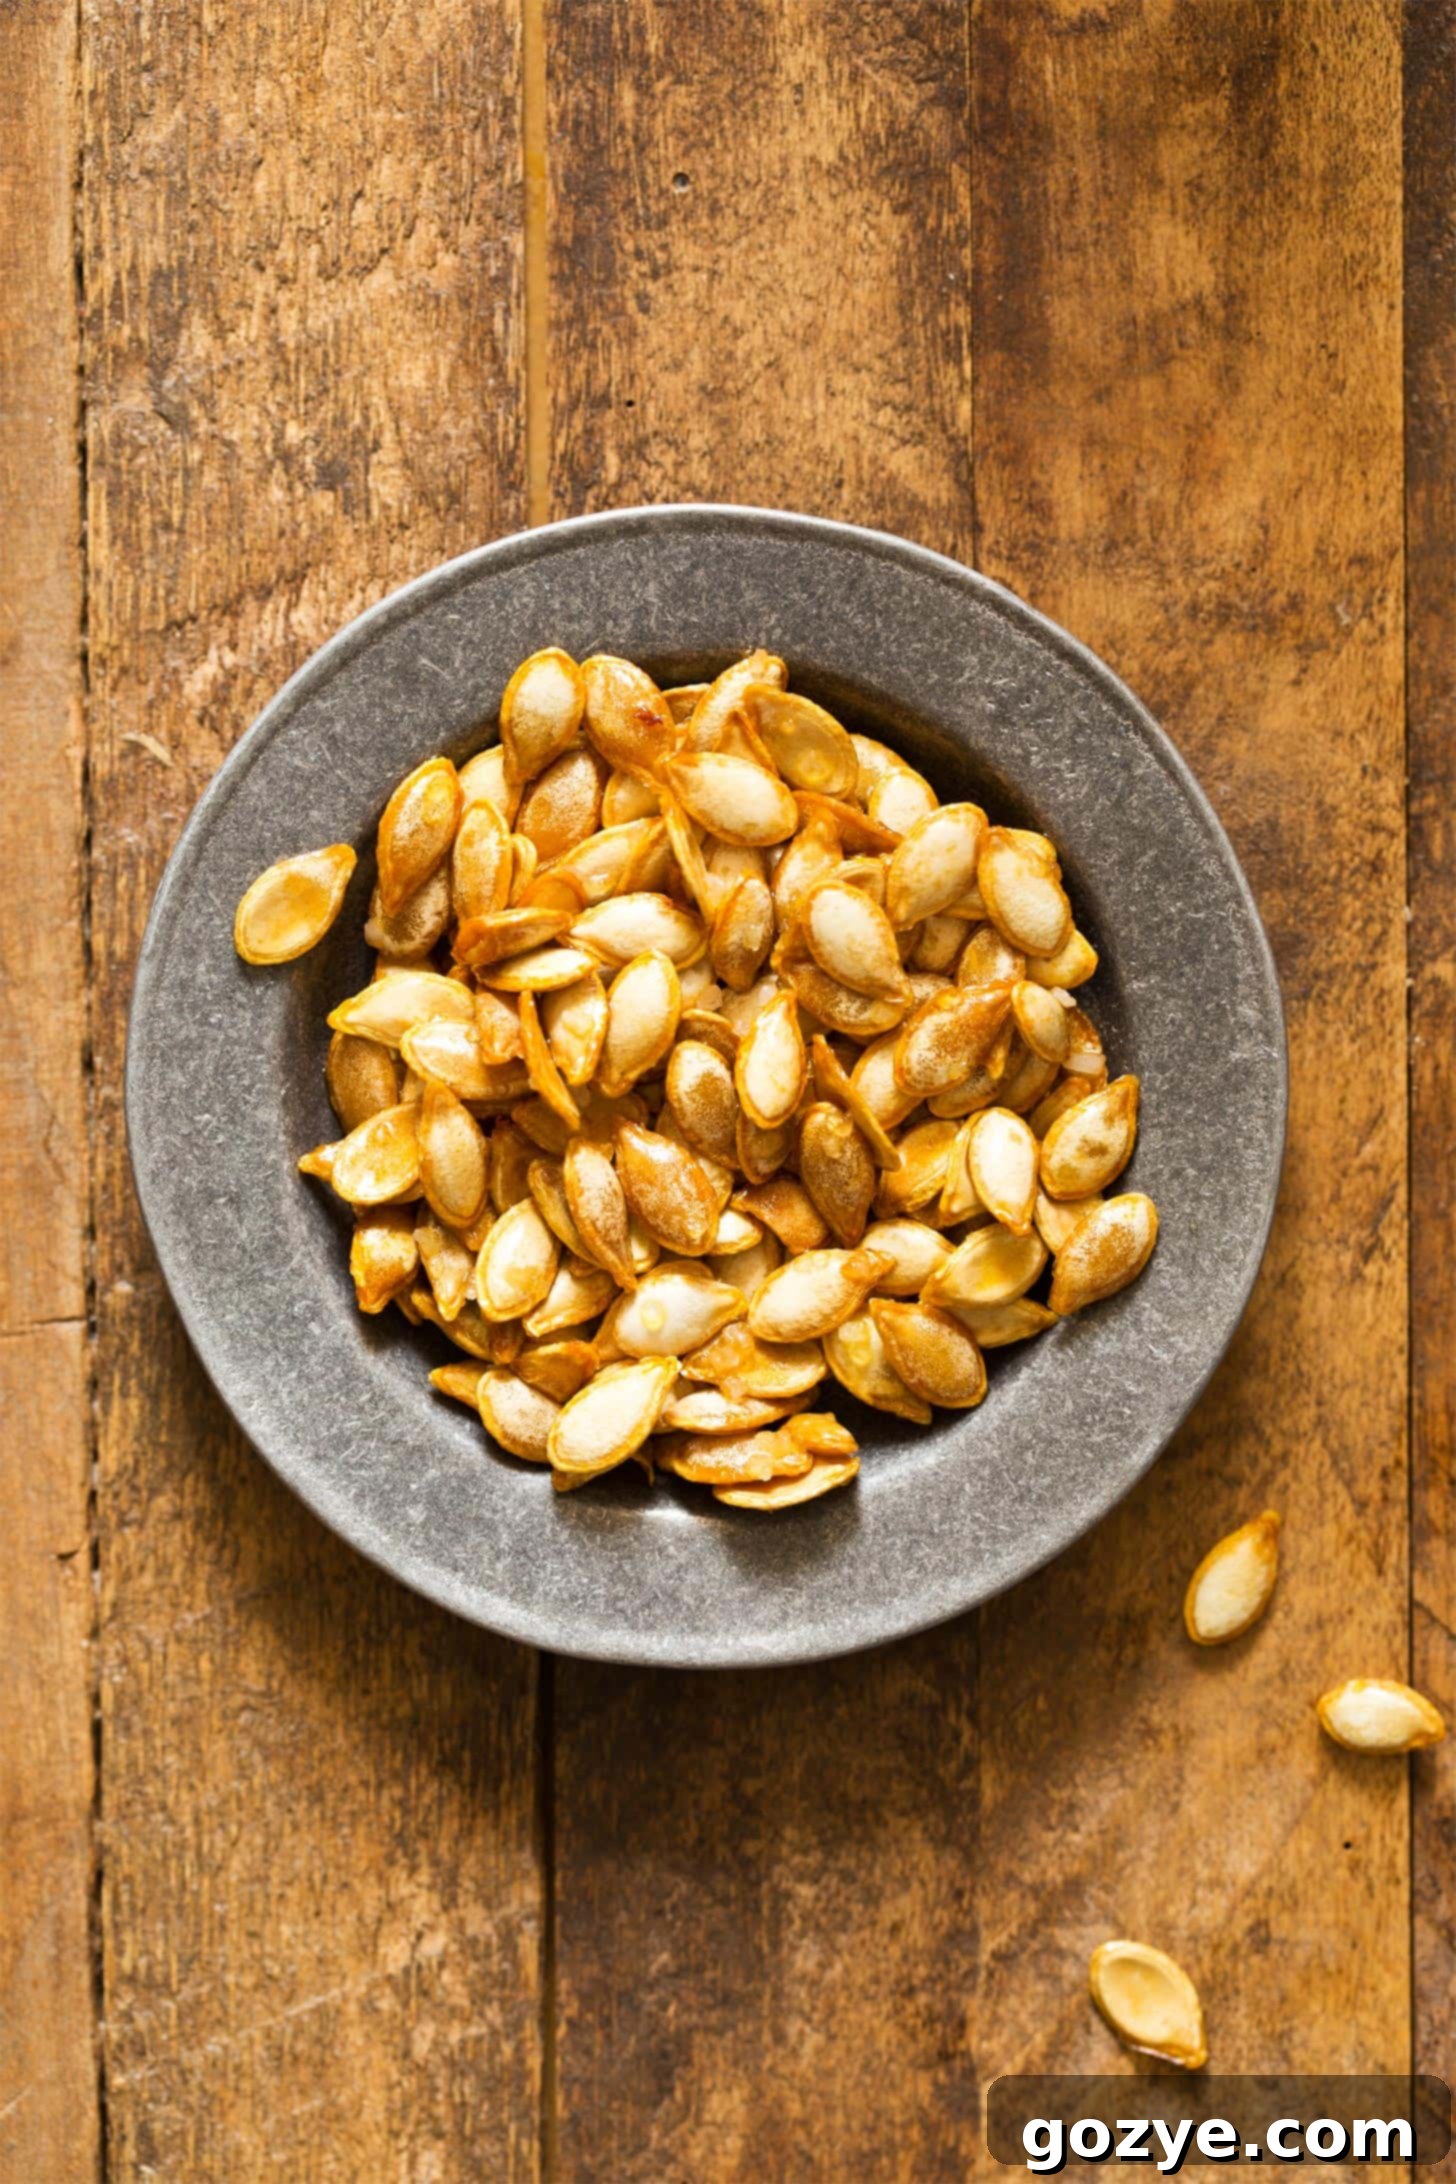
Don’t let those precious seeds go to waste this season! If you’re busy making delicious butternut squash recipes, pause before discarding those scooped-out seeds. You’re holding the key to a surprisingly easy, incredibly healthy, and irresistibly crunchy snack: Roasted Butternut Squash Seeds! Baked until golden brown and perfectly crispy, these little gems are not only a fantastic snack on their own but also make a delightful, nutty garnish for a wide array of dishes, from hearty soups to fresh, vibrant salads. Embrace the goodness of zero-waste cooking and transform your squash leftovers into a culinary delight.
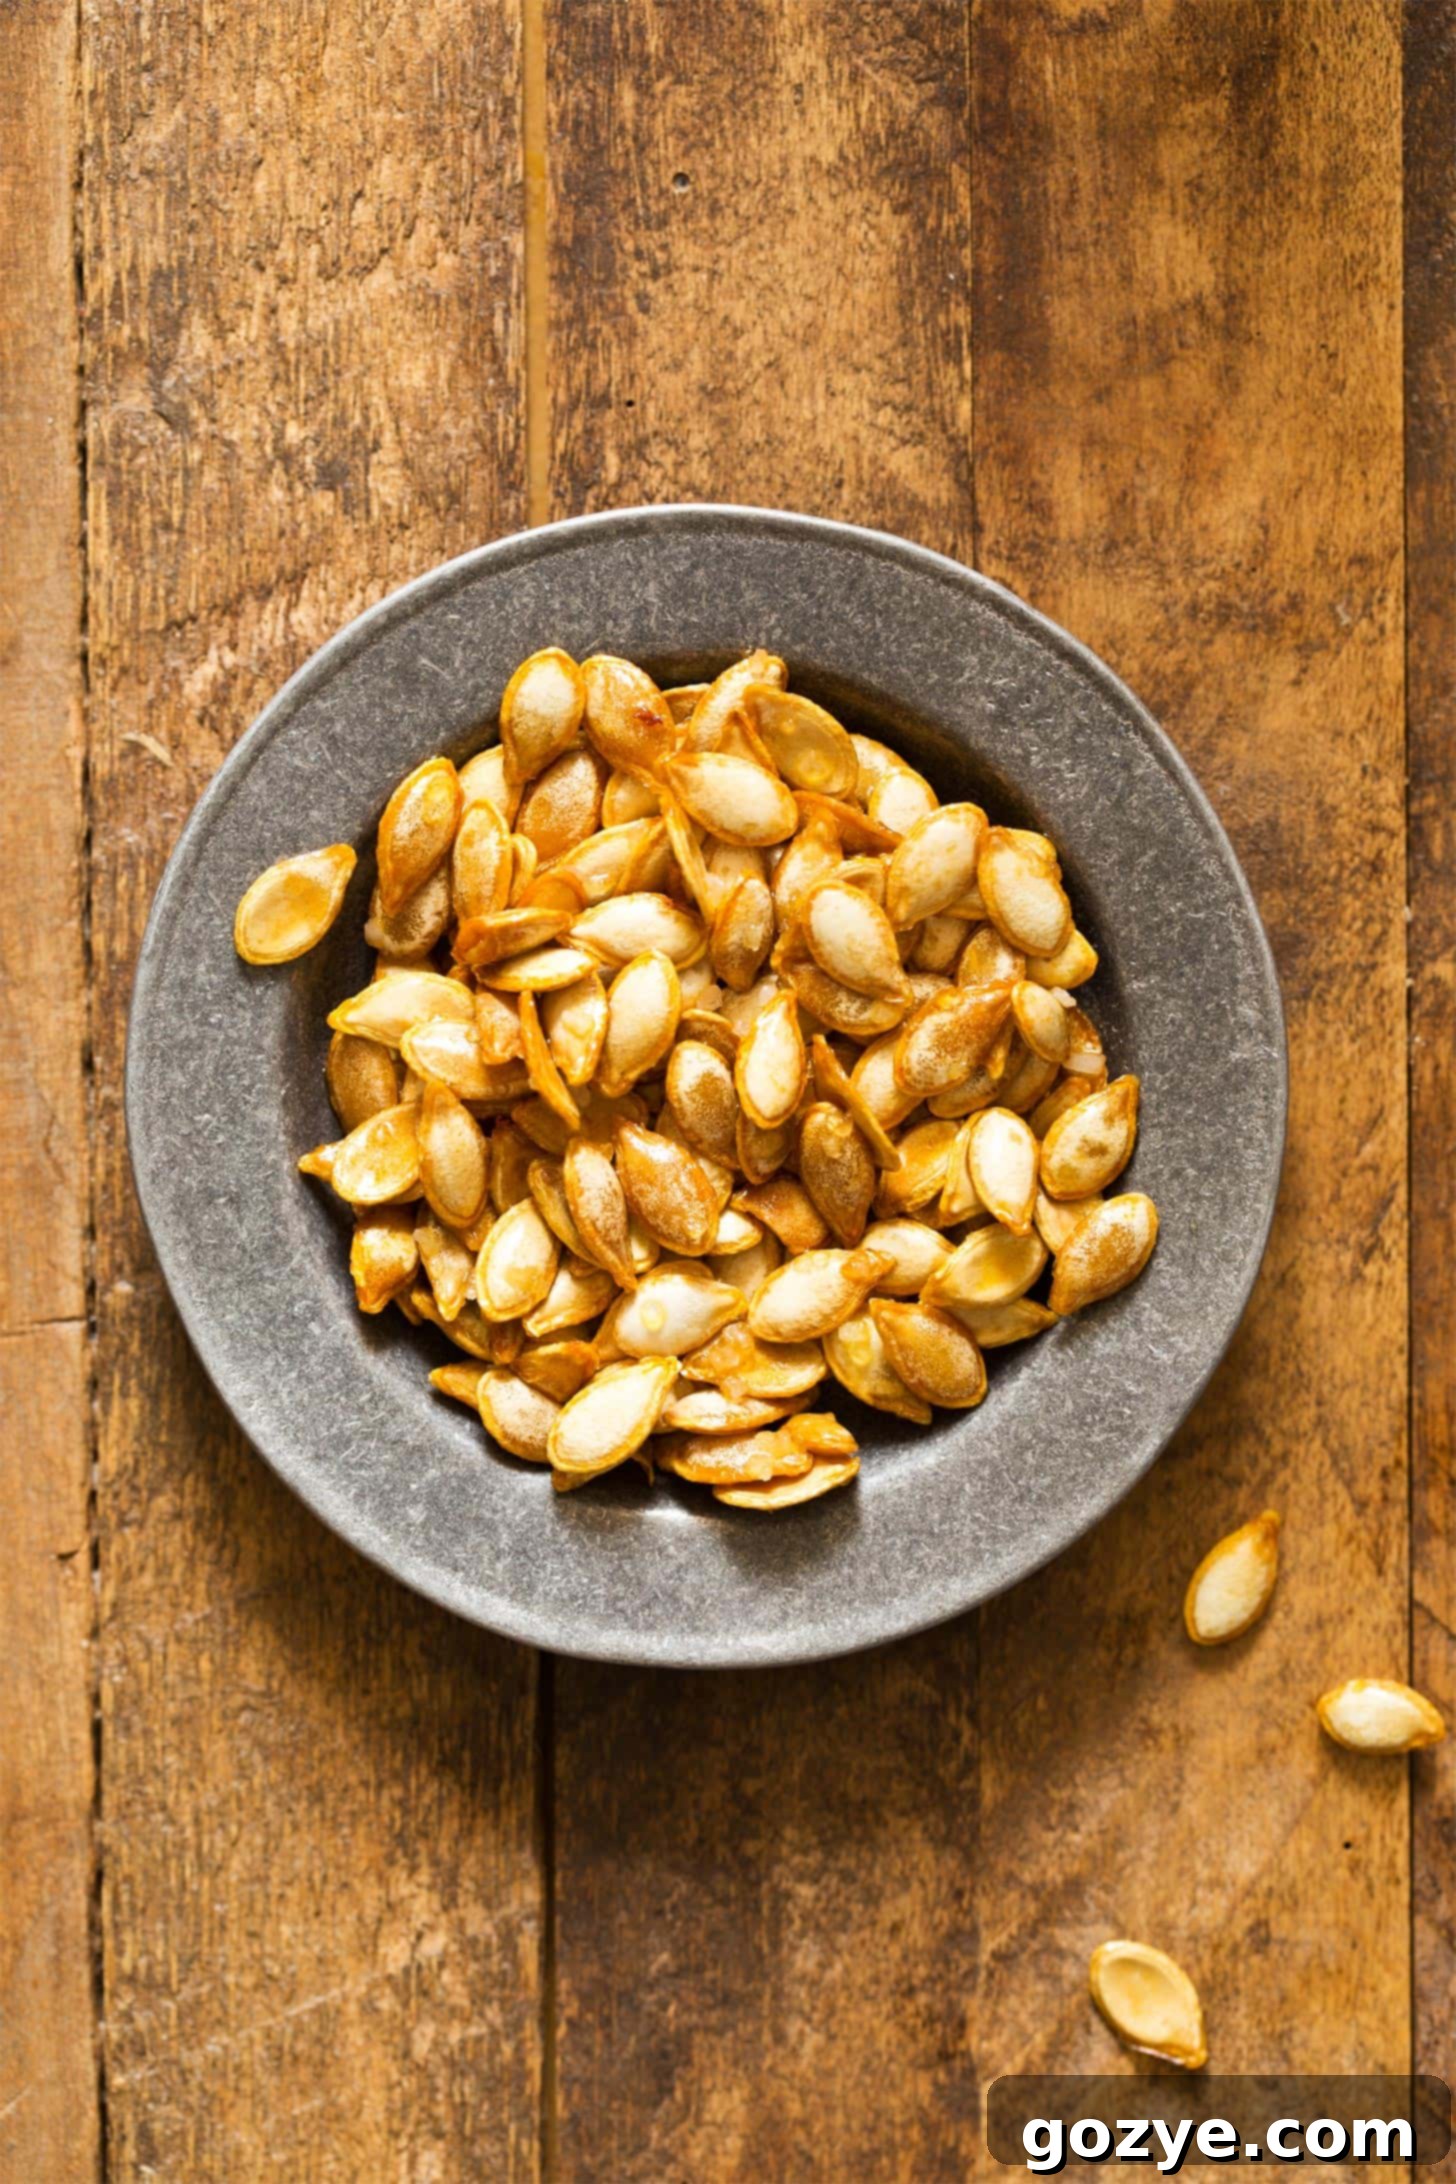
As autumn arrives and the air turns crisp, kitchens everywhere buzz with the comforting aromas of butternut squash. From hearty stuffed butternut squash to creamy butternut squash alfredo, this versatile winter squash is a seasonal favorite. During the preparation of your beloved butternut squash dishes, such as perfectly roasted butternut squash, one of the first steps involves scooping out those stringy insides and, of course, the seeds.
But here’s a little secret: those seeds are far from trash! In fact, they are entirely edible and, with just a few simple steps, can be transformed into one of the easiest and most flavorful snacks you’ll make all season. Turning them into Roasted Butternut Squash Seeds isn’t just about creating a tasty treat; it’s also a fantastic way to minimize food waste and add a healthy, homemade element to your snacking repertoire.
Beyond their delicious taste, these roasted seeds offer significant health benefits. They are naturally high in fiber and protein, making them a nutritious choice that will keep you feeling full and satisfied. With minimal ingredients and a straightforward process, roasting butternut squash seeds is an incredibly rewarding culinary endeavor. Whether you choose to bake them in the oven until they achieve that perfect golden crispness or opt for an even faster method using an air fryer, you’re just minutes away from a delightful snack.
Not only are they great for snacking on their own, but roasted butternut squash seeds also serve as an excellent crunchy garnish. Imagine them sprinkled over your favorite creamy soups, adding a delightful textural contrast, or tossed into a fresh garden salad for an extra layer of nutty flavor and crunch. While this guide focuses specifically on butternut squash, remember that this technique is wonderfully versatile. You can easily apply the same method to seeds from other winter squash varieties, such as acorn squash, or even the classic pumpkin seeds, all yielding similarly delicious results.
Why You’ll Love Roasting Butternut Squash Seeds
There are countless reasons to add roasted butternut squash seeds to your fall and winter cooking traditions:
- Sustainable and Zero-Waste: By roasting the seeds, you’re making the most of your butternut squash, reducing food waste and embracing a more sustainable approach to cooking.
- Incredibly Healthy: These small seeds are packed with nutrients. They’re a fantastic source of dietary fiber, promoting digestive health, and a good plant-based protein source, essential for muscle repair and satiety. They also contain healthy fats, magnesium, zinc, and antioxidants, contributing to overall well-being.
- Effortlessly Easy: The process is remarkably simple, requiring minimal effort and just a few basic ingredients you likely already have on hand. It’s a perfect beginner-friendly recipe.
- Versatile Snacking and Garnish: Enjoy them plain as a satisfying snack, or elevate various dishes with their nutty crunch. They are a true kitchen multitasker.
- Endlessly Customizable: Butternut squash seeds are a blank canvas, eagerly awaiting your favorite spices and seasonings. You can create a new flavor profile every time you roast them!
Ingredients For Perfect Roasted Butternut Squash Seeds
Crafting delicious roasted butternut squash seeds requires only a handful of ingredients, allowing the natural flavor of the seeds to shine. Here’s a closer look at what you’ll need:
- Butternut Squash Seeds: The star of our show! While our focus is on butternut squash, feel free to use seeds from any other winter squash variety like acorn, delicata, or even pumpkin. The key is to thoroughly clean and dry them before roasting to achieve optimal crispness.
- Olive Oil: For a recipe with so few ingredients, the quality of each truly matters. I highly recommend using a good quality extra virgin olive oil for its rich flavor profile that complements the nuttiness of the seeds. If budget is a concern, or you prefer a neutral taste, vegetable oil or avocado oil can be used as alternatives, though they will impart less flavor. You can easily compensate for this with more robust spices.
- Salt: Salt is crucial for bringing out the inherent nuttiness and enhancing the overall flavor of the seeds. Kosher salt or sea salt are excellent choices due to their coarser texture and clean taste, but fine table salt will work perfectly fine as well. Adjust the amount to your personal preference.
- Other Seasonings (Optional, but highly recommended for variety!): This is where you can truly make these seeds your own. They are a blank canvas, ready to absorb any flavor you desire.
- Savory Boosts: Onion powder, garlic powder, smoked paprika, chili powder, cumin, or even a dash of curry powder.
- Spicy Kick: A pinch of cayenne pepper or red pepper flakes for those who love a little heat.
- Sweet & Salty: A sprinkle of cinnamon, nutmeg, and a tiny bit of brown sugar or maple syrup for a delightful autumn treat.
- Herbaceous Notes: Dried rosemary, thyme, or a blend of Italian herbs.
- Specialty Blends: Get creative with fajita seasoning, everything bagel seasoning, or even a ranch seasoning mix for a unique twist.
How To Roast Butternut Squash Seeds in the Oven
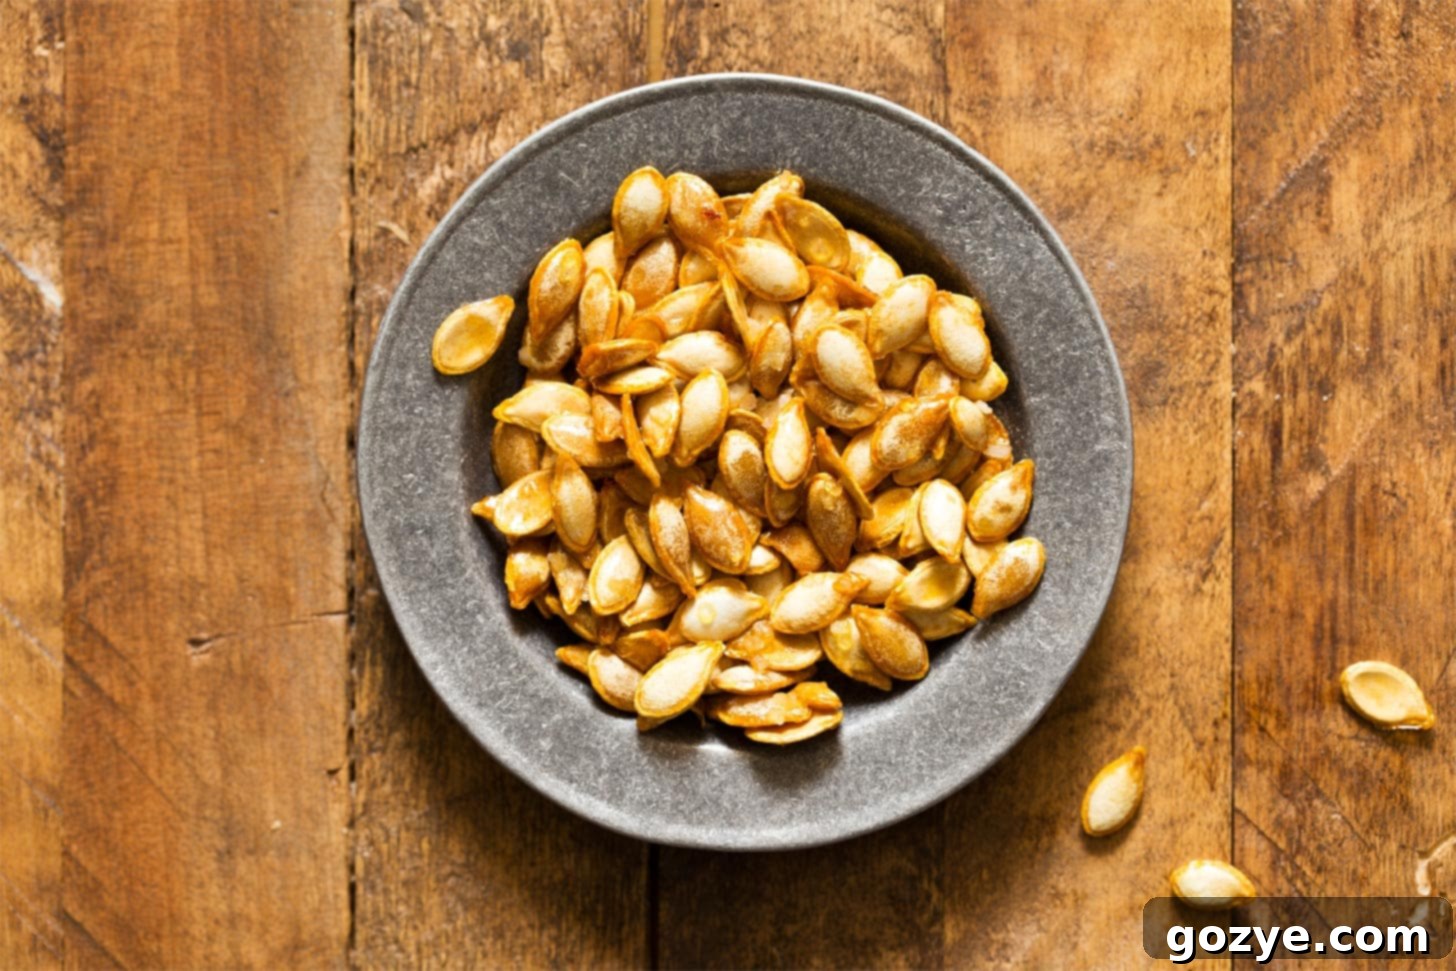
Get ready for golden brown, crispy deliciousness! Roasting butternut squash seeds in the oven is a straightforward process that yields consistently excellent results. Follow these simple steps for the perfect batch:
- Preparation is Key: Clean and Dry Your Seeds: This is perhaps the most crucial step for achieving truly crispy seeds. After scooping them out of the squash, place them in a colander and rinse thoroughly under cold water. Use your fingers to gently separate and remove any stringy orange pulp or bits of squash flesh clinging to the seeds. Pulp left on the seeds can lead to a chewy or soggy texture. Once cleaned, spread the seeds out on a clean kitchen towel or several layers of paper towels and pat them *completely dry*. You can even let them air dry for an hour or two to ensure all moisture is gone. The drier they are, the crispier they will become!
- Seasoning for Flavor: Transfer the thoroughly dried seeds to a medium bowl. Drizzle with 1-3 teaspoons of olive oil (start with 1 teaspoon for a small batch and add more if you have a larger quantity of seeds, ensuring they are lightly coated but not swimming in oil). Add your desired amount of kosher or sea salt, and any other seasonings you choose. Toss everything together vigorously until the seeds are evenly coated with oil and spices.
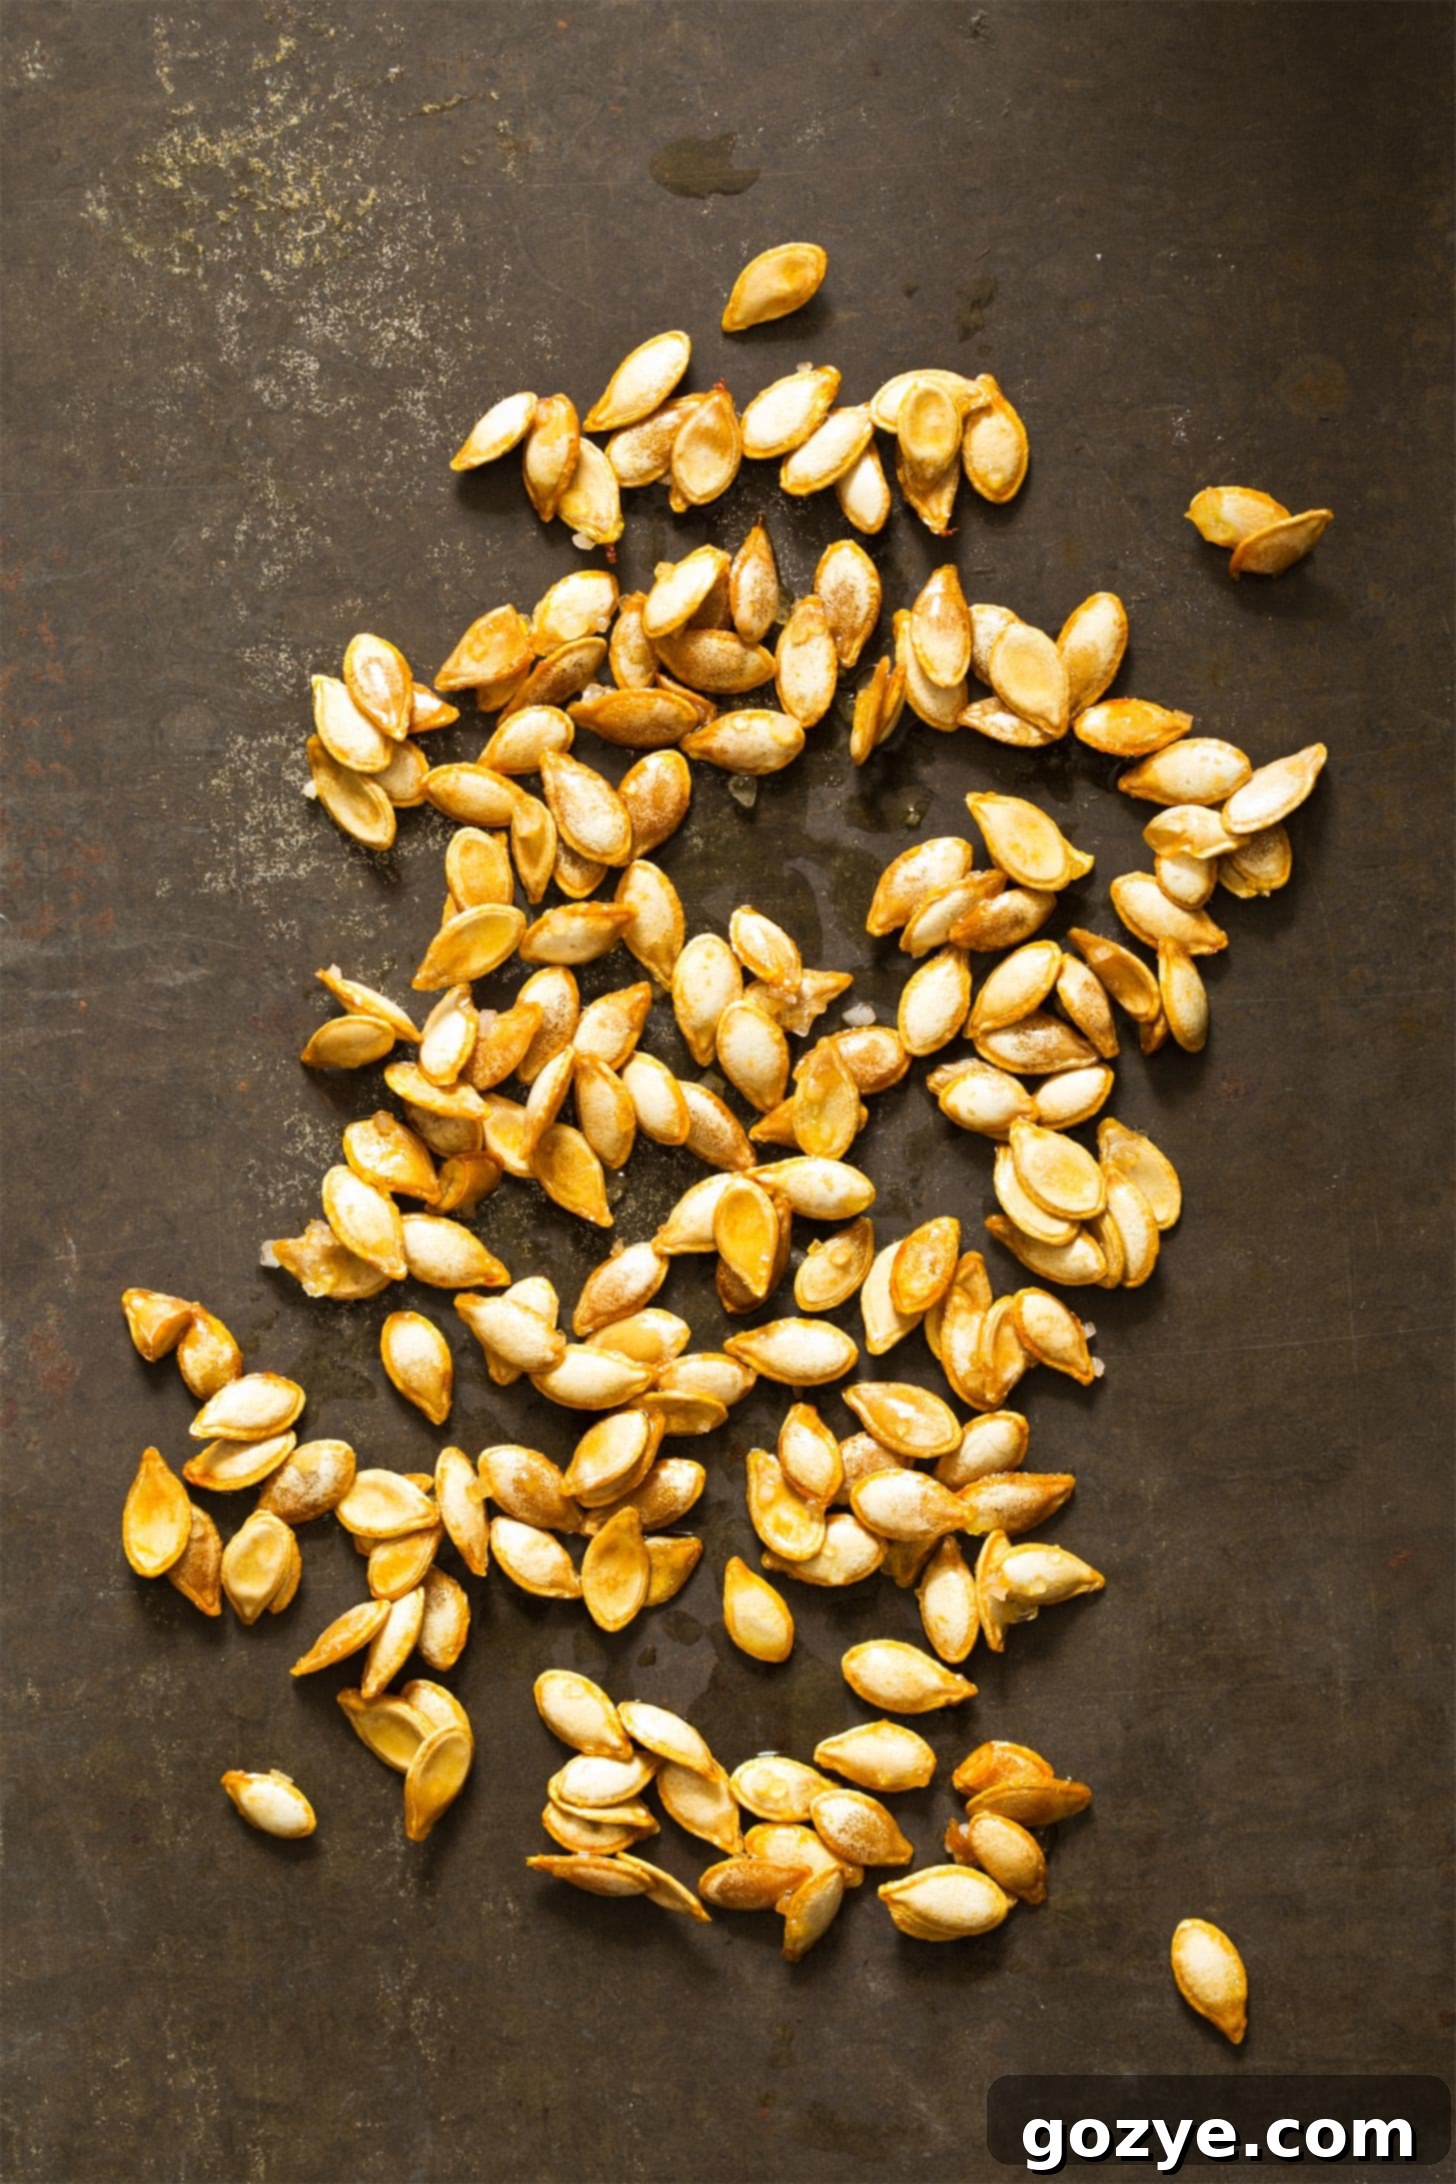
- Bake Until Golden and Crispy: Preheat your oven to 400°F (200°C). Line a baking sheet with parchment paper for easy cleanup and to prevent sticking. Spread the seasoned seeds in a single, even layer on the prepared baking sheet. It’s important not to overcrowd the pan; if necessary, use two baking sheets. Bake for 10-15 minutes, stirring the seeds around halfway through the baking time to ensure even browning and crispiness. Keep a close eye on them during the last few minutes, as they can go from perfectly golden to burnt quickly. They are done when they are golden brown, crunchy, and emit a nutty aroma.
- Cool and Enjoy: Once roasted to perfection, remove the baking sheet from the oven and let the seeds cool completely on the tray. As they cool, they will continue to crisp up.
Store any leftover roasted butternut squash seeds in an airtight container at room temperature for up to 1 week. If they lose a bit of their crispness, a quick re-bake in a warm oven or air fryer can revive them!
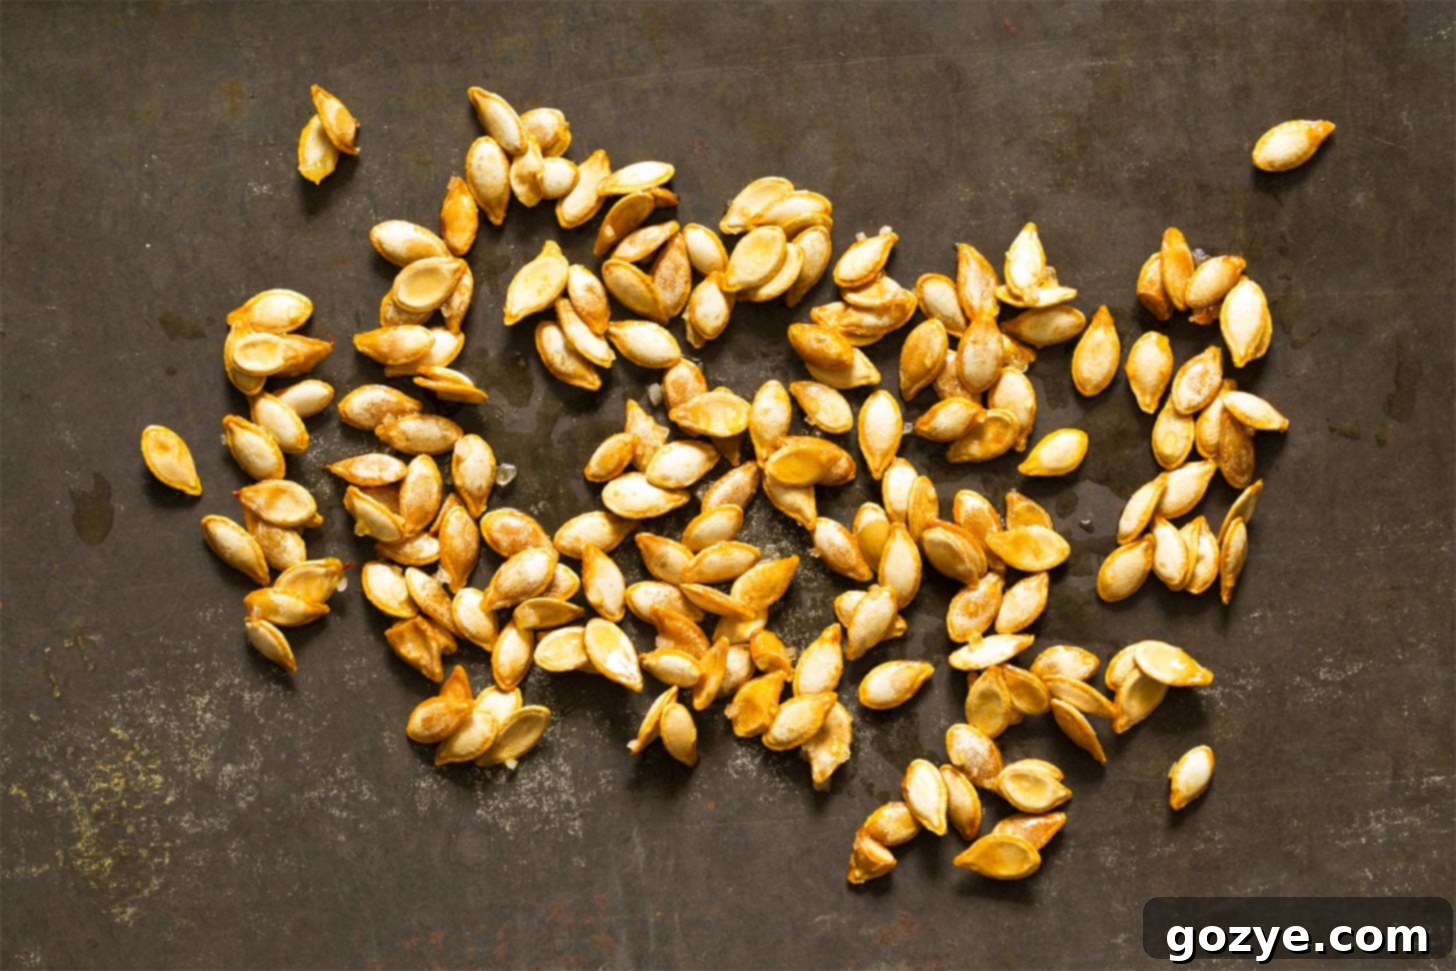
Lightning Fast Snack: How To Roast Butternut Squash Seeds In An Air Fryer
If you’re looking for an even quicker way to get your crispy seed fix, or simply don’t want to heat up your entire oven, the air fryer is your best friend! Roasting butternut squash seeds in an air fryer yields wonderfully crispy results in a fraction of the time.
- Prepare Your Seeds: Follow steps 1 and 2 from the oven method above: clean, thoroughly dry, and season your butternut squash seeds with olive oil and your chosen spices.
- Air Fry to Perfection: Place the seasoned seeds in the air fryer basket in a single layer. You may need to do this in batches depending on the size of your air fryer. Air fry at 400°F (200°C) for 5-8 minutes.
- Shake and Check: Halfway through the cooking time (around 3-4 minutes), open the air fryer basket and give it a good shake to ensure the seeds cook evenly and prevent burning. Continue cooking until they are golden brown and crispy.
- Cool Down: Once done, transfer the seeds to a plate or bowl and let them cool completely. They will continue to crisp up as they cool.
Air Fryer Tips:
- Don’t Overcrowd: For the best results, ensure the seeds are in a single layer. Overcrowding leads to steaming, not crisping.
- Monitor Closely: Air fryers can cook quickly and vary by model. Keep a close eye on your seeds, especially during the last few minutes, to prevent them from burning.
- Shake Often: Shaking the basket frequently helps ensure even cooking and browning.
Creative Ways to Enjoy Your Roasted Seeds
Once you’ve mastered the art of roasting butternut squash seeds, a world of culinary possibilities opens up! These versatile seeds are not just for snacking; they can elevate a multitude of dishes:
- Standalone Healthy Snack: The simplest and often most satisfying way to enjoy them! Keep a jar handy for a quick, nutritious bite throughout the day.
- Crunchy Salad Topping: Sprinkle them generously over any salad for an irresistible crunch and nutty flavor. They work wonderfully with both leafy green salads and heartier grain bowls.
- Soup Garnish: Elevate creamy butternut squash soup, tomato soup, or any broth-based soup with a handful of roasted seeds. They add texture and visual appeal.
- Yogurt and Oatmeal Enhancement: For a delightful breakfast or snack, add sweet-seasoned roasted seeds to your morning yogurt, granola, or bowl of oatmeal.
- Baked Goods Boost: Incorporate them into bread dough, muffins, or even savory crackers for an added layer of texture and nutrition.
- Homemade Granola and Trail Mix: Boost the flavor and nutrient profile of your homemade granola or trail mix with these roasted seeds.
- Topping for Roasted Vegetables: Toss them with other roasted vegetables like Brussels sprouts, carrots, or green beans right before serving for extra crunch.
- Pesto Ingredient: For a unique twist, try substituting or complementing pine nuts with roasted butternut squash seeds in your next homemade pesto.
Troubleshooting & Tips for Perfect Butternut Squash Seeds
Even though roasting seeds is easy, a few tips can ensure consistently perfect results every time:
- Seeds Not Crispy? This is the most common issue. The culprit is almost always moisture. Ensure your seeds are *completely* dry before tossing with oil and seasonings. Also, make sure not to overcrowd the baking sheet; if seeds are piled on top of each other, they will steam instead of roast. Use two trays if necessary.
- Seeds Burning? Keep a close watch, especially towards the end of the cooking time. Oven temperatures can vary, and air fryers cook very quickly. If they’re browning too fast, lower the temperature slightly or reduce the cooking time. Stirring halfway through baking is crucial for even cooking.
- Uneven Roasting? Again, ensure the seeds are spread in a single, even layer on the baking sheet or in the air fryer basket. Stirring or shaking the basket halfway through the process helps immensely in achieving uniform goldenness.
- Flavor Too Bland? Don’t be shy with the salt and seasonings! Taste a seed once cooled and adjust. Remember, the seeds are a blank slate, so they need a good amount of seasoning to come alive.
- Re-Crisping Stale Seeds: If your stored seeds lose their crunch, simply spread them on a baking sheet and pop them back into a 300°F (150°C) oven or air fryer for 5-10 minutes until crisp again.
Frequently Asked Questions (FAQ)
Here are answers to some common questions about roasting butternut squash seeds:
- Can I use seeds from other squash varieties?
- Absolutely! This method works beautifully for seeds from most winter squashes, including acorn, delicata, kabocha, and even pumpkin seeds. The cooking times might vary slightly depending on the size and thickness of the seeds, so keep an eye on them.
- Do I need to soak the seeds before roasting?
- No, soaking is not necessary for butternut squash seeds. The most important step is thorough cleaning and drying to ensure maximum crispiness.
- Are butternut squash seeds good for you?
- Yes, they are! Butternut squash seeds are a nutritional powerhouse, rich in protein, fiber, healthy fats, magnesium, zinc, and other beneficial vitamins and minerals. They make a fantastic addition to a balanced diet.
- How do I know when they’re done roasting?
- The seeds are done when they are visibly golden brown, feel dry and crispy to the touch (after cooling), and emit a pleasant, nutty aroma. Be careful not to burn them!
- Can I make them sweet?
- Definitely! For a sweet treat, after cleaning and drying, toss the seeds with a little olive oil, a pinch of salt, cinnamon, and a tiny dash of brown sugar or maple syrup. Roast as directed.
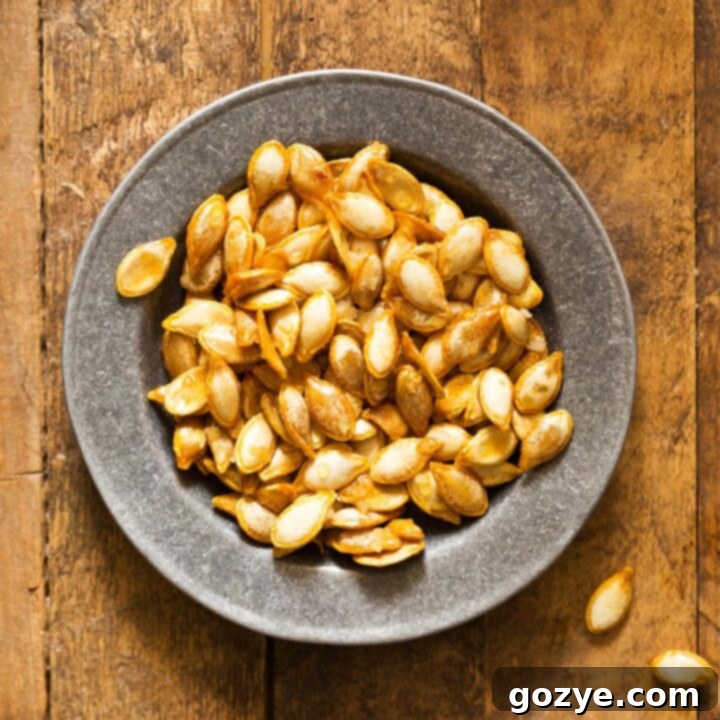
Roasted Butternut Squash Seeds Recipe
2 servings (approx. 1/2 cup)
20 minutes
15 minutes
35 minutes
Transform discarded butternut squash seeds into a crunchy, healthy snack! These roasted seeds are baked until golden brown and perfectly crispy, offering a delicious, zero-waste treat. Enjoy them plain, as a nutty garnish for soups, or sprinkled over salads.
Ingredients
- Seeds from 1 medium butternut squash (approximately 1/2 cup cleaned seeds)
- 1-3 teaspoons extra virgin olive oil (start with 1 tsp, add more for larger batches)
- Kosher or sea salt, to taste (approx. 1/4 – 1/2 tsp)
- Other seasonings such as garlic powder, onion powder, smoked paprika, or fajita seasoning (optional, 1/2 tsp or to taste)
Instructions
- Preheat your oven to 400°F (200°C). Prepare a baking sheet by lining it with parchment paper.
- If you haven’t already, cut your butternut squash vertically in half and use a spoon to scoop out the seeds and stringy pulp. Place the seeds in a colander and rinse thoroughly under cold running water, removing all traces of orange pulp. Pat the seeds completely dry with a clean kitchen towel or paper towels. This step is crucial for crispiness.
- In a medium bowl, toss the dried seeds with 1 teaspoon of olive oil and your desired amount of salt and optional seasonings. If you have a larger quantity of seeds, you can add an additional 1-2 teaspoons of olive oil to ensure an even coating.
- Spread the seasoned seeds in a single, even layer on the prepared baking sheet. Ensure they are not overlapping to prevent steaming.
- Bake for 8 minutes, then remove the tray and stir the seeds around with a spoon. Return to the oven and bake for another 5-8 minutes, or until the seeds are golden brown, fragrant, and crispy. Let them cool completely on the baking sheet; they will crisp up further as they cool.
- Alternatively, for Air Fryer: Place seasoned seeds in a single layer in the air fryer basket (work in batches if necessary). Air fry at 400°F (200°C) for 5-8 minutes, shaking the basket halfway through, until golden and crispy.
- Store leftover roasted seeds in an airtight container at room temperature for up to 1 week.
Notes
- For guidance on how to properly cook and use your butternut squash, refer to my comprehensive Roasted Butternut Squash recipe.
- Make the most of your butternut squash by trying these delicious recipes: Vegan Stuffed Butternut Squash and Butternut Squash Spinach and Mushroom Penne Alfredo.
Recommended Products
As an Amazon Associate and member of other affiliate programs, I earn from qualifying purchases.
- Chef’s Knife
Did you make this recipe?
Let me know what you think! Rate the recipe above, leave a comment below, and/or share a photo on Instagram using #HITKrecipes
Conclusion
Transforming butternut squash seeds from kitchen waste into a delightful, healthy snack is an incredibly rewarding experience. This easy recipe not only provides a delicious and nutritious treat but also encourages a mindful, zero-waste approach to cooking. Whether you prefer the classic oven roast or the speedy air fryer method, you’ll be amazed at how simple it is to achieve perfectly crispy, flavorful seeds.
These roasted butternut squash seeds are more than just a snack; they’re a versatile ingredient that can add a wonderful crunch and nutty flavor to countless dishes. So, the next time you’re preparing a butternut squash, remember to save those seeds. Give this recipe a try and discover your new favorite fall snack!
Don’t forget to share your creations and experiences with us. Happy roasting!
