Mastering Angel Food Cake in a Loaf Pan: A Fluffy, No Cream of Tartar Recipe
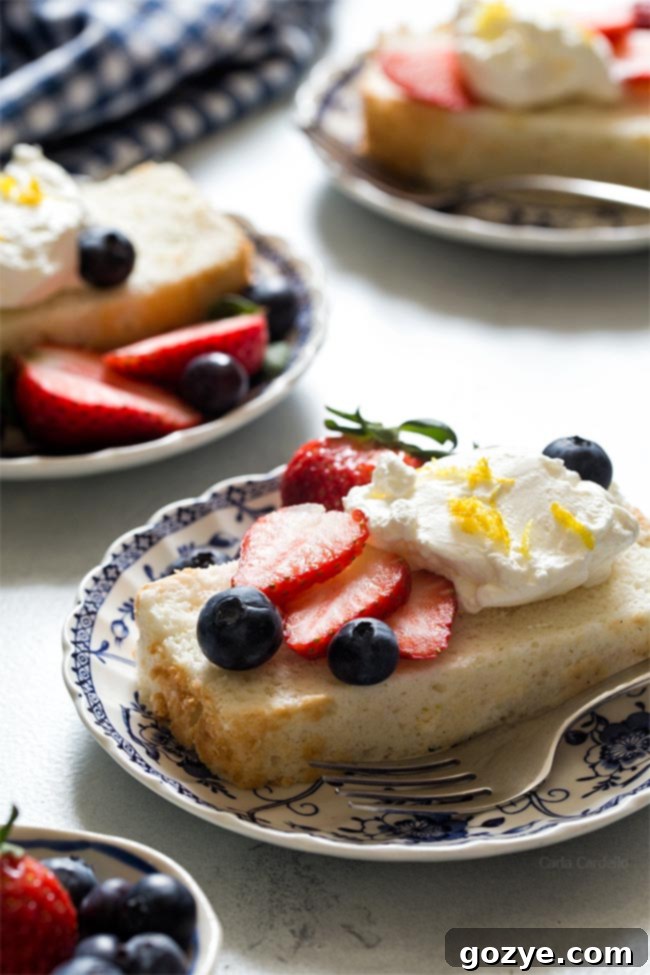
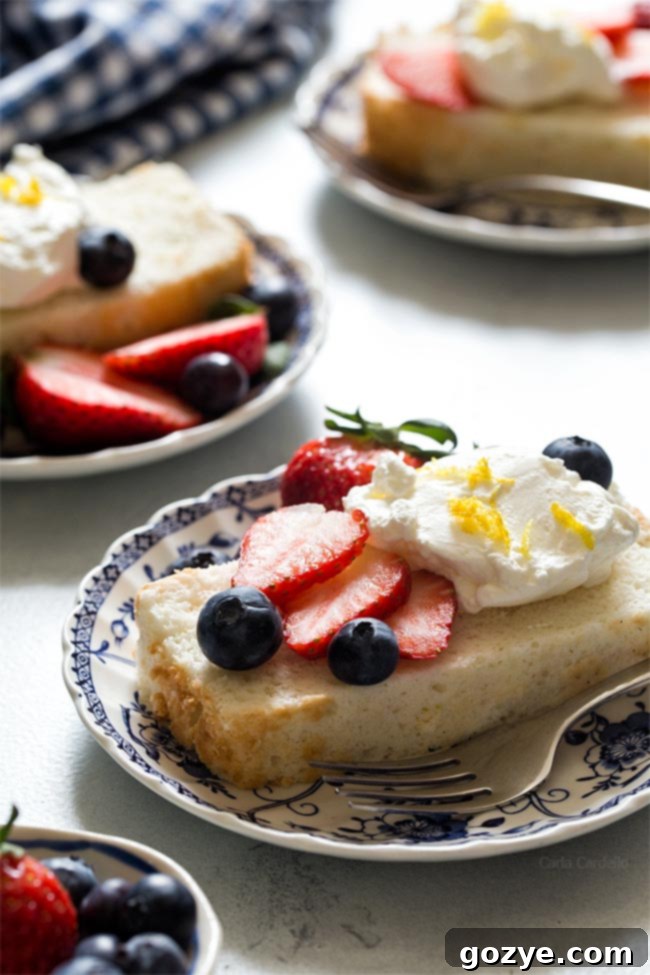
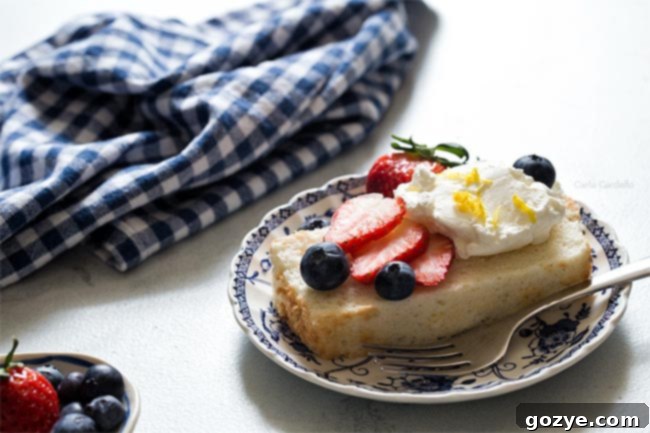
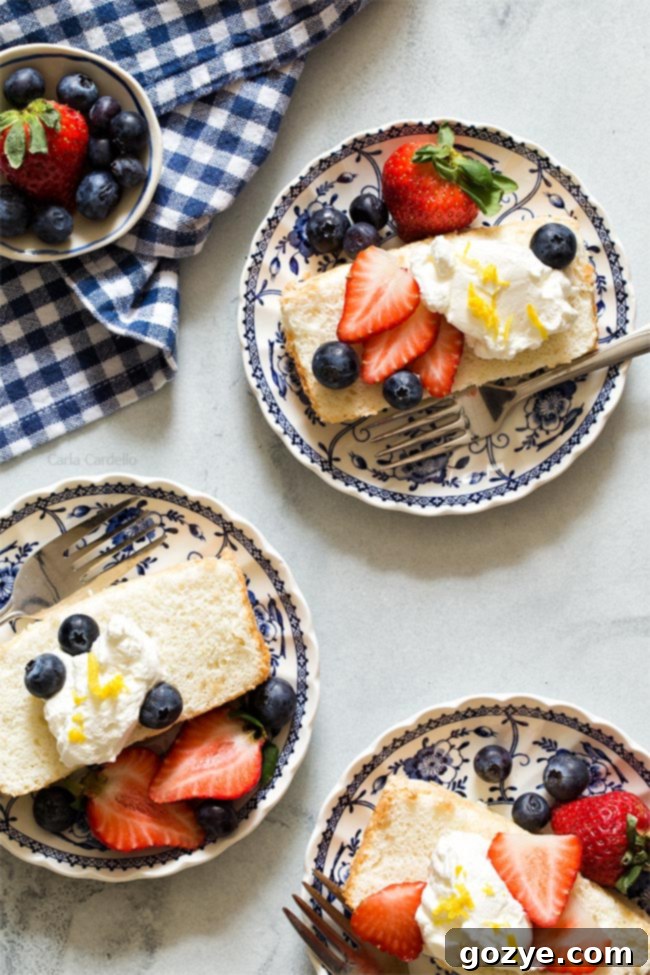
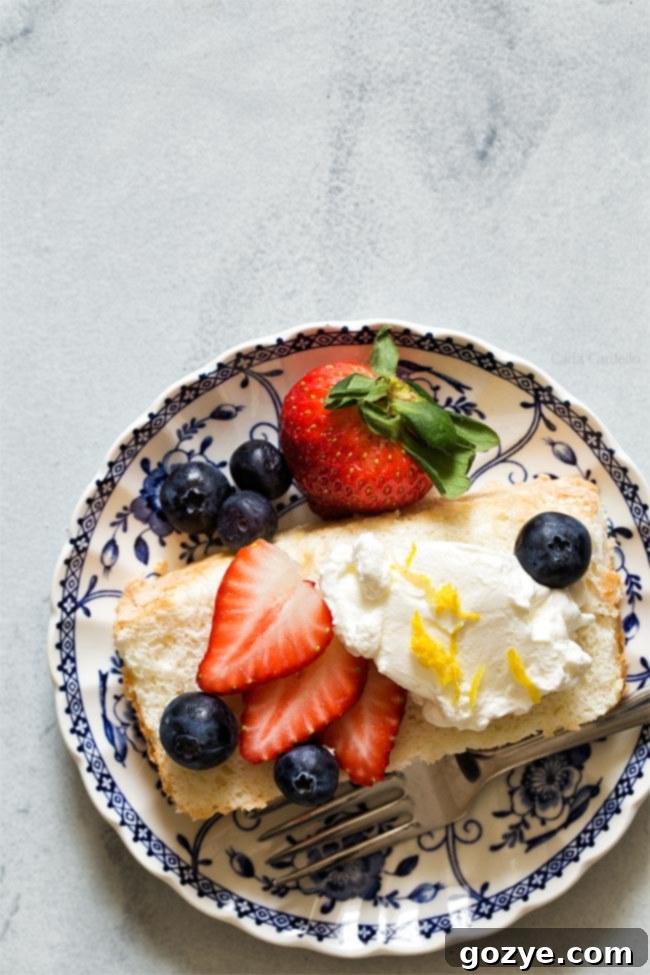
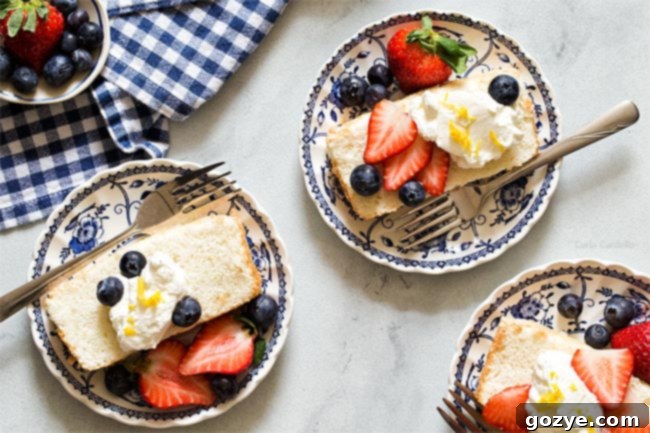
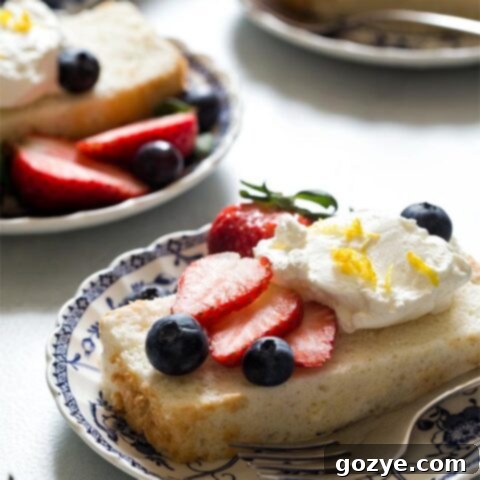
Delicate, cloud-like, and utterly delicious – that’s the magic of Angel Food Cake. This guide teaches you how to bake a truly exquisite version in a convenient loaf pan, perfectly fluffy and white, made from whipped egg whites and uniquely adapted without cream of tartar. Imagine serving this ethereal dessert with a vibrant medley of fresh strawberries and blueberries, all crowned with a generous dollop of homemade whipped cream. It’s a simple pleasure that feels incredibly luxurious.
Angel food cake has always held a special place in my heart – it’s one of my absolute favorite cakes. However, I rarely found myself making it due to a common hurdle: the traditional requirement of a tube pan. While essential for the classic presentation, a tube pan is such a specialized, single-use piece of kitchen equipment that I simply couldn’t justify dedicating precious space to it in my kitchen.
For a while, my solution to satisfying my angel food cake cravings was making Angel Food Cupcakes, which allowed me to utilize my readily available cupcake pan. This worked well for smaller portions, but the universe had other plans for my egg whites.
As a dedicated advocate for small batch baking, I often find myself with a surplus of leftover egg whites after preparing various recipes. Soon enough, I had a collection of half a dozen egg whites patiently waiting in my refrigerator. I didn’t want to break them up into 5-6 different small recipes; I yearned for a single, gratifying project that would use them all at once.
My initial thought was to create small batch angel food cakes in ramekins. However, inspiration struck from my successful experiments with other loaf pan baking recipes, such as my Small Batch Fudge Brownies, Small Batch Lemon Bars, and Small Batch Cheesecake. The versatility of the loaf pan was undeniable, and a new idea began to take shape: Angel Food Cake in a Loaf Pan!
And so, here we are, celebrating the delicious result: a perfect Angel Food Cake baked in a loaf pan, ready to be adorned with a cascade of fresh strawberries, blueberries, and my indulgent homemade whipped cream. The beauty of this cake is its adaptability to various toppings.
You can elevate the experience by serving it with rich chocolate whipped cream and a luscious strawberry sauce. For a double berry delight, opt for strawberry whipped cream. If you prefer a touch of natural sweetness, consider honey whipped cream or aromatic maple whipped cream. The possibilities are endless for customizing this delightful dessert.
While making angel food cake involves a little bit of technique, it’s far from intimidating. By following these straightforward tips and understanding the ‘why’ behind each step, you’ll be well on your way to a successful (and incredibly delicious) cake. Let’s dive into the essential steps to create your perfect loaf pan angel food cake.
The Essential Pan: Use an Ungreased 9×5 Loaf Pan
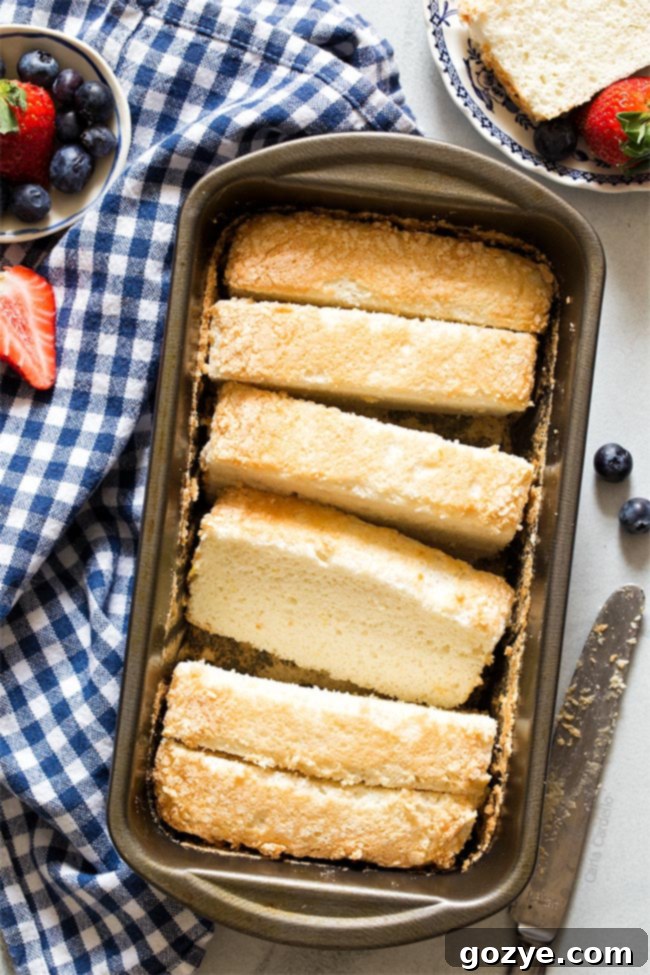
Forget the specialized tube pan! For this recipe, a standard 9×5 loaf pan is all you need. However, there’s a crucial departure from typical baking practices: do not grease the pan and do not line it with parchment paper. This might seem counterintuitive to many bakers, but it’s absolutely vital for angel food cake.
Angel food cake relies on its batter to “climb” the sides of the pan as it bakes. This adhesion is what allows the cake to rise to its full, impressive height and maintain its delicate, airy structure. If the pan is greased or lined, the batter won’t be able to grip, resulting in a flatter, denser cake. This also ensures that when you cool the cake upside-down, it won’t prematurely fall out of the pan, preserving its volume.
Craving an even smaller, personal-sized treat? Consider making my mini angel food cake recipe, baked in adorable mini loaf pans!
Egg Separation and Temperature: Cold to Separate, Room Temp to Whip
The foundation of a great angel food cake lies in perfectly whipped egg whites. Achieving this starts with proper egg handling. Eggs are easiest to separate when they are cold. At colder temperatures, the yolks are firmer and less prone to breaking, significantly reducing the risk of yolk contamination in your whites. Even a tiny trace of yolk (which contains fat) can prevent your egg whites from whipping up properly.
Conversely, egg whites are best whipped at room temperature. Warm egg whites have a lower surface tension, allowing them to incorporate more air and achieve maximum volume, resulting in that incredibly light and airy texture characteristic of angel food cake. So, the process is simple: separate your eggs while they’re cold, then let the whites warm up.
How to Flawlessly Separate Eggs
You don’t need any fancy gadgets for perfect egg separation. I used to own one, but often found the yolks would still break. My go-to method is simple and effective:
- First, gently crack the egg into one hand or against a flat surface.
- Carefully let the yolk settle in one half of the shell.
- Then, gently transfer the yolk back and forth between the two shell halves. The egg white will gradually drip into a bowl below, leaving the yolk safely in the shell.
- If your shell halves aren’t cooperating after cracking, you can always use your clean hands, allowing the whites to slip through your fingers while holding onto the yolk.
It’s crucial to separate each egg over a *separate, small bowl* before adding the white to your main bowl of egg whites. This way, if you accidentally get any yolk into a white, you only sacrifice one egg, not the entire batch. Once all your egg whites are separated and yolk-free, let them sit on your counter for about an hour to reach room temperature before proceeding with the recipe. This small step makes a big difference in volume and stability.
Stabilizing Your Egg Whites: The Cream of Tartar Alternative
Most traditional angel food cake recipes prominently feature cream of tartar. In its simplest form, cream of tartar is a powdered acid, and its role in baking is to act as a crucial stabilizing agent for egg whites. When beating egg whites into soft, voluminous peaks, the addition of acid helps to strengthen their structure, making them more resilient and less likely to collapse – a critical factor for such a delicate batter.
However, what if you don’t have cream of tartar on hand? I found myself in this exact situation when I realized my cream of tartar was well past its prime (at least 5 years old, if not more!) and promptly tossed it. Since it’s an ingredient I use only once or twice a year, I preferred to find a reliable substitute that I always keep in my pantry, rather than buying a fresh container that would likely expire again.
The good news is that the stabilizing effect comes down to using *any* form of acid, not necessarily cream of tartar. My preferred alternative is white distilled vinegar, which works beautifully and has no discernible taste in the final cake. You can also confidently use fresh lemon juice as a substitute. Both provide the necessary acidity to ensure your egg whites whip up into perfectly stable, airy peaks.
Some recipes might suggest skipping the acid altogether, but I strongly advise against this for angel food cake. This cake is unique because it relies almost entirely on the air whipped into the egg whites for its rise and texture. Unlike many other cakes, it contains no fat (which can tenderize) and no chemical leavening agents like baking powder or soda. Without the stabilizing power of acid, your egg whites are more likely to deflate, resulting in a denser, less angelic cake.
The Art of Folding: Gently Incorporating Flour
After all your hard work whipping up those beautifully fluffy, voluminous egg whites, the next critical step is to incorporate the dry ingredients without deflating them. This is where the technique of “folding” comes into play – and it’s essential to do it with a very gentle hand. If you were to stir the flour vigorously into the batter, you would quickly lose all that precious air you’ve painstakingly beaten into the egg whites, resulting in a heavy, flat cake.
To properly fold in the flour mixture:
- Add approximately one-quarter of the sifted flour and sugar mixture to your whipped egg whites.
- Using a large rubber spatula, gently cut vertically through the batter towards you.
- Then, scoop a part of the wet mixture from the bottom and fold it over the dry flour on top.
- Rotate the bowl slightly and repeat the cutting and folding motion.
- Continue adding the flour mixture in quarter increments, gently folding after each addition.
Take your time with this step. The goal is to incorporate all of the flour until no dry streaks remain, but without sacrificing the airy volume of your egg whites. Any dry spots left will create undesirable air pockets or a strange, uneven texture in your finished cake. Patience here will be rewarded with a truly light and tender crumb.
The Upside-Down Cool Down: Preserving Volume
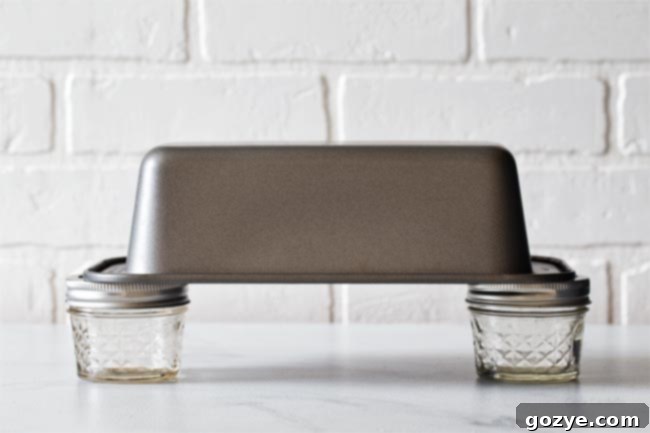
Once your angel food cake loaf emerges golden brown and perfectly baked from the oven, another crucial step awaits: cooling it upside down. This practice is paramount for helping the cake maintain its incredible volume and delicate structure. If you were to cool it right-side up, gravity would inevitably cause the cake to deflate and compress, losing its signature light and airy quality.
While traditional tube pans are specifically designed with feet to facilitate upside-down cooling, a standard loaf pan requires a simple trick. You can easily create a similar elevated, inverted setup by resting each end of the pan (typically where the handles are) on top of two sturdy items – think jars, canned goods, or even sturdy blocks. The key is to ensure the cake is slightly elevated and completely inverted, allowing air to circulate and the cake to cool without collapsing. Allow your angel food cake to cool in this position for a full hour before attempting to remove it from the pan.
Effortless Release: How to Remove Your Angel Food Cake from the Loaf Pan
Since we intentionally baked this cake in an ungreased pan to allow it to stick and climb during baking (and to prevent it from falling out while cooling upside down), you can’t simply invert it and expect it to release instantly. A little finesse is required, but rest assured, it’s a straightforward process that will allow you to unmold your beautiful cake without any tears or frustration.
To remove your angel food cake from the loaf pan:
- Once completely cooled, run a thin butter knife or a small offset spatula around all four edges of the cake, gently separating it from the pan sides. Make a few passes to ensure a clean break.
- Next, lay the pan on one of its longer sides, with the cake facing you. Carefully run your knife around the edges once more, then gently pull the cake. It should begin to slide out.
- If the bottom of the cake seems to be sticking, you can use an offset spatula to carefully slide underneath the cake while continuing to gently pull.
The key here is to take your time and be patient. Avoid forcing it. With a gentle hand and careful movements, your perfectly baked angel food cake will slide out, ready for slicing and serving.
Slicing Perfection: How to Cut Angel Food Cake
Angel food cake, with its airy and somewhat sticky texture, can be a bit challenging to slice neatly. To achieve clean, beautiful slices without squishing your delicate cake, follow these tips:
The best tool for the job is a serrated knife. The saw-like motion helps to cut through the cake’s structure without pressing it down. For an even cleaner cut, run your serrated knife under hot water and wipe it clean between each slice. The warmth helps to prevent sticking and creates a smoother cut. Always use a gentle sawing motion rather than pressing straight down. This technique ensures each slice remains light and fluffy, just as it should be.
Storage Solutions: Keeping Your Angel Food Cake Fresh
Understanding how to properly store your angel food cake is key to enjoying its delightful texture and flavor for as long as possible.
How long will my angel food cake last?
For optimal freshness and texture, angel food cake is best enjoyed within 2 days when stored at room temperature. Beyond this timeframe, the delicate structure of the egg whites can start to “weep,” leading to a sticky and slightly wet top surface.
How To Refrigerate Angel Food Cake
If you wish to extend the life of your angel food cake, refrigeration is a good option. Properly stored, it can last for up to 1 week in the refrigerator. To do so, wrap the entire loaf or individual slices tightly in plastic wrap, then place them in an airtight container. This dual protection helps prevent it from drying out or absorbing refrigerator odors.
How To Freeze Angel Food Cake
For long-term storage, freezing is an excellent choice. Angel food cake can be successfully frozen for up to 4-6 months. Wrap the whole loaf or each individual slice in plastic wrap, then place the wrapped cake into a freezer-proof plastic bag. For added protection against being squished by other items in the freezer, you might want to place the plastic bag inside a rigid container.
To serve, simply thaw the cake at room temperature. If you find that the cake has dried out a little after freezing and thawing, a drizzle of fresh fruit sauce or a dollop of whipped cream will easily restore its moisture and appeal.
Don’t Waste a Thing: What To Do With Leftover Egg Yolks
Having used six egg whites for this magnificent cake, you’re now left with an equal number of beautiful egg yolks! Good news – you never have to let them go to waste. I’ve curated a fantastic list of recipes specifically designed to use leftover egg yolks. While I don’t have a single recipe that uses all six at once, you’ll find plenty of delicious options. For example, my decadent German Chocolate Cake Ice Cream recipe uses 3 egg yolks, leaving you with just three more to explore other delightful treats!
Angel Food Cake In A Loaf Pan
6-8 servings
25 minutes
35 minutes
1 hour
2 hours
Angel Food Cake In A Loaf Pan is a delicate and fluffy white cake made from whipped egg whites and without cream of tartar. Serve it with fresh strawberries, blueberries, and whipped cream.
Ingredients
- ¾ cup granulated sugar
- ½ cup all-purpose flour
- 1 tablespoon cornstarch
- 6 egg whites, room temperature (ensure they are clean with no trace of yolk and NOT egg whites from a carton – must be from actual eggs)*
- 1 tablespoon white distilled vinegar or lemon juice
- 1 teaspoon vanilla extract
- ¼ teaspoon salt
- Homemade Whipped Cream, for serving (get recipe here)
Instructions
- Preheat oven to 325°F (160°C). Have an ungreased 9×5 loaf pan ready. Do not line with parchment paper; the cake needs to stick to the pan to rise properly.
- In a medium bowl, sift together ¼ cup of the granulated sugar, all-purpose flour, and cornstarch. Sifting ensures a light, lump-free mixture.
- In a very clean bowl (free of any trace of fat) of a stand mixer fitted with the whisk attachment (or using a hand mixer), combine the room temperature egg whites, vinegar (or lemon juice), vanilla extract, and salt. Beat on medium speed until the mixture becomes foamy, typically about 30 seconds.
- Increase the mixer speed to high. Gradually beat in the remaining ½ cup of sugar, adding it one tablespoon at a time, while the mixer continues to run. Continue beating until soft peaks form (when you lift the whisk, peaks will form but gently curl over). This usually takes about 3-4 minutes. Be careful not to beat to stiff peaks, as this can make the cake dry.
- Using a rubber spatula, gently fold the sifted flour mixture into the egg whites, adding about ¼ of the mixture at a time. The goal is to incorporate all the flour without deflating the delicate egg whites, so take your time and use a light hand. Ensure there is no dry flour remaining at the bottom of the bowl.
- Carefully transfer the batter into the prepared ungreased loaf pan and spread it evenly. Bake for 35-40 minutes, or until the top is golden brown, springs back lightly when touched, and is no longer sticky.
- Immediately after removing from the oven, invert the pan. Rest the handles or edges of the pan on top of two jars, canned goods, or a similar elevated setup. Let the cake cool completely upside down for at least 1 hour. This step is crucial and must not be skipped, as it prevents the cake from deflating and losing its volume.
- Once the cake is completely cool, it’s time to release it. Carefully run a thin butter knife or offset spatula around all the edges of the cake to loosen it from the pan. Lay the pan on its side, then gently pull the cake out using your knife or spatula. If the bottom is sticking, slide an offset spatula underneath the cake while pulling. Take your time; the cake will release.
- To slice the angel food cake neatly, use a serrated knife. For the cleanest cuts, run the knife under hot water and wipe it clean between each slice. Use a gentle sawing motion rather than pressing down firmly, which can squish the cake. Serve immediately with fresh strawberries, blueberries, and homemade whipped cream.
Store leftover cake in an airtight container at room temperature for up to 2 days, in the refrigerator for up to 1 week, or in the freezer for up to 4-6 months**.
Notes
*Eggs are easiest to separate when they are cold because the yolks are firmer and less likely to break. However, egg whites are best whipped at room temperature to maximize their volume potential. If there is any yolk in the egg white, you need to start over to ensure proper whipping.
**To refrigerate or freeze, wrap the loaf or individual slices tightly in plastic wrap, then place them in an airtight container or a freezer-safe plastic bag. Thaw to room temperature before serving for the best texture.
Don’t know what to do with the extra egg yolks? Check out my recipes using leftover egg yolks for delicious ideas!
Recommended Products
As an Amazon Associate and member of other affiliate programs, I earn from qualifying purchases.
- 9×5 Loaf Pan
Did you make this recipe?
Let me know what you think! Rate the recipe above, leave a comment below, and/or share a photo on Instagram using #HITKrecipes
