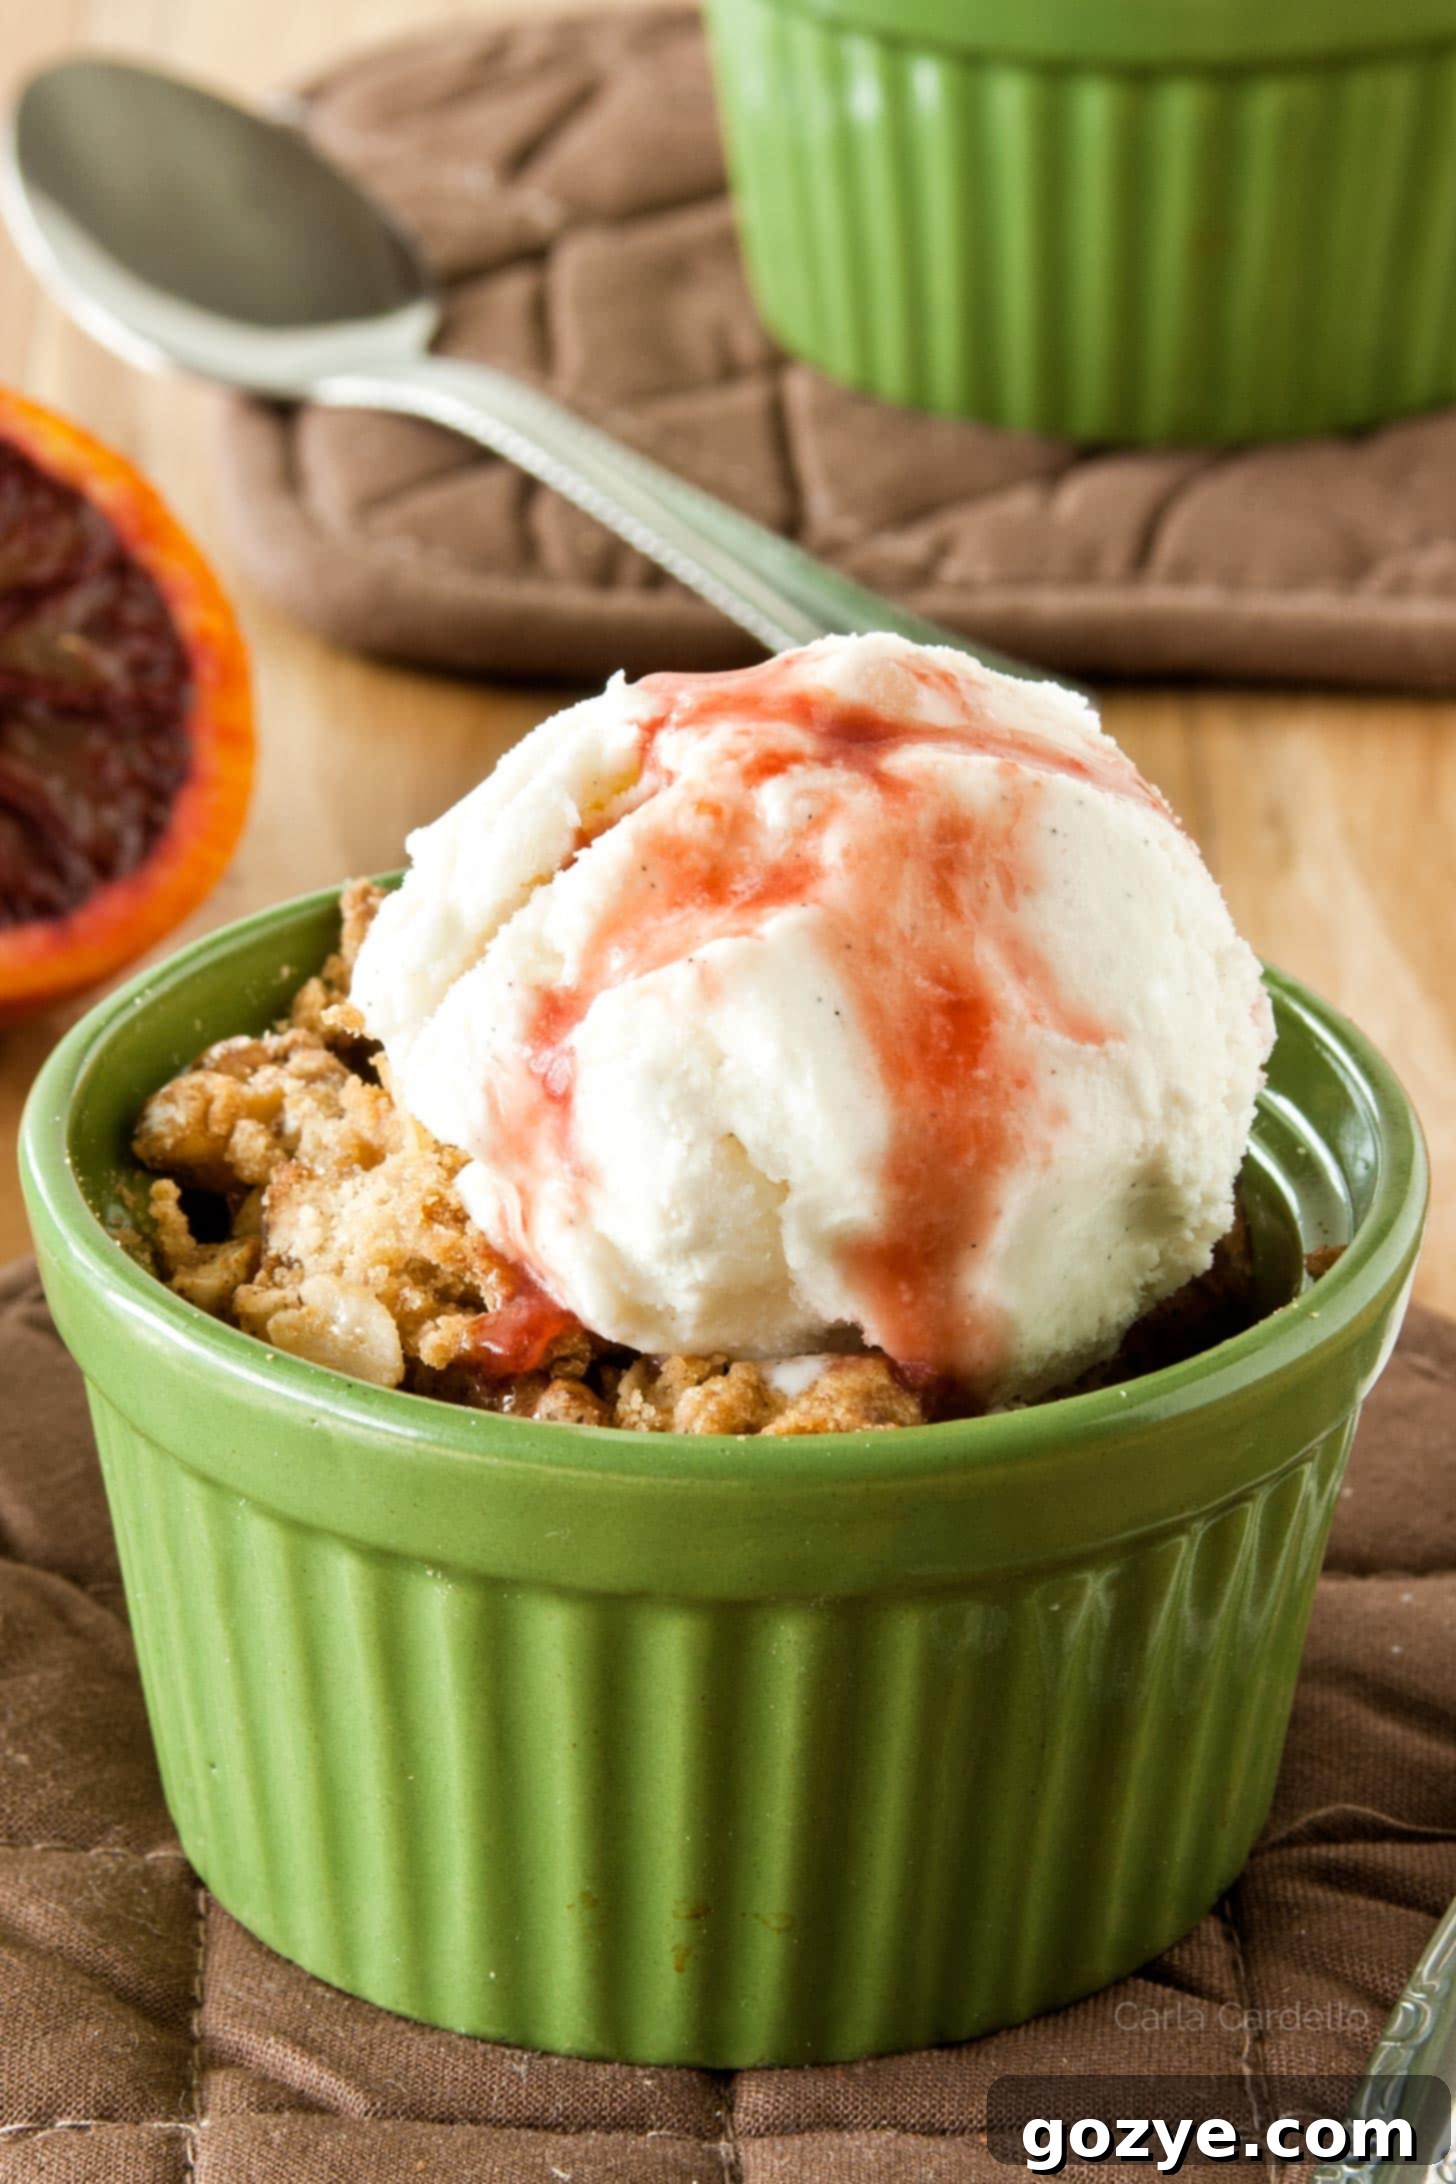
Easy Pear Crisp for Two: A Warm & Bubbly Fall Dessert with Streusel Topping
Welcome the crisp, comforting essence of fall into your kitchen with our delightful Pear Crisp for Two! Imagine a warm, bubbly fruit dessert, generously topped with creamy vanilla ice cream and a vibrant, tart blood orange sauce. This recipe is designed perfectly for two individual ramekins, making it ideal for a cozy evening, but can easily be doubled to fill an 8×8 pan for sharing with more loved ones.
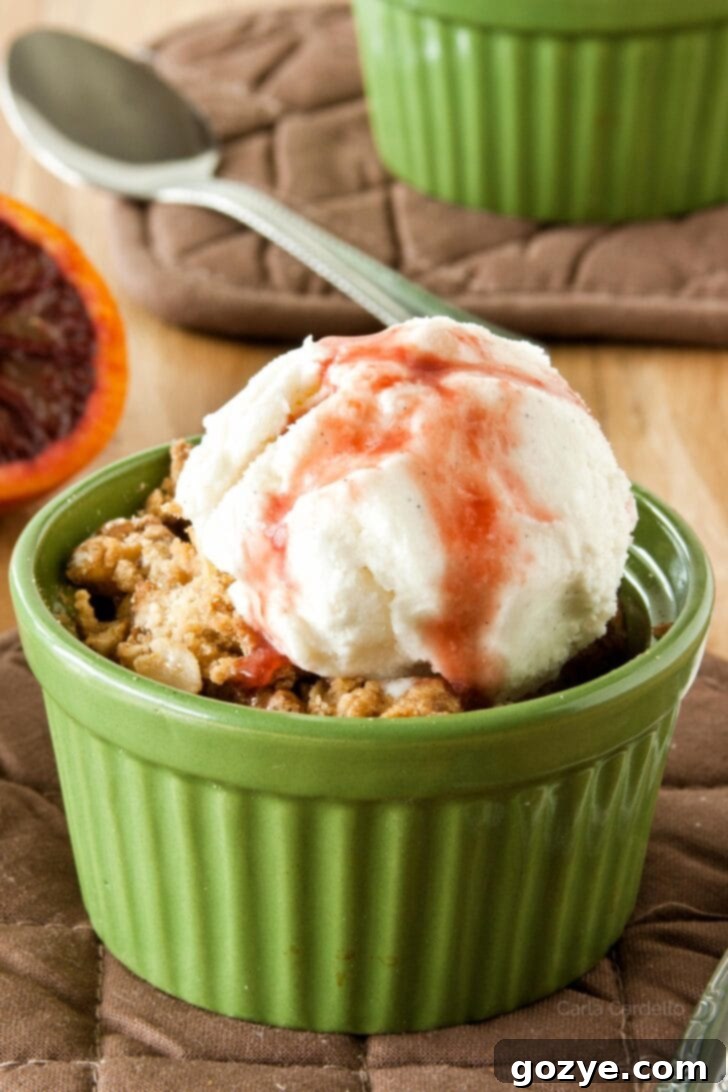
When autumn arrives and the air turns cool, what delectable desserts first spring to mind? You might instantly think of classic recipes like apple crumble for two or a perfectly sized small pumpkin pie. However, pears, the often-underestimated autumn fruit, deserve their moment in the spotlight. In this recipe, we bring the humble pear front and center, transforming it into a warm, bubbly, and utterly irresistible Pear Crisp, elegantly crowned with luscious vanilla ice cream and a bright, tangy blood orange sauce.
Similar to my popular cranberry apple crisp, this pear dessert is an absolute must-have once the chill sets in and you find yourself reaching for sweaters more often than shorts. Our Pear Crisp for Two beautifully combines the natural, delicate sweetness of ripe Bartlett pears with the satisfying crunch of toasted walnuts, all beneath a golden, crispy, and wonderfully buttery streusel topping. It’s a sophisticated yet comforting treat that’s perfect for a special occasion like Thanksgiving For Two, or simply for a quiet weeknight indulgence.
Embracing my love for small batch baking, this recipe is portioned as a pear crisp for two. This allows you to share a delightful dessert with a loved one, or, if you prefer, enjoy one ramekin now and freeze the other for a future sweet craving. It’s convenience, comfort, and deliciousness all rolled into one perfect fall treat.
What Exactly Is a Crisp? The Difference Between Crisps and Crumbles
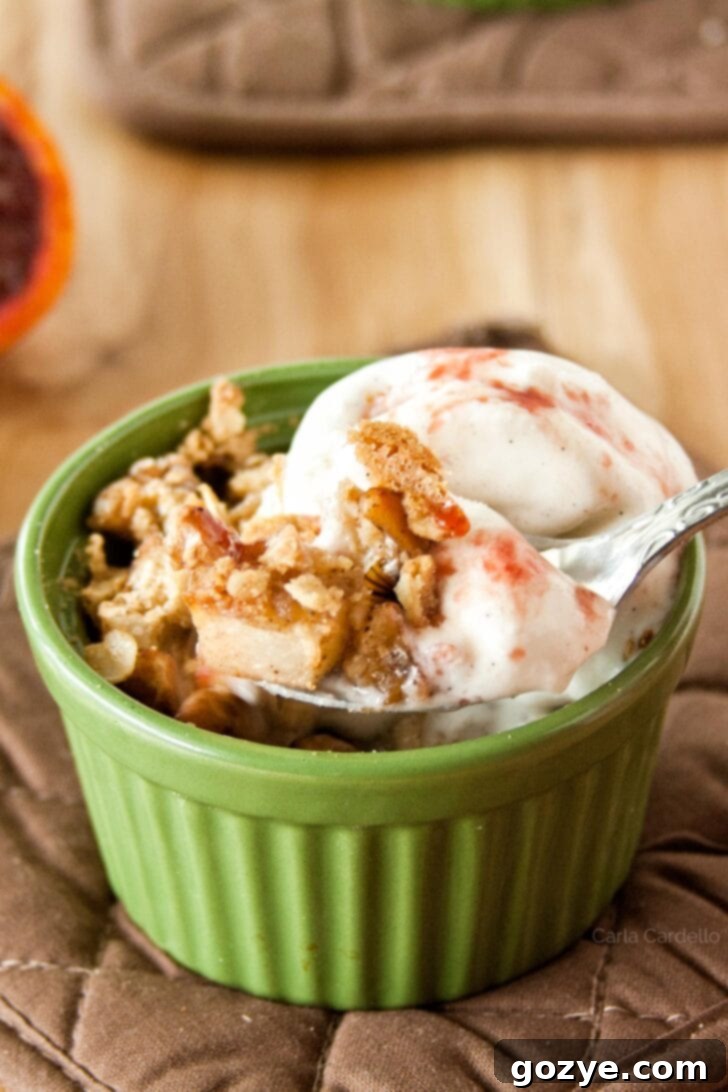
A crisp is a beloved dessert featuring a cooked fruit filling topped with a delightful streusel. The key distinguishing factor between a crisp and a crumble often lies in the topping: crisps traditionally include oats in their streusel, giving them a distinctly crunchy and rustic texture. If you prefer, you can easily omit the oats to create a pear crumble recipe instead, resulting in a softer, more cake-like topping.
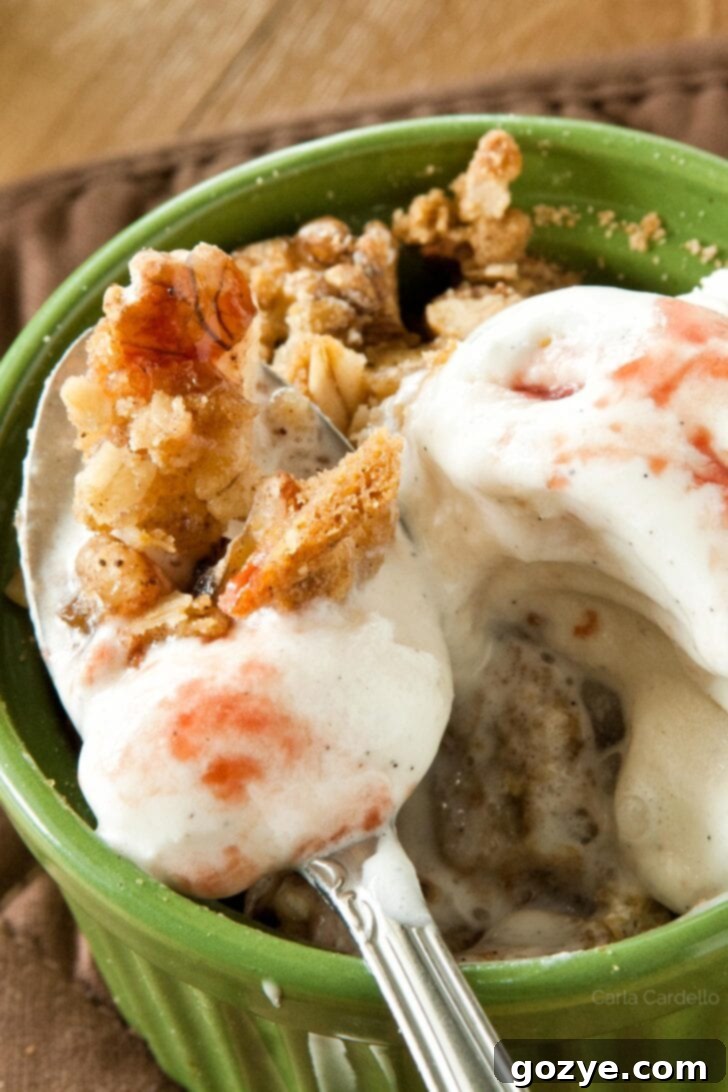
Fruit crisps are renowned for being one of the most straightforward desserts to prepare, especially when time is of the essence. There’s no need for complex doughs or pre-cooking the fruit filling separately. You simply toss all the fruit ingredients together, whip up the streusel, assemble, and bake. This makes them a go-to choice for a quick, comforting dessert that delivers on flavor and texture every time. The magic of a crisp lies in the beautiful contrast between the warm, tender, juicy fruit filling and the golden, buttery, crunchy oat-infused topping, creating an irresistible bite with every spoonful.
Essential Ingredients For The Perfect Pear Crisp
To craft your exquisite pear walnut crisp, you’ll need a selection of fresh and pantry staples. Each ingredient plays a crucial role in achieving that perfect balance of sweetness, spice, and texture:
- Pear: The star of our show! I highly recommend using a ripe Bartlett pear. Bartletts offer a wonderfully sweet, juicy, and aromatic flavor that truly shines when baked, generally outperforming the milder Bosc pear in terms of taste complexity for this recipe. Ensure they are ripe but still firm enough to hold their shape.
- Walnuts: These add a fantastic textural contrast and a subtle nutty flavor to the fruit filling. If walnuts aren’t your preference, pecans make an excellent substitute, or you can opt to leave them out entirely for a nut-free dessert.
- Sugar (Granulated & Brown): Granulated sugar sweetens the fruit filling and helps with caramelization, while brown sugar in the streusel adds a deeper, molasses-rich sweetness and contributes to its chewy, crunchy texture.
- Cornstarch: This essential ingredient acts as a thickening agent, ensuring that the delicious pear juices transform into a luscious, glossy sauce as the fruit cooks down, rather than becoming watery.
- Lemon Juice: A splash of fresh lemon juice is vital. It provides a touch of acidity that beautifully balances the sweetness of the pears, brightens their natural flavor, and helps prevent them from browning excessively.
- Vanilla Extract: Often considered the “salt of baking,” vanilla extract enhances and deepens all the other flavors in your dessert. Always use pure vanilla for the best results.
- Cinnamon and Nutmeg: These warm, aromatic spices are the quintessential flavors of fall and pair exquisitely with pears. They infuse the crisp with a cozy, inviting aroma and taste.
- Salt: A tiny pinch of table salt doesn’t make your filling salty, but rather acts as a flavor enhancer, much like in savory cooking, balancing the sweetness and making the fruit flavors pop.
- All-Purpose Flour: In the streusel topping, flour provides structure and helps bind all the ingredients together, contributing to its crumbly, yet cohesive texture.
- Unsalted Butter: The secret to a rich, buttery, and incredibly crunchy streusel topping. Using cold, cut-up butter is key for achieving that desirable crumbly texture when mixed with the dry ingredients.
- Rolled or Quick Oats: The defining ingredient for a crisp! Oats give the streusel its signature chewy texture and rustic appearance. Make sure to use rolled or quick oats, not steel-cut, as they have different cooking properties.
Choosing The Best Baking Dish For Your Individual Pear Crisp
For baking individual pear crisps perfectly portioned for two, I highly recommend using two 6-ounce ramekins (affiliate link). These small, versatile dishes are incredibly useful in any kitchen, especially if you frequently bake for two. They are perfect for controlling portion sizes and can be used for a wide variety of sweet and savory dishes. Be sure to explore my full list of Ramekin Dessert Recipes for more inspiration!
If you don’t have ramekins on hand, don’t worry! You can still enjoy this delicious dessert. Simply place the entire pear crisp recipe into a single 1-quart casserole dish (affiliate link). Alternatively, if you’re planning to serve more than two, you can easily double the recipe and bake it in a standard 8×8-inch pan. The cooking time will remain similar, though you might need to add an extra 5-10 minutes for a larger dish to ensure the fruit is bubbly and tender throughout.
Step-by-Step: How To Make Pear Crisp
Making your pear crisp recipe is incredibly easy and rewarding! Follow these simple steps to create a warm, comforting dessert:
- Prepare the Pear Filling: In a medium bowl, combine your peeled and chopped pears, walnuts (if using), granulated sugar, lemon juice, cornstarch, vanilla extract, ground cinnamon, ground nutmeg, and salt. Gently toss all the ingredients together until the pears are evenly coated. This ensures every bite is bursting with flavor. Once mixed, divide the filling equally between your two prepared 6-ounce ramekins.
- Create the Streusel Topping: In a separate medium bowl, whisk together the brown sugar, all-purpose flour, rolled or quick oats, cinnamon, nutmeg, and a pinch of salt. Next, add the cold, cubed unsalted butter. Using a pastry blender or two forks, cut the butter into the dry ingredients until the mixture resembles coarse crumbs, with some pea-sized pieces of butter still visible. This texture is key for a crispy topping. Evenly sprinkle this streusel mixture over the pear filling in both ramekins.
- Bake to Golden Perfection: Place the ramekins on a baking sheet (to catch any potential overflow) and bake in a preheated oven at 350°F (175°C) for approximately 25-30 minutes. Bake until the filling is visibly bubbly around the edges, the pears are fork-tender, and the streusel topping is beautifully golden brown and crispy.
Elevate Your Dessert: How To Serve Pear Crisp
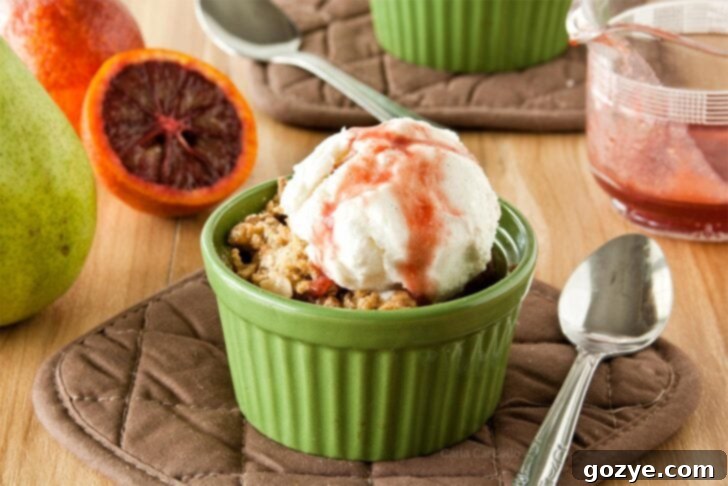
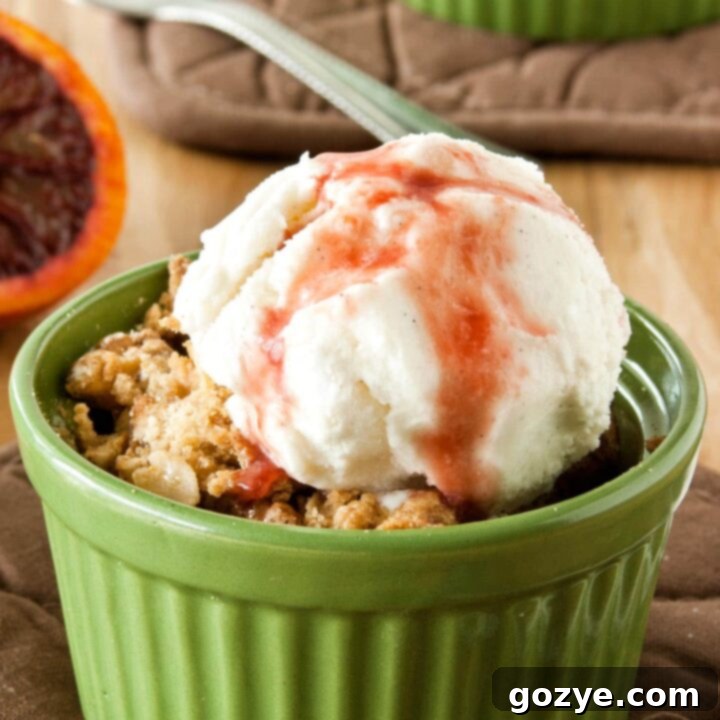
While delicious on its own, a warm pear crisp is truly transformed when served with the right accompaniments. The absolute best way to enjoy your pear crisp recipe is with a generous scoop of classic vanilla bean ice cream. The cold, creamy ice cream melting into the warm, bubbly fruit creates an exquisite contrast in temperature and texture that is simply divine. If you don’t have any ice cream, a dollop of freshly made homemade whipped cream is a fantastic, lighter alternative.
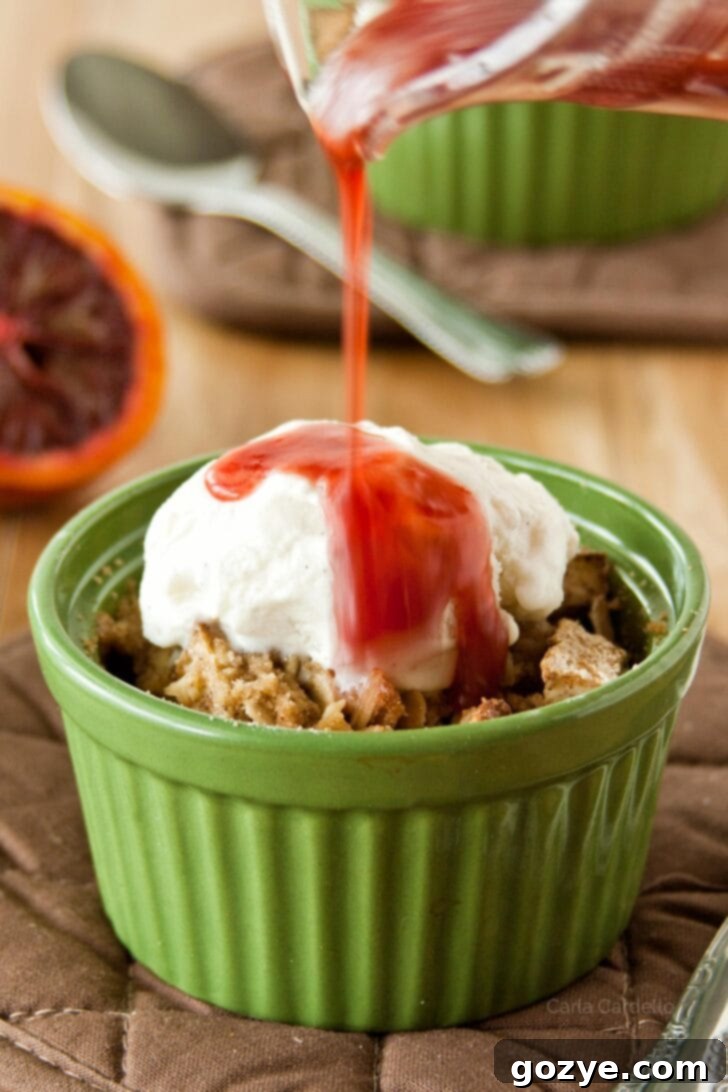
For an extra touch of sophistication and an unforgettable flavor profile, I elevated my pear dessert into a mini sundae by drizzling it with a tart blood orange sauce. I initially chose blood oranges simply because I had an abundance of them when I first crafted this recipe. Their unique sweet-tart flavor, with a hint of raspberry, provides a beautiful counterpoint to the sweetness of the pears and the richness of the streusel. The vibrant color of the sauce also makes for a stunning presentation.
If citrus isn’t your favorite, or if blood oranges aren’t in season, you have other wonderful options. My homemade caramel sauce is another incredible choice, adding a rich, buttery sweetness that complements the pears perfectly. You could also consider a raspberry coulis for a different tart fruit note, or simply a light dusting of powdered sugar for a minimalist approach. No matter how you choose to serve it, this pear crisp promises a truly satisfying dessert experience.
Preparing Ahead: How To Make Pear Crisp Ahead Of Time
One of the many benefits of this pear dessert is its flexibility for make-ahead preparation, allowing you to enjoy a freshly baked treat without last-minute stress. You can prepare your pear crisp up to 2 days in advance using one of two convenient methods:
- Assemble and Refrigerate Unbaked: You can fully assemble your crisps in their ramekins, complete with the fruit filling and streusel topping, but hold off on baking. Cover each ramekin tightly with plastic wrap and refrigerate for up to 2 days. When you’re ready to bake, simply remove them from the fridge and add an extra 5-10 minutes to the baking time to account for the chill. This method ensures the freshest, crispiest topping.
- Fully Bake, Cool, and Reheat: Alternatively, you can fully bake your crisps according to the recipe instructions. Once baked, allow them to cool completely. Then, cover them tightly with plastic wrap or foil and refrigerate for up to 2-3 days. To reheat, place them in a preheated oven at 350°F (175°C) for 10-15 minutes, or until thoroughly warmed through and the topping regains some of its crispness.
Proper Storage: How To Store Pear Crisp
To ensure your pear crisp remains delicious and safe to eat, proper storage is key. If you plan on devouring your crisp on the same day it’s baked, you can comfortably leave it at room temperature, loosely covered, for a few hours. This allows the flavors to meld beautifully and the topping to maintain maximum crispness.
However, for any leftovers or if you’re making it ahead, refrigeration is necessary. Once the crisp has cooled completely, wrap your ramekins tightly with plastic wrap or transfer the crisp to an airtight container. Refrigerate for up to 2-3 days. While the topping might lose a little of its initial crispness in the refrigerator, a quick reheat in the oven can help restore some of that lovely texture. Always ensure the crisp is fully cooled before covering and refrigerating to prevent condensation, which can make the topping soggy.
Pear Crisp FAQ: Your Questions Answered
Absolutely! Apples make an excellent substitute for pears in this crisp. You can use apples exclusively (check out my apple crisp for two recipe for inspiration) or use a delightful combination of both apples and pears for a more complex flavor profile.
Yes, this recipe doubles beautifully! Simply double all the ingredients and bake the entire batch in an 8×8-inch pan. The baking time will remain similar, typically around 25-30 minutes, or until bubbly and golden brown.
Yes, pear crisp freezes very well after baking. To freeze, allow the crisp to cool completely to room temperature. Then, wrap each individual ramekin tightly with a double layer of aluminum foil to prevent freezer burn. It can be frozen for up to 3 months.
To reheat, thaw the frozen crisp in the refrigerator overnight. Once thawed, reheat it in a preheated oven at 350°F (175°C) for 10-15 minutes, or until it is heated through and bubbling. The topping might not be as crispy as fresh, but it will still be delicious.
Explore More Fruit Dessert Recipes For Two
Whether you’re craving a crisp, a comforting cobbler, or a simple fruit crumble, we have plenty of small-batch fruit dessert recipes designed perfectly for two. Discover more delightful ways to enjoy fruity treats:
- Raspberry Crisp
- Blueberry Cobbler For Two
- Peach Cobbler For Two
- Strawberry S’mores Cobbler
Pear Crisp
2 servings
20 minutes
25 minutes
45 minutes
Welcome fall into your kitchen with warm and bubbly Pear Crisp For Two, perfectly paired with creamy vanilla ice cream and a tart blood orange sauce.
Ingredients
- 1 large Bartlett pear, peeled and chopped into 1/2 inch pieces (roughly 1 cup)
- 1/4 cup chopped walnuts or pecans
- 1 tablespoon granulated sugar
- 1 teaspoon lemon juice
- 1 teaspoon cornstarch
- 1/2 teaspoon vanilla extract
- 1/4 teaspoon ground cinnamon
- 1/8 teaspoon ground nutmeg
- 1/8 teaspoon table salt
Streusel
- 2 tablespoons brown sugar
- 2 tablespoons all-purpose flour
- 2 tablespoons rolled or quick oats (not steel cut oats)
- 1/4 teaspoon ground cinnamon
- 1/8 teaspoon ground nutmeg
- Pinch of table salt
- 3 tablespoons unsalted butter, cold and cut into 6 pieces
Sauce (Optional)
- 1 tablespoon granulated sugar
- 1/4 cup water, room temperature
- 1 + 1/2 tablespoons freshly squeezed blood orange juice
- 1 tablespoon unsalted butter, softened
Instructions
- Preheat the oven to 350F (175°C). Have two 6-ounce ramekins ready.
- In a medium bowl, toss together the pear, nuts (if using), sugar, lemon juice, cornstarch, vanilla, cinnamon, nutmeg, and salt until well combined. Divide the mixture evenly between the two ramekins.
- For the streusel: In another medium bowl, stir together the brown sugar, flour, oats, cinnamon, nutmeg, and salt. Add the cold, cubed butter. Cut in the butter with a pastry blender or two forks until coarse crumbs form. Sprinkle this streusel mixture evenly over both ramekins, covering the pear filling.
- Bake for 20-25 minutes, or until the filling is bubbly, the streusel topping is golden brown, and the pears are fork-tender.
- For the sauce (optional): While the crisps are baking, in a small saucepan, warm the granulated sugar over medium-high heat. Allow it to melt and just begin to turn a light brown. As soon as you see a slight amber color, gently swirl the pan.
- Once the sugar reaches a light amber color, very carefully add the water and blood orange juice (be aware it will bubble and spatter, so stand back slightly). Stir with a wooden spoon and bring to a boil. Reduce the heat and simmer until the sauce is reduced by half (it should be roughly 2 + 1/2 tablespoons). Remove from the heat and stir in the softened butter until completely melted and smooth.
- Serve the warm crisps immediately with a scoop of vanilla ice cream and a drizzle of the blood orange sauce, if desired.
Pear crisp can be refrigerated for up to 2-3 days.
Notes
- Don’t have blood oranges or prefer another flavor? Serve with homemade caramel sauce, raspberry coulis, or a simple dusting of powdered sugar instead.
- No ramekins? You can bake both servings in a small 1-quart casserole dish.
- This recipe can easily be doubled to serve more. If doubling, bake in an 8×8-inch pan for 25-30 minutes.
- Looking for more delicious fruit dessert recipes? Check out my Apple Crisp For Two, Cranberry Apple Crisp, and Raspberry Crisp for other tempting options.
Recommended Products
As an Amazon Associate and member of other affiliate programs, I earn from qualifying purchases.
- 6 ounce Ramekins
Did you make this recipe?
Let me know what you think! Rate the recipe above, leave a comment below, and/or share a photo on Instagram using #HITKrecipes
