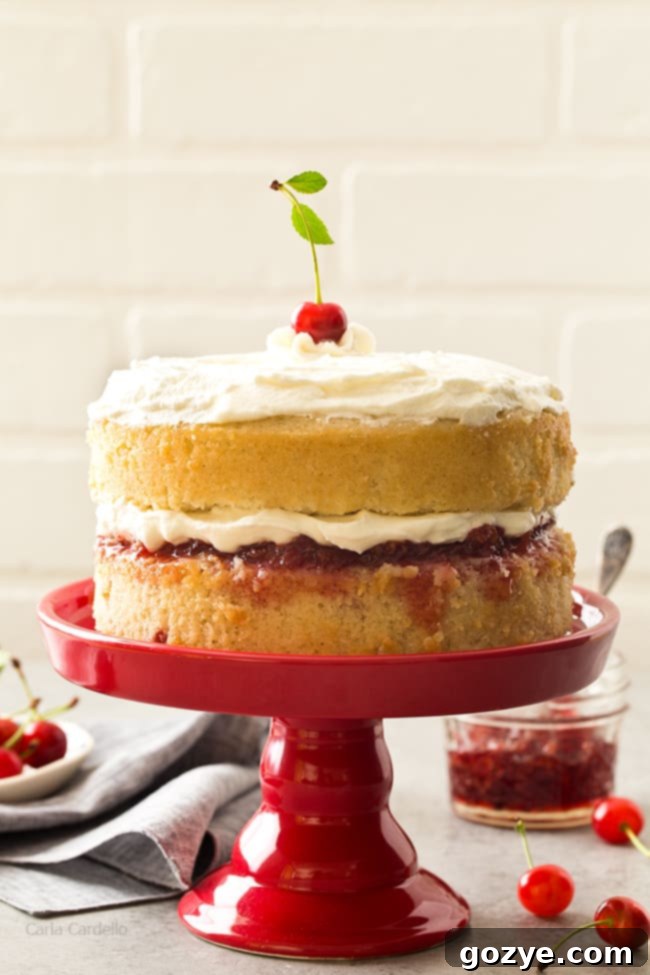
Delicious Small Cherry Vanilla Layer Cake: Your Go-To 6-Inch Homemade Recipe
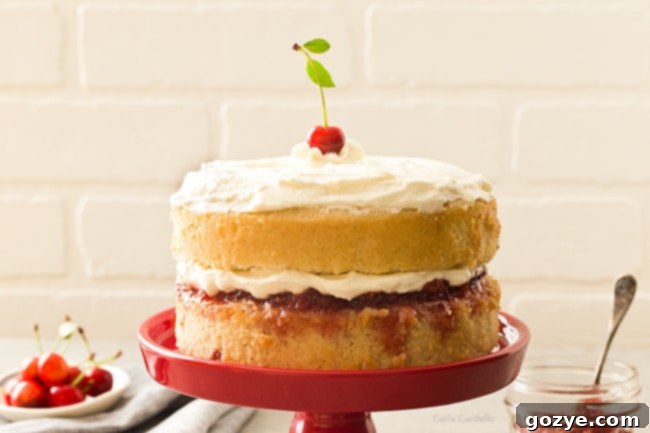
Indulge in this exquisite Small Cherry Vanilla Layer Cake, a perfect 6-inch dessert featuring two tender vanilla cake layers generously filled with luscious cherry jam and crowned with light, homemade whipped cream. This delightful recipe is made entirely from scratch, ensuring a fresh, irresistible taste for any special occasion or a sweet treat for two!
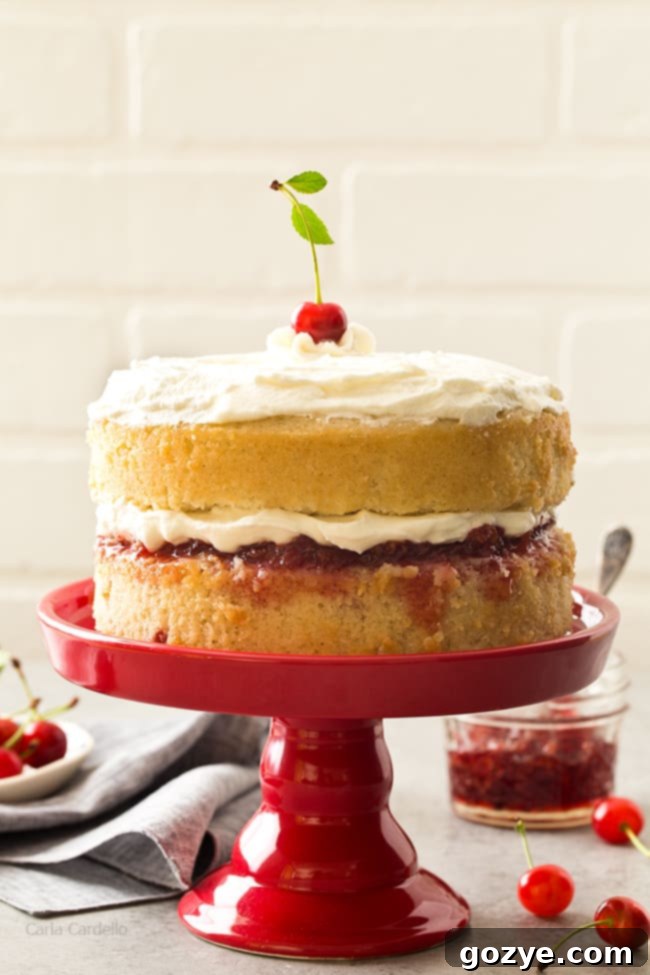
Remember that delightful sour cherry jam I shared a while back? Well, it’s back for a starring role in this incredible Cherry Vanilla Cake recipe! Its vibrant flavor and beautiful color make it the ideal companion for a fluffy vanilla cake, creating a harmonious balance of sweet and tart.
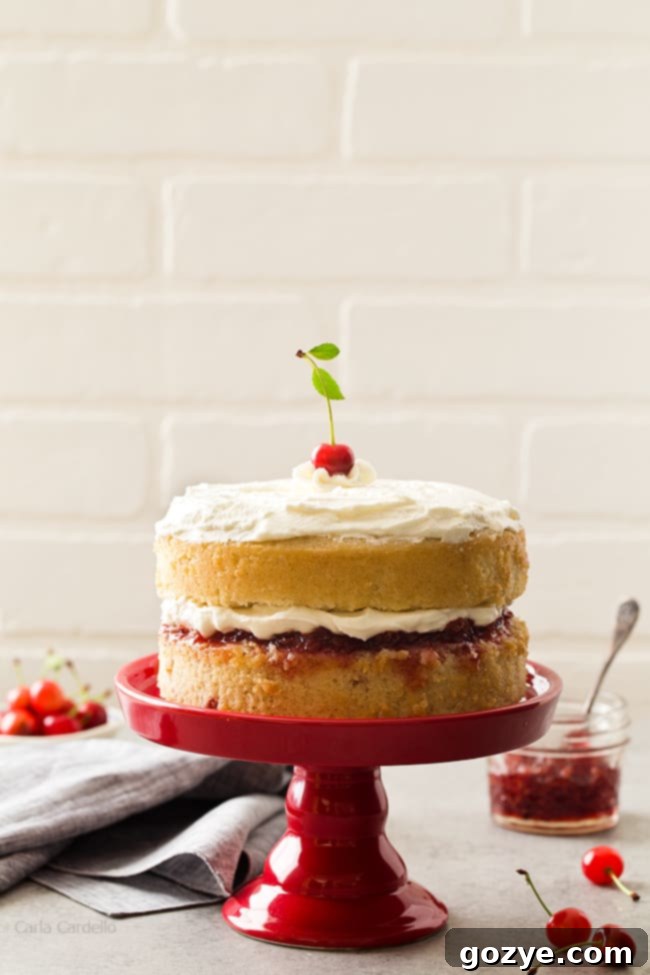
This particular recipe yields a charming 6-inch vanilla cake, baked into two perfect layers, then lovingly filled with that homemade cherry jam and finished with a cloud of freshly made whipped cream. It’s a dessert that not only tastes amazing but also looks absolutely adorable, making it a fantastic choice for smaller gatherings, anniversaries, or simply when you crave a homemade cake without the commitment of a large one.
While I’m particularly fond of cherry for its vibrant taste and visual appeal, the beauty of this recipe lies in its versatility. You can absolutely customize the filling to your heart’s desire. Whether you prefer strawberry, raspberry, or even a different fruit curd, this vanilla cake base is wonderfully adaptable. I must confess, part of the inspiration for creating this specific small vanilla cake was purely aesthetic. I had just acquired a stunning red cake stand and desperately needed an excuse to use it! Sometimes, the best recipes are born from such “food styling problems.”
My love affair with sour cherries began about five years ago when I resided in a quaint, rural area. I found myself with ample free time on weekends and discovered the joy of picking fresh cherries. It became a beloved tradition that I continued even after moving back to Pittsburgh, finding a local farm just 30 minutes away to keep the annual cherry-picking ritual alive. This personal connection truly makes this Cherry Vanilla Cake a labor of love.
Developing this easy cherry vanilla cake was a process of working backward. To complement my beautiful red cake stand, I knew the filling had to be red, leading me straight to cherries. From there, I contemplated cake flavors that would best enhance the cherry. Having already perfected recipes for a small chocolate cake and a small yellow cake, a classic vanilla bean seemed like the perfect, elegant choice. Essentially, this is an enhanced version of my popular Small Vanilla Cake recipe, doubled and elevated with a delightful cherry jam filling.
Essential Equipment: Buying A 6 Inch Round Cake Pan
To successfully create this charming 6-inch vanilla cake, the primary piece of equipment you’ll need is, of course, a 6-inch round cake pan. Sounds simple, right? A standard 6 x 2 inch round cake pan typically holds about 2 cups of batter. You can easily purchase one online from Amazon (as an affiliate link, I may earn a small commission at no extra cost to you) or find them at your local craft or kitchen supply store in the baking aisle.
Because you’re making a lovely small layer cake, I highly recommend investing in two pans. This isn’t just for this recipe; having two 6-inch pans will prove incredibly useful as you dive into more of my 6-inch cake recipes, including my delicious lemon raspberry cake, which also boasts two layers. If you don’t own 6-inch pans yet and can’t wait to bake, don’t worry! You can always try my Small Batch Vanilla Cupcakes for an equally delightful, portion-controlled treat.
Baking From Scratch: How To Make a Small Vanilla Cake
Creating a beautiful small vanilla cake from scratch, without relying on a cake mix, is a truly rewarding experience. The process is straightforward, yielding a tender crumb and rich flavor. Here’s how you’ll do it:
- First, in a medium bowl, carefully sift together your all-purpose flour and cornstarch. Sifting helps to aerate the flour and ensures a lighter cake. Then, stir in the baking powder and salt, distributing them evenly.
- Next, in a separate large mixing bowl, cream together your softened unsalted butter and granulated sugar until the mixture is light, fluffy, and smooth. This step incorporates air, which is crucial for the cake’s texture.
- Then, beat in the egg whites one at a time, ensuring each is fully incorporated before adding the next. Follow this by beating in the vanilla bean paste or extract.
- To finish the cake batter, you will add the dry ingredients alternately with the whole milk. Begin and end with the dry ingredients, adding the flour mixture in three additions and the milk in two. This method helps maintain a smooth batter and prevents overmixing.
- Finally, divide the prepared batter evenly between your two greased and parchment-lined 6-inch round cake pans. Bake at 350°F (175°C) for approximately 25-30 minutes, or until a wooden toothpick inserted into the center of a cake comes out with a few moist crumbs attached, but no wet batter. Allow them to cool completely on a wire rack before assembling.
Frequently Asked Questions About This Vanilla Cake Recipe
Do I need to beat the egg whites separately for this recipe?
No, you do not need to beat the egg whites separately to stiff peaks or soft peaks for this specific vanilla cake recipe. You simply add them into the butter and sugar mixture one at a time, just as you would with whole eggs. This simplifies the process significantly, removing the need for extra bowls or specialized techniques like folding, making this vanilla cake recipe wonderfully easy for all skill levels. And since you’ll likely have leftover egg yolks, be sure to check out my comprehensive guide on What To Do With Leftover Egg Yolks for delicious ways to use them up!
Is whole milk essential, or can I use other types of milk?
I highly recommend using whole milk for this recipe. The higher fat content in whole milk plays a crucial role in keeping the cake incredibly tender, moist, and flavorful. It contributes to the richness and fine crumb of the vanilla cake. However, if you only have 2% milk on hand, the recipe will still work. Just be aware that the final cake might not be quite as moist or rich as it would be with whole milk. Skim milk is generally not recommended as it lacks the fat necessary for optimal texture.
Can I substitute cake flour for all-purpose flour and cornstarch?
Absolutely! I’ve designed this recipe using a combination of all-purpose flour and cornstarch because most home bakers don’t keep cake flour readily available. The cornstarch helps to tenderize the all-purpose flour, mimicking the lower protein content of cake flour, which results in a wonderfully tender crumb. However, if you are a baker who regularly stocks cake flour, you can certainly use it. Simply omit the cornstarch and use 2 cups of cake flour in place of the all-purpose flour and cornstarch mixture.
What if I only want to make a one-layer vanilla cake?
If you prefer to make just a single 6-inch cake instead of a two-layer cake, the recipe is easily adaptable. You can simply cut all the ingredient quantities in half. Fortunately, the measurements in this recipe halve very cleanly, making it simple to adjust for a smaller yield. This is perfect for a truly individual treat or a very small dessert portion.
How many servings does a 6-inch cake typically yield?
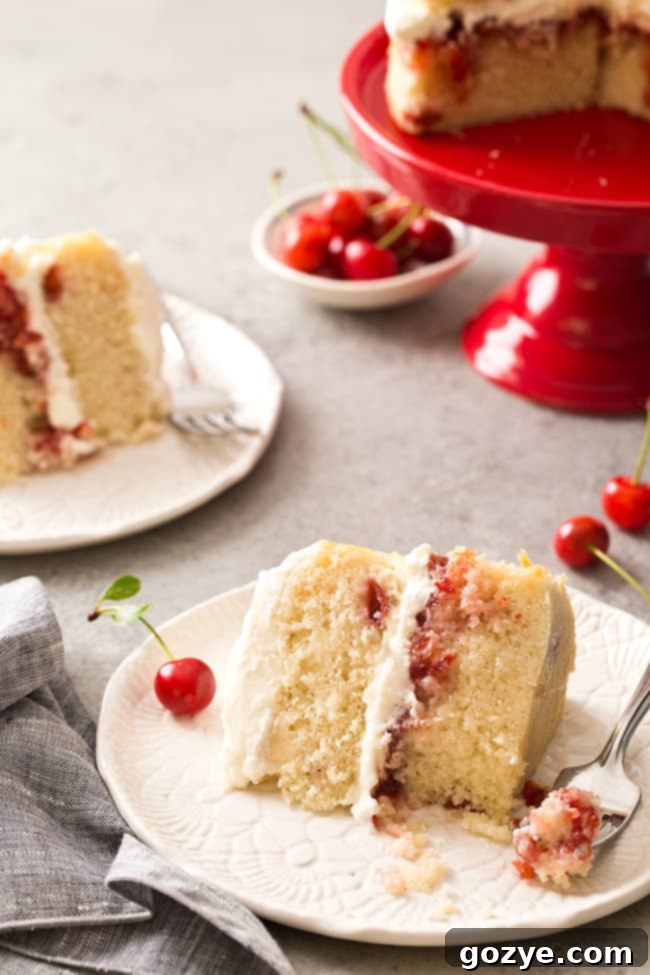
Serving sizes can be quite subjective, especially depending on whether you prefer a generous slice or just a small bite of cake. Generally, a 6-inch round cake can be sliced into 4-6 servings. However, since this is a delightful layer cake, you can often push it to 8 thinner slices, effectively providing 8 servings. Ultimately, how many people your small cake feeds is entirely up to you and how you choose to slice it!
Crafting The Perfect Filling For Your 6-Inch Layer Cake
For the vibrant filling of this small cherry vanilla cake, I used a delightful small batch cherry jam. If you’re eager to try picking sour cherries yourself, much like I do, I recommend starting your search for local farms early in the season. Traditionally, sour cherry season used to begin in early July, but with changing weather patterns, it seems to start earlier and earlier each year. Keep an eye on local farm schedules!
If fresh cherry season isn’t upon us, or if cherries simply aren’t your preferred fruit, there are plenty of other fantastic filling options that pair wonderfully with vanilla cake. You could use homemade strawberry jam without pectin, raspberry jam without pectin, or even a delicious blueberry jam without pectin. These fruit-forward fillings add a lovely burst of flavor and a beautiful color contrast to the tender vanilla layers.
Beyond jams, fruit curds also make an exceptionally delicious and elegant filling. Consider options like strawberry curd or a fragrant peach curd for a delightful twist. Of course, to save time and effort, feel free to use your favorite high-quality store-bought jam or fruit preserves. The goal is to create a cake that brings you joy, so choose a filling you love!
Frosting Your Small Vanilla Cake: Light & Stable Whipped Cream
A light and airy frosting felt like the perfect complement to this delicate small cherry vanilla cake, which is why I opted for a luscious homemade whipped cream. Whipped cream offers a wonderful contrast to the richness of the cake and jam, providing a fresh and delightful finish.
However, traditional whipped cream can sometimes “weep” or lose its shape, especially if left out for extended periods or stored for more than a day. To combat this and ensure your beautiful cake stays picture-perfect, I’ve included a small amount of gelatin to stabilize the whipped cream. This simple step helps the frosting maintain its fluffy texture and structure for longer.
If you plan to serve the cake immediately after assembly and anticipate no leftovers (which might be a challenge with something this delicious!), you can certainly skip the gelatin. But if you’re preparing the cake ahead of time or if you expect it to be enjoyed over 24 hours, I highly recommend incorporating the gelatin for optimal stability and freshness.
Should you prefer a different kind of frosting, this vanilla cake base is incredibly versatile. You could use a classic small batch buttercream frosting, a zesty Lemon Buttercream Frosting, a tangy small batch cream cheese frosting, or even fruit-infused variations like strawberry cream cheese frosting, raspberry cream cheese frosting, or strawberry buttercream. For a comprehensive list of ideas, check out my Small Batch Frosting Recipes post!
Advanced Planning: How To Freeze & Thaw Your Vanilla Cake
Even though this small vanilla cake is designed to yield just a few slices, there are times when you might want to bake it in advance or save some for later enjoyment. Freezing your cake is a fantastic way to preserve its freshness and convenience. Here’s how to do it effectively:
Freezing a Whole or Frosted Cake:
To freeze an entire cake, whether unfrosted or already frosted, ensure it is completely cooled to room temperature first. If your cake is already frosted with whipped cream or buttercream, place it uncovered on a baking tray or plate lined with parchment paper or plastic wrap, and freeze for about 1 hour, or until the frosting is completely firm. This crucial step prevents the plastic wrap from sticking to and potentially ruining your beautiful frosting when you later wrap it.
Once the cake (or frosting) is firm, carefully wrap the entire cake tightly in several layers of plastic wrap, making sure it’s airtight. Then, place the wrapped cake into a freezer-safe plastic bag or an airtight container. Squeeze out as much air as possible to prevent freezer burn. Don’t forget to label the bag with the date! Your frozen vanilla cake can be stored for up to 3 months.
Freezing Individual Slices:
If you’re freezing individual slices, follow the same method: place them on a parchment-lined tray and freeze until firm. Once firm, wrap each slice individually in plastic wrap, then store them together in a freezer-safe bag or container. This is perfect for portion control and ensures you always have a quick treat ready.
How To Thaw a Vanilla Cake:
When you’re ready to enjoy your delicious small vanilla cake, simply transfer it from the freezer to the refrigerator and let it thaw overnight. This slow thawing process helps maintain the cake’s moisture and texture. Once thawed, allow the cake to sit at room temperature for about 15-30 minutes before serving. Eating cake that’s too cold straight from the fridge can mute its delicate flavors, so letting it warm up slightly allows the full spectrum of vanilla and cherry to shine through. Enjoy every bite!
Need a gluten-free option? Explore this fantastic Gluten Free Vanilla Cake recipe from Meaningful Eats for a delicious alternative.
Small Cherry Vanilla Cake Recipe
4-8 servings
1 hour
30-35 minutes
1 hour 30-35 minutes
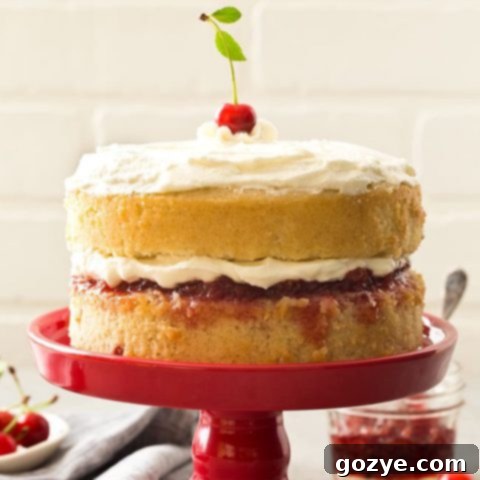
This Small Cherry Vanilla Cake recipe with a luscious cherry filling is a delightful 2-layer, 6-inch cake, perfect for any intimate occasion. Crafted entirely from scratch, it offers a homemade taste that truly shines.
Ingredients
For the Vanilla Cake:
- 1 3/4 cup all-purpose flour (when measuring, spoon the flour into the measuring cup and level it off to ensure accuracy)*
- 1/4 cup cornstarch
- 2 teaspoons baking powder
- 1 teaspoon salt
- 1/2 cup (8 tablespoons or 4 ounces) unsalted butter, softened to room temperature
- 1 1/2 cups granulated sugar
- 4 large egg whites, at room temperature
- 2 teaspoons vanilla bean paste, seeds from 1 vanilla bean, or 2 teaspoons pure vanilla extract
- 1 cup whole milk, at room temperature
For the Filling & Frosting:
- 1 cup cherry jam (homemade or high-quality store-bought, or your choice of strawberry jam, or blueberry jam)
- 2 teaspoons cold water
- 1/2 teaspoon unflavored powdered gelatin
- Double batch of Small Batch Homemade Whipped Cream (prepared with gelatin, see instructions)
Other Frosting Choices (Optional):
- Small Batch Buttercream Frosting
- Small Batch Cream Cheese Frosting
- Full List Of Frosting Recipes
Instructions
- Prepare Pans & Preheat Oven: Preheat your oven to 350°F (175°C). Generously grease two 6-inch wide x 2-inch deep round cake pans. Line the bottoms of the pans with parchment paper circles for easy release.
- Combine Dry Ingredients: In a large bowl, sift together the all-purpose flour and cornstarch. Stir in the baking powder and salt until well combined. Set aside.
- Cream Butter & Sugar: In another large mixing bowl, using an electric mixer on medium speed (fitted with a paddle attachment if using a stand mixer), beat together the softened unsalted butter and granulated sugar until the mixture is light, fluffy, and creamy, which should take about 1-2 minutes.
- Add Wet Ingredients (Eggs & Vanilla): Scrape down the sides of the bowl. Beat in the egg whites, one at a time, incorporating each for about 1 minute before adding the next. Once all egg whites are incorporated, beat in the vanilla bean paste or extract until just combined.
- Combine Dry & Wet Alternately: Reduce the mixer speed to low. Gradually add the dry flour mixture alternately with the whole milk. Begin and end with the dry ingredients, adding the flour in 3 additions and the milk in 2 additions. Mix until just combined and no streaks of flour remain; be careful not to overmix.
- Bake Cake Layers: Divide the cake batter evenly between the two prepared 6-inch cake pans. Bake for 30-35 minutes, or until the tops are golden brown and a wooden toothpick inserted into the center of a cake comes out clean or with a few moist crumbs. Cool the cakes in their pans for 15 minutes, then invert them onto wire cooling racks to cool completely before assembling.
- Prepare Gelatin for Whipped Cream (If Stabilizing): Right before you are ready to assemble the cake: In a small microwave-safe bowl, add the cold water. Sprinkle the powdered gelatin evenly over the water and let it sit for 5 minutes to bloom. Once set, microwave the gelatin mixture for 10 seconds (or until it turns liquid and clear, but not boiling). Stir gently to ensure no granules remain.
- Make Stabilized Whipped Cream: Prepare a double batch of Homemade Whipped Cream according to these directions. When you add the sugar, also slowly drizzle in the cooled liquid gelatin mixture while the mixer is running on low. Continue whipping until soft peaks form.
- Assemble the Cake: If your cake layers have domed tops, gently trim them flat with a serrated knife for easier stacking. Place one cooled cake layer on your serving stand or plate. Spread the cherry jam evenly over the top of this layer. Next, spread half of the prepared whipped cream over the jam. Carefully place the second cake layer on top. Finish by spreading the remaining whipped cream over the top and sides of the cake.
- Chill & Serve: Store the assembled cake, covered, in the refrigerator. For the best flavor and texture, allow the cake to sit at room temperature for 15-30 minutes before slicing and serving. This allows the flavors to meld and the cake to soften slightly.
Notes
- *Cake Flour Substitution: If you have cake flour on hand, you can use it instead of the all-purpose flour and cornstarch mixture. Simply omit the cornstarch and use 2 cups of cake flour for the recipe.
- Explore More Small Cakes: Love the convenience of this 6-inch cake? Discover my full collection of 6 Inch Cake recipes for more delicious ideas!
- No 6-Inch Pans? No Problem: If you don’t have 6-inch round cake pans, consider making my Small Batch Vanilla Cupcakes instead, using a similar vanilla cake batter.
- Room Temperature Ingredients: Ensure butter, eggs, and milk are at room temperature. This helps them emulsify properly, creating a smoother batter and a more tender, consistent cake crumb.
- Don’t Overmix: Overmixing the batter can lead to a tough cake. Mix until just combined after adding the wet and dry ingredients.
Recommended Products
As an Amazon Associate and member of other affiliate programs, I earn from qualifying purchases, which helps support this blog.
- 6 Inch Cake Pan
- Offset Spatula
Did you make this recipe?
Let me know what you think! Rate the recipe above, leave a comment below, and/or share a photo on Instagram using #HITKrecipes
