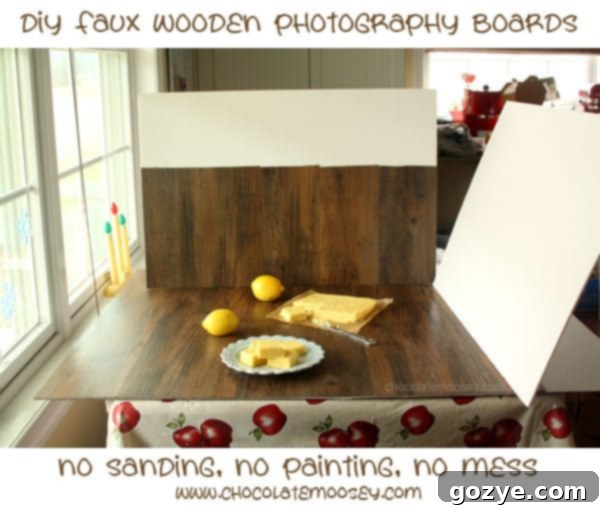
The Ultimate Guide to DIY Faux Wood Photography Boards: Easy, Budget-Friendly, and Splinter-Free
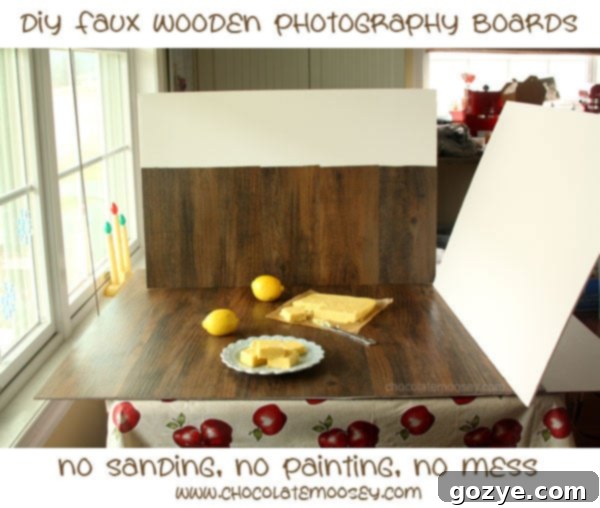
Are you passionate about food photography? Do you spend countless hours trying to capture that perfect, mouth-watering shot? If so, you already know that a stunning backdrop can make all the difference. Wooden boards are a perennial favorite among food photographers, offering a rustic, warm, and authentic aesthetic that elevates any dish. However, acquiring real wooden boards for your photography setup often comes with its own set of challenges: they can be heavy, expensive, prone to splinters, and require tedious gluing, sanding, and painting if you’re attempting a DIY project. What if there was a simpler, more affordable, and equally effective solution?
Enter the world of DIY faux wooden photography boards! This innovative project allows you to create beautiful, realistic wood-look surfaces in mere minutes, without the mess, the fuss, or the significant investment. Using readily available self-adhesive vinyl planks and a sturdy poster board, you can assemble these professional-grade photography backdrops quickly and easily. Forget about splinters, sticky glue, or long drying times – this method is a game-changer for any photographer looking to enhance their prop collection on a budget.
The Accidental Discovery That Changed My Photography Game
My journey to creating these faux wooden boards began, as many great DIY projects do, by accident. I had spent a frustrating hour at a local hardware store, Lowe’s, on a mission to find tongue and groove wooden boards that I could easily assemble. My initial vision involved gluing these pieces together to form a solid, authentic wooden surface. However, the boards I found were either too wide for practical photography use or only available in large, expensive packs that didn’t make sense for individual pieces. It was a disheartening experience, leaving me feeling defeated and contemplating a trip to Home Depot in another town, which would add another day to my project timeline and a considerable drive.
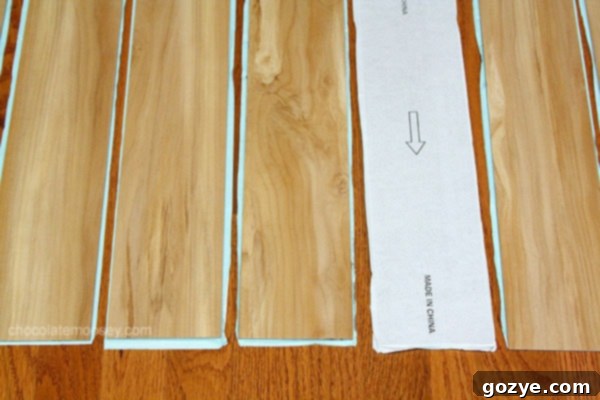
Just as I was about to leave Lowe’s, feeling utterly deflated, something caught my eye in the flooring section: vinyl boards that perfectly mimicked the look of real wood. And the best part? They were sold as individual pieces! This was a revelation. Unlike traditional wooden planks, these vinyl pieces were self-adhesive – no need for glue, nails, or complicated tools. You simply peel off the backing paper and stick them onto your chosen surface. While these vinyl planks are somewhat flimsy on their own, I quickly realized they would be perfect when paired with a rigid support. A trip to the foam board section provided the ideal solution. Unfortunately, my excitement led to a slight miscalculation, and I didn’t buy enough pieces the first time around, necessitating a frustrating 40-minute round trip back to the store. Lesson learned: always double-check your quantities!
Cost-Effective Creativity: Breaking Down the Budget
One of the most appealing aspects of this DIY project is its incredible affordability. Compared to purchasing pre-made photography boards or even buying real wood and all the necessary tools and finishes, these faux wooden boards are a steal. The individual vinyl planks typically range from $1 to $3 each, depending on their size, color, and finish. For instance, the lighter brown planks (often labeled something like “Sunlit Maple 399158”) were a budget-friendly $0.98 each, while the slightly wider, darker brown planks (like “Antique Woodland Oak 399147”) cost around $2.36 each. For my two boards, I used 8 light brown and 6 dark brown pieces.
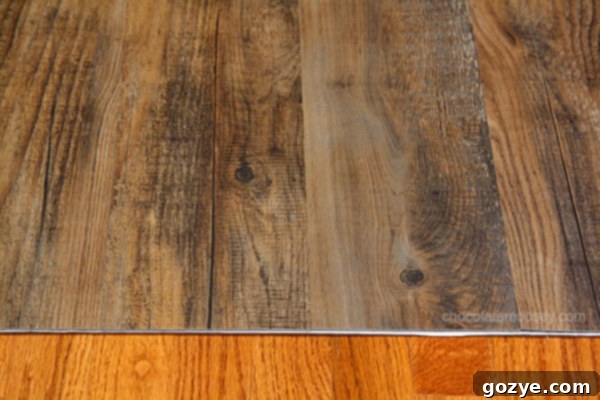
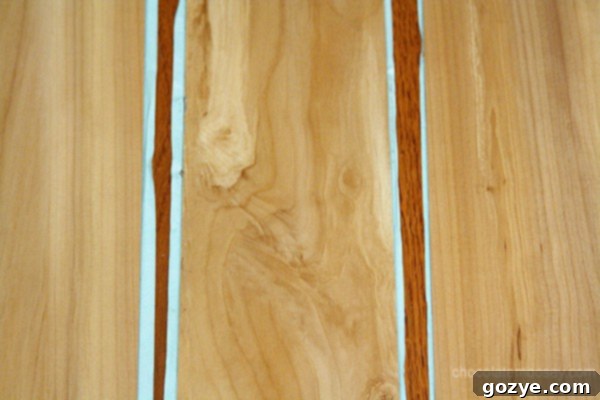
For the crucial support, I opted for a tri-fold poster board, which I found at Dollar General for a mere $2.50 each. This brings the total cost for my two distinct photography boards to roughly $10 and $17, respectively. Think about that for a moment: high-quality, professional-looking photography backdrops for under $20 each! This makes it incredibly easy to create a diverse collection of surfaces without breaking the bank, allowing you to experiment with different textures and colors for a variety of food styling scenarios.
Rapid Assembly: Quick & Easy Setup
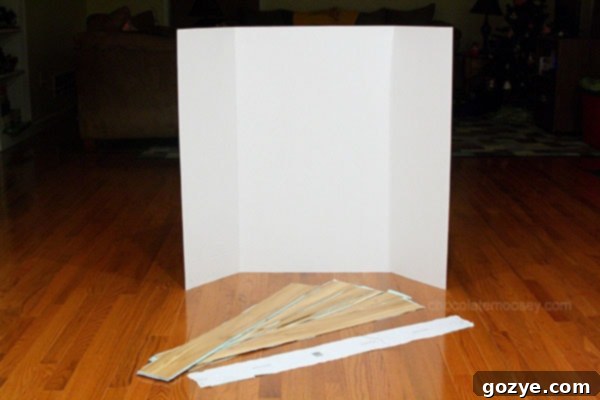
One of the most compelling advantages of this faux wood board project is the lightning-fast assembly time. If you have all your materials ready and know the layout you want, putting together a single board can take as little as 10 minutes. My own experience, which involved photographing each step for this tutorial and assembling two boards plus a small backdrop, took me around 45-60 minutes. Keep in mind that this time included pauses to meticulously set up each photo scene. For a straightforward assembly, without the need for documentation, you’ll be amazed at how quickly you can transform simple materials into professional-grade photography props.
Why Choose Faux Wood for Your Photography Backdrops?
Beyond the cost and speed, there are numerous reasons why faux wooden photography boards are an excellent choice for photographers, especially those focused on food:
- Lightweight and Portable: Unlike heavy, solid wood boards, these faux versions are incredibly light, making them easy to move, store, and transport for on-location shoots.
- Versatile Aesthetics: Vinyl planks come in a vast array of wood-grain patterns, colors, and textures, allowing you to create diverse looks – from rustic farmhouse to sleek modern, and everything in between.
- Durability and Easy Cleaning: Vinyl is inherently water-resistant and durable, meaning spills (a common occurrence in food photography!) can be easily wiped clean without damaging your backdrop.
- No Splinters or Rough Edges: Enjoy working with smooth, consistent surfaces every time, eliminating the worry of splinters damaging your hands or props.
- Consistent Finish: Unlike painted wood, which can chip or wear, vinyl planks maintain a consistent, high-quality finish over time.
- Space-Saving Storage: Being thin and light, multiple boards can be stored efficiently without taking up much space.
Materials You’ll Need:
Gathering your supplies is the first step to success. Here’s a simple checklist:
- Self-adhesive vinyl flooring planks (quantity will depend on your desired board size and plank dimensions)
- Foam core board or tri-fold poster board (for support)
- Utility knife or sturdy scissors
- Measuring tape or ruler
- Optional: Cutting mat (to protect your work surface), heavy books or flat objects (for pressing), wet wipes (for cleaning sticky residue).
How To Make Faux Wooden Photography Boards
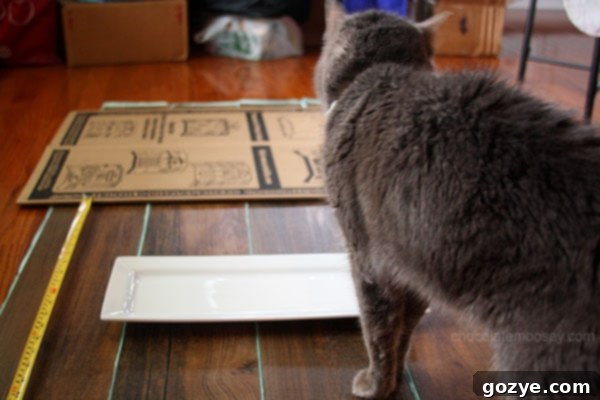
Step 1: Prepare Your Workspace and Gather Your Materials
Before you begin, ensure your workspace is clean, flat, and well-lit. Clear away any obstacles, and make sure you have all your materials within easy reach. And, as a lighthearted but important note:
1. Remove the cat. (Seriously, curious pets and sticky projects don’t always mix!)
Step 2: Measure Twice, Buy Once – Ensure You Have Enough
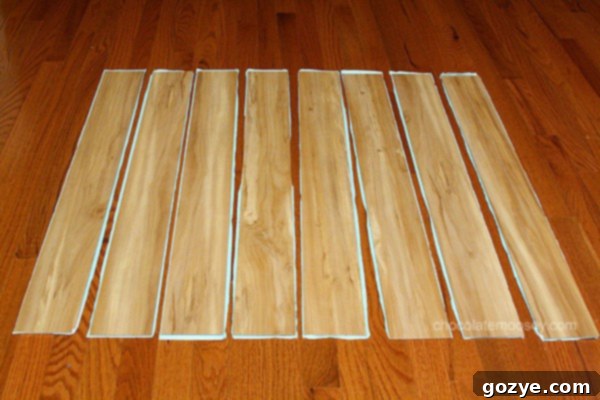
2. This step cannot be stressed enough: make sure you have enough vinyl planks and support board before you start. There’s nothing more frustrating than getting halfway through a project only to realize you’re short on materials and have to make another trip to the store, especially if it’s a long drive. Measure your poster board and calculate how many planks you’ll need to cover it, accounting for any cuts or staggering you plan to do.
Step 3: Plan Your Layout for the Perfect Look
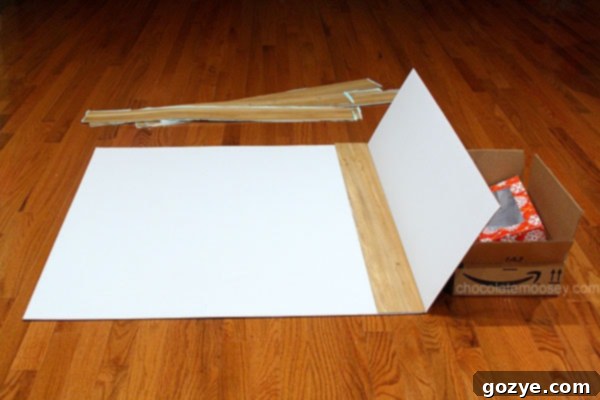
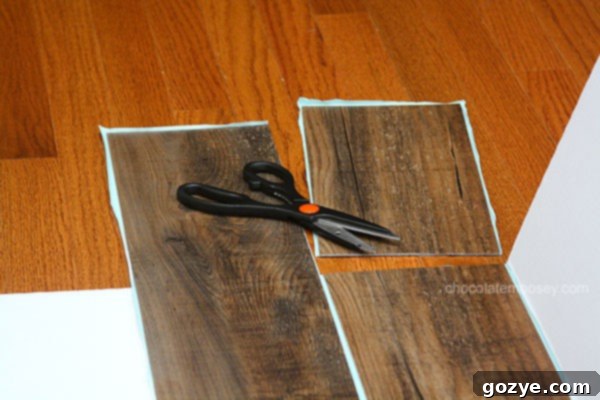
3. Before peeling off any backing, lay out all your vinyl pieces on the poster board. This “dry run” is crucial for visualizing the final look and making any necessary adjustments. Experiment with different arrangements, whether you prefer a straight, uniform look or a staggered pattern to mimic real wood flooring. In my case, some of the dark brown pieces were longer than the tri-fold board, so I carefully cut them to size using a utility knife and a ruler. I also strategically arranged the lighter brown pieces so they covered one flap of the tri-fold board, creating a convenient built-in “reflector” which can be incredibly useful for bouncing light during shoots. While this worked perfectly for the narrower light brown planks, the wider dark brown pieces didn’t allow for the same reflector configuration, demonstrating that each board might offer unique opportunities for customization.
Step 4: Peel, Align, and Press – The Adhesion Process
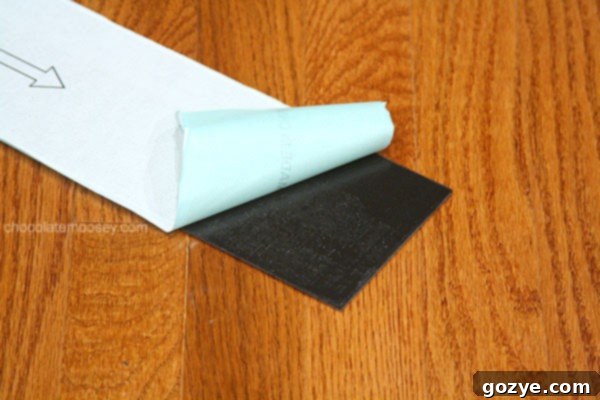
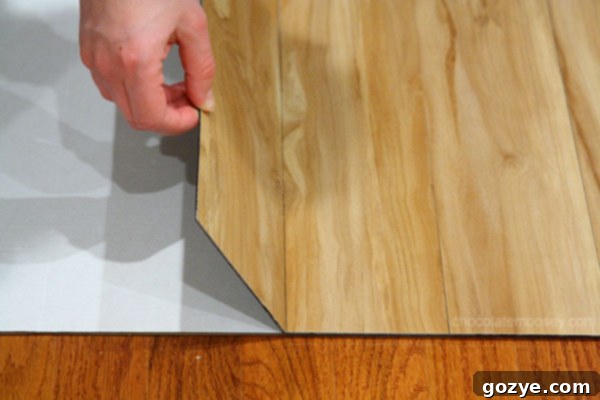
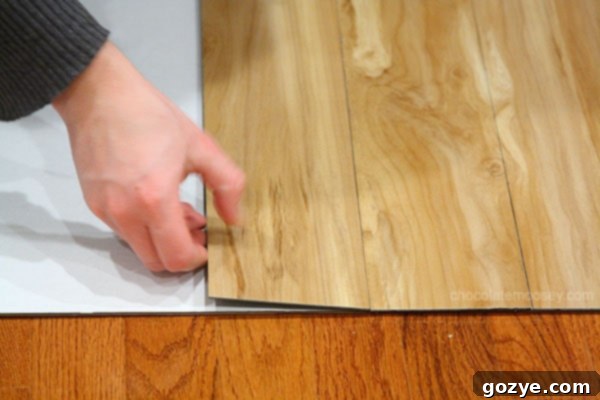
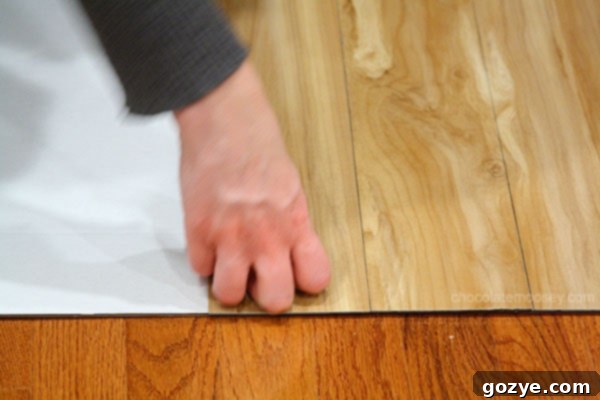
4. Once you’re satisfied with your layout, it’s time for adhesion. Take one vinyl plank and carefully peel off its backing paper. Start from one edge of your poster board and meticulously line up the plank, ensuring it’s perfectly straight. This is a crucial step, as misalignment can affect the overall aesthetic. Slowly lower the plank onto the poster board, pressing down firmly as you go to secure it in place and prevent air bubbles. I found that my fingers became a bit sticky from the adhesive, so using knuckles or a clean cloth to press down can be helpful. Repeat this process with the remaining pieces, taking your time with each one. The vinyl planks can be a bit flimsy on their own, so precision is key. While I managed to assemble everything by myself, having an extra set of hands wouldn’t hurt, especially for larger boards, to help with alignment and pressing.
Step 5: Apply Pressure for Lasting Adhesion
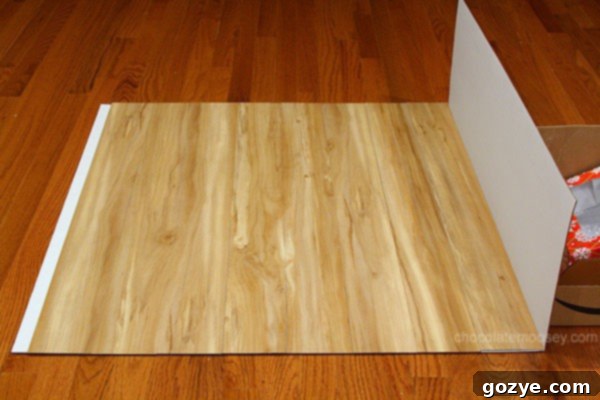
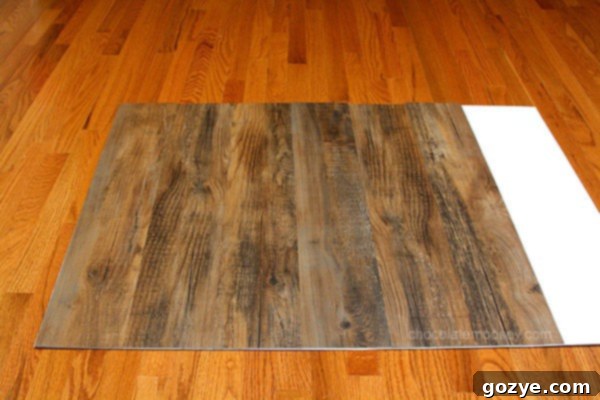
5. After all the vinyl planks are in place, it’s a good idea to apply sustained pressure across the entire surface. This helps to ensure that the adhesive bonds securely to the poster board, preventing any edges from lifting over time. Stack several heavy books, textbooks, or other flat, heavy objects evenly across your newly assembled board. Leave them in place for several hours, or even overnight, to allow the adhesive to fully set. This final step is essential for creating a durable and long-lasting photography board.
Expanding Your Setup: Creating Matching Backdrops
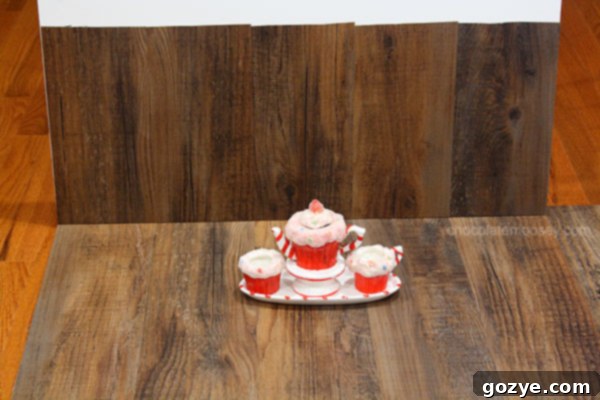
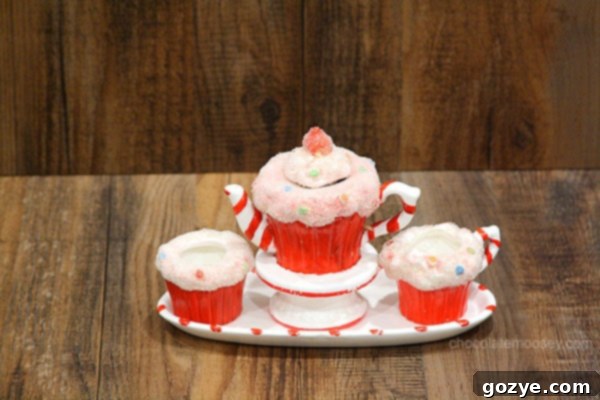
One of the fantastic benefits of this DIY method is the ease with which you can create complementary backdrops. Since I had some decently sized vinyl pieces leftover from the dark wood planks, I decided to put them to good use by making a small, matching backdrop. Having a surface and a backdrop that seamlessly blend or beautifully contrast can significantly enhance the overall composition of your food photos. I’m already planning to buy more of the light brown vinyl planks to create another versatile backdrop, expanding my creative options even further.
Tips for Using and Maintaining Your Faux Wood Boards
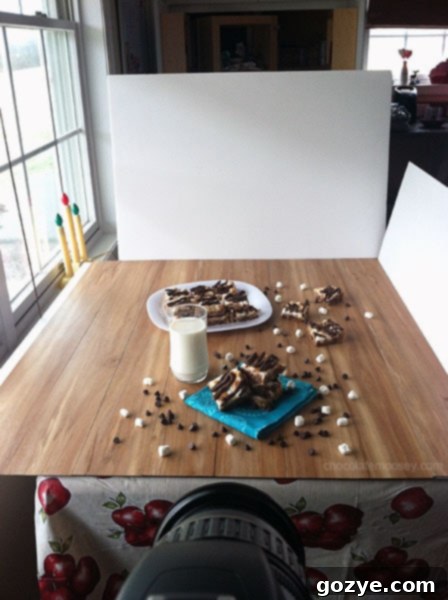
While this project is incredibly simple, there are a few practical considerations. The stickiness of the adhesive after peeling the paper can be a bit annoying – expect to wash your hands a few times to get the residue off. However, this minor inconvenience is a small price to pay for the minimal effort required to create these fantastic boards. For cleaning, simply wipe your vinyl boards with a damp cloth. For tougher spots, a mild soap solution should do the trick. Store your boards flat or upright in a dry place to prevent any warping of the foam core. The beauty of these boards is their versatility; you can easily create multiple boards in various wood tones and patterns to match any dish or seasonal theme.
Future DIY Inspirations: White Wood & Teal Tones
As much as I love the natural wood look, I’m always on the hunt for more options. I haven’t yet found vinyl planks that convincingly mimic white wood, which is a classic and versatile option for many photography styles. For this, I did manage to find a small pack of actual tongue and groove boards that can be painted on both sides. My mind is already buzzing with ideas for future projects, perhaps a pristine white on one side and a vibrant teal on the other, offering even more creative flexibility. The possibilities for customizing your photography surfaces are truly endless!
Explore More DIY Photography Backdrop Ideas
Liked this tutorial and eager to explore more ways to enhance your photography props? While this guide focuses on an easy faux wood method, many talented food bloggers have shared their techniques using actual wood. Check out these inspiring tutorials if you’re curious about different approaches:
- DIY Wood Photography Boards from Table For Two
- DIY Distressed Wood Photo Backdrop from Love & Olive Oil
- DIY Photography Background from Running To The Kitchen
