Delicious Chocolate Chip Cut Out Cookies: Your Guide to Perfectly Shaped Treats
Chocolate Chip Cut Out Cookies offer a delightful twist on classic chocolate chip sugar cookies, allowing you to create beautiful, shaped treats using your favorite cookie cutters. This easy-to-follow recipe ensures your cookies hold their shape perfectly, whether you choose to enjoy them plain or decorate them with creamy vanilla buttercream and vibrant sprinkles.
The age-old question, “What is your favorite food?” often leaves me stumped. How can one possibly pick just one when the culinary world offers such an array of deliciousness?
However, ask me about my favorite cookie, and without hesitation, I’d immediately declare my love for small batch chocolate chip cookies. It might seem surprising, as I’m usually drawn to adventurous flavors rather than what some might consider “boring classics.” While I might branch out from a classic vanilla cupcake, the chocolate chip cookie remains an unwavering staple in my heart and kitchen.
Sometimes, I opt for simpler chocolate chip creations like chocolate chip snowball cookies or even my whimsical chocolate chip cheese ball. But for those moments when I want to indulge in something truly special and visually appealing, I go all out to make these incredible Chocolate Chip Cut Out Cookies.
It’s not every day that I reach for my extensive collection of cookie cutters – which, by the way, includes several adorable dinosaur shapes! The truth is, I often lack the patience or the intricate decorating skills required for elaborate cookie designs. However, my deep affection for chocolate chip cookies makes an exception for these delightful cut-out versions.
And yes, contrary to popular belief, you absolutely CAN make perfectly shaped chocolate chip cookies using cookie cutters with this incredibly easy recipe! Forget the usual method of cutting chocolate chip cookie bars into shapes *after* baking. This specially formulated dough is designed for rolling and cutting before it even touches the oven.
The secret lies in omitting leavening agents like baking soda or baking powder. This crucial detail ensures that your cookies maintain their precise shapes, staying beautifully flat and defined throughout the baking process. Essentially, you’re creating a chocolate chip version of your favorite sugar cookies!
The best part? While they are incredibly fun to decorate, you certainly don’t *have* to. I find them utterly delicious enjoyed plain, straight from the oven. But for those festive occasions, these shaped cookies truly shine! Imagine star-shaped cookies for the 4th of July, heartfelt shapes for Valentine’s Day, or colorful circles adorned with rainbow sprinkles for birthdays. The possibilities for customization are endless, making these chocolate chip cut out cookies perfect for any celebration or just a fun baking day at home.
Essential Ingredients for Perfect Chocolate Chip Cut Out Cookies
Crafting these amazing chocolate chip sugar cookies requires a few simple, yet key, ingredients. Each plays a vital role in achieving that perfect flavor and no-spread texture:
- Unsalted Butter: Beyond adding a rich, creamy flavor, softened unsalted butter contributes significantly to a tender, melt-in-your-mouth cookie texture. It also helps create a smooth dough that’s easy to work with.
- Brown Sugar: This is the secret to the iconic, deep, and slightly caramel-like flavor that defines classic chocolate chip cookies. Packed brown sugar also adds moisture, ensuring your cookies stay soft.
- Granulated Sugar: While brown sugar brings flavor and moisture, white granulated sugar is essential for contributing to the cookie’s crisp edges and overall structure, balancing the chewiness from the brown sugar.
- Large Egg Yolk: Yes, we know, having leftover egg whites can be a bit of a nuisance! However, using only the egg yolk provides richness and helps bind the dough without introducing too much liquid, which could make the dough sticky or cause spreading. For ideas on what to do with leftover egg whites, check out our tips!
- Vanilla Extract: A touch of vanilla extract is crucial for enhancing all the other flavors in the dough, providing a warm and inviting aroma that complements the chocolate perfectly.
- All-Purpose Flour: This provides the necessary structure for your cookie dough. It’s what allows the dough to be rolled out and cut into intricate shapes without losing integrity. Using the correct amount is key to a dough that’s neither too sticky nor too crumbly.
- Table Salt: Often underestimated, salt plays a critical role in balancing the sweetness and enhancing the chocolate flavor, preventing the cookies from tasting bland.
- Mini Semisweet Chocolate Chips: For cut-out cookies, mini chocolate chips are a must! Regular-sized chips are simply too large for intricate cookie cutter shapes and can tear the dough or cause uneven baking. Mini chips ensure a beautiful distribution of chocolate in every bite without compromising the cookie’s shape.
How Many Cookies Does This Cut Out Recipe Make?
It can be challenging to give an exact yield for this cut out cookie recipe, as the final number heavily depends on the size and shape of your cookie cutters. However, from one batch, I typically get around 12 large cookies. If you use smaller cutters, you’ll certainly get more!
Different cookie sizes also mean varying baking times. Smaller cookies may be perfectly baked in about 9 minutes, while larger cookies might need closer to 11 minutes. It’s always a good idea to start checking your cookies at the 9-minute mark. Remove any that have achieved golden-brown edges and continue baking the remaining ones until they are done.
If you’re aiming for a “small batch” approach for these cut-out cookies, you can roll out all the dough at once, cut your desired shapes, and then freeze a portion of the unbaked shapes on a tray before transferring them to a freezer bag. This allows you to bake fresh cookies whenever a craving strikes, without having to prepare the entire dough from scratch each time.
Simple Steps to Making Perfect Cut Out Chocolate Chip Cookies
Making your own cut out chocolate chip cookies is a truly rewarding and fun experience! Here’s a detailed guide to walk you through each step:
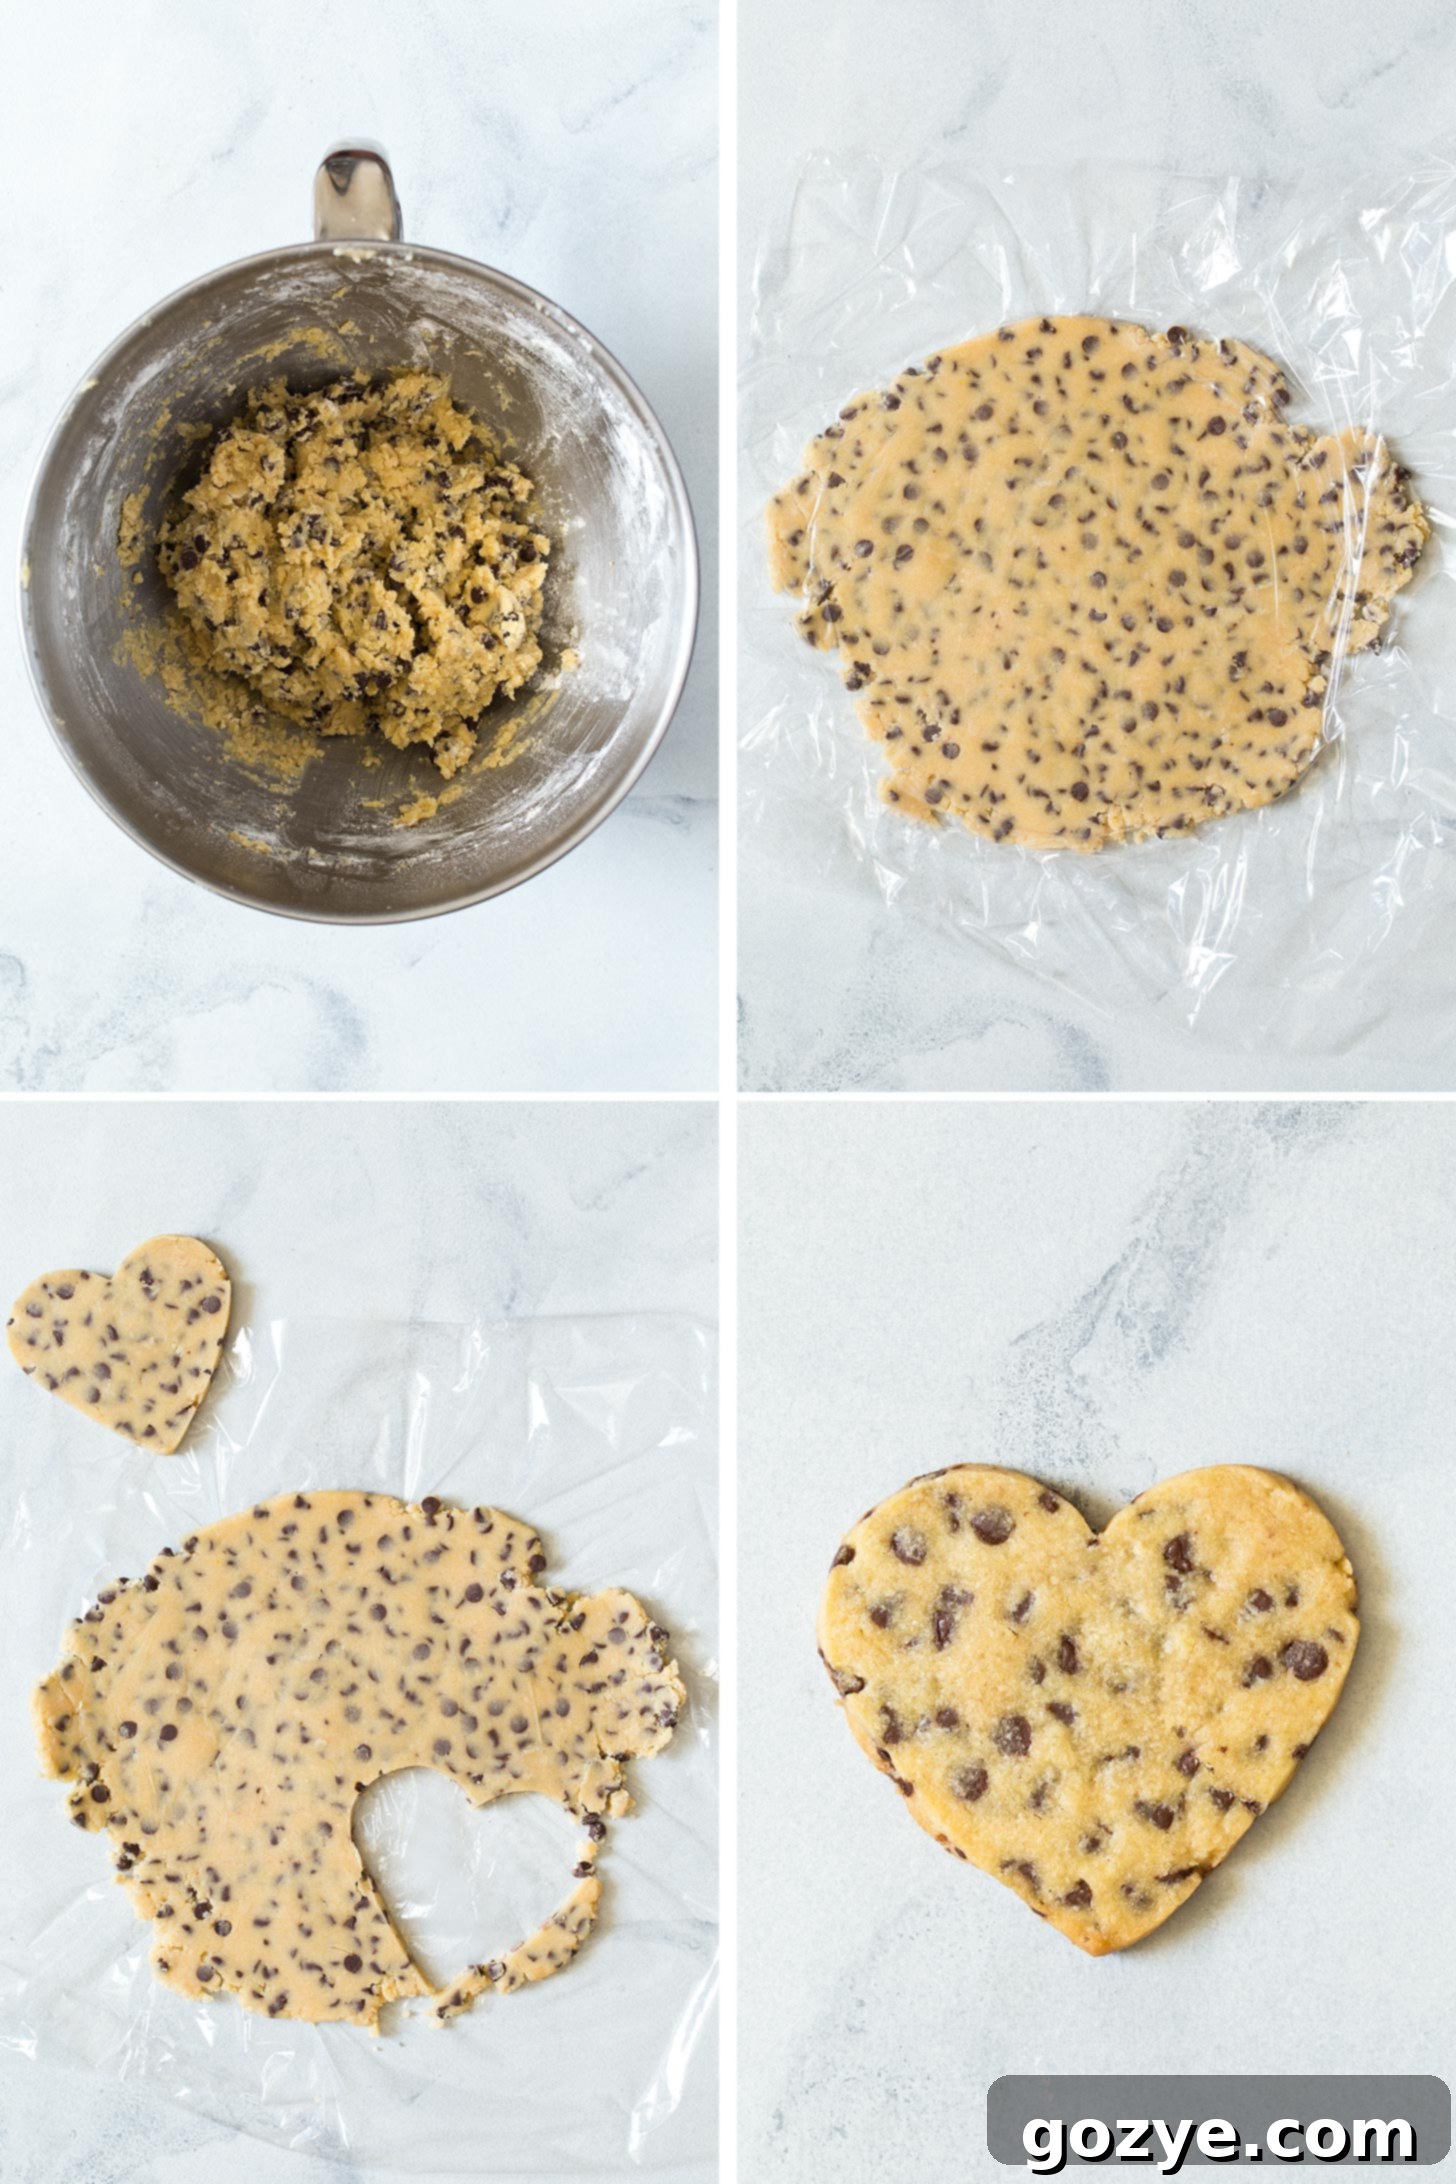
- Cream Butter and Sugars: In a large mixing bowl, using an electric mixer (with a paddle attachment if you have a stand mixer), beat together the softened butter, brown sugar, and granulated sugar until the mixture is light, fluffy, and creamy. This typically takes about 1-2 minutes, ensuring the sugars are fully incorporated and the butter is aerated.
- Incorporate Egg Yolk and Vanilla: Scrape down the sides of the bowl to ensure everything is evenly mixed. Then, add the room-temperature egg yolk and vanilla extract. Beat again until these are fully incorporated into the butter mixture, ensuring a smooth base for your dough.
- Gradually Add Dry Ingredients and Chocolate Chips: Reduce your mixer speed to low. Gradually add the all-purpose flour and salt, beating just until a cohesive dough starts to form. Be careful not to overmix, as this can lead to tough cookies. Once the dough comes together, gently fold in the mini chocolate chips until they are evenly distributed throughout. If the dough seems a little crumbly at first, continue mixing for another 30-60 seconds on low speed, and it should come together.
- Chill the Dough: Remove the dough from the bowl and divide it into two equal pieces. Place each piece between two sheets of plastic wrap. Using a rolling pin, roll each dough piece flat to a consistent thickness of about 1/4 inch. This pre-rolling step makes it much easier to work with later. Refrigerate the flattened dough for at least 1 hour, or until it is very firm. This chilling time is crucial for preventing stickiness and spreading.
- Roll and Cut Dough: Working with one chilled dough piece at a time, remove the top layer of plastic wrap. Using your desired cookie cutters, press firmly to cut out shapes. As you run out of space, gather the dough scraps, gently press them together, and re-roll them between fresh sheets of plastic wrap if they’ve warmed up. If the dough becomes too warm or sticky at any point, simply place it back in the refrigerator for 10-15 minutes to firm up again. Repeat with the second dough piece.
- Prepare for Baking: Carefully transfer your cut-out cookie shapes onto ungreased cookie sheets, leaving a little space between each cookie.
- Bake to Perfection: Preheat your oven to 350°F (177°C). While the oven preheats, place the cookie sheets with the cut-out shapes into the refrigerator or freezer for 15-20 minutes. This extra chill time is key to ensuring your cookies maintain their precise shapes and prevent spreading in the oven. Bake for 9-11 minutes, or until the edges are lightly golden brown.
- Cool and Decorate: Allow the baked cookies to cool on the cookie sheets for about 5 minutes before carefully transferring them to wire racks to cool completely. Once fully cooled, unleash your creativity and decorate them as desired with frosting, glazes, or sprinkles!
To store your delicious chocolate chip sugar cookies, place them in an airtight container at room temperature for up to 1-2 weeks. If your kitchen is particularly warm, it’s best to refrigerate them to prevent the chocolate from melting or any frosting from becoming too soft. When storing frosted cookies, avoid stacking them directly on top of each other, as frosting can be fragile and smudge easily.
Expert Tips: How to Roll Out Cookie Dough Without Sticking
Few things are more disheartening in baking than having your beautifully prepared chocolate chip cookie dough stick stubbornly to your rolling pin, counter, or even your hands before you can get it to the oven. It’s enough to make any baker want to throw in the towel! But fear not, there are simple strategies to ensure your dough remains cooperative.
The primary key to preventing sticky dough is to keep it consistently cold. A brilliant trick is to roll out your dough between two sheets of plastic wrap *before* you chill it. Here’s why this method is a game-changer:
First, rolling out room temperature dough is significantly easier than trying to tackle cold, stiff dough straight from the fridge. If you attempt to roll cold dough, you’ll find yourself battling its resistance, often waiting for it to warm up. This waiting period leads to warm dough, and warm dough equals an unhappy, sticky mess for the baker.
Second, pre-rolling the dough means you spend far less time actively handling it. The more you work with cookie dough, the more warmth your hands transfer to it, causing the butter to soften and the dough to become sticky. You’re effectively working against the clock. By flattening the dough between plastic wrap and then chilling it, you minimize handling time when it matters most – during the cutting phase.
When your dough is already rolled to the perfect 1/4-inch thickness and well-chilled, it’s ready to be cut straight from the fridge with maximum ease. This efficiency ensures your cookie cutters glide through the dough cleanly, resulting in perfectly defined shapes every single time. If you don’t have plastic wrap, you can lightly flour your work surface and rolling pin, but be careful not to add too much flour, as this can make your cookies dry and tough.
Preventing Spread: How to Keep Chocolate Chip Cut Out Cookies from Losing Their Shape
Have you ever meticulously cut out beautiful, intricate chocolate chip cookie shapes, only to pull them from the oven transformed into sad, undefined blobs? This common baking dilemma occurs when cookies spread too much during baking, completely losing their distinctive edges and designs. The good news is, preventing this is simpler than you think!
The ultimate secret to keeping your chocolate chip cut out cookies from spreading is to maintain a consistently cold dough – a theme you’ll notice is crucial throughout this recipe. When the butter in your dough is cold, it takes longer to melt in the oven. This extended melting time allows the cookie’s structure (from the flour and egg yolk) to set before the butter fully liquifies and causes the cookie to flatten and spread.
My top recommendation is to place your cut-out cookie shapes on the baking sheets and pop them directly into your freezer while your oven preheats. This usually takes about 15-20 minutes. By the time your oven reaches the desired temperature, your cookies will be thoroughly chilled, firm, and perfectly primed to hold their shape during baking. You can even chill your empty cookie sheets beforehand for an extra boost of coldness, or line them with parchment paper to ensure easy release and even baking.
Remember, a cold dough is a happy dough when it comes to cut-out cookies! This simple step makes all the difference between perfectly sharp edges and disappointing spread.
How To Freeze Chocolate Chip Cookie Dough for Future Baking
While my chocolate chip cut out cookie recipe might not be considered a “small batch” if you make all 12 large cookies (or even more smaller ones), the fantastic news is that the dough freezes exceptionally well! This makes it perfect for having freshly baked cookies on demand or for preparing ahead for parties and holidays.
There are two convenient methods for freezing this versatile cookie dough:
- Freeze as a Rolled Sheet: Once you’ve rolled out the dough to 1/4 inch thick (between plastic wrap, as instructed), simply wrap the entire flattened sheet of dough securely in an additional layer of plastic wrap, then place it into a freezer-safe bag or airtight container. This method is incredibly useful if you’re short on time and can’t cut out shapes immediately, or if you haven’t yet decided on the specific shapes you want to bake later. When ready to use, thaw in the refrigerator for a few hours until pliable but still cold, then cut out and bake.
- Freeze Pre-Cut Shapes: If you prefer to do all the prep work at once, cut out all your desired shapes from the chilled dough. Then, arrange the raw cookie shapes individually on a plastic wrap-lined baking tray (or parchment paper) and freeze for about 1 hour, or until they are completely firm. Once solid, transfer the frozen shapes to a freezer bag or airtight container, removing as much air as possible before sealing. This method is ideal for ultimate convenience; you can grab just a few shapes and bake them directly from frozen whenever you like. Just add 1-3 minutes to the baking time when baking from frozen, without thawing.
When properly wrapped and stored in an airtight manner, this chocolate chip cookie dough can be frozen for an impressive 9-12 months. This means you can always be ready for impromptu guests, last-minute celebrations, or simply satisfy a sudden cookie craving!
Creative Ways to Decorate Your Chocolate Chip Cookies
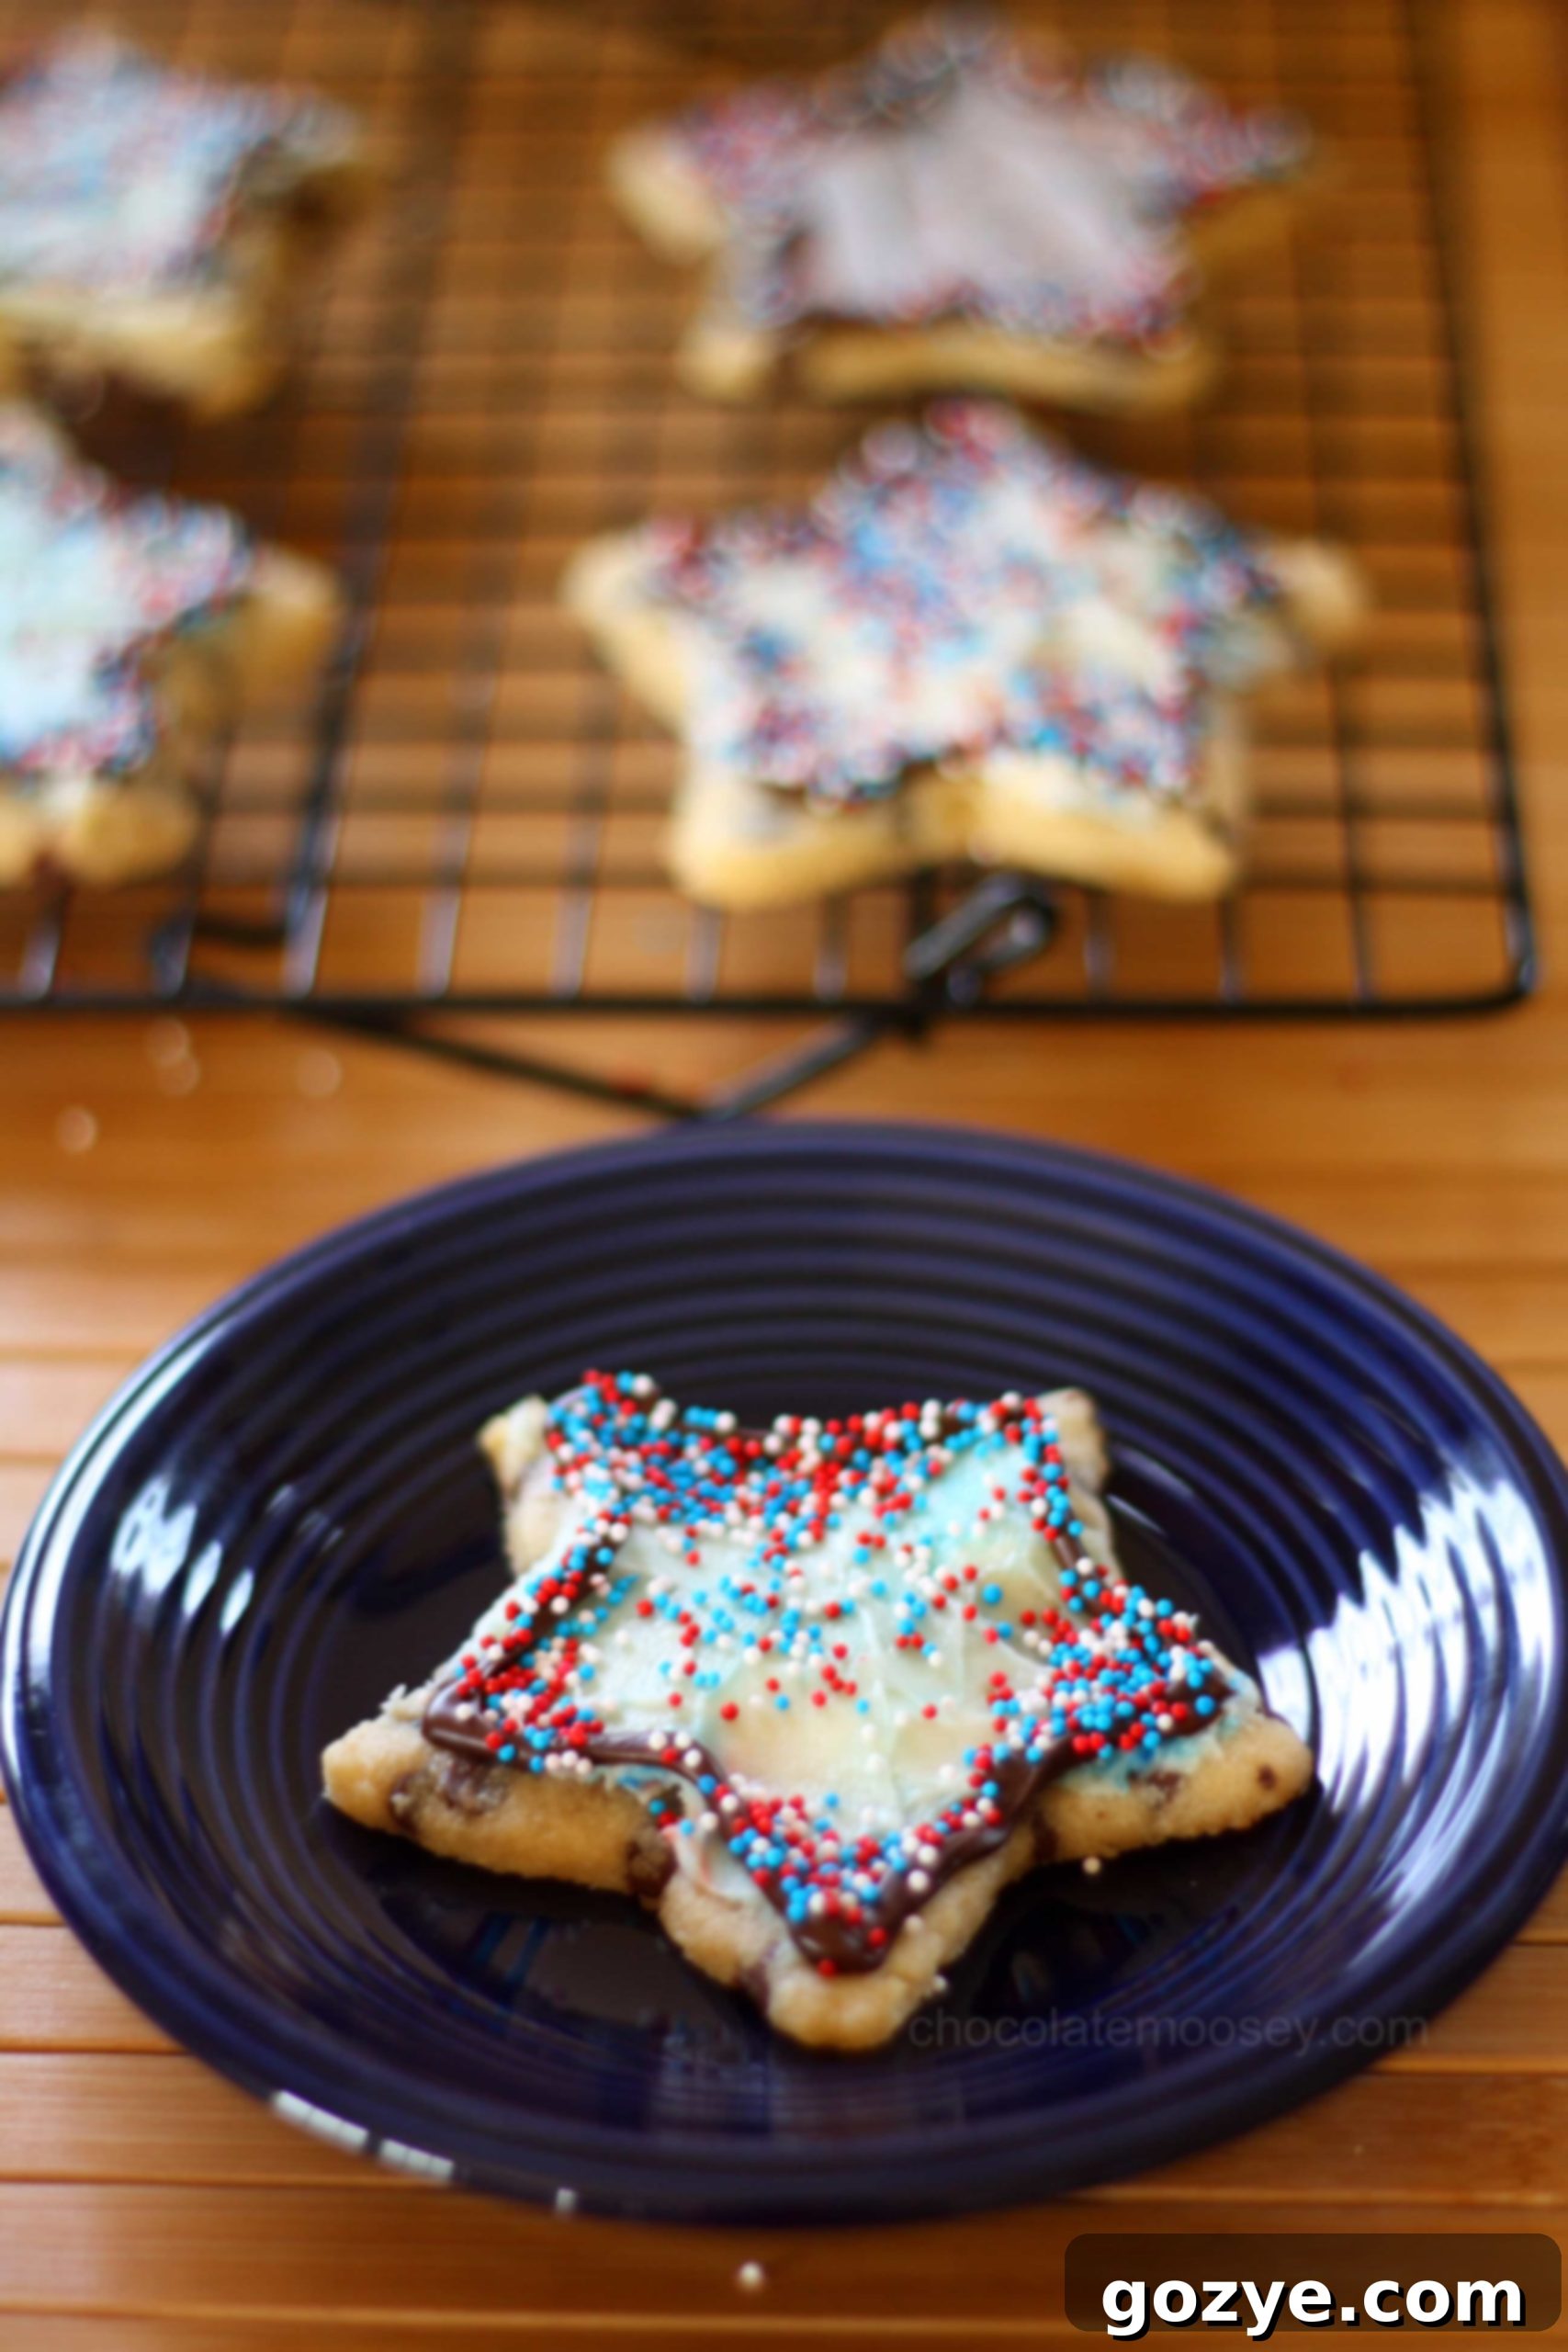
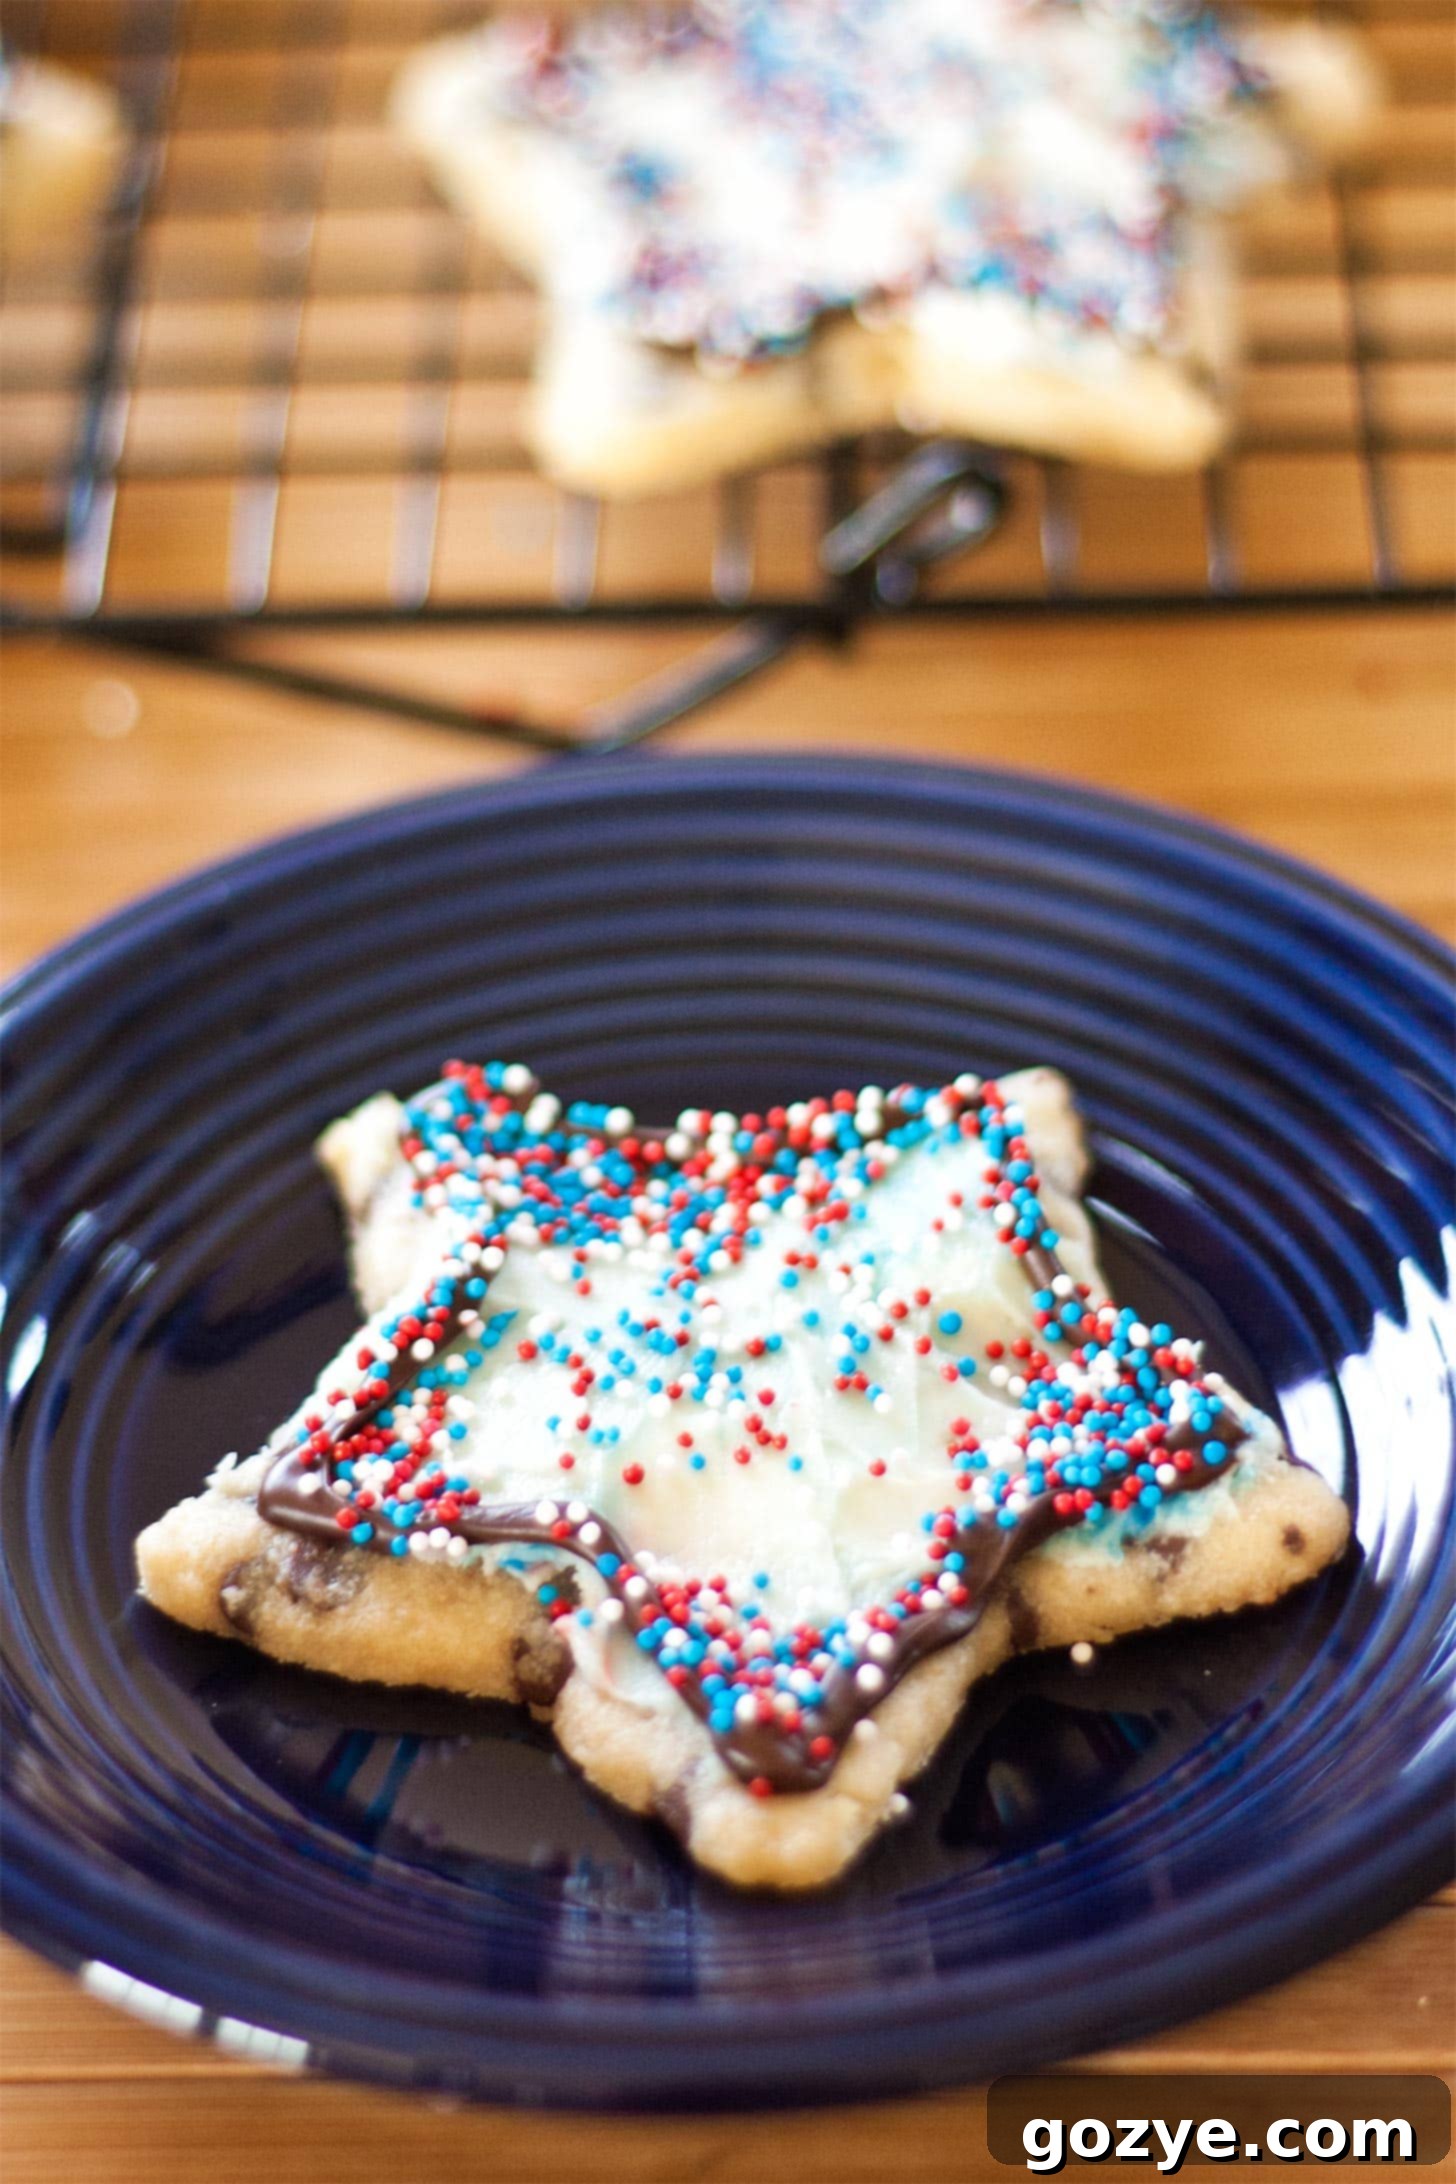
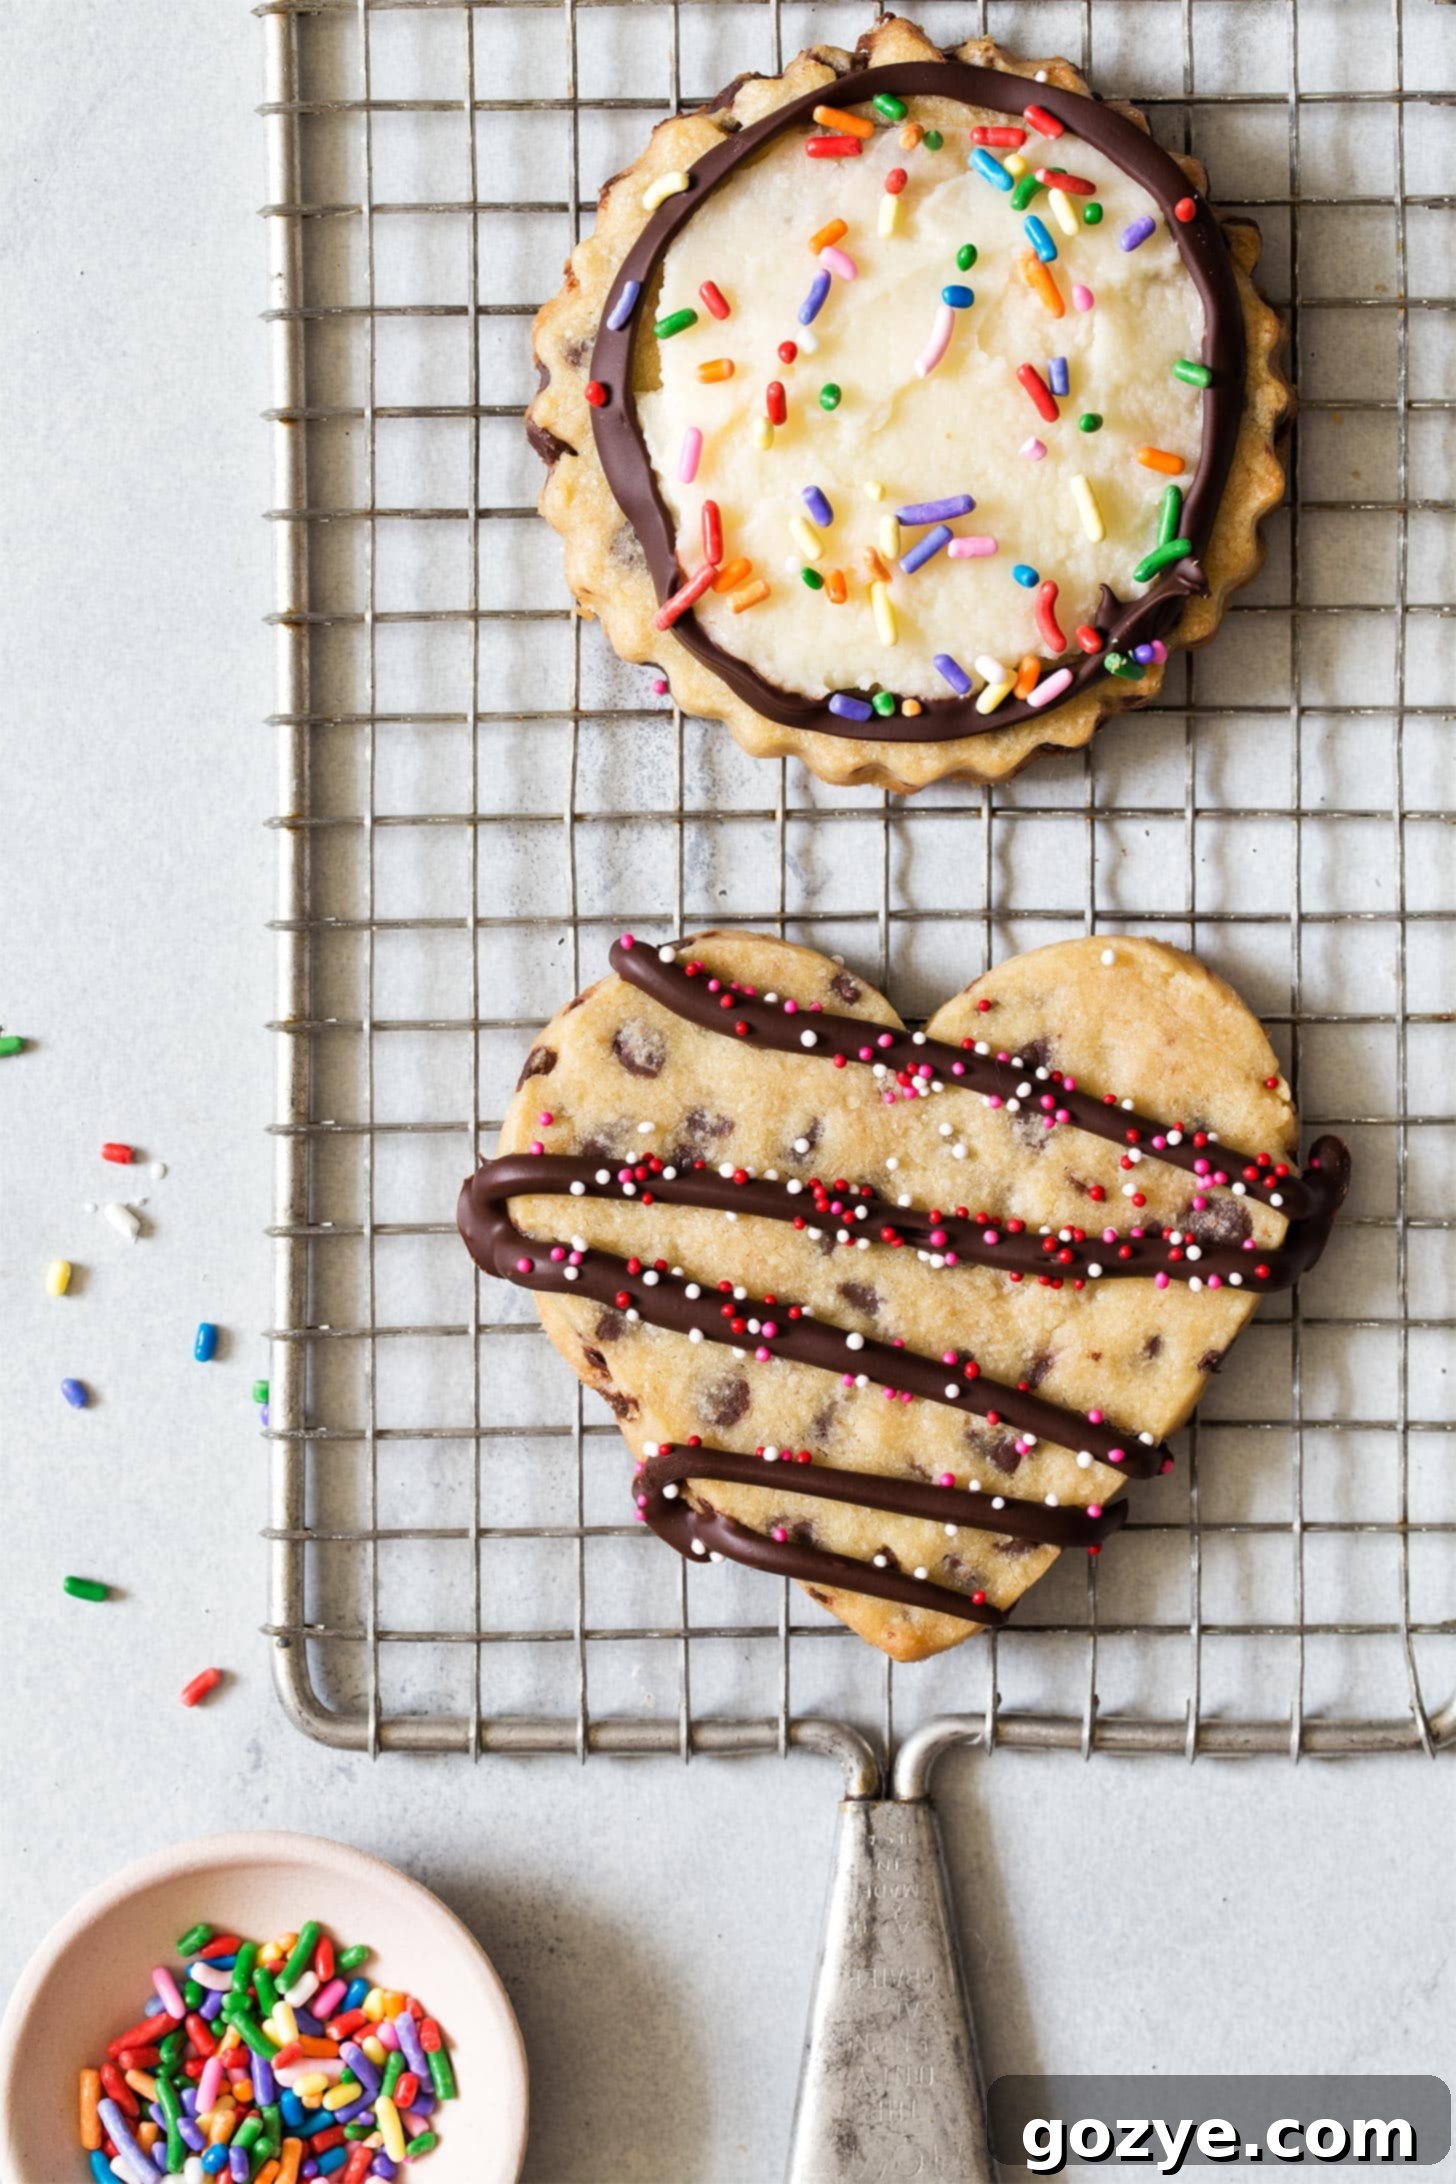
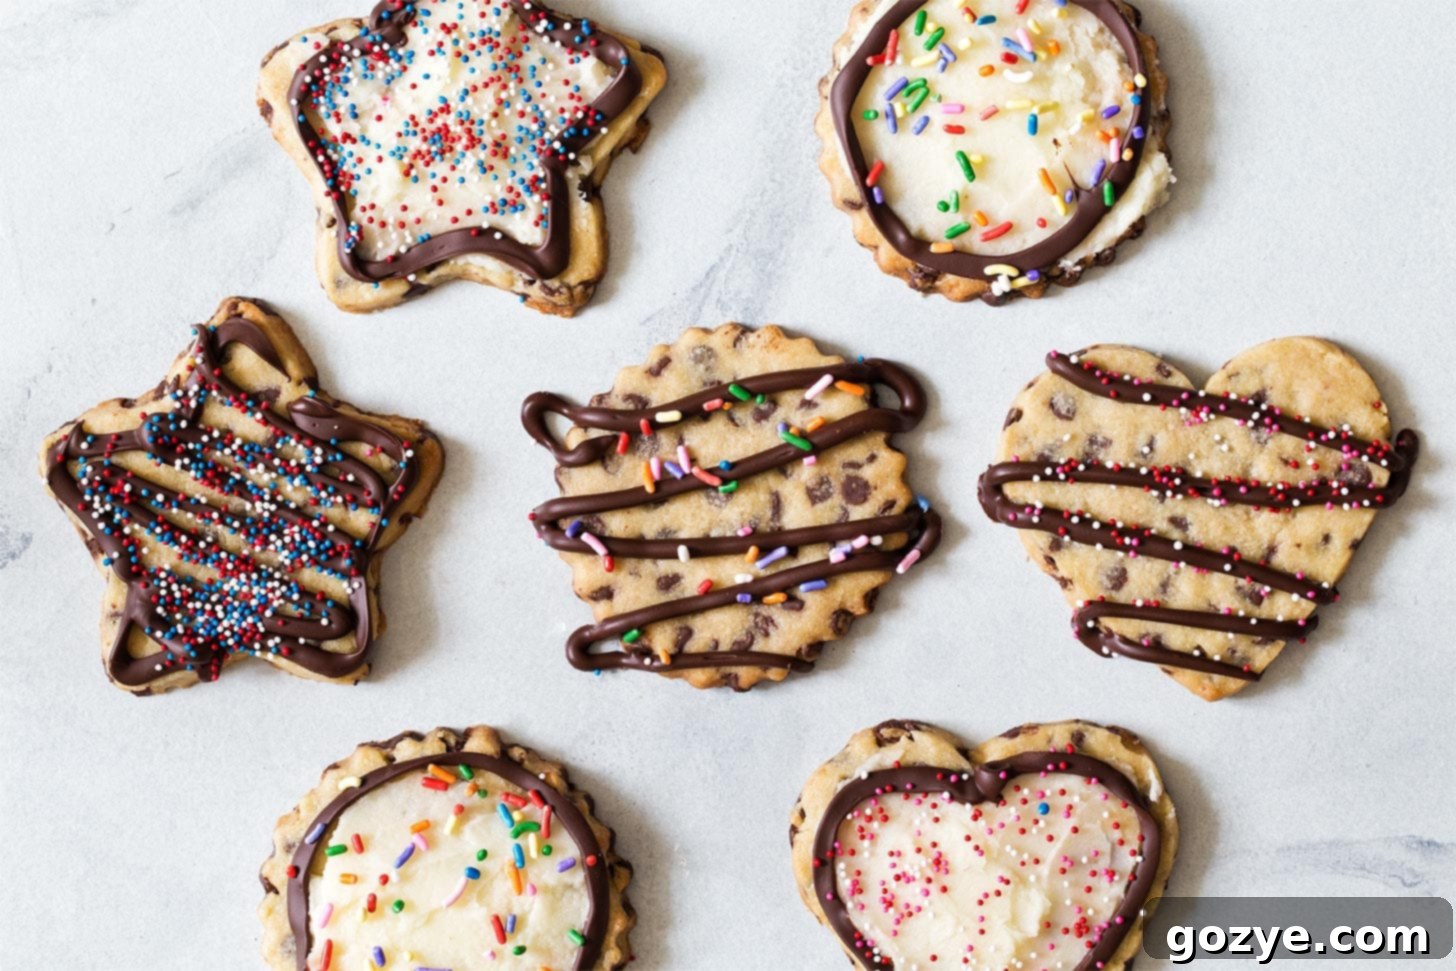
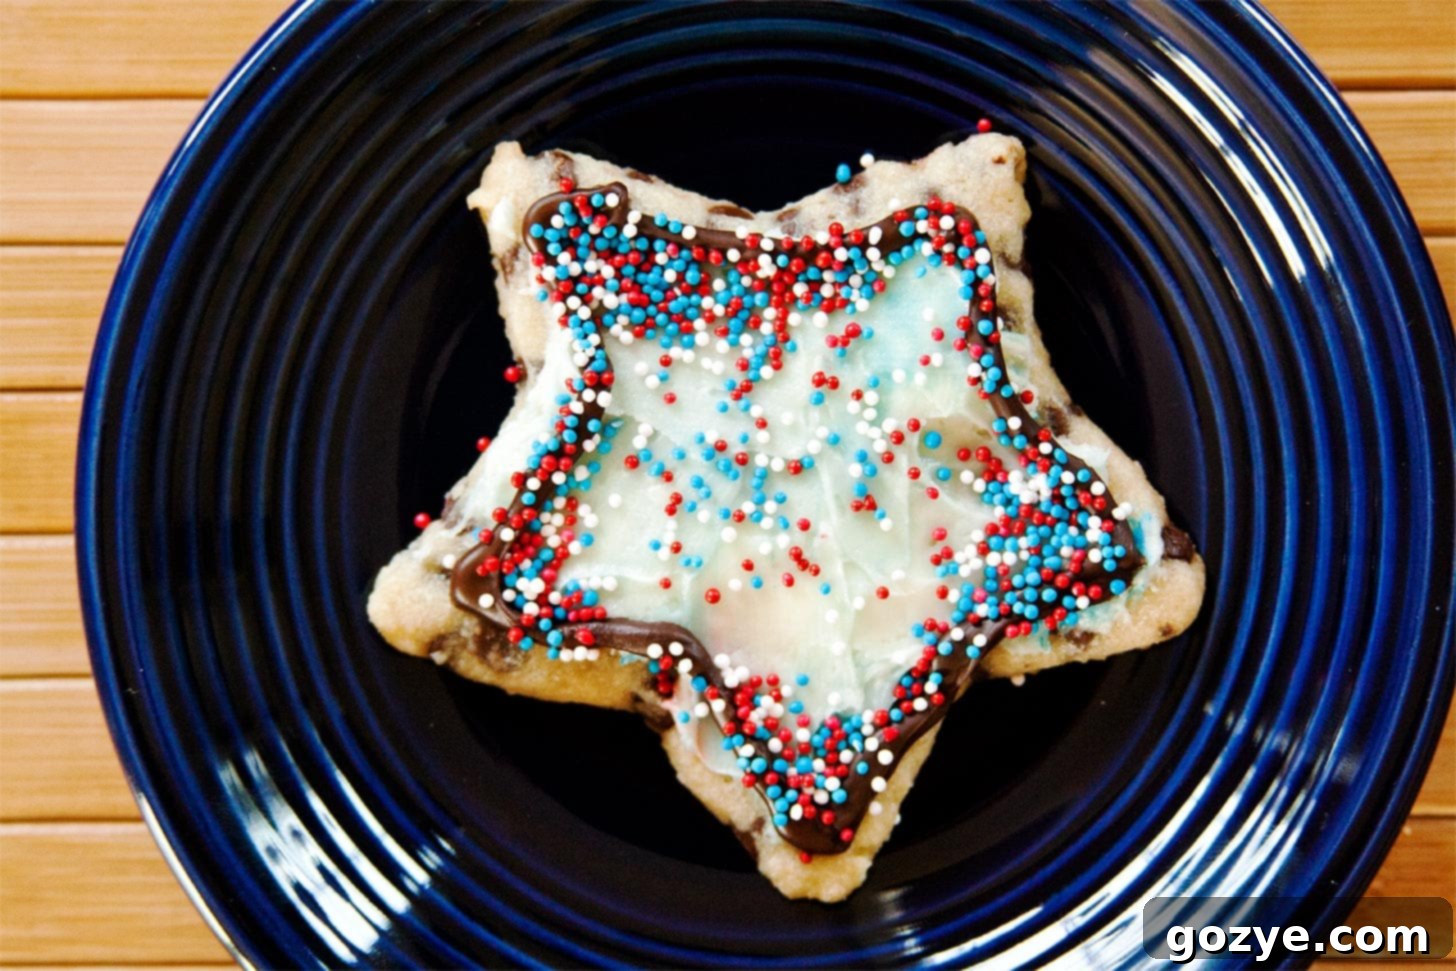
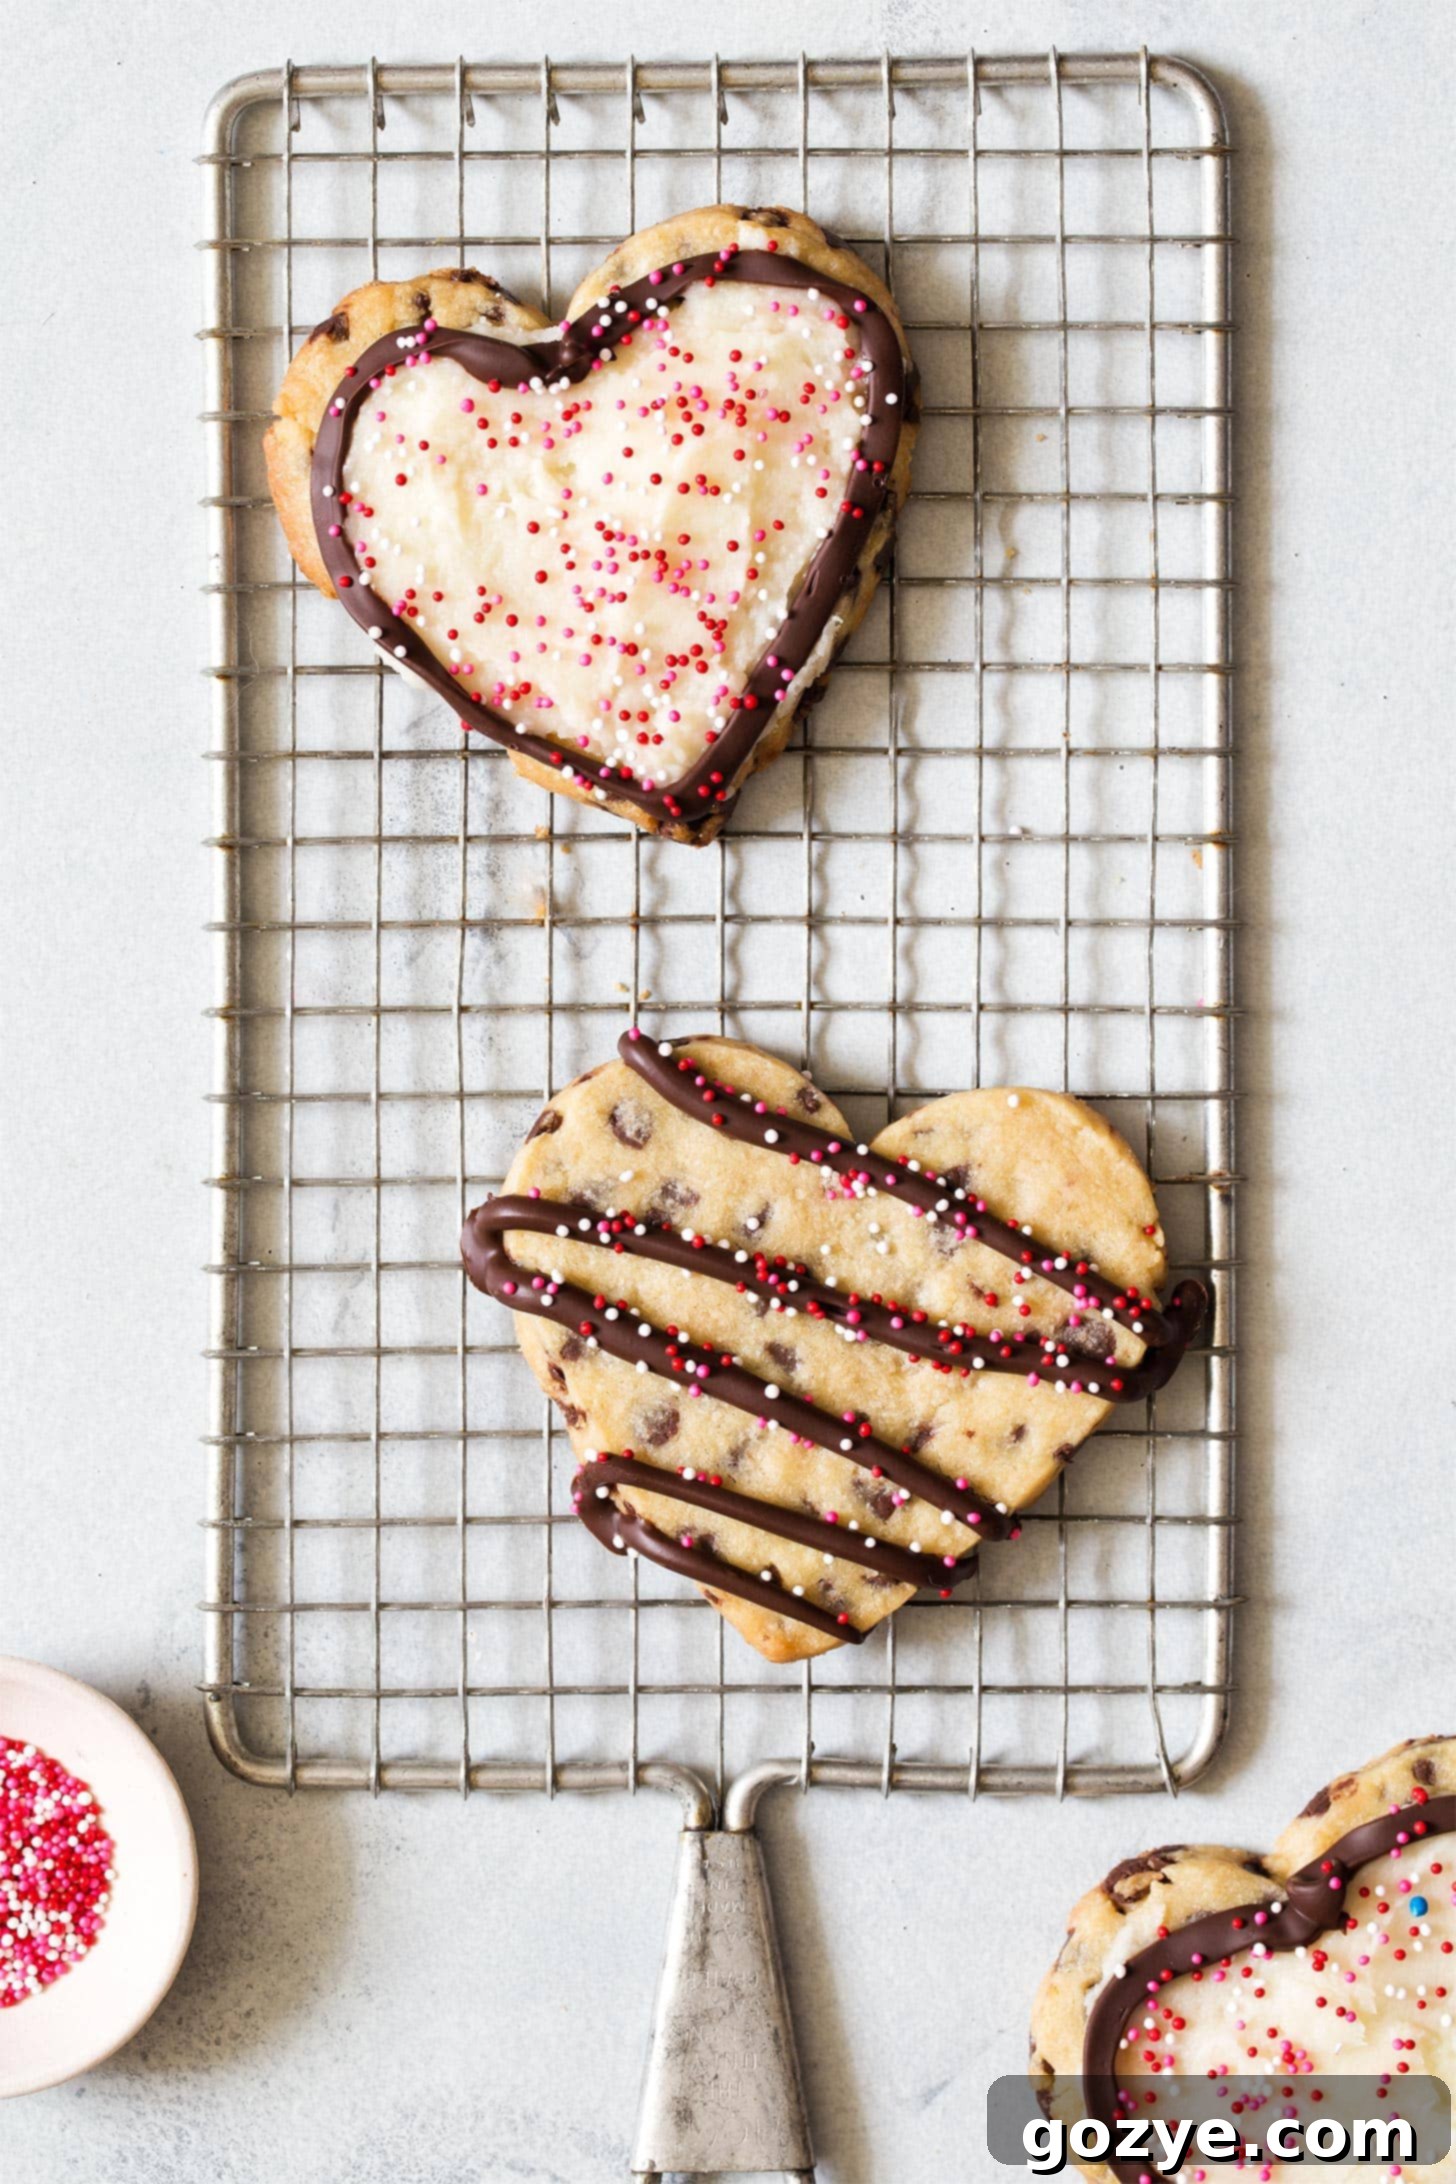
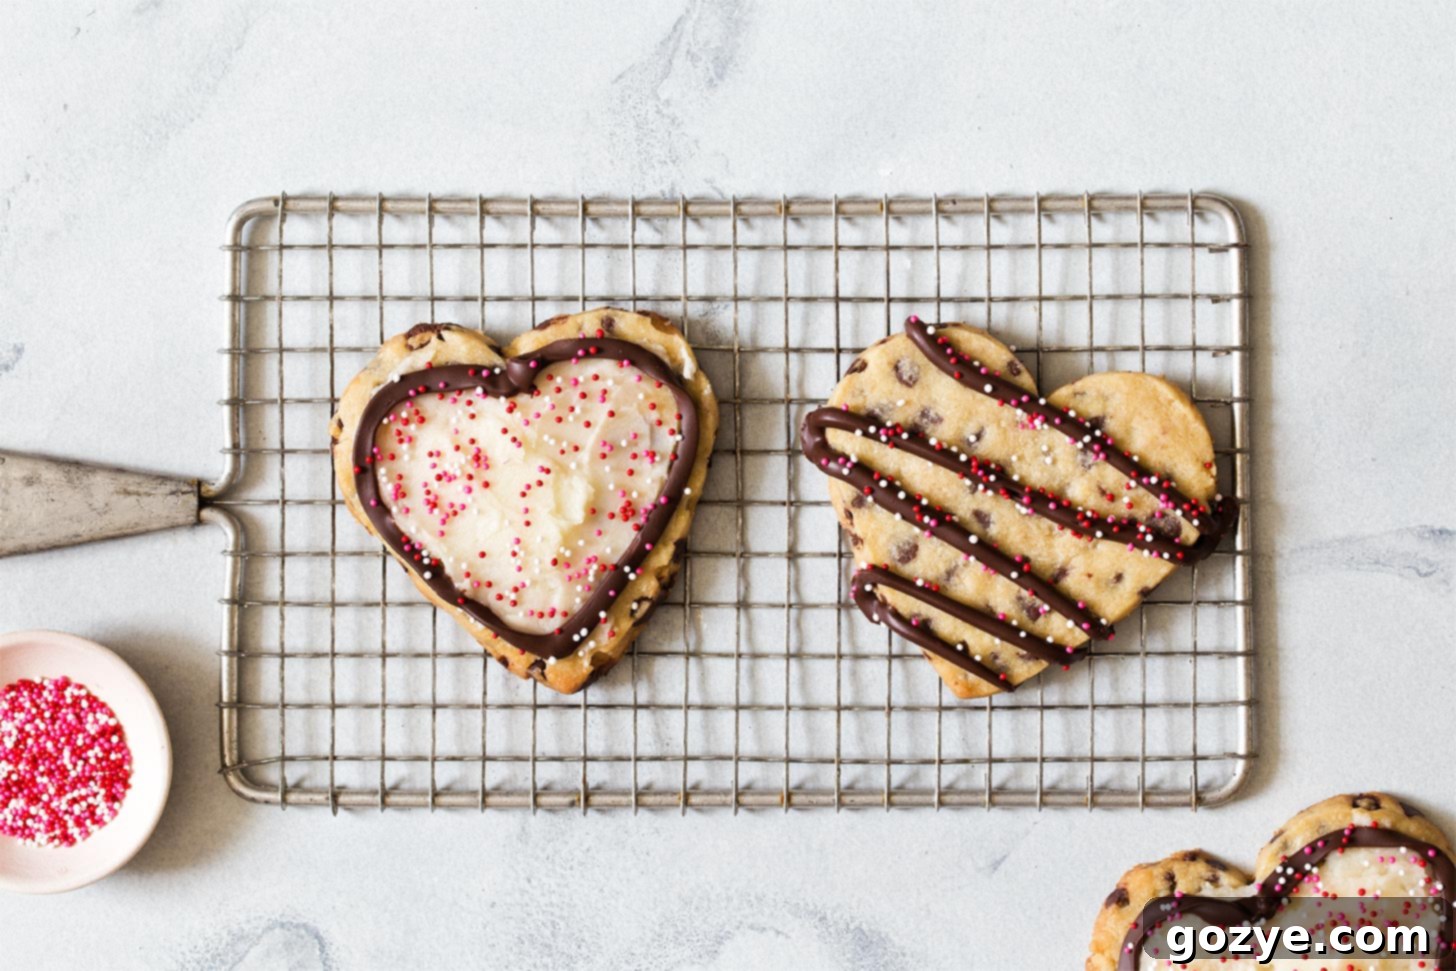
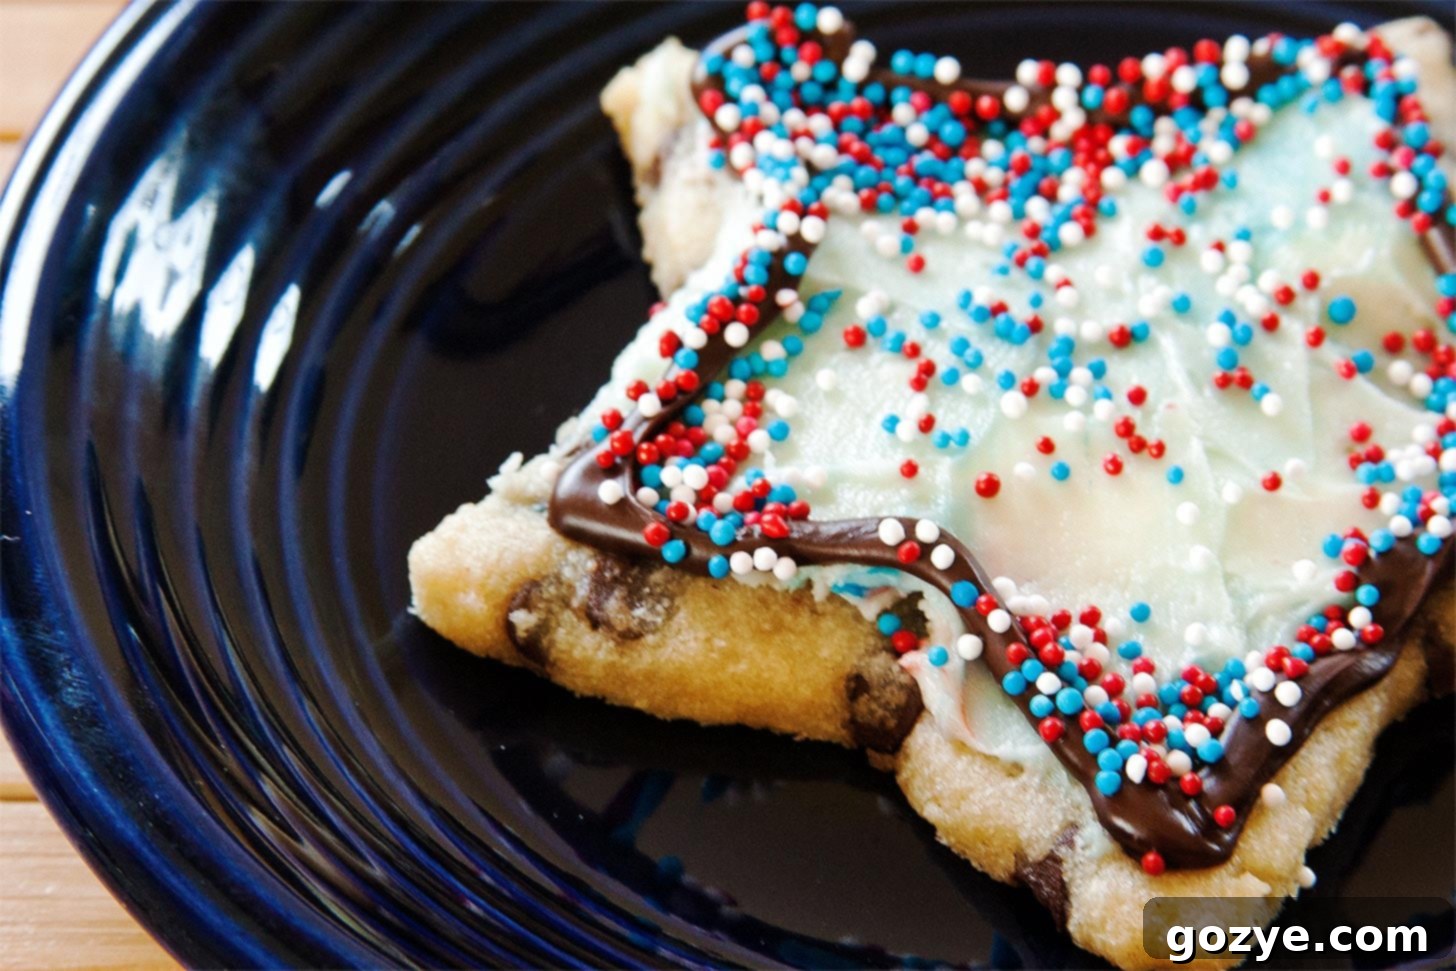
As you can probably tell from the accompanying photos, these versatile roll-out chocolate chip cookies were originally crafted for a 4th of July celebration, utilizing a star cookie cutter and patriotic red, white, and blue sprinkles. Since then, I’ve updated the photos to showcase their adaptability, demonstrating how easily you can transform them into charming hearts for Valentine’s Day or celebratory circles for birthdays.
Planning for Christmas? Simply reach for your festive Christmas cookie cutters and add these delightful shapes to your best Christmas cookie tray, alongside other holiday favorites.
Now, let me be clear: these chocolate chip cut out cookies are absolutely delicious on their own, without a single dollop of frosting. Often, I stop right there and enjoy them as is, savoring their pure chocolate chip goodness. However, if you’re feeling a bit more artistic and want to elevate their presentation, there are countless ways to get creative!
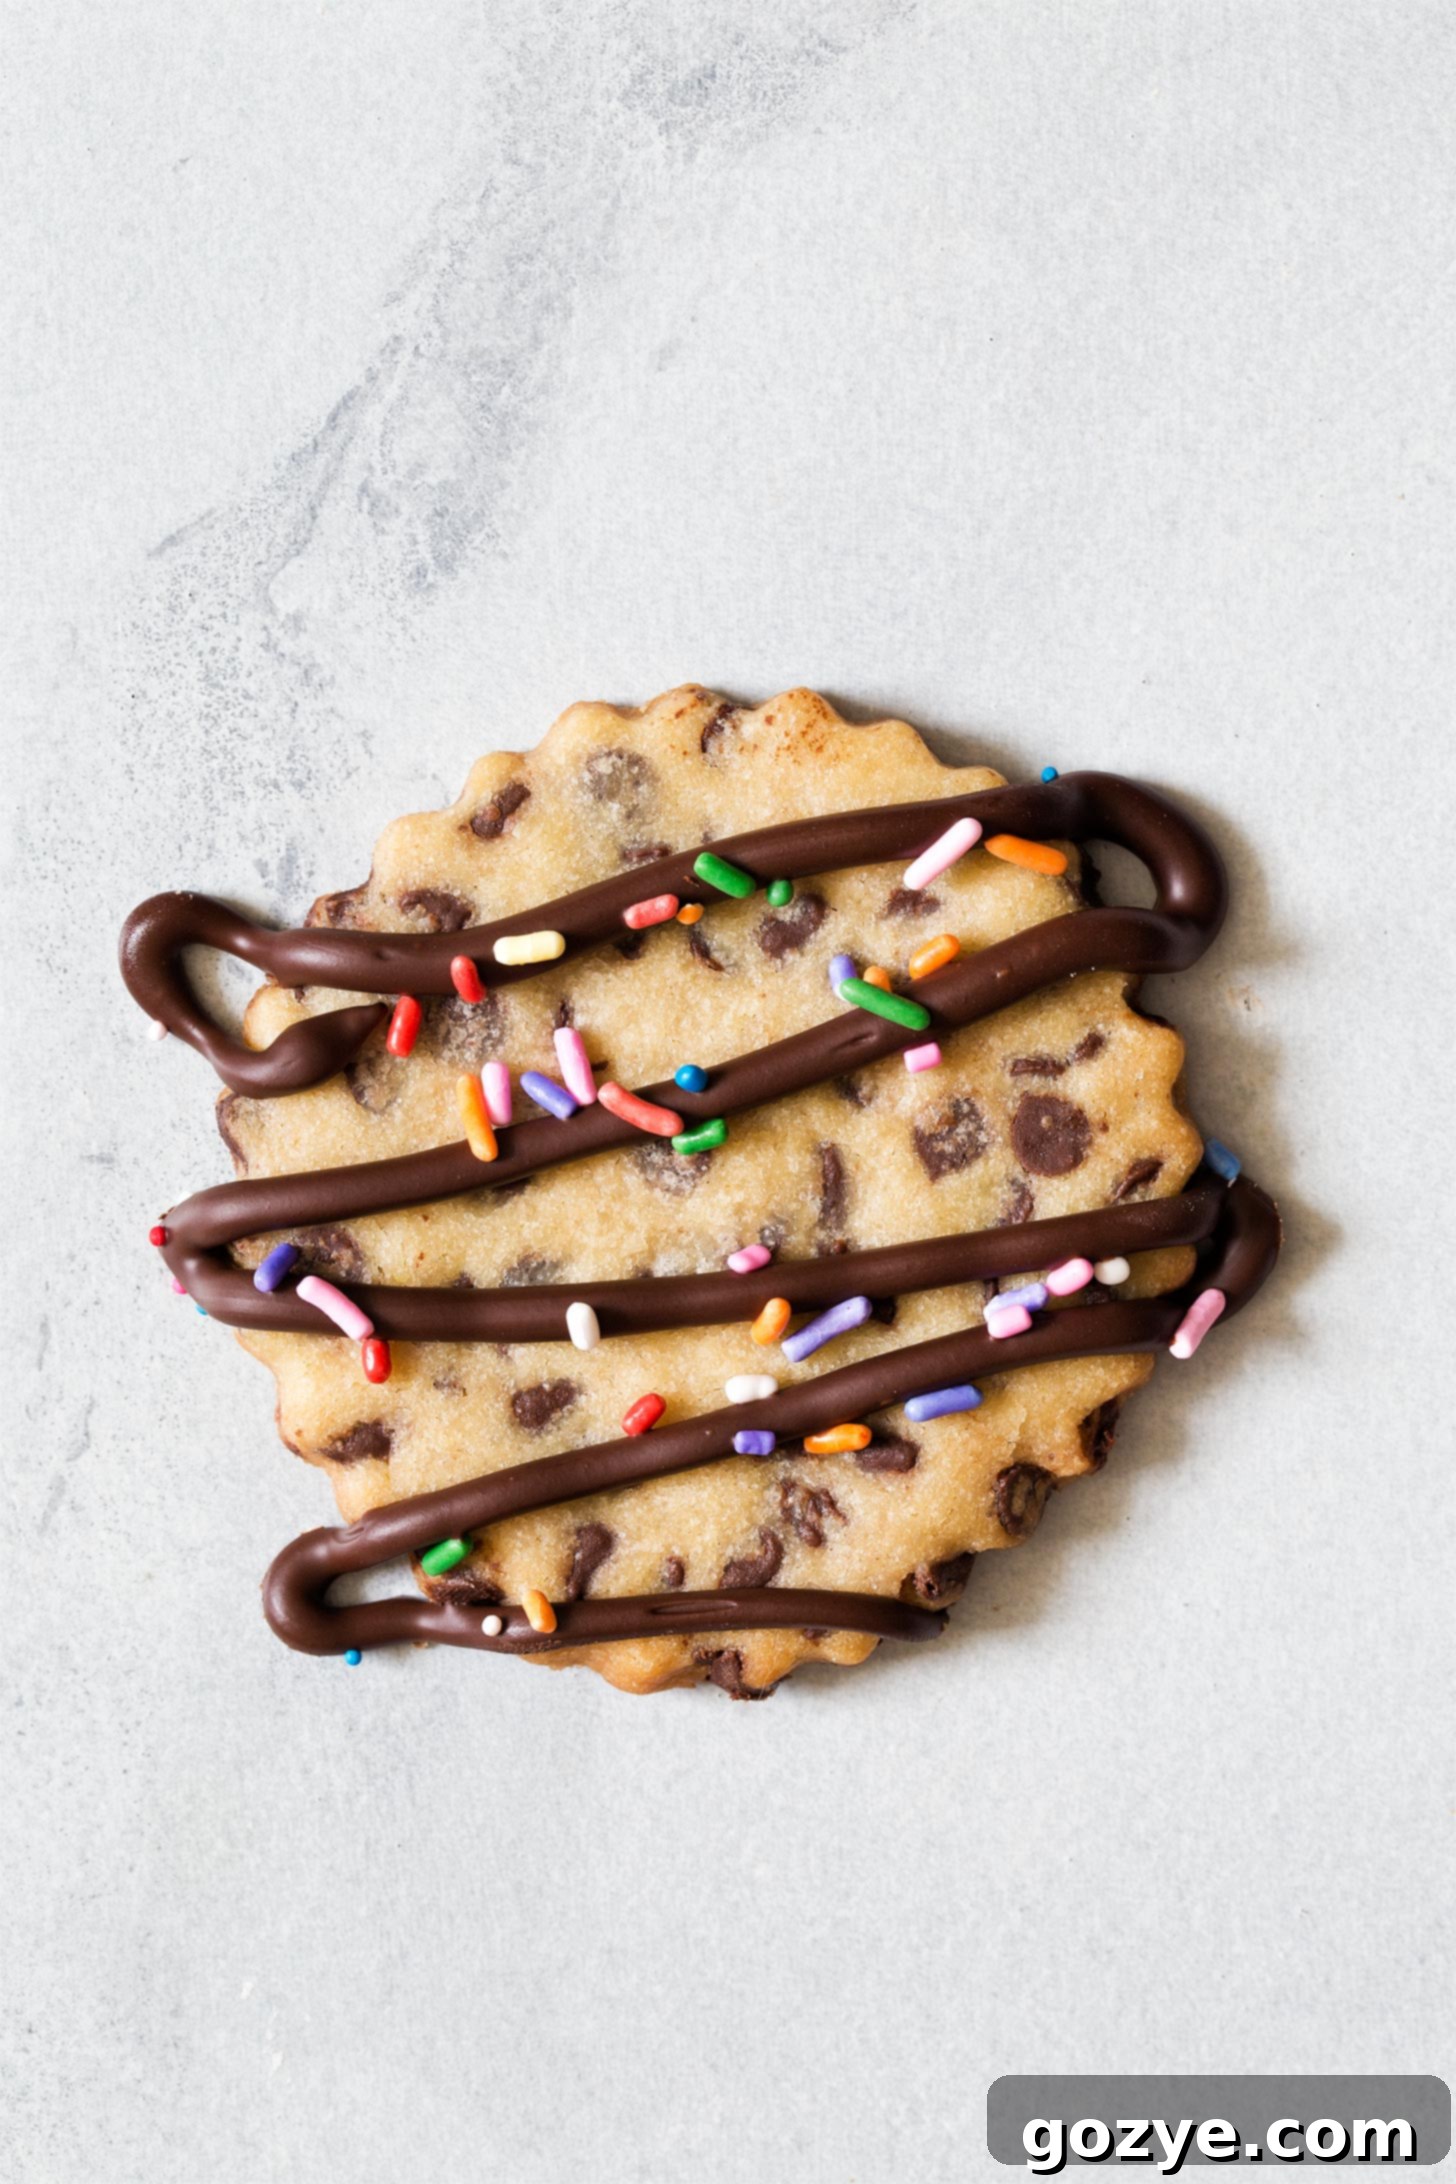
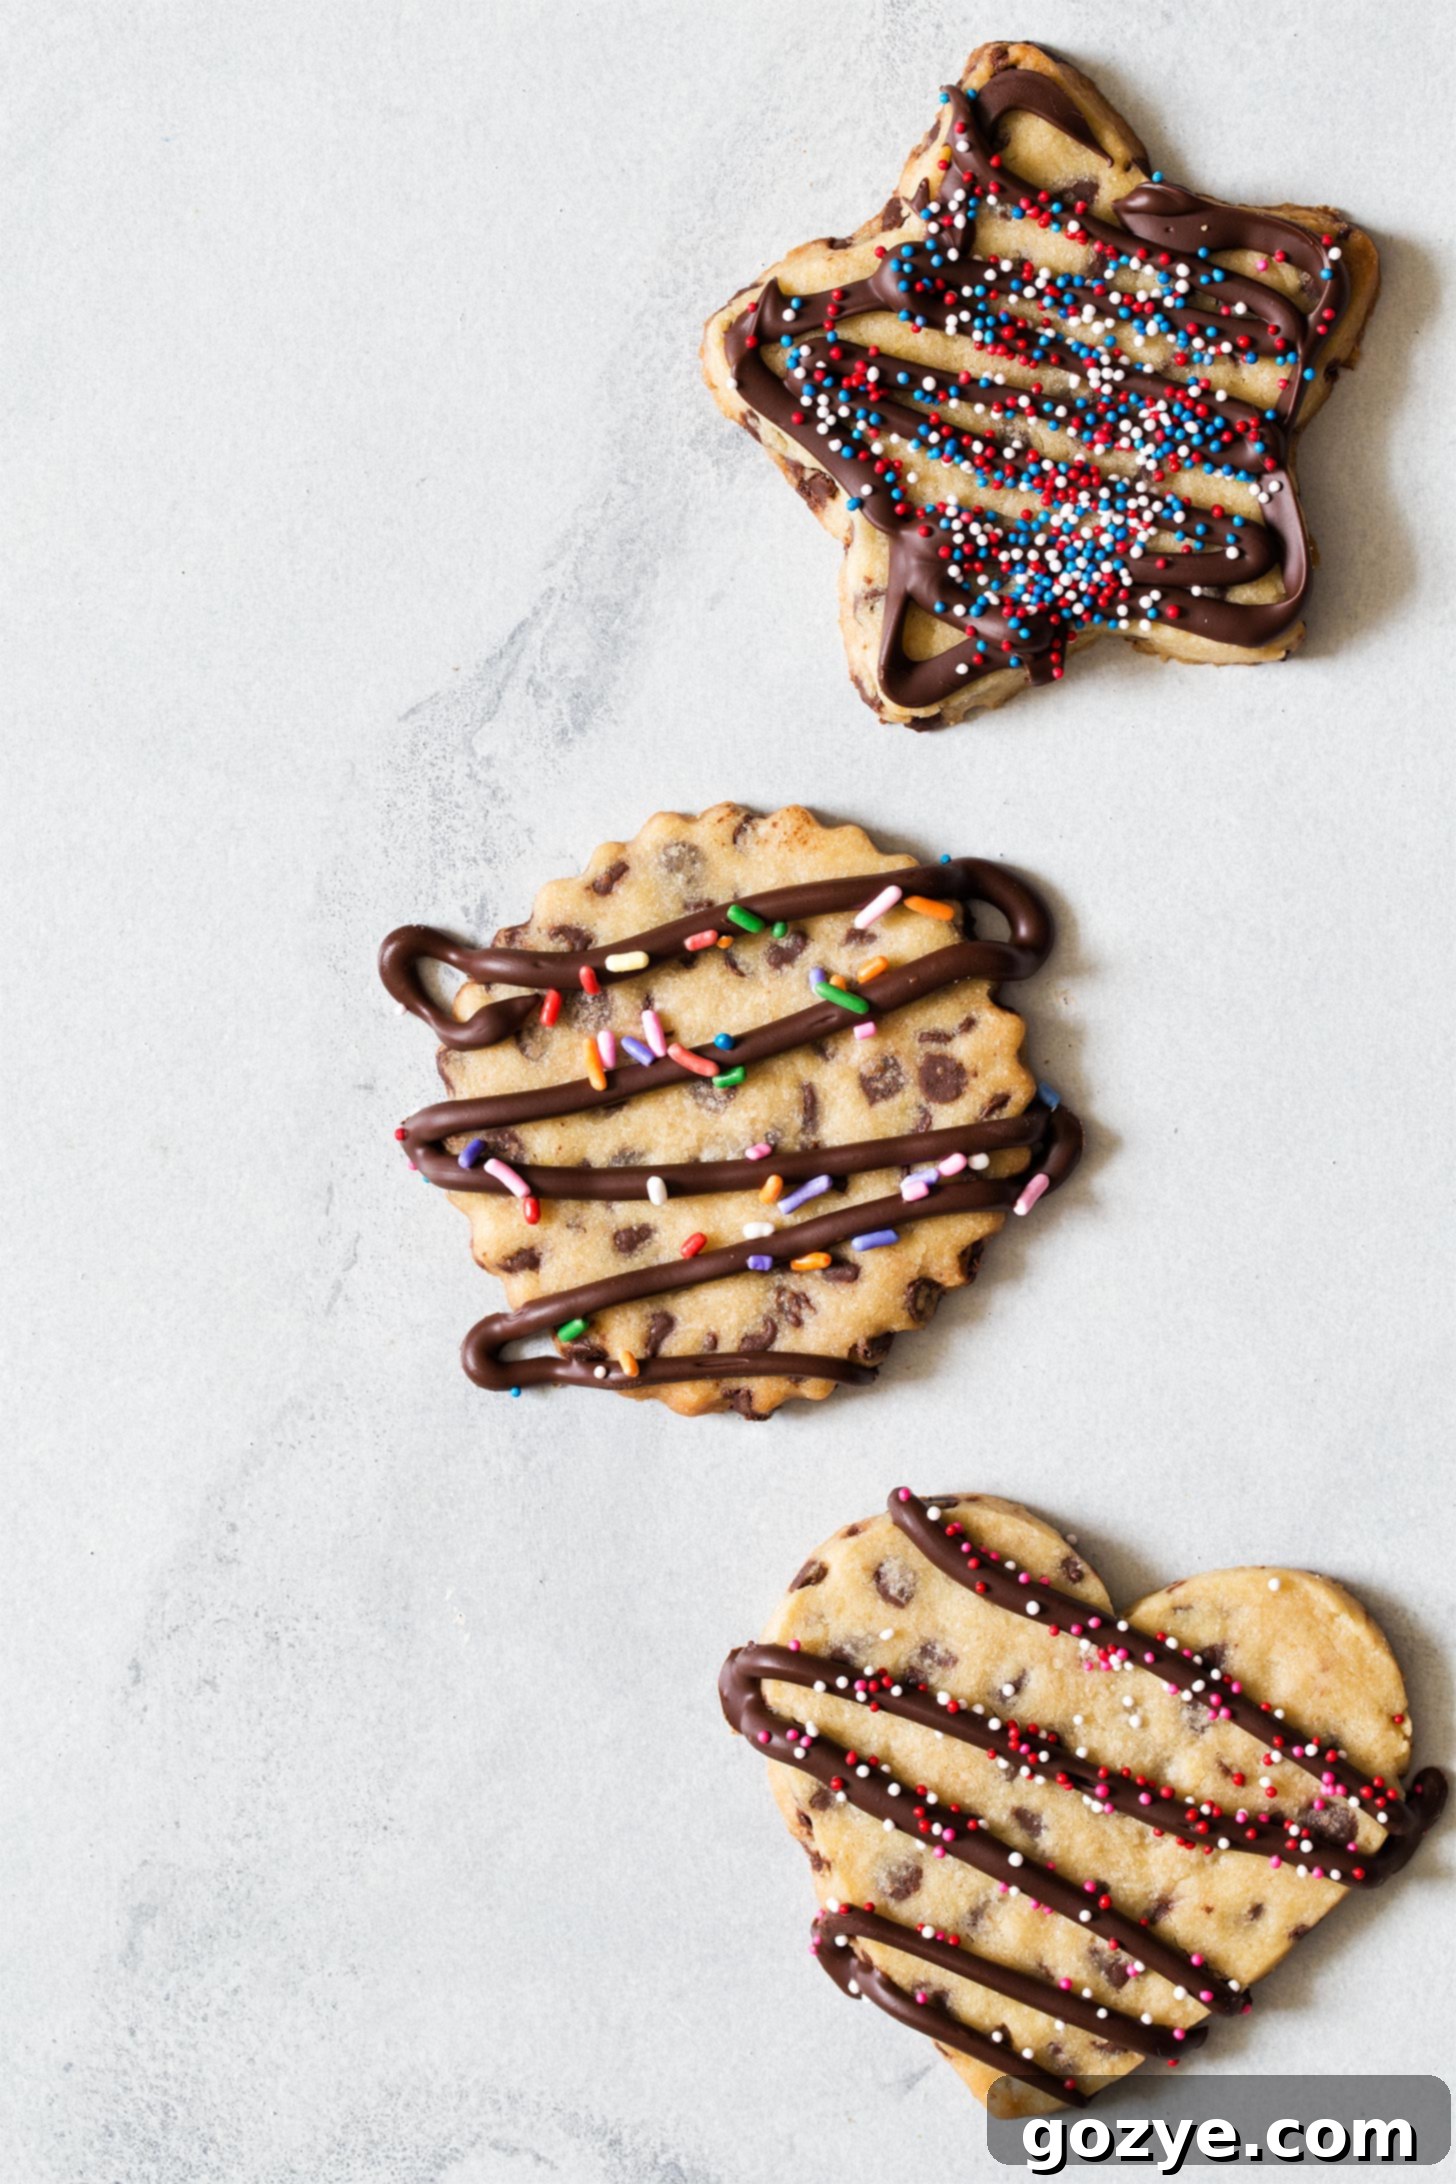
A simple yet elegant option is to frost them with a luscious small batch buttercream frosting, then adorn them with a scattering of festive sprinkles. For an extra touch of flair, you can even pipe a rich chocolate glaze around the edges. To do this, melt mini chocolate chips directly in a small plastic sandwich bag (no need for fancy piping bags!). Push all the melted chocolate to one corner, snip off the tiniest bit of the corner, and pipe away! While the chocolate is still warm and unset, quickly add your sprinkles so they adhere beautifully. For the best results, it’s generally recommended to apply the buttercream frosting first, allowing it to set slightly, before adding any piped chocolate details.
Beyond these ideas, consider using different colored frostings, edible glitter, or even simple drizzles of contrasting chocolate (white chocolate works wonderfully). The creative possibilities are truly limitless, making each batch of these cut-out cookies a unique expression of your baking artistry!
Chocolate Chip Cut Out Cookies FAQ
If your dough feels excessively sticky, it’s most likely too warm. The butter in the dough has softened too much. The best remedy is to place it back in the refrigerator for at least 15-30 minutes, or even briefly in the freezer, until it firms up again. Try to avoid adding extra flour if possible, as this can alter the texture of your baked cookies.
To ensure your cookies hold their beautiful shapes, the key is cold dough. After cutting your cookies, arrange them on the baking sheet and refrigerate (or even freeze) them for 15-20 minutes while your oven preheats. This chilling period allows the butter to solidify, which significantly reduces spreading during baking.
For optimal results and sturdy cookies that hold their shape, aim to roll the dough to about 1/4 inch (approximately 6mm) thickness. If the dough is rolled too thin, the cookies may become overly crisp, fragile, and prone to breaking or burning. If rolled too thick, they will require a longer baking time to cook through evenly.
While you technically can, it’s highly recommended to stick with mini semisweet chocolate chips for cut out cookies. Regular-sized chips are much larger and can make it difficult to get clean cuts with your cookie cutters. They might also tear the dough, distort the shapes, or even cause uneven baking. Mini chips ensure a beautiful distribution of chocolate without compromising the cookie’s structure.
If your cookies are decorated with buttercream or chocolate glaze, it’s best to store them in a single layer in an airtight container at room temperature. If stacking is necessary, place a sheet of parchment paper between layers to prevent smudging or sticking. If your kitchen is warm or the frosting is particularly soft, refrigerating them is a good idea to prevent melting, but bring them to room temperature before serving for the best flavor and texture.
Explore More Delicious Cut Out Cookie Recipes
If you’ve fallen in love with the process of rolling out dough and creating beautifully shaped treats, you’ll be thrilled to discover more cookie dough recipes that are perfect for cookie cutters! Expand your baking repertoire with these other fantastic cut out cookie recipes:
- Small Batch Gingerbread Cookies: A classic holiday favorite, perfect for decorating with festive flair.
- Red Velvet Sugar Cookies: Enjoy the rich, decadent flavor and vibrant color of red velvet in a fun, cut-out cookie form.

Chocolate Chip Cut Out Cookies
1 dozen large cookies
30 minutes
11 minutes
1 hour
1 hour 41 minutes
Chocolate Chip Cut Out Cookies are a fun twist to making chocolate chip sugar cookies using cookie cutters. Roll out the dough into shapes then eat them as is or decorate with vanilla buttercream and sprinkles.
Ingredients
- 1/2 cup (4 ounces, 112 grams, or 8 tablespoons) unsalted butter, softened
- 1/4 cup (54 grams) packed brown sugar (soft and moist, not dry and crumbly)
- 2 tablespoons (28 grams) granulated sugar
- 1 large egg yolk, room temperature
- 1 teaspoon vanilla extract
- 1 + 1/4 cups (149 grams) all-purpose flour
- 1/2 teaspoon table salt
- 3/4 cup (115 grams) mini semisweet chocolate chips
- 1 recipe Small Batch Buttercream Frosting (get recipe here)
- Additional 1/4 cup (40 grams) mini semisweet chocolate chips if piping chocolate glaze
Instructions
- In a large mixing bowl on medium-high speed (with paddle attachment if using stand mixer), beat together butter, brown sugar, and sugar until light and creamy, about 1-2 minutes.
- Scrape down the bowl then beat in egg yolk and vanilla until well combined.
- Turn the speed down to low then gradually beat in flour and salt until a dough forms. Finally, fold in the mini chocolate chips until evenly distributed. If the dough appears too crumbly, continue beating for an additional 30-60 seconds on low speed to help it come together.
- Remove the dough from the bowl and divide into two pieces. Place each piece between two sheets of plastic wrap. Roll each dough flat until 1/4-inch thick. Refrigerate for at least 1 hour or until firm.
- Working with one dough piece at a time, remove the top plastic wrap then cut into desired shapes using your cookie cutters. As you use up the dough, gather the scraps and reroll. If the dough gets too warm and sticky at any point, refrigerate it until cold again before continuing.
- Repeat the cutting process with the second dough piece. Place the cut-out shapes onto 2 ungreased cookie sheets.
- Preheat oven to 350F/177C. While the oven preheats (approximately 15-20 minutes), refrigerate the cookie shapes on the cookie sheets. This crucial step ensures the dough is cold, which will significantly minimize spreading during baking.
- Bake cookies for 9-11 minutes, or until the edges appear lightly golden brown. Allow them to sit on the cookie sheets for 5 minutes before carefully transferring them to wire racks to cool completely.
- Once fully cooled, decorate with buttercream frosting and/or chocolate glaze (see instructions below), if desired.
Store baked and cooled cookies in a single layer in an airtight container at room temperature for up to 1 week. If your kitchen is warm, keep them refrigerated to prevent chocolate or frosting from melting.
To pipe chocolate glaze:
- Place the additional mini chocolate chips in a plastic sandwich bag – do not seal. Microwave for 30 seconds, then knead the bag to check consistency. If needed, continue to microwave in 10-second increments, kneading after each, until the chocolate is fully melted and smooth.
- Push all of the melted chocolate to one corner of the bag, then make a very small snip in the corner. Pipe the chocolate onto the cooled cookies as desired, and immediately add sprinkles while the chocolate is still warm so they adhere. Allow the chocolate to harden completely before serving or storing.
Notes
- The precise number of cookies produced from this recipe will vary considerably depending on the size and shape of the cookie cutters you use. If you wish to make this a small batch recipe, you can freeze one of the flattened dough pieces in a freezer bag until you are ready to cut and bake it. Alternatively, you can cut out all the cookies at once and then freeze the unbaked shapes for later use.
- Enjoyed baking these shaped chocolate chip cookies? You might also love my Red Velvet Sugar Cookies and Small Batch Gingerbread Cookies for more cut-out fun.
- For those who appreciate classic cookies, be sure to try my traditional Small Batch Chocolate Chip Cookies and my easy Chocolate Chip Cookie Bars.
Did you make this recipe?
Let me know what you think! Rate the recipe above, leave a comment below, and/or share a photo on Instagram using #HITKrecipes
First published July 8, 2012. This recipe and article have been updated for enhanced clarity, detail, and SEO optimization.
