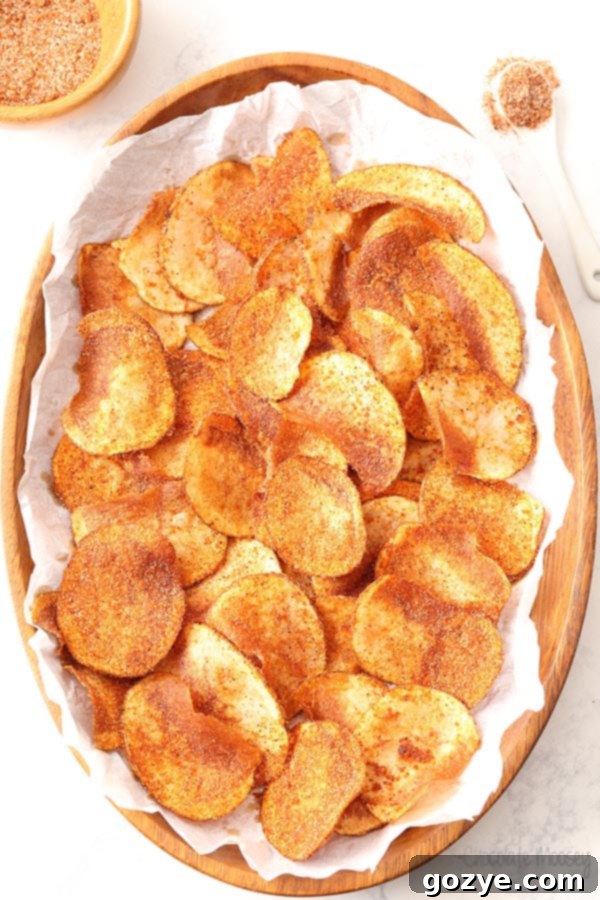
The Ultimate Guide to Crispy Homemade BBQ Chips: Baked & Fried Recipes
There’s something truly satisfying about a perfectly crispy potato chip, especially when it’s infused with that smoky, tangy, and slightly sweet kick of barbecue seasoning. While store-bought options are convenient, making your own homemade BBQ chips offers an unparalleled level of freshness, flavor control, and the incredible satisfaction of creating a gourmet snack right in your kitchen. Forget about complicated processes; these crispy barbecue potato chips are easier to make at home than you think, whether you prefer them baked or fried.
This comprehensive guide will walk you through every step, from selecting the right potatoes to mastering the perfect seasoning blend and achieving that irresistible crunch. Get ready to impress yourself and your loved ones with a snack that’s far superior to anything you’ll find in a bag!
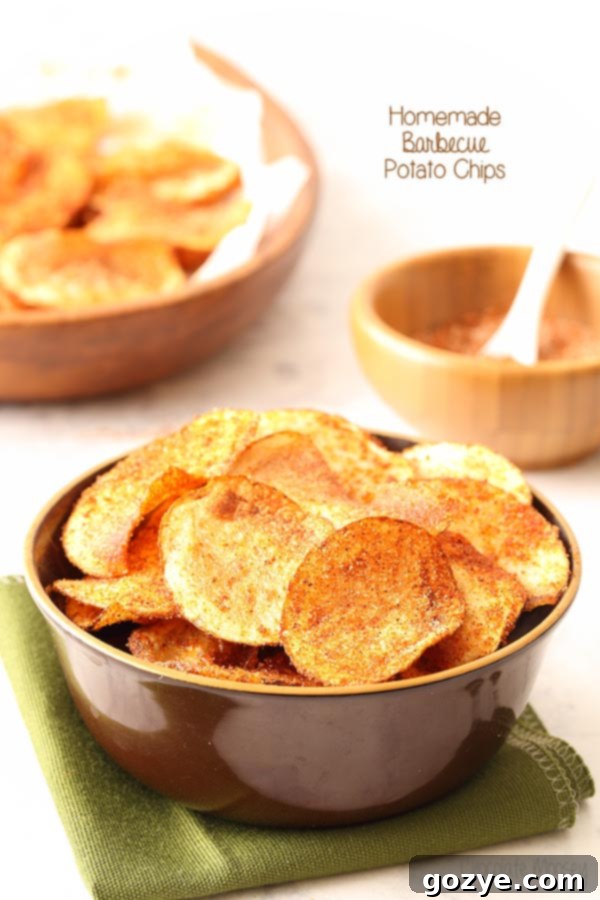
Why Make Homemade BBQ Chips? The Joy of DIY Snacks
While the potato may not always claim the top spot as everyone’s absolute favorite vegetable, its versatility is undeniable. From creamy mashed potatoes to hearty stews and, of course, crispy chips, potatoes are a culinary chameleon. And when it comes to snacks, homemade always wins. Here’s why diving into the world of homemade BBQ chips is a game-changer:
- Unmatched Freshness: Store-bought chips can taste stale compared to a fresh batch made minutes ago. Homemade chips offer a vibrant, straight-from-the-kitchen flavor and aroma that simply cannot be replicated by mass-produced varieties.
- Control Over Ingredients: You dictate what goes into your chips. This means no artificial flavors, preservatives, or excessive sodium. This is especially beneficial if you have dietary restrictions, are looking to reduce processed food intake, or simply prefer to use organic and high-quality ingredients.
- Customizable Flavor: The BBQ seasoning recipe provided here is a fantastic starting point, but you can adjust it to your precise taste. Love extra heat? Add more chili powder or a pinch of cayenne pepper. Prefer a sweeter profile? Increase the brown sugar. Want more smokiness? Amp up the smoked paprika. The possibilities are endless.
- Cost-Effective: Buying a large bag of potatoes is often significantly more economical than buying multiple bags of specialty chips from the store. You can make several generous batches for a fraction of the price, making it a budget-friendly snack option.
- The “Wow” Factor: Serving homemade snacks is always a crowd-pleaser and a conversation starter. Your guests will be amazed by your culinary prowess, and you’ll love the compliments! Plus, the aroma of fresh chips cooking fills your home with a wonderful, inviting scent.
Having made numerous potato dishes, from savory mashed potatoes for two to my popular homemade salt and vinegar chips, I can confidently say that making your own barbecue potato chips is an incredibly rewarding experience. It’s a fantastic way to utilize a large bag of potatoes and indulge in a truly satisfying, guilt-free snack.
Crafting the Perfect BBQ Seasoning for Your Chips
The heart of any great BBQ chip lies in its seasoning. Achieving that iconic balance of smoky, sweet, savory, and spicy notes can feel like an art form, especially since “spice” is such a subjective experience. My journey to the perfect homemade BBQ chip seasoning involved a bit of experimentation, carefully balancing ingredients like paprika, onion powder, brown sugar, garlic powder, salt, and chili powder.
Customizing Your BBQ Seasoning Blend
The key to a truly fantastic seasoning is personal preference. Don’t be afraid to adjust the ratios to suit your palate:
- Smoked Paprika: This is highly recommended for that authentic BBQ flavor, adding depth, a beautiful reddish hue, and a delicious smoky essence. If you only have sweet paprika, that works too, but consider adding a tiny pinch of liquid smoke or a smoky salt to compensate for the lost smokiness.
- Chili Powder: This provides the heat and a foundational savory spice. The strength of chili powder can vary greatly between brands, so start with the recommended amount and increase if you desire more kick. A dash of cayenne pepper can also amplify the heat quickly for those who love an extra fiery chip.
- Brown Sugar: Essential for balancing the savory and spicy elements, giving that classic sweet BBQ undertone. You can slightly increase it for a sweeter chip, or reduce it for a more savory one.
- Onion & Garlic Powder: These aromatic powders provide indispensable foundational savory notes that are crucial in any well-rounded BBQ blend. Ensure they are fresh for maximum flavor.
- Salt: Crucial for enhancing all other flavors. Use fine-grain salt for better adherence to the chips and more even distribution.
When preparing your seasoning, combine all dry ingredients in a large freezer bag or a bowl with a tight-fitting lid. This makes it incredibly easy to toss and coat your freshly made chips evenly later on. Remember, tasting and adjusting are part of the fun – feel free to experiment with a small batch to perfect your ideal flavor profile before coating all your chips!
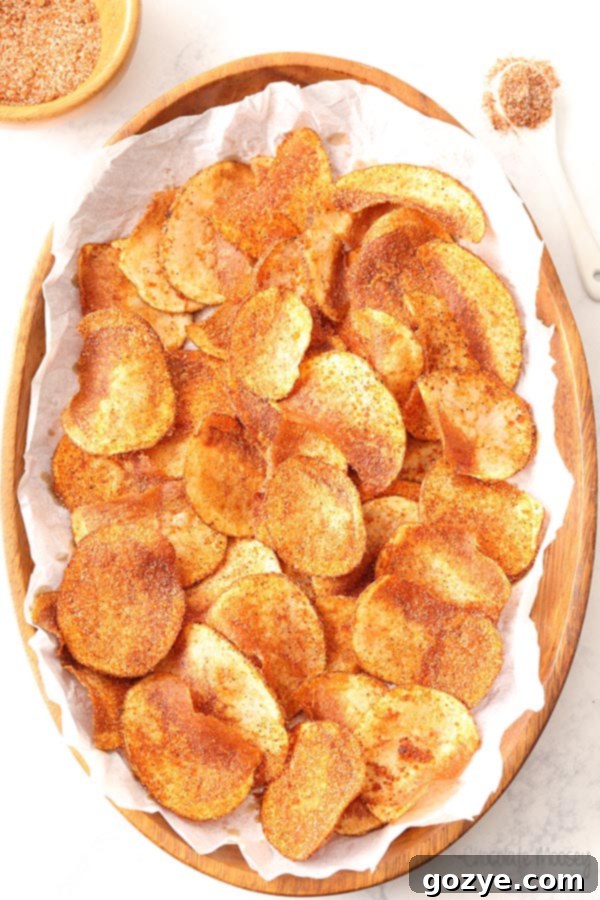
The Art of Slicing Potatoes: Achieving Chip Perfection
The secret to crispy, chip-like texture lies almost entirely in the thinness and uniformity of your potato slices. Too thick, and they’ll be more like roasted potato wedges; too uneven, and some will burn while others remain soft and undercooked.
Using a Mandoline for Ultra-Thin Slices
For consistently thin and even slices, a handheld mandoline is an invaluable kitchen tool. It allows you to achieve the precise thickness needed for perfect chips (around 1/10 inch or 2.5 mm). This uniformity ensures that all your chips cook evenly and reach the same level of crispiness. I highly recommend the handheld mandoline (affiliate link) I use, as it makes this step incredibly efficient and safe when used correctly.
A Crucial Safety Reminder: Regardless of which mandoline you choose, **always use the hand guard provided.** Trust me on this – a mandoline cut is often deeper and more painful than a knife cut, and you’ll quickly realize how much you rely on your fingertips when one is bandaged up! Safety first, always. Even with a guard, remain attentive and focused while slicing.
Slicing Potatoes Without a Mandoline
No mandoline? No problem! You can still achieve great results with a sharp knife and a steady hand. The key is to slice the potatoes as thinly and evenly as possible. Take your time, focus on consistency, and remember that slight variations are part of the homemade charm. Using a sharp chef’s knife and practicing your slicing technique will yield surprisingly good results. For best results, trim a small piece off the potato’s base to create a flat, stable surface before you begin slicing.
Choosing the Right Potato
While many potato varieties can be used, **Russet potatoes** are often considered ideal for chips due to their high starch content and relatively dry texture, which contributes significantly to crispiness. Other options like Yukon Gold can also work, offering a slightly creamier interior, but Russets are typically the go-to for achieving that classic, satisfyingly crispy chip.
The Importance of Soaking: Your Secret to Crispy Chips
After slicing your potatoes, an often-overlooked but crucial step is soaking them in cold water. This simple act plays a significant role in achieving that coveted crispiness and preventing your chips from sticking together during the cooking process.
Why Soaking Matters: The Science of Starch
Potatoes are naturally rich in starch. When you slice them, this starch is released onto the surface of each individual slice. If you cook them immediately without soaking, this surface starch can cause the slices to stick together in the fryer or on the baking sheet, making it difficult to achieve even cooking. More importantly, excess surface starch can lead to a chewy, gummy, or less crispy chip.
Soaking the potato slices in cold water helps to:
- Remove Excess Starch: The cold water effectively draws out and washes away much of the surface starch.
- Prevent Sticking: With less starch on their surfaces, slices are far less likely to clump together during cooking, allowing for better oil circulation or heat distribution.
- Enhance Crispiness: By reducing surface starch, the potato can dry out more effectively during cooking, leading to a much crispier and lighter final product.
- Improve Color: Soaking can also help prevent the chips from browning too quickly and unevenly.
Aim for at least 30 minutes of soaking. After soaking, it is absolutely vital to drain the water and **pat the potato slices completely dry** with paper towels or a clean kitchen towel. Any residual moisture will hinder crispiness, especially for baked chips, and can cause oil to splatter dangerously when frying. Thoroughly drying each slice is a non-negotiable step for truly crispy chips.
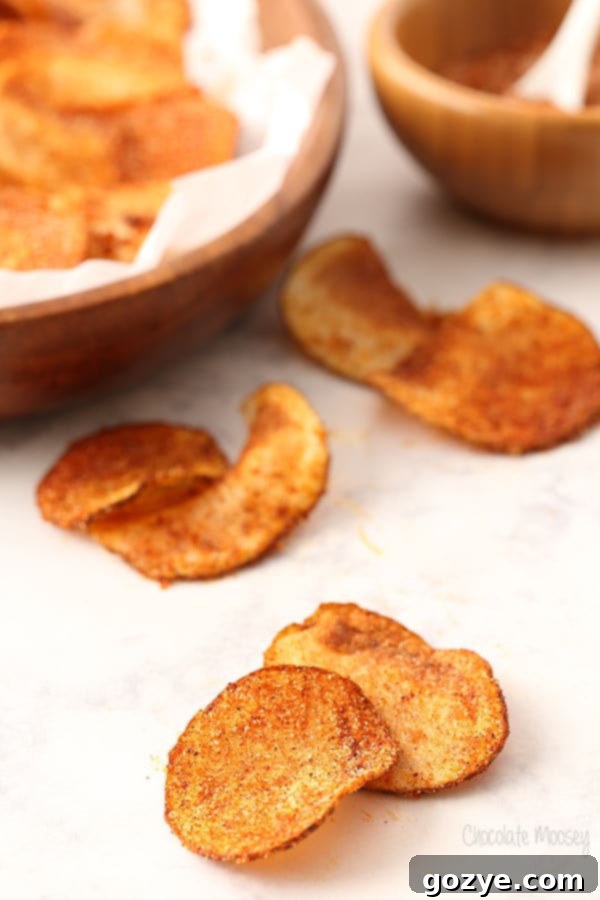
How To Make Homemade BBQ Chips: A Step-by-Step Guide
With your potatoes prepped and seasoning mixed, you’re ready to transform them into glorious homemade BBQ chips. Here’s a general overview of the process before we dive into specific baking and frying methods:
- Slice Potatoes: Using a mandoline or a sharp knife, thinly slice your chosen potatoes to approximately 1/10 inch (2.5 mm) thickness. Peeling is entirely optional – leaving the skin on adds a rustic touch and extra fiber.
- Soak & Dry: Place the slices in a bowl of cold water and soak for at least 30 minutes. This step is crucial for removing excess starch. Drain the water thoroughly, then pat every single slice completely dry with paper towels or a clean kitchen towel.
- Prepare Seasoning: While the potatoes are soaking, combine all BBQ seasoning ingredients (smoked paprika, onion powder, brown sugar, garlic powder, salt, chili powder) in a large freezer bag or a bowl with a tight-fitting lid. This will be used to coat the cooked chips quickly and evenly.
- Cook Chips (Bake or Fry): Choose your preferred method (detailed below) to cook the potato slices until they are beautifully golden brown and perfectly crispy.
- Season & Serve: Immediately after cooking (while still warm), transfer the chips to your seasoning bag or bowl. Shake well to evenly coat each chip with the delicious barbecue spice blend. Serve warm for the best taste and texture!
Method 1: How To Bake BBQ Chips (Healthier & Easier Cleanup)
Baking is an excellent option for those seeking a healthier alternative to fried chips or who prefer less oil and easier cleanup. While it might require a little more patience to achieve maximum crispiness, the results are equally delicious and satisfying.
- Preheat Oven: Set your oven to 400°F (200°C). Accurate oven temperature is vital for crispiness.
- Prepare Baking Sheets: Line two large baking sheets with foil and lightly grease them with cooking spray or a thin brush of oil. This prevents sticking and makes cleanup a breeze.
- Arrange & Oil: Ensure potato slices are completely dry. Arrange them in a single layer on the prepared baking sheets, making sure they don’t overlap. Overcrowding will cause the chips to steam instead of baking crispy. Lightly brush or spray each slice with a small amount of oil – just enough to coat them lightly.
- Bake Until Crispy: Bake for 10-15 minutes, or until the chips are golden brown and crisp. Baking time can vary significantly based on your oven’s accuracy and the thickness of your slices. Keep a close eye on them, especially towards the end, as they can go from perfectly crisp to burnt very quickly. Smaller pieces may crisp up faster and can be removed while larger ones continue to bake. For even cooking, you might want to rotate the baking sheets halfway through.
- Cool & Season: Once baked to perfection, transfer the chips to a cooling rack for a few minutes. This allows any residual moisture to evaporate and helps them crisp up further. Then, toss them immediately in your prepared BBQ seasoning mix while they are still warm to ensure the seasoning adheres well.
Tip for Baked Chips: For even greater crispiness, you can lightly salt the slices before oiling and baking. Some find flipping them halfway through baking also aids in achieving a uniform crunch.
Method 2: How To Fry BBQ Chips (Classic Crispy Texture)
For that classic, deep-fried chip texture and flavor, frying is the way to go. It yields incredibly crispy results quickly but requires careful attention to oil temperature and safety.
- Prepare Frying Setup: Fill a deep fryer or a heavy-bottomed, deep saucepan (like a Dutch oven) with vegetable oil (such as canola, peanut, or sunflower oil) to a depth of 2-3 inches. Heat the oil to 350°F (175°C). Use a kitchen thermometer to monitor the temperature accurately – consistency is key for perfect frying.
- Set Up Cooling Rack: Place a cooling rack over a cookie sheet lined with several layers of paper towels near your frying station. This will be for draining excess oil from the cooked chips.
- Fry in Batches: Once the oil reaches temperature, ensure your potato slices are completely dry. Carefully add a small batch of potato slices to the hot oil, being careful not to overcrowd the fryer. Overcrowding will significantly lower the oil temperature, resulting in soggy, greasy chips rather than crispy ones.
- Cook Until Golden: Fry for approximately 3-5 minutes per batch, flipping the chips halfway through, until they are golden brown and visibly crispy. The exact time will depend on the size and thickness of your slices. They should sound crisp when moved.
- Drain & Season: Using a slotted spoon or spider, carefully transfer the crispy chips to the prepared cooling rack to drain excess oil. Allow them to cool for just a few minutes – this helps them to fully crisp up. While still warm, transfer them to your seasoning bag or bowl and shake vigorously to coat evenly.
- Repeat: Continue frying the remaining potato slices in batches, always ensuring the oil returns to 350°F (175°C) before adding the next batch. You may need to pause briefly between batches to allow the oil to reheat to the optimal temperature.
Safety Note: Always exercise extreme caution when working with hot oil. Never leave it unattended. If oil starts to smoke, reduce heat immediately. Have a metal lid nearby to cover the pan in case of a grease fire (never use water on an oil fire). Use long-handled tongs or a slotted spoon to handle chips.
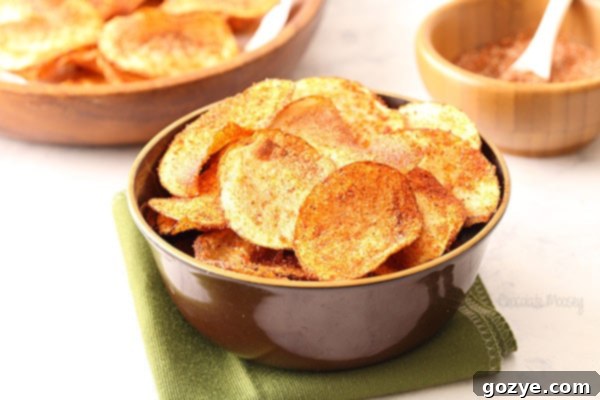
How to Keep Homemade BBQ Chips Crispy: Storage Tips
The best homemade chips are those enjoyed fresh, right off the cooling rack. However, if you happen to have leftovers (a rare occurrence for such a delicious snack!), you’ll want to take steps to keep them crispy. The main enemies of crispiness are moisture and humidity.
To preserve their delightful crunch:
- Drain Excess Oil: After cooking, always allow the chips to drain thoroughly on a cooling rack for a few minutes, or pat them with paper towels to remove any excess oil. This is especially important for fried chips, as residual oil can lead to sogginess.
- Cool Completely: Ensure your homemade BBQ chips are completely cooled to room temperature before storing them. Storing warm chips in an airtight container will trap steam, making them soft and soggy.
- Store in an Airtight Container: Once completely cooled, transfer your homemade BBQ chips to an airtight container. A resealable plastic bag (like a Ziploc bag) or a sturdy plastic or glass container with a tight-fitting lid works perfectly.
- Room Temperature: Store them at room temperature in a cool, dry place, away from direct sunlight or heat. Avoid the refrigerator, as the moisture and cold temperature can cause them to become soft and stale more quickly.
Properly stored, homemade chips can remain crispy for 1-2 days. If they lose a bit of their crunch, you can often revive them by spreading them in a single layer on a baking sheet and toasting them in a preheated oven at 300°F (150°C) for 5-10 minutes, or quickly in an air fryer for 2-3 minutes. This process helps to dry them out again.
Delicious Dips to Pair with Your Homemade BBQ Chips
While these barbecue chips are incredibly flavorful on their own and perfectly satisfying straight from the bowl, sometimes the ultimate snack experience calls for a perfect dipping companion. Here are some fantastic dips that beautifully complement the smoky, sweet, and spicy notes of your homemade chips:
- Cheesy Bacon Ranch Dip: The creamy, savory goodness of ranch with the added crunch and saltiness of bacon is a match made in heaven for BBQ chips.
- Creamy Onion Dip: A classic, comforting dip whose rich, slightly sweet onion flavor perfectly balances the zest of BBQ seasoning.
- Basil Pesto Dip: For something a little different and unexpected, the fresh, herbaceous notes of pesto can provide a surprisingly delightful and sophisticated contrast to the robust BBQ flavor.
- Sour Cream Dip by Spend With Pennies: Simple, cool, and tangy, a basic sour cream dip is a timeless choice that always enhances spicy chips, offering a refreshing counterpoint.
- Homemade Ranch or Blue Cheese Dressing: The cool tanginess and creamy texture of a good homemade ranch or blue cheese dressing can cut through the richness of the BBQ flavor beautifully, creating a dynamic taste experience.
Beyond dips, your homemade BBQ chips make an incredible side dish for classic American fare or casual meals. Serve them alongside juicy BBQ Bacon Burgers, refreshing Avocado Burgers, or even a simple grilled cheese sandwich for an elevated, satisfying meal experience.
Essential Tools for Making Homemade BBQ Chips (Amazon Affiliate Links)
Having the right tools can make the process of making homemade chips much smoother and more enjoyable, ensuring you achieve the best possible results with ease. These items are commonly used and highly recommended:
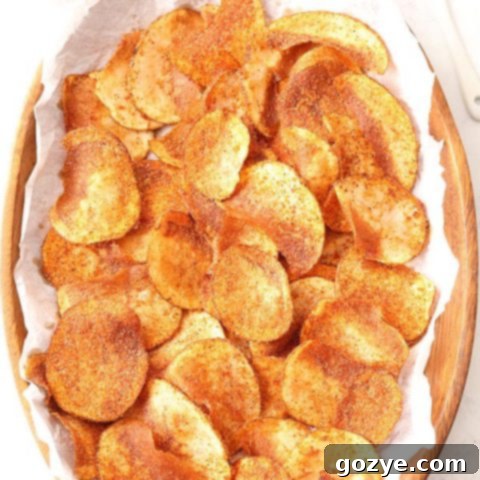
Homemade BBQ Chips
2 servings
20 minutes
30 minutes
15 minutes
1 hour 5 minutes
Crispy Homemade BBQ Chips (Barbecue Chips) tossed in a spicy barbeque seasoning are easier to make at home than you think! This recipe guides you through both baked and fried methods for the perfect crunchy snack.
Ingredients
- 1 large russet potato, peeling optional (roughly 6-8 ounces)
- 3/4 cup cold water
- 1 1/2 teaspoons smoked paprika
- 1 teaspoon onion powder
- 1 teaspoon brown sugar
- 1/2 teaspoon garlic powder
- 1/2 teaspoon salt
- 1/4 teaspoon chili powder
- Frying oil (such as vegetable or peanut), enough to fill a fryer or to brush slices before baking
Instructions
- With a mandoline (or precise knife skills), thinly slice the potato to about 1/10 inch (2.5 mm) thick. You do not want to see through the slices.
- Put the potato slices in a bowl and pour water over top. The potatoes should be submerged – if not, add more liquid. Soak for 30 minutes. Drain and pat completely dry.
- In a large freezer bag or bowl (preferably with a lid so you can shake it for easier coating), combine the paprika, onion powder, brown sugar, garlic powder, salt, and chili powder.
If you’re frying the chips:
- Fill a fryer (or a really deep saucepan) with frying oil of choice and heat to 350F. Place a cooling rack on top of a cookie sheet.
- When the oil is ready, ensure the potato slices are completely dry. Fry a few at a time until golden brown, being careful not to overcrowd the fryer. Time will vary depending on the size and thickness of the slices, but the average is 3-5 minutes, flipping each chip over halfway through frying.
- Remove the chips and place on the cooling rack. Let cool for a few minutes to allow them to crisp up then toss in the spice mixture.
- Repeat with the remaining slices, ensuring the oil is 350F when frying. You may need to pause in between batches to let the oil heat up again.
If you’re baking the chips:
- Preheat oven to 400F. Line two baking sheets with foil and lightly grease with cooking spray.
- Ensure the potato slices are completely dry then place the slices in a single layer on the two sheets. Brush each slice with oil.
- Bake for 10-15 minutes or until golden brown and crisp (but not burnt). If you find that some of the smaller pieces are baking faster after 10 minutes, you can remove those then finish baking the rest. Let cool for a few minutes to finish crisping up then toss in the spice mixture.
Notes
- Liked this recipe? Check out my Salt and Vinegar Chips!
- Got more potatoes? Check out my other potato recipes.
Recommended Products
As an Amazon Associate and member of other affiliate programs, I earn from qualifying purchases.
- Deep Fryer
- Mandoline
Did you make this recipe?
Let me know what you think! Rate the recipe above, leave a comment below, and/or share a photo on Instagram using #HITKrecipes
Source: Adapted from Taste Of Home
