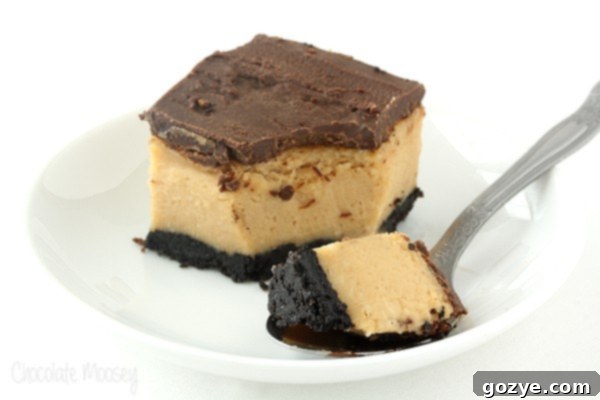
Irresistible Buckeye Cheesecake Bars: Celebrate Chocolate Peanut Butter Day!
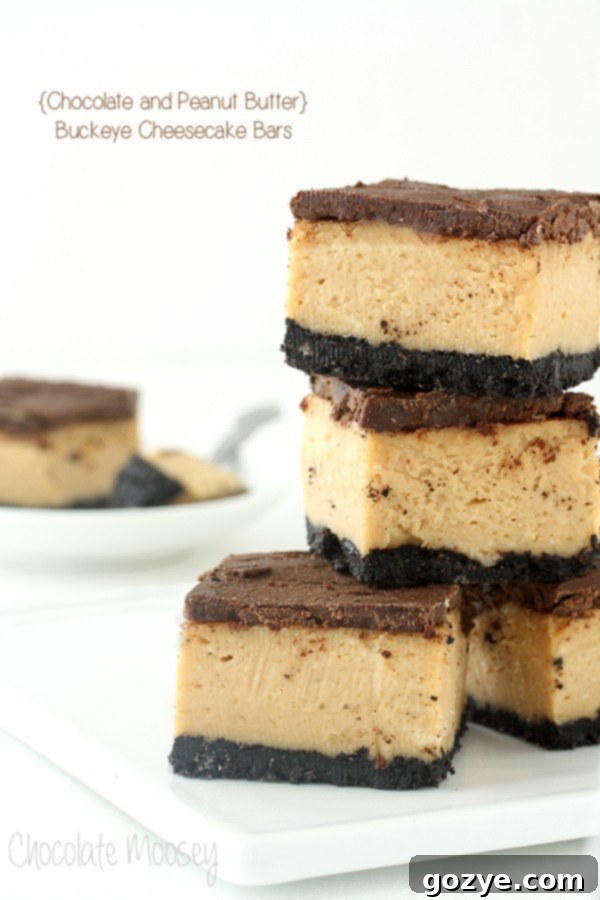
Prepare your taste buds for an unforgettable journey, because today, March 25th, is a day worth celebrating with the most decadent dessert imaginable: Buckeye Cheesecake Bars. These creamy peanut butter cheesecake bars, featuring a rich chocolate cookie crust and a luscious chocolate topping, are so exquisite that they’ll have you wishing every single day was Chocolate Peanut Butter Day! If you’re a fan of that iconic flavor combination, you’re in for a treat that elevates the classic to a whole new level of dessert bliss.
Indeed, today is the day I’ve been eagerly anticipating all year long. Alongside my good friend and fellow food enthusiast, Miriam of Overtime Cook, we are proudly declaring March 25th as the official Chocolate Peanut Butter Day! This declaration is more than just a date on the calendar; it’s a culmination of a long-standing passion and many conversations between two devoted fans of this incredible flavor pairing.
The Sweet Story Behind Chocolate Peanut Butter Day
Miriam and I have been discussing this concept for what feels like an eternity. Our messages and emails were filled with enthusiastic exchanges: “We absolutely HAVE to dedicate a day to chocolate and peanut butter!” “When are we going to make this happen?” “Seriously, let’s plan this out!” Finally, we picked a date, marked our calendars, and decided to run with it. Our shared love for the harmonious blend of sweet chocolate and savory peanut butter runs deep, and we knew we couldn’t be the only ones. If you, like us, believe that chocolate and peanut butter are a match made in culinary heaven, then you’ll definitely want to keep reading to discover our ultimate celebratory creation.
So, how did I manage to make the already fantastic combination of chocolate and peanut butter even better? By transforming it into these irresistible Peanut Butter Cheesecake Bars. Imagine all the beloved flavors and textures, but in a handheld, sliceable form that’s perfect for sharing (or, let’s be honest, for keeping all to yourself!).
Chocolate and peanut butter have held a special place in my heart as one of my all-time favorite dessert combinations for as long as I can remember. It’s a classic for a reason, offering that perfect balance of salty and sweet, creamy and rich.
It’s actually quite amusing, considering my mom isn’t a fan of peanut butter. This often means I don’t frequently prepare peanut butter-centric desserts for the entire family. However, on those special occasions when I do indulge my craving, I always make sure to have an alternative treat ready for her, ensuring she never feels left out. It’s safe to say that my unwavering devotion to the chocolate peanut butter gene is something I definitely inherited from my dad. His enthusiasm for this iconic duo was contagious, and it’s a legacy I proudly carry forward in my kitchen.
What Makes Buckeye Cheesecake Bars So Irresistible?
For those who might not be familiar with “buckeyes,” they are a famous chocolate peanut butter candy, proudly named after the state of Ohio. Traditionally, they are essentially delicious peanut butter balls partially dipped in melted chocolate, leaving a small circle of peanut butter exposed, resembling the “buckeye” nut. While I’ve never actually made traditional buckeyes myself, I’ve certainly enjoyed my fair share from countless cookie trays over the years. This recipe for Buckeye Cheesecake Bars captures all the beloved flavors and textures of the classic candy, but in a more substantial and even more decadent form.
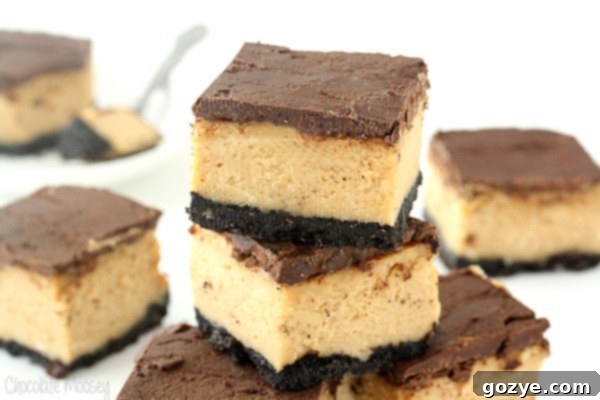
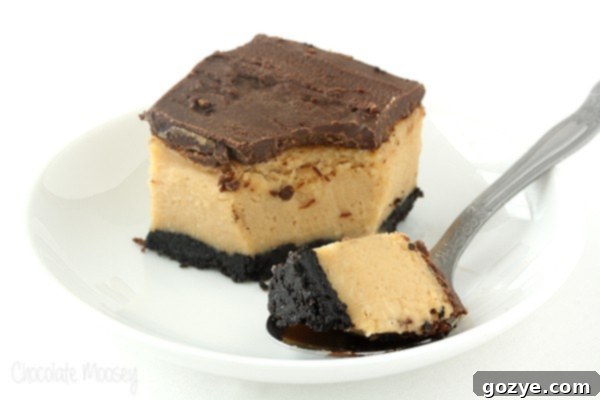
When you bite into one of these bars, prepare for an exquisite sensory experience. First, you encounter a firm yet tender chocolate cookie crust, providing a delightful crunch and deep cocoa flavor. This foundational layer is perfectly complemented by a thick, creamy, and lusciously smooth peanut butter cheesecake filling that melts in your mouth. Finally, a layer of rich, smooth chocolate ganache seals the deal, creating a harmonious blend of textures and tastes that perfectly encapsulates the essence of a buckeye, all within a sophisticated cheesecake bar.
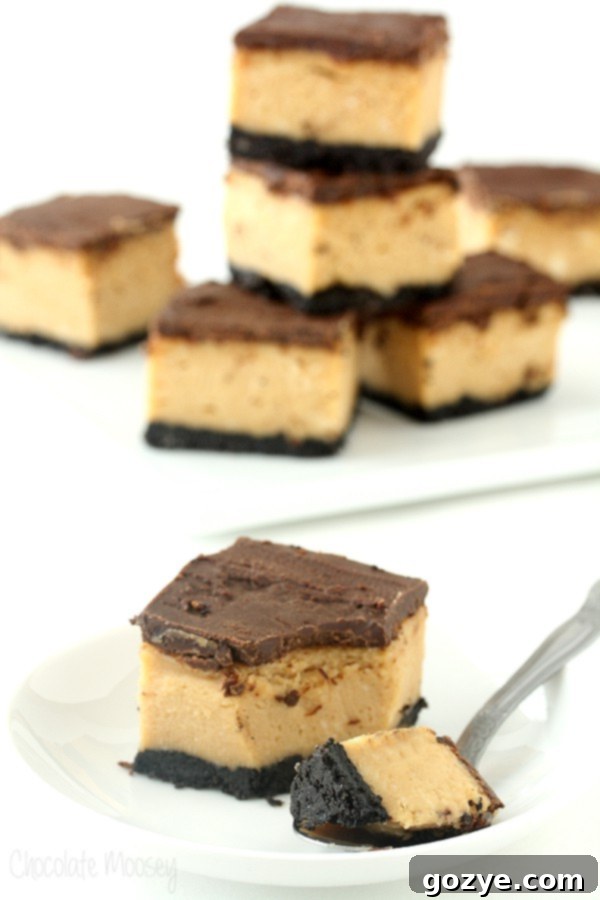
Now for the important question: when it comes to enjoying these magnificent cheesecake bars, do you prefer to eat them with your fingers, savoring each bite directly, or with a spoon, delicately scooping up every last bit of creamy goodness? I honestly couldn’t decide which method I preferred, so, in the interest of thorough testing (and pure indulgence!), I ate one with my fingers and another with my spoon. It only seems fair to properly evaluate both ways, right? Either way, the experience is pure delight.
If you find yourself utterly smitten with these peanut butter cheesecake bars and crave more of that magical combination, then you are absolutely going to adore my peanut butter cheesecake brownies. They offer a similar creamy, dreamy experience but with a fudgy brownie base, proving that chocolate and peanut butter truly belong together in every possible dessert form.
Mastering Your Buckeye Cheesecake Bars: Tips for Success
Creating the perfect Buckeye Cheesecake Bars isn’t difficult, but a few key tips can elevate your homemade dessert from good to absolutely phenomenal. Follow these pointers for a flawless finish every time.
The Perfect Chocolate Cookie Crust
- Choose Your Cookies Wisely: While any chocolate sandwich cookie will work, classic Oreos (with or without the cream filling, depending on your preference for sweetness and texture) are always a reliable choice. You can also experiment with chocolate graham crackers for a slightly different flavor profile.
- Fine Crumbs are Key: For a stable and even crust, ensure your cookie crumbs are finely ground. A food processor is ideal for this, creating a consistent texture that will bind together beautifully.
- Melted Butter Matters: The melted butter acts as the glue for your crust. Make sure it’s fully incorporated into the crumbs so that every particle is coated. This prevents a crumbly crust and ensures it holds its shape.
- Press Firmly and Evenly: Use the bottom of a glass or a flat measuring cup to press the crumb mixture firmly and evenly into the prepared pan. A well-compacted crust is crucial for both stability and texture. Don’t skip the pre-baking step; it helps to set the crust and prevents it from becoming soggy later.
Achieving a Creamy Peanut Butter Cheesecake Layer
- Room Temperature Ingredients: This is perhaps the most critical tip for any cheesecake. Ensure your cream cheese and eggs are at room temperature. This allows them to blend smoothly without lumps, resulting in that signature silky cheesecake texture.
- Don’t Overmix: While you want your ingredients well combined, overmixing cream cheese can incorporate too much air, which can lead to cracks in your cheesecake during baking. Beat until just smooth and creamy, then gently fold in the remaining ingredients.
- Creamy Peanut Butter Only: For the best results in terms of texture and stability, use creamy, processed peanut butter (like Jif or Skippy). Natural peanut butter, with its varying oil content, can sometimes alter the consistency of the cheesecake batter.
- Gentle Baking: Cheesecake benefits from gentle, even heat. The instruction to bake until the top is firm and the center slightly jiggles is perfect. The residual heat will continue to cook the cheesecake as it cools. While not explicitly mentioned in the recipe, a water bath can further help prevent cracks and ensure an even bake, though it’s often optional for bar recipes.
- Gradual Cooling: Avoid shocking your cheesecake with sudden temperature changes. Let it cool completely on the counter before chilling in the refrigerator. This gradual cooling process helps prevent cracking.
The Decadent Chocolate Topping
- Quality Chocolate Chips: The better the quality of your chocolate chips, the richer and smoother your topping will be. Semisweet chocolate chips provide a balanced sweetness that complements the peanut butter.
- Perfect Melting Method: Whether you choose the microwave or a double boiler over simmering water, melt the chocolate and cream slowly and gently. Overheating chocolate can cause it to seize or become grainy. Stir until completely smooth and glossy.
- Even Spreading: Once melted, quickly spread the chocolate ganache evenly over the cooled peanut butter cheesecake layer. Work quickly as it will start to set as it cools.
- Essential Chilling: The chilling period is non-negotiable. At least 4 hours, or preferably overnight, allows the cheesecake to fully set and the chocolate topping to firm up, making for clean, beautiful slices.
Serving and Storage Suggestions
Once your Buckeye Cheesecake Bars are perfectly chilled, cutting them into neat squares is the final step before serving. For clean cuts, use a sharp knife warmed under hot water and wiped dry between each slice. This creates pristine edges that are as pleasing to the eye as they are to the palate. These bars are delicious on their own, but a sprinkle of flaky sea salt, a drizzle of extra chocolate, or even a dollop of whipped cream can elevate their presentation and flavor. They pair wonderfully with a cold glass of milk, a hot cup of coffee, or even a scoop of vanilla ice cream.
To keep your Buckeye Cheesecake Bars fresh and delicious, store them in an airtight container in the refrigerator. They will remain delightful for up to 5-7 days. If you’ve made a large batch or want to prepare them in advance, these bars also freeze beautifully. Wrap individual bars tightly in plastic wrap, then place them in a freezer-safe container or bag. They can be frozen for up to 1-2 months. Thaw them in the refrigerator for a few hours or overnight before serving.
Buckeye (Chocolate and Peanut Butter) Cheesecake Bars
16 squares
Creamy peanut butter cheesecake bars with chocolate and a cookie crust will make you wish that every day was Chocolate Peanut Butter Day.
Ingredients
- 2 cups chocolate sandwich cookie crumbs
- 4 tablespoons melted butter
- 16 ounces cream cheese, softened
- 1/2 cup granulated sugar
- 2 eggs
- 1 cup creamy peanut butter
- 1 teaspoon vanilla extract
- 1 cup semisweet chocolate chips
- 2 tablespoons heavy whipping cream
Instructions
- Preheat oven to 350F. Line an 8×8 pan with parchment paper.
- In a medium bowl, mix together the cookie crumbs and butter. Pat into the bottom of the pan. Bake 10 minutes or until set. Let cool.
- In a large mixing bowl, beat together the cream cheese and sugar until smooth and creamy. Beat in the eggs, one at a time, until fully incorporated then beat in the peanut butter and vanilla. Spread into the pan and bake 35-40 minutes or until the top is firm and the center slightly jiggles. Cool completely.
- Once the bars are cool, melt together the chocolate chips and the cream (either in the microwave or in a bowl over simmering water on the stove). Spread on top of the cheesecake then chill in the refrigerator for at least 4 hours or overnight. Cut into bars before serving. Store in an airtight container in the refrigerator.
Did you make this recipe?
Let me know what you think! Rate the recipe above, leave a comment below, and/or share a photo on Instagram using #HITKrecipes
Source: Adapted from Taste Of Home
More Chocolate Peanut Butter Delights You’ll Love
If you thoroughly enjoyed these Buckeye Cheesecake Bars and find yourself craving more of that incredible chocolate peanut butter synergy, then you’re in luck! Here are some other delectable chocolate peanut butter recipes from my kitchen that you simply must try:
Chocolate Peanut Butter Cup Cheesecake Squares
Peanut Butter Cup Ice Cream (No Cook, Egg Free)
Peanut Butter Cup Sandwich Cookies
Double Peanut Butter Surprise Cookies
Peanut Butter Cup Bars
We hope you’ll join us in celebrating Chocolate Peanut Butter Day with these extraordinary Buckeye Cheesecake Bars. They truly are a testament to how incredible this flavor combination can be when elevated to a sophisticated dessert. Whether you’re making them for a special occasion or simply to treat yourself, these bars are guaranteed to bring smiles and satisfy even the most intense cravings. Happy baking, and don’t forget to share your creations using #HITKrecipes!
