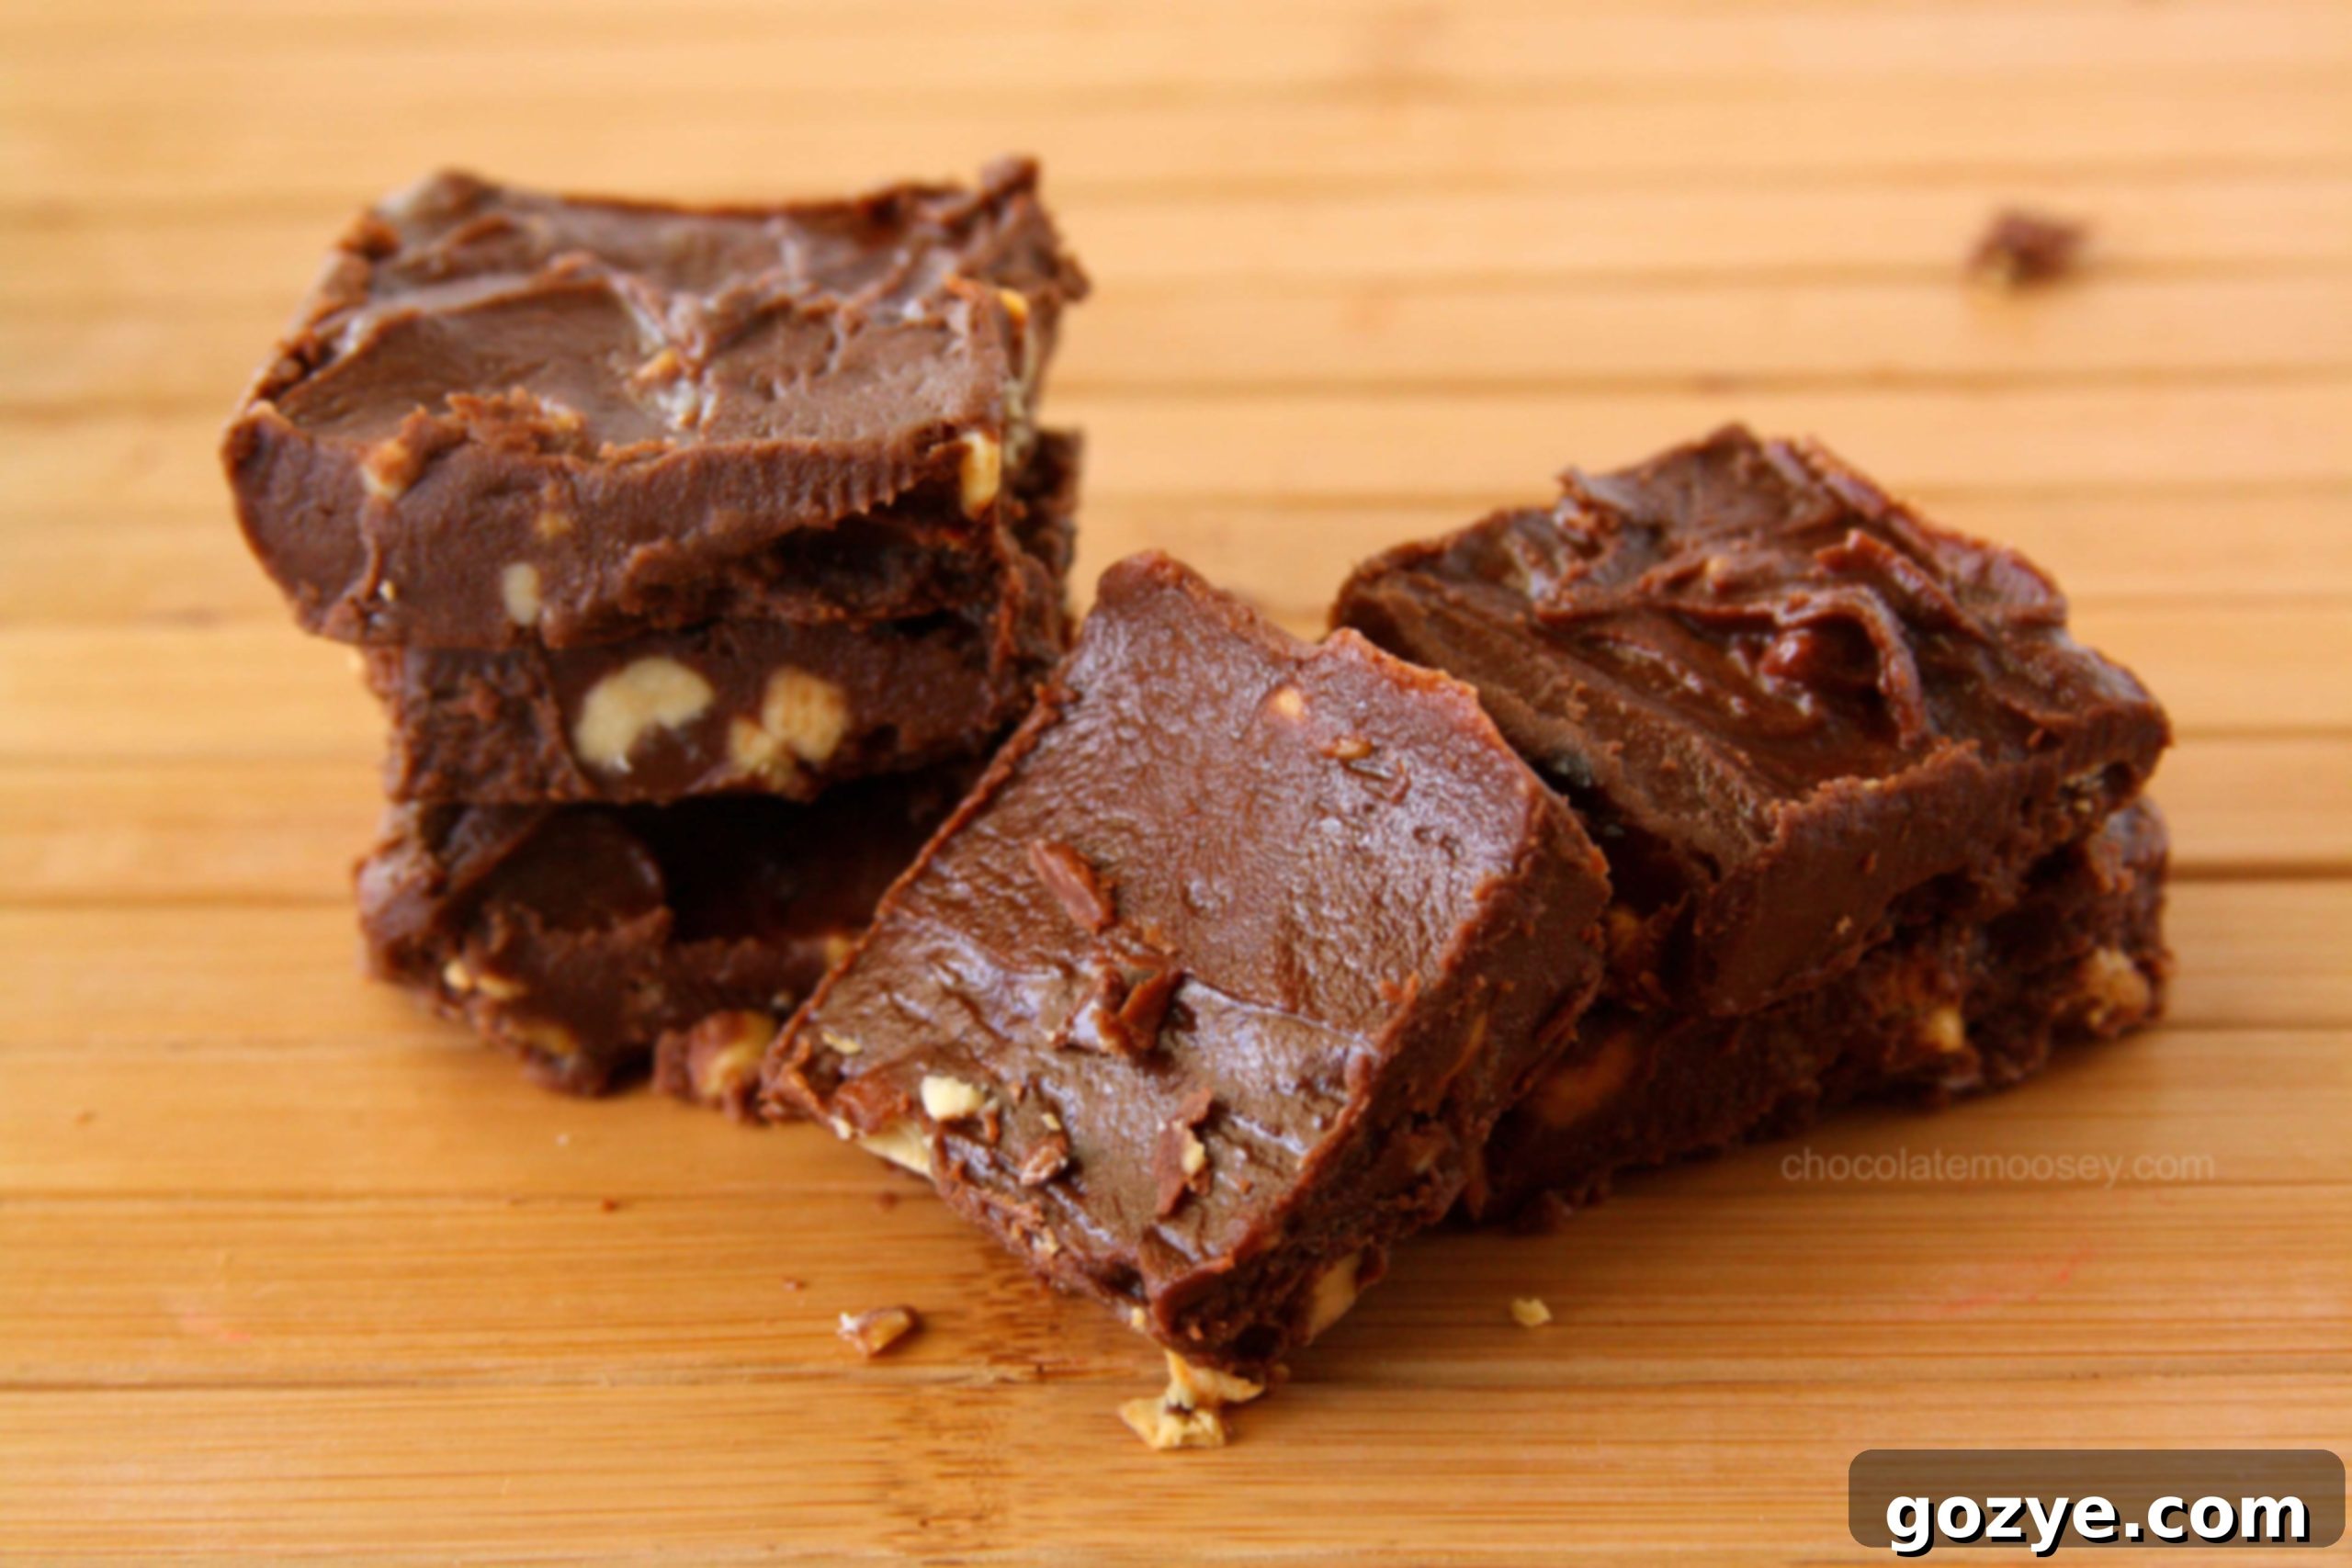
Irresistible No-Fail Chocolate Peanut Butter Fudge: Your Easy Candy Thermometer-Free Recipe
There’s a special place in everyone’s heart for a decadent piece of fudge. That rich, creamy confection that melts in your mouth, delivering a burst of intense flavor. For many, homemade fudge often conjures images of precision, candy thermometers, and the potential for a sugary disaster. Perhaps you’ve tried your hand at it before, only to be met with a grainy texture or a batch that refused to set. If that sounds familiar, you’re certainly not alone.
For a long time, the mere mention of making fudge would send shivers down my spine. I’ve had my share of epic failures – particularly a memorable attempt at pumpkin fudge that turned into a soupy mess, highlighting just how finicky moisture levels can be in traditional fudge-making. The quest for that perfect, smooth, and firm slice of fudge, often guided by a temperamental candy thermometer, felt like an insurmountable challenge. It was a baking frontier I simply couldn’t conquer, leading to a secret shame and a tendency to avoid the topic altogether.
But what if I told you there was a way to bypass all that stress and still achieve fudge perfection? What if you could make rich, creamy, and utterly delicious homemade fudge without ever touching a candy thermometer? This recipe for Easy Chocolate Peanut Butter Fudge is my ultimate “cheat sheet” – a no-fail method that delivers exceptional results every single time. It’s the kind of recipe that restores your faith in your baking abilities and might just become your new go-to for quick and impressive treats.
This isn’t about constant babysitting or meticulously watching temperatures. Instead, it’s a remarkably simple process: melt a few key ingredients, stir in some sugar, and then let time do its magic in the fridge. The result? A smooth, luscious fudge that boasts the timeless pairing of chocolate and peanut butter, all without the need for specialized equipment or advanced culinary skills. Prepare to be amazed by how effortless deliciousness can be.
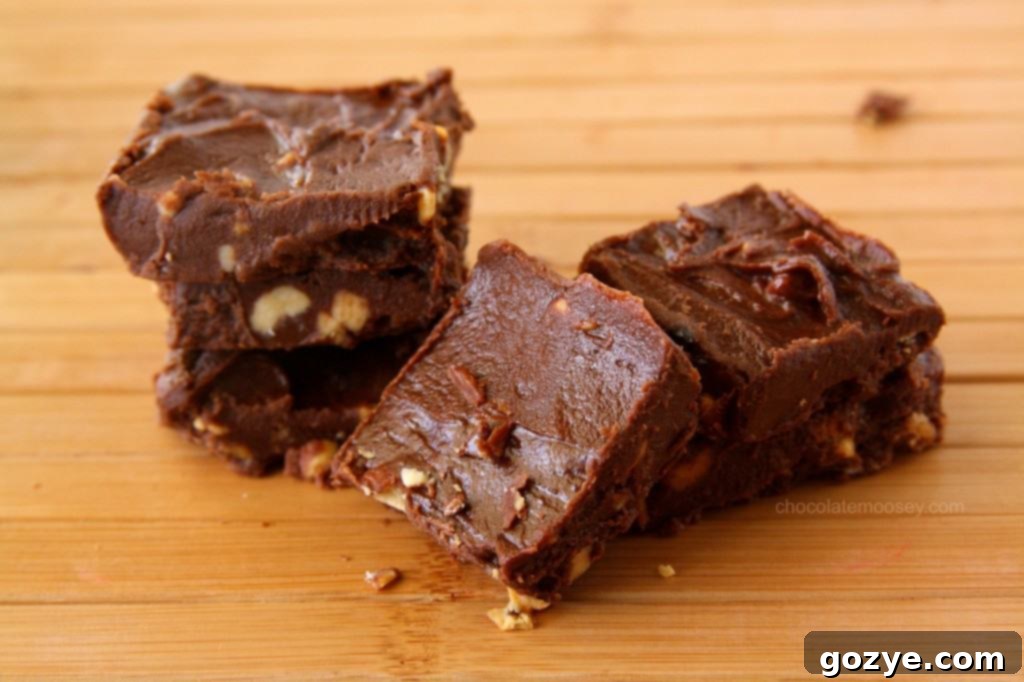
The Secret to No-Thermometer Fudge: Simplicity and Quality Ingredients
The beauty of this Easy Chocolate Peanut Butter Fudge lies in its straightforward approach. We achieve a perfectly set, smooth fudge by relying on the unique properties of powdered sugar and the chilling process, rather than the delicate sugar crystal formation required by boiling syrup to specific temperatures. This method significantly reduces the margin for error, making it incredibly beginner-friendly.
At its heart, this fudge brings together the comforting flavors of semi-sweet chocolate chips and creamy peanut butter. These two ingredients are a match made in heaven, offering a delightful balance of sweetness and rich, nutty undertones. The addition of butter provides an extra layer of creaminess and helps in achieving that melt-in-your-mouth texture that defines truly great fudge.
Mastering the Melting Process for Perfect Fudge
While this recipe is simple, the melting process is key to a smooth, lump-free fudge. I’ve found that melting the chocolate, peanut butter, and butter in stages is much more effective than throwing everything into a bowl at once and hoping for the best. This careful approach ensures even melting and prevents any ingredients from seizing or burning, which can lead to a less-than-ideal texture.
My preferred method is the double boiler (bain-marie) technique. To do this, fill a saucepan with about an inch or two of water and bring it to a gentle simmer over medium heat. Place a large, heatproof bowl (preferably glass or stainless steel) over the saucepan, ensuring the bottom of the bowl does not touch the simmering water. The steam from the water will gently and evenly melt the ingredients, preventing scorching.
Start by adding your semi-sweet chocolate chips to the bowl. Stir gently until they begin to melt and become glossy. Once the chocolate is mostly melted, add the creamy peanut butter and continue to stir until it’s fully incorporated and smooth. Finally, add the butter, cut into small pieces for quicker melting. Keep stirring until all three ingredients are beautifully combined into a silky, uniform mixture. This gradual melting ensures everything emulsifies perfectly, laying the foundation for incredibly smooth fudge.
If you prefer using a microwave, ensure you have a very large, microwave-safe bowl. Microwave the ingredients in short bursts (30-60 seconds at a time), stirring thoroughly after each interval. It’s crucial to stir frequently to distribute the heat and prevent the chocolate from overheating and seizing. While possible, the stove-top double boiler method generally provides more consistent and gentler heating, making it less prone to errors.
The Power of Powdered Sugar: Why It’s Essential
Once your chocolate, peanut butter, and butter mixture is perfectly smooth and melted, it’s time for the secret ingredient that binds it all together: powdered sugar. While 1 cup of powdered sugar might seem like a substantial amount for a 9×9 inch pan, it is absolutely crucial for the final consistency of your fudge. This isn’t just about sweetness; it’s about structure.
Powdered sugar, also known as confectioners’ sugar or icing sugar, is finely ground granulated sugar mixed with a small amount of cornstarch. This fine texture allows it to dissolve quickly and seamlessly into the melted ingredients, creating a smooth and uniform batter. More importantly, the cornstarch in powdered sugar acts as a stabilizer and thickener, which is vital for the fudge to firm up properly without needing the specific temperature control of a candy thermometer.
Adding the full cup of sifted powdered sugar (sifting prevents lumps!) to your warm mixture will transform it. You’ll need to whisk it in vigorously, perhaps even using a bit of muscle, as the mixture will thicken considerably. This thickening is exactly what you want! It ensures that after chilling, your fudge will have that wonderfully firm yet creamy texture, rather than a disappointing goopy mess – a mistake I’ve learned from experience, saving you the heartbreak and wasted ingredients.
And let’s be honest, fudge is meant to be a sweet indulgence. While we always advocate for moderation, if you’re making fudge, you’ve likely already embraced the idea of a delightful treat. The powdered sugar contributes to that classic sweet profile, perfectly balanced by the richness of the chocolate and peanut butter.
Chilling and Storing Your Decadent Treat
Once the powdered sugar and vanilla extract are thoroughly blended into the chocolate-peanut butter mixture, spread the batter evenly into your parchment-lined 8×8 inch pan. The parchment paper is a small but mighty detail here; it makes lifting the cooled fudge out of the pan a breeze, allowing for clean, precise cuts.
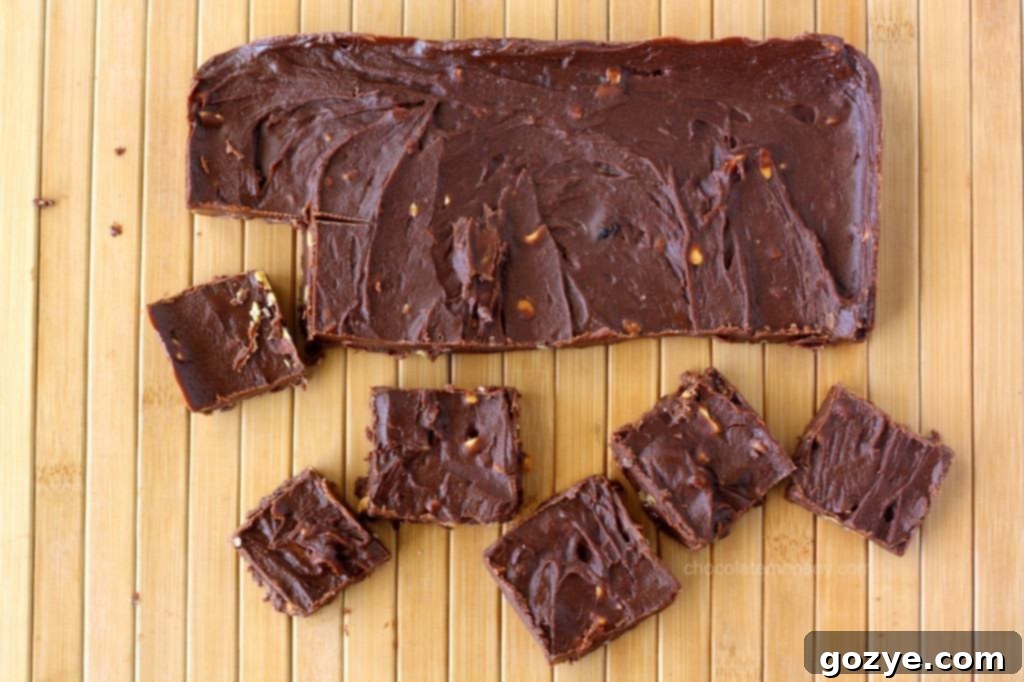
Now comes the hardest part: waiting! The fudge needs ample time to firm up. A minimum of 4 hours in the refrigerator is recommended, but for the best, most sliceable results, chilling it overnight is ideal. The refrigerator speeds up the setting process considerably, ensuring your fudge is ready to enjoy sooner. Once firm, lift the fudge out using the parchment paper, peel back the paper, and cut it into squares. A warm, sharp knife can help create cleaner cuts.
Store your finished Chocolate Peanut Butter Fudge in an airtight container at room temperature for up to a week, or in the refrigerator for even longer freshness (it might last up to two weeks in the fridge). This fudge is incredibly addicting, so don’t be surprised if it disappears much faster than you anticipate!
Customize Your Easy Chocolate Peanut Butter Fudge
While this recipe is perfect as is, it’s also wonderfully adaptable! Feel free to experiment with different variations to suit your taste:
- Peanut Butter Choice: The original recipe mentions using peanut butter with nuts and granola. If you prefer a smoother fudge, stick with creamy peanut butter. For added texture and crunch, use crunchy peanut butter or stir in 1/2 cup of finely chopped roasted peanuts into the batter before chilling.
- Chocolate Variety: While semi-sweet chocolate chips provide a balanced sweetness, you can experiment with dark chocolate chips for a richer, less sweet fudge, or milk chocolate chips for a sweeter, creamier profile.
- Exciting Add-ins: Get creative! Stir in mini marshmallows, crushed pretzels for a salty-sweet crunch, toffee bits, or even a sprinkle of sea salt flakes on top before chilling for a gourmet touch.
- Flavor Extracts: Beyond vanilla, consider adding a touch of almond extract for a subtle nutty note, or a hint of coffee extract to enhance the chocolate flavor.
This Easy Chocolate Peanut Butter Fudge is not just a dessert; it’s a celebration of simple, satisfying flavors and the joy of creating something delicious without the fuss. It’s perfect for holiday platters, casual snacking, or an impromptu sweet craving (I may or may not have enjoyed it for breakfast a time or two!).

Easy Chocolate Peanut Butter Fudge
25 squares
Indulge in this delicious chocolate peanut butter fudge, crafted effortlessly without a candy thermometer. Simply melt, add sugar, and cool until firm for a perfect homemade treat every time.
Ingredients
- 1 cup semisweet chocolate chips
- 1 cup creamy peanut butter*
- 1/2 cup (4 ounces) unsalted butter, cut into 8 tablespoons
- 1 cup powdered sugar, sifted
- 1 teaspoon vanilla extract
Instructions
- Line an 8×8 inch pan with parchment paper, leaving an overhang on the sides for easy removal.
- In a large heatproof bowl set over a pan of simmering water (ensure the bowl does not touch the water), melt the chocolate chips and creamy peanut butter together, stirring occasionally until smooth. Add the butter and continue to stir until it is completely melted and the mixture is well combined and smooth.
- Remove the bowl from the pan of simmering water. Add the sifted powdered sugar and vanilla extract. Whisk vigorously until the sugar is fully incorporated and the batter is thick and well blended (this step requires some effort as the mixture will become quite dense).
- Spread the thickened batter evenly into the prepared 8×8 inch pan. Smooth the top with a spatula. Cool the fudge until firm, ideally for at least 4 hours or, even better, overnight in the refrigerator (you can place it in the fridge to speed up the setting process).
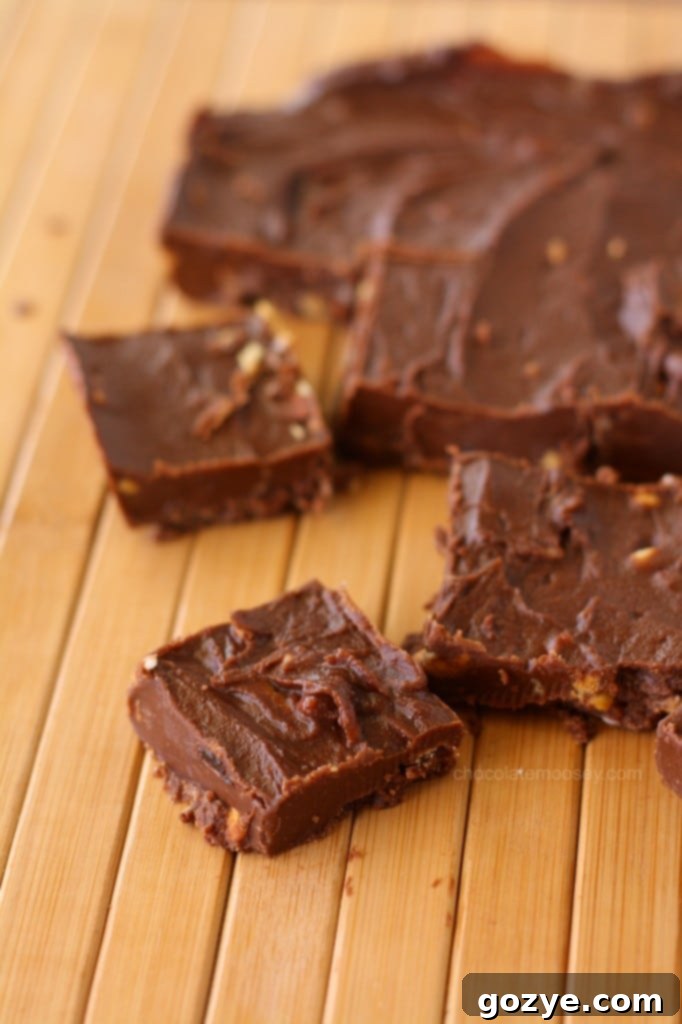
- Once firm, use the parchment paper overhang to lift the fudge out of the pan. Peel off the parchment paper and cut the fudge into 25 squares (or desired size) using a sharp knife. Store the fudge in an airtight container at room temperature for up to 1 week, or in the refrigerator for longer freshness.
Notes
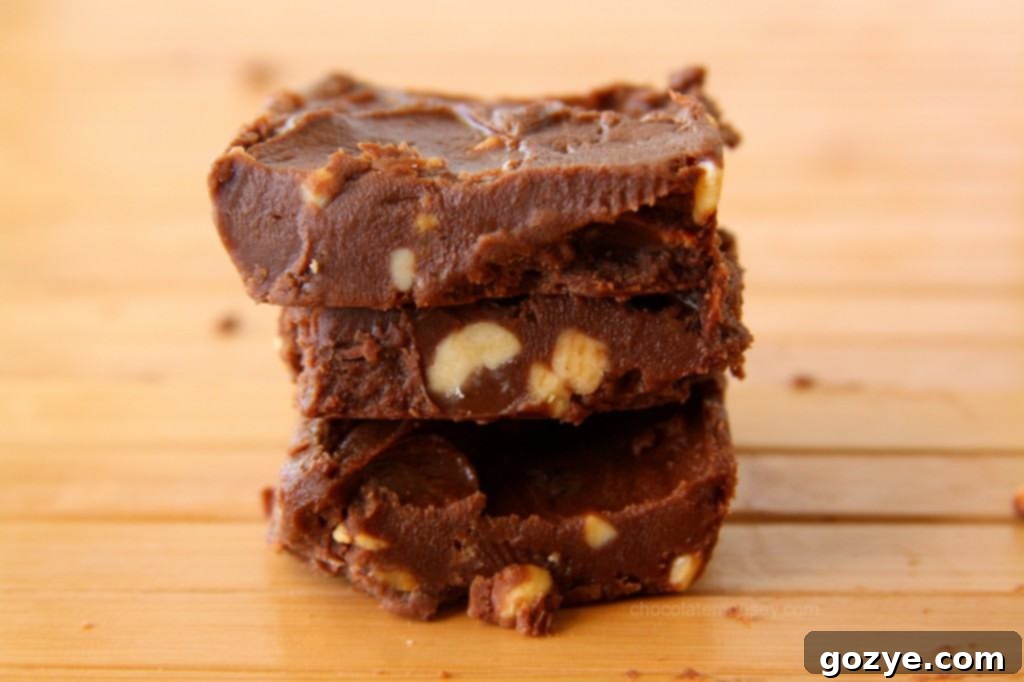
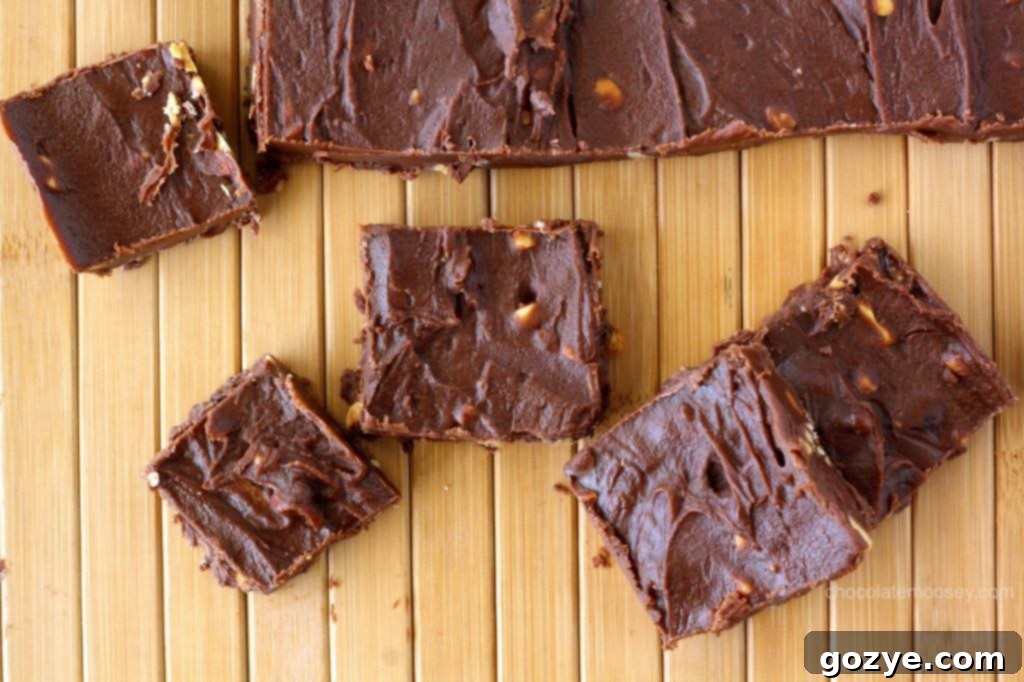
*The original recipe author used a peanut butter with nuts and granola, which is why her fudge photos show a textured appearance. Feel free to use creamy peanut butter for a classic smooth fudge, or opt for crunchy peanut butter for added texture. You can also stir in 1/2 cup of finely chopped roasted peanuts or other nuts for extra crunch.
Did you make this recipe?
Let me know what you think! Rate the recipe above, leave a comment below, and/or share a photo on Instagram using #HITKrecipes
Source: Adapted from Peanut Butter Planet
Want more delightful homemade fudge recipes? Explore these easy options!
If you’ve enjoyed the simplicity and deliciousness of this no-fail chocolate peanut butter fudge, you’ll love these other accessible fudge recipes. Each one is designed for ease and guaranteed to satisfy your sweet tooth without any unnecessary complications.
Cookie Cutter Fudge
Lemon Fudge
Easy Nutella Fudge
Oreo Fudge
Peanut Butter Oreo Fudge
Chocolate Marshmallow Fudge
