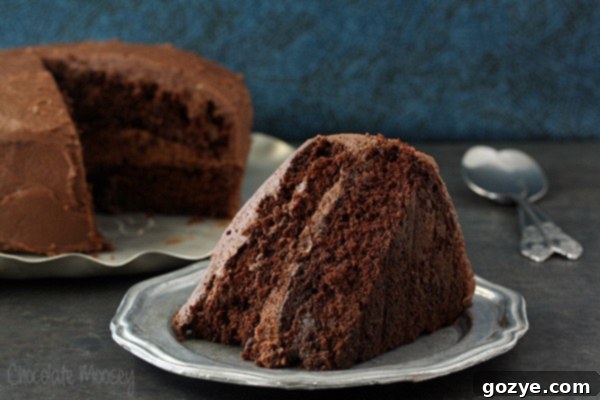
Decadent Devil’s Food Layer Cake: The Ultimate Chocolate Indulgence with Whipped Chocolate Buttercream
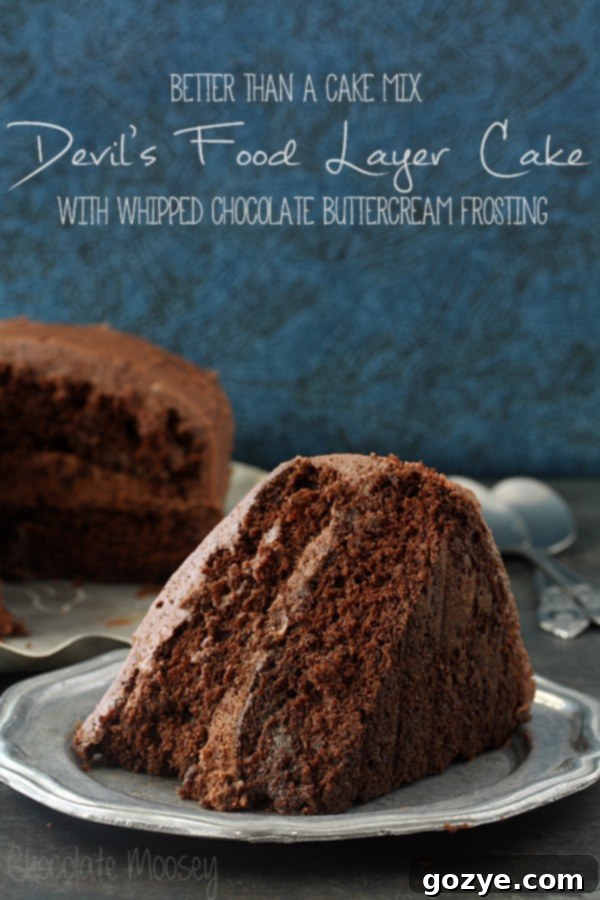
Indulge in a classic that tastes even better than you remember from a box mix: our simple yet sensational Devil’s Food Layer Cake. Elevated by a special secret ingredient, this recipe delivers an intensely rich chocolate flavor, perfectly complemented by a light and airy Whipped Chocolate Buttercream Frosting. It’s the ultimate homemade chocolate cake, ideal for celebrating life’s most cherished moments.
Seven years ago this month, almost to the day, I embarked on an unexpected journey – one that started with a single blog post about food. What began as a nascent curiosity quickly blossomed into a profound passion, and I haven’t looked back since. While there were necessary pauses, particularly when I was immersed in finishing my college degree, the desire to create and share never truly faded.
It wasn’t until about two years ago that I truly committed to transforming this blog from a hobby into something more serious. There are certainly days when I find myself pondering the immense energy and dedication I pour into it. Yet, the truth remains clear: there’s nothing else I’d rather do with my precious free time. Why spend evenings idly watching television when I can be immersed in what I genuinely love – exploring new recipes, perfecting classics, and sharing my culinary adventures?
Though this isn’t yet my full-time profession, this incredible journey has been a profound teacher. It has shown me how to embrace vulnerability and openness, how to push beyond my comfort zone, and perhaps most importantly, how to be kinder and more patient with myself. It has taken me to places I never imagined visiting and introduced me to friends I never expected to meet, forging connections that extend far beyond the kitchen.
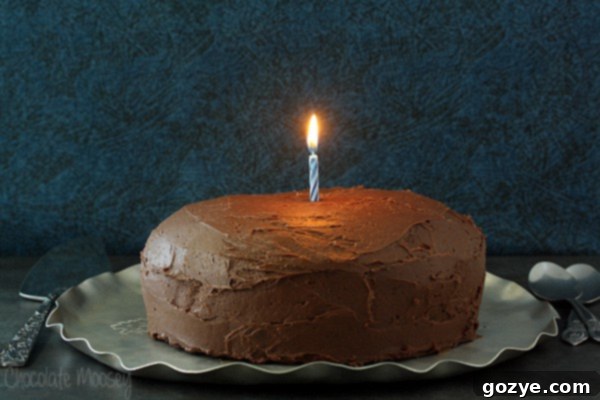
And now, it feels as though this path is gently guiding me towards an exciting new chapter, one I didn’t even know existed. So, as with any significant milestone or anniversary, it feels only right to mark the occasion with something truly special: cake. For this celebration, I chose to create a Devil’s Food Layer Cake with Whipped Chocolate Buttercream Frosting, a recipe that lovingly echoes the boxed cake my mom used to make for me throughout my childhood. There’s simply no going wrong with an easy-to-make, profoundly chocolatey cake topped with a truly sinful and luscious chocolate frosting.
Why This Devil’s Food Cake Will Become Your Go-To Recipe
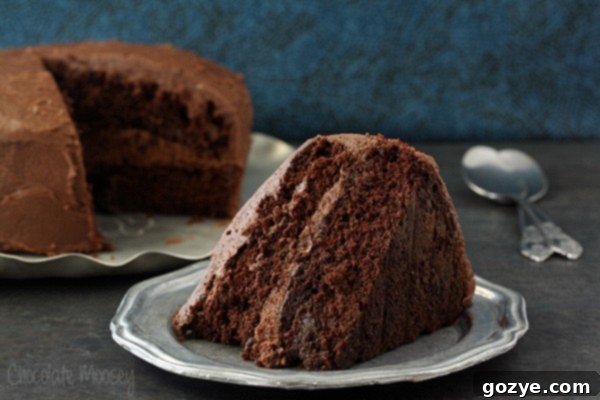
My mom’s boxed Devil’s Food Cake was a staple of my younger years, and I am thrilled to say that this from-scratch version tastes almost exactly like its nostalgic cake mix cousin, but with an elevated depth of flavor that only homemade can achieve. This recipe delivers a moist, tender crumb that melts in your mouth, infused with a deep, complex chocolate essence. It’s the perfect balance of sweetness and rich cocoa, making it incredibly satisfying without being overly heavy.
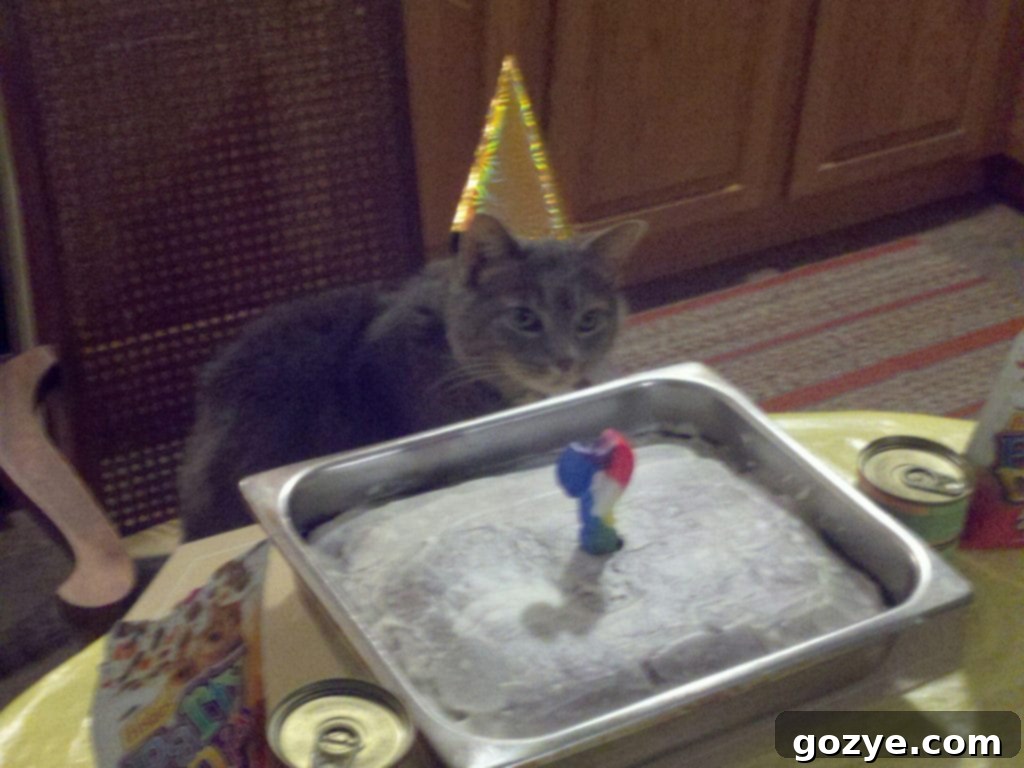
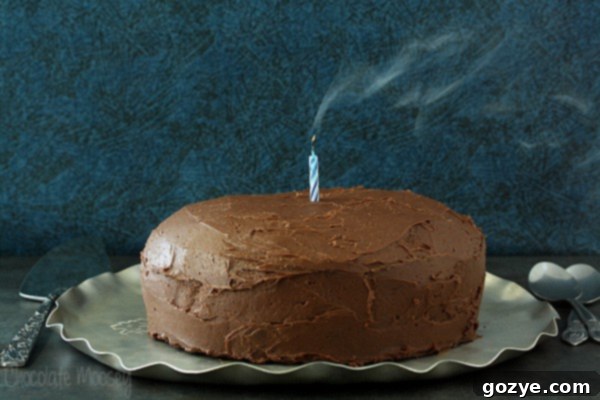
Speaking of nostalgia, I simply couldn’t resist sharing this heartwarming picture of Murray with his very own devil’s food cake. It always makes me wonder, do they have delicious cakes in kitty heaven? (A quick disclaimer for all animal lovers: rest assured, he didn’t actually eat any of it!). His expression, however, perfectly captures the universal joy that a decadent chocolate cake can bring.
The Secret Ingredient: Unlocking Deeper Chocolate Flavor
What truly amps up the chocolate in this cake, taking it from great to absolutely extraordinary, is a special secret ingredient: **hot coffee**. Now, before you hesitate if you’re not a coffee drinker, let me reassure you – you won’t actually taste the coffee itself in the finished cake. Its purpose is purely to enhance and intensify the chocolate flavor, making it incredibly rich and profound. Coffee, especially a dark brew, acts as a natural flavor amplifier for cocoa, deepening its notes and adding a layer of complexity that elevates the entire cake. If I were to hand you a slice, you would simply marvel at the robust chocolate taste, never suspecting coffee was involved.
However, if coffee isn’t something you keep in your pantry, or if you prefer to avoid it altogether, don’t worry! You can achieve a similar effect by using an equivalent amount of hot water. While the hot water won’t amplify the chocolate in quite the same way as coffee, it will still contribute to the moistness and tender texture of the cake, ensuring a delicious result.
Unraveling the Mystery: Why “Devil’s Food” Cake?
The name “Devil’s Food Cake” has always piqued my curiosity. Isn’t it essentially just a chocolate cake? After a bit of research, the exact origin remains somewhat shrouded in culinary mystery, with various theories and recipe variations contributing to its enigmatic status. Historically, Devil’s Food Cake emerged in American cookbooks around the early 20th century, distinguishing itself from other chocolate cakes.
Several characteristics often differentiate Devil’s Food Cake. Some recipes call for a combination of cocoa powder and melted chocolate, while others rely solely on cocoa. The use of hot liquid, such as boiling water or coffee (as in our recipe!), is also a common, though not universal, feature, believed to bloom the cocoa and enhance its flavor and moistness. Additionally, Devil’s Food Cake often uses baking soda to create a deeper, reddish-brown hue and a fine, tender crumb, contrasting with the lighter color and texture of other chocolate cakes.
I have two leading theories for its intriguing name:
- A Heavenly Counterpart: The most popular theory suggests it was named as a delicious, rich counterpoint to the much lighter and airy Angel Food Cake. While Angel Food Cake is white, delicate, and often associated with purity, Devil’s Food Cake is dark, dense, and intensely indulgent – a playful culinary “opposite.”
- Sinfully Decadent: Another compelling theory attributes the name to its sheer decadence. This cake is so sinful, so rich, and so utterly irresistible that it tempts you into gluttony, which, as we know, is one of the deadly sins. Hence, the “Devil’s Food” moniker perfectly encapsulates its deeply satisfying and almost illicit allure.
What’s your theory? Share it in the comments below – I’d love to hear your thoughts on this delicious puzzle!
Crafting the Perfect Whipped Chocolate Buttercream
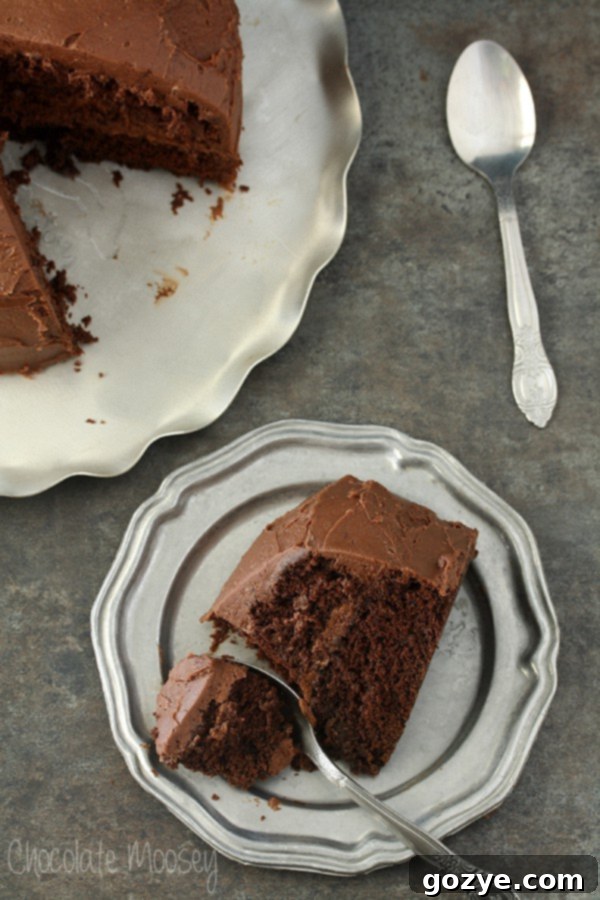
No Devil’s Food Cake is complete without the perfect frosting, and our Whipped Chocolate Buttercream is truly something special. It’s not just a clever name; it perfectly describes its unique texture, which is a delightful cross between a light and airy chocolate whipped cream and a classic, rich chocolate frosting. The whipping process incorporates more air, making it incredibly smooth, fluffy, and much less dense than traditional buttercream, while still maintaining its structure.
Because of its whipped nature, this frosting requires refrigeration to maintain its optimal consistency and freshness. But don’t let that deter you! All you need to do before serving is allow the cake to sit out at room temperature for about 30 minutes. This brief period ensures the buttercream softens just enough to be perfectly creamy and enjoyable.
While this chocolate buttercream is a match made in heaven for our Devil’s Food Cake, feel free to experiment with other pairings. For a delightful contrast, you could pair this dark chocolate cake with a vibrant Strawberry Cream Cheese Frosting. If you choose this option for an entire two-layer cake, remember to double the frosting recipe to ensure ample coverage.
Only craving a single layer of chocolatey goodness? You’re in luck! Check out my Single Layer Chocolate Cake recipe for a smaller, equally satisfying treat.
Essential Equipment for a Flawless Cake
Having the right tools can make all the difference in your baking journey. Here are a few pieces of equipment you might find helpful for achieving a perfect Devil’s Food Layer Cake (Amazon affiliate links provided for convenience):
Devil’s Food Layer Cake with Whipped Chocolate Buttercream Frosting
8-10 servings
A simple Devil’s Food Layer Cake with Whipped Chocolate Buttercream Frosting tastes just like a boxed mix but better because of one special secret ingredient.
Ingredients
- 1 1/3 cups all purpose flour
- 1/2 cup unsweetened cocoa powder
- 3/4 teaspoon baking soda
- 1/2 teaspoon baking powder
- 1/4 teaspoon salt
- 10 tablespoons unsalted butter, softened
- 1/2 cup brown sugar
- 1/2 cup granulated sugar
- 3 eggs
- 1 teaspoon vanilla extract
- 2 ounces bittersweet chocolate, melted
- 1/2 cup milk
- 1/2 cup hot coffee or hot water
Frosting
- 1 1/2 cups (3 sticks or 12 ounces) unsalted butter, softened
- 3 cups powdered sugar
- 1/2 cup unsweetened cocoa powder
- Few pinches of salt
- 1 teaspoon vanilla extract
- 3 tablespoons heavy whipping cream
Instructions
- Preheat oven to 350F (175°C). Lightly grease two 8-inch (20 cm) round cake pans, then line the bottoms with parchment paper cut to fit only the base of the pans.
- In a medium bowl, thoroughly whisk together the all-purpose flour, unsweetened cocoa powder, baking soda, baking powder, and salt. Set aside.
- In a large mixing bowl (or the bowl of a stand mixer), beat together the softened unsalted butter, brown sugar, and granulated sugar until the mixture is light, fluffy, and creamy, which should take about 2-3 minutes. Beat in the vanilla extract, then add the eggs one at a time, ensuring each is fully incorporated before adding the next. Don’t be alarmed if the mixture appears slightly curdled at this stage. Finally, beat in the melted bittersweet chocolate until well combined.
- Gradually add the prepared flour mixture alternately with the milk. Begin and end with the dry ingredients, adding the flour in three additions and the milk in two. Mix until just combined – be careful not to overmix. The batter will be quite thick, similar to frosting. Carefully pour in the hot coffee or hot water and mix gently until just incorporated.
- Divide the cake batter evenly between the two prepared pans. Bake for 25-30 minutes, or until a wooden toothpick inserted into the center of the cakes comes out clean. Allow the cakes to cool in their pans for about 15 minutes. Run a knife along the edge of each pan to loosen the cakes, then invert them onto a wire cooling rack or plate. Carefully remove the parchment paper and cool the cakes right-side-up completely before frosting.
- For the frosting: In a large mixing bowl, beat the softened unsalted butter, powdered sugar, unsweetened cocoa powder, and a few pinches of salt until the mixture is smooth and creamy. This will take approximately 2-3 minutes. Add the vanilla extract and heavy whipping cream, then continue to beat for another 2-3 minutes until the frosting becomes light, airy, and fluffy.
- If your cake layers have rounded tops, use a long serrated knife and a gentle sawing motion to carefully level the tops, creating flat surfaces for easy stacking and a professional look.
- Place one cooled cake layer on your chosen serving plate or stand. To ensure a clean presentation, place small strips of parchment paper underneath the edges of the cake. These can be easily pulled out after frosting. Using a long metal icing spatula, generously cover the top of this first layer with a portion of the frosting.
- Carefully place the second cake layer on top (top side up) and gently press down to secure it. Apply a thin layer of frosting over the entire cake – this is your “crumb coat.” Its purpose is to trap any loose crumbs, creating a smooth surface for your final layer of frosting. You should still be able to see some of the cake peeking through. Refrigerate the cake for about 15 minutes to allow the crumb coat to set.
- Once the crumb coat is firm, retrieve the cake from the refrigerator and apply the remaining frosting to finish covering the entire cake, creating a smooth, even, and beautiful exterior. Carefully pull out the parchment paper strips from underneath the cake and discard them. For best results, refrigerate the cake for at least one hour before serving to allow the frosting to fully set. Bring the cake to room temperature for at least 30 minutes before cutting and enjoying for the perfect texture.
Did you make this recipe?
Let me know what you think! Rate the recipe above, leave a comment below, and/or share a photo on Instagram using #HITKrecipes
Adapted from: Baking: From My Home to Yours
—-
If you enjoyed this Decadent Devil’s Food Layer Cake with Whipped Chocolate Buttercream Frosting, you may also like these delicious recipes:
Chocolate Chip Cookie Cake with Toasted Marshmallow Filling and Cookie Dough Frosting
Strawberry Shortcake Layer Cake
Mini Layered Guinness Cake with Irish Cream Ganache Frosting
Copycat Dairy Queen Ice Cream Cake
Award-Winning Chocolate Coconut Cupcakes
Kit Kat Cupcakes with Caramel Buttercream Frosting
