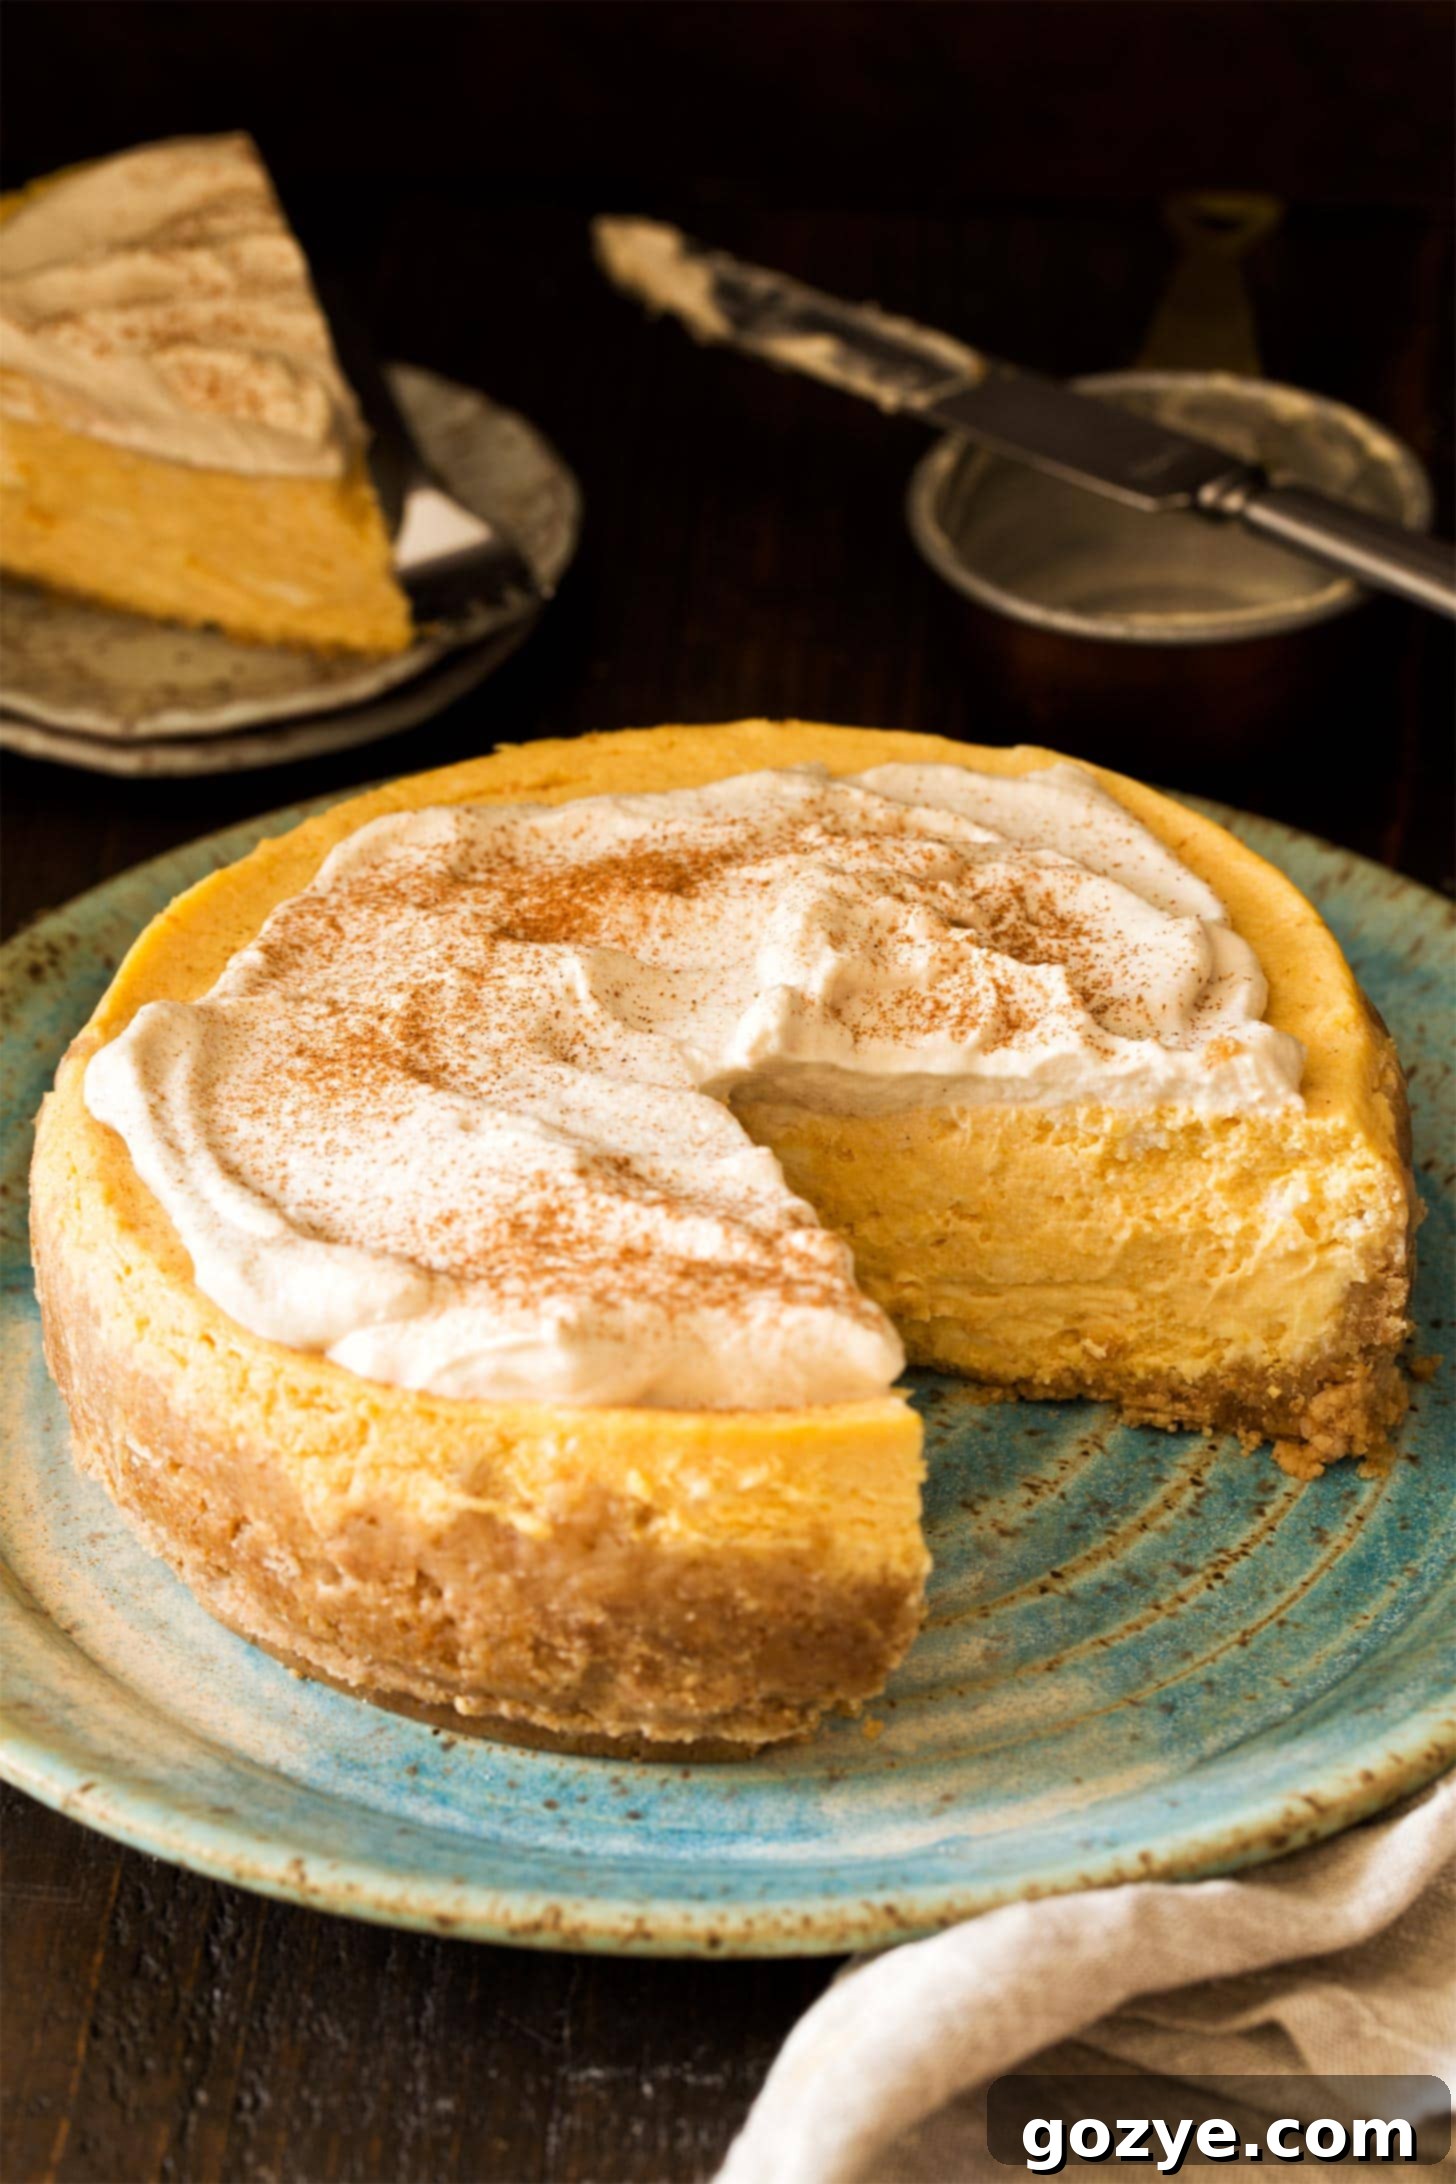
Instant Pot Pumpkin Cheesecake: Your Go-To Recipe for Easy Fall Dessert
Forget the traditional oven-baked method and the messy water bath! This Instant Pot Pumpkin Cheesecake recipe delivers a smooth, creamy, and perfectly spiced dessert with minimal effort. Ideal for a cozy Thanksgiving for Two or any autumn celebration, this cheesecake, baked in a 6-inch or 7-inch springform pan, comes together in a fraction of the time compared to its conventional counterpart. Get ready to impress with this effortless fall treat!
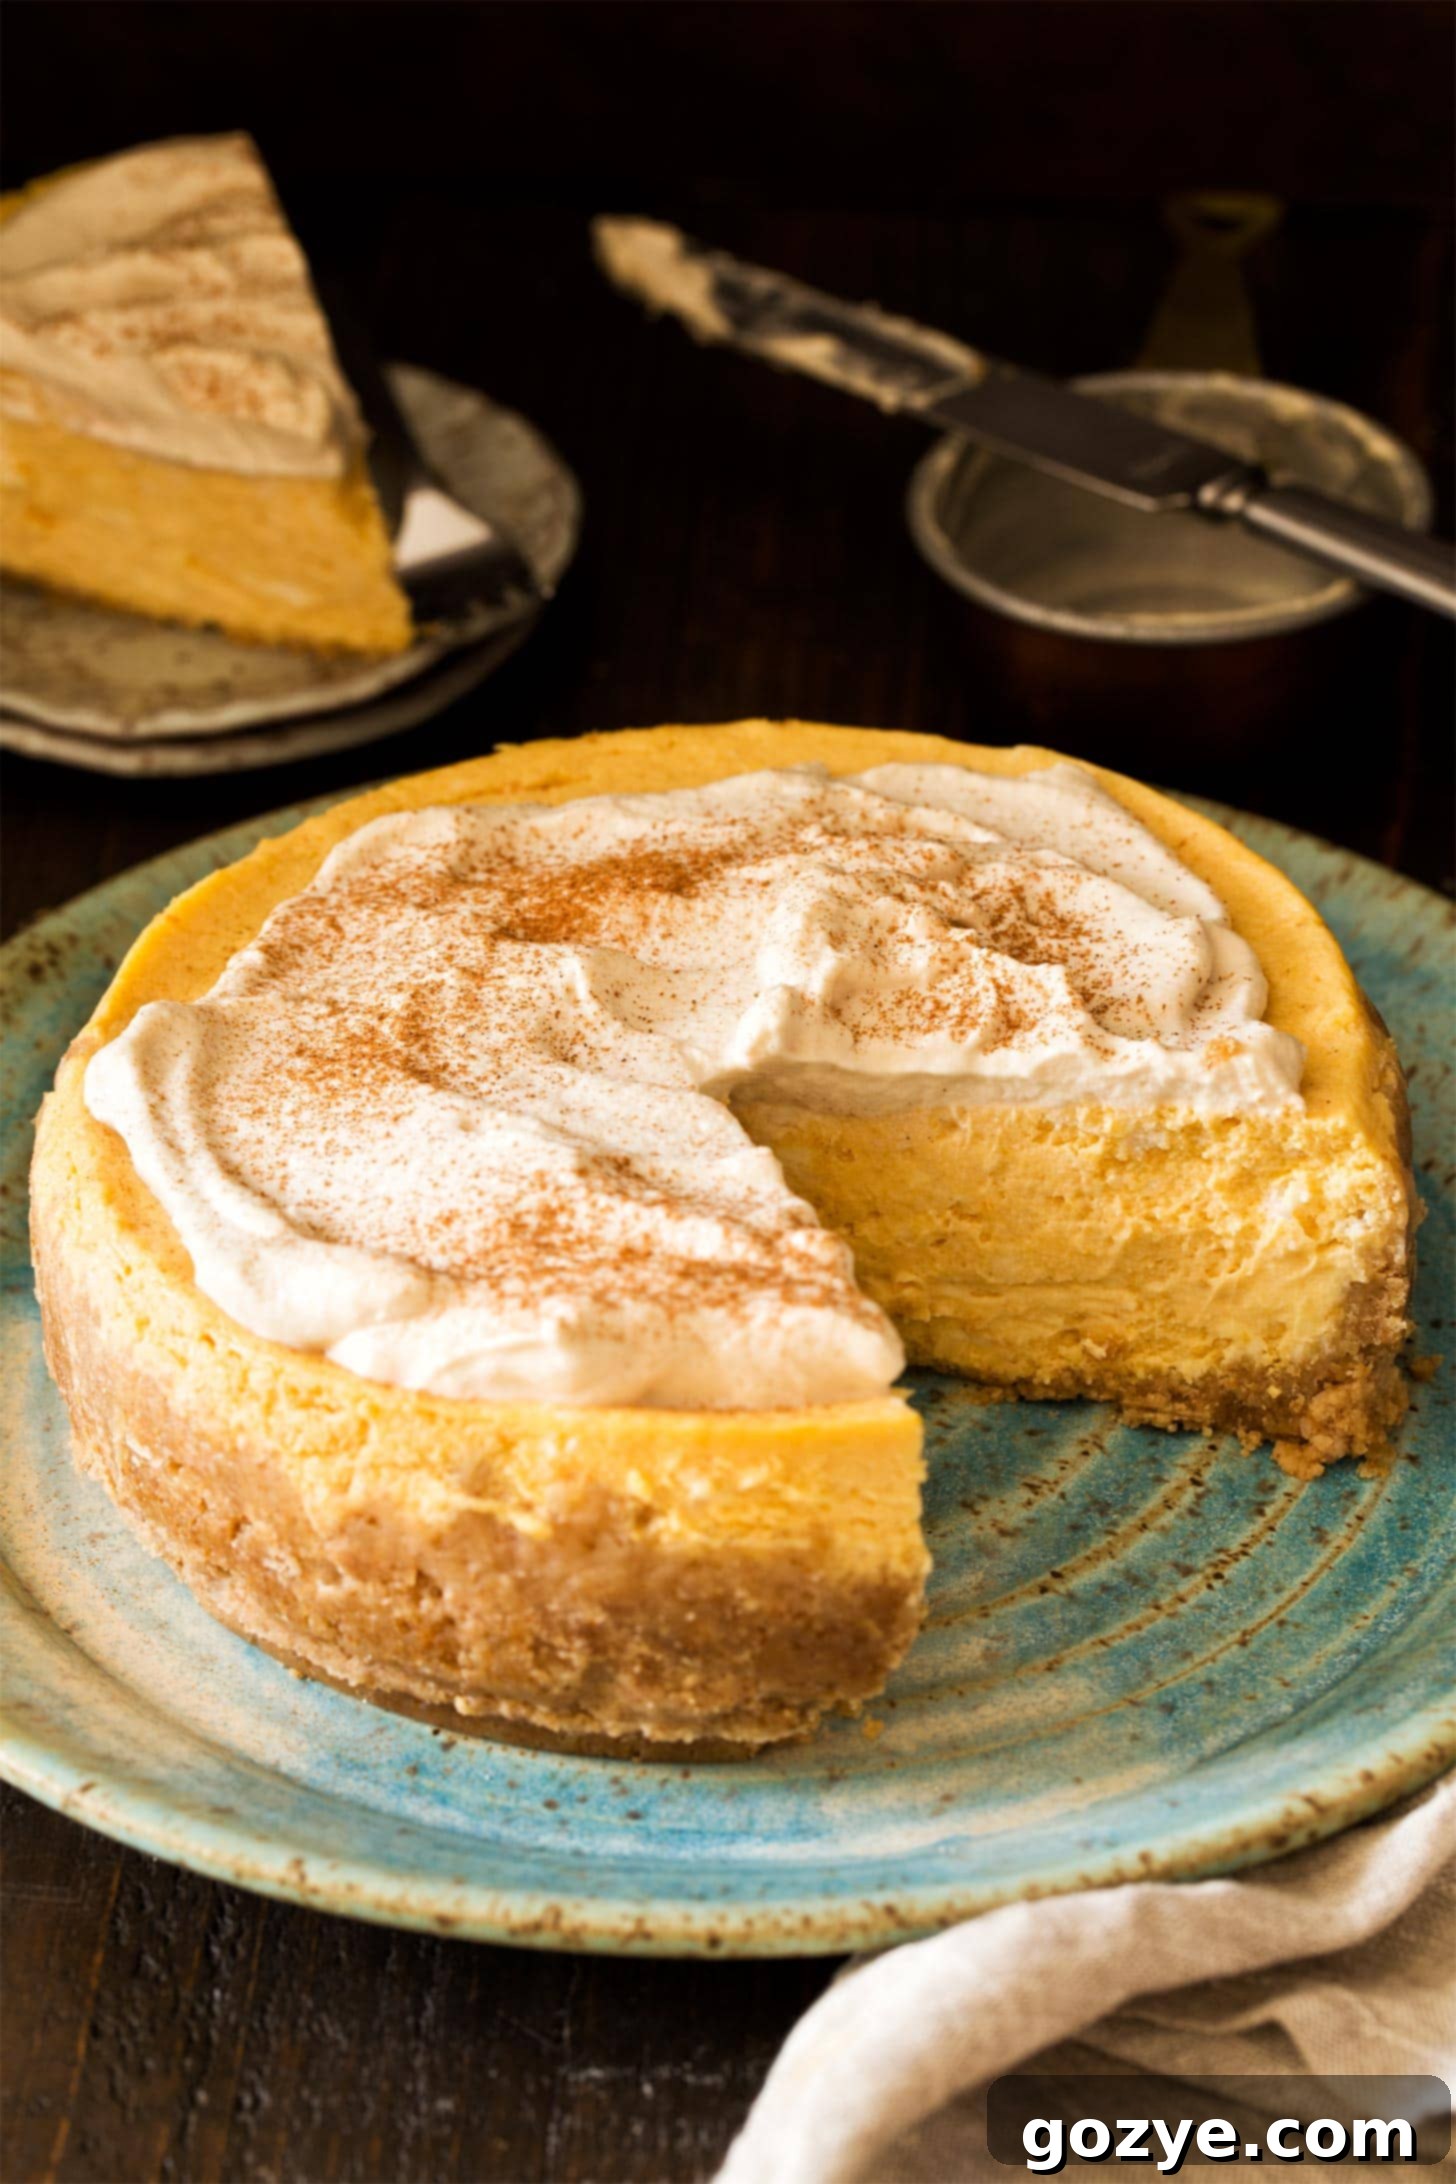
As the holiday season approaches, especially with Thanksgiving For Two on the horizon, dessert planning becomes a delightful challenge. You might be envisioning a delicious turkey tenderloin alongside fluffy mashed potatoes for two and a savory gravy without drippings. But what about that show-stopping dessert that completes the meal?
Perhaps you’ve considered a classic small pumpkin cheesecake recipe, but the thought of a busy oven, already filled with holiday roasts and sides, can be a deterrent. This is precisely where the magic of the Instant Pot Pumpkin Cheesecake comes into play. It’s a game-changer for holiday meal prep and everyday dessert cravings alike.
This recipe builds upon the success of my popular Instant Pot Cheesecake, infused with the quintessential flavors of autumn: rich, creamy pumpkin. While many associate the Instant Pot primarily with savory dishes like Instant Pot pork roast or hearty Instant Pot beef stew, its versatility truly shines when it comes to desserts. Imagine a cheesecake that tastes every bit as luxurious and perfectly set as an oven-baked version, but is ready in half the time!
Forget the lengthy preheating and baking for over an hour. With a pressure cooker, your luscious pumpkin cheesecake will be cooked in just 25 minutes. One of the most significant advantages? There’s no need to fuss with a cumbersome water bath. Simply add a small amount of water to the bottom of your Instant Pot, and the moist, steamy environment inside the pressure cooker does all the work, preventing cracks and ensuring a silky-smooth texture.
This recipe is perfectly sized for intimate gatherings, yielding 6-8 modest slices. You can use either a 6-inch cheesecake pan or a 7-inch cheesecake pan, both of which fit comfortably within most standard Instant Pot models. If you’re hosting a larger crowd and need a more substantial dessert, my traditional 9-inch pumpkin cheesecake recipe, designed for the oven, remains an excellent option. But for convenience and efficiency, the Instant Pot version is simply unbeatable.
Ready to create your easiest, most delicious pumpkin cheesecake yet? Let’s dive in!
Understanding Your Instant Pot: The Key to Pressure Cooker Desserts
For those new to the world of electric pressure cookers, an Instant Pot is a widely recognized brand that has revolutionized home cooking. It’s a multi-cooker appliance designed to cook food significantly faster by trapping steam, which increases pressure and raises the boiling point of water. While the initial thought of cooking with steam pressure might seem a little intimidating, especially with the release of steam, it’s actually incredibly straightforward once you grasp the basics.
Most Instant Pot models offer multiple functions, including pressure cooking, slow cooking, sautéing, steaming, and even making yogurt. The model referenced in this recipe, while no longer available, is functionally similar to popular options like the Instant Pot Duo 7-in-1 6-quart pressure cooker. This 6-quart size is ideal for fitting the 6-inch or 7-inch springform pans required for this cheesecake, making it a perfect kitchen companion for both savory meals and delectable desserts.
Why Choose Instant Pot for Your Pumpkin Cheesecake? Unbeatable Benefits
Opting for the Instant Pot to create your pumpkin cheesecake brings a host of advantages, making it an incredibly smart choice, especially during busy times like the holidays. Here’s why this method is a game-changer:
- No Fussy Water Bath Needed: Traditionally, cheesecakes are baked in a water bath to ensure even cooking and prevent cracks. However, water baths can be cumbersome, prone to accidental spills, and can even seep into your cheesecake if not properly sealed. The Instant Pot eliminates this hassle entirely. The sealed pressure cooking environment creates its own perfectly moist, steamy atmosphere, which naturally prevents cracks and ensures a consistently smooth, creamy texture without any external water bath. Simply add a small amount of water to the bottom of the pot, and you’re good to go!
- Made in Half the Time: Time is precious, especially when preparing a holiday feast. A small pumpkin cheesecake typically requires around 60-70 minutes of baking time in a conventional oven. With the Instant Pot, your cheesecake is cooked to perfection in just 25 minutes of active pressure cooking. This significant reduction in cook time means you can enjoy a homemade, gourmet-quality dessert without the long wait.
- Frees Up Valuable Oven Space: Thanksgiving and other holiday meals often involve a complex orchestration of dishes vying for oven space. With roasted turkeys, stuffed Cornish hens, green bean casseroles, and more, the oven is usually fully occupied. By making your pumpkin cheesecake in the pressure cooker, you liberate your oven for other essential dishes. This also offers the flexibility to prepare your dessert the day before, further reducing last-minute stress.
- Doesn’t Heat Up Your Kitchen: If you’ve ever baked a cheesecake in the middle of summer or a particularly warm kitchen, you know how quickly an oven can turn your cooking space into an inferno. The Instant Pot generates minimal ambient heat, keeping your kitchen cool and comfortable, regardless of the season. This is a subtle yet significant benefit, enhancing your overall cooking experience.
The Essential Pan: Choosing the Right Springform for Instant Pot Cheesecake
For your Instant Pot cheesecake, a springform pan is an absolute must. You will need either a 6-inch springform pan or a 7-inch springform pan, as both of these sizes are designed to fit perfectly inside a standard 6-quart or 8-quart pressure cooker. The unique design of a springform pan, with its removable sides, is crucial for easy and pristine cheesecake removal. Unlike regular cakes, cheesecake cannot be inverted, making a springform indispensable for achieving those clean, beautiful slices.
Attempting to use a standard round cake pan for this Instant Pot pumpkin cheesecake recipe will lead to significant difficulty in removal and likely damage your dessert. If you don’t own a springform pan and are not ready to invest in one, don’t worry! You can still enjoy pumpkin cheesecake in other delightful forms, such as mini pumpkin cheesecakes baked in a muffin pan or delicious no-bake pumpkin cheesecake bars prepared in an 8×8 pan. These alternatives offer similar flavors with different presentation styles.
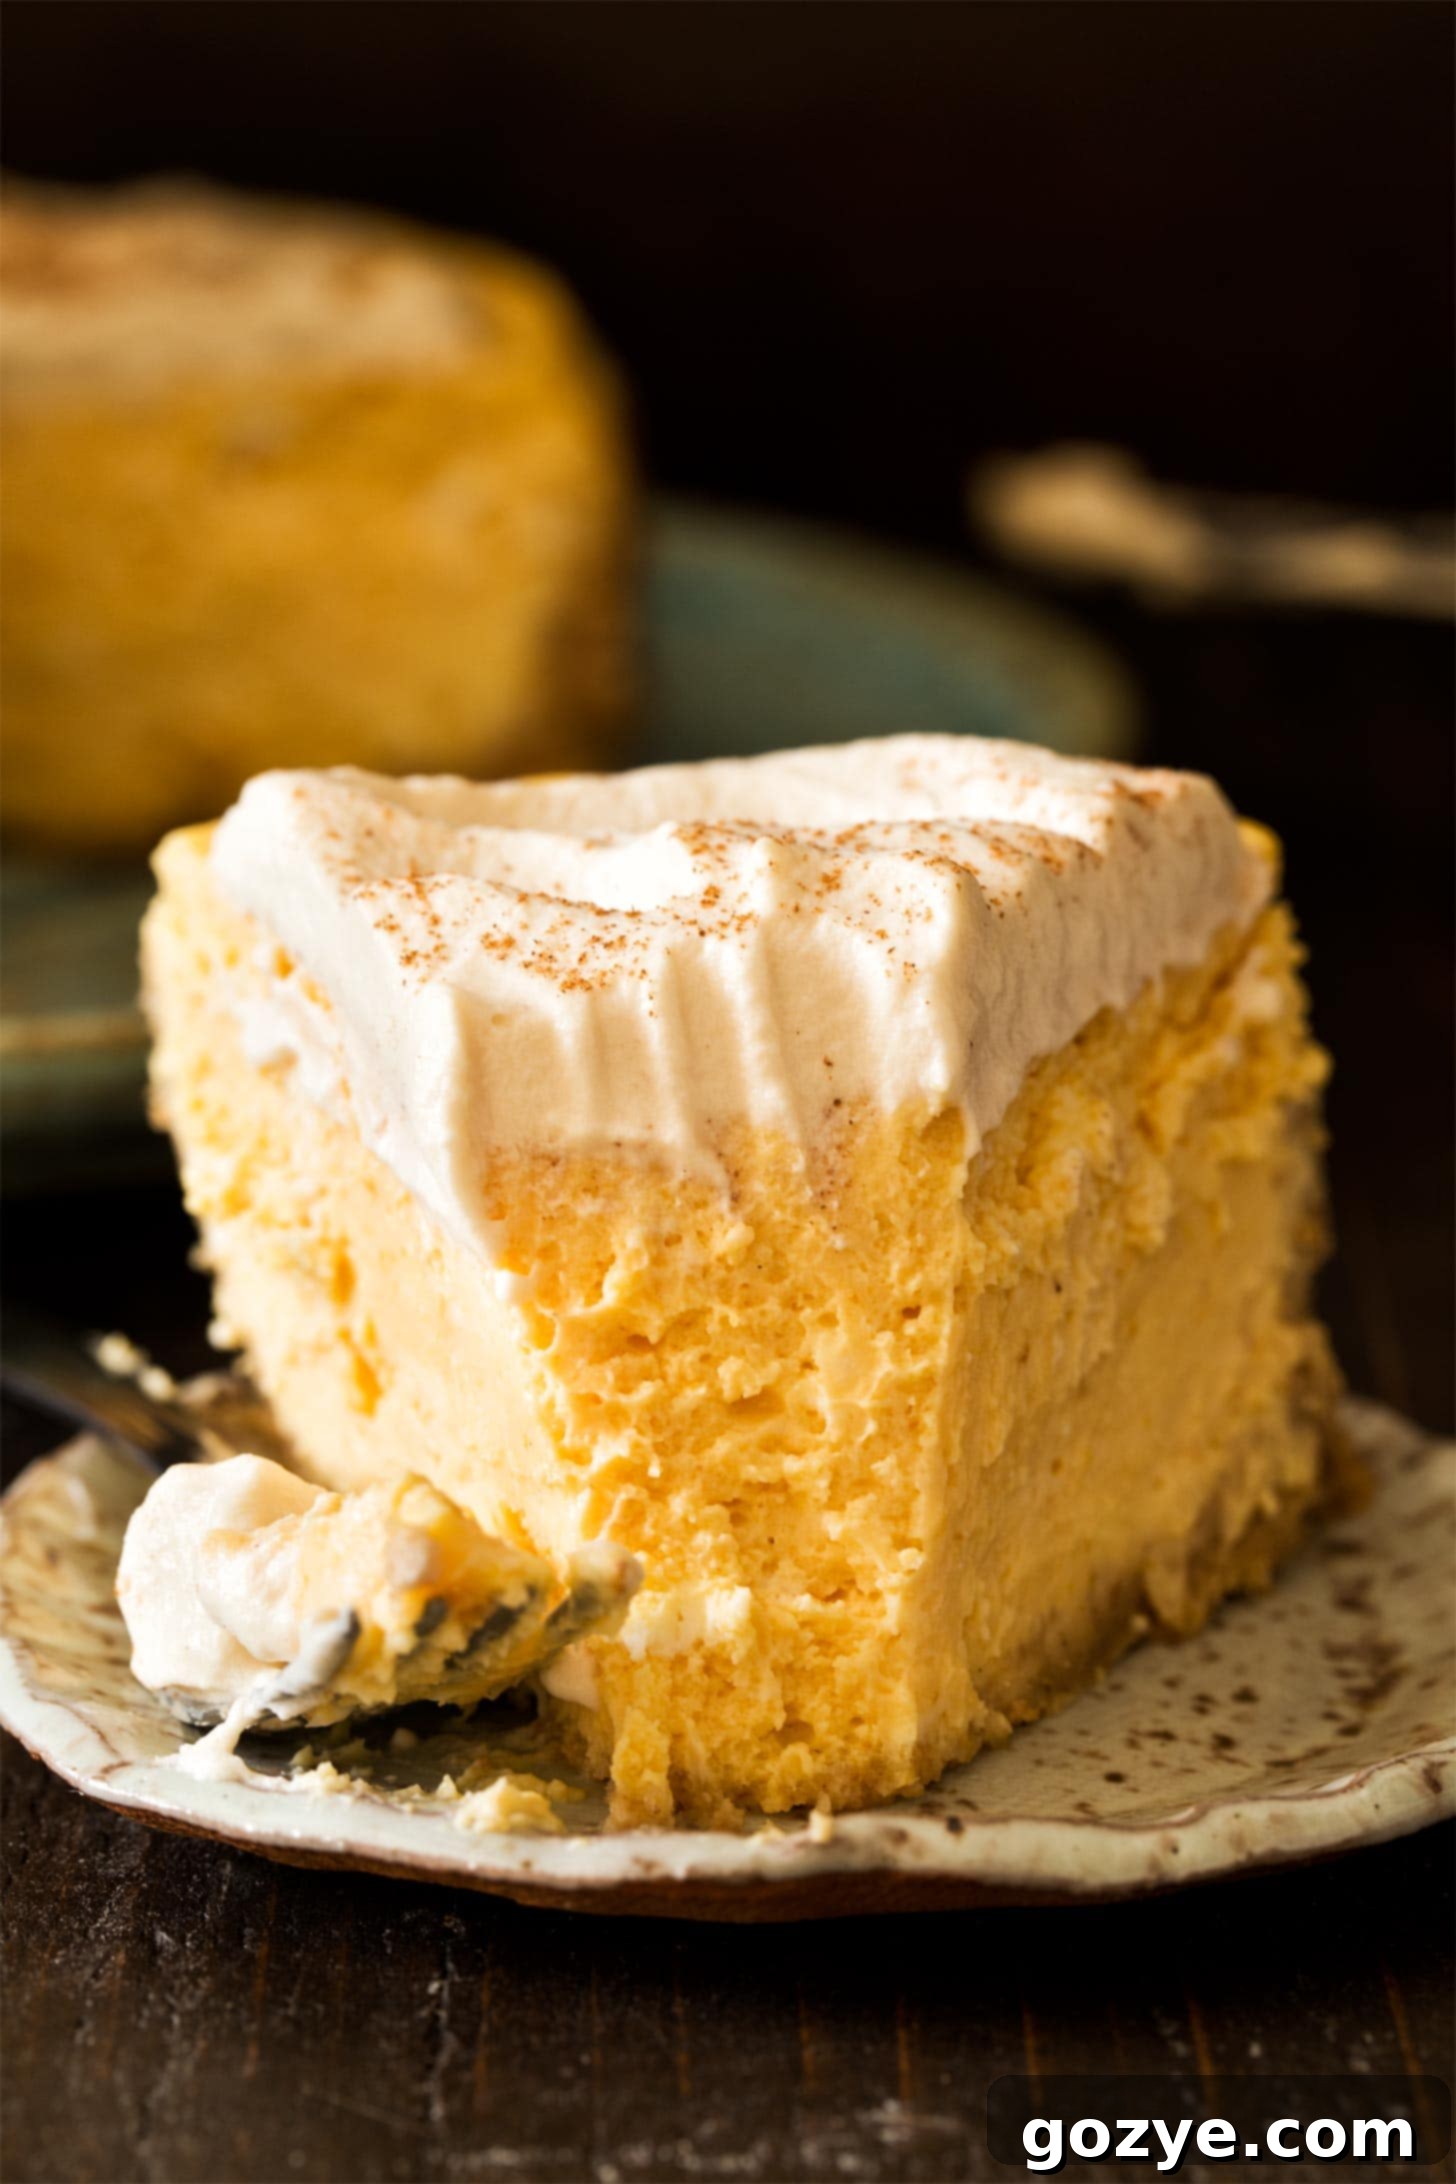
Key Ingredients for Your Perfect Instant Pot Pumpkin Cheesecake
Creating a truly delicious pumpkin cheesecake in your Instant Pot relies on a few core ingredients. Each plays a vital role in achieving that rich flavor and signature creamy texture:
- Graham cracker crumbs: The classic choice for a cheesecake crust, graham cracker crumbs provide a subtly sweet and crunchy base. For an added festive twist, consider using gingersnap crumbs, which introduce a wonderful holiday spice flavor that pairs beautifully with pumpkin. The easiest way to achieve fine crumbs is by processing whole crackers in a food processor.
- Butter: Melted butter is essential for binding the graham cracker crumbs together, forming a firm, flavorful crust that holds its shape. Unsalted butter is usually preferred in baking to control the overall saltiness.
- Cream cheese: The heart of any cheesecake! It is crucial to use full-fat cream cheese for the best results. Low-fat or fat-free versions often contain more water or stabilizers, which can lead to a watery batter and a less desirable texture after baking. Ensure your cream cheese is at room temperature for a smooth, lump-free batter.
- Granulated sugar: This provides the perfect amount of sweetness, balancing the tangy notes of the cream cheese and the earthy sweetness of the pumpkin.
- Eggs: Eggs are fundamental to cheesecake, which is technically a custard. They act as a binding agent, creating a smooth, rich, and stable batter that sets beautifully. Always use large eggs and ensure they are also at room temperature to prevent curdling and achieve a homogenous mixture.
- Canned pumpkin: The star of the show! For consistent results in both flavor and moisture content, canned pumpkin puree is highly recommended. Be sure to use pure pumpkin puree and not pumpkin pie mix, which contains added spices and sugar that would alter the recipe.
- Vanilla extract: A touch of vanilla enhances and rounds out both the cream cheese and pumpkin flavors, adding depth and warmth to the overall profile of the cheesecake.
- Spices (Optional but Recommended): While not explicitly listed above, for a pumpkin cheesecake, consider adding a teaspoon of pumpkin pie spice or a combination of cinnamon, nutmeg, ginger, and cloves to truly elevate the fall flavor.
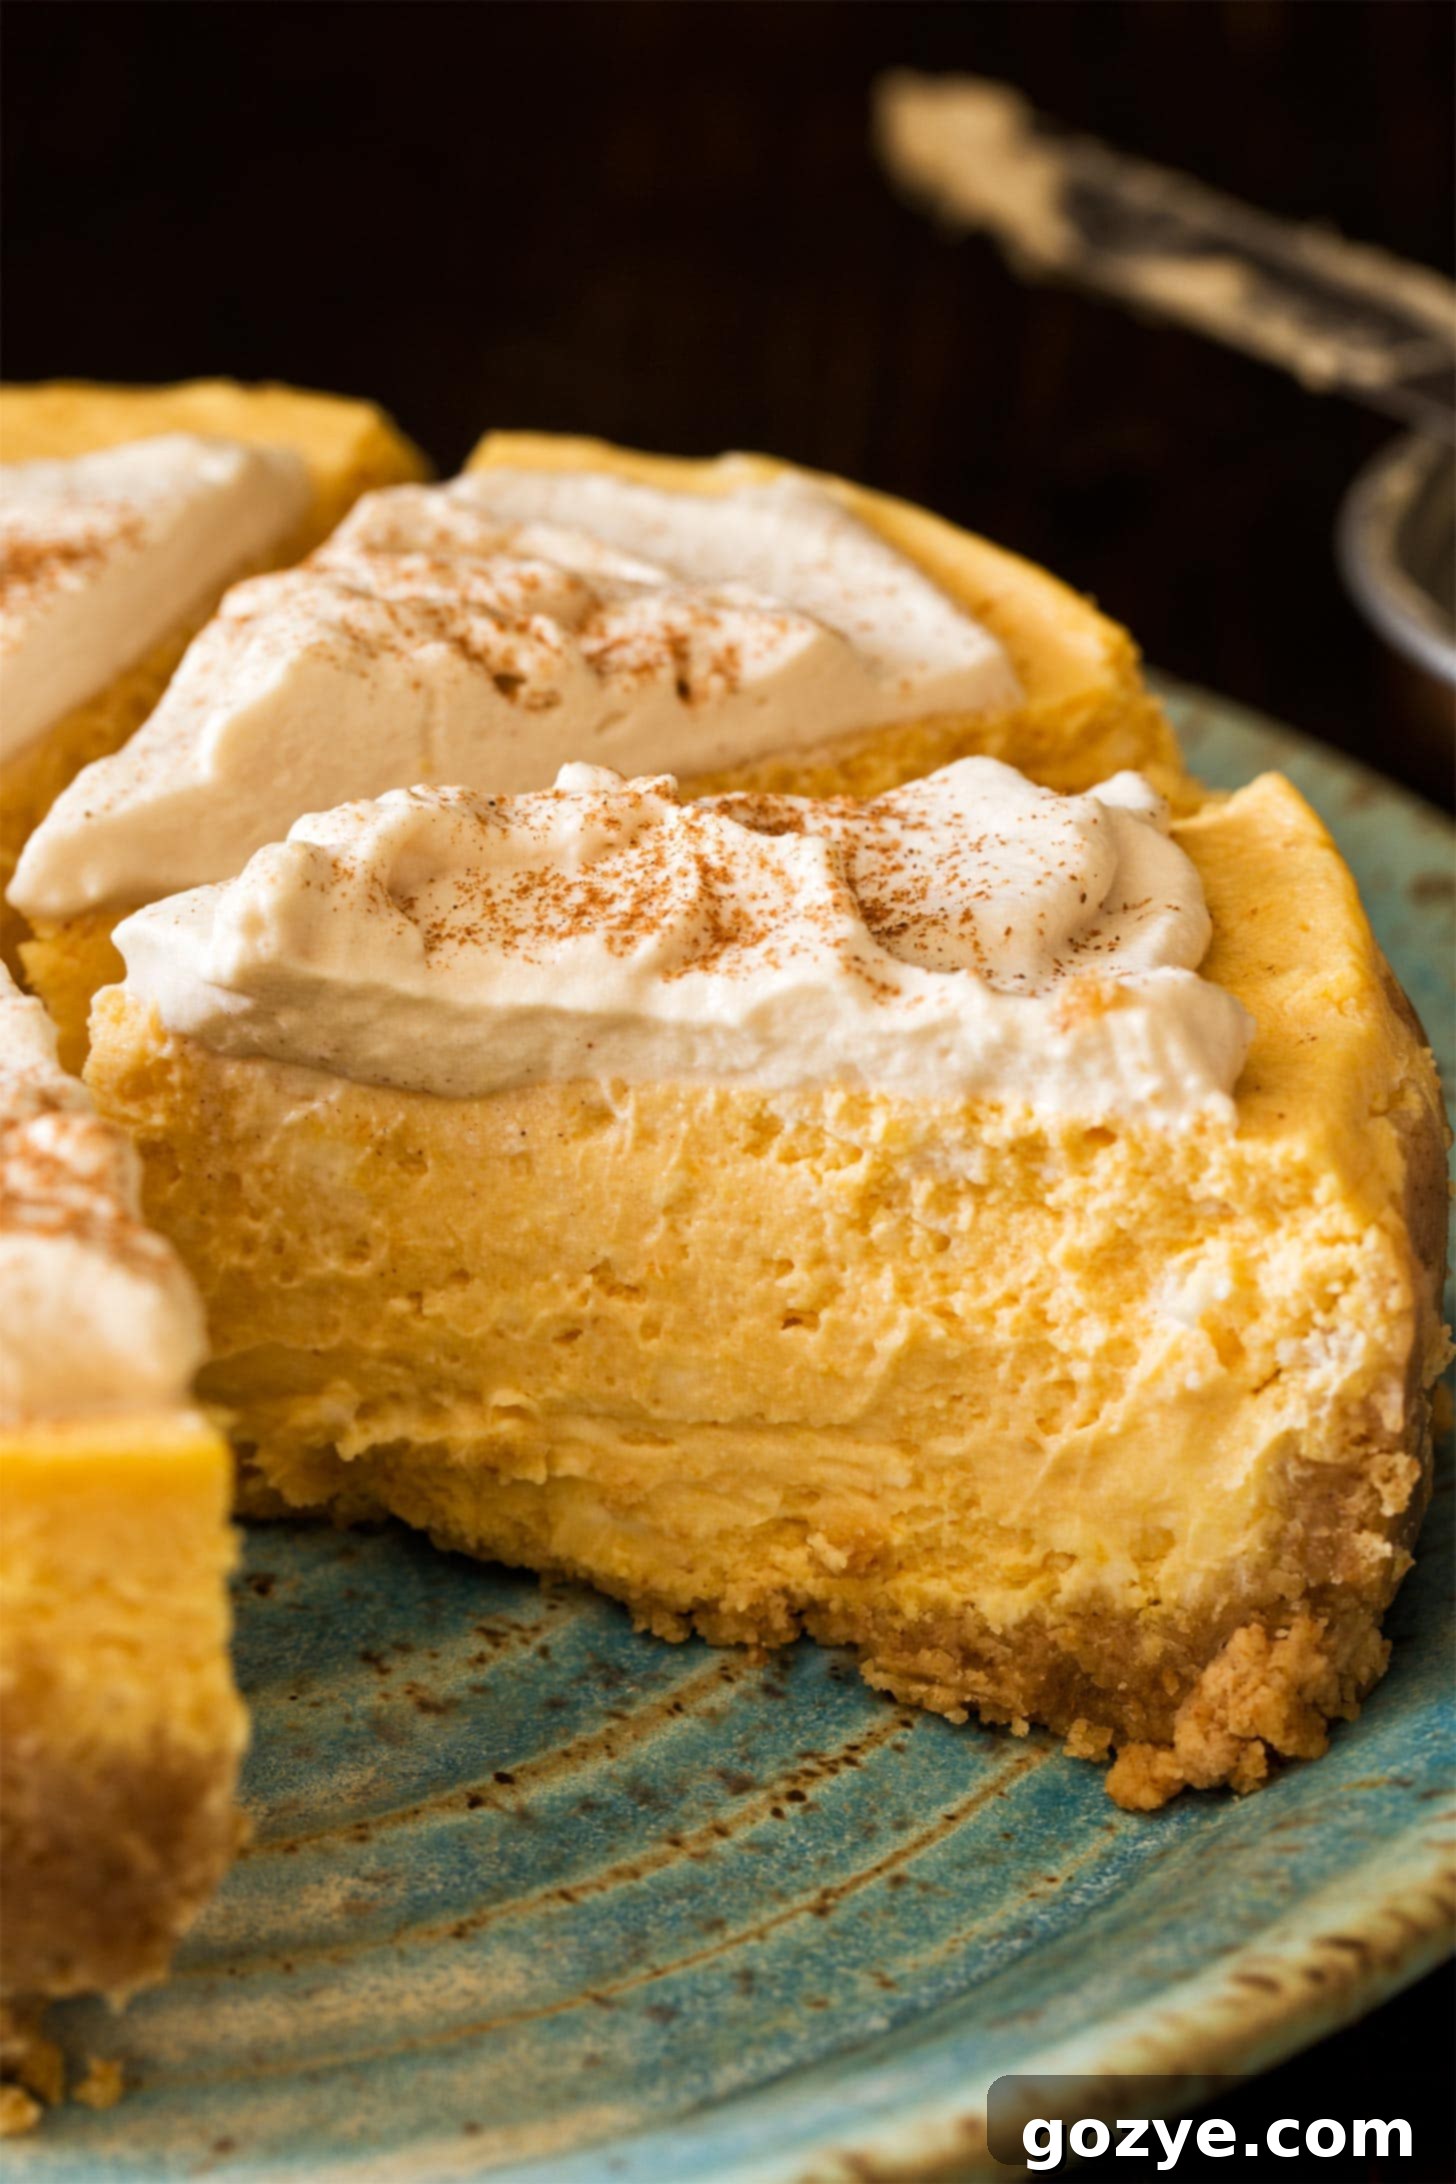
Step-by-Step Guide: How to Cook Cheesecake in an Instant Pot
Making your pumpkin cheesecake in the Instant Pot is surprisingly simple. Follow these steps for a perfectly cooked, creamy dessert:
- Prepare the Crust: In a medium bowl, combine the graham cracker crumbs, melted butter, a tablespoon of sugar (if using for the crust), and a pinch of salt. Mix thoroughly until the crumbs are moistened. Press this mixture firmly into the bottom and slightly up the sides of your prepared springform pan. This creates a sturdy foundation for your cheesecake.
- Create the Filling (Cream Cheese Base): In a large mixing bowl, beat the softened full-fat cream cheese and the remaining granulated sugar together until the mixture is completely smooth, light, and fluffy. Make sure to scrape down the sides of the bowl frequently to ensure everything is well incorporated and no lumps remain.
- Incorporate Pumpkin and Eggs: Gently beat in the eggs, one at a time, just until combined. Overmixing the eggs can introduce too much air, which can lead to cracks. Then, fold in the canned pumpkin puree and vanilla extract until the batter is uniformly smooth and beautifully orange. Transfer this rich batter into your prepared crust.
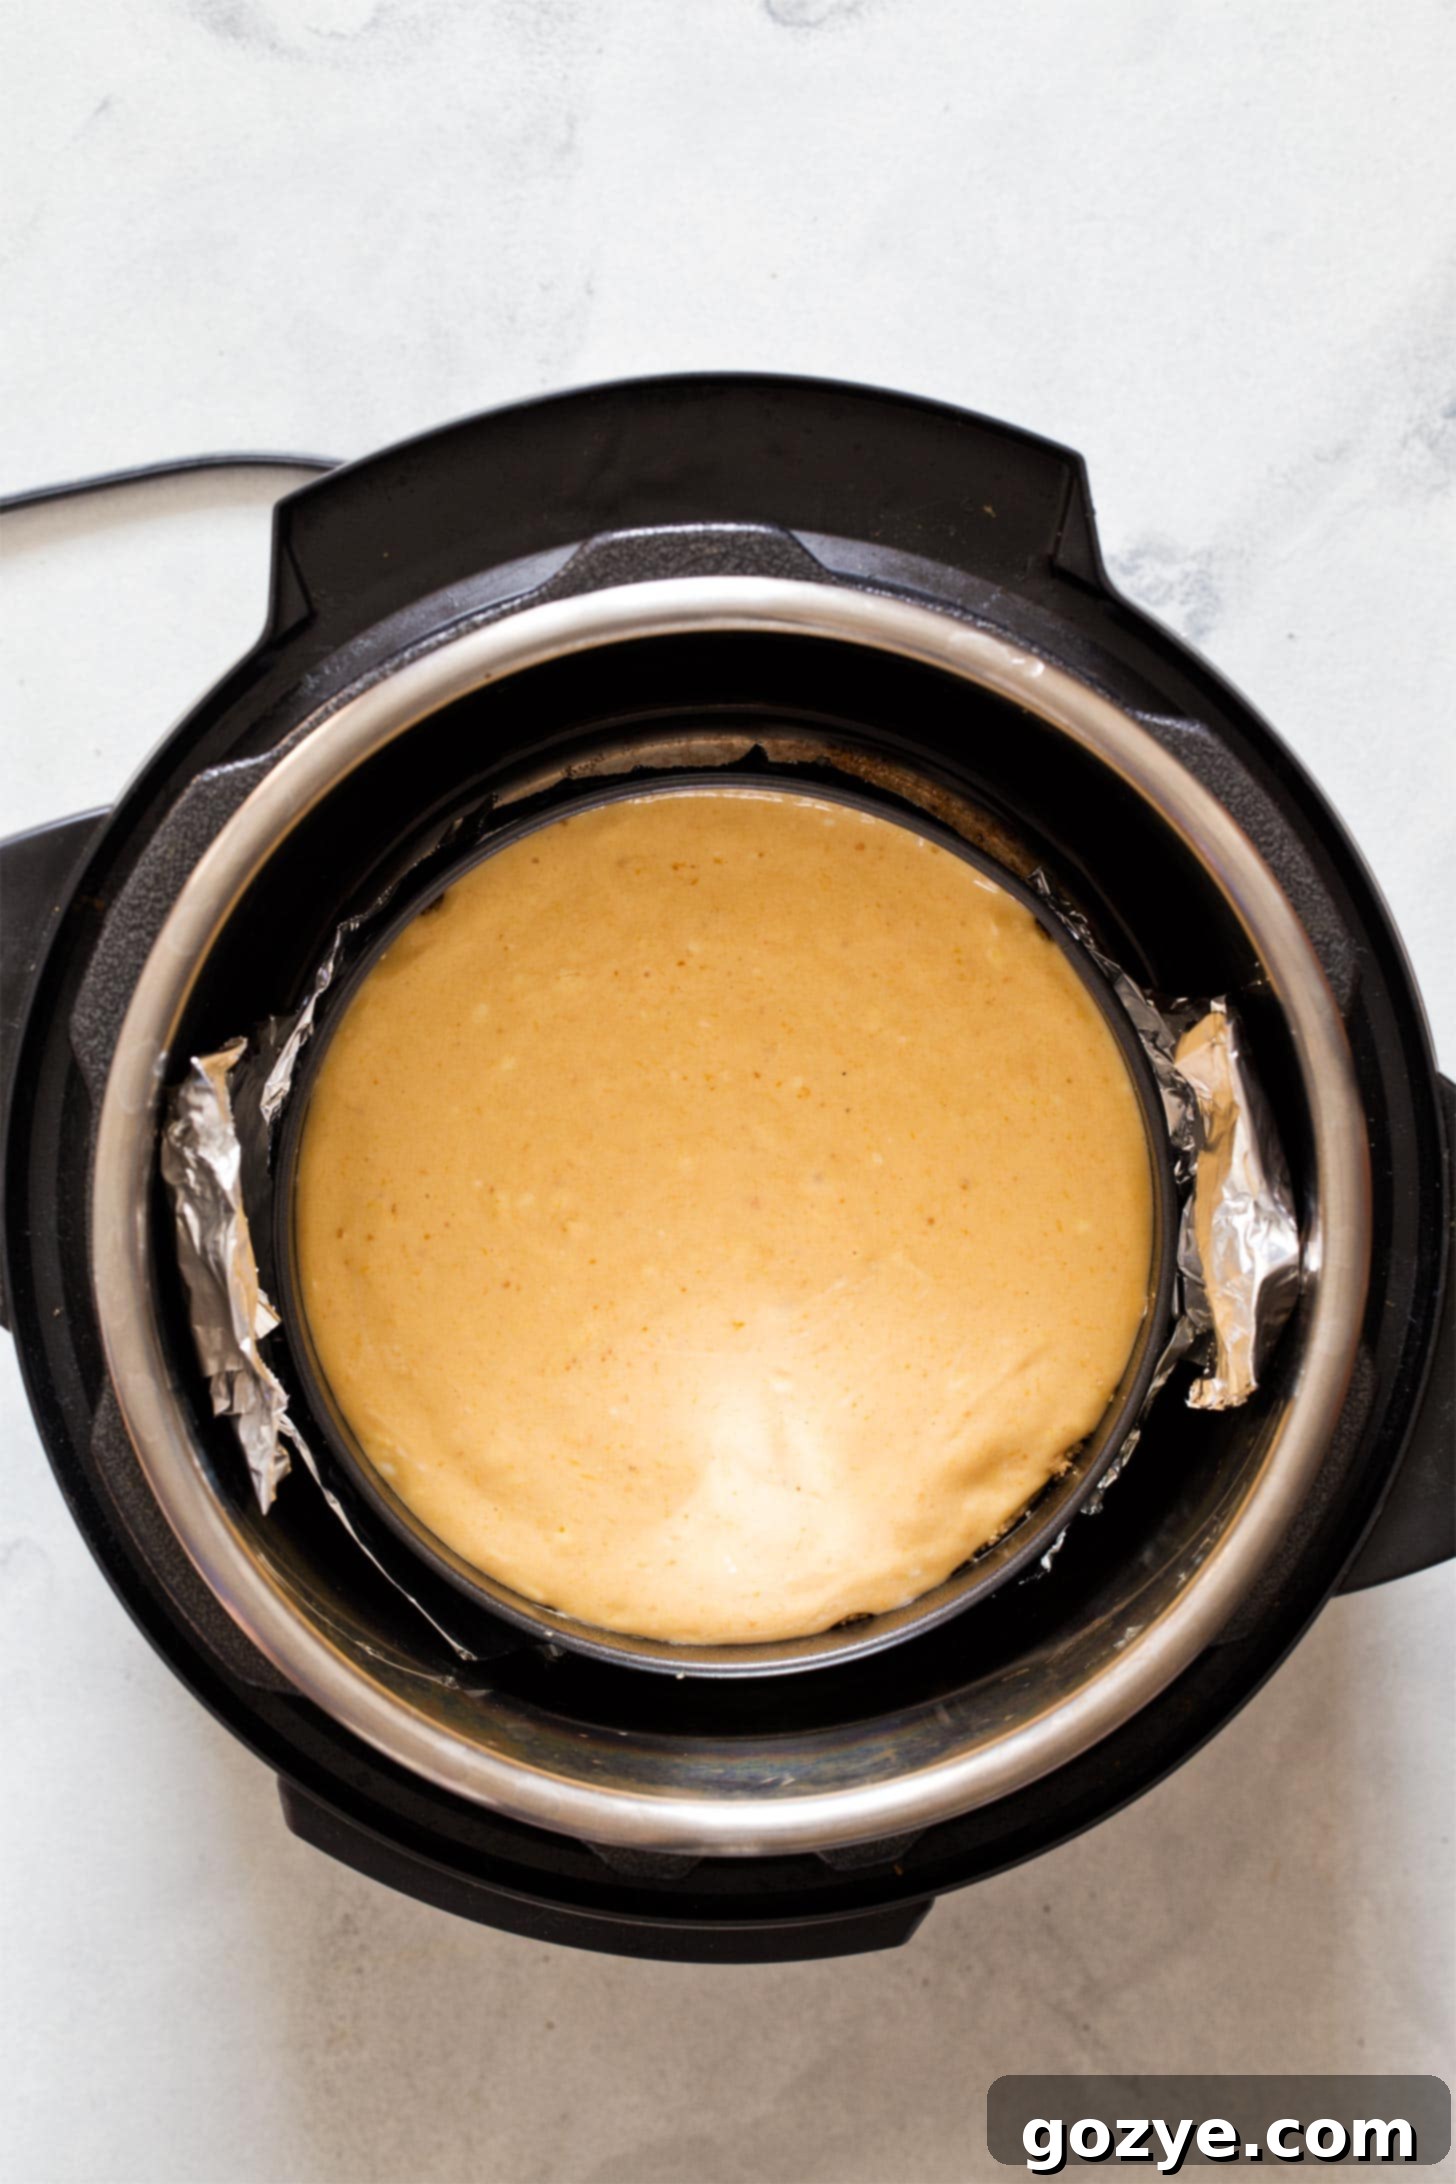
- Set Up the Instant Pot: Pour approximately 1 to 1.5 cups of water into the bottom of your Instant Pot liner. Place a metal trivet (the one that came with your Instant Pot) into the pot. This keeps your cheesecake pan elevated above the water.
- Load and Cook: Carefully lower your springform pan, ideally using a foil sling (detailed below), onto the trivet in the Instant Pot. Ensure the pan is level. Secure the Instant Pot lid and set the steam release valve to “Sealing.” Select the “Manual” or “Pressure Cook” setting and set the cook time to 25 minutes on high pressure.
- Natural Pressure Release (NPR) & Quick Release (QR): Once the cooking cycle is complete and the Instant Pot beeps, hit the “Cancel” or “Off” button. Allow the pressure to release naturally for 15 minutes. This slow release helps prevent cracking. After 15 minutes, carefully move the steam release valve to “Venting” to quick release any remaining pressure. Once the float valve drops, it’s safe to open the lid.
- Cool and Chill: Gently remove the cheesecake from the Instant Pot using the foil sling. Allow it to cool on a wire rack at room temperature for at least 1 hour. This gradual cooling further helps prevent cracks. Once cooled, cover the cheesecake loosely with plastic wrap and refrigerate for a minimum of 4 hours, or ideally overnight, for it to fully set and firm up.
Store any leftover Instant Pot pumpkin cheesecake in an airtight container in the refrigerator for up to 5-7 days, ensuring it remains fresh and delicious.
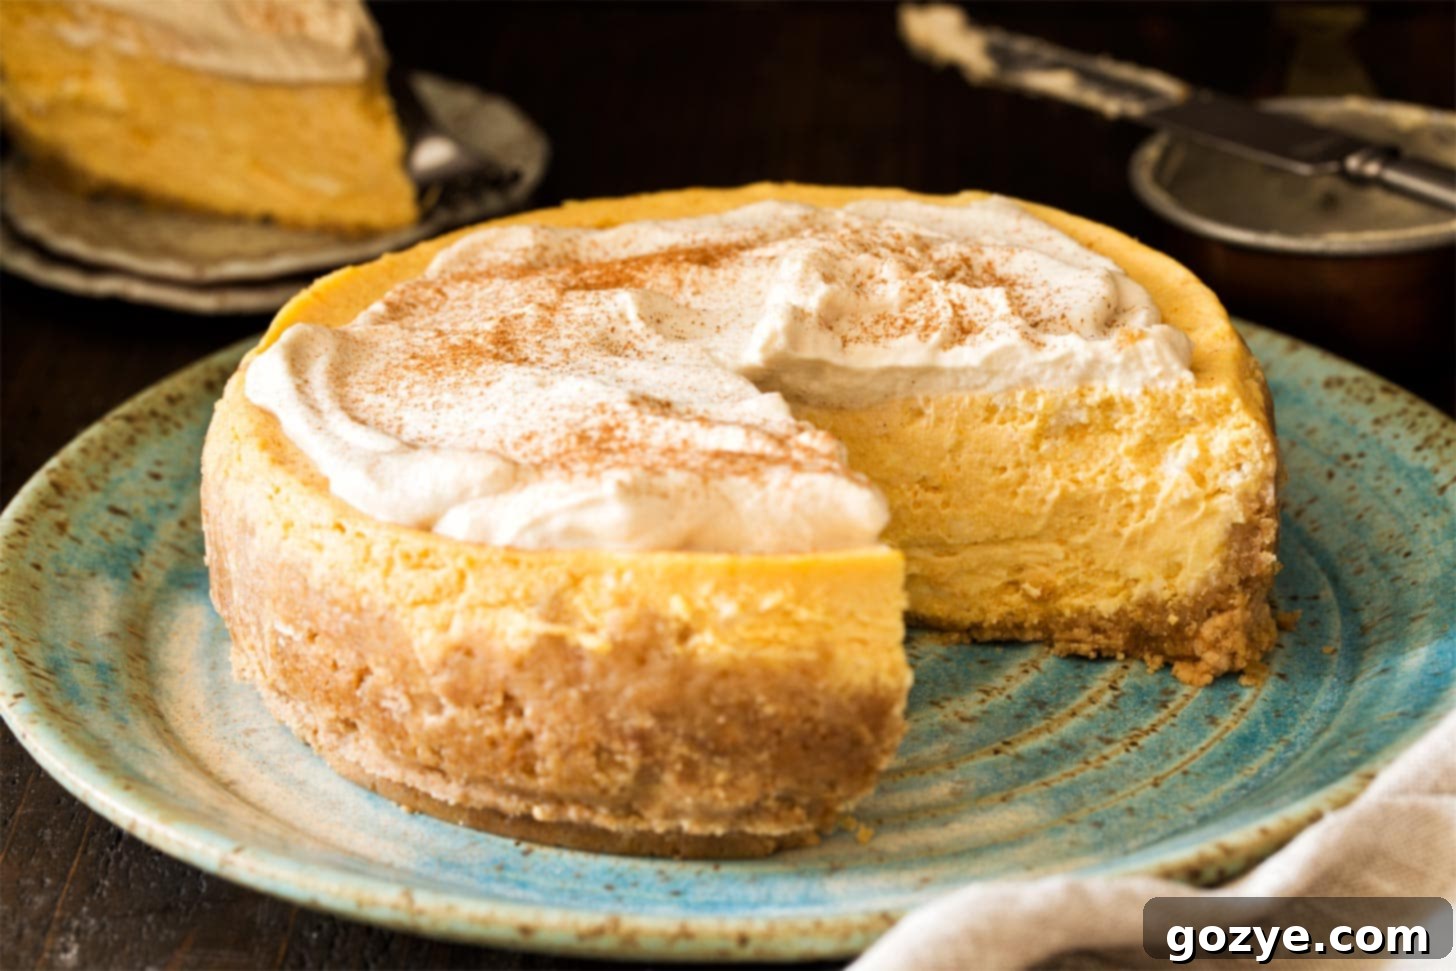
Ensuring Perfection: How to Know When Your Cheesecake is Done
Determining the doneness of an Instant Pot pumpkin cheesecake can be a bit tricky, especially for those accustomed to oven baking. The center of the cheesecake will still have a slight “jiggle” when it’s perfectly cooked, which might make you think it’s underdone. However, this jiggle is normal and desirable; the cheesecake will firm up considerably as it cools and chills.
The most reliable way to guarantee your cheesecake is perfectly cooked is by using a digital instant-read thermometer. Insert the thermometer into the center of the cheesecake (avoiding the crust). The internal temperature of a perfectly set cheesecake should register at 150°F (65°C) to 155°F (68°C). If it reads lower after the initial cooking and natural release, you can carefully place it back in the Instant Pot and cook for an additional 5 minutes at high pressure, followed by another 10-minute natural release.
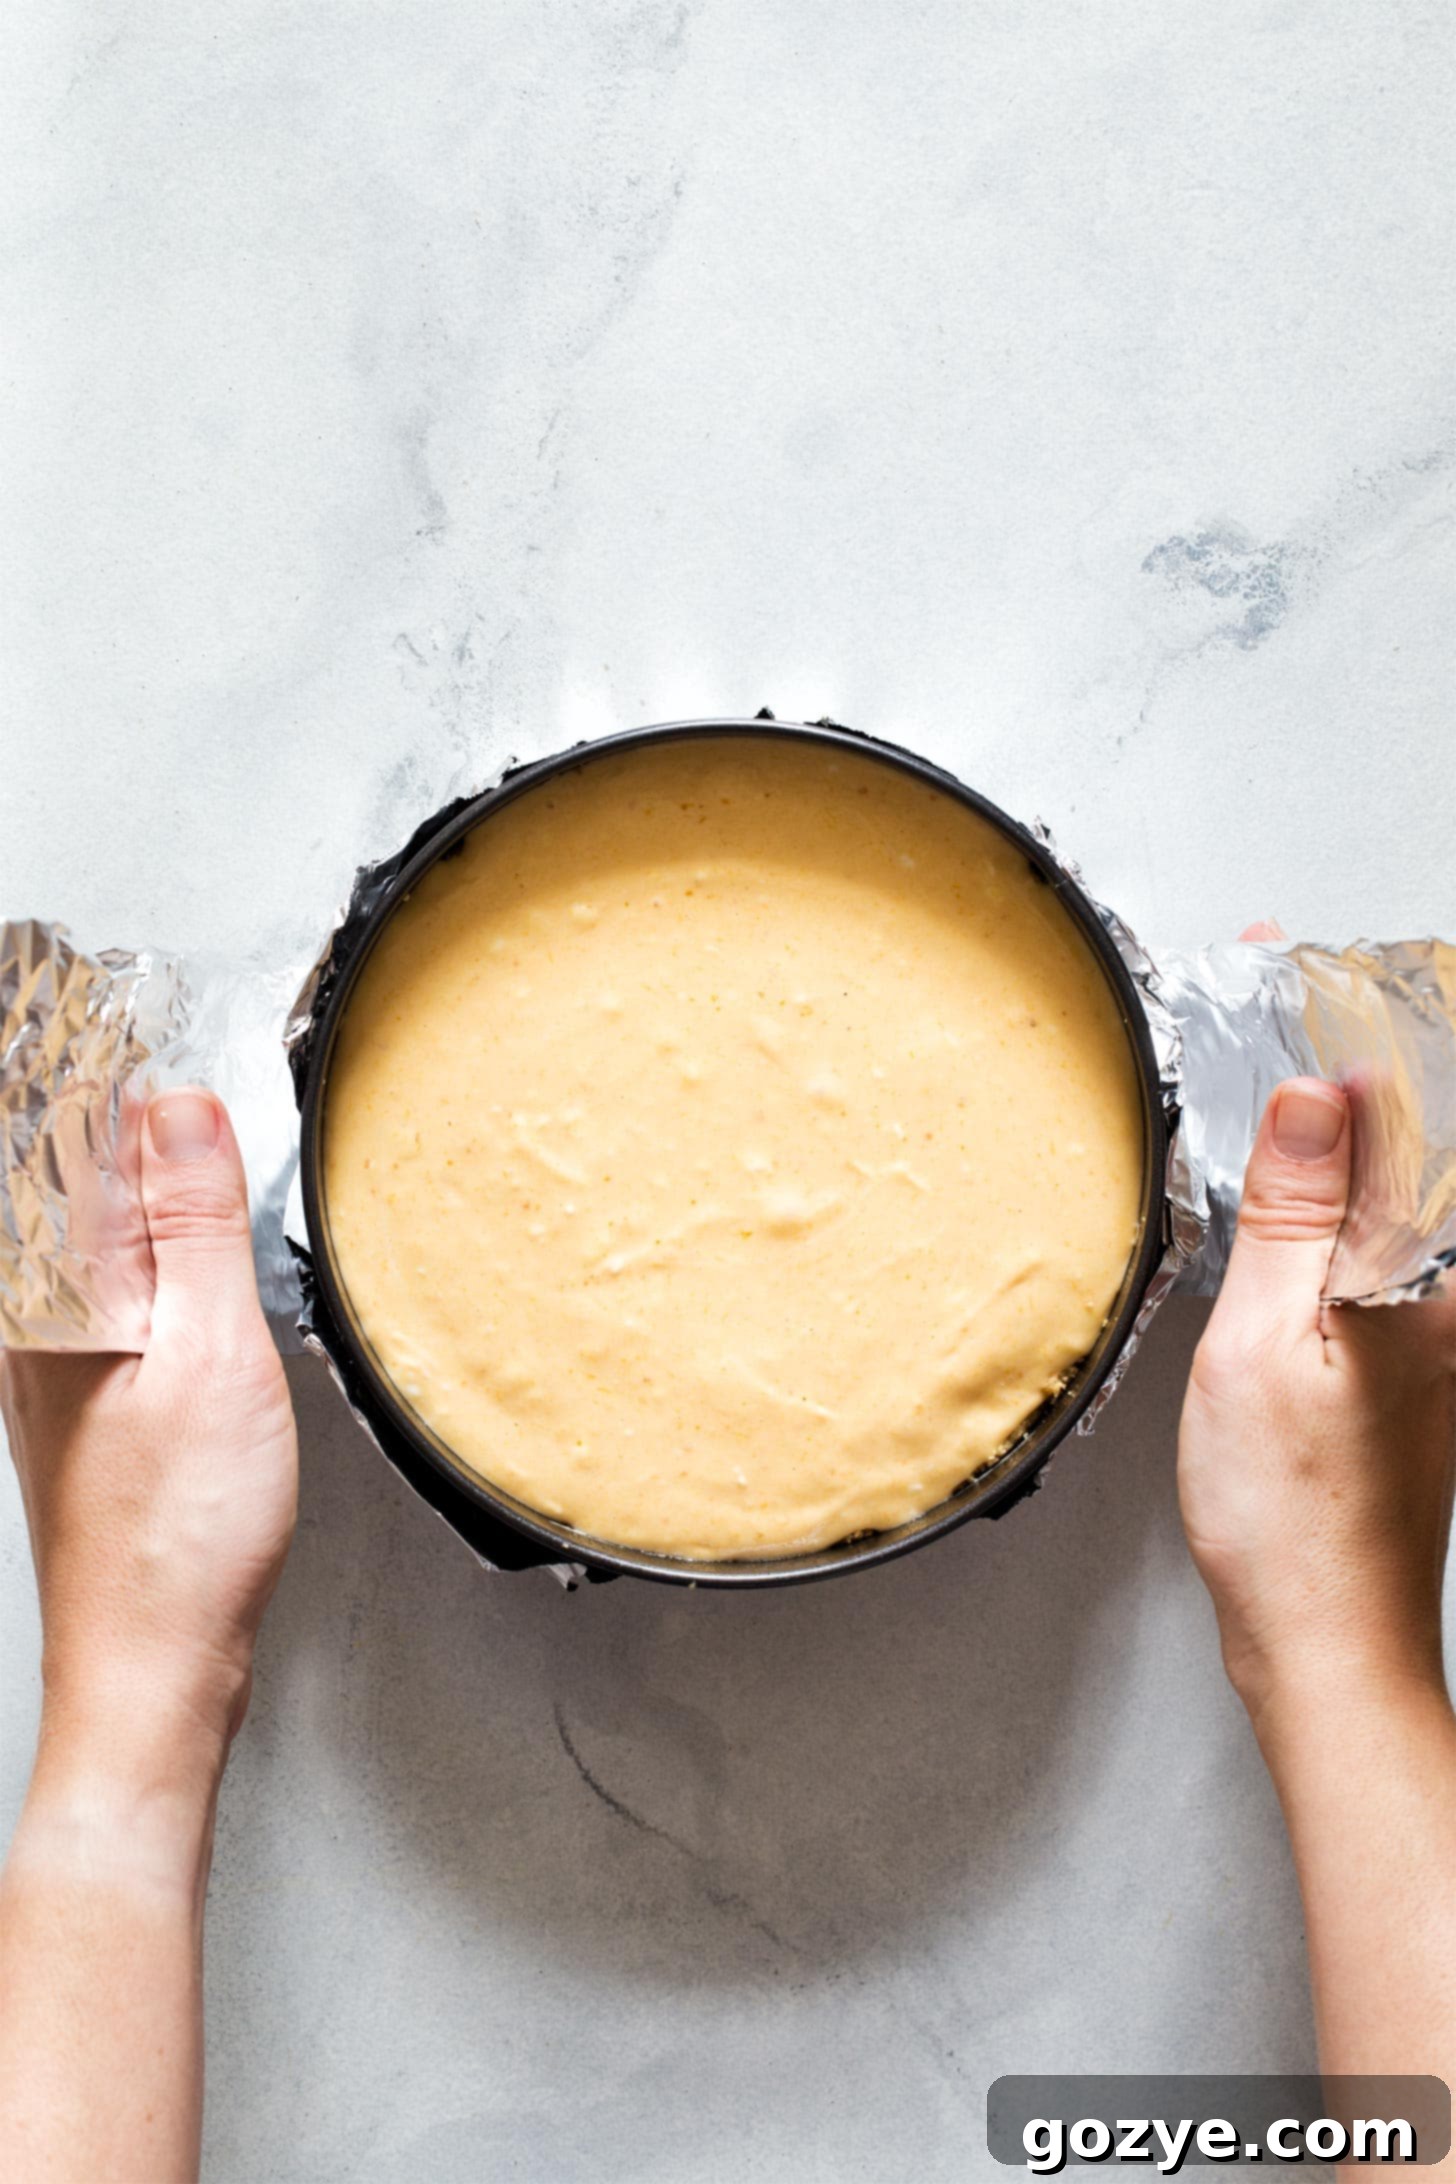
Seamless Cheesecake Removal: The Foil Sling Technique
Your cheesecake pan, whether a 6-inch or 7-inch springform, will fit snugly inside your Instant Pot’s inner pot. While this snug fit is great for stability, it can make retrieving the hot pan a challenge, even with oven mitts. This is where a simple yet incredibly effective make-shift foil sling becomes your best friend!
To craft your foil sling:
- Take a long piece of heavy-duty aluminum foil, roughly 20-24 inches in length.
- Fold the foil lengthwise (think “hot dog style” for a visual, especially for millennials!) about 2-3 times. You want to create a long, sturdy strip of foil that is thick enough to support the weight of the cheesecake.
- Once you have your thick foil strip, center your springform pan on top of it.
- Bring the two ends of the foil sling up and over the top of the pan. You can gently twist them together or just hold them firmly.
- Now, you have handles! Use these foil handles to carefully lift and lower your cheesecake pan into and out of the Instant Pot. This technique prevents burns and ensures a smooth, stable transfer every time.
This ingenious method makes removing your beautifully cooked Instant Pot pumpkin cheesecake effortless and safe.
Elevate Your Dessert: How to Garnish Pumpkin Cheesecake
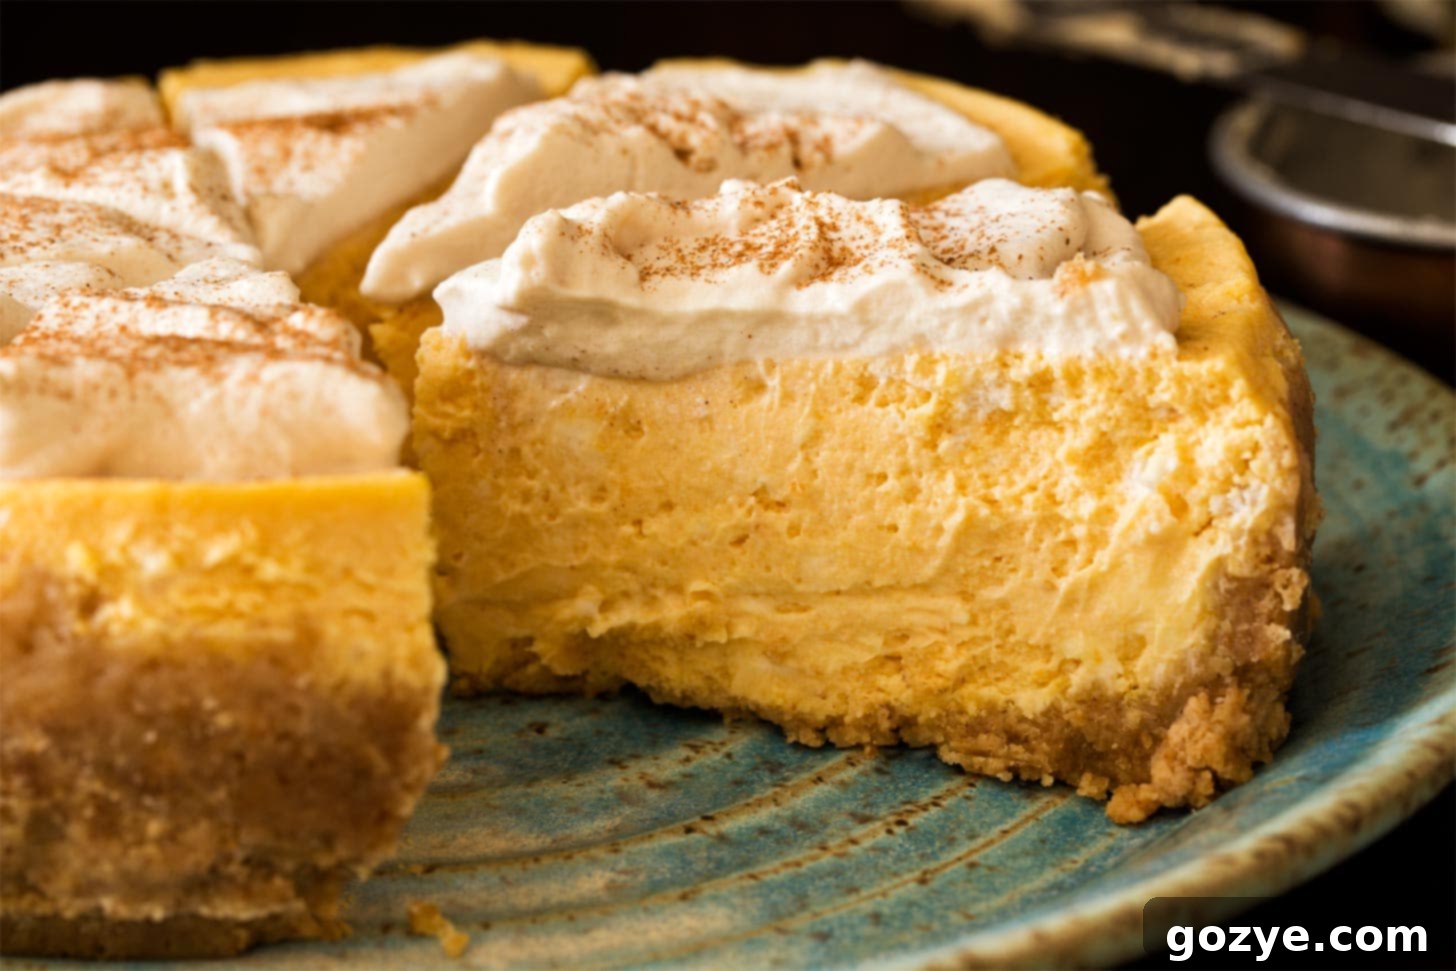
While your Instant Pot pumpkin cheesecake will taste absolutely divine on its own, a thoughtful garnish can elevate its presentation and enhance its flavors, transforming it into an even more irresistible dessert. Here are some fantastic ideas to make your small pumpkin cheesecake truly shine:
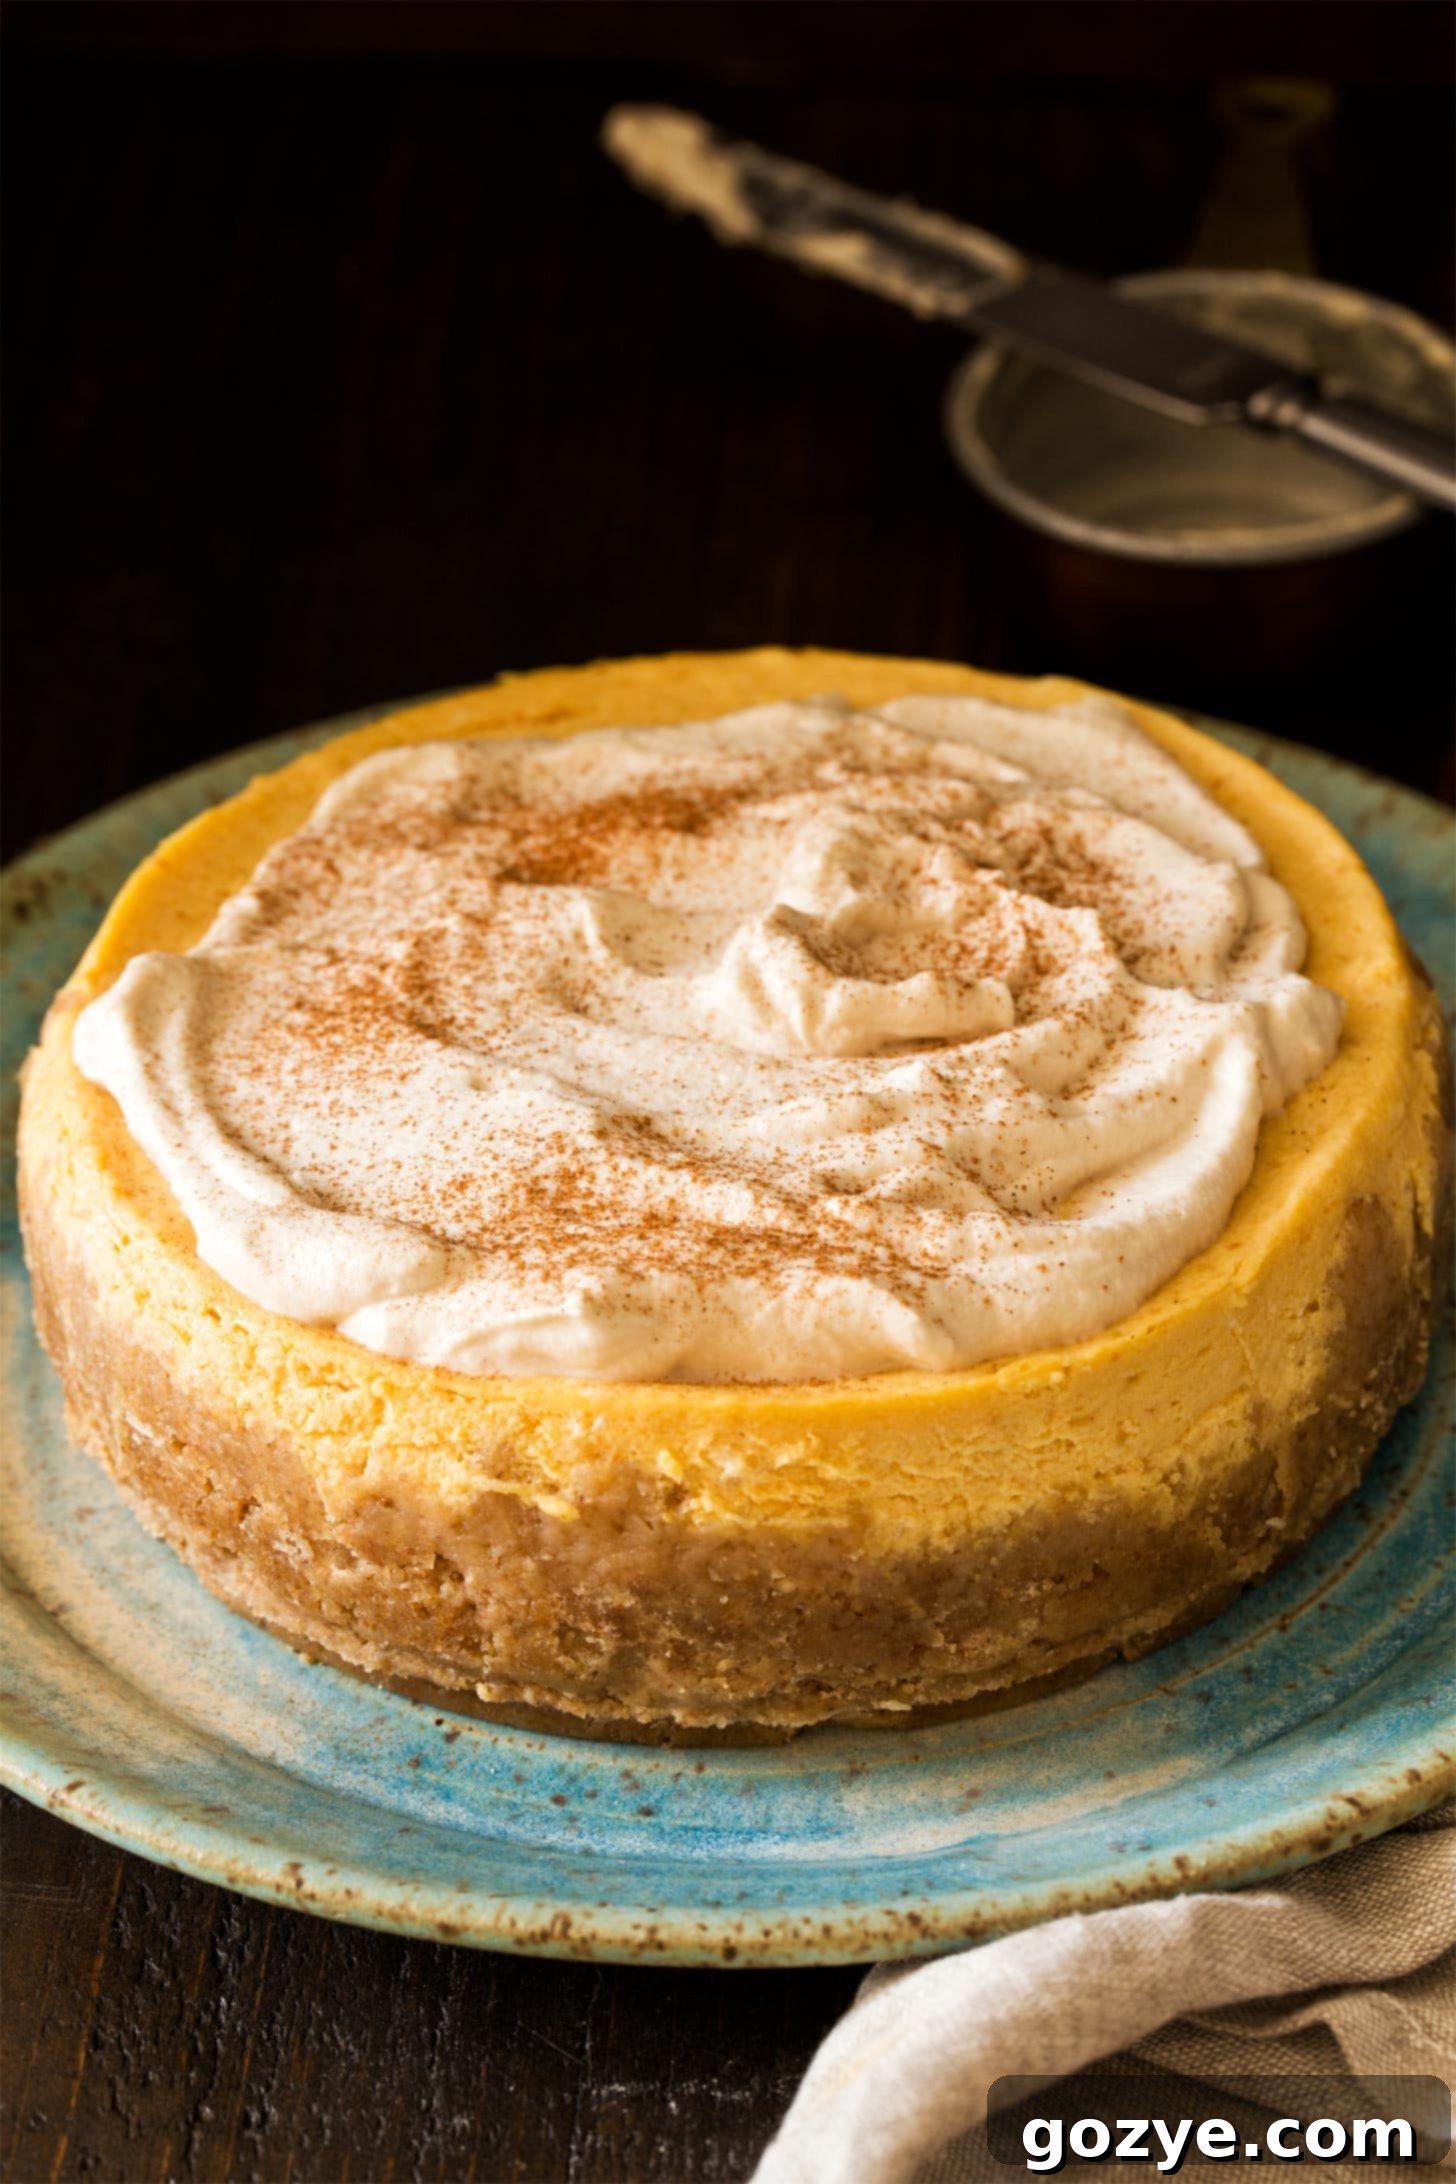
- Maple Whipped Cream & Cinnamon Dusting: This is my personal favorite! A generous dollop of maple whipped cream adds a delicate sweetness and airy texture that beautifully complements the rich pumpkin. Finish with a light dusting of ground cinnamon for extra warmth and visual appeal.
- Cream Cheese Whipped Cream: For those who love an extra tang, cream cheese whipped cream offers a richer, slightly more decadent topping that harmonizes perfectly with the cheesecake’s base.
- Traditional Homemade Whipped Cream: Sometimes, simplicity is best. A classic batch of homemade whipped cream is light, fresh, and always a crowd-pleaser.
- Chocolate Whipped Cream: For the chocolate lovers, a swirl of chocolate whipped cream can introduce a delightful contrast and an extra layer of indulgence.
- Homemade Caramel Sauce: Drizzling your slices with a luscious homemade caramel sauce adds a rich, buttery sweetness that is simply irresistible with pumpkin.
- Toasted Pecans or Walnuts: A sprinkle of lightly toasted, chopped pecans or walnuts provides a lovely textural contrast and a nutty flavor that complements the fall spices.
- Gingerbread Crumbs: Echoing the gingersnap crust idea, crushed gingerbread cookies sprinkled on top can add a festive crunch and spicy kick.
Instant Pot Pumpkin Cheesecake FAQ
Yes, absolutely! While it will be a snug fit, this Instant Pot Pumpkin Cheesecake recipe can certainly be made in a mini 3-quart Instant Pot, provided you use a 6-inch springform pan. The cooking time should remain the same, but always ensure your pan fits without touching the lid or sides too tightly.
The most accurate way to check for doneness is with an instant-read thermometer. The internal temperature of the cheesecake’s center should reach 150-155°F (65-68°C). There will still be a slight jiggle in the center, which is completely normal; it will firm up during cooling and chilling. If it’s under 150°F, you can return it to the Instant Pot for an additional 5 minutes of high-pressure cooking, followed by another 10-minute natural release.
Yes, absolutely! Making cheesecake ahead of time is highly recommended, especially for holidays like Thanksgiving. This Instant Pot pumpkin cheesecake can be prepared up to 2-3 days in advance. In fact, chilling it overnight often improves both its texture and flavor, allowing the spices to meld beautifully. Just make sure to store it covered in the refrigerator.
Cracking is a common issue with cheesecakes, even in an Instant Pot. Common reasons include over-beating the batter (which incorporates too much air), overcooking (leading to dryness), or too rapid a temperature change during cooling. Ensuring your ingredients are at room temperature, beating just until combined, avoiding overcooking, and allowing for the full natural pressure release and gradual cooling process will help prevent cracks.
Yes, cheesecake freezes beautifully! Once completely chilled, you can freeze individual slices or the whole cheesecake. Wrap it tightly in plastic wrap, then a layer of aluminum foil, and place it in an airtight container or freezer bag. It can be frozen for up to 1-2 months. Thaw overnight in the refrigerator before serving.
More Delicious Small Cheesecake Recipes
If you’re loving the convenience of making cheesecake in your Instant Pot, you’ll be thrilled to know that many other flavors can be adapted for this method. Explore these fantastic small cheesecake recipes, perfect for your pressure cooker:
- Small Chocolate Cheesecake Recipe: Indulge in a rich, decadent chocolate cheesecake, perfect for any occasion.
- Red Velvet Oreo Cheesecake: A vibrant and flavorful cheesecake with a delightful cookie crust.
- Peanut Butter Cheesecake: A creamy, nutty treat that’s a dream for peanut butter lovers.
- Classic Instant Pot Cheesecake: The original, perfectly plain canvas for all your favorite toppings.
Instant Pot Pumpkin Cheesecake
6-8 servings
15 minutes
25 minutes
5 hours 15 minutes
5 hours 55 minutes
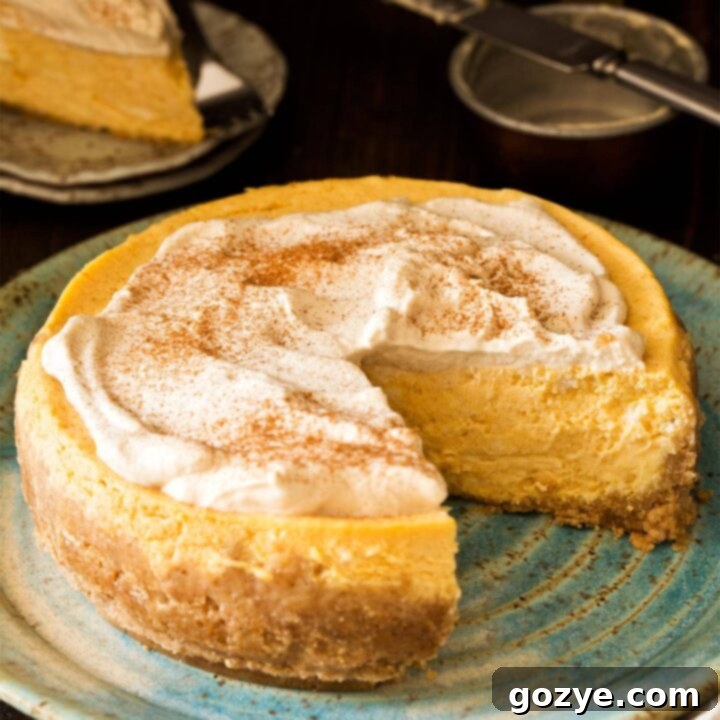
No water bath or oven space needed when you make Instant Pot Pumpkin Cheesecake for dessert! Baked in a 6 inch or 7 inch springform pan, it’s made in half the time as its baked version, which makes it the perfect ending for your Thanksgiving for Two dinner.
Ingredients
- 1 + 1/2 cups graham cracker crumbs
- 6 tablespoons unsalted butter, melted
- Pinch of table salt
- 16 ounces (2 blocks or 16 tablespoons) full-fat cream cheese, room temperature and not cold to the touch (do not sub fat free)
- 2/3 cup + 1 tablespoon granulated sugar
- 2 eggs, room temperature and not cold to the touch
- 1/2 cup canned pumpkin puree (not pumpkin pie mix)
- 1 teaspoon vanilla extract
- Optional: 1 tsp pumpkin pie spice
Instructions
- Lightly grease the inside of a 6 or 7 inch springform pan with cooking spray then wrap the outside (not inside) bottom with foil. This prevents any moisture from seeping into the crust.
- In a large bowl, mix together the graham cracker crumbs, melted butter, 1 tablespoon sugar, and salt until well combined. Press this mixture firmly and evenly into the bottom and slightly up the sides of your prepared springform pan.
- In a large mixing bowl on medium-high speed (using a paddle attachment if using a stand mixer), beat together the softened cream cheese and the remaining 2/3 cup sugar until the mixture is light, fluffy, and completely smooth, about 1-2 minutes. Make sure to scrape down the bowl as needed to ensure no lumps remain.
- Gently beat in the eggs, one at a time, just until incorporated (do not overbeat, as this can introduce too much air and cause cracks). Stir in the canned pumpkin puree and vanilla extract (and optional pumpkin pie spice if using). Transfer the smooth batter to the prepared crust in the springform pan.
- Place a metal trivet in the bottom of your 6-quart Instant Pot. Add 1 to 1.5 cups of water to the pot, ensuring it barely touches the trivet but does not touch the bottom of your cheesecake pan.
- Take a 20-inch piece of heavy-duty foil and fold it in half lengthwise (hot dog style), then fold it in half lengthwise again to create a sturdy sling. Place the cheesecake pan in the center of this sling and carefully lift the pan by the foil ends, then lower it gently into the Instant Pot, resting it on the trivet.
- Securely lock the Instant Pot lid. Ensure the steam release valve is set to “Sealing.” Select the “Manual” or “Pressure Cook” button and set the cook time to 25 minutes on high pressure. The screen will display “On” while it preheats. Once pressure is reached, it will count down from “25.” It’s normal for some steam to escape from the valve during the preheating cycle.
- Once the cooking cycle has finished and the Instant Pot beeps, press the “Keep Warm/Cancel” button to turn it off. Allow the pot to sit undisturbed for 15 minutes for a natural pressure release (NPR). After 15 minutes, carefully move the steam release valve to “Venting” to quick release any remaining pressure. Once the float valve drops, you can safely unlock and open the lid. Carefully remove the cheesecake using the foil sling.
- Allow the cheesecake to cool completely at room temperature for at least 1 hour on a wire rack. Once cooled, cover the cheesecake loosely with plastic wrap and transfer it to the refrigerator. Chill for a minimum of 4 hours, but ideally overnight, before carefully removing the springform sides and serving.
Notes
- Don’t have an Instant Pot or prefer oven baking? Check out my small pumpkin cheesecake recipe for detailed oven instructions.
- For the best texture and to prevent cracks, ensure all cold ingredients (cream cheese, eggs) are at room temperature before mixing.
- Avoid overmixing the batter once the eggs are added; mix just until combined to prevent excess air incorporation.
- Garnish your chilled cheesecake with your favorite toppings! Popular choices include maple whipped cream, cream cheese whipped cream, traditional homemade whipped cream, or even chocolate whipped cream. A sprinkle of cinnamon or a drizzle of caramel sauce also adds a wonderful touch.
- Leftover cheesecake can be stored, covered, in the refrigerator for up to 5-7 days. It can also be frozen for longer storage (see FAQ).
Recommended Products
As an Amazon Associate and member of other affiliate programs, I earn from qualifying purchases.
- 6 Quart Instant Pot
- 7 Inch Springform Pan
- 6 Inch Springform Pan
Did you make this recipe?
Let me know what you think! Rate the recipe above, leave a comment below, and/or share a photo on Instagram using #HITKrecipes
